4-096-265-21(1)
© 2003 Sony Corporation
TFT LCD Color
Computer Display
Quick Setup Guide
Setup . . . . . . . . . . . . . . . . . . . . . . . . . . . . . . . . . . . . . . . . . . . . 2 (US)
Troubleshooting / Specifications . . . . . . . . . . . . . . . . . . . . . . . 5 (US)
Guide de configuration rapide
Installation . . . . . . . . . . . . . . . . . . . . . . . . . . . . . . . . . . . . . . . . 2 (FR)
Dépannage / Spécifications . . . . . . . . . . . . . . . . . . . . . . . . . . 5 (FR)
Guía de instalación rápida
Instalación . . . . . . . . . . . . . . . . . . . . . . . . . . . . . . . . . . . . . . . . 2 (ES)
Resolución de problemas / Especificaciones . . . . . . . . . . . . . 5 (ES)
. . . . . . . . . . . . . . . . . . . . . . . . . . . . . . . . . . . . . . . . . . . . . 2 (CS)
. . . . . . . . . . . . . . . . . . . . . . . . . . . 5 (CS)
US
D:\Working\0602\SDM-S53_S73_S93 USFRESCS\SDM-S53_S73_S93 USFRESCS\SDM-
S53_S73_S93 US\01COV-UC.fm
masterpage:Right
SDM-S53, SDM-S73 or SDM-S93
4-096-265-21(1)
FR
ES
SDM-S53
SDM-S73
SDM-S93
CS
DO NOT RETURN TO PLACE OF PURCHASE
NE PAS RETOURNER AU MAGASIN
If you believe the product purchased in the U.S. is
defective, call Sony for assistance or Advance Exchange.
For assistance in the U.S. call: 1-866-357-SONY (7669)
For assistance in Canada call: 1-800-961-SONY (7669)
Si vous croyez que le produit achete aux E.-U. est defectueux, communiquer
avec Sony pour obtenir de lfaide ou un remplacement.
Pour obtenir de lfaide aux E.-U., composer le : 1-866-357-SONY (7669)
Pour obtenir de lfaide au Canada, composer le :1-800-961-SONY (7669)
http://www.sony.com/displays/support
01COV-UC.fm Page 1 Monday, June 2, 2003 7:49 PM
2 (US)
\\Pc08\DATADISK08\Chen Ting\ML\European\SDM-S53_S73_S93 4 GUO\data\SDM-
S53_S73_S93 US FR ES CS(0530)\SDM-S53_S73_S93 US\02GB02BAS-UC.fm
masterpage:Left
SDM-S53, SDM-S73 or SDM-S93
4-096-265-21(1)
WARNING
To prevent fire or shock hazard, do not expose the
unit to rain or moisture.
Dangerously high voltages are present inside the
unit. Do not open the cabinet. Refer servicing to
qualified personnel only.
Precautions
Warning on power connections
· Use the supplied power cord. If you use a different power cord,
be sure that it is compatible with your local power supply.
For the customers in the U.S.A.
If you do not use the appropriate cord, this monitor will not
conform to mandatory FCC standards.
For the customers in the UK
If you use the monitor in the UK, be sure to use the appropriate
UK power cord.
Installation
Do not install or leave the monitor:
· In places subject to extreme temperatures, for example near a
radiator, heating vent, or in direct sunlight. Subjecting the
monitor to extreme temperatures, such as in an automobile
parked in direct sunlight or near a heating vent, could cause
deformations of the casing or malfunctions.
· In places subject to mechanical vibration or shock.
· Near any equipment that generates a strong magnetic field,
such as a TV or various other household appliances.
· In places subject to inordinate amounts of dust, dirt, or sand, for
example near an open window or an outdoor exit. If setting up
temporarily in an outdoor environment, be sure to take
adequate precautions against airborne dust and dirt. Otherwise
irreparable malfunctions could occur.
Note on the LCD (Liquid Crystal Display)
Please note that the LCD screen is made with high-precision
technology. However, black points or bright points of light (red,
blue, or green) may appear constantly on the LCD screen, and
irregular colored stripes or brightness may appear on the LCD
screen. This is not malfunction.
(Effective dots: more than 99.99%)
Transportation
· Disconnect all cables from the monitor, and grasp both side of
the LCD display firmly taking care not to scratch the screen
when transporting. If you drop the monitor, you may be injured
or the monitor may be damaged.
· When you transport this monitor for repair or shipment, use the
original carton and packing materials.
To view the Operating Instructions
on the CD-ROM
Note
To view the Operating Instructions on the CD-ROM, Macromedia
Shockwave Player and Adobe Acrobat Reader (version 4.0 or later) must
be installed on your computer. The "installs" folder on the CD-ROM
contains the installation programs for them (for Windows only).
To view the Operating Instructions
Load the supplied CD-ROM into the CD-ROM drive of your computer.
After a while, the introductory page of the CD-ROM will open
automatically. Then follow the instructions below, according to the area
you live in.
For customers in the USA
1
Click "North America" on the introductory page.
The model page appears.
2
Point to "S MODELS" and click the model name of the unit you have
purchased on the drop-down list.
The page for the model you have selected appears.
3
Click "USER MANUAL:ADOBE.PDF."
The language options appear.
4
Click the desired language.
The Operating Instruction file opens.
To exit the procedure
Click "EXIT/CD.ROM."
For customers in Asia
1
Click "Asia" on the introductory page.
2
Click the "S" folder.
3
Double-click on "index.html."
The Operating Instruction file opens.
To open the Operating Instruction file directly
Exit the introductory page by clicking "EXIT/CD.ROM", and click the
folders and the file in the following order.
CD-ROM
t "S" t desired language folder t "*****.pdf"
(***** is the name of the model you have purchased.)
If the introductory page does not appear
automatically
Follow the instructions below to open that page.
If you are using Windows:
Double-click on the CD-ROM icon.
If you are using a Macintosh computer:
Double-click on the CD-ROM icon to open the window, then double-click
on the "MONITOR" icon.
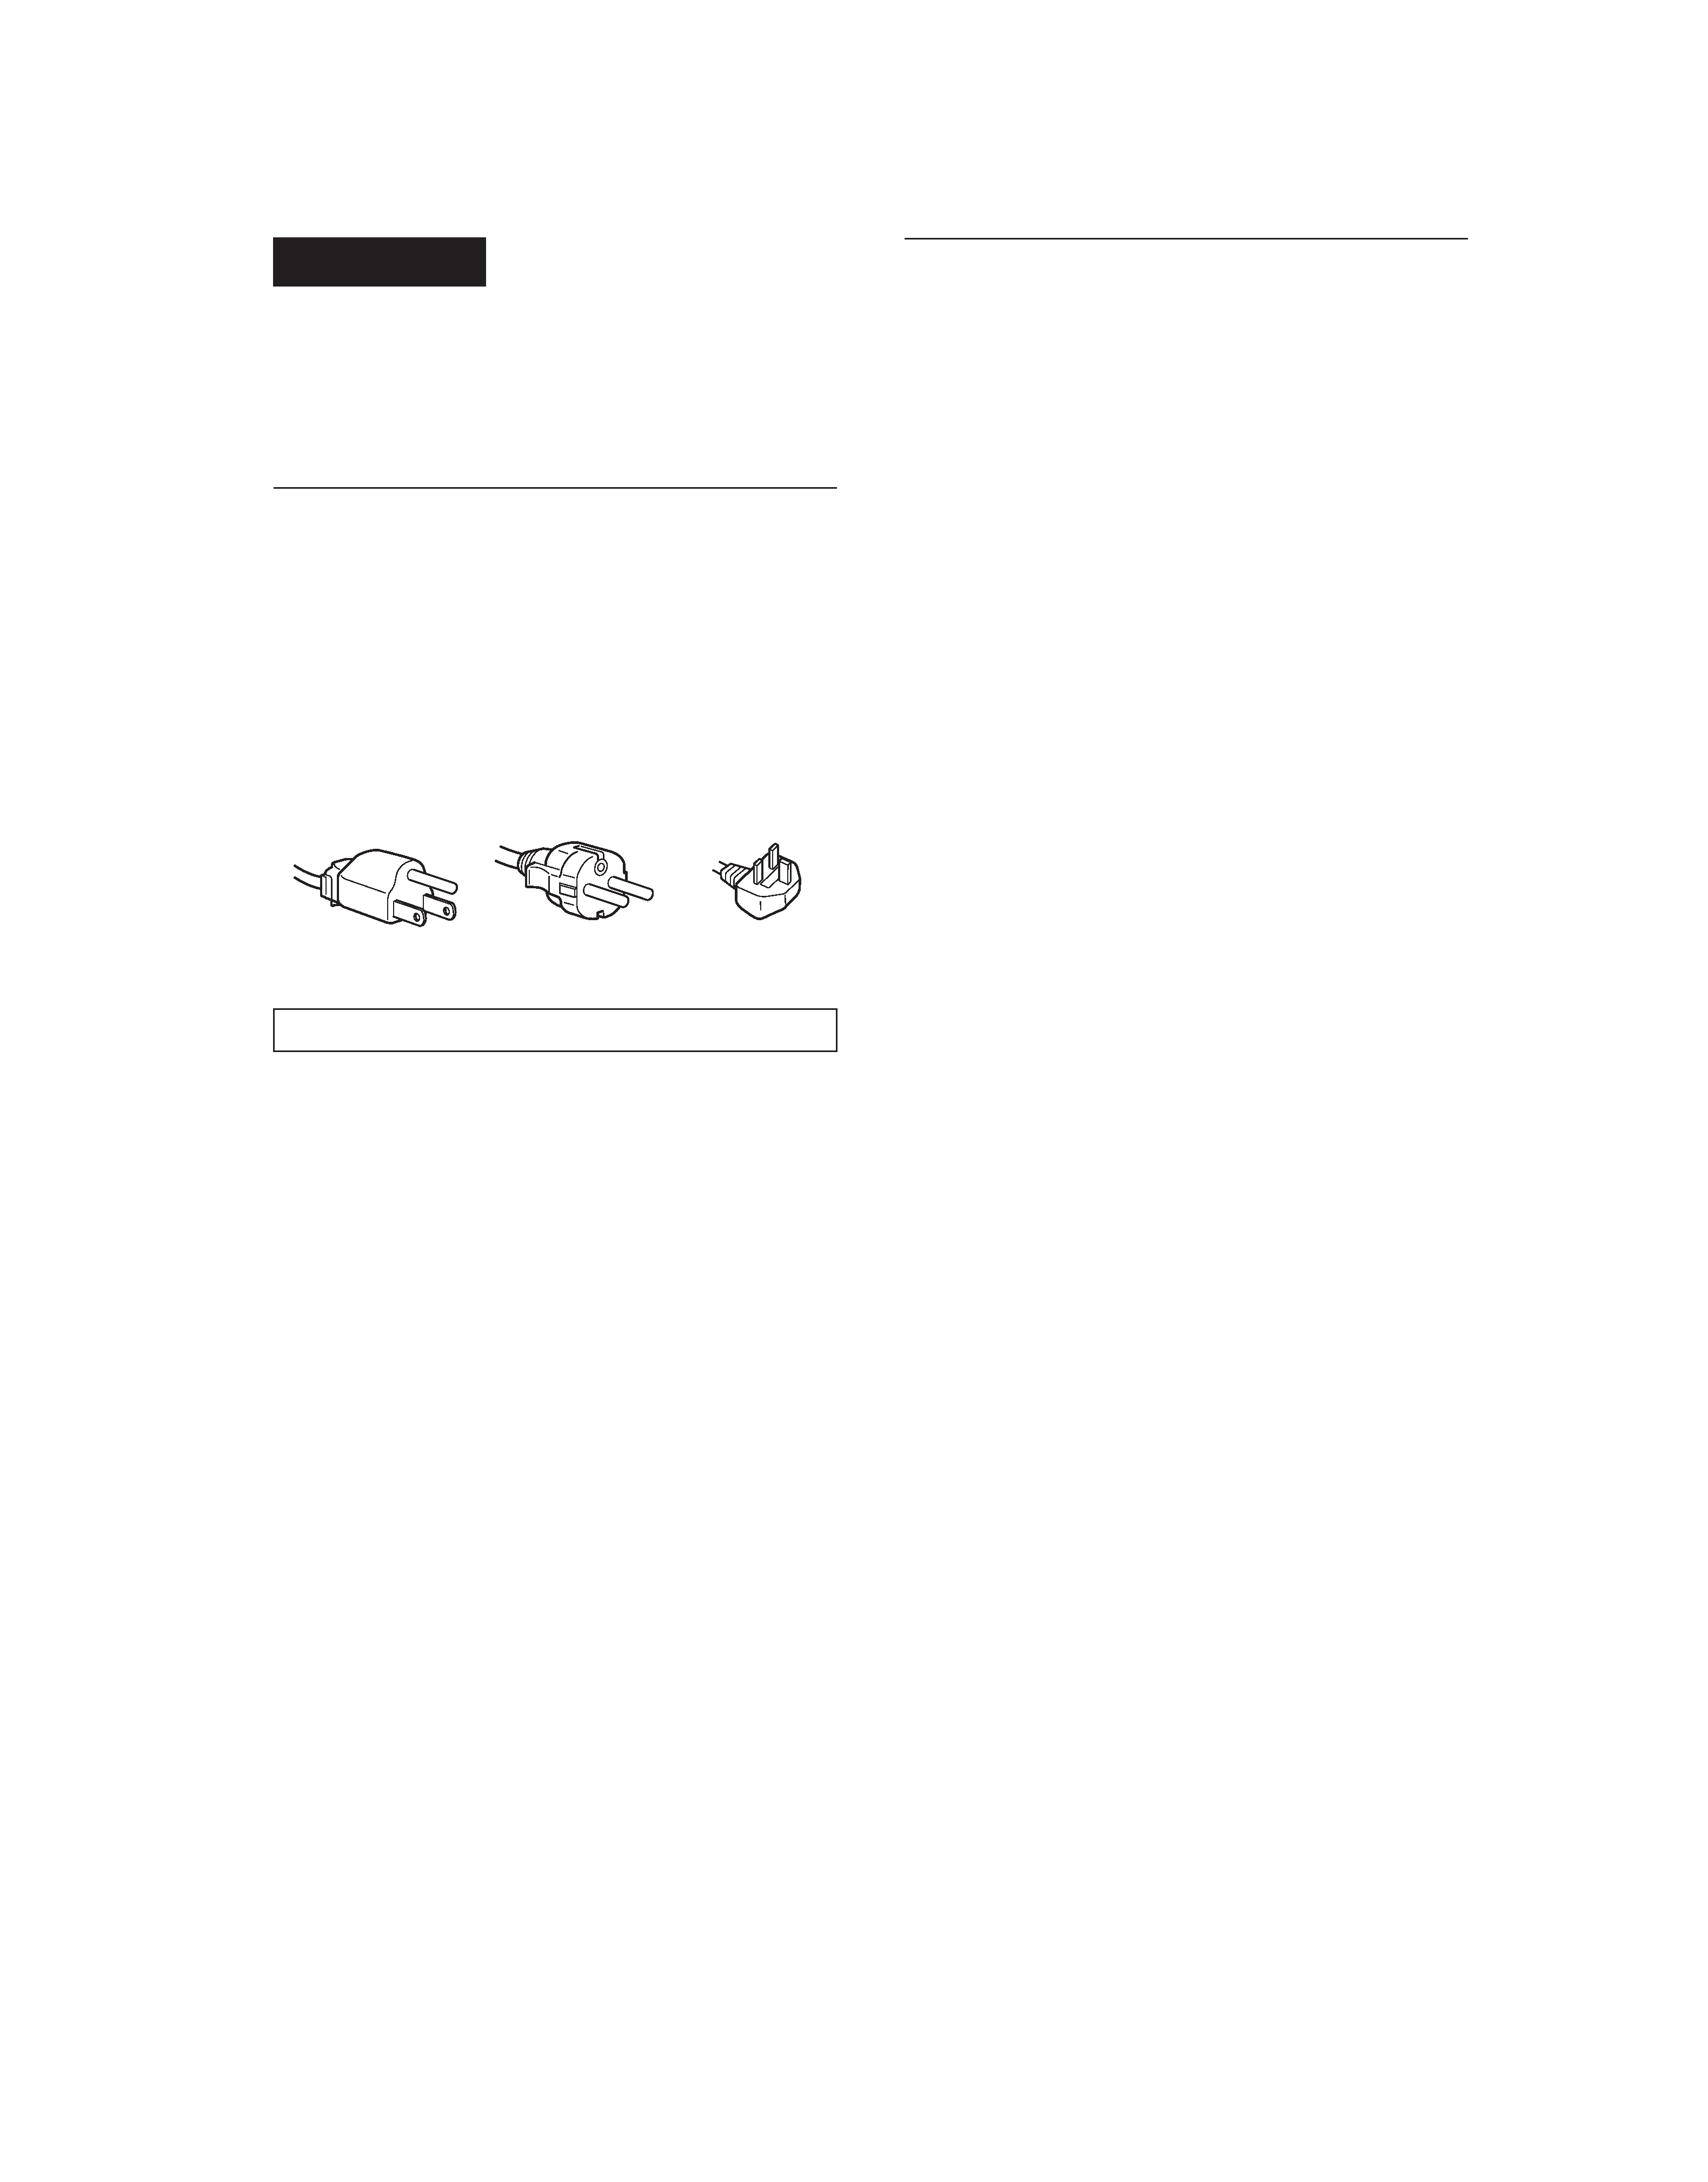
The equipment should be installed near an easily accessible outlet.
Example of plug types
for 100 to 120 V AC
for 200 to 240 V AC
for 240 V AC only
01COV-UC.book Page 2 Friday, May 30, 2003 6:01 PM

3 (US)
US
\\Pc08\DATADISK08\Chen Ting\ML\European\SDM-S53_S73_S93 4 GUO\data\SDM-
S53_S73_S93 US FR ES CS(0530)\SDM-S53_S73_S93 US\02GB02BAS-UC.fm
masterpage:Right
SDM-S53, SDM-S73 or SDM-S93
4-096-265-21(1)
Setup
Unpacking
Make sure your carton contains everything listed below.
· LCD display
·Power cord
· HD15-HD15 video signal cable
· CD-ROM (utility software for Windows/Macintosh, Operating
Instructions, etc.)
· Warranty card
· This Quick Setup Guide
Connecting your monitor
Connect your monitor to a computer or other equipment.
1 Slide up the back cover.
2 Tilt the display forward.
3 Connect your monitor to a computer.
Connecting a Macintosh computer
Connect the supplied video signal cable to a video output connector
on the computer. If necessary, use an adapter (not supplied). Connect
the adapter to the computer before connecting the video signal cable.
4 Connect the supplied power cord securely to the
monitor's AC IN connector.
5 Connect the other end securely to a power outlet.
Note
For bundling the cords and cables, refer to the Operating Instructions on
the supplied CD-ROM.
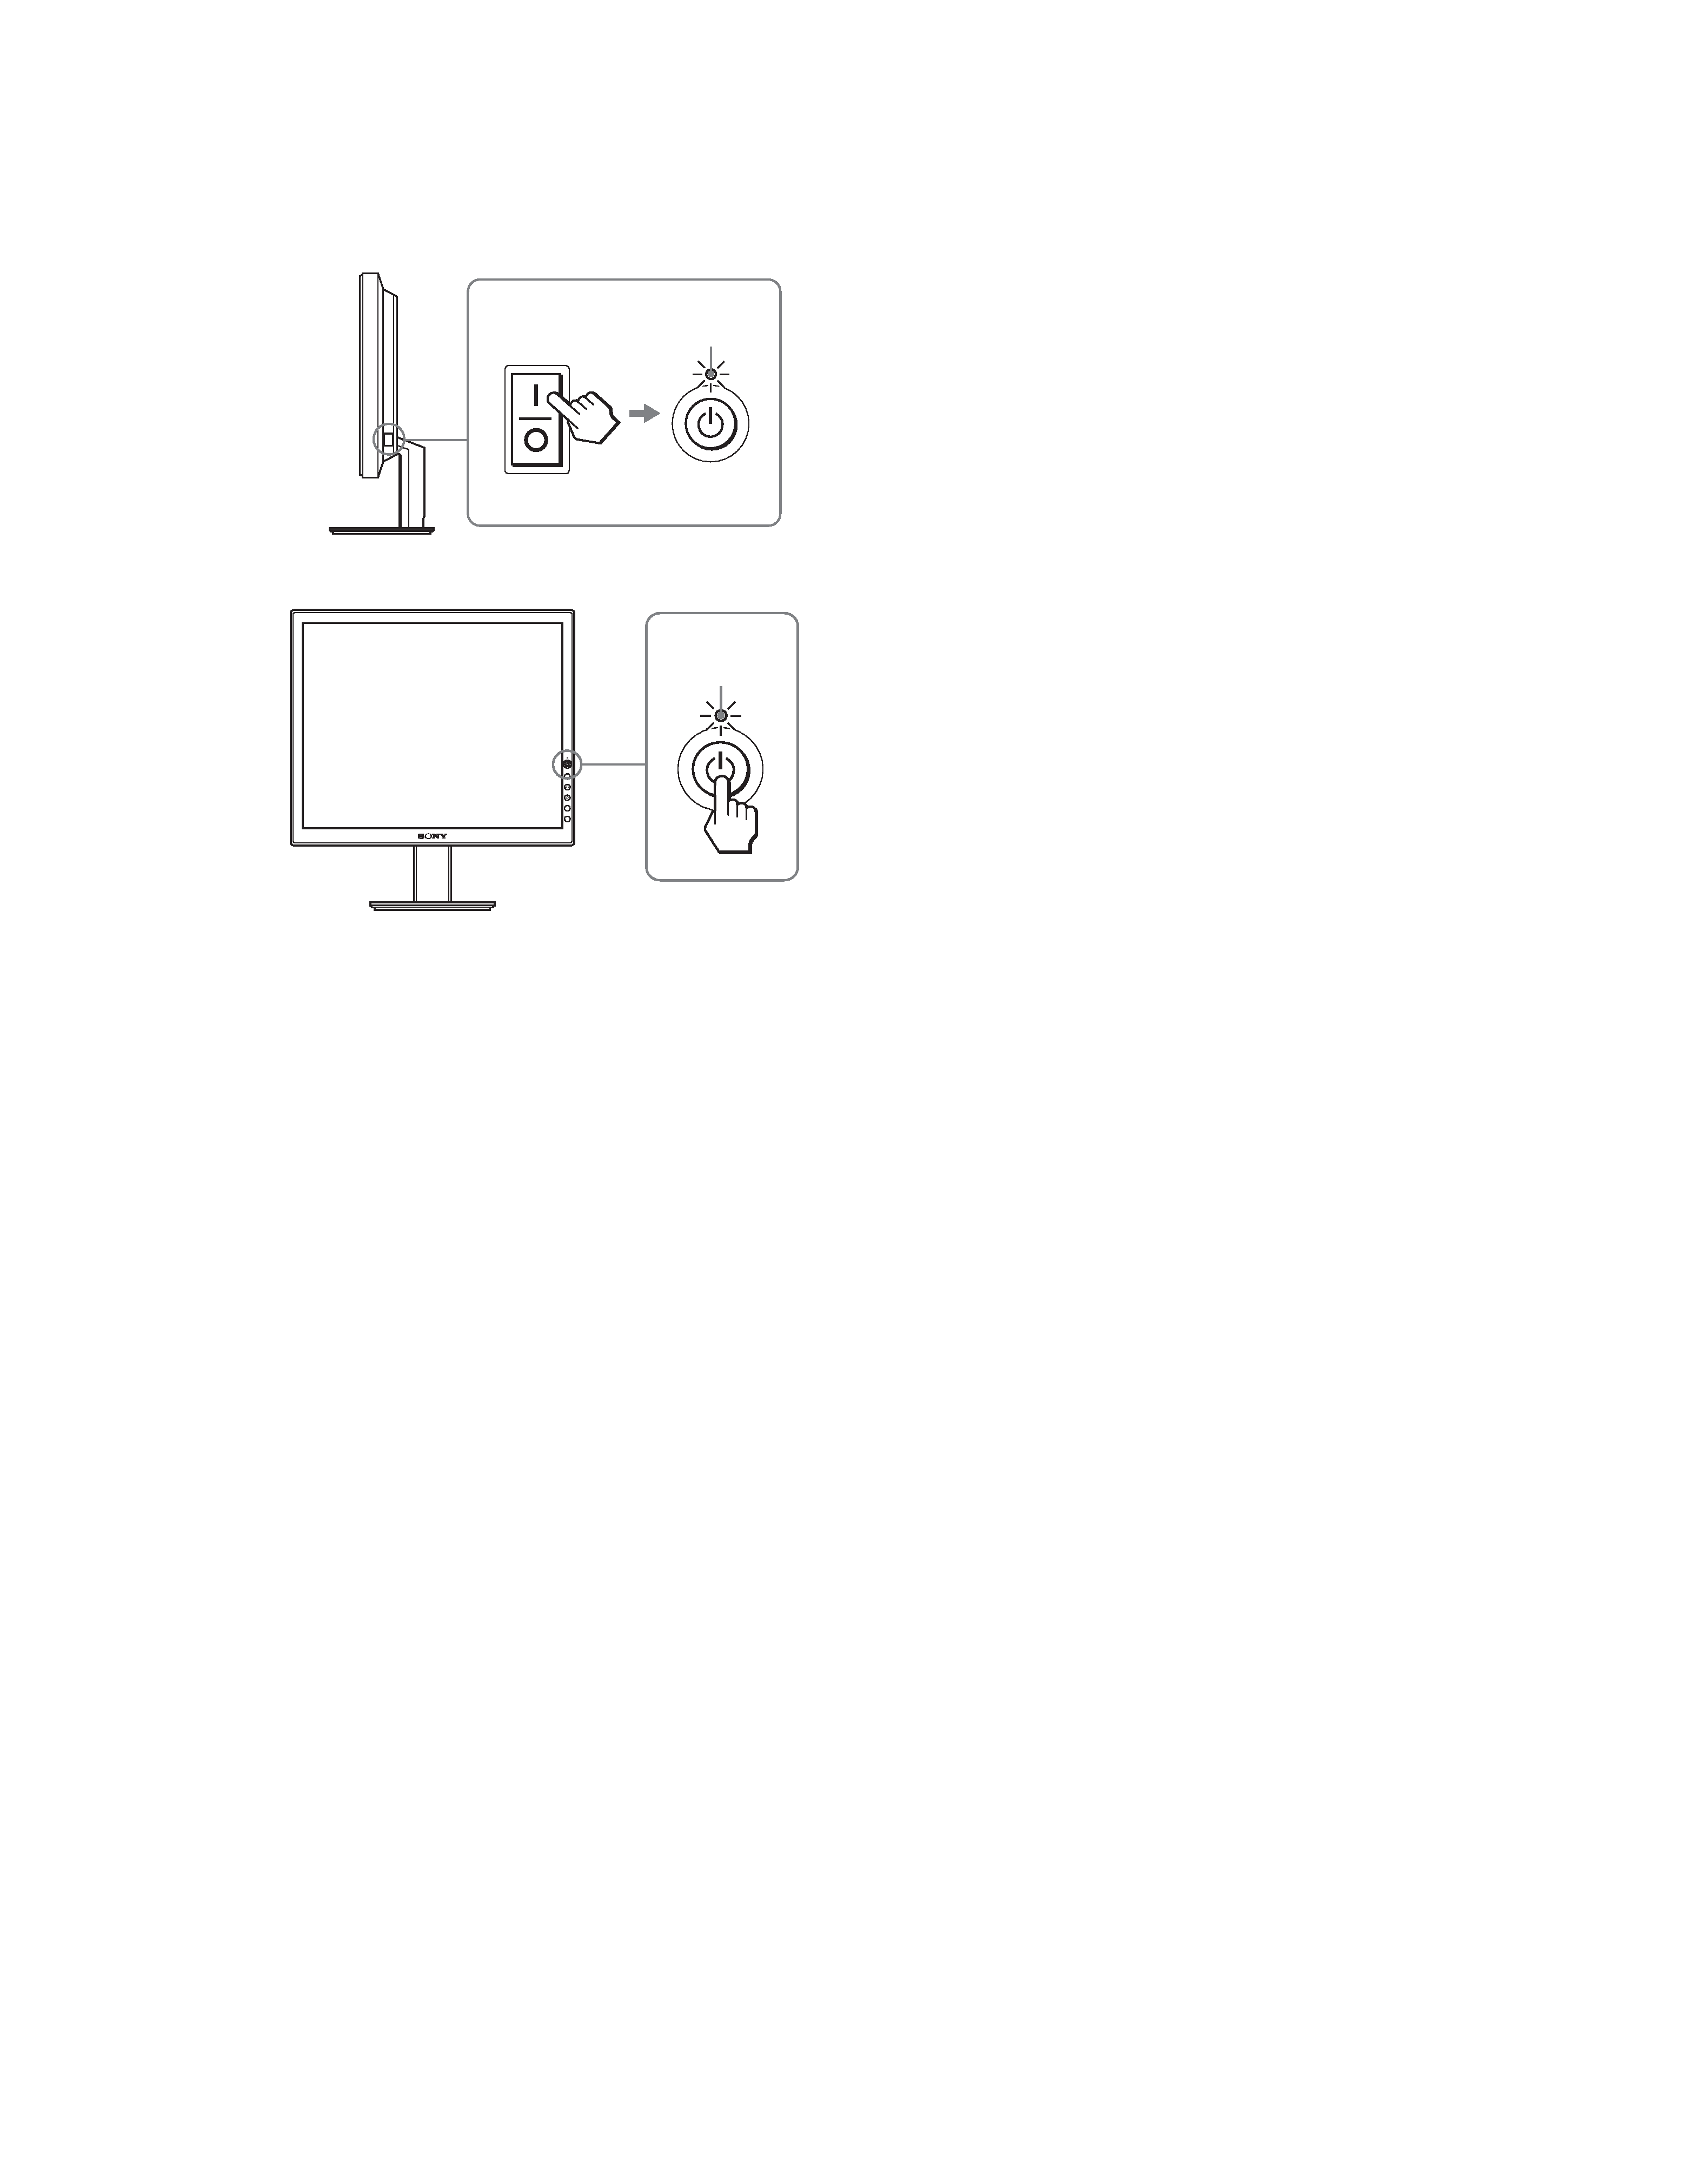
Turning on the monitor and
computer
Turn on your monitor first, then a computer.
1 Press the MAIN POWER switch on the right side of
the monitor in the direction of the [, if it is not
already pressed. Make sure the 1 ( power) indicator
is lit in red.
Note
The default setting of the MAIN POWER switch is in the direction of
the [.
2 Press the 1 (power) switch on the front right of the
monitor.
The 1 (power) indicator lights up in green.
· Turn off the monitor, computer, and any other
equipment before connecting them.
· Do not touch the pins of the video signal cable plug.
back cover
1
2
HD-15
3
5
power cord (supplied)
4
to AC IN
to power outlet
HD15-HD15 video
signal cable (analog
RGB) (supplied)
Illustrations of monitor
rear are the SDM-S53.
The same applies for
the SDM-S73 model.
SDM-S93 has the AC
IN connector on the left
of the stand.
01COV-UC.book Page 3 Friday, May 30, 2003 6:01 PM
4 (US)
\\Pc08\DATADISK08\Chen Ting\ML\European\SDM-S53_S73_S93 4 GUO\data\SDM-
S53_S73_S93 US FR ES CS(0530)\SDM-S53_S73_S93 US\02GB02BAS-UC.fm
masterpage:Left
SDM-S53, SDM-S73 or SDM-S93
4-096-265-21(1)
3 Turn on the computer.
MAIN POWER
lights in red
1
2
lights in green
01COV-UC.book Page 4 Friday, May 30, 2003 6:01 PM
5 (US)
US
\\Pc08\DATADISK08\Chen Ting\ML\European\SDM-S53_S73_S93 4 GUO\data\SDM-
S53_S73_S93 US FR ES CS(0530)\SDM-S53_S73_S93 US\02GB02BAS-UC.fm
masterpage:Right
SDM-S53, SDM-S73 or SDM-S93
4-096-265-21(1)
Troubleshooting
Trouble symptoms and remedies (If no picture appears on the screen)
If no picture appears on the screen, check the following table for possible solutions. Then, if the problem persists, use the self-diagnosis
function (page 6 (US)). If you are experiencing difficulties not listed below, refer to the Operating Instructions on the supplied CD-ROM.
For problems caused by a computer or other equipment, refer to the user's manuals supplied with the respective items.
Symptom
Check these items
If the 1 (power) indicator is not lit,
or if the 1 (power) indicator will not
light up when the 1 (power) switch
is pressed,
· Check that the power cord is properly connected.
· Check that the monitor's MAIN POWER switch is on (page 3 (US)).
If the 1 (power) indicator turns on
in red,
· Check that the 1 (power) switch is on.
If the 1 (power) indicator is green,
· Use the self-diagnosis function (page 6 (US)).
If "CABLE DISCONNECTED"
appears on the screen,
· Check that the video signal cable is properly connected and all plugs are firmly seated in
their sockets (page 3 (US)).
· Check that the video input connector's pins are not bent or pushed in.
· A non-supplied video signal cable is connected. If you connect a non-supplied video
signal cable, "CABLE DISCONNECTED" may appear on the screen before entering the
power saving mode. This is not a malfunction.
If "NO INPUT SIGNAL" appears on
the screen, or the 1 (power)
indicator is orange,
· Check that the video signal cable is properly connected and all plugs are firmly seated in
their sockets (page 3 (US)).
· Check that the video input connector's pins are not bent or pushed in.
x Problem caused by a computer or other equipment connected, and not
caused by the monitor
· The computer is in the power saving mode. Try pressing any key on the keyboard or
moving the mouse.
· Check that your graphics board is installed properly.
· Check that the computer's power is on.
· Restart the computer.
If "OUT OF RANGE" appears on
the screen,
x Problem caused by a computer or other equipment connected, and not
caused by the monitor
· Check that the video frequency range is within that specified for the monitor. If you
replaced an old monitor with this monitor, reconnect the old monitor and adjust the
computer's graphics board within the following ranges:
Horizontal frequency: 2861 kHz (SDM-S53), 2880 kHz (SDM-S73/S93)
Vertical frequency: 4875 Hz
Resolution: 1024
× 768 or less (SDM-S53), 1280 × 1024 or less (SDM-S73/S93)
If you are using Windows and
replaced an old monitor with this
monitor,
· If you replaced an old monitor with this monitor, reconnect the old monitor and do the
following. Select "SONY" from the "Manufacturers" list and select "SDM-S53, SDM-
S73 or SDM-S93" from the "Models" list in the Windows device selection screen. If
"SDM-S53, SDM-S73 or SDM-S93" does not appear in the "Models" list, try "Plug &
Play."
If using a Macintosh system,
· When connecting a Macintosh computer, use an adapter (not supplied) if necessary.
Connect the adapter to the computer before connecting the video signal cable.
01COV-UC.book Page 5 Friday, May 30, 2003 6:01 PM