
Operating Instructions
AUDIO/VIDEO MULTI-CHANNEL RECEIVER
VSX_LX60LX70.book Page 1 Wednesday, June 6, 2007 3:13 PM
D3-4-2-1-1_En-A
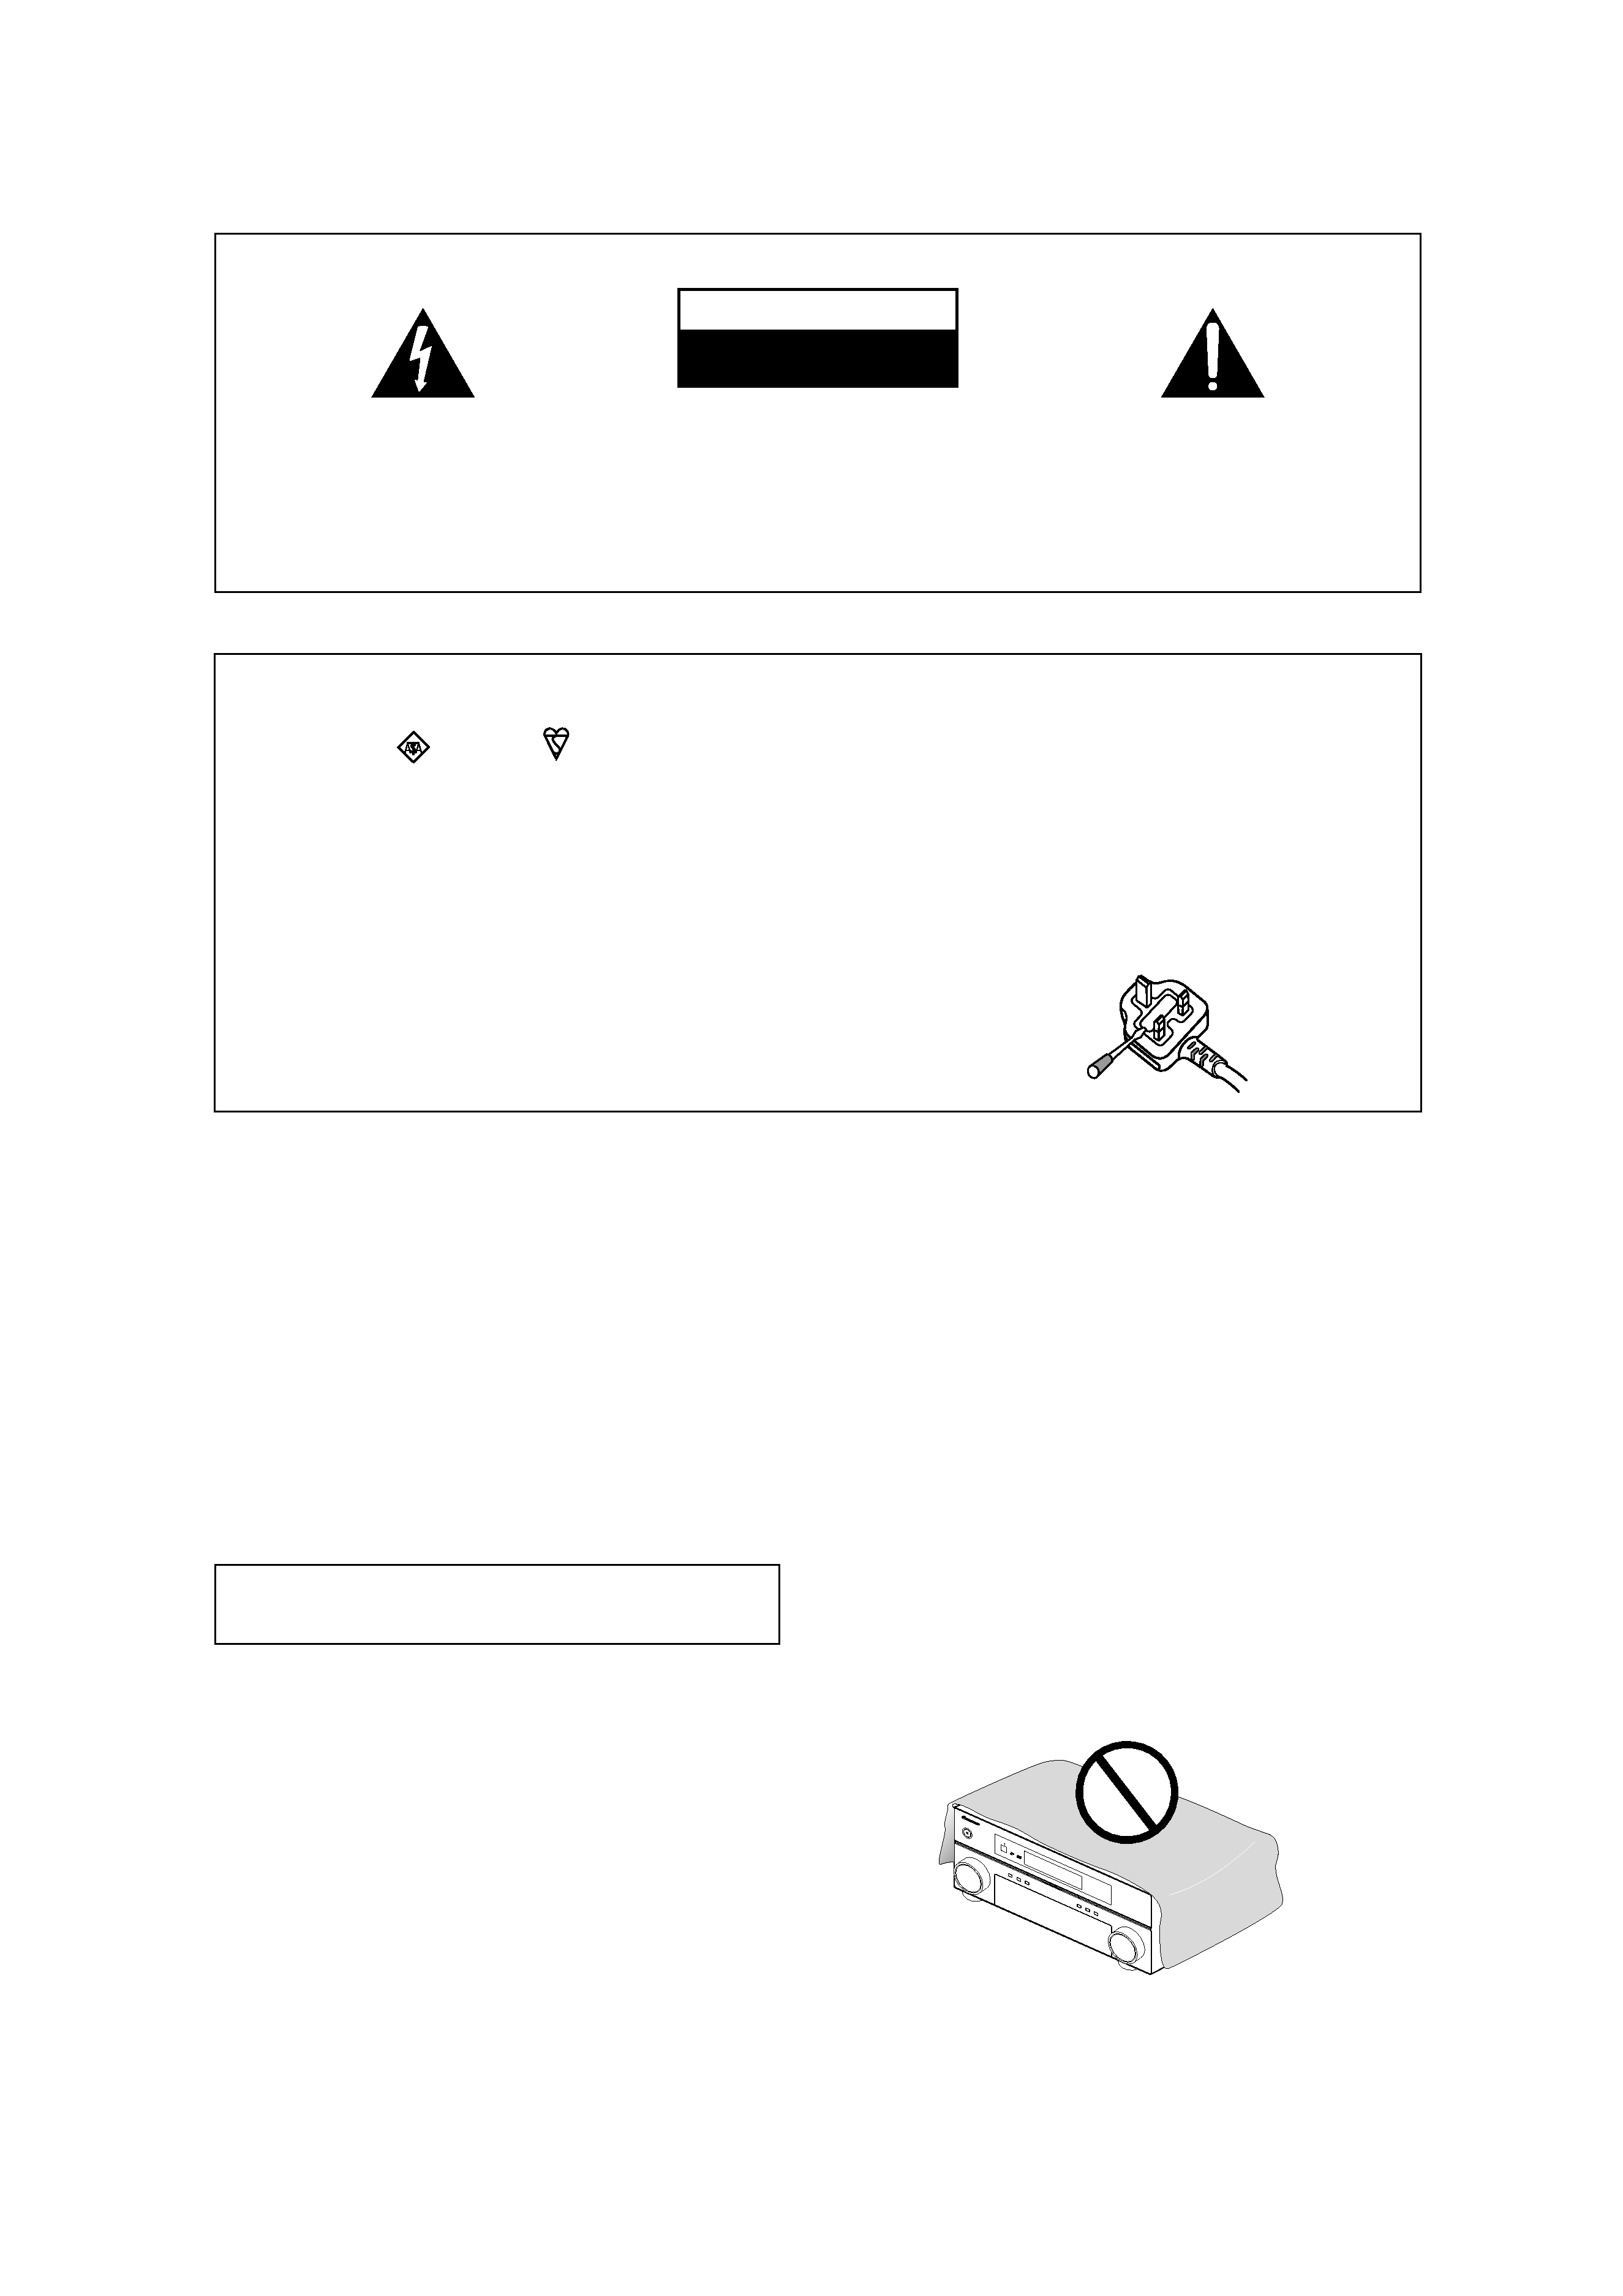
The exclamation point within an equilateral
triangle is intended to alert the user to the
presence of important operating and
maintenance (servicing) instructions in the
literature accompanying the appliance.
The lightning flash with arrowhead symbol,
within an equilateral triangle, is intended to
alert the user to the presence of uninsulated
"dangerous voltage" within the product's
enclosure that may be of sufficient
magnitude to constitute a risk of electric
shock to persons.
CAUTION:
TO PREVENT THE RISK OF ELECTRIC
SHOCK, DO NOT REMOVE COVER (OR
BACK). NO USER-SERVICEABLE PARTS
INSIDE. REFER SERVICING TO QUALIFIED
SERVICE PERSONNEL.
CAUTION
RISK OF ELECTRIC SHOCK
DO NOT OPEN
IMPORTANT
WARNING
To prevent a fire hazard, do not place any naked
flame sources (such as a lighted candle) on the
equipment.
D3-4-2-1-7a_A_En
This product complies with the Low Voltage Directive
2006/95/EC and EMC Directive 2004/108/EC.
WARNING
This equipment is not waterproof. To prevent a fire
or shock hazard, do not place any container filled
with liquid near this equipment (such as a vase or
flower pot) or expose it to dripping, splashing, rain
or moisture.
D3-4-2-1-3_A_En
VENTILATION CAUTION
When installing this unit, make sure to leave space
around the unit for ventilation to improve heat
radiation (at least 60 cm at top, 10 cm at rear, and
30 cm at each side).
WARNING
Slots and openings in the cabinet are provided for
ventilation to ensure reliable operation of the
product, and to protect it from overheating. To
prevent fire hazard, the openings should never be
blocked or covered with items (such as newspapers,
table-cloths, curtains) or by operating the
equipment on thick carpet or a bed.
D3-4-2-1-7b_A_En
WARNING
The voltage of the available power supply differs
according to country or region. Be sure that the
power supply voltage of the area where this unit
will be used meets the required voltage (e.g., 230 V
or 120 V) written on the rear panel.
D3-4-2-1-4_A_En
Before plugging in for the first time, read the following
section carefully.
Replacement and mounting of an AC plug on the power supply cord of this unit should be performed only by qualified service personnel.
D3-4-2-1-2-2_B_En
IMPORTANT: THE MOULDED PLUG
This appliance is supplied with a moulded three pin mains plug for your safety and convenience. A 10 amp fuse is fitted in this plug. Should the fuse need to be replaced, please
ensure that the replacement fuse has a rating of 10 amps and that it is approved by ASTA or BSI to BS1362.
Check for the ASTA mark
or the BSI mark
on the body of the fuse.
If the plug contains a removable fuse cover, you must ensure that it is refitted when the fuse is replaced. If you lose the fuse cover the plug must not be used until a replacement
cover is obtained. A replacement fuse cover can be obtained from your local dealer.
If the fitted moulded plug is unsuitable for your socket outlet, then the fuse shall be removed and the plug cut off and disposed of safely. There is a danger of severe
electrical shock if the cut off plug is inserted into any 13 amp socket.
If a new plug is to be fitted, please observe the wiring code as shown below. If in any doubt, please consult a qualified electrician.
IMPORTANT: The wires in this mains lead are coloured in accordance with the following code:
Blue : Neutral
Brown : Live
As the colours of the wires in the mains lead of this appliance may not correspond with the coloured markings identifying the terminals in your plug, proceed as follows ;
The wire which is coloured BLUE must be connected to the terminal which is marked with the letter
N or coloured BLACK.
The wire which is coloured BROWN must be connected to the terminal which is marked with the letter
L or coloured RED.
How to replace the fuse: Open the fuse compartment with a screwdriver and replace the fuse.
VSX_LX60LX70.book Page 2 Wednesday, June 6, 2007 3:13 PM
CAUTION
The
STANDBY/ON switch on this unit will not
completely shut off all power from the AC outlet.
Since the power cord serves as the main disconnect
device for the unit, you will need to unplug it from
the AC outlet to shut down all power. Therefore,
make sure the unit has been installed so that the
power cord can be easily unplugged from the AC
outlet in case of an accident. To avoid fire hazard,
the power cord should also be unplugged from the
AC outlet when left unused for a long period of time
(for example, when on vacation).
D3-4-2-2-2a_A_En
If the AC plug of this unit does not match the AC
outlet you want to use, the plug must be removed
and appropriate one fitted. Replacement and
mounting of an AC plug on the power supply cord of
this unit should be performed only by qualified
service personnel. If connected to an AC outlet, the
cut-off plug can cause severe electrical shock. Make
sure it is properly disposed of after removal.
The equipment should be disconnected by removing
the mains plug from the wall socket when left
unused for a long period of time (for example, when
on vacation).
D3-4-2-2-1a_A_En
This product is for general household purposes. Any
failure due to use for other than household purposes
(such as long-term use for business purposes in a
restaurant or use in a car or ship) and which
requires repair will be charged for even during the
warranty period.
K041_En
Operating Environment
Operating environment temperature and humidity:
+5 ºC to +35 ºC (+41 ºF to +95 ºF); less than 85 %RH
(cooling vents not blocked)
Do not install this unit in a poorly ventilated area, or in
locations exposed to high humidity or direct sunlight (or
strong artificial light)
D3-4-2-1-7c_A_En
If you want to dispose this product, do not mix it with general household waste. There is a separate collection system for used
electronic products in accordance with legislation that requires proper treatment, recovery and recycling.
Private households in the member states of the EU, in Switzerland and Norway may return their used electronic products free of charge to
designated collection facilities or to a retailer (if you purchase a similar new one).
For countries not mentioned above, please contact your local authorities for the correct method of disposal.
By doing so you will ensure that your disposed product undergoes the necessary treatment, recovery and recycling and thus prevent potential
negative effects on the environment and human health.
K058_A_En
Important information about this unit`s AC outlets
Switched total 100 W, 0.4 A MAX
Power supplied through these outlets is turned on and off by this unit's
STANDBY/ON switch. Total electrical
power consumption of connected equipment should not exceed 100 W, 0.4 A.
CAUTION
· Do not connect a TV set, monitor, heater or similar appliance to this unit's AC outlet.
· Do not connect appliances with high power consumption to the AC outlet in order to avoid overheating and fire
risk. This can cause this unit to malfunction.
D3-4-2-2-1b_B_En
VSX_LX60LX70.book Page 3 Wednesday, June 6, 2007 3:13 PM

4
En
Contents
01 Before you start
Checking what's in the box . . . . . . . . . . . . . . . . . . . . . . . 6
Installing the receiver . . . . . . . . . . . . . . . . . . . . . . . . . . . 6
Loading the batteries . . . . . . . . . . . . . . . . . . . . . . . . . . . . 6
02 5 minute guide
Introduction to home theater . . . . . . . . . . . . . . . . . . . . . 7
Listening to Surround Sound . . . . . . . . . . . . . . . . . . . . . 7
Automatically setting up for surround sound
(MCACC & Full Band Phase Control) . . . . . . . . . . . . . . . 8
Problems when using the Auto MCACC Setup . . . . . 9
Playing a source. . . . . . . . . . . . . . . . . . . . . . . . . . . . . . . . 9
Better sound using Phase Control and
Full Band Phase Control . . . . . . . . . . . . . . . . . . . . . . . . 10
Using Phase Control . . . . . . . . . . . . . . . . . . . . . . . . . . 10
Using Full Band Phase Control . . . . . . . . . . . . . . . . . 11
03 Connecting your equipment
Rear panel . . . . . . . . . . . . . . . . . . . . . . . . . . . . . . . . . . . 12
When making cable connections. . . . . . . . . . . . . . . . . 13
About the video converter . . . . . . . . . . . . . . . . . . . . . . . 13
Connecting your TV and DVD player . . . . . . . . . . . . . . 14
Connecting your Blu-ray disc player . . . . . . . . . . . . . . 14
Connecting a satellite/cable receiver or
other set-top box . . . . . . . . . . . . . . . . . . . . . . . . . . . . . . 15
Connecting a DVD/HDD recorder, VCR and
other video sources . . . . . . . . . . . . . . . . . . . . . . . . . . . . 16
Using the component video jacks . . . . . . . . . . . . . . . . 16
Connecting digital audio sources. . . . . . . . . . . . . . . . . 17
About the WMA9 Pro decoder . . . . . . . . . . . . . . . . . . 17
Connecting analog audio sources . . . . . . . . . . . . . . . . 18
Connecting a component to the front panel inputs . . . 18
Installing your speaker system . . . . . . . . . . . . . . . . . . . 19
Connecting the speakers . . . . . . . . . . . . . . . . . . . . . . 19
Placing the speakers. . . . . . . . . . . . . . . . . . . . . . . . . . 20
THX speaker system setup . . . . . . . . . . . . . . . . . . . . . 21
Connecting antennas . . . . . . . . . . . . . . . . . . . . . . . . . . 21
AM loop antenna . . . . . . . . . . . . . . . . . . . . . . . . . . . . . 21
FM wire antenna . . . . . . . . . . . . . . . . . . . . . . . . . . . . . 22
Connecting external antennas . . . . . . . . . . . . . . . . . . 22
Plugging in the receiver . . . . . . . . . . . . . . . . . . . . . . . . 22
AC outlet . . . . . . . . . . . . . . . . . . . . . . . . . . . . . . . . . . . . . 22
04 Controls and displays
Front panel . . . . . . . . . . . . . . . . . . . . . . . . . . . . . . . . . . . 23
Operating range of remote control unit . . . . . . . . . . 24
Display . . . . . . . . . . . . . . . . . . . . . . . . . . . . . . . . . . . . . . 25
Remote control. . . . . . . . . . . . . . . . . . . . . . . . . . . . . . . . 26
05 Listening to your system
Auto playback . . . . . . . . . . . . . . . . . . . . . . . . . . . . . . . . 28
Listening in surround sound . . . . . . . . . . . . . . . . . . . . 28
Standard surround sound . . . . . . . . . . . . . . . . . . . . . 28
Using the Home THX modes . . . . . . . . . . . . . . . . . . . 29
Using the Advanced surround effects . . . . . . . . . . . 29
Listening in stereo . . . . . . . . . . . . . . . . . . . . . . . . . . . . . 30
Using Front Stage Surround Advance. . . . . . . . . . . . . 30
Using Stream Direct . . . . . . . . . . . . . . . . . . . . . . . . . . . 30
Selecting MCACC presets . . . . . . . . . . . . . . . . . . . . . . 31
Choosing the input signal . . . . . . . . . . . . . . . . . . . . . . 31
Using surround back channel processing . . . . . . . . . 31
Using the Virtual Surround Back mode . . . . . . . . . . 32
Using the genre synchronizing function . . . . . . . . . . . 33
06 USB playback
Using the USB interface . . . . . . . . . . . . . . . . . . . . . . . . 34
Basic playback controls . . . . . . . . . . . . . . . . . . . . . . . . 34
Selecting a file from the folder/file list for playback. . . 34
Compressed audio compatibility. . . . . . . . . . . . . . . . 35
07 Using the tuner
Listening to the radio . . . . . . . . . . . . . . . . . . . . . . . . . . 36
Improving FM stereo sound . . . . . . . . . . . . . . . . . . . . 36
Using Neural THX . . . . . . . . . . . . . . . . . . . . . . . . . . . . 36
Tuning directly to a station . . . . . . . . . . . . . . . . . . . . 36
Saving station presets. . . . . . . . . . . . . . . . . . . . . . . . . . 36
Naming station presets . . . . . . . . . . . . . . . . . . . . . . . 37
Listening to station presets . . . . . . . . . . . . . . . . . . . . 37
An introduction to RDS . . . . . . . . . . . . . . . . . . . . . . . . 37
Searching for RDS programs . . . . . . . . . . . . . . . . . . 38
Using EON . . . . . . . . . . . . . . . . . . . . . . . . . . . . . . . . . . . 38
08 The System Setup menu
Making receiver settings from
the System Setup menu . . . . . . . . . . . . . . . . . . . . . . . . 39
Automatic MCACC (Expert) . . . . . . . . . . . . . . . . . . . . . 39
Surround back speaker setting . . . . . . . . . . . . . . . . . . 42
Manual MCACC setup . . . . . . . . . . . . . . . . . . . . . . . . . 42
Fine Channel Level . . . . . . . . . . . . . . . . . . . . . . . . . . . 43
Fine Speaker Distance . . . . . . . . . . . . . . . . . . . . . . . . 44
Standing Wave . . . . . . . . . . . . . . . . . . . . . . . . . . . . . . 44
Acoustic Calibration EQ Adjust. . . . . . . . . . . . . . . . . 45
Acoustic Calibration EQ Professional. . . . . . . . . . . . 45
Full Band Phase Control. . . . . . . . . . . . . . . . . . . . . . . . 47
Data Management . . . . . . . . . . . . . . . . . . . . . . . . . . . . 48
Manual speaker setup . . . . . . . . . . . . . . . . . . . . . . . . . 50
Speaker Setting. . . . . . . . . . . . . . . . . . . . . . . . . . . . . . 50
Channel Level . . . . . . . . . . . . . . . . . . . . . . . . . . . . . . . 51
Speaker Distance . . . . . . . . . . . . . . . . . . . . . . . . . . . . 51
X-Curve. . . . . . . . . . . . . . . . . . . . . . . . . . . . . . . . . . . . . 52
THX Audio Setting . . . . . . . . . . . . . . . . . . . . . . . . . . . 52
Thank you for buying this Pioneer product. Please read through these operating instructions so you will know how to operate
your model properly. After you have finished reading the instructions, put them away in a safe place for future reference.
VSX_LX60LX70.book Page 4 Wednesday, June 6, 2007 3:13 PM

5
En
09 Other connections
Connecting an iPod . . . . . . . . . . . . . . . . . . . . . . . . . . . . 53
Connecting your iPod to the receiver . . . . . . . . . . . . 53
iPod playback . . . . . . . . . . . . . . . . . . . . . . . . . . . . . . . 53
Watching photos and video content . . . . . . . . . . . . . 54
Connecting using HDMI . . . . . . . . . . . . . . . . . . . . . . . . 54
About HDMI . . . . . . . . . . . . . . . . . . . . . . . . . . . . . . . . . . 55
Connecting the multichannel analog inputs. . . . . . . . 55
Selecting the multichannel analog inputs . . . . . . . . 56
Speaker B setup. . . . . . . . . . . . . . . . . . . . . . . . . . . . . . . 56
Switching the speaker system . . . . . . . . . . . . . . . . . . 56
Bi-amping your front speakers . . . . . . . . . . . . . . . . . . . 57
Bi-wiring your speakers . . . . . . . . . . . . . . . . . . . . . . . . . 57
Connecting additional amplifiers . . . . . . . . . . . . . . . . . 58
MULTI-ZONE listening . . . . . . . . . . . . . . . . . . . . . . . . . . 58
Making MULTI-ZONE connections . . . . . . . . . . . . . . 58
Using the MULTI-ZONE controls . . . . . . . . . . . . . . . . 60
Connecting an IR receiver. . . . . . . . . . . . . . . . . . . . . . . 60
Switching components on and off using
the 12 volt trigger . . . . . . . . . . . . . . . . . . . . . . . . . . . . . . 61
Using this receiver with a Pioneer plasma display . . . 61
Using the SR+ mode with a Pioneer
plasma display . . . . . . . . . . . . . . . . . . . . . . . . . . . . . . . . 62
Connecting a PC for Advanced MCACC output . . . . . 63
Advanced MCACC output using your PC . . . . . . . . . 63
10 HDMI Control
Making the HDMI Control connections . . . . . . . . . . . . 64
Setting the HDMI options . . . . . . . . . . . . . . . . . . . . . . . 65
Setting the HDMI Control mode . . . . . . . . . . . . . . . . 65
Before using synchronization . . . . . . . . . . . . . . . . . . . . 65
Synchronized amp mode . . . . . . . . . . . . . . . . . . . . . . . 65
Synchronized amp mode operations. . . . . . . . . . . . . 65
Canceling synchronized amp mode . . . . . . . . . . . . . 65
About HDMI Control . . . . . . . . . . . . . . . . . . . . . . . . . . . 65
11 Other Settings
The Input Setup menu . . . . . . . . . . . . . . . . . . . . . . . . . . 66
Input function default and possible settings . . . . . . 67
The Other Setup menu . . . . . . . . . . . . . . . . . . . . . . . . . 67
Multi Channel Input Setup . . . . . . . . . . . . . . . . . . . . . 68
ZONE Audio Setup . . . . . . . . . . . . . . . . . . . . . . . . . . . 68
SR+ Setup for Pioneer plasma displays. . . . . . . . . . 68
OSD Adjustment . . . . . . . . . . . . . . . . . . . . . . . . . . . . . 69
12 Using other functions
Setting the Audio options . . . . . . . . . . . . . . . . . . . . . . . 70
Setting the Video options . . . . . . . . . . . . . . . . . . . . . . . 71
Making an audio or a video recording . . . . . . . . . . . . . 72
Playing a different source when recording. . . . . . . . 72
Reducing the level of an analog signal . . . . . . . . . . . . 73
Using the sleep timer . . . . . . . . . . . . . . . . . . . . . . . . . . 73
Dimming the display . . . . . . . . . . . . . . . . . . . . . . . . . . . 73
Switching the speaker impedance . . . . . . . . . . . . . . . . 73
Checking your system settings. . . . . . . . . . . . . . . . . . . 74
Resetting the system . . . . . . . . . . . . . . . . . . . . . . . . . . . 74
Default system settings . . . . . . . . . . . . . . . . . . . . . . . 74
13 Controlling the rest of your system
Setting the remote to control other components. . . . 76
Selecting preset codes directly . . . . . . . . . . . . . . . . . . 76
Programming signals from other remote controls . . . 76
Erasing one of the remote control button settings . . . 77
Resetting the remote control presets . . . . . . . . . . . . . 77
Confirming preset codes . . . . . . . . . . . . . . . . . . . . . . . 77
Renaming input source names . . . . . . . . . . . . . . . . . . 78
Direct function. . . . . . . . . . . . . . . . . . . . . . . . . . . . . . . . 78
Multi Operation and System Off . . . . . . . . . . . . . . . . . 78
Programming a multi-operation or
a shutdown sequence . . . . . . . . . . . . . . . . . . . . . . . . 78
Using multi operations . . . . . . . . . . . . . . . . . . . . . . . 79
Using System off. . . . . . . . . . . . . . . . . . . . . . . . . . . . . 79
Controls for TVs . . . . . . . . . . . . . . . . . . . . . . . . . . . . . . . 79
Controls for other components . . . . . . . . . . . . . . . . . . 80
Operating other Pioneer components
with this unit's sensor. . . . . . . . . . . . . . . . . . . . . . . . . . 81
14 Additional information
Troubleshooting . . . . . . . . . . . . . . . . . . . . . . . . . . . . . . 82
Power. . . . . . . . . . . . . . . . . . . . . . . . . . . . . . . . . . . . . . 82
No sound . . . . . . . . . . . . . . . . . . . . . . . . . . . . . . . . . . . 83
Other audio problems . . . . . . . . . . . . . . . . . . . . . . . . 84
Video . . . . . . . . . . . . . . . . . . . . . . . . . . . . . . . . . . . . . . 85
Settings . . . . . . . . . . . . . . . . . . . . . . . . . . . . . . . . . . . . 85
Professional Calibration EQ graphical output . . . . . 86
Display . . . . . . . . . . . . . . . . . . . . . . . . . . . . . . . . . . . . . 86
Remote control . . . . . . . . . . . . . . . . . . . . . . . . . . . . . . 87
HDMI . . . . . . . . . . . . . . . . . . . . . . . . . . . . . . . . . . . . . . 87
USB interface (VSX-LX60 only) . . . . . . . . . . . . . . . . . 88
iPod messages . . . . . . . . . . . . . . . . . . . . . . . . . . . . . . 88
Surround sound formats . . . . . . . . . . . . . . . . . . . . . . . 89
Dolby . . . . . . . . . . . . . . . . . . . . . . . . . . . . . . . . . . . . . . 89
DTS . . . . . . . . . . . . . . . . . . . . . . . . . . . . . . . . . . . . . . . 90
Windows Media Audio 9 Professional . . . . . . . . . . . 90
About THX . . . . . . . . . . . . . . . . . . . . . . . . . . . . . . . . . . . 90
About Neural Surround . . . . . . . . . . . . . . . . . . . . . . . . 91
Listening modes with different input signal formats. . . 92
Stream direct with different input signal formats . . . 95
Specifications . . . . . . . . . . . . . . . . . . . . . . . . . . . . . . . . 96
Cleaning the unit. . . . . . . . . . . . . . . . . . . . . . . . . . . . . . 97
Our philosophy . . . . . . . . . . . . . . . . . . . . . . . . . . . . . . . 97
Features. . . . . . . . . . . . . . . . . . . . . . . . . . . . . . . . . . . . 97
VSX_LX60LX70.book Page 5 Wednesday, June 6, 2007 3:13 PM