AUDIO/VIDEO MULTI-CHANNEL
RECEIVER
VSX-D514
VSX-D714
VSX-D814
Operating Instructions
VSX_514-814.fm 1
The exclamation point within an equilateral
triangle is intended to alert the user to the
presence of important operating and
maintenance (servicing) instructions in the
literature accompanying the appliance.
The lightning flash with arrowhead, within
an equilateral triangle, is intended to alert
the user to the presence of uninsulated
"dangerous voltage" within the product's
enclosure that may be of sufficient
magnitude to constitute a risk of electric
shock to persons.
CAUTION:
TO PREVENT THE RISK OF ELECTRIC
SHOCK, DO NOT REMOVE COVER (OR
BACK). NO USER-SERVICEABLE PARTS
INSIDE. REFER SERVICING TO QUALIFIED
SERVICE PERSONNEL.
CAUTION
RISK OF ELECTRIC SHOCK
DO NOT OPEN
IMPORTANT
D3-4-2-1-1_En
WARNING: The apparatus is not waterproofs, to
prevent fire or shocks hazard, do not expose this
apparatus to rain or moisture and do not put any
water source near this apparatus, such as vase,
flower pot, cosmetics container and medicine
bottle etc.
D3-4-2-1-3_En
The STANDBY/ON switch is secondary connected
and therefore, does not separate the unit from mains
power in STANDBY position. Therefore install the
unit suitable places easy to disconnect the MAINS
plug in case of the accident. The MAINS plug of unit
should be unplugged from the wall socket when left
unused for a long period of time.
D3-4-2-2-2a_En
NOTE: This equipment has been tested and found to comply with the limits for a Class B digital device, pursuant to
Part 15 of the FCC Rules. These limits are designed to provide reasonable protection against harmful interference in
a residential installation. This equipment generates, uses, and can radiate radio frequency energy and, if not
installed and used in accordance with the instructions, may cause harmful interference to radio communications.
However, there is no guarantee that interference will not occur in a particular installation. If this equipment does
cause harmful interference to radio or television reception, which can be determined by turning the equipment off
and on, the user is encouraged to try to correct the interference by one or more of the following measures:
Reorient or relocate the receiving antenna.
Increase the separation between the equipment and receiver.
Connect the equipment into an outlet on a circuit different from that to which the receiver is connected.
Consult the dealer or an experienced radio/TV technician for help.
D8-10-1-2_En
Information to User
Alteration or modifications carried out without appropriate authorization may invalidate the user's right to operate
the equipment.
D8-10-2_En
CAUTION: This product satisfies FCC regulations when shielded cables and connectors are used to connect the
unit to other equipment. To prevent electromagnetic interference with electric appliances such as radios and
televisions, use shielded cables and connectors for connections.
D8-10-3a_En
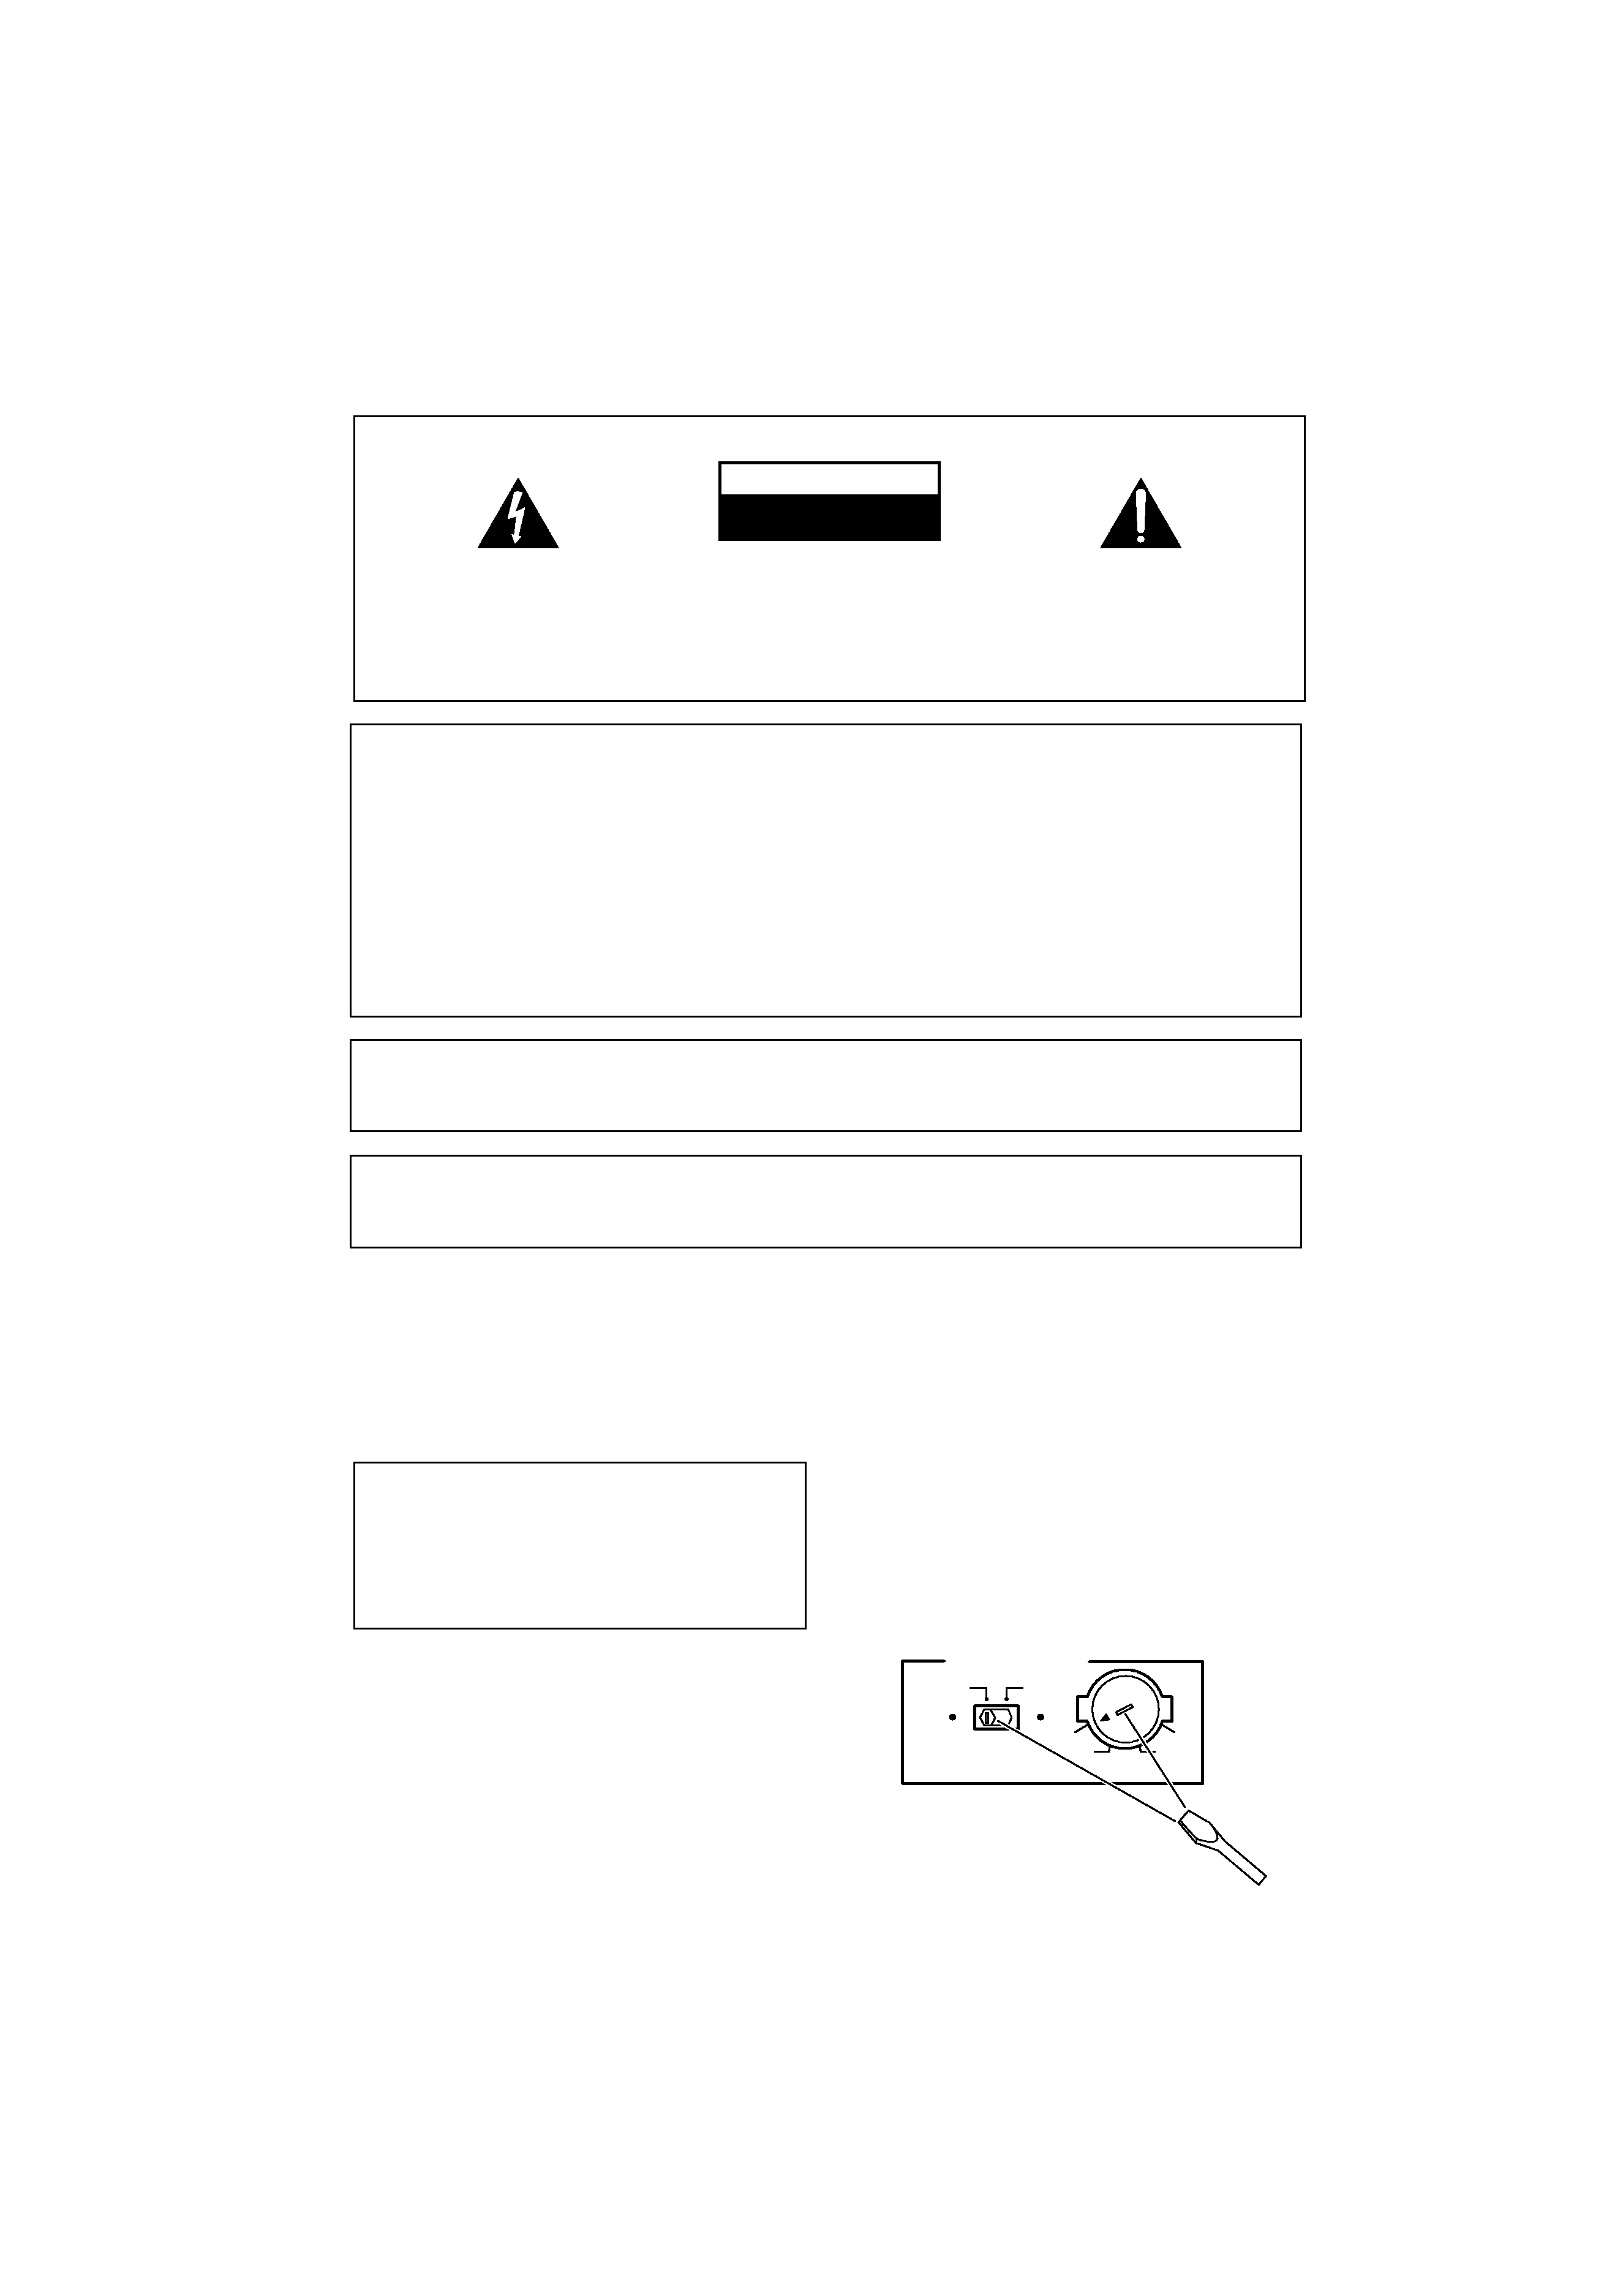
Voltage selector
You can find the voltage selector switch on the rear
panel of multi-voltage models.
The factory setting for the voltage selector is 220 V.
Please set it to the correct voltage for your country
or region.
· Saudi Arabia operates on 127V and 220V mains
voltage. Please set to the correct voltage before using.
· For Taiwan please set to 110 V befor using.
D3-4-2-1-5_En
Before changing the voltage, disconnect the AC power
cord. Use a medium size screwdriver to change the
voltage selector switch.
220V
240V
110V
120
127V
TWO VOLTAGE SELECTORS
110V
120-127V
220V
240V
Medium-size screwdriver
If the voltage is not properly set or if you move to an
area where the voltage requirements differ, adjust the
selector switches as follows.
1. Use a medium-size screwdriver.
2. First, insert the screwdriver in the groove of the
voltage selector at the right, and adjust so that the
tip of the groove points to the voltage value of
your area.
3. Next, insert the screwdriver in the groove of the
voltage selector at the left and adjust until the
voltage is the same as at the right.
VSX_514-814.fm 2

English
Italiano
Français
Nederlands
Español
Deutsch
Thank you for buying this Pioneer product.
Please read through these operating instructions so that you will know how to operate your
model properly. After you have finished reading the instructions, put them in a safe place for
future reference.
01 Before you start
Checking what's in the box
. . . . . . . . . . . . 5
Making cable connections
. . . . . . . . . . . . . 5
Loading the batteries
. . . . . . . . . . . . . . . . . 5
Operating range of remote control unit
. . . 6
02 5 minute guide
Introduction to home theater
. . . . . . . . . . . 7
Listening to Surround Sound
. . . . . . . . . . . 8
Using the Quick Setup
. . . . . . . . . . . . . . . 12
03 Connecting up
Audio/Video cords
. . . . . . . . . . . . . . . . . . 14
S-video cables
. . . . . . . . . . . . . . . . . . . . . 14
Component video cords
. . . . . . . . . . . . . . 14
Digital audio coaxial cords/Optical
cables
. . . . . . . . . . . . . . . . . . . . . . . . . . . 14
Connecting digital components
. . . . . . . . 15
Connecting audio components
. . . . . . . . 16
Connecting DVD 5.1 channel
components
. . . . . . . . . . . . . . . . . . . . . . . 17
Connecting video components
. . . . . . . . . 18
Connecting to the front panel video
terminal
. . . . . . . . . . . . . . . . . . . . . . . . . 18
Connecting antennas
. . . . . . . . . . . . . . . . 19
FM wire antenna
. . . . . . . . . . . . . . . . . . 19
AM loop antenna
. . . . . . . . . . . . . . . . . . 19
Using external antennas
. . . . . . . . . . . . 19
Connecting the speakers
(VSX-D514/D714)
. . . . . . . . . . . . . . . . . . . 20
Connecting the speakers (VSX-D814)
. . . . 21
Speaker terminals
. . . . . . . . . . . . . . . . . 22
A and B speaker systems
. . . . . . . . . . . . 22
Hints on speaker placement
. . . . . . . . . 22
Speaker placement diagrams
. . . . . . . . 23
Connecting additional amplifiers
. . . . . . . 24
Power cord caution
. . . . . . . . . . . . . . . . 25
Operating other Pioneer components
. . . 25
Using this receiver with a Pioneer
plasma display
. . . . . . . . . . . . . . . . . . . . . 26
04 Controls and displays
Front panel (VSX-D514)
. . . . . . . . . . . . . . . 27
Front panel (VSX-D714/D814)
. . . . . . . . . . 29
Display
. . . . . . . . . . . . . . . . . . . . . . . . . . . 31
Remote control
. . . . . . . . . . . . . . . . . . . . . 32
05 Listening to your system
Listening in surround sound
. . . . . . . . . . . 36
Using the Advanced surround effects
. . . 37
Listening in stereo
. . . . . . . . . . . . . . . . . . . 38
Choosing the input signal
. . . . . . . . . . . . . 38
Using the Surround Back Channel
(SB CH)
. . . . . . . . . . . . . . . . . . . . . . . . . . . 39
Using the Virtual Surround Back mode
(VSB)
. . . . . . . . . . . . . . . . . . . . . . . . . . . . . 40
Using Midnight and Loudness listening
. . 41
Using the tone controls
. . . . . . . . . . . . . . . 41
Playing other sources
. . . . . . . . . . . . . . . . 42
Selecting the multichannel analog
inputs
. . . . . . . . . . . . . . . . . . . . . . . . . . . . 42
VSX-D514 model:
. . . . . . . . . . . . . . . . . . . 42
VSX-D714/D814 model:
. . . . . . . . . . . . . . 42
Using the sleep timer
. . . . . . . . . . . . . . . . 43
06 Setting up the receiver
Choosing your receiver setup
. . . . . . . . . . 44
Speaker setting
. . . . . . . . . . . . . . . . . . . . 46
Surround back speaker setting
. . . . . . . . 46
Subwoofer setting
. . . . . . . . . . . . . . . . . . 47
Crossover frequency setting
. . . . . . . . . . 47
LFE attenuator setting
. . . . . . . . . . . . . . . 47
Front speaker distance setting
. . . . . . . . 48
Front left speaker distance setting
. . . . . 48
Center speaker distance setting
. . . . . . . 48
Front right speaker distance setting
. . . . 48
Surround speaker distance setting
. . . . . 48
Surround right speaker distance
setting
. . . . . . . . . . . . . . . . . . . . . . . . . . . 49
Surround back speaker distance
setting
. . . . . . . . . . . . . . . . . . . . . . . . . . . 49
Surround left speaker distance setting
. . 49
Subwoofer distance setting
. . . . . . . . . . . 49
VSX_514-814.fm 1
Dynamic range control setting
. . . . . . . . 50
Dual mono setting
. . . . . . . . . . . . . . . . . 50
Component video input settings
. . . . . . 50
Digital input settings
. . . . . . . . . . . . . . . 50
SR+ control for Pioneer plasma
displays
. . . . . . . . . . . . . . . . . . . . . . . . . 51
Manually calibrating your listening area
(MCACC)
. . . . . . . . . . . . . . . . . . . . . . . . . 52
Setting separate channel levels for
listening modes
. . . . . . . . . . . . . . . . . . . . 53
Using the SR+ mode with a Pioneer
plasma display
. . . . . . . . . . . . . . . . . . . . . 54
07 Using the tuner
Listening to the radio
. . . . . . . . . . . . . . . . 56
Improving FM stereo sound
. . . . . . . . . . 56
Tuning directly to a station
. . . . . . . . . . . 56
Saving station presets
. . . . . . . . . . . . . . . 57
Naming station presets
. . . . . . . . . . . . . 58
Listening to station presets
. . . . . . . . . . 58
Changing the frequency step
. . . . . . . . . . 58
08 Making recordings
Making an audio or a video recording
. . . 59
09 Controlling the rest of your
system
Setting the remote to control other
components
. . . . . . . . . . . . . . . . . . . . . . . 60
Selecting preset codes directly
. . . . . . . . . 60
Programming signals from other
remote controls
. . . . . . . . . . . . . . . . . . . . 61
Erasing all of your programmed
settings
. . . . . . . . . . . . . . . . . . . . . . . . . . 62
Clearing all the remote control settings
. . 62
Direct function
. . . . . . . . . . . . . . . . . . . . . 62
Controls for TVs
. . . . . . . . . . . . . . . . . . . . 63
Controls for other components
. . . . . . . . . 64
Preset Code List (VSX-D514/D714)
. . . . . . . 66
Preset Code List (VSX-D814)
. . . . . . . . . . . 68
10 Additional information
Troubleshooting
. . . . . . . . . . . . . . . . . . . . 70
Resetting the main unit
. . . . . . . . . . . . . . . 72
Switching the speaker impedance
. . . . . . . 72
Specifications
. . . . . . . . . . . . . . . . . . . . . . 73
Amplifier section
. . . . . . . . . . . . . . . . . . . 73
Audio section
. . . . . . . . . . . . . . . . . . . . . 73
Video Section
. . . . . . . . . . . . . . . . . . . . . 73
Component video section
. . . . . . . . . . . . 73
FM Tuner Section
. . . . . . . . . . . . . . . . . . 74
AM Tuner Section
. . . . . . . . . . . . . . . . . . 74
Miscellaneous
. . . . . . . . . . . . . . . . . . . . . 74
Cleaning the unit
. . . . . . . . . . . . . . . . . . . 74
"DTS" ,"DTS-ES Extended Surround" and
"Neo:6" are trademarks of Digital Theater
Systems, Inc.
Manufactured under license from Dolby
Laboratories. "Dolby", "Pro Logic",
"Surround EX", and the double-D symbol
are trademarks of Dolby Laboratories.
For U.S. and Australia Model
C67-7-3_En
VSX_514-814.fm 2
Before you start
01
5
En
English
Italiano
Français
Nederlands
Español
Deutsch
Chapter 1:
Before you start
Checking what's in the box
Please check that you've received the
following supplied accessories:
· AM loop antenna
· FM wire antenna
· Dry cell batteries (AA size IEC R6) x2
· Remote control
· Power cords (make sure you use the
correct cord for your country/region):
VSX-D514/D714/D814-K (black models)
Round 2-pin type and Australian type
VSX-D514/D714-S (silver models)
Round 2-pin type, flat blade 2-pin type and
UK 3-pin type (Except Australian model)
VSX-D814-S (silver model)
Round 2-pin type, flat blade 2-pin type, UK
3-pin type and Australian type
· Power plug adaptor (VSX-D514/D714/
D814-K only) x1
· J-shape plug (VSX-D514/D714/
D814-K only) x1
· These operating instructions
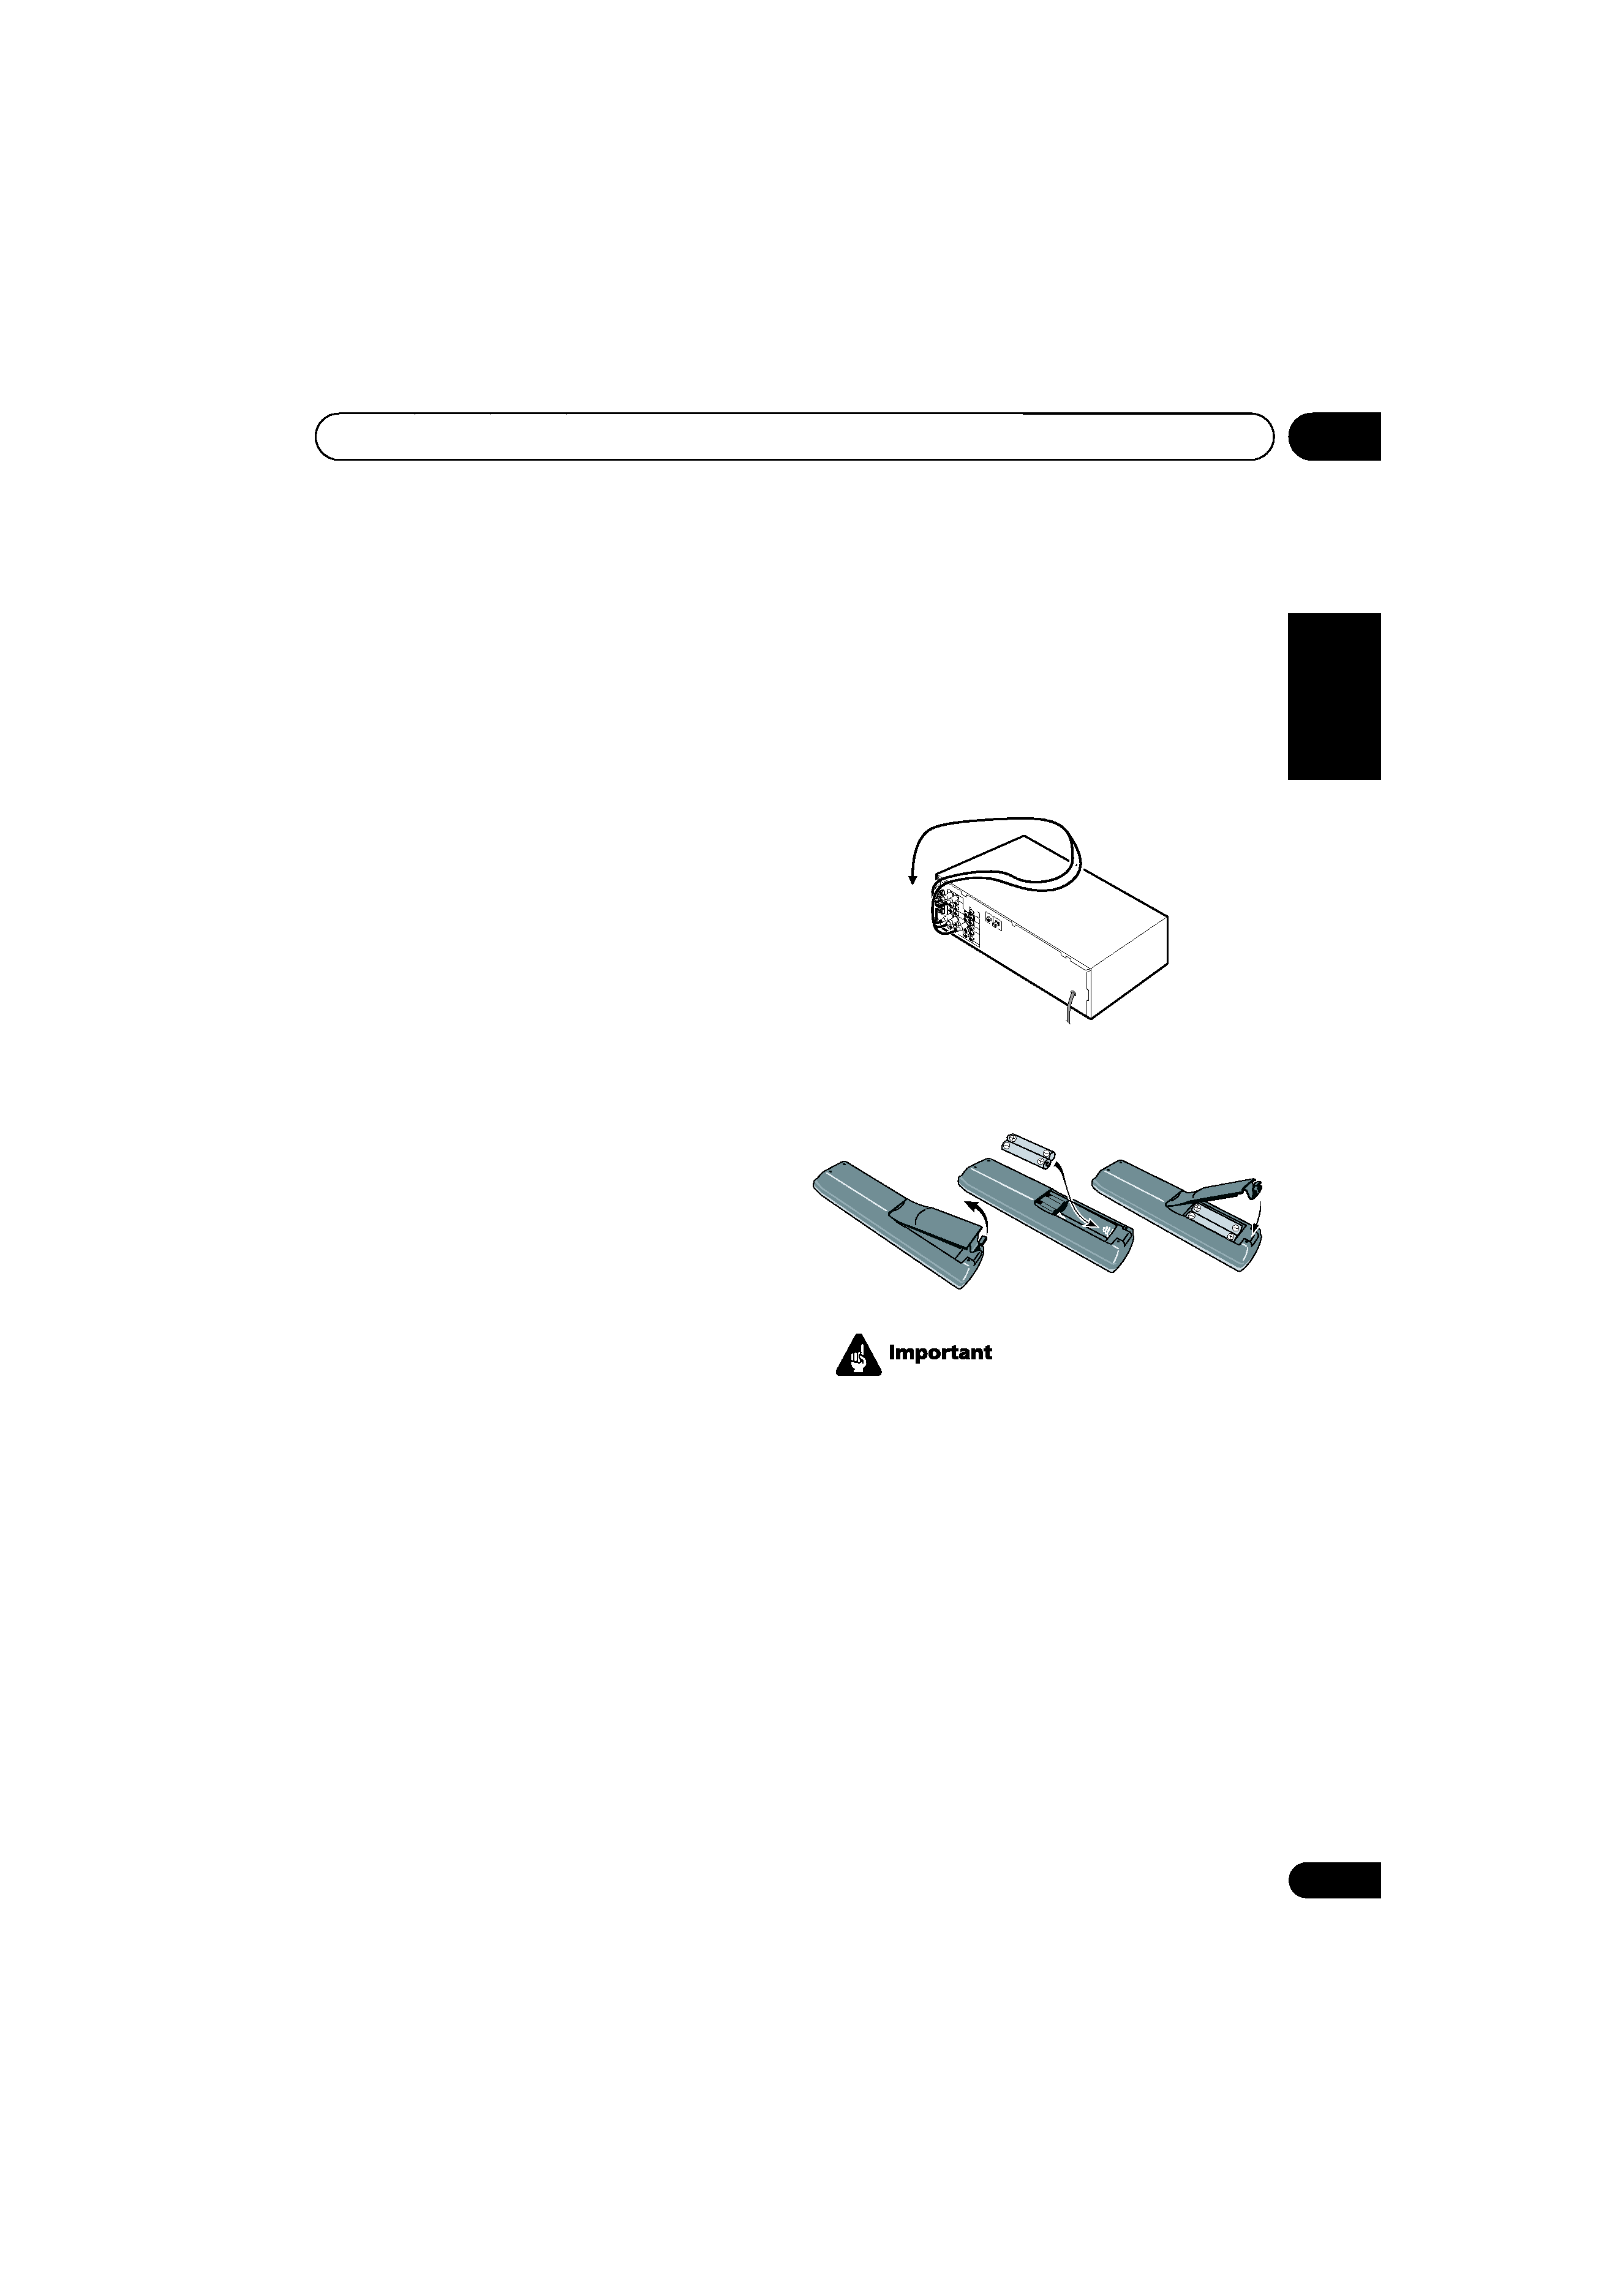
Making cable connections
Make sure not to bend the cables over the top
of this unit (as shown in the illustration). If this
happens, the magnetic field produced by the
transformers in this unit may cause a
humming noise from the speakers.
Loading the batteries
Incorrect use of batteries may result in such
hazards as leakage and bursting. Observe the
following precautions:
· Never use new and old batteries together.
· Insert the plus and minus sides of the
batteries properly according to the marks
in the battery case.
· Batteries with the same shape may have
different voltages. Do not use different
batteries together.
· When disposing of used batteries, please
comply with governmental regulations or
environmental public instruction's rules
that apply in your country or area.
01_before_you_start.fm 5