
AUDIO/VIDEO MULTI-CHANNEL
RECEIVER
SINTOAMPLIFICATORE
AUDIO/VIDEO MULTICANALE
VSX-D714
VSX-D814
Operating Instructions
Istruzioni per l'uso
cover_anki.fm 1
The exclamation point within an equilateral
triangle is intended to alert the user to the
presence of important operating and
maintenance (servicing) instructions in the
literature accompanying the appliance.
The lightning flash with arrowhead, within
an equilateral triangle, is intended to alert
the user to the presence of uninsulated
"dangerous voltage" within the product's
enclosure that may be of sufficient
magnitude to constitute a risk of electric
shock to persons.
CAUTION:
TO PREVENT THE RISK OF ELECTRIC
SHOCK, DO NOT REMOVE COVER (OR
BACK). NO USER-SERVICEABLE PARTS
INSIDE. REFER SERVICING TO QUALIFIED
SERVICE PERSONNEL.
CAUTION
RISK OF ELECTRIC SHOCK
DO NOT OPEN
IMPORTANT
D3-4-2-1-1_En
WARNING: The apparatus is not waterproofs, to
prevent fire or shocks hazard, do not expose this
apparatus to rain or moisture and do not put any
water source near this apparatus, such as vase,
flower pot, cosmetics container and medicine
bottle etc.
D3-4-2-1-3_En
WARNING:
BEFORE PLUGGING IN THE UNIT FOR THE FIRST
TIME, READ THE FOLLOWING SECTION CAREFULLY.
The voltage of the available power supply differs
according to country or region. Be sure that the
power supply voltage of the area where this unit
will be used meets the required voltage (e.g., 230V
or 120V) written on the rear panel.
D3-4-2-1-4_En
WARNING: No naked flame sources, such as
lighted candle, should be placed on the apparatus.
If naked flame sources accidentally fall down, fire
spread over the apparatus then may cause fire.
D3-4-2-1-7a_En
VENTILATION:
When installing this unit, make sure to leave space
around the unit for ventilation to improve heat
radiation (at least 60 cm at top, 10 cm at rear, and
30 cm at each side).
WARNING: Slot and openings in the cabinet are
provided for ventilation and to ensure reliable
operation of the product and to protect it from
overheating, to prevent fire hazard, the openings
should never be blocked and covered with items,
such as newspapers, table-cloths, curtains, etc. Also
do not put the apparatus on the thick carpet, bed,
sofa, or fabric having a thick pile.
D3-4-2-1-7b_En
Operating Environment
Operating environment temperature and humidity:
+5 ºC +35 ºC (+41 ºF +95 ºF); less than 85 %RH
(cooling vents not blocked)
Do not install in the following locations
· Location exposed to direct sunlight or strong artificial
light
· Location exposed to high humidity, or poorly
ventilated location
D3-4-2-1-7c_En
This product complies with the Low Voltage Directive
(73/23/EEC, amended by 93/68/EEC), EMC Directives
(89/336/EEC, amended by 92/31/EEC and
93/68/EEC).
D3-4-2-1-9a_En
The STANDBY/ON switch is secondary connected
and therefore, does not separate the unit from mains
power in STANDBY position. Therefore install the
unit suitable places easy to disconnect the MAINS
plug in case of the accident. The MAINS plug of unit
should be unplugged from the wall socket when left
unused for a long period of time.
D3-4-2-2-2a_En
This product is for general household purposes. Any
failure due to use for other than household purposes
(such as long-term use for business purposes in a
restaurant or use in a car or ship) and which
requires repair will be charged for even during the
warranty period.
K041_En
Do not connect either wire to the earth terminal of a
three pin plug.
NOTE
After replacing or changing a fuse, the fuse cover in
the plug must be replaced with a fuse cover which
corresponds to the colour of the insert in the base
of the plug or the word that is embossed on the
base of the plug, and the appliance must not be
used without a fuse cover. If lost replacement fuse
covers can be obtained from your dealer.
Only 5 A fuses approved by B.S.I or A.S.T.A to
B.S.1362 should be used.
D3-4-2-1-2-2_En
The wires in this mains lead are coloured in
accordance with the following code:
Blue
: Neutral
Brown : Live
If the plug provided is unsuitable for your socket
outlets, the plug must be cut off and a suitable plug
fitted.
IMPORTANT
FOR USE IN THE UNITED
KINGDOM
The cut-off plug should be disposed of and must
not be inserted into any 13 amp socket as this can
result in electric shock. The plug or adaptor or the
distribution panel should be provided with 5 A fuse.
As the colours of the wires in the mains lead of this
appliance may not correspond with coloured
markings identifying the terminals in your plug,
proceed as follows ;
The wire which is coloured blue must be connected
to the terminal which is marked with the letter N or
coloured black.
The wire which is coloured brown must be
connected to the terminal which is marked with the
letter L or coloured red.
Replacement and mounting of an AC plug on the power supply cord of this unit should be performed only by qualified
service personnel.
VSX_714_814.fm 2

English
Italiano
Français
Nederlands
Español
Deutsch
Thank you for buying this Pioneer product.
Please read through these operating instructions so that you will know how to operate your
model properly. After you have finished reading the instructions, put them in a safe place for
future reference.
01 Before you start
Checking what's in the box
. . . . . . . . . . . . 5
Making cable connections
. . . . . . . . . . . . . 5
Loading the batteries
. . . . . . . . . . . . . . . . . 5
Operating range of remote control unit
. . . 5
02 5 minute guide
Introduction to home theater
. . . . . . . . . . . 6
Listening to Surround Sound
. . . . . . . . . . . 7
Using the Quick Setup
. . . . . . . . . . . . . . . 11
03 Quick surround sound setup
Automatically calibrating your listening
area (MCACC)
. . . . . . . . . . . . . . . . . . . . . 13
04 Connecting up
Audio/Video cords
. . . . . . . . . . . . . . . . . . 15
S-video cables
. . . . . . . . . . . . . . . . . . . . . 15
Component video cords
. . . . . . . . . . . . . . 15
Digital audio coaxial cords/
Optical cables
. . . . . . . . . . . . . . . . . . . . . 15
Connecting digital components
. . . . . . . . 16
Connecting audio components
. . . . . . . . 17
Connecting DVD 5.1 channel
components
. . . . . . . . . . . . . . . . . . . . . . . 18
Connecting video components
. . . . . . . . . 19
Connecting to the front panel video
terminal
. . . . . . . . . . . . . . . . . . . . . . . . . 19
Connecting antennas
. . . . . . . . . . . . . . . . 20
FM wire antenna
. . . . . . . . . . . . . . . . . . 20
AM loop antenna
. . . . . . . . . . . . . . . . . . 20
Using external antennas
. . . . . . . . . . . . 20
Connecting the speakers (VSX-D714)
. . . . 21
Connecting the speakers (VSX-D814)
. . . . 22
Speaker terminals
. . . . . . . . . . . . . . . . . 23
A and B speaker systems
. . . . . . . . . . . . 23
Hints on speaker placement
. . . . . . . . . 23
Connecting additional amplifiers
. . . . . . . 25
Power cord caution
. . . . . . . . . . . . . . . . 26
Operating other Pioneer components
. . . 26
Using this receiver with a Pioneer
plasma display
. . . . . . . . . . . . . . . . . . . . . 27
05 Controls and displays
Front panel
. . . . . . . . . . . . . . . . . . . . . . . . 28
Display
. . . . . . . . . . . . . . . . . . . . . . . . . . . 30
Remote control
. . . . . . . . . . . . . . . . . . . . . 31
06 Listening to your system
Listening in surround sound
. . . . . . . . . . . 34
Using the Advanced surround effects
. . . 34
Listening in stereo
. . . . . . . . . . . . . . . . . . . 35
Choosing the input signal
. . . . . . . . . . . . . 36
Using the Surround Back Channel
(SB CH)
. . . . . . . . . . . . . . . . . . . . . . . . . . . 37
Using the Virtual Surround Back mode
(VSB)
. . . . . . . . . . . . . . . . . . . . . . . . . . . . . 38
Using Midnight and Loudness listening
. . 39
Using the tone controls
. . . . . . . . . . . . . . . 39
Playing other sources
. . . . . . . . . . . . . . . . 40
Selecting the multichannel analog
inputs
. . . . . . . . . . . . . . . . . . . . . . . . . . . . 40
Using the sleep timer
. . . . . . . . . . . . . . . . 40
07 Setting up the receiver
Choosing your receiver setup
. . . . . . . . . . 41
Speaker setting
. . . . . . . . . . . . . . . . . . . . 42
Surround back speaker setting
. . . . . . . . 43
Subwoofer setting
. . . . . . . . . . . . . . . . . . 43
Crossover frequency setting
. . . . . . . . . . 44
LFE attenuator setting
. . . . . . . . . . . . . . . 44
Front left speaker distance setting
. . . . . 44
Center speaker distance setting
. . . . . . . 44
Front right speaker distance setting
. . . . 45
Surround right speaker distance
setting
. . . . . . . . . . . . . . . . . . . . . . . . . . . 45
Surround back speaker distance
setting
. . . . . . . . . . . . . . . . . . . . . . . . . . . 45
Surround left speaker distance
setting
. . . . . . . . . . . . . . . . . . . . . . . . . . . 45
Subwoofer distance setting
. . . . . . . . . . . 45
Dynamic range control setting
. . . . . . . . 46
Dual mono setting
. . . . . . . . . . . . . . . . . 46
Component video input settings
. . . . . . . 46
Digital input settings
. . . . . . . . . . . . . . . . 46
VSX_714_814.fm 1

SR+ control for Pioneer plasma
displays
. . . . . . . . . . . . . . . . . . . . . . . . . 47
Manually calibrating your listening area
(MCACC)
. . . . . . . . . . . . . . . . . . . . . . . . . 48
Setting separate channel levels for
listening modes
. . . . . . . . . . . . . . . . . . . . 49
Using the SR+ mode with a Pioneer
plasma display
. . . . . . . . . . . . . . . . . . . . . 50
08 Using the tuner
Listening to the radio
. . . . . . . . . . . . . . . . 52
Improving FM stereo sound
. . . . . . . . . . 52
Tuning directly to a station
. . . . . . . . . . . 52
Saving station presets
. . . . . . . . . . . . . . . 53
Naming station presets
. . . . . . . . . . . . . 54
Listening to station presets
. . . . . . . . . . 54
An introduction to RDS
. . . . . . . . . . . . . . 54
Displaying RDS information
. . . . . . . . . 55
Searching for RDS programs
. . . . . . . . . 56
An introduction to EON
. . . . . . . . . . . . . . 56
Using EON
. . . . . . . . . . . . . . . . . . . . . . . 57
Clearing all stations from the RDS and
EON searches
. . . . . . . . . . . . . . . . . . . . 57
09 Making recordings
Making an audio or a video recording
. . . 58
10 Controlling the rest of your
system
Setting the remote to control other
components
. . . . . . . . . . . . . . . . . . . . . . . 59
Selecting preset codes directly
. . . . . . . . . 59
Programming signals from other remote
controls
. . . . . . . . . . . . . . . . . . . . . . . . . . . 60
Erasing all of your programmed
settings
. . . . . . . . . . . . . . . . . . . . . . . . . . . 61
Clearing all the remote control settings
. . . 61
Direct function
. . . . . . . . . . . . . . . . . . . . . 61
Controls for TVs
. . . . . . . . . . . . . . . . . . . . . 62
Controls for other components
. . . . . . . . . 63
Preset Code List (VSX-D714)
. . . . . . . . . . . 66
Preset Code List (VSX-D814)
. . . . . . . . . . . 67
11 Additional information
Troubleshooting
. . . . . . . . . . . . . . . . . . . . 69
Resetting the main unit
. . . . . . . . . . . . . . . 71
Switching the speaker impedance
. . . . . . . 71
Specifications
. . . . . . . . . . . . . . . . . . . . . . 72
"DTS" ,"DTS-ES Extended Surround" and
"Neo:6" are trademarks of Digital Theater
Systems, Inc.
Manufactured under license from Dolby
Laboratories. "Dolby", "Pro Logic",
"Surround EX", and the double-D symbol
are trademarks of Dolby Laboratories.
VSX_714_814.fm 2

Before you start
01
5
En
English
Italiano
Français
Nederlands
Español
Deutsch
Chapter 1:
Before you start
Checking what's in the box
Please check that you've received the
following supplied accessories:
· AM loop antenna
· FM wire antenna
· Dry cell batteries (AA size IEC R6) x2
· Remote control
· Microphone (VSX-D814 only)
· Microphone stand (VSX-D814 only)
· These operating instructions
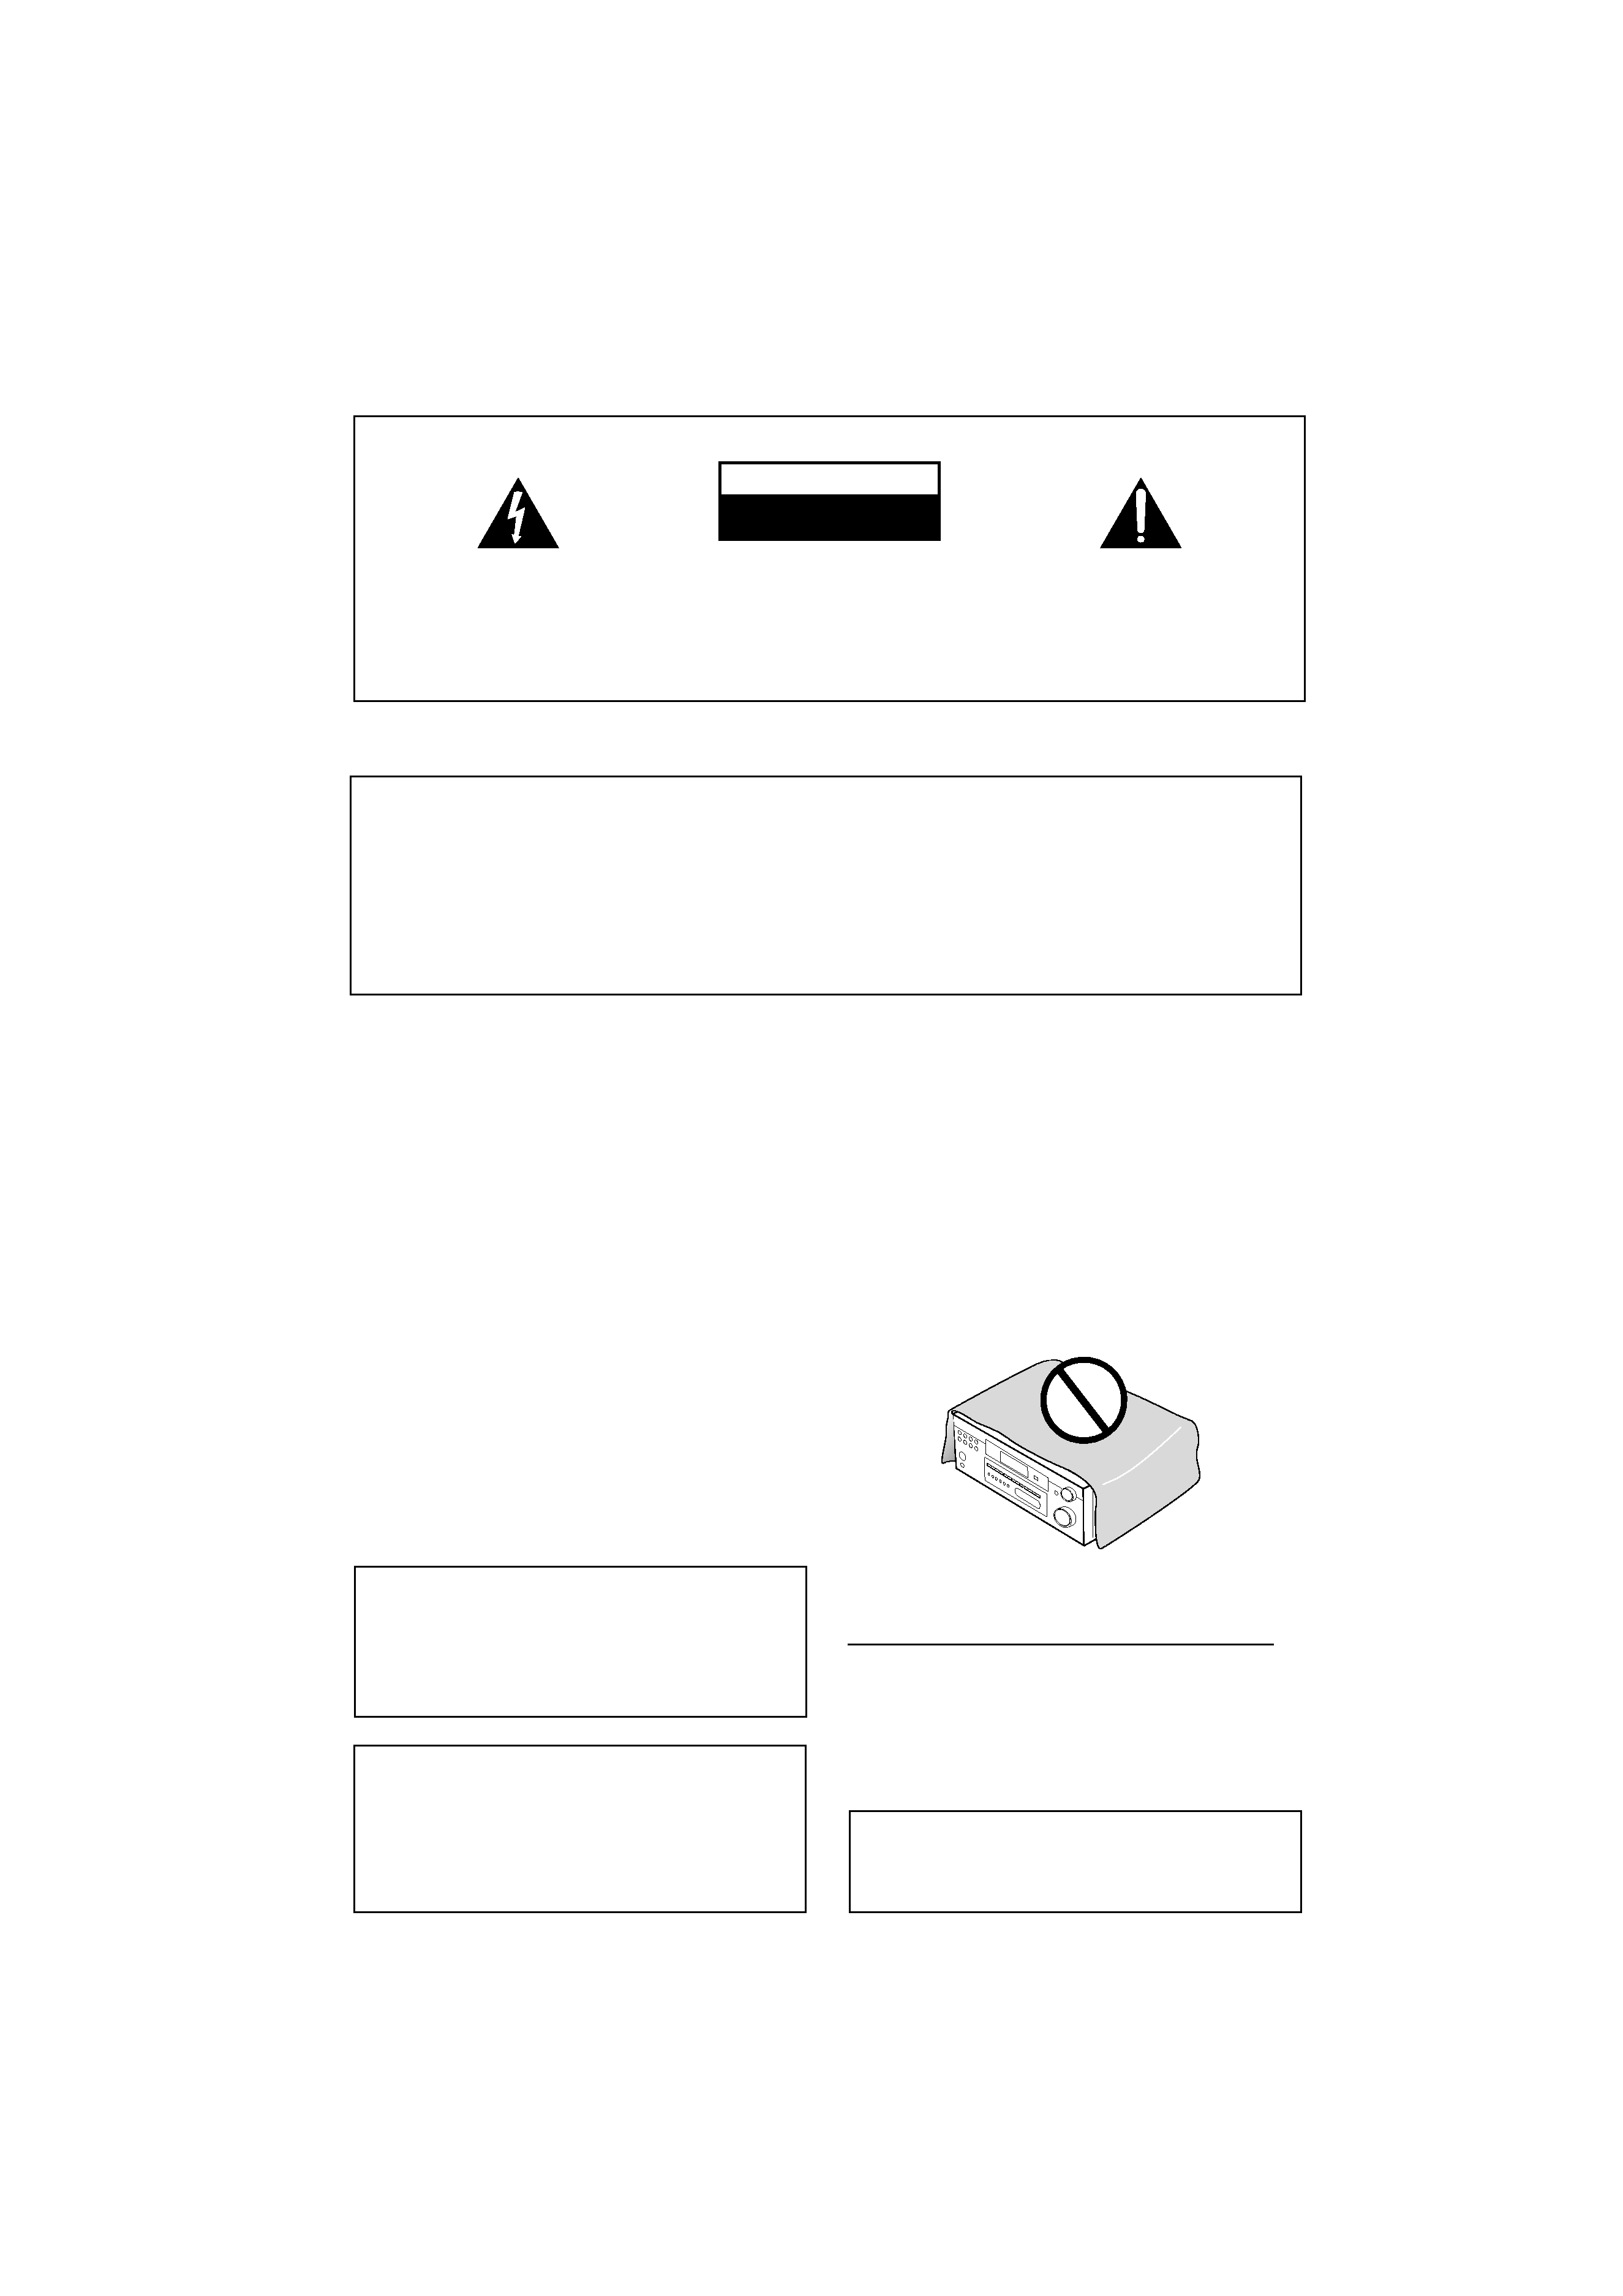
Making cable connections
Make sure not to bend the cables over the top
of this unit (as shown in the illustration). If this
happens, the magnetic field produced by the
transformers in this unit may cause a
humming noise from the speakers.
Loading the batteries
Incorrect use of batteries may result in such
hazards as leakage and bursting. Observe the
following precautions:
· Never use new and old batteries together.
· Insert the plus and minus sides of the
batteries properly according to the marks
in the battery case.
· Batteries with the same shape may have
different voltages. Do not use different
batteries together.
· When disposing of used batteries, please
comply with governmental regulations or
environmental public instruction's rules
that apply in your country or area.
Operating range of remote
control unit
The remote control may not work properly if:
· There are obstacles between the remote
control and the receiver's remote sensor.
· Direct sunlight or fluorescent light is
shining onto the remote sensor.
· The receiver is located near a device that
is emitting infrared rays.
· The receiver is operated simultaneously
with another infrared remote control unit.
30
30
7m
VSX_714_814.fm 5