
AUDIO/VIDEO MULTI-CHANNEL
RECEIVER
VSX-D411
VSX-D511
Operating Instructions
IMPORTANT NOTICE
H006AEn
The serial number for this equipment is located in the
rear panel. Please write this serial number on your
enclosed warranty card and keep it in a secure area.
This is for your security.
Thank you for buying this Pioneer product.
Please read through these operating instructions
so you will know how to operate your model
properly. After you have finished reading the
instructions, put them away in a safe place for future
reference.
"DTS", "ES" and "DTS Digital Surround" are trademarks
of Digital Theater Systems, Inc.
Manufactured under license from Dolby Laboratories.
"Dolby", "Pro Logic II" and the double D symbol 2
are trademarks of Dolby Laboratorories.

Contents
1 Before you start
Checking what's in the box ............................... 5
Installing the receiver ........................................ 5
Making cable connections ................................ 5
Loading the batteries ......................................... 5
Operating range of remote control unit ........... 5
2 5 minute guide
Introduction to home theater ............................ 6
Listening to Surround Sound ............................ 7
Using the Quick Setup ....................................10
3 Connecting up
Audio/Video cords ........................................... 11
S-video cables (VSX-D511 only) ...................... 11
Digital audio cords/Optical cables ................. 11
Connecting digital components .................... 12
Connecting audio components ...................... 12
Connecting DVD 5.1 channel components ... 13
Connecting video components ....................... 13
Connecting antennas ..................................... 14
FM wire antenna ..............................................14
AM loop antenna ..............................................15
Antenna snap connectors ........................ 15
Using external antennas ................................. 15
To improve FM reception ............................ 15
To improve AM reception ........................... 15
Connecting the speakers ................................ 16
Speaker terminals ..................................... 16
Hints on speaker placement ........................... 17
AC outlet .......................................................... 18
Operating other Pioneer components .......... 18
4 Controls and displays
Front Panel ........................................................19
Display ............................................................. 20
Remote Control ............................................... 22
5 Playing sources
Introduction to Sound Modes ........................ 24
Stereo/Direct ...............................................24
Standard modes .........................................24
Advanced Surround modes ....................... 24
Choosing the input signal .............................. 25
Using Stereo/Direct .........................................25
Listening to multi-channel playback .............. 26
Using Advanced Surround ............................. 26
Using Loudness and Midnight listening ........ 26
Using the tone controls .................................. 27
Playing other sources ..................................... 27
Selecting the multi-channel analog inputs ... 28
6 Setting up your receiver
Choosing your receiver setup ........................ 29
Speaker setting .......................................... 30
Subwoofer setting ..................................... 30
Crossover frequency setting ...................... 30
LFE attenuator setting ................................ 31
Front speaker distance setting .................. 31
Center speaker distance setting .............. 31
Surround speaker distance setting .......... 31
Dynamic range control setting .................. 32
Dual mono setting ..................................... 32
Coaxial digital input setting ....................... 32
Optical digital input setting ....................... 32
Setting the relative volume level
of each channel ............................................... 33
7 Using the tuner
Listening to the radio ...................................... 34
Improving FM stereo sound ....................... 34
Saving station presets .....................................35
Naming station presets .................................. 36
Listening to station presets ............................ 36
8 Making a recording
Making an audio or a video recording .......... 37
Monitoring your recording ........................ 37
9 Additional information
Troubleshooting ............................................... 38
Specifications ...................................................40
Before you start
01
5
En
Checking what's in the box
Please check that you've received the following
supplied accessories:
· AM loop antenna
· FM wire antenna
· Dry cell batteries (AA size IEC R6P) x 2
· Remote control
· These operating instructions
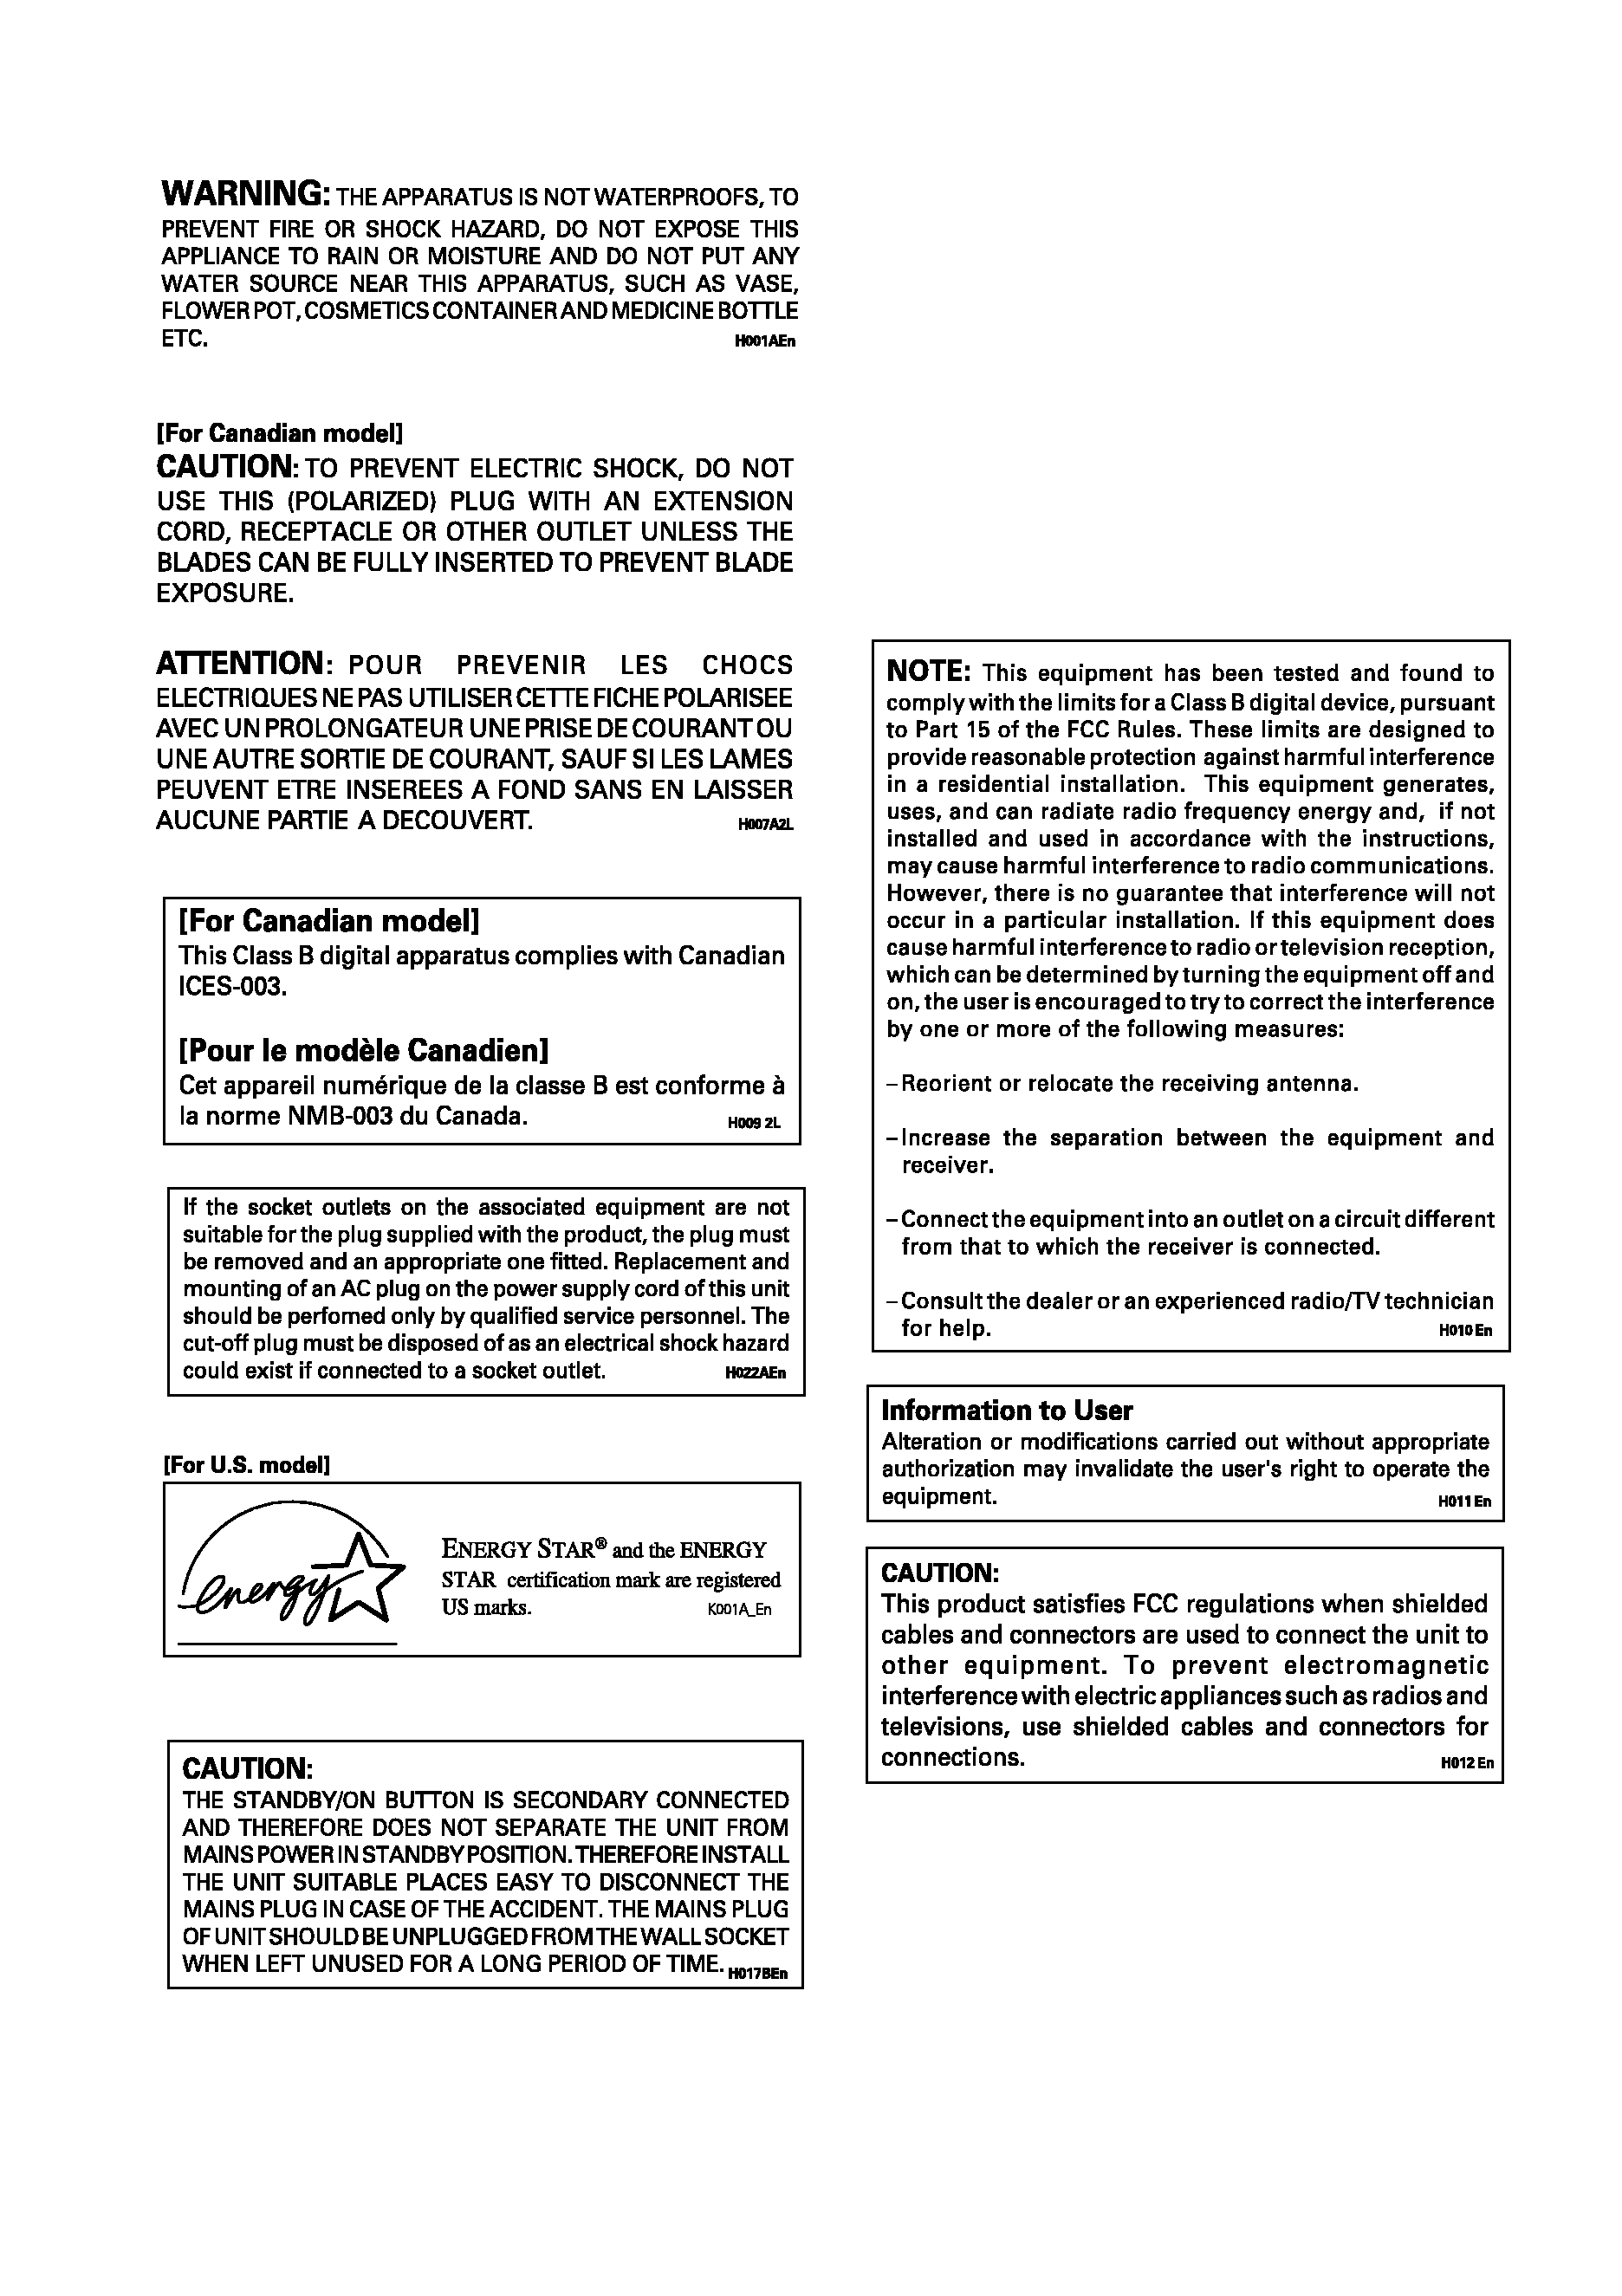
Installing the receiver
Please note the following points:
· Do not place
objects directly
on top of this unit.
This would
prevent proper
heat dispersal.
· When installing on a rack, shelf, etc., be
sure to leave more than 8 inches (20 cm.)
of space above the receiver.
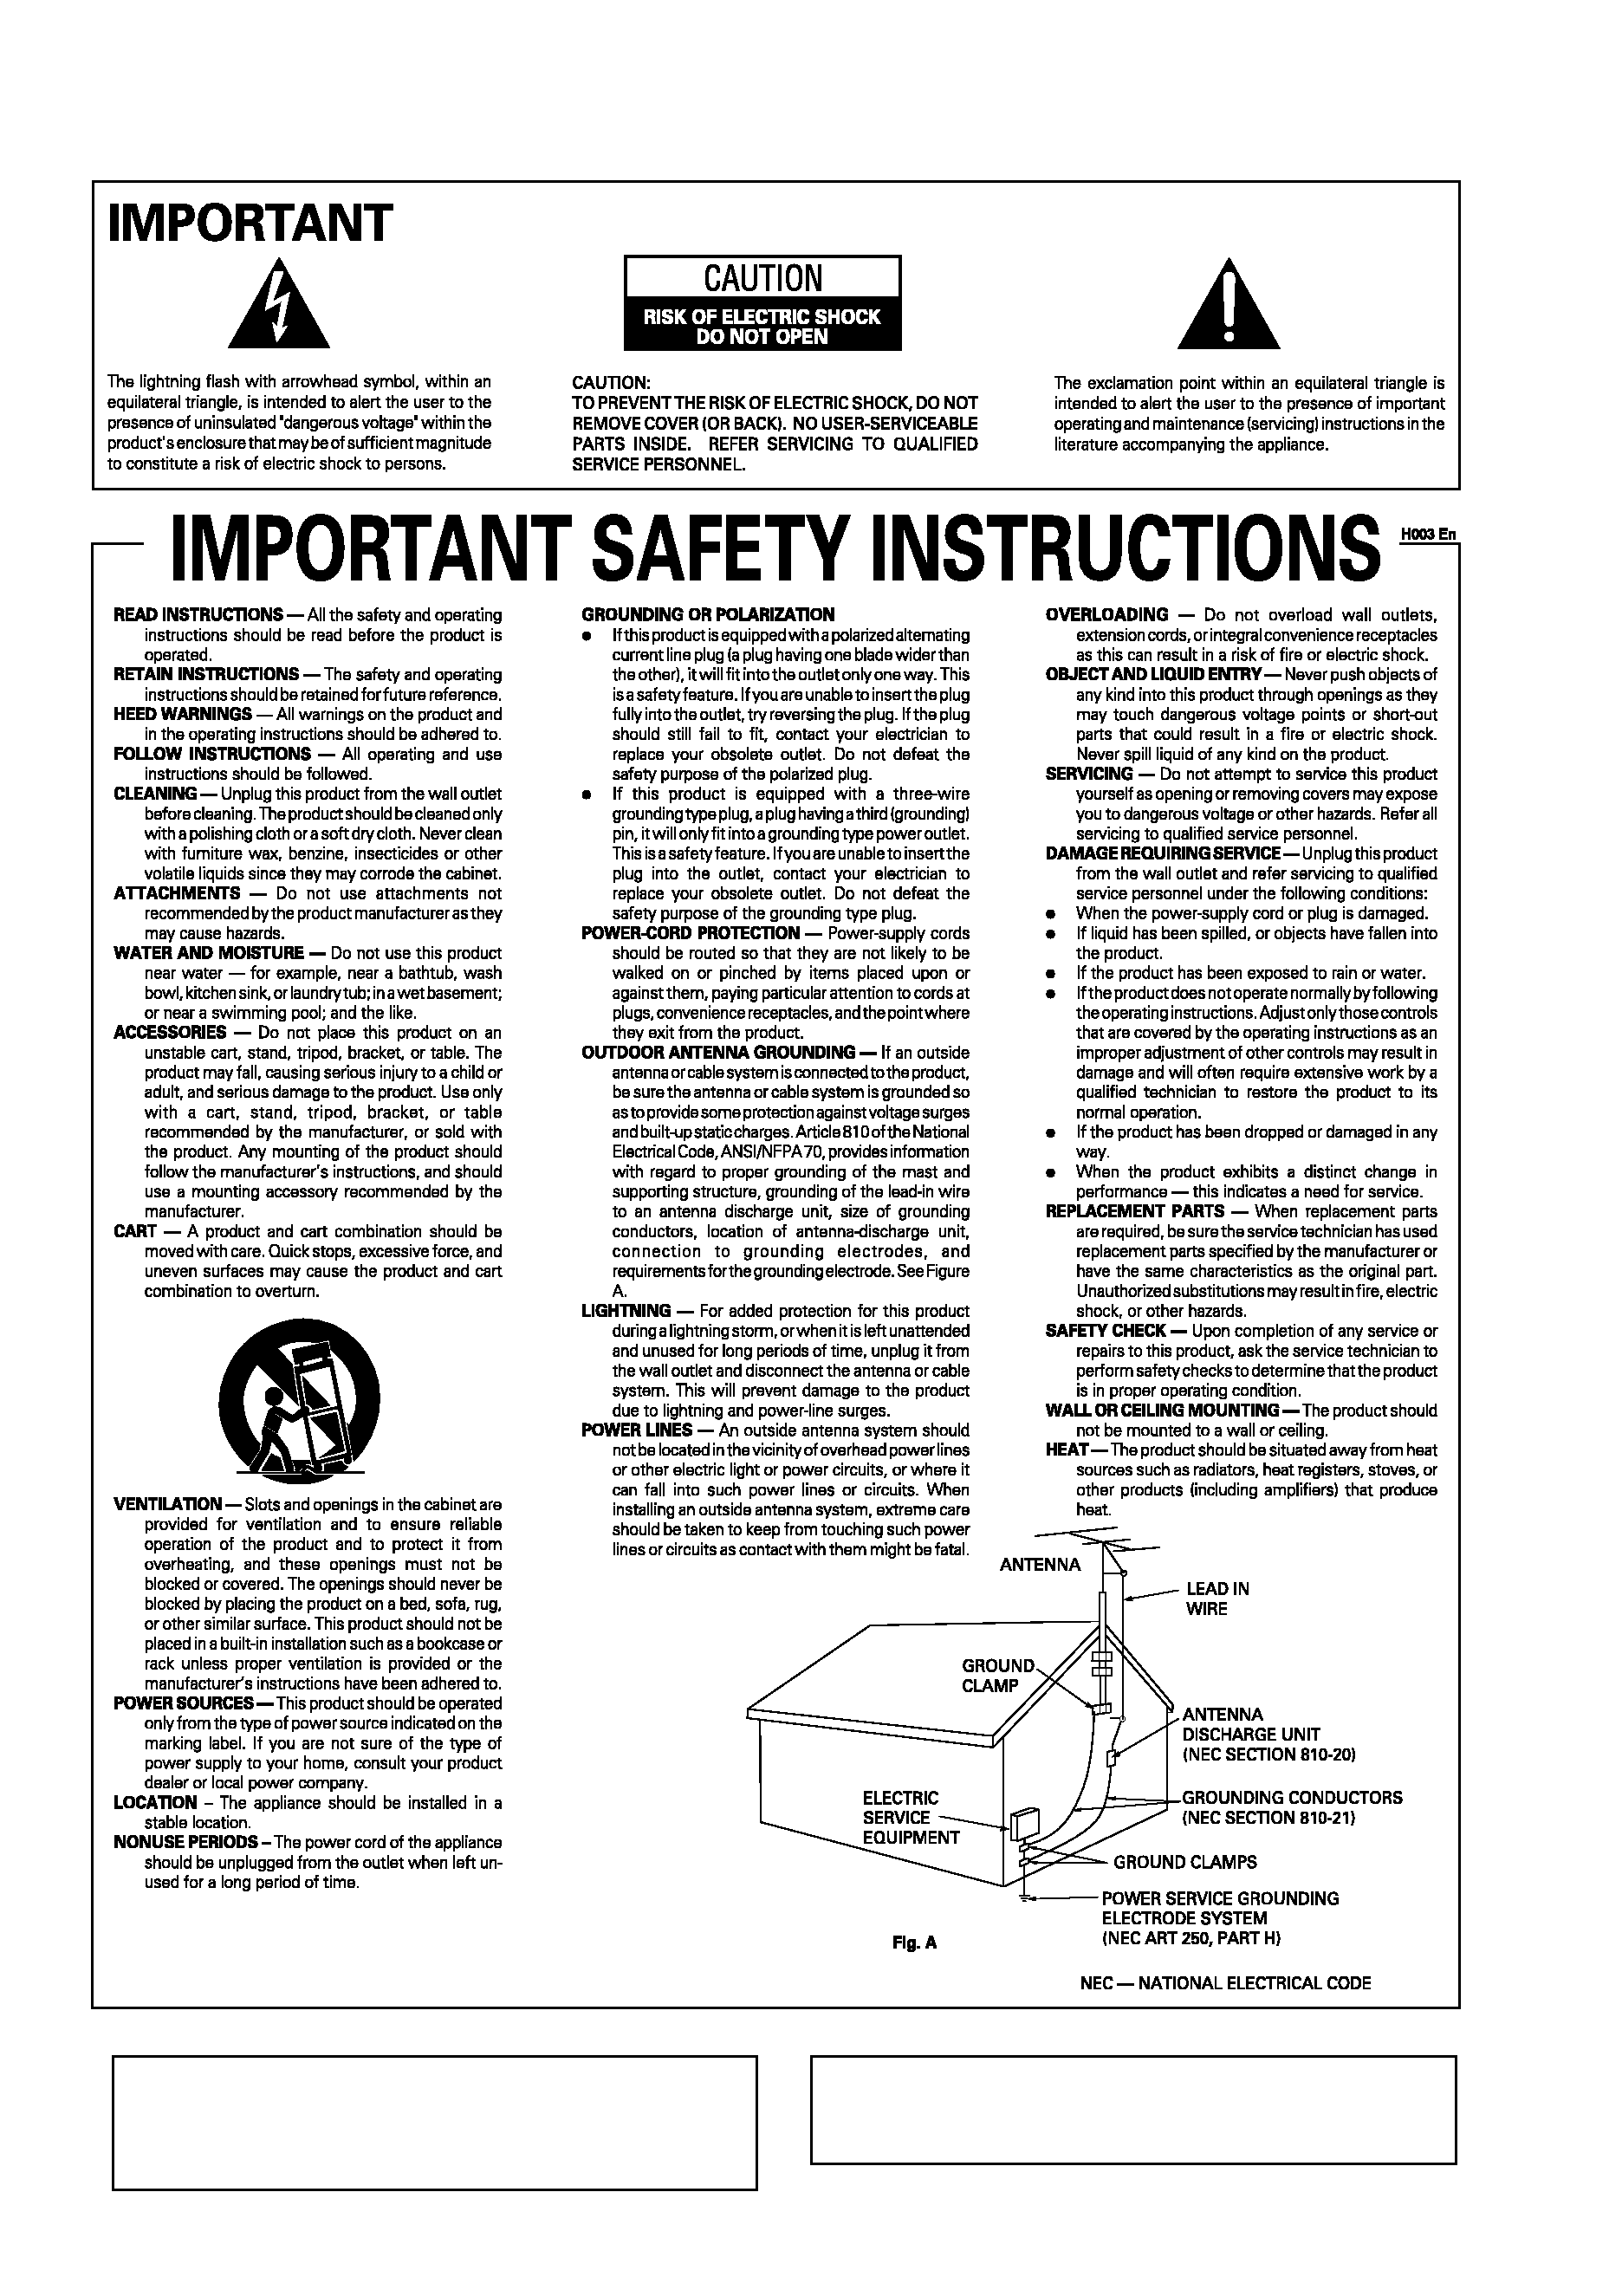
Making cable connections
Make sure not to bend the cables over the top
of this unit (as shown in the illustration). If this
happens, the
magnetic field
produced by the
transformers in
this unit may
cause a humming
noise from the
speakers.
Loading the batteries
Incorrect use of batteries may result in such
hazards as leakage and bursting. Observe the
following precautions:
· Never use new and old batteries together.
· Insert the plus and minus sides of the
batteries properly according to the marks
in the battery case.
· Batteries with the same shape may have
different voltages. Do not use different
batteries together.
· When disposing of used batteries, please
comply with governmental regulations or
environmental public instruction's rules
that apply in your country or area.
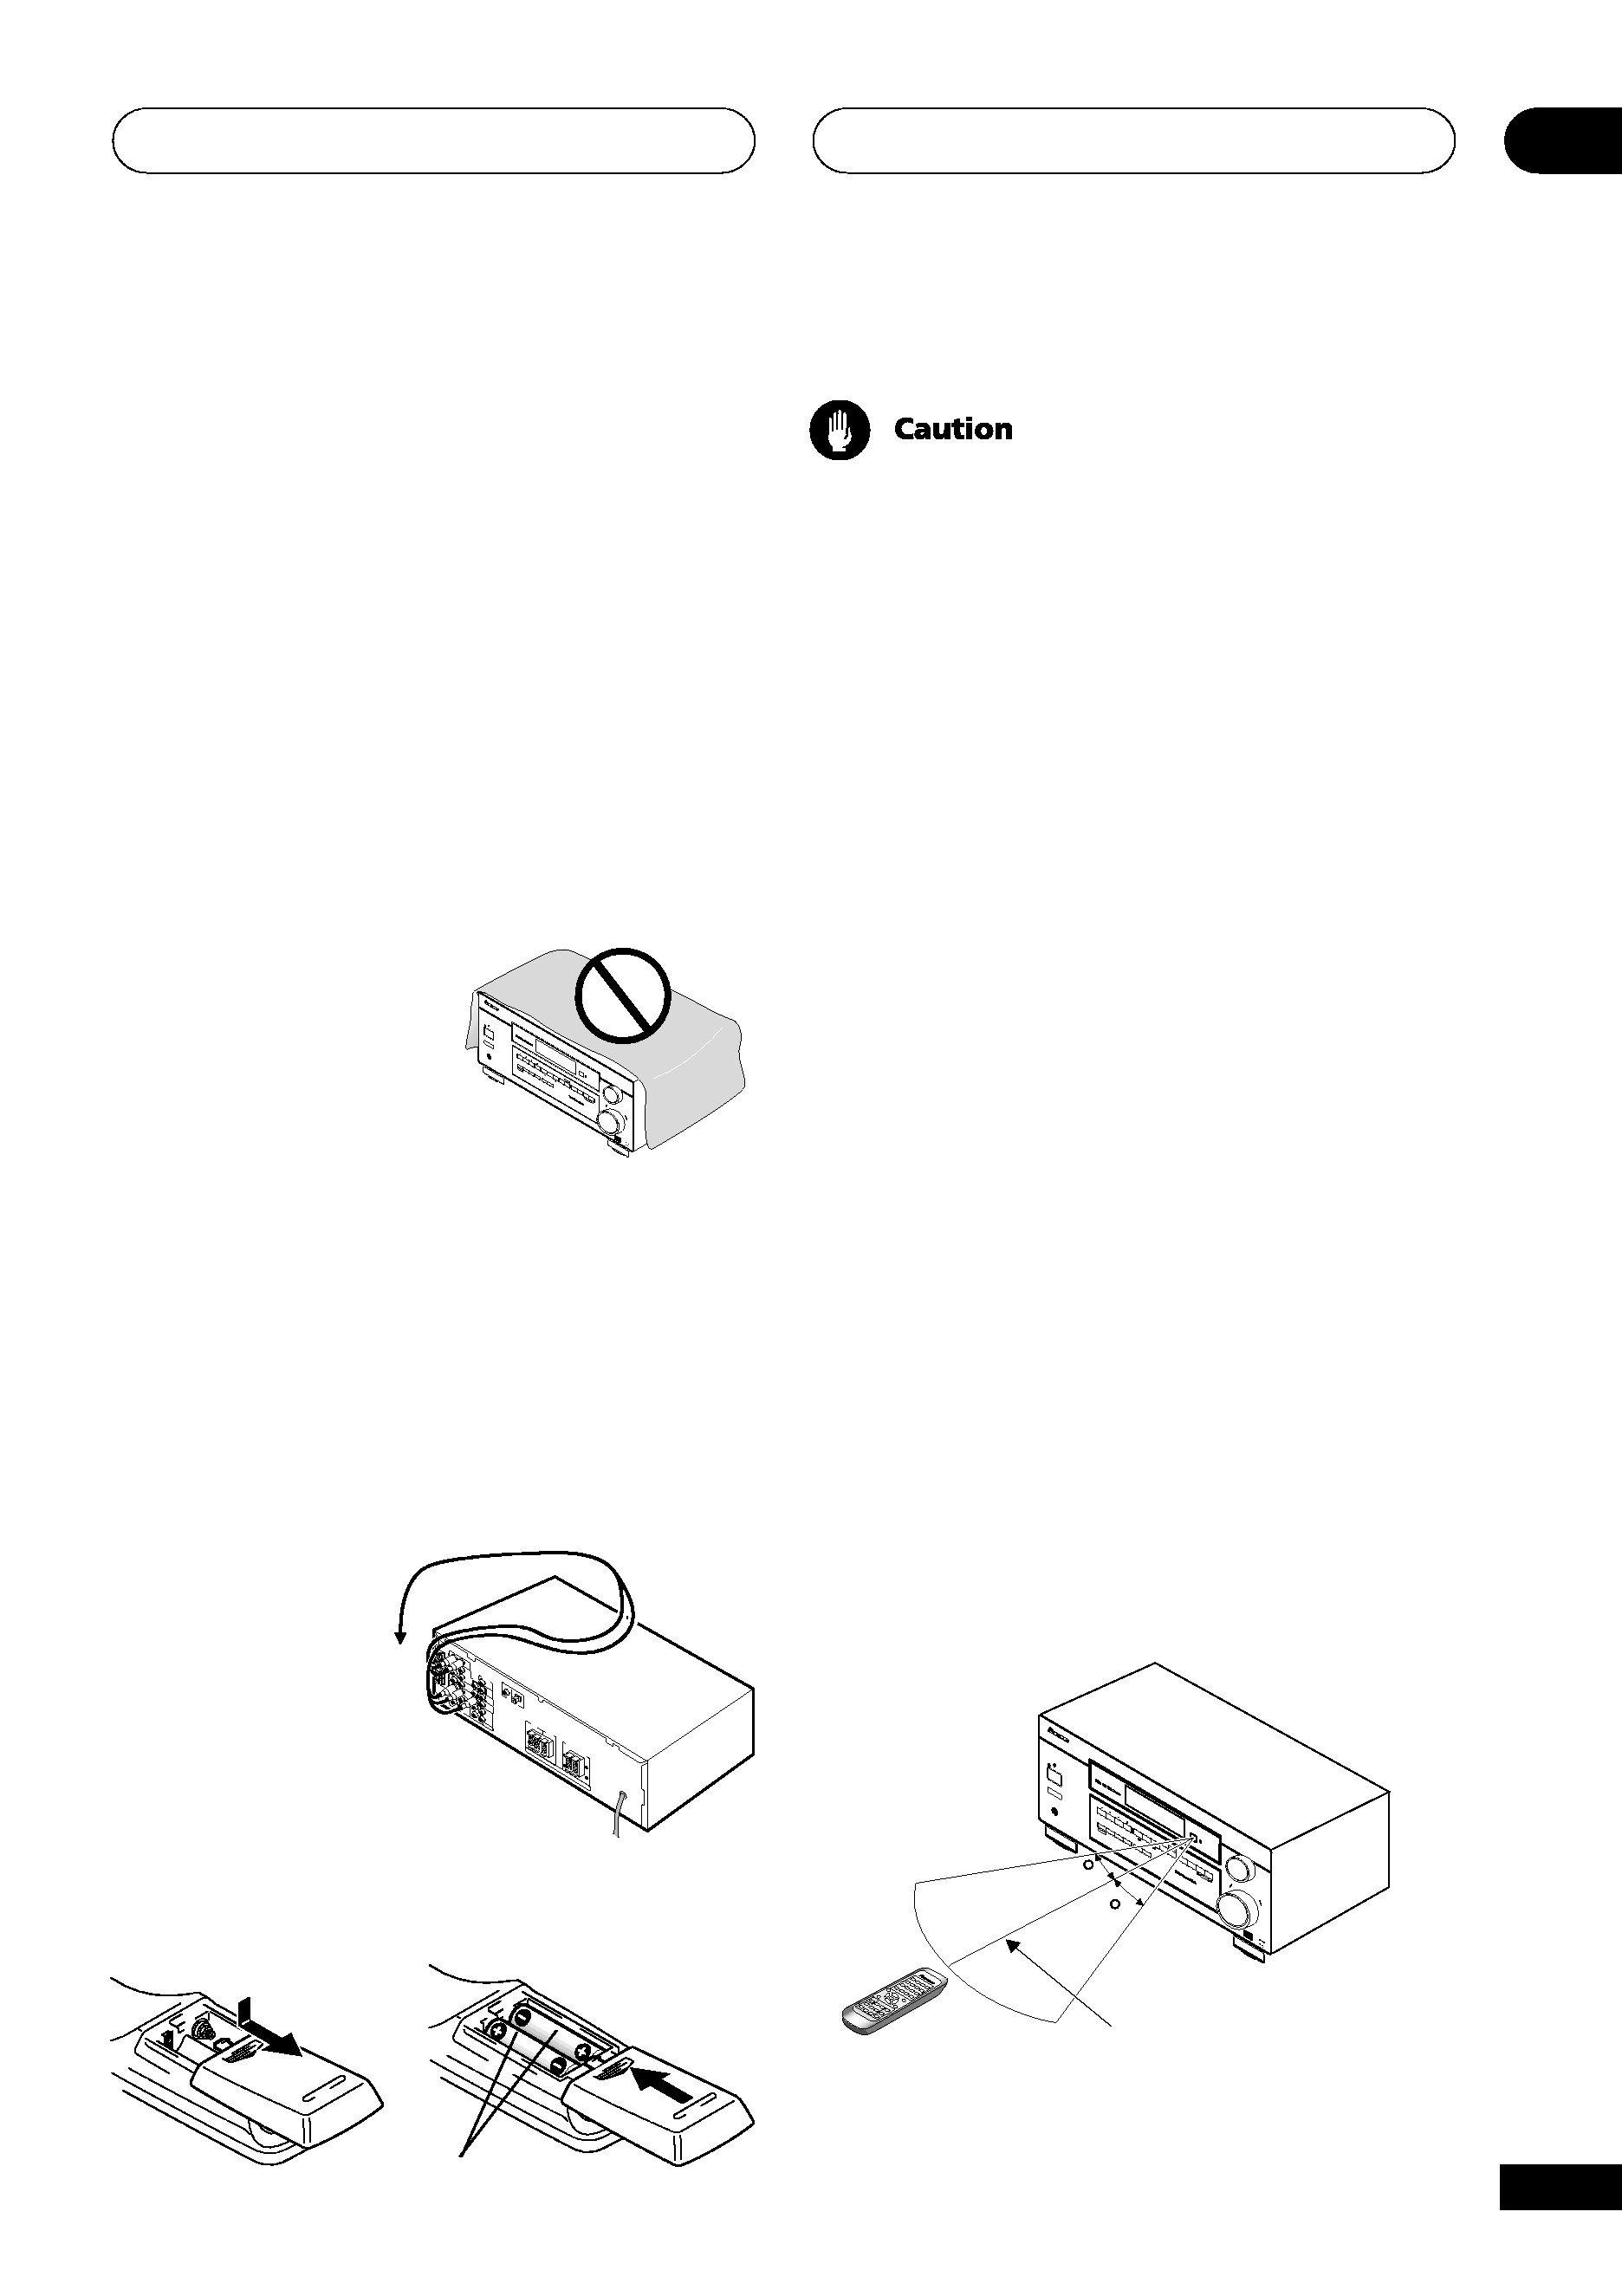
Operating range of remote
control unit
The remote control may not work properly if:
· There are obstacles between the remote
control and the receiver's remote sensor.
· Direct sunlight or fluorescent light is
shining onto the remote sensor.
· The receiver is located near a device that is
emitting infrared rays.
· The receiver is operated simultaneously
with another infrared remote control unit.
Dry cell batteries
(AA size IEC R6P)
× 2
DOW
N
STA
TIO
N
TUN
ER
EDIT
INP
UT
ATT
FL
DIM
ME
R
CLA
SS
BAN
D
MPX
STA
NDA
RD ADV
ANC
ED
SUR
ROU
ND
STE
REO
/
DIR
ECT
SIG
NAL
SEL
ECT
UP
EN
TER
INP
UT
SEL
EC
TO
R
MA
STE
R
VO
LUM
E
MU
LTI
JO
G
AU
DIO
/VID
EO
MU
LTI-
CH
AN
NEL
REC
EIV
ER
R
STA
ND
BY
STA
NDB
Y/O
N
PHO
NES
TUN
ING
MO
NITO
R
MUL
TI
JOG
MUL
TI
JOG
MID
NIG
HT
LOU
DNE
SS
TON
E
QU
ICK
SET
UP
LIST
ENIN
G
MO
DE
Nm
-
Û.,,
30
30
23ft (7m)
1
2
3
4
5
6
+
+
-
-
DOW
N
STA
TIO
N
TUN
ER
EDIT
INP
UT
ATT
FL
DIM
ME
R
CLA
SS
BAN
D
MPX
STA
NDA
RD ADV
ANC
ED
SUR
ROU
ND
STE
REO
/
DIR
ECT
SIG
NAL
SEL
ECT
UP
EN
TER
INP
UT
SEL
EC
TO
R
MA
STE
R
VO
LUM
E
MU
LTI
JO
G
AU
DIO
/VID
EO
MU
LTI-
CH
AN
NEL
REC
EIV
ER
R
STA
ND
BY
STA
NDB
Y/O
N
PHO
NES
TUN
ING
MO
NITO
R
MUL
TI
JOG
MUL
TI
JOG
MID
NIG
HT
LOU
DNE
SS
TON
E
QU
ICK
SET
UP
LIST
ENIN
G
MO
DE
Nm
-
Û.,,