INSTRUCTIONS
GM-V42PCE
GM-V42PCEG
GM-V42PCEB
GM-V42S
ENGLISH
DEUTSCH
FRANÇAIS
ITALIANO
ESPAÑOL
PLASMA DISPLAY MONITOR
BEDIENUNGSANLEITUNG : PLASMABILDSCHIRM
MANUEL D'INSTRUCTIONS : MONITEUR DE VISUALISATION PLASMA
MANUALE D'ISTRUZIONI : MONITOR CON SCHERMO AL PLASMA
MANUAL DE INSTRUCCIONES :
MONITOR DISPLAY DE PLASMA
MENU INPUT
POWER
LCT1390-001A
Cover. GM-V42PCE
5/31/03, 10:27 PM
3

WhitePage_GM_V42[E].p65
03.5.26, 5:57 PM
3
1
ENGLISH
INSTRUCTIONS
Model
GM-V42PCE
GM-V42PCEG
GM-V42PCEB
GM-V42S
Thank you for purchasing this JVC Monitor.
Before using the monitor, read this manual carefully so
that you know how to use the Monitor correctly.
Refer to this manual whenever questions or problems
about operation arise. Be sure to read and observe the
safety precautions.
Keep this manual where the user can see it easily.
* Installation and removal require special expertise.
Consult your product dealer for details.
This instruction manual refers to the GM-V42PCE, GM-V42PCEG, GM-V42PCEB and GM-V42S.
The explanations and illustrations used in this instruction manual are of the GM-V42S unless otherwise stated.
The differences between each model are as follows:
Contents
*1 These inputs will be available with the separately-purchased video input unit (IF-C42P1G).
Ask your dealer to install the video input unit.
Inputs VIDEO A
VIDEO B
COMPONENT/RGB B
GM-V42PCE/GM-V42PCEG/GM-42PCEB
Not available*1
Not available*1
Not available*1
GM-V42S
Available
Available
Available
Page
Safety Precautions .................................................... 2
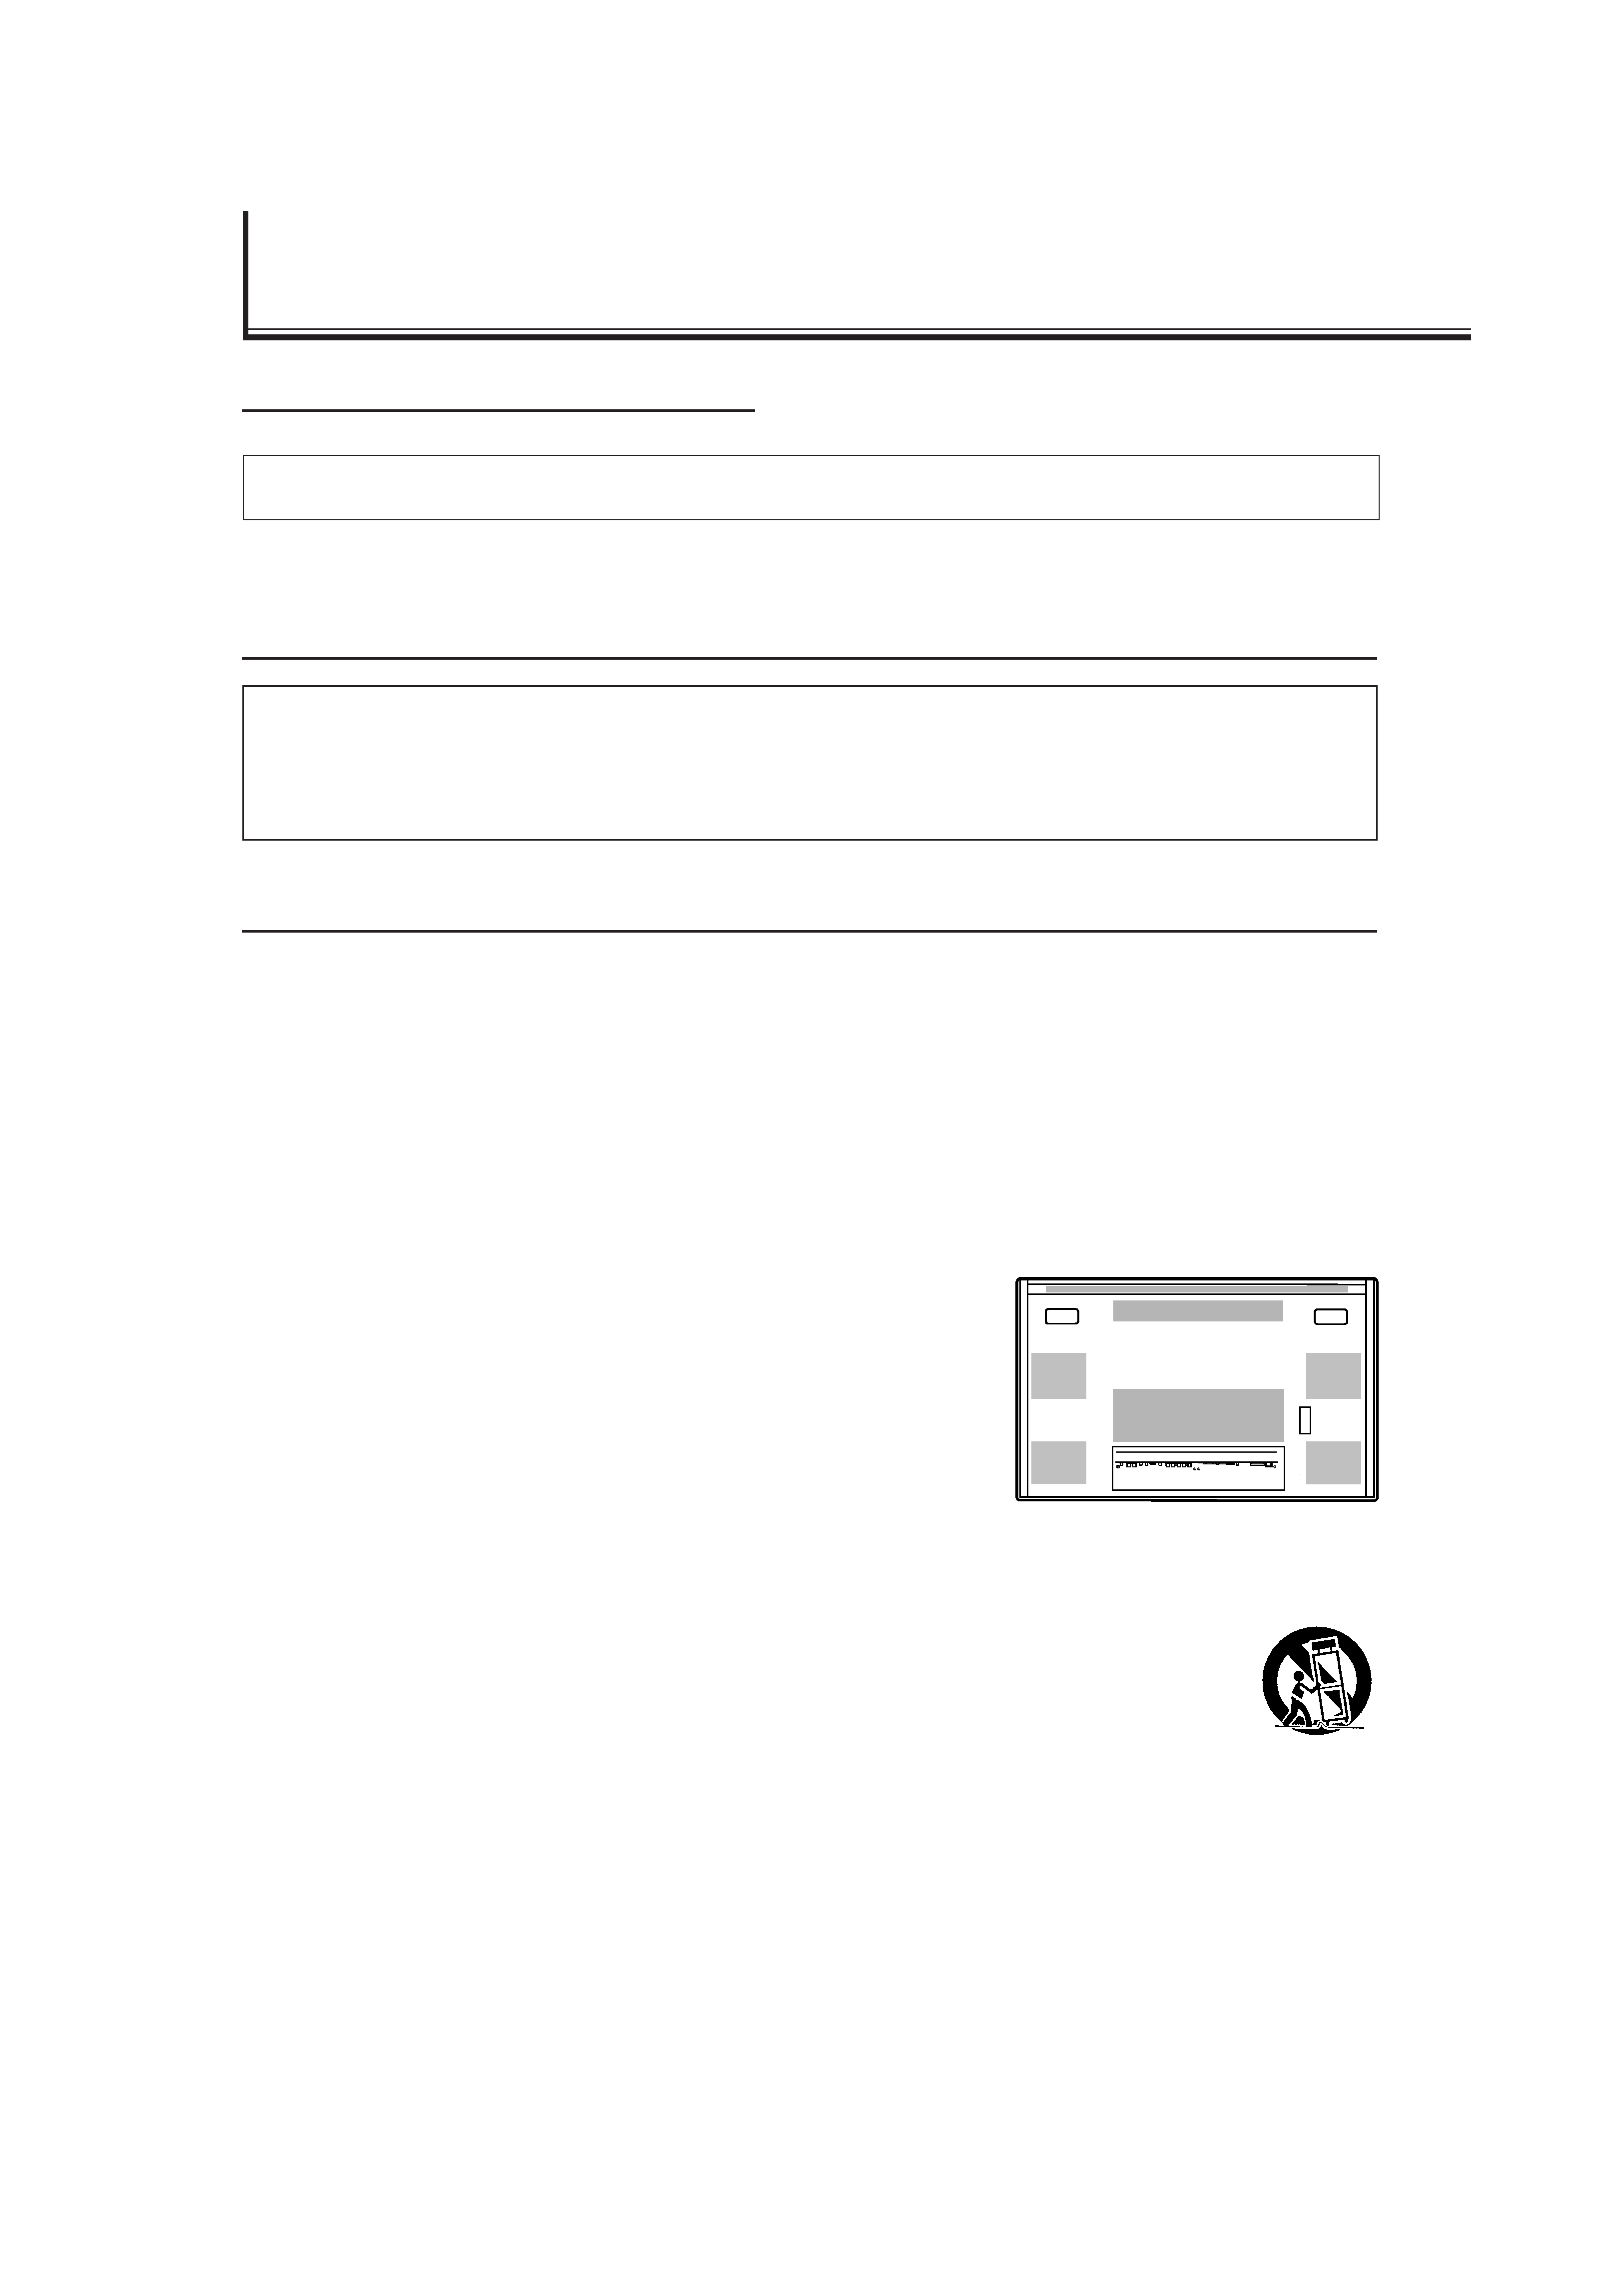
Parts Identification .................................................... 4
· Remote Control ................................................... 4
· Monitor: Front View ............................................. 5
· Monitor: Rear Views ............................................ 6
Preparations .............................................................. 8
· Checking the Accessories ................................... 8
· Installing the Batteries ......................................... 8
· Attaching the Ferrite Core ................................... 8
Installation ................................................................. 9
· Precautions ......................................................... 9
Connections ............................................................ 10
· Precautions ....................................................... 10
· Available Signals ............................................... 10
· Connection Diagrams ....................................... 11
Basic Operations ..................................................... 14
· Daily Operations ............................................... 14
· Changing the Aspect Ratio ............................... 15
Video Adjustments .................................................. 16
· Adjusting the Picture Quality ............................. 16
· Adjusting the Screen Size and Position ............ 17
· Adjusting the Color Temperature ....................... 19
· Adjusting the White Balance ............................. 19
· Changing the Aspect Ratio ............................... 21
· Setting the Receivable Signal Types ................. 21
· Setting the COMPONENT/RGB B Input ........... 22
· Changing the Resistance of the RGB B Input
Terminals ........................................................... 23
· Resetting the Function Selection Menu Settings .. 23
Page
Other Convenient Functions ................................... 24
· Showing On-screen Display .............................. 24
· Confirming the Use Time and Model Name ...... 25
· Showing the On-screen When Changing
the Input Mode .................................................. 25
· Prohibiting the Monitor's Button Operations ...... 26
· Setting the Remote-Controllable Input .............. 27
· Setting the High-Definition Signal Types ........... 27
· Setting the Clock and the Power On/Off
Timer ................................................................. 28
· Using the Pixel Shift Function ........................... 29
· Using the Power Save Function ........................ 29
· Preventing the Afterimage Effect ...................... 30
· Refreshing the Screen ...................................... 31
· Checking the Timer Battery ............................... 32
· Resetting All the Setup Menu Settings ............. 33
· Resetting All the Menu Settings ........................ 33
Menu Classifications ............................................... 34
· Main Menu ........................................................ 34
· Setup Menu ....................................................... 36
Troubleshooting ....................................................... 38
· Self-diagnostic Indication .................................. 39
Specifications .......................................................... 40
01_03_GM_V42[E].p65
03.5.30, 5:22 PM
1
2
EUROPE EMC STANDARD NOTICE
I GM-V42PCE/GM-V42PCEG/GM-V42S
Warning: This is a class A product. In a domestic environment this product may cause radio interference in which case the
user may be required to take adequate measure.
IMPORTANT INFORMATION
WARNING: TO REDUCE THE RISK OF FIRE AND ELECTRIC SHOCK, DO NOT EXPOSE THIS
APPARATUS TO RAIN, MOISTURE, DRIPPING OR SPLASHING AND THAT NO
OBJECTS FILLED WITH LIQUIDS, SUCH AS VASES, SHALL BE PLACED ON THE
APPARATUS.
IMPORTANT SAFEGUARDS
Electrical energy can perform many useful functions. This unit has been engineered and manufactured to assure
your personal safety. But IMPROPER USE CAN RESULT IN POTENTIAL ELECTRICAL SHOCK OR FIRE
HAZARD. In order not to defeat the safeguards incorporated into this product, observe the following basic rules for
its installation, use and service. Please read these "Important Safeguards" carefully before use.
All the safety and operating instructions should be read before the product is operated.
The safety and operating instructions should be retained for future reference.
All warnings on the product and in the operating instructions should be adhered to.
All operating instructions should be followed.
Unplug this product from the wall outlet before cleaning. Do not use liquid cleaners or aerosol cleaners. Use a damp
cloth for cleaning.
Use a vacuum cleaner to get rid of the dust around the intakes (all the
openings) on the rear. If a vacuum is not available, use a cloth and wipe it off.
Failure to do so will cause internal heat buildup and, therefore, cause damage
to the product.
Do not use attachments not recommended by the product manufacturer as they
may be hazardous.
Do not use this product near water. Do not use immediately after moving from a
low temperature to high temperature, as this causes condensation, which may
result in fire, electric shock, or other hazards.
Do not place this product on an unstable cart, stand, or table. The product may fall, causing serious injury to a child or
adult, and serious damage to the product. The product should be mounted according to the manufacturer's instructions,
and should use a mount recommended by the manufacturer.
When the product is used on a cart, care should be taken to avoid quick stops, excessive force, and
uneven surfaces which may cause the product and cart to overturn, damaging equipment or causing
possible injury to the operator.
Slots and openings in the cabinet are provided for ventilation. These ensure reliable operation of the
product and protect it from overheating. These openings must not be blocked or covered. (The openings
should never be blocked by placing the product on bed, sofa, rug, or similar surface. It should not be placed in a built-in
installation such as a bookcase or rack unless proper ventilation is provided and the manufacturer's instructions have
been adhered to.)
For proper ventilation, separate the product from other equipment, which may prevent ventilation and keep distance
more than 10 cm.
This product should be operated only with the type of power source indicated on the label. If you are not sure of the
type of power supply to your home, consult your product dealer or local power company.
Safety Precautions
01_03_GM_V42[E].p65
03.5.30, 5:22 PM
2
3
ENGLISH
For United Kingdom: This product is equipped with a three-wire plug. This plug will fit only into a grounded power outlet.
If you are unable to insert the plug into the outlet, contact your electrician to install the proper outlet. Do not defeat the
safety purpose of the grounded plug.
Power-supply cords should be routed so that they are not likely to be walked on or pinched by items placed upon or
against them. Pay particular attention to cords at doors, plugs, receptacles, and the point where they exit from the product.
For added protection of this product during a lightning storm, or when it is left unattended and unused for long periods
of time, unplug it from the wall outlet and disconnect the cable system. This will prevent damage to the product due to
lightning and power line surges.
Do not overload wall outlets, extension cords, or convenience receptacles on other equipment as this can result in a
risk of fire or electric shock.
Never push objects of any kind into this product through openings as they may touch dangerous voltage points or short
out parts that could result in a fire or electric shock. Never spill liquid of any kind on the product.
Do not attempt to service this product yourself as opening or removing covers may expose you to dangerous voltages
and other hazards. Refer all service to qualified service personnel.
Unplug this product from the wall outlet and refer service to qualified service personnel under the following conditions:
a) When the power supply cord or plug is damaged.
b) If liquid has been spilled, or objects have fallen on the product.
c) If the product has been exposed to rain or water.
d) If the product operated normally by following the operating instructions. Adjust only those controls that are covered
by the Operation Manual, as an improper adjustment of controls may result in damage and will often require
extensive work by a qualified technician to restore the product to normal operation.
e) If the product has been dropped or damaged in any way.
f) When the product exhibits a distinct change in performance this indicates a need for service.
When replacement parts are required, be sure the service technician has used replacement parts specified by the
manufacturer or with same characteristics as the original part. Unauthorized substitutions may result in fire, electric
shock, or other hazards.
Upon completion of any service or repairs to this product, ask the service technician to perform safety checks to
determine that the product is in proper operating condition.
The product should be placed more than 30 cm away from heat sources such as radiators, heat registers, stoves, and
other products (including amplifiers) that produce heat.
When connecting other products such as VCR's, and personal computers, you should turn off the power of this product
for protection against electric shock.
Do not place combustibles behind the cooling fan. For example, cloth, paper, matches, aerosol cans or gas lighters that
present special hazards when over heated.
Use only the accessory cord designed for this product to prevent shock.
Do not touch the handles on the rear soon after many hours of continuous use. They are so hot and will cause a burn on
the hand. If you need to touch the handles, for example, to move the product, wait until the handles are cooled enough.
Option terminal: This terminal is intended exclusively to be used to drive the fan motor.
Do not connect any plugs to the terminal other than JVC's recommended optional parts.
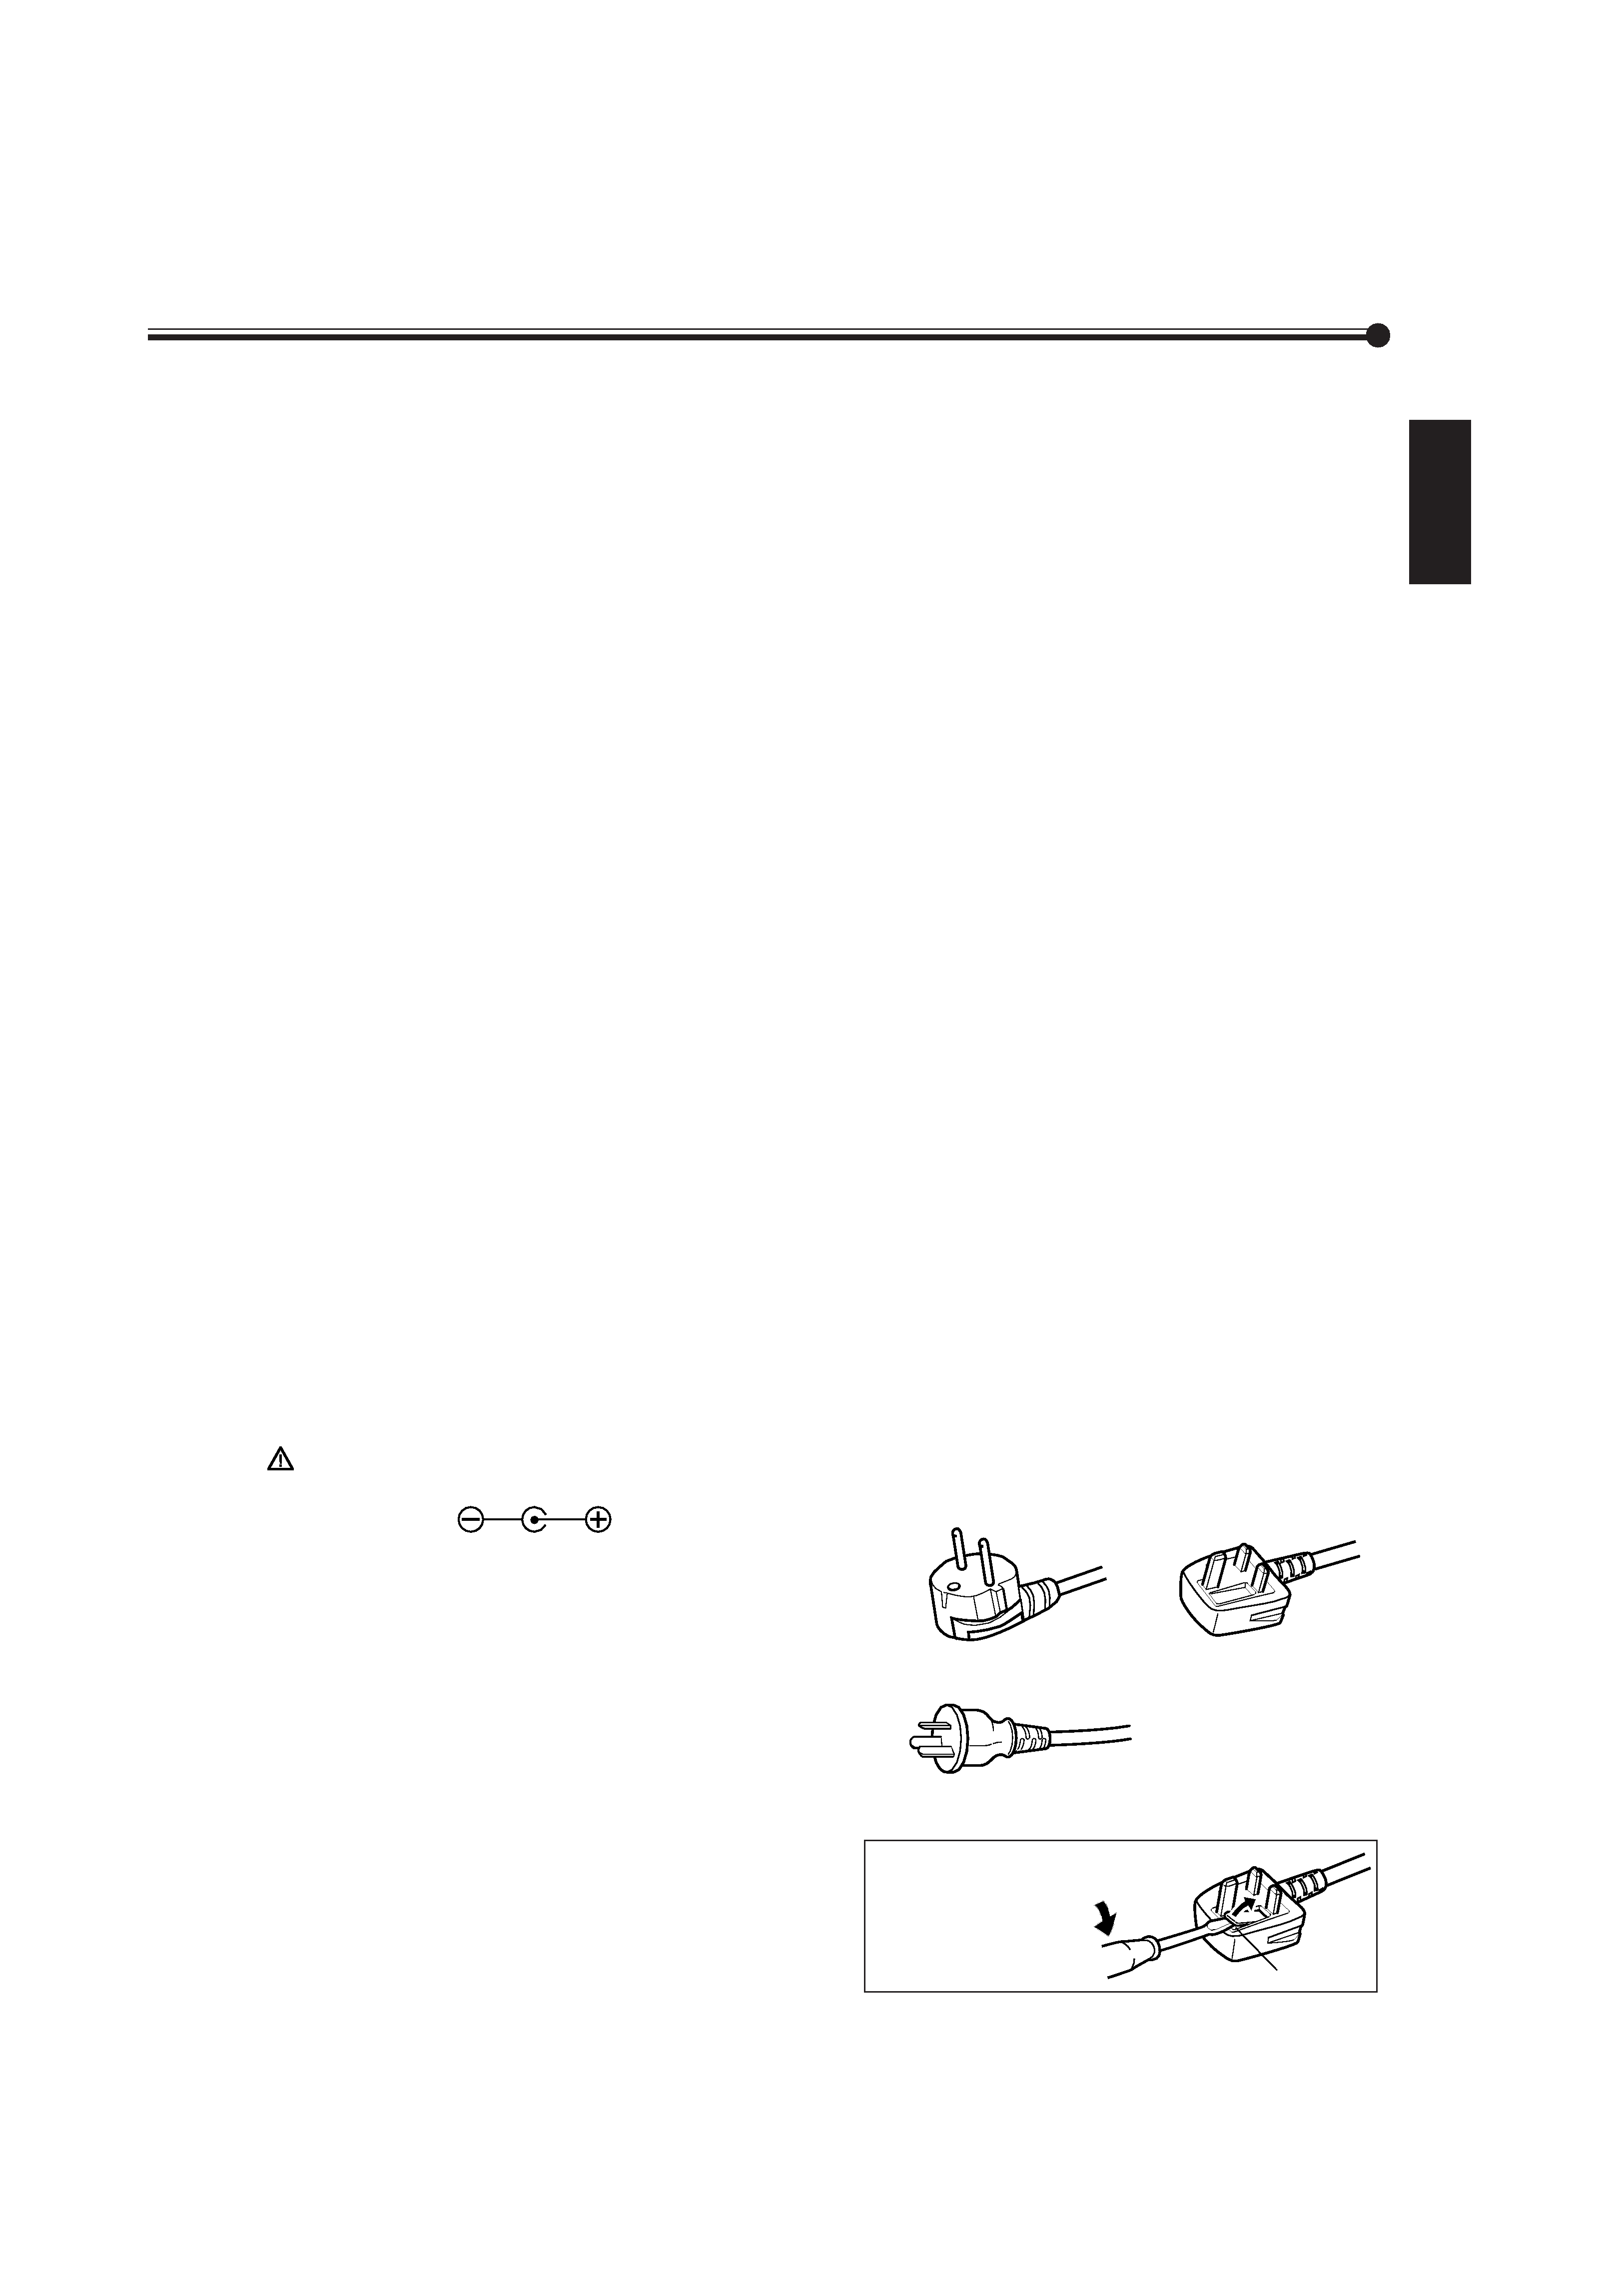
Polarity of terminal
POWER CONNECTION
The power supply voltage rating of this product is AC 220 240 V.
The power cords attached conform to the following power supply
voltage and countries. Use only the power cord designated to ensure
Safety and EMC regulations of each country.
Note for the United Kingdom power cord only
The plug on the United Kingdom power cord has a built-in fuse.
When replacing the fuse, be sure to use only a correctly rated
approved type, re-fit the fuse cover. (Consult your dealer or qualified
service personnel.)
How to replace the fuse
Open the fuse
compartment with the
blade screw driver, and
replace the fuse.
Fuse
For United Kingdom:
AC 220 240 V
For European countries:
AC 220 240 V
For Australia:
AC 220 240 V
01_03_GM_V42[E].p65
03.5.30, 5:22 PM
3