POCKETSTUDIO 5
4-Track Recorder/MIDI Arranger/MP3 Encoder
GETTING STARTED
CAUTION: TO REDUCE THE RISK OF ELECTRIC SHOCK, DO NOT
REMOVE COVER (OR BACK). NO USER-SERVICEABLE PARTS
INSIDE. REFER SERVICING TO QUALIFIED SERVICE PERSONNEL.
The exclamation point within an equilateral triangle is intended to alert the user to the pres-
ence of important operating and maintenance (servicing) instructions in the literature
accompanying the appliance.
The lightning flash with arrowhead symbol, within an equilateral triangle, is intended to alert
the user to the presence of uninsulated "dangerous voltage" within the product's enclosure
that may be of sufficient magnitude to constitute a risk of electric shock to persons.
This appliance has a serial number
located on the rear panel. Please record
the model number and serial number
and retain them for your records.
Model number
Serial number
Ü
ÿ
Y
WARNING: TO PREVENT FIRE OR SHOCK
HAZARD, DO NOT EXPOSE THIS
APPLIANCE TO RAIN OR MOISTURE.
D00649020A

Table of Contents
2 TASCAM Pocketstudio 5 Getting Started
1 Welcome
About this manual.......................................3
What's in the box? ......................................3
Powering up the Pocketstudio 5 ................4
The AC adaptor............................................... 4
Using batteries ............................................... 4
2 About multitrack recording
Cards and memory ......................................... 5
Multi-track recording ..................................5
Tone generator rhythm ............................. 5
Tone generator MIDI files .......................... 5
Punching ..................................................... 5
Mixdown ..................................................... 5
Effects ......................................................... 6
3 Parts of the Pocketstudio 5
Rear panel ....................................................7
Front panel...................................................7
Right panel...................................................8
Top panel .....................................................9
Navigating around the Pocketstudio 5......10
The "home" screen ......................................... 10
The menus....................................................... 11
The wheel ....................................................... 11
Enter and exit ("Yes" and "no") .................... 11
MENU .............................................................. 11
Function key ................................................... 11
The cursor pad ................................................ 12
Naming songs, etc. ......................................... 12
4 Basic use of the Pocketstudio 5
Playback ...................................................... 13
Stopping ..................................................... 13
Recording .................................................... 13
Fast forward and rewind ........................... 13
Special location (RTZ) ................................. 13
Special location (LRP) ................................. 13
Patching and routing on the
Pocketstudio 5 ..........................................13
Routing an input to a track ........................... 14
Track bouncing ............................................... 14
Routing on mixdown ..................................... 14
Marks ...............................................................14
Punch recording ..............................................14
Editing data .....................................................14
5 Your first song using the
Pocketstudio 5
Before you start recording .............................15
Setting up a new song to record into ...........15
Setting up the rhythm ....................................16
Selecting the pattern ..................................16
Adding the rhythm guitar ..............................16
Tuning the guitar ............................................17
Adding a guitar effect ....................................17
Adding EQ .......................................................18
Saving the song ..............................................18
Making the recording .....................................19
Adding vocals..................................................19
Adding the lead guitar ...................................20
Mixdown .........................................................20
Transfer to computer......................................22
6 Managing songs and data on your
Pocketstudio 5
Managing songs ......................................... 23
Naming songs .............................................23
Deleting a song from the card ...................23
Using CF cards ............................................. 24
Before you start using a new CF card ...........24
Checking how full the card has become .......24
Optimizing a card............................................25
Connecting the Pocketstudio 5 to a
computer .................................................. 25
Disconnecting the Pocketstudio 5 ............. 25
Windows 98(SE) ..........................................25
Windows Me/Windows 2000
/Windows XP ...........................................25
Macintosh ....................................................25
Exiting USB mode (any system) .................25
Pocketstudio files........................................ 26
How to share your Pocketstudio 5 files .... 26
Some notes on keeping files..........................26

TASCAM Pocketstudio 5 Getting Started
3
1 Welcome
Welcome to the TASCAM Pocketstudio 5. This
exciting device allows you to record yourself and
friends, and to build up a multitrack recording and
mix down to a stereo mix, adding effects such as
reverb and delay, just like a professional recording
studio.
All of the recording and mixing is done digitally, in
memory, so the Pocketstudio 5 has no tapes or discs
to wear out or replace. It uses easily-obtainable, reus-
able CompactFlashTM cards, which hold a large
amount of data.
If the card becomes full, you can connect the Pocket-
studio 5 to your computer, and store the data from the
Pocketstudio 5 on your computer's hard disk.
The Pocketstudio 5 uses the MP3 format to record
and store the finished mix files, allowing you to share
your finished files with a whole world of other musi-
cians using the Internet.
In addition to being able to record your voice and
instruments, the Pocketstudio 5 also contains a full
MIDI (GM standard) tone generator. You can use this
tone generator to produce backing tracks for your
music using a wide variety of patterns supplied with
the Pocketstudio 5, or you can import standard MIDI
files and play over the top of them.
About this manual
This manual is intended to get you started and work-
ing easily with your Pocketstudio 5.
It does not contain all the information about the
Pocketstudio 5. You can find more detailed explana-
tions of many of the functions, as well as lists of
effects in the Reference Manual contained on the
CD-ROM which comes with your Pocketstudio 5.
To read this manual, which is in PDF format, you
will need a copy of Adobe Acrobat Reader 5.0 (or the
full Adobe Acrobat 5.0 program). Your computer
may already have this software installed. If it does
not, there is a copy of the Acrobat Reader 5.0
installer provided on the CD-ROM.
You should refer to the "electronic" manual (which
of course, you can print out, should you wish to do
so), for detailed explanations of some of the func-
tions which are described in this quick manual.
Read through this manual for an overview of the
Pocketstudio 5.
1, "Welcome" This section.
2, "About multitrack recording" With spe-
cial reference to the Pocketstudio 5
3, "Parts of the Pocketstudio 5" And some
notes on menu, etc. operations. READ THIS SEC-
TION, otherwise the rest of the manual, and the
Pocketstudio 5 itself will not make sense!
4, "Basic use of the Pocketstudio 5" Some
basic functions explained. READ THIS to learn what
the Pocketstudio 5 can do for you.
5, "Your first song using the Pocketstudio
5" An example song. We strongly suggest that you
work through this example to learn the way of work-
ing with the Pocketstudio 5 to create music.
6, "Managing songs and data on your
Pocketstudio 5" Songs, memory cards and con-
nection to your computer.
What's in the box?
When you open the Pocketstudio 5 package, you
should also find in the box:
· The Pocketstudio 5 itself, with a CompactFlash
card installed.
· An AC adaptor
· A stereo headphone/microphone headset
·This guide (Getting Started)
· A CD-ROM containing the Reference Manual,
reader software, and various utilities and data to
help you with the Pocketstudio 5
If any of these items are missing, or appear damaged,
contact your TASCAM dealer.

1 Welcome
4 TASCAM Pocketstudio 5 Getting Started
Powering up the Pocketstudio 5
The Pocketstudio 5 has two methods of receiving
power: from six dry-cell batteries, or from the sup-
plied AC adaptor.
The on/off switch is located on the "rear panel",
together with the AC adaptor input, the USB jack and
the MIDI IN jack.
Slide the switch towards the AC adaptor jack (ON is
towards the center) to turn on the Pocketstudio 5. The
display lights and a welcome message appears
briefly before the home screen is shown.
NOTE
In this manual, we use the term "top panel" to refer to
the main colored control surface with the display and
the control keys, "front panel" to refer to the surface
with the input jacks and level controls, and "rear panel"
to refer to the surface with the MIDI, USB and power
connector and switches.
The AC adaptor
When using the Pocketstudio 5 with the AC adaptor:
Make sure that you only use the Pocketstudio 5 with
the AC adaptor supplied with it. If you use any other
AC adaptor, there is a serious risk of damage to the
Pocketstudio 5.
Make sure that the voltage of your AC supply
matches the voltage requirements printed on the
Pocketstudio 5 AC adaptor. If you are in any doubt,
consult a qualified expert.
Disconnect the AC adaptor from the power supply
when you are not using it, but note the following:
Even when the Pocketstudio 5 is plugged into the AC
adapter, there is a slight drain on the batteries.
If the Pocketstudio 5 becomes unplugged from the
AC power supply, the batteries will be used unless
the power is turned off.
In order to avoid draining the batteries by mistake,
always turn off the power on the Pocketstudio 5
before disconnecting the adaptor.
NOTE
There is a hook on the bottom of the unit. You should
loop the power cord round this hook to prevent the
Pocketstudio 5 from becoming accidentally discon-
nected from the power when you are using it.
Using batteries
When using batteries with the Pocketstudio 5, note
the following:
· The Pocketstudio 5 requires six AA-type batteries.
· Always remove and replace batteries with the
power to the Pocketstudio 5 turned off.
· Always use the same type of batteries in the Pock-
etstudio 5 at one time. We strongly recommend the
use of alkaline batteries. Standard manganese bat-
teries are not suitable for use with the Pocketstudio
5, as they will not provide sufficient battery life for
use of the unit.
· Although you can use Ni-MH rechargeable batter-
ies (Ni-Cad batteries will not give sufficient life),
you must make sure that all such batteries are
charged together when replacing the batteries.
Always follow the maker's instructions when
charging these batteries. You cannot use the Pock-
etstudio 5 as a charger for these batteries.
· Do not mix different types of batteries, and do not
mix old and new batteries together.
· Always make sure that the batteries are the right
way round (+ and ) as shown by the markings in
the battery compartment.
If the batteries drop below a usable voltage, the Pock-
etstudio 5 shows Low Battery! on the dis-
play. If you see this message, do not attempt to use
the Pocketstudio 5 (there is a risk of losing your
work) replace the batteries as soon as possible and/or
connect the Pocketstudio 5 to the power supply, using
the AC adaptor.
TASCAM Pocketstudio 5 Getting Started
5
2 About multitrack recording
Even if you already know something about multi-
track recording, you may find it useful to read this
section in order to refresh your memory regarding the
basic concepts involved in producing a recording.
This explanation has been written specially with the
Pocketstudio 5 in mind, and some of the ways in
which you work with a Pocketstudio 5 are slightly
different to the way in which you would work with a
tape recorder, for example.
Cards and memory
The Pocketstudio 5 stores all information on standard
CompactFlashTM (CF) cards. Using a USB connec-
tion to a computer, the Pocketstudio 5 containing the
CF card can be used as a hard disk and files trans-
ferred to and from a personal computer.
A 32 MB card is supplied with the unit. Any other
cards must be formatted before use and some files
copied onto it before it can be used by the Pocketstu-
dio 5. See "Managing songs and data on your Pocket-
studio 5" on page 23 for further details.
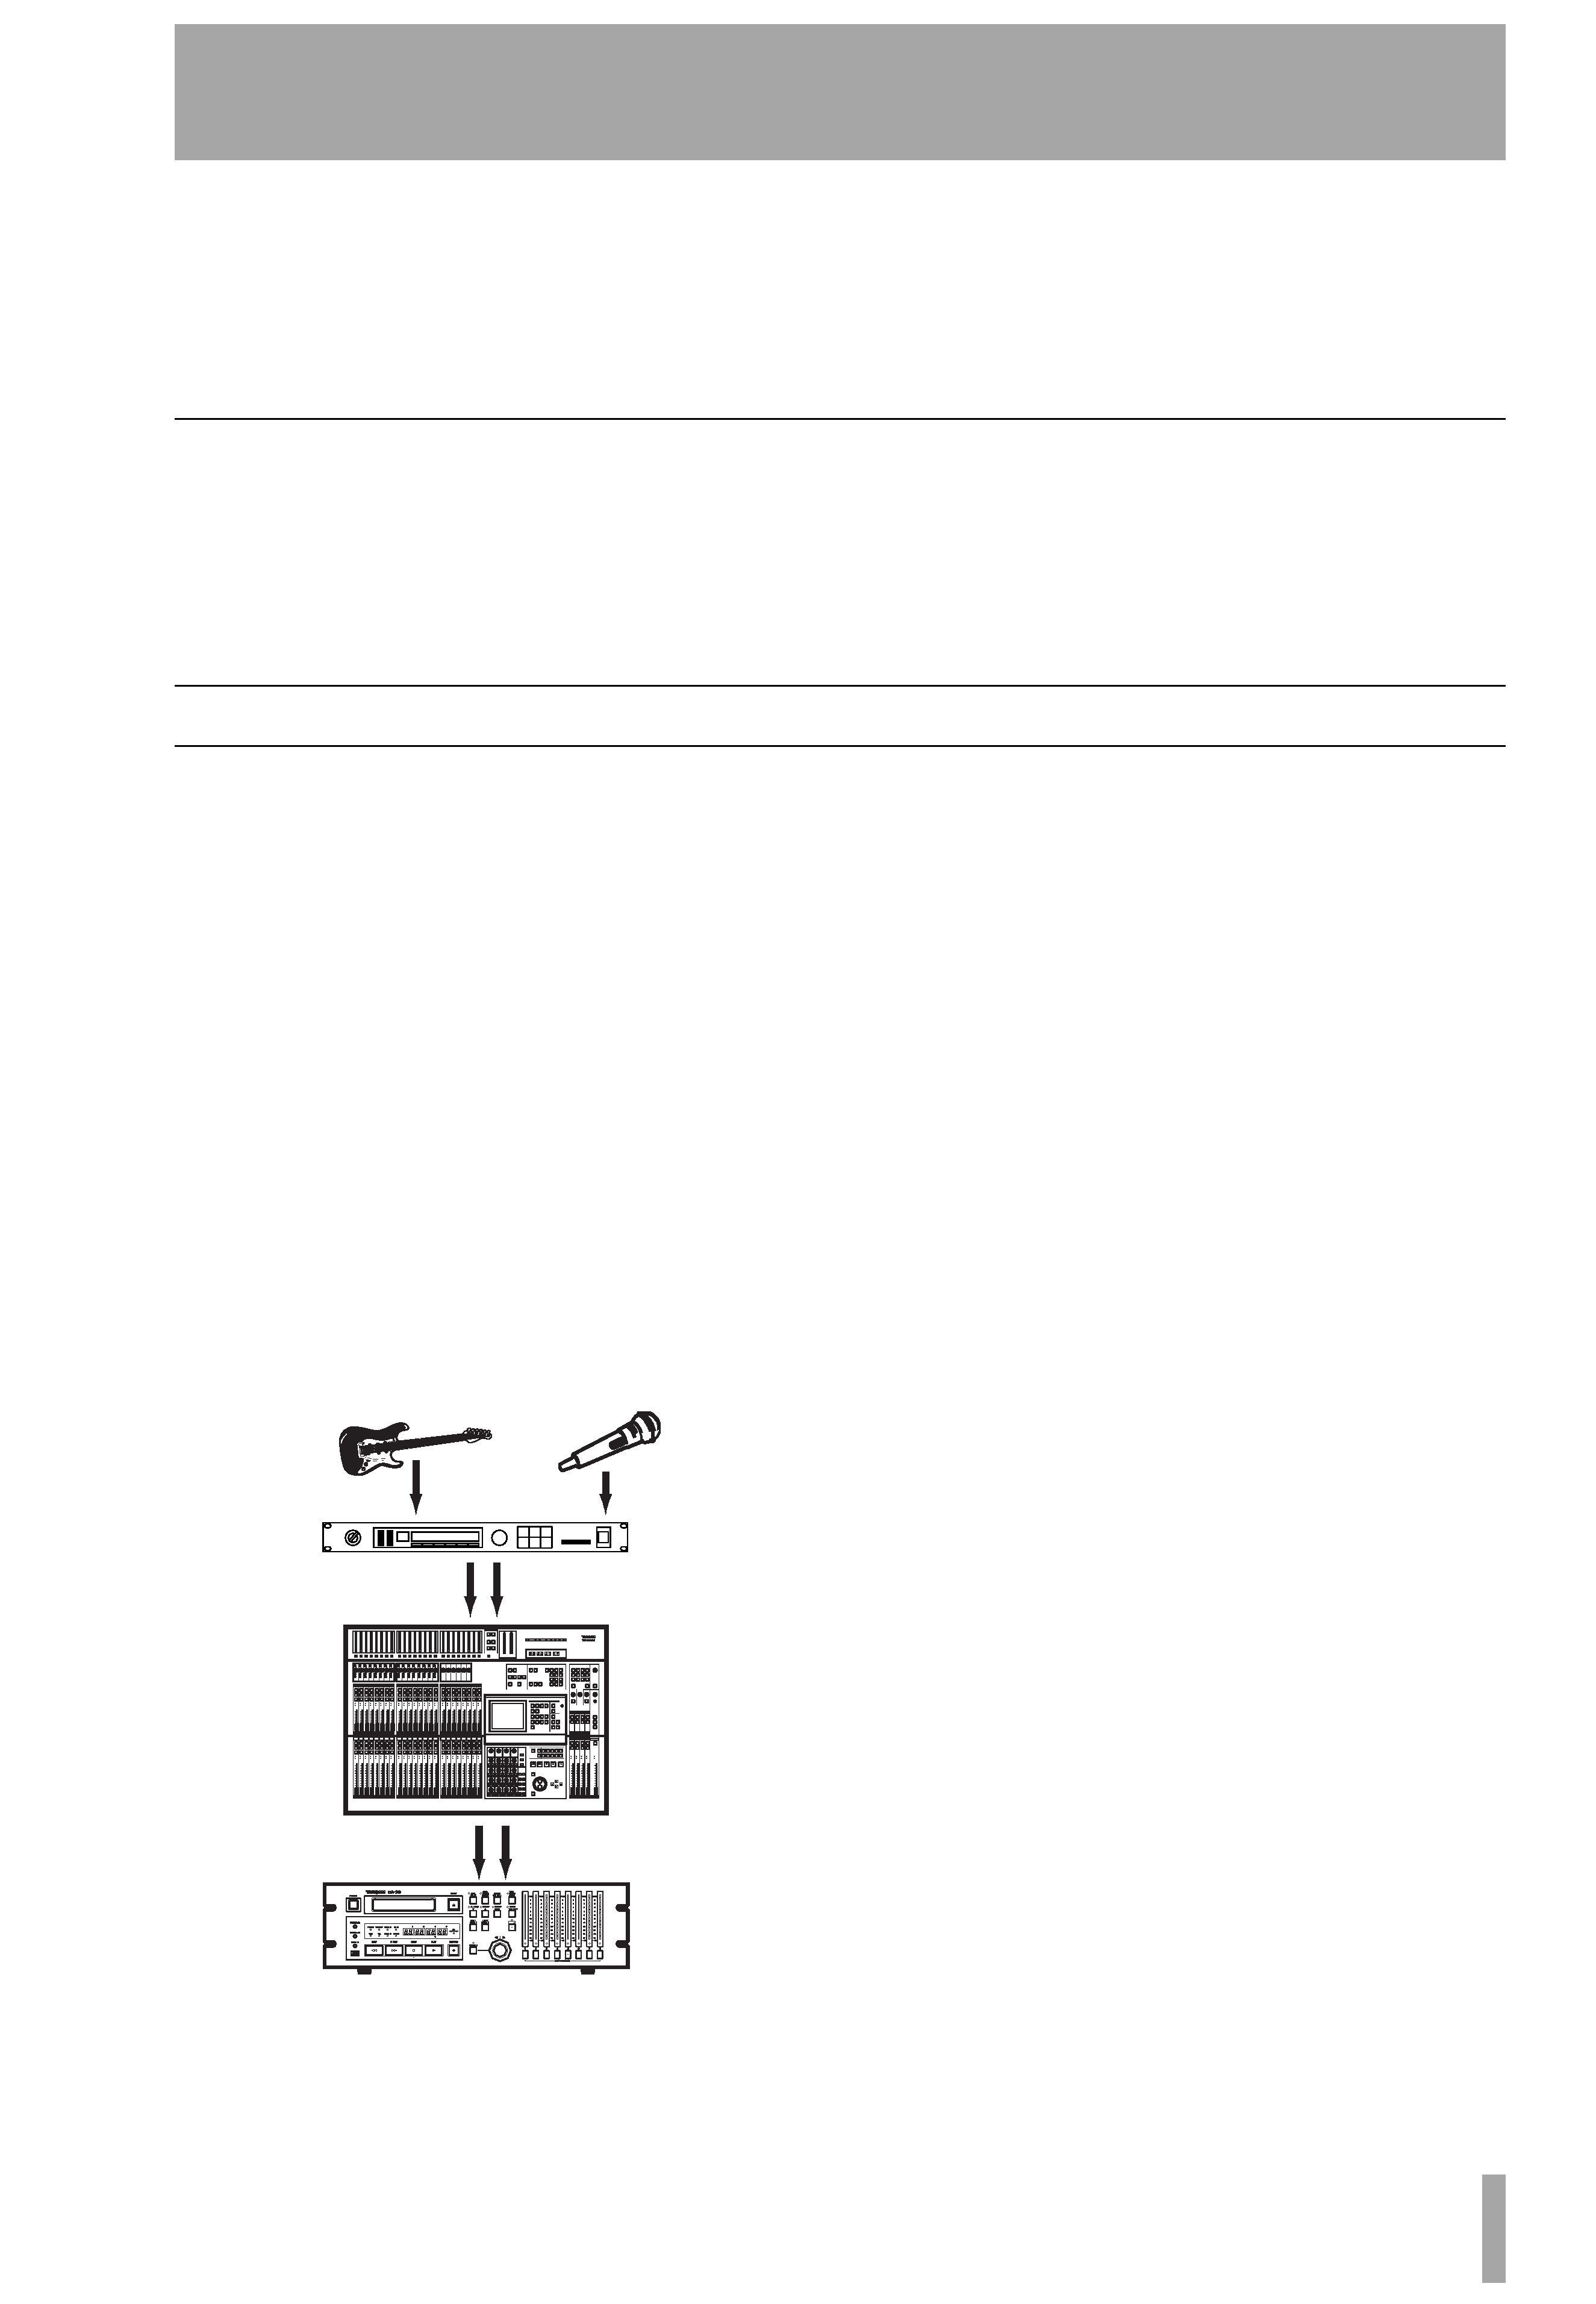
Multi-track recording
You are already familiar with stereo, the standard for
the overwhelming majority of music produced today,
which produces a realistic 3D audio image from two
speakers. Each sound source in the stereo image is
precisely placed (panned) and at the correct volume
relative to the rest.
In order to produce this effect of a sound which is
similar to the one you would hear in real life, there
are two different ways of working: live recording and
multitracking. In live recording, microphones are set
up around the artistes and the performance is
recorded directly to a stereo recorder, as it actually
takes place.
In multitrack recording, the sound is built up a layer
at a time (tracking), usually starting with the rhyth-
mic instruments, and adding others one or two at a
later time (overdubbing).
Working with multitrack has the advantage that if the
lead vocalist, for example, makes a mistake in the
final chorus, the whole band doesn't have to be-
record the whole song. Only the lead vocals have to
be re-recorded (and probably not even for the whole
song).
The Pocketstudio 5 has four tracks you can use for
recording, labelled 1 through 4.
Tone generator rhythm In the Pocketstudio 5,
the rhythm instruments (drums, bass, chords) can be
replaced by the built-in tone generator playing
rhythm patterns. Later, if you want to replace these
instruments with real ones, or add a real sound to the
synthesized sound, you can do this.
Tone generator MIDI files Another way of
achieving the same effect with the Pocketstudio 5 is
to take a standard MIDI data file containing the notes
of the backing for a song and play this as a backing
track to your singing or solo instrumental work (like
karaoke).
Punching If part of a recording is not perfect, it is
possible to play back the recording up to the point
where the mistake occurs, re-record over the mistake
and then stop recording. This is called punching. The
Pocketstudio 5 allows you to punch in and punch out
to correct the little mistakes that creep into all record-
ings (nobody's perfect).
Mixdown Once all the layers are recorded, they
are mixed to stereo (mixdown) and the levels and pan
positions are adjusted so that they sound the way you
want them.