3-865-537-11(1)
Super Audio CD
Player
© 1999 by Sony Corporation
SCD-1
Operating Instructions
Mode d'emploi
GB
FR
2GB
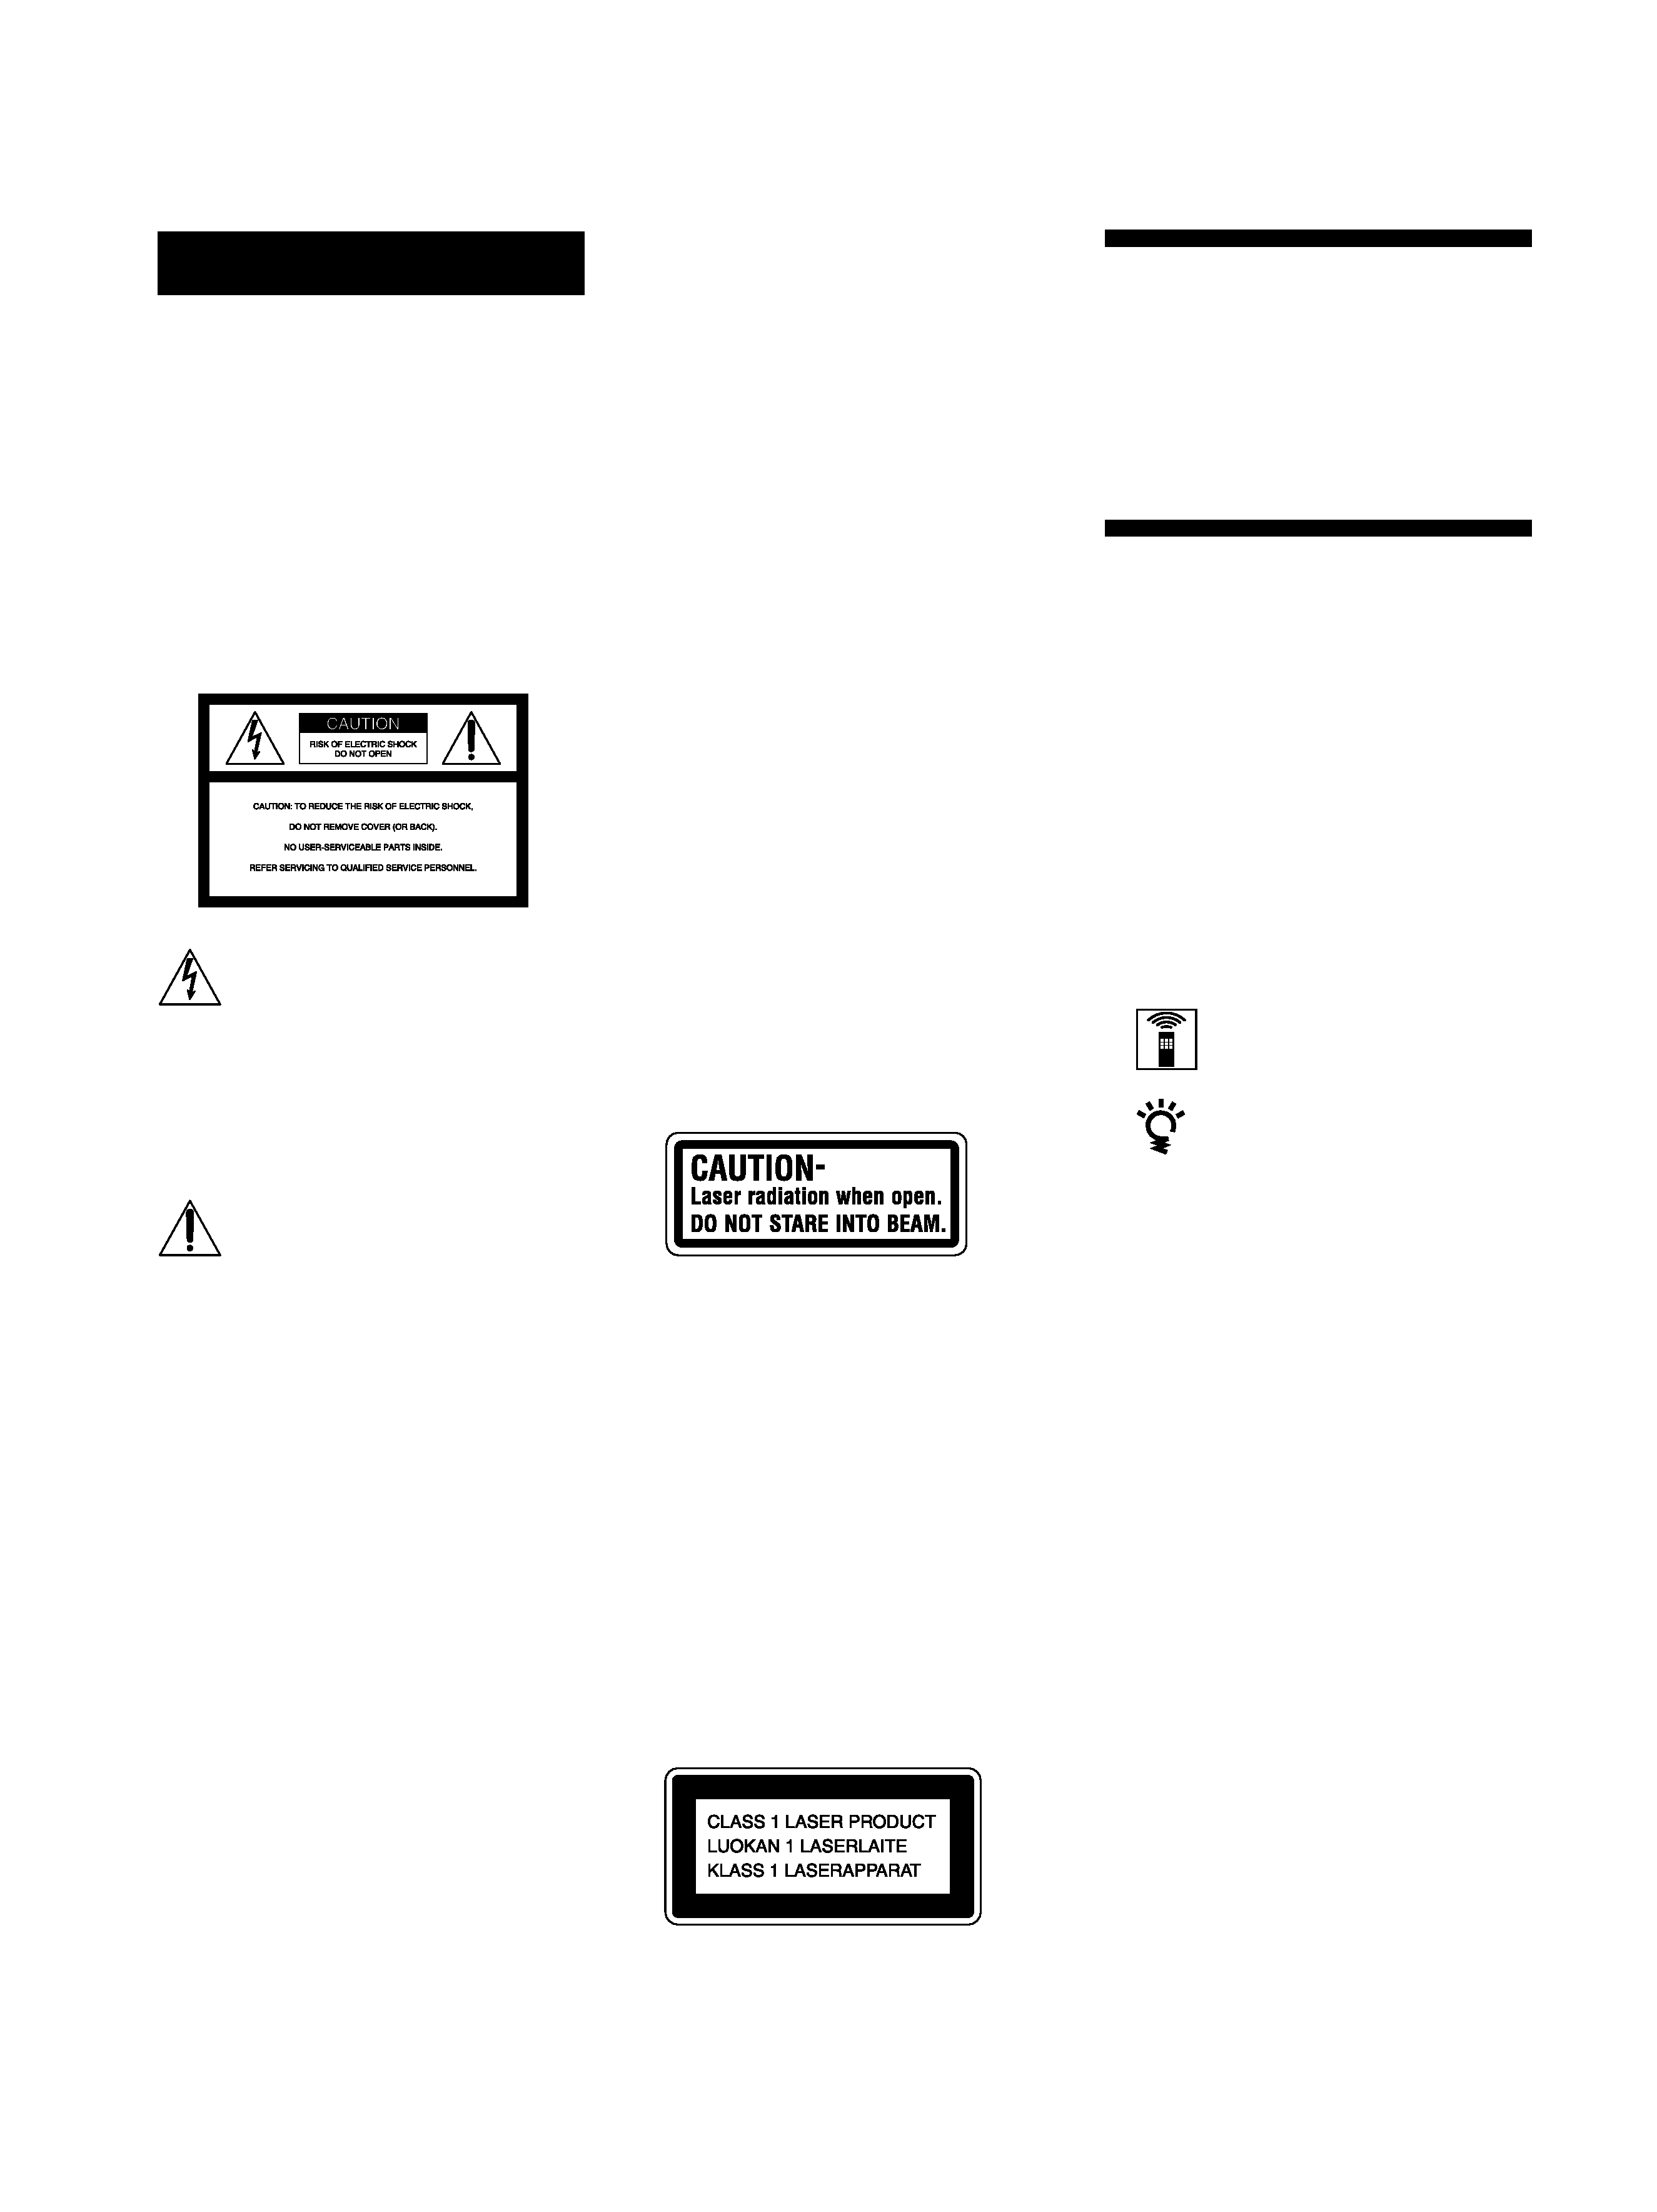
WARNING
To prevent fire or shock
hazard, do not expose the
unit to rain or moisture.
To avoid electrical shock,
do not open the cabinet.
Refer servicing to qualified
personnel only.
Reorient or relocate the receiving
antenna.
Increase the separation between the
equipment and receiver.
Connect the equipment into an outlet
on a circuit different from that to
which the receiver is connected.
Consult the dealer or an experienced
radio/TV technician for help.
CAUTION
You are cautioned that any changes or
modification not expressly approved in
this manual could void your authority to
operate this equipment.
Owner's Record
The model and serial numbers are
located at the rear of the unit.
Record the serial number in the space
provided below. Refer to them whenever
you call upon your Sony dealer
regarding this product.
Model No. SCD-1
Serial No.
_________________________
The following caution label is located
inside of the unit.
This symbol is intended to alert
the user to the presence of
uninsulated "dangerous voltage"
within the product's enclosure
that may be of sufficient
magnitude to constitute a risk of
electric shock to persons.
This symbol is intended to alert
the user to the presence of
important operating and
maintenance (servicing)
instructions in the literature
accompanying the appliance.
INFORMATION
This equipment has been tested and
found to comply with the limits for a
Class B digital device, pursuant to Part
15 of the FCC Rules. These limits are
designed to provide reasonable
protection against harmful interference
in a residential installation. This
equipment generates, uses, and can
radiate radio frequency energy and, if
not installed and used in accordance
with the instructions, may cause harmful
interference to radio communications.
However, there is no guarantee that
interference will not occur in a particular
installation. If this equipment does cause
harmful interference to radio or
television reception, which can be
determined by turning the equipment off
and on, the user is encouraged to try to
correct the interference by one or more of
the following measures:
Welcome!
Thank you for purchasing the Sony Super
Audio CD Player. Before operating the
unit, please read this manual thoroughly
and retain it for future reference.
About This Manual
The instructions in this manual are for
model SCD-1.
Conventions
· Instructions in this manual describe the
controls on the player.
You can also use the controls on the
remote if they have the same or similar
names as those on the player.
· The following icons are used in this
manual:
Indicates that you can do the
task using the remote.
Indicates hints and tips for
making the task easier.
For the customers in the United States
For the customers in Canada
CAUTION
TO PREVENT ELECTRIC SHOCK, DO
NOT USE THIS POLARIZED AC PLUG
WITH AN EXTENSION CORD,
RECEPTACLE OR OTHER OUTLET
UNLESS THE BLADES CAN BE FULLY
INSERTED TO PREVENT BLADE
EXPOSURE.
For the customers in Europe
This appliance is classified as a CLASS 1
LASER product.
The CLASS 1 LASER PRODUCT
MARKING is located on the rear exterior.

3GB
GB
Features
Playback of the Super Audio CD recorded
in the DSD format
The DSD (Direct Stream Digital) format is the core
technology of a Super Audio CD, allowing music
reproduction that is extremely faithful to the original
sound.
The DSD format, using a 2.8224 MHz sampling frequency
64 times higher than that of a conventional CD, and the 1-
bit quantization, makes possible recording of more than
four times the data information of the PCM format which
is used for a conventional CD.
Different from the PCM format which performs data
decimation and interpolation via digital filters, the DSD
format adopts the simple playback process. In other
words, the A/D converted 1-bit digital signal only passes
through an analog low-pass filter before playback.
As a whole, the DSD format achieves both a wide
frequency range of theoretically over 100 kHz, and a wide
dynamic range across the audible frequency range at the
same time, and results in high-quality music reproduction
faithful to the original sound.
To play back a Super Audio CD recorded in the DSD
format with exceptional quality, the SCD-1 employs a
newly developed DSD decoder and D/A converter
system, as well as a chassis and loading mechanism
especially designed for this unit.
Playback of a conventional CD with
higher quality
The SCD-1 can also play back a conventional CD with
higher quality than a conventional CD player. To provide
enhanced quality, the SCD-1 employs various advanced
technologies. For example, two independent optical
pickups are incorporated; one is for Super Audio CDs,
and the other for conventional CDs. In addition, a 24-bit
precision variable coefficient (V.C.) digital filter is
provided for CD playback (see page 19). By selecting one
of five filters which have different cutoff characteristics,
you can adjust the tone quality in accordance with the
music source or your audio system.
Others
· A Super Audio CD can mark up to 255 track/index
numbers. Corresponding to that format, the SCD-1
incorporates a large 3-digit display.
· The supplied remote is capable of controlling either the
SCD-1 and a conventional Sony CD player. (See D
COMMAND MODE selector on page 10 and A CD1/
CD2 selector on page 11.)
TABLE OF CONTENTS
Getting Started
4
Before You Start the Hookup 4
Hooking Up the Audio Components 5
About the Switch Marked "STANDARD" on the
rear panel of the player 6
Hooking Up the Power 6
Compatible Disc Types 7
Location and Functions of Parts
8
Front Panel Parts Descriptions 8
Rear Panel Parts Descriptions 10
Remote Parts Descriptions 11
Playing Discs
12
Playing a Disc 12
Using the Display 13
Locating a Specific Track
15
Locating a Particular Point in a Track 16
Playing Tracks Repeatedly 16
Playing Tracks in Random Order (Shuffle Play) 17
Creating Your Own Programme (Programme
Play) 18
Listening to a CD Using a Filter (Digital Filter
Function) 19
Additional Information
20
Precautions 20
Notes on Discs 21
Cleaning the Turntable 21
Troubleshooting 22
Specifications 22
Index 23
4GB
Getting
Started
This chapter provides information on
the supplied accessories and how to
connect various audio components to
the Super Audio CD player. Be sure
to read this chapter thoroughly before
you actually connect anything to the
player.
Before You Start the
Hookup
Checking the supplied accessories
This player comes with the following items:
· Audio connecting cord
(phono jack
× 2 y phono jack × 2) (1)
· Mains lead (1)
· Plug adapter (U.S.A. and Canadian models only) (1)
· Stabilizer (1)
· Remote commander (remote) RM-DS1 (1)
· R03 (size-AAA) batteries (2)
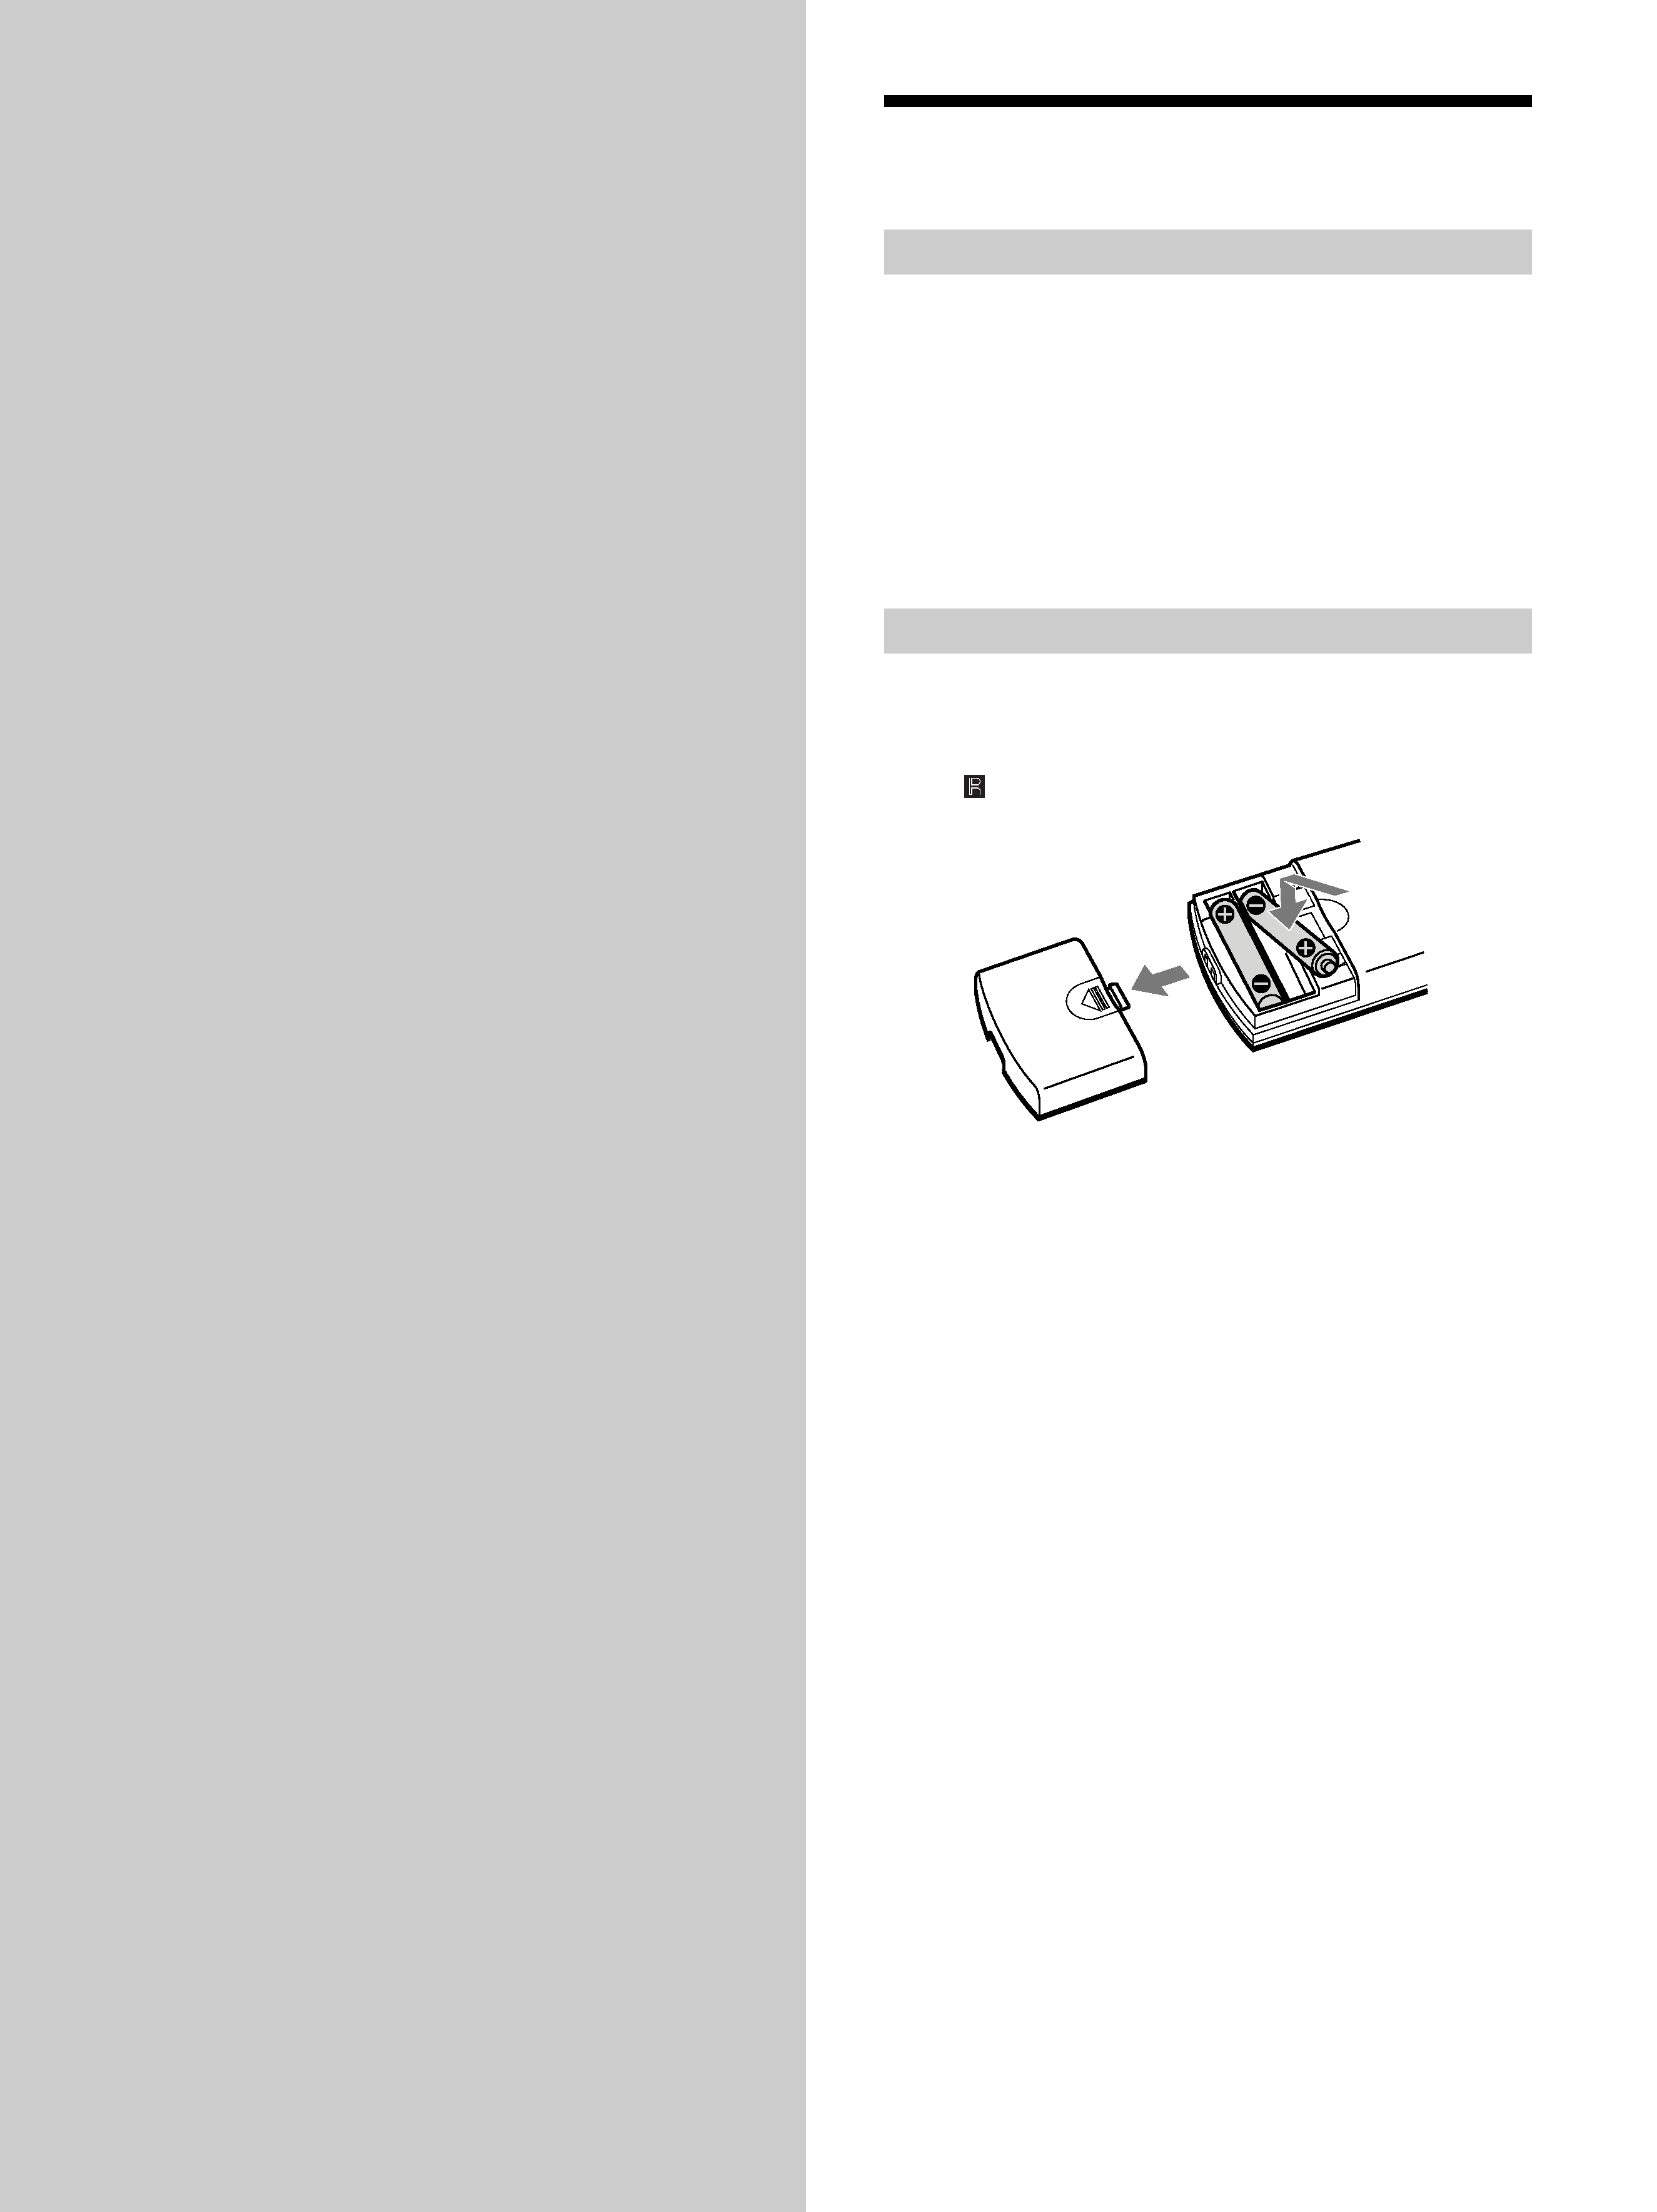
Inserting batteries into the remote
Insert two R03 (size-AAA) batteries into the battery
compartment with the + and correctly oriented to the
markings. When using the remote, point it at the remote
sensor
on the player.
z When to replace the batteries
Under normal conditions, the batteries should last for about six
months. When the remote no longer operates the player, replace
both batteries with new ones.
Notes
· Do not leave the remote in an extremely hot or humid place.
· Do not drop any foreign object into the remote casing,
particularly when replacing the batteries.
· Do not use a new battery with an old one.
· Do not expose the remote sensor to direct sunlight or lighting
apparatus. Doing so may cause a malfunction.
· If you do not intend use the remote for an extended period of
time, remove the batteries to avoid possible damage from
battery leakage and corrosion.
5GB
Getting
Started
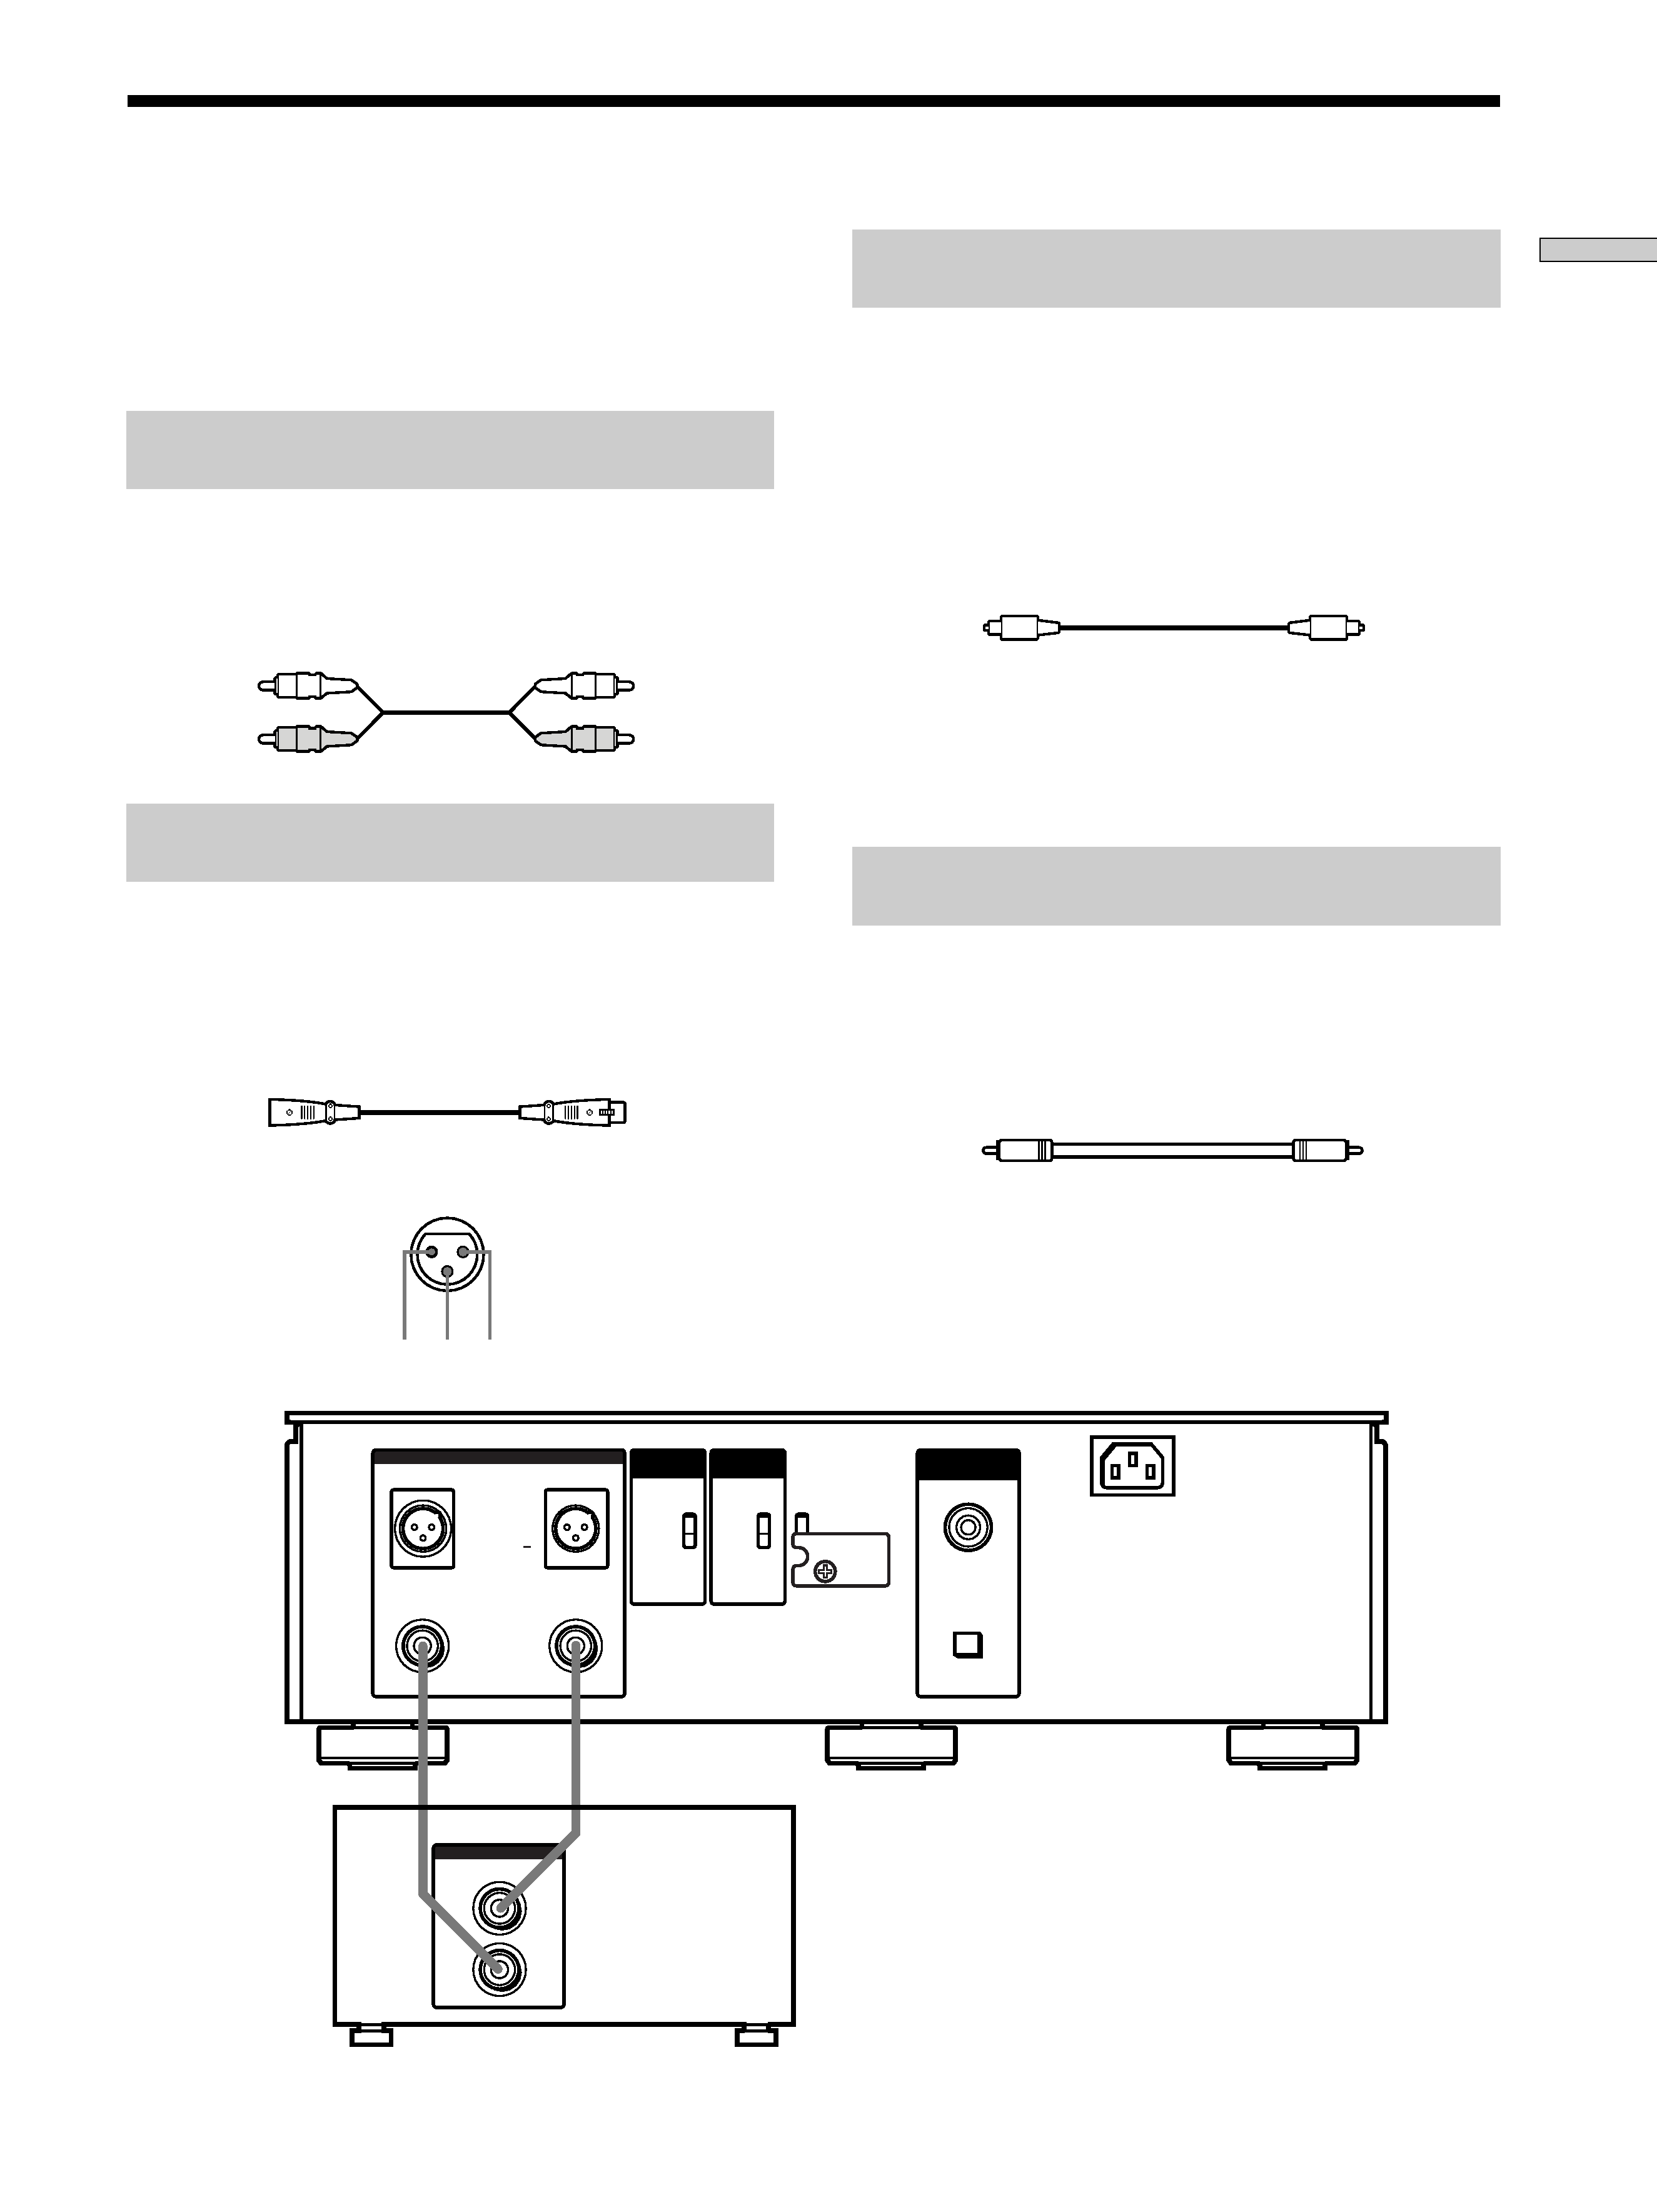
White (L)
Red (R)
R
L
CD
INPUT
COAXIAL
OPTICAL
DIGITAL OUT
CD
~AC IN
LINE OUT (ANALOG)
RL
RL
BALANCED
UNBALANCED
1:GROUND
2:HOT (+)
3:COLD ( )
ON
OFF
CD1
CD2
STANDARD
CUSTOM
TA - E1 / N1
COMMAND
MODE
BALANCED
OUT
Stereo amplifier, etc.
White (L)
Red (R)
1
3
2
Hooking Up the Audio Components
Connect the Super Audio CD player to an audio
component. Be sure to turn off the power of all
components before making connections and connect
securely to prevent noise.
Connecting via LINE OUT UNBALANCED
jacks
Use an audio connecting cord for this connection. Be sure to
match the colour-coded pin to the appropriate jacks: white (left)
to white and red (right) to red.
Audio connecting cord (supplied)
Connecting via LINE OUT BALANCED
connectors
Use an XLR (balanced) cord for this connection. When connecting
an XLR (balanced) cord to the LINE OUT BALANCED
connectors, set the BALANCED OUT ON/OFF switch on the rear
panel of the player to ON.
XLR (balanced) cord (not supplied)
Polarity of LINE OUT BALANCED connector
1: GROUND
2: HOT (+)
3: COLD ()
Connecting via DIGITAL OUT OPTICAL
connector
Use an optical digital cable for this connection. When connecting
the optical digital cable to the DIGITAL OUT OPTICAL
connector, take the cap off the connectors and push the cable
plugs in until they click into place.
Be sure to show "16 bit" in the display by pressing DIGITAL OUT
on the upper side of the player. Be careful not to bend or twist the
optical cable.
Optical digital cable (not supplied)
Note
Only the audio signals of the CD can be output from the
DIGITAL OUT connectors. Those of the Super Audio CD cannot
be output through DIGITAL OUT.
Connecting via DIGITAL OUT COAXIAL
connector
Use a coaxial digital cable to connect the audio components
equipped with coaxial digital input connectors. When connecting
the coaxial digital cable, be sure to show "16 bit" in the display
by pressing DIGITAL OUT on the upper side of the player.
Coaxial digital cable (not supplied)
Note
Only the audio signals of the CD can be output from the
DIGITAL OUT connectors. Those of the Super Audio CD cannot
be output through DIGITAL OUT.