Warning ......................................
Location and Function of Parts
Getting Started ..........................
Recording on MDs ....................
Playing MDs ...............................
Editing Recorded MDs ..............
Other Functions ........................
Operating the MD Recorder
Using a Keyboard ..................
Additinal Information ................
2
6
15
18
27
40
52
55
60
2-347-256-11(1)
© 2000 Sony Corporation
MDS-E10
Operating Instructions
Mini-disc Recorder
TABLE OF CONTENTS
Thank you very much for purchasing this Sony product.
Sony products are designed with safety in mind. If electrical
products are used incorrectly, however, there is a risk of death
or serious injury, so be sure to obey the following to avoid
accidents.

Notice for the Customers in
the United Kingdom
IMPORTANT
The wires in this mains lead are
coloured in accordance with the
following code:
Blue:
Neutral
Brown: Live
As the colours of the wires in the mains
lead of this apparatus may not
correspond with the coloured markings
identifying the terminals in your plug,
proceed as follows:
The wire which is coloured blue must
be connected to the terminal which is
marked with the letter N or coloured
black.
The wire which is coloured brown
must be connected to the terminal
which is marked with the letter L or
coloured red. Do not connect either
wire to the earth terminal in the plug
which is marked by the letter E or by
the safety earth symbol I or coloured
green or green-and-yellow.
For customers in the U.S.A.
To prevent fire or shock
hazard, do not expose the
unit to rain or moisture.
To avoid electrical shock, do
not open the cabinet. Refer
servicing to qualified
personnel only.
WARNING
For customers in Canada
This ClassB digital apparatus complies
With Canadian ICES-003.
CAUTION
TO PREVENT ELECTRIC SHOCK, DO
NOT USE THS POLARIZED AC PLUG
WITH AN EXTENSION CORD,
RECEPTACLE OR OTHER OUTLET
UNLESS THE BLADES CAN BE
FULLY INSERTED TO PREVENT
BLADE EXPOSURE.
ATTENTION
POUR PREVENIR LES CHOCS
ELECTRIQUES, NE PAS UTILISER
CETTE FICHE POLARISEE AVEC
UNPROLONGATEUR, UNE PRISE DE
COURANT OU UNE AUTRE SORITIE
DE COURANT SAUF SI LES LAMES
PEUVENT ETRE INSEREES A FOND
SANS EN LAISSER AUCUNE PARTIE
A DECOUVERT.
Setting the voltage selector
(voltage selector equipped
models only)
Check that the voltage selector on the
rear panel is set to the local power line
voltage. If not, set the selector to the
correct position using a screwdriver
before connecting the AC power cord to
a wall outlet.
Owner's Record
The model and serial numbers are
located on the rear of the unit. Record
the serial number in the space provided
below. Refer to them whenever you call
upon your Sony dealer regarding this
product.
Model No. ___________
Serial No. ___________
IN NO EVENT SHALL SELLER BE
LIABLE FOR ANY DIRECT,
INCIDENTAL OR
CONSEQUENTIAL DAMAGES OF
ANY NATURE, OR LOSSES OR
EXPENSES RESULTING FROM
ANY DEFECTIVE PRODUCT OR
THE USE OF ANY PRODUCT.
CAUTION
You are cautioned that any changes or
modification not expressly approved in
this manual could void your authority
to operate this equipment.
INFORMATION
This equipment has been tested and
found to comply with the limits for a
Class B digital device, pursuant to Part
15 of the FCC Rules. These limits are
designed to provide reasonable
protection against harmful interference
in a residential installation. This
equipment generates, uses, and can
radiate radio frequency energy and, if
not installed and used in accordance
with the instructions, may cause
harmful interference to radio
communications.
However, there is no guarantee that
interference will not occur in a
particular installation. If this equipment
does cause harmful interference to
radio or television reception, which can
be determined by turning the
equipment off and on, the user is
encouraged to try to correct the
interference by one or more of the
following measures:
· Reorient or relocate the receiving
antenna.
· Increase the separation between the
equipment and receiver.
· Connect the equipment into an outlet
on a circuit different from that to
which the receiver is connected.
· Consult the dealer or an experienced
radio/TV technician for help.
For customers in the Europe.
The laser component in this product
is capable of emitting radiation
exceeding the limit for Class 1.
This appliance is classified as a CLASS
1 LASER product.
The CLASS 1 LASER PRODUCT
MARKING is located on the rear
exterior.
The following caution label is located
inside the unit.
This symbol is intended to alert
the user to the presence of
uninsulated "dangerous
voltage" within the product's
enclosure that may be of
sufficient magnitude to
constitute a risk of electric
shock to persons.
This symbol is intended to alert
the user to the presence of
important operating and
maintenance (servicing)
instructions in the literature
accompanying the appliance.
VOLTAGE
SELECTOR
230V
120V
2

3
Precautions
On safety
· Should any solid object or liquid fall into the cabinet,
unplug the recorder and have it checked by qualified
personnel before operating it any further.
· Caution The use of optical instruments with this
product will increase eye hazard.
On power sources
· Before operating the recorder, check that the
operating voltage of the recorder is identical with
your local power supply. The operating voltage is
indicated on the nameplate at the rear of the
recorder.
· The unit is not disconnected from the AC power
source (mains) as long as it is connected to the wall
outlet, even if the unit itself has been turned off.
· If you are not going to use the recorder for a long
time, be sure to disconnect the recorder from the
wall outlet. To disconnect the AC power cord, grasp
the plug itself; never pull the cord.
· AC power cord must be changed only at the
qualified service shop.
On condensation
If the recorder is brought directly from a cold to a
warm location, or is placed in a very damp room,
moisture may condense on the lenses inside the
recorder. Should this occur, the recorder may not
operate properly. In this case, remove the MD and
leave the recorder turned on for several hours until the
moisture evaporates.
On cleaning
Clean the cabinet, panel and controls with a soft cloth
slightly moistened with mild detergent solution. Do
not use any type of abrasive pad, scouring powder or
solvent such as alcohol or benzine.
If you have any questions or problems concerning
your recorder, please consult your nearest Sony dealer.
4
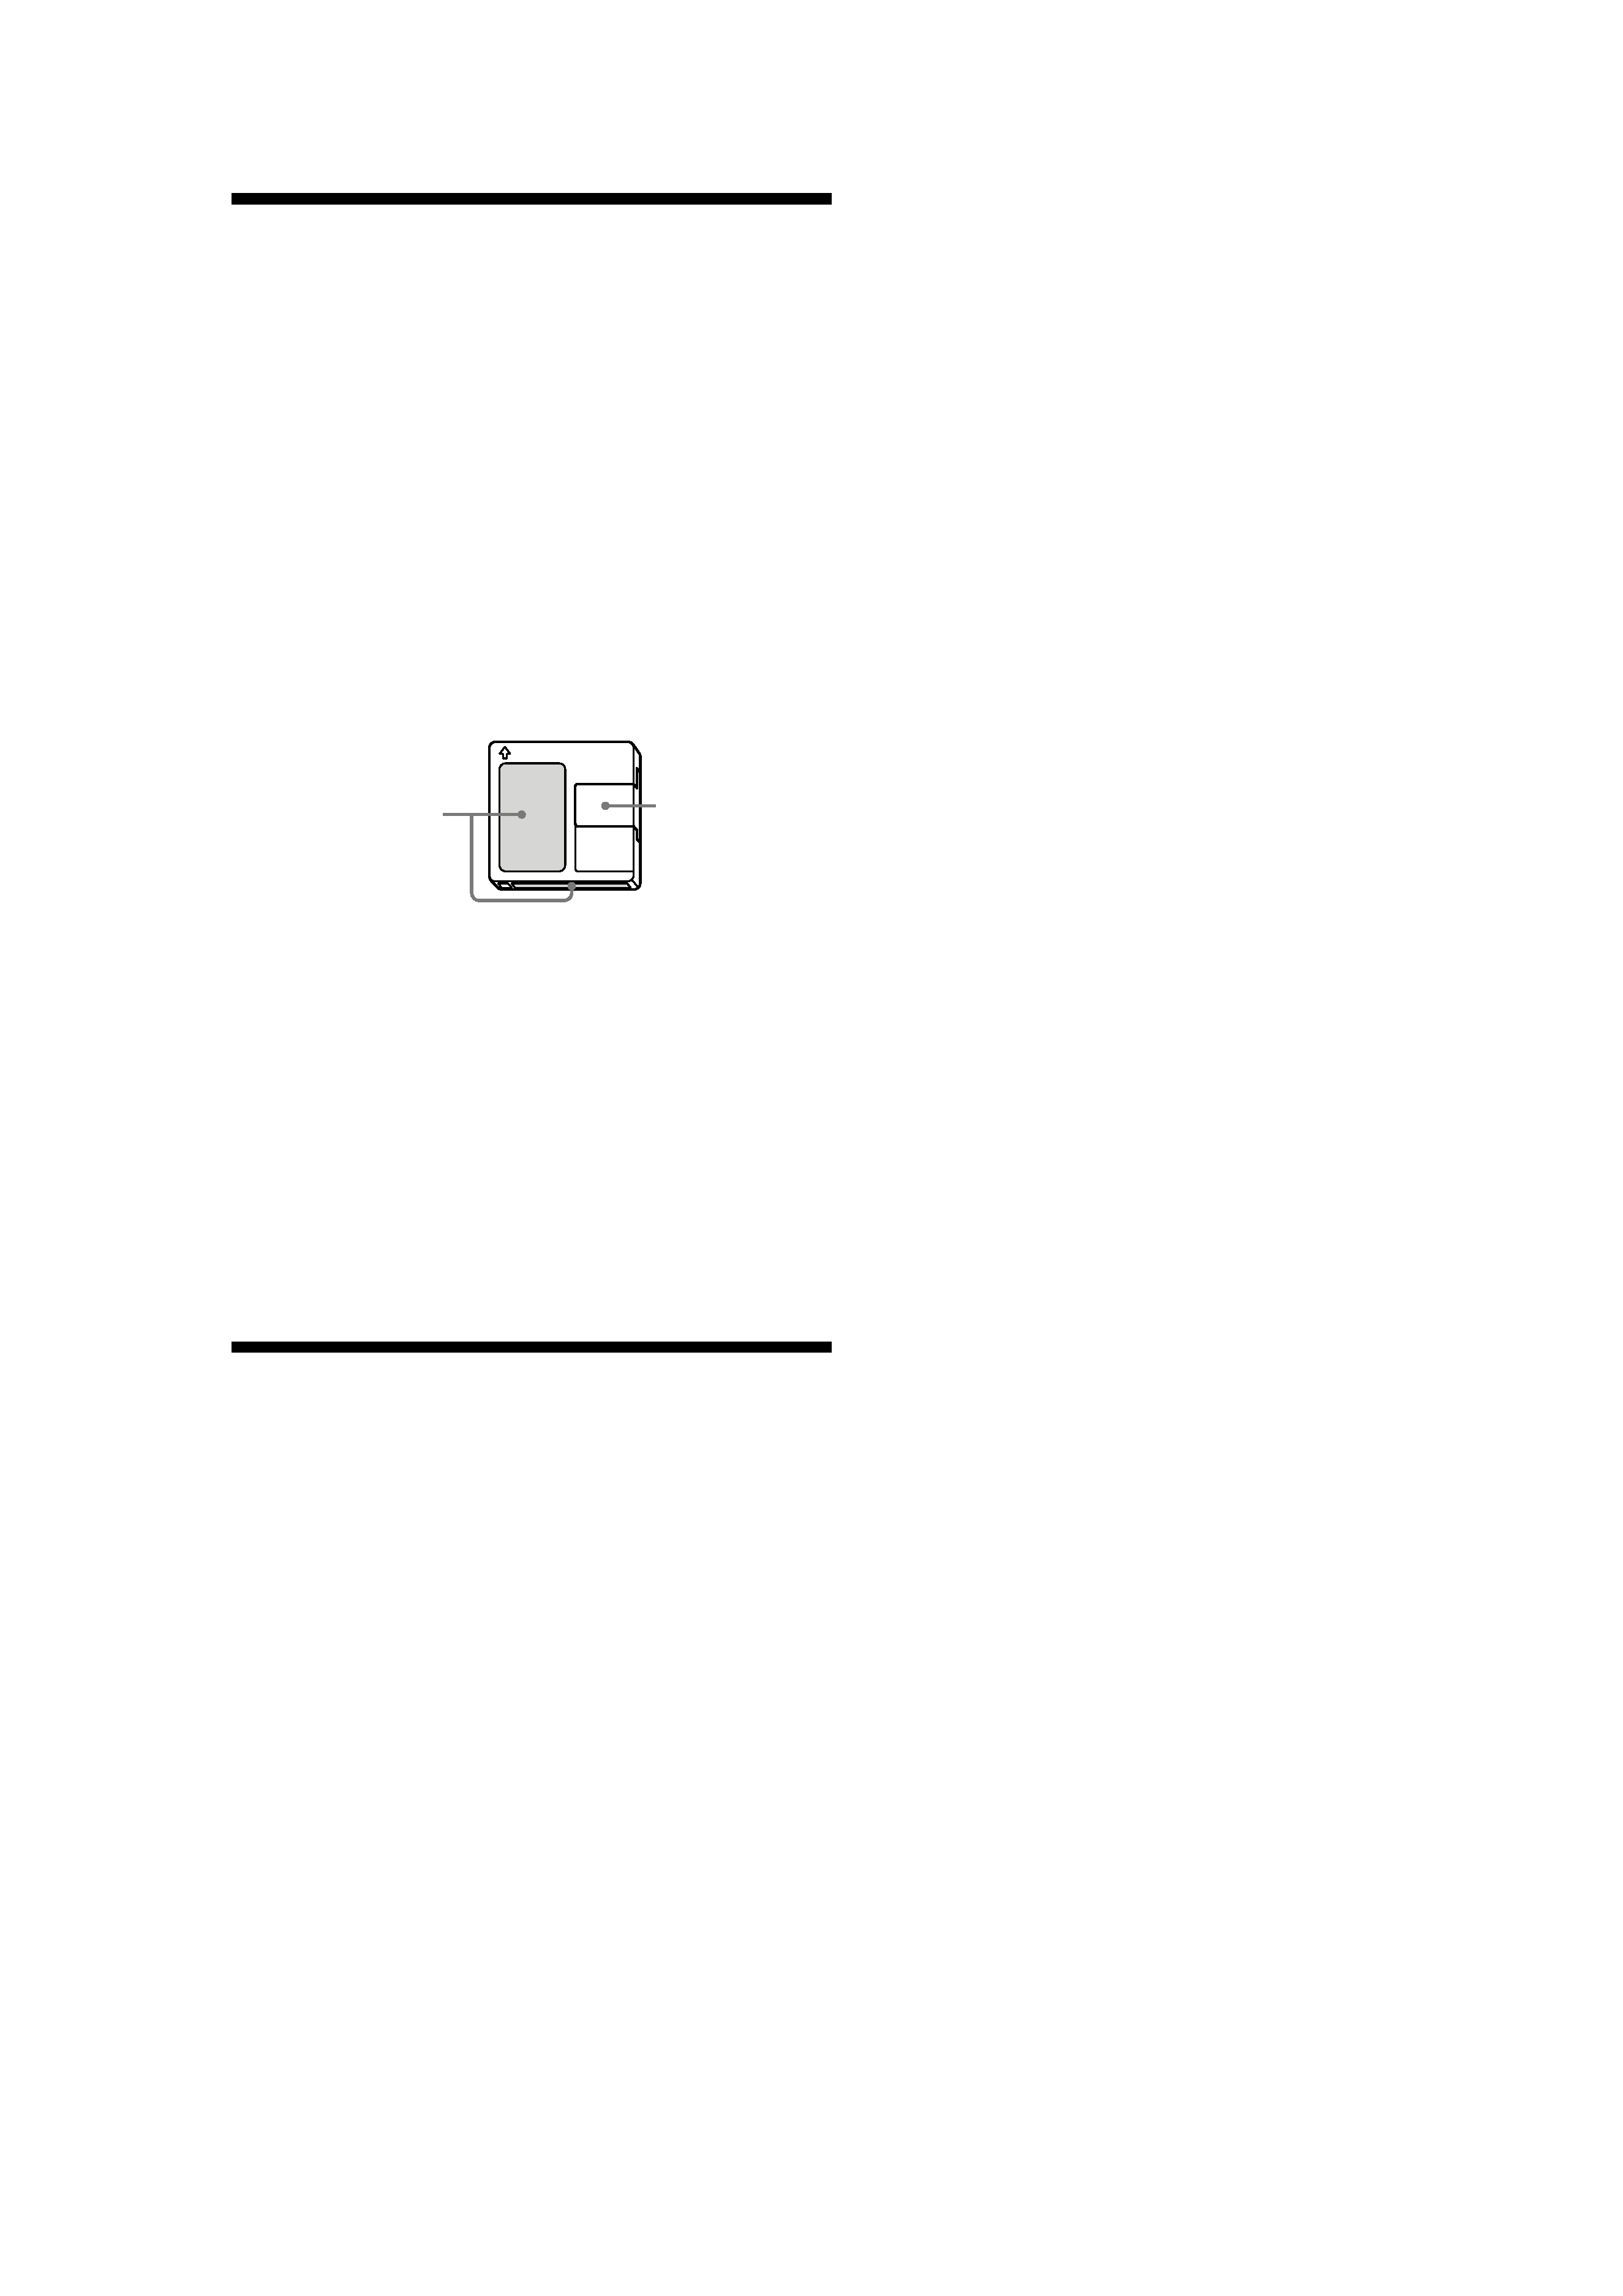
Handling MDs
The MD is enclosed in a cartridge to protect the disc
from debris or fingerprints and to make it easy to
handle. However, the presence of debris or a warped
cartridge may inhibit the disc from operating properly.
To ensure that you can always listen to the highest
quality music, follow the precautions below:
· Do not touch the internal disc directly. Forcing the
shutter open may damage the internal disc.
· Be sure to stick the labels supplied with the md to
the appropriate positions. The shape of the labels
may vary depending on the MD brand.
Where to keep thge MDs
Do not place the cartridge where it may be exposed to
direct sunlight or extremely high heat and humidity.
Regular maintenance
Wipe dust and debris from the surface of the cartridge
with a dry cloth.
Shutter
Proper Location
of the labels
About This Manual
Conventions
· Controls in the instructions are those on the recorder;
these may, however, be substituted by controls on the
remote that are similarly named or, when
different, appear in the instructions within brackets.
· The following icons are used in this manual;
Z
z
Indicates a procedure that
requires use of the remote.
Indicates tips for making the
task easier and hints.

5
Location
and
Function
of
Parts
TABLE OF CONTENTS
Location and Function of Parts ......... 6
Front Panel Descriptions .............................................. 7
Rear Panel Descriptions ................................................ 8
Remote Descriptions ..................................................... 9
Display Window Descriptions ................................... 11
Using the Display Window ........................................ 12
Getting Started ................................ 15
After Unpacking .......................................................... 15
Hooking Up the Audio Components ........................ 16
Recording on MDs ............................ 18
Recording on an MD ................................................... 18
Notes on Recording ..................................................... 19
Recording for a long time ........................................... 20
Adjusting the Recording Level .................................. 21
Recording Tips ............................................................. 22
Marking Track Numbers While Recording
(Track Marking) ...................................................... 23
Starting Recording With 6 Seconds of Prestored
Audio Data (Time Machine Recording) .............. 24
Synchro-recording With the Audio Component of
Your Choice (Music Synchro-recording) ............ 25
Synchro-recording With a Sony CD Player
(CD Synchro-recording) ........................................ 25
Playing MDs ...................................... 27
Playing an MD ............................................................. 27
Playing a Specific Track .............................................. 29
Locating a Particular Point in a Track ....................... 30
Playing Tracks Repeatedly (Repeat Play) ................. 31
Playing Tracks in Random Order (Shuffle Play) ..... 32
Creating Your Own Program (Program Play) ......... 33
Storing the Located Track to Start Play Instantane-
ously (Multi-access Play) ...................................... 34
Setting Play Start Position After Play Is Stopped
(Resume Play) ......................................................... 36
Returning to the Specified Point (Locate Play) ....... 36
Pausing After Each Track (Auto Pause) ................... 37
Making Track Play Start Soon (Auto Cue) ............... 38
Changing the Playback Speed
(Variable Speed Play) ............................................. 39
Editing Recorded MDs ..................... 40
Before you start editing ............................................... 40
Erasing Tracks (ERASE) .............................................. 41
Combining Tracks (COMBINE) ................................. 43
Moving Tracks (MOVE) .............................................. 44
Dividing Tracks (DIVIDE) .......................................... 45
Naming a Track or MD (NAME) ............................... 46
Undoing the Last Edit (UNDO) ................................. 50
Changing Recorded Level after Recording
(S.F Edit) .................................................................. 50
Other Functions ................................ 52
Fade IN and Fade Out ................................................. 52
Notification of the track end and the disc end
(End Of Track/Disc) .............................................. 53
Control terminal functions ......................................... 53
Using a Timer ............................................................... 54
Operating the MD Recorder Using a
Keyboard ........................................... 55
Setting the keyboard ................................................... 55
Naming a Track or MD Using the Keyboard ........... 56
Operating the Recorder Through the Keyboard ..... 57
Assigning Characters to Keyboard Keys .................. 58
Keyboard Operations (English Keyboard Layout) . 59
Keyboard Operations (10-Keyboard Layout) .......... 59
Additional Information.................... 60
System Limitations ...................................................... 60
Trouble shooting .......................................................... 61
Self-Diagnosis Function .............................................. 62
Display Messages ........................................................ 63
Specifications ................................................................ 64
Exterior dimensions .................................................... 65
Setup Menu Table ........................................................ 66
Edit Menu Table ........................................................... 67
Last Mode Memory ..................................................... 67