3-862-548-12 (2)
©1998 by Sony Corporation
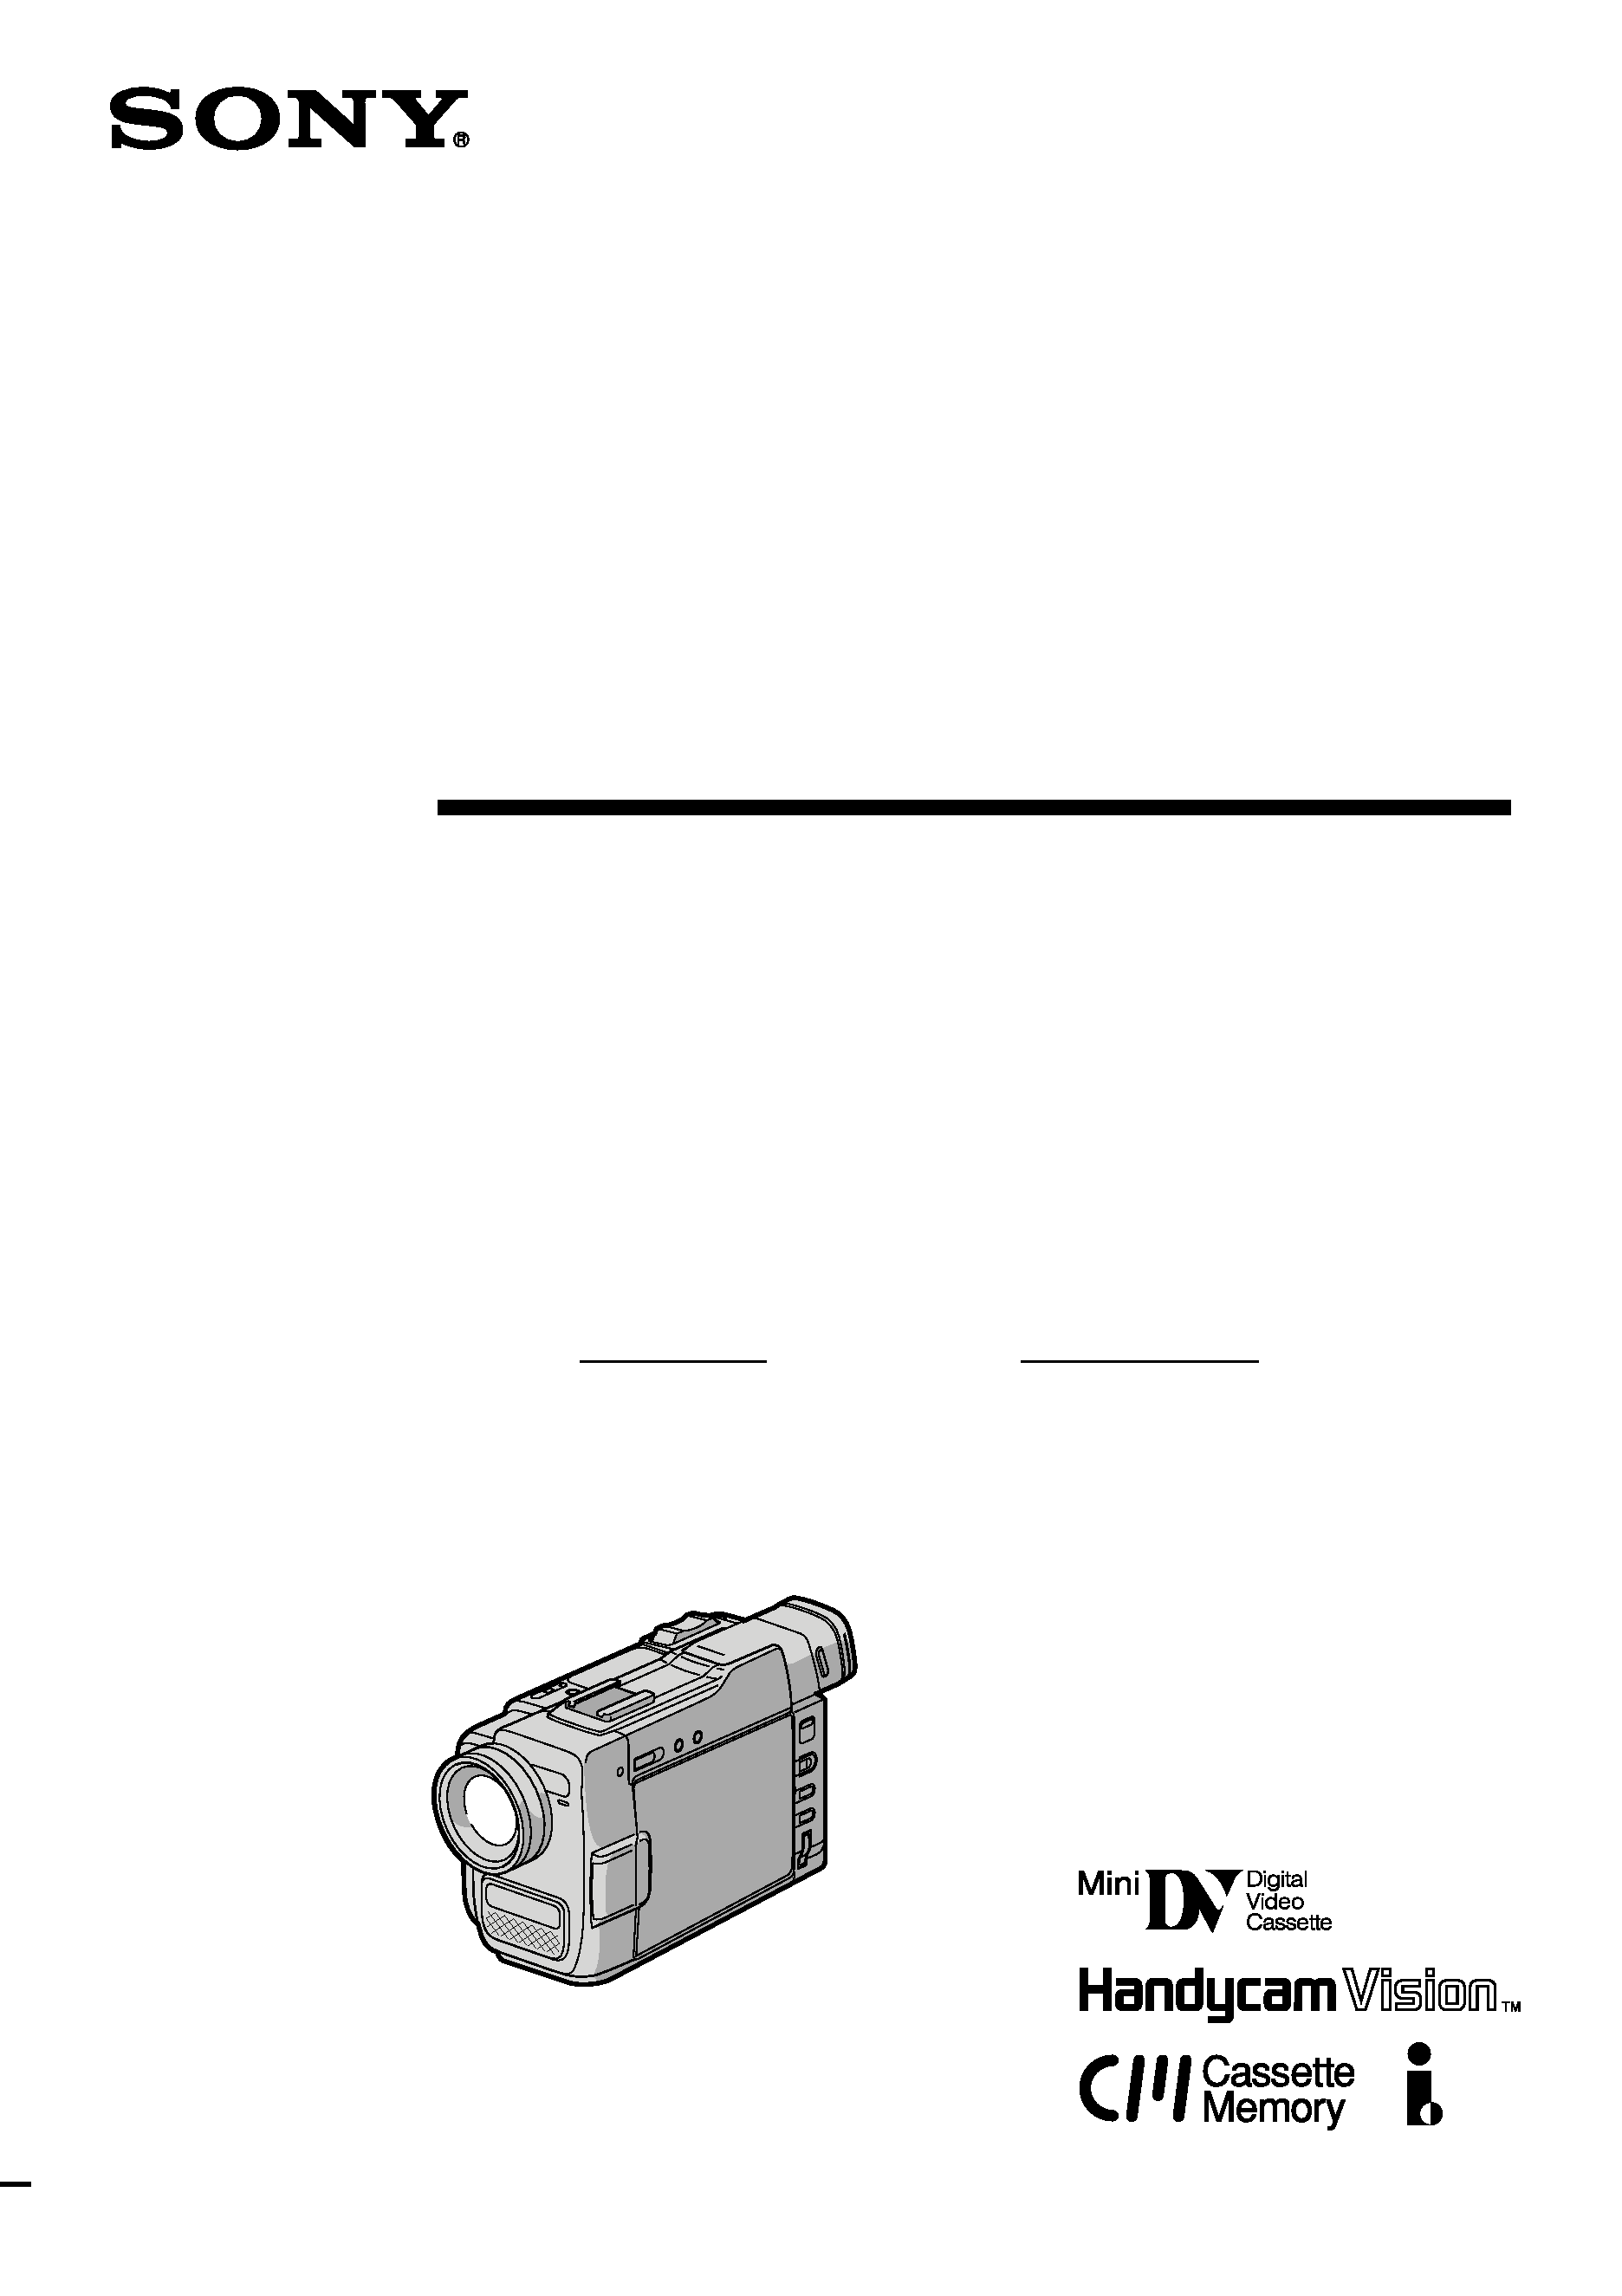
DCR-TRV9
Digital Video
Camera Recorder
Operating Instructions
Before operating the unit, please read this manual thoroughly,
and retain it for future reference.
Owner's Record
The model and serial numbers are located on the bottom. Record
the serial number in the space provided below. Refer to these
numbers whenever you call upon your Sony dealer regarding this
product.
Model No. DCR-TRV9
Model No. AC-V316
Serial No.
Serial No.
2
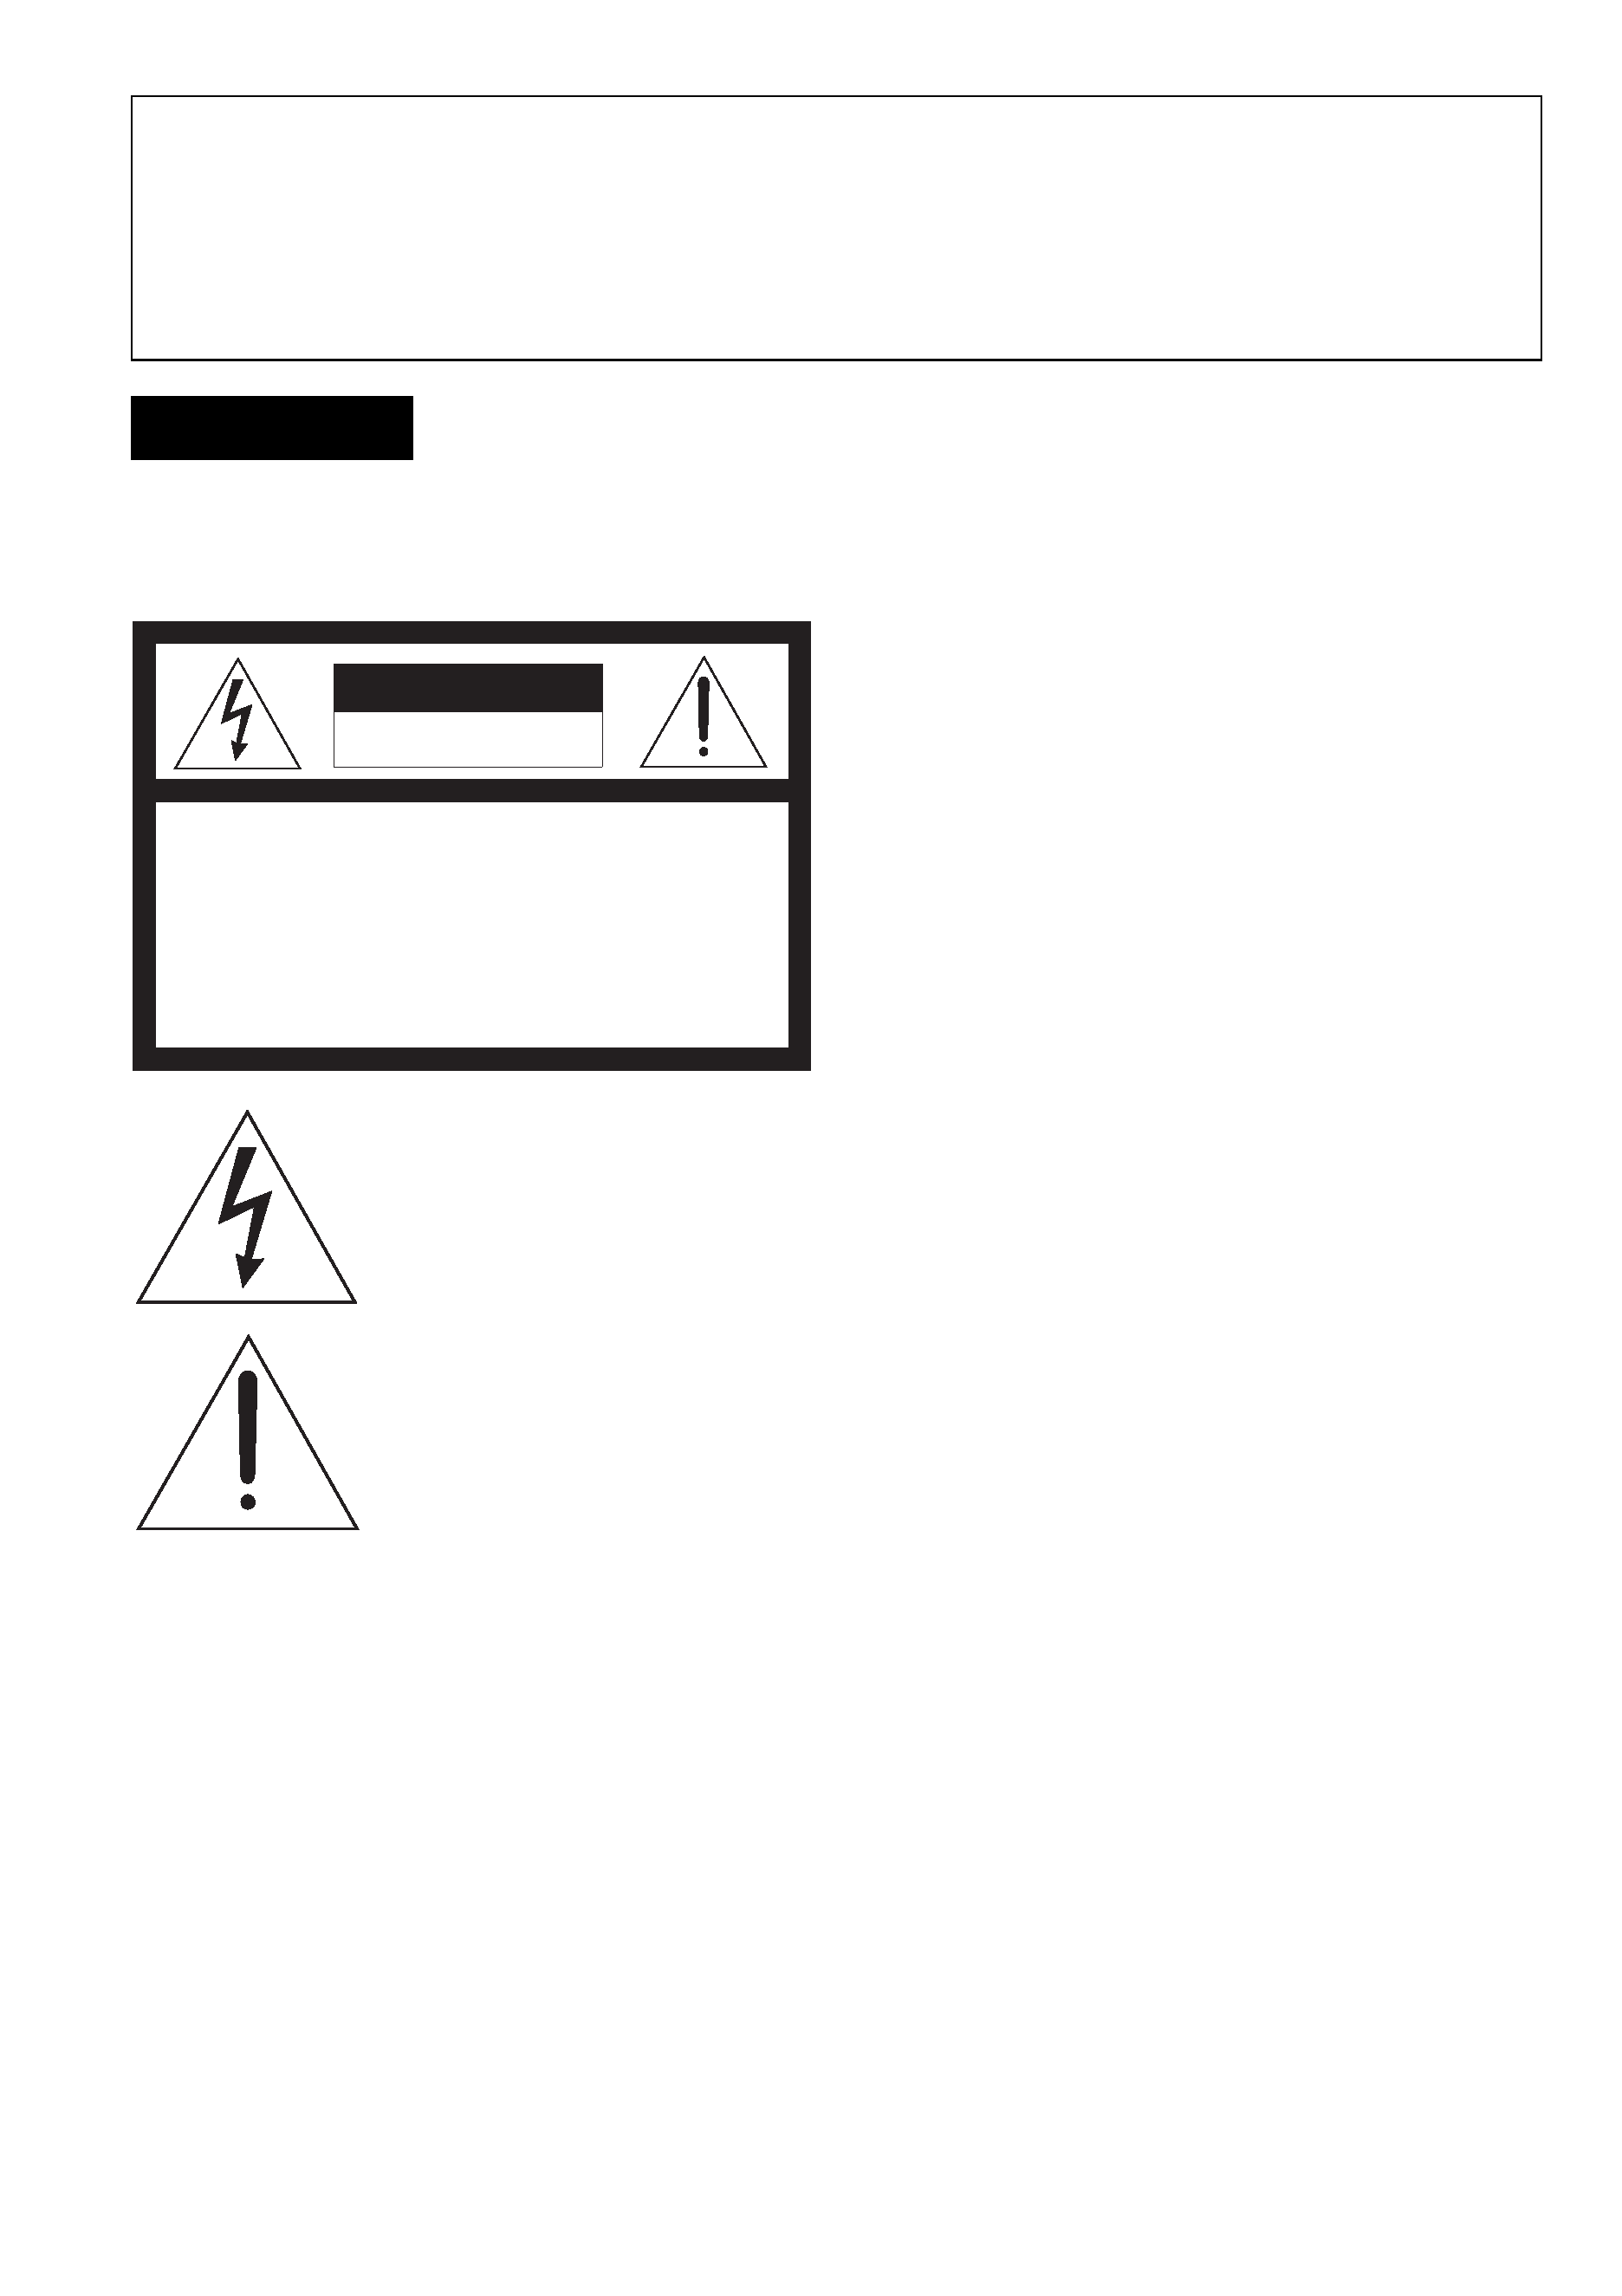
RISK OF ELECTRIC SHOCK
DO NOT OPEN
CAUTION : TO REDUCE THE RISK OF ELECTRIC SHOCK,
DO NOT REMOVE COVER (OR BACK).
NO USER·SERVICEABLE PARTS INSIDE.
REFER SERVICING TO QUALIFIED SERVICE PERSONNEL.
CAUTION
For the Customers in the U.S.A.
CAUTION
You are cautioned that any changes or modifications not
expressly approved in this manual could void your
authority to operate this equipment.
Note:
This equipment has been tested and found to comply
with the limits for a Class B digital device, pursuant to
Part 15 of the FCC Rules. These limits are designed to
provide reasonable protection against harmful
interference in a residential installation. This equipment
generates, uses, and can radiate radio frequency energy
and, if not installed and used in accordance with the
instructions, may cause harmful interference to radio
communications. However, there is no guarantee that
interference will not occur in a particular installation. If
this equipment does cause harmful interference to radio
or television reception, which can be determined by
turning the equipment off and on, the user is
encouraged to try to correct the interference by one or
more of the following measures:
-- Reorient or relocate the receiving antenna.
-- Increase the separation between the equipment and
receiver.
-- Connect the equipment into an outlet on a circuit
different from that to which the receiver is connected.
-- Consult the dealer or an experienced radio/TV
technician for help.
For the Customers in CANADA
CAUTION
TO PREVENT ELECTRIC SHOCK, MATCH WIDE
BLADE OF PLUG TO WIDE SLOT, FULLY INSERT.
WARNING
To prevent fire or shock hazard, do
not expose the unit to rain or
moisture.
This symbol is intended to alert the
user to the presence of uninsulated
"dangerous voltage" within the
product's enclosure that may be of
sufficient magnitude to constitute a
risk of electric shock to persons.
This symbol is intended to alert the
user to the presence of important
operating and maintenance
(servicing) instructions in the
literature accompanying the
appliance.
For the Customers in the U.S.A. and
CANADA
DISPOSAL OF LITHIUM ION BATTERY.
LITHIUM ION BATTERY.
DISPOSE OF PROPERLY.
You can return your unwanted lithium ion batteries to
your nearest Sony Service Center or Factory Service
Center.
Note: In some areas the disposal of lithium ion batteries
in household or business trash may be prohibited.
For the Sony Service Center nearest you call
1-800-222-SONY (United States only).
For the SONY Factory Service Center nearest you call
416-499-SONY (Canada only).
Caution: Do not handle damaged or leaking lithium ion
batteries.
Welcome !!
Congratulations on your purchase of this Sony Handycam Vision camcorder. With your
Handycam Vision, you can capture life's precious moments with superior picture and sound
quality. Your Handycam Vision is loaded with advanced features, but at the same time it is very
easy to use. You will soon be producing home video that you can enjoy for years to come.

3
Before
you
begin
Table of contents
Before you begin
Using this manual ....................................... 4
Checking supplied accessories .................. 6
Getting started
Charging and installing the battery
pack ........................................................ 7
Inserting a cassette .................................... 10
Basic operations
Camera recording ..................................... 11
Using the zoom feature ..................... 13
Selecting the start/stop mode .......... 14
Shooting with the LCD screen .......... 15
Letting the subject monitor the
shot ................................................. 16
Hints for better shooting .......................... 17
Checking the recorded picture ................ 19
Playing back a tape ................................... 20
Searching for the end of the picture ....... 22
Advanced operations
Using alternative power sources ............ 23
Using the house current .................... 23
Using a car battery ............................. 23
Changing the mode settings .................... 24
--for camera recording--
Shooting with backlighting ..................... 28
Using the FADER function ...................... 29
Shooting in the dark (NightShot) ........... 30
Photo recording ......................................... 31
Using the wide mode function ................ 33
Using the PROGRAM AE function ........ 34
Focusing manually .................................... 36
Enjoying picture effect ............................. 38
Adjusting the exposure ............................ 40
Superimposing a title ............................... 41
Making a custom title ............................... 44
Labeling a cassette .................................... 46
Releasing the STEADYSHOT function .. 49
--for playing back/editing--
Watching on a TV screen ......................... 50
Searching the boundaries of recorded
tape with date date search ............ 52
Searching the boundaries of recorded
tape with title title search .............. 55
Searching for a photo photo search/
photo scan ........................................... 56
Returning to a pre-registered position ... 59
Displaying recording data data code
function ................................................ 60
Editing onto another tape ........................ 61
Recording from a VCR or TV .................. 63
Replacing recording on a tape insert
editing .................................................. 64
Audio dubbing .......................................... 65
Additional information
Usable cassettes and playback modes ... 67
Charging the vanadium-lithium
battery in the camcorder ................... 68
Resetting the date and time ..................... 69
Tips for using the battery pack ............... 70
Maintenance information and
precautions .......................................... 74
Using your camcorder abroad ................ 77
Trouble check ............................................ 78
Self-diagnosis function ............................. 83
Specifications ............................................. 84
Identifying the parts ................................. 85
Warning indicators ................................... 93
Index ........................................................... 94

4
Before you begin
Using this manual
As you read through this manual, buttons and settings on the camcorder are shown in
capital letters.
e.g., Set the POWER switch to CAMERA.
As indicated with
in the illustrations, you can hear the beep sound to confirm your
operation.
Note on Cassette Memory
This camcorder is based on the DV format. You can only use mini DV cassettes with this
camcorder. We recommend you to use a tape with cassette memory
.
The functions which depend on whether the tape has the cassette memory or not are:
· End Search (p. 19)
· Date Search (p. 52)
· Photo Search (p. 56).
The functions you can operate only with the cassette memory are:
· Title Search (p. 55)
· Superimposing a title (p. 41)
· Making a custom title (p. 44)
· Labeling a cassette (p. 46)
For details, see page 67.
Note on TV color systems
TV color systems differ from country to country. To view your recordings on a TV, you
need an NTSC system-based TV.
Precaution on copyright
Television programs, films, video tapes, and other materials may be copyrighted.
Unauthorized recording of such materials may be contrary to the provision of the copyright
laws.

5
Before
you
begin
Precautions on camcorder care
· The LCD screen and/or the color viewfinder are manufactured using high-precision
technology. However, there may be some tiny black points and/or bright points (red,
blue or green in color) that constantly appear on the LCD screen and/or in the
viewfinder. These points are normal in the manufacturing process and do not affect
the recorded picture in any way. Over 99.99% are operational for effective use.
· Do not let the camcorder get wet. Keep the camcorder away from rain and sea water.
Letting the camcorder get wet may cause the unit to malfunction, and sometimes this
malfunction cannot be repaired [a].
· Never leave the camcorder exposed to temperatures above 140°F (60°C ), such as in a car
parked in the sun or under direct sunlight [b].
Using this manual
[a]
[b]