4-240-154-12(1)
© 2002 Sony Corporation
DAV-C450
Compact AV
System
Operating Instructions
2GB
WARNING
To prevent fire or shock
hazard, do not expose the
unit to rain or moisture.
To prevent fire do not Cover
the ventilation of the
apparatus with newspapers,
table-cloths, curtains, etc.
And do not place lighted
candles on the apparatus.
To prevent fire or shock hazard, do
not place objects filled with liquids,
such as vases, on the apparatus.
Do not install the appliance in a
confined space, such as a bookcase
or built-in cabinet.
Don't throw
away the battery
with general
house waste,
dispose of it
correctly as chemical waste.
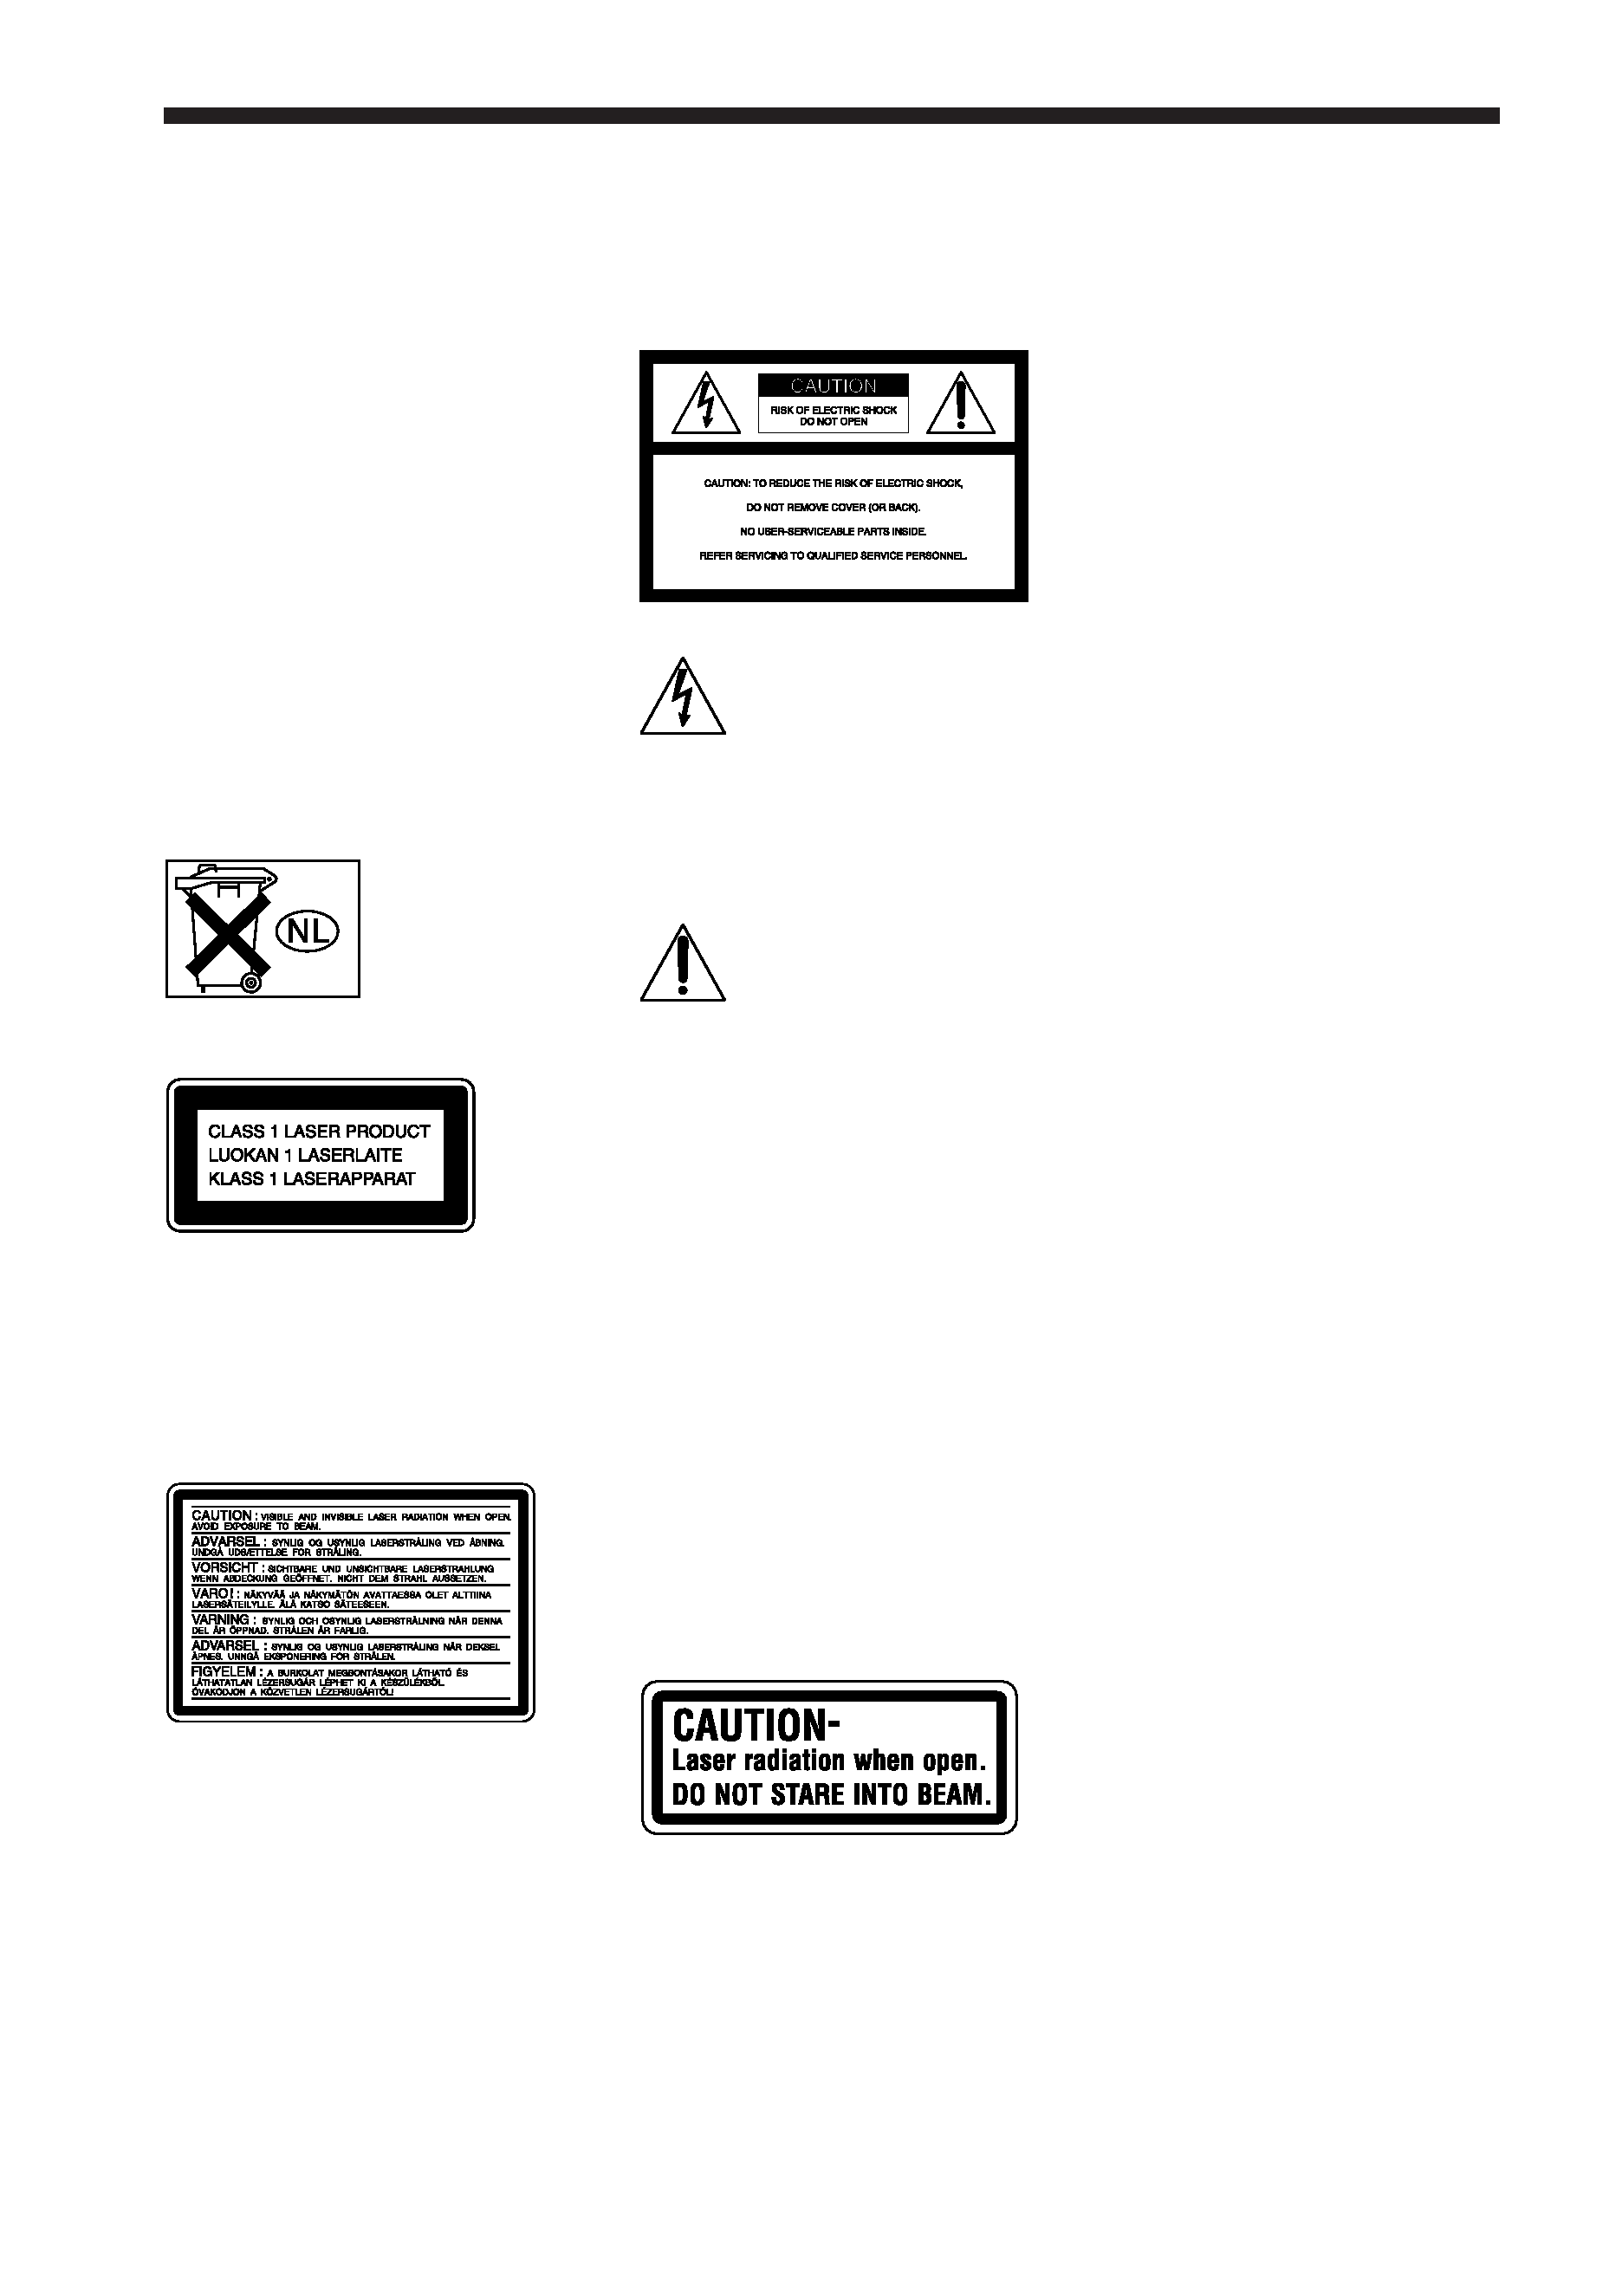
This appliance is classified as a
CLASS 1 LASER product. This
label is located on the rear exterior.
The following caution label is
located inside the apparatus.
For the customers in the
United States
This symbol is intended
to alert the user to the
presence of uninsulated
"dangerous voltage"
within the product's enclosure that
may be of sufficient magnitude to
constitute a risk of electric shock to
persons.
This symbol is intended
to alert the user to the
presence of important
operating and
maintenance (servicing)
instructions in the literature
accompanying the appliance.
Owner's Record
The model and serial numbers are
located at the rear of the unit.
Record the serial number in the
space provided below. Refer to
them whenever you call upon your
Sony dealer regarding this product.
Model No. DAV-C450
Serial No.______________
CAUTION
As the laser beam used in this CD/
DVD player is harmful to eyes, do
not attempt to disassemble the
cabinet. Refer servicing to
qualified personnel only.
This label is located on the Laser
protective housing inside the
enclosure.
WARNING
This equipment has been tested and
found to comply with the limits for
a Class B digital device, pursuant
to Part 15 of the FCC Rules. These
limits are designed to provide
reasonable protection against
harmful interference in a
residential installation. This
equipment generates, uses, and can
radiate radio frequency energy and,
if not installed and used in
accordance with the instructions,
may cause harmful interference to
radio communications. However,
there is no guarantee that
interference will not occur in a
particular installation. If this
equipment does cause harmful
interference to radio or television
reception, which can be determined
by turning the equipment off and
on, the user is encouraged to try to
correct the interference by one or
more of the following measures:
- Reorient or relocate the
receiving antenna.
- Increase the separation between
the equipment and receiver.
- Connect the equipment to an
outlet on a circuit different from
that to which the receiver is
connected.
- Consult the dealer or an
experienced radio/TV technician
for help.
CAUTION
You are cautioned that any change
or modifications not expressly
approved in this manual could void
your authority to operate this
equipment.
Note on CATV system
installer:
This reminder is provided to call
the CATV system installer's
attention to Article 820-40 of the
NEC that provides guidelines for
proper grounding and, in particular,
specifies that the cable ground shall
be connected to the grounding
system of the building, as close to
the point of cable entry as practical.

3GB
Welcome!
Thank you for purchasing this
Sony Compact AV System. Before
operating this system, please read
this manual thoroughly and retain it
for future reference.
ENERGY STAR® is a U.S.
registered mark.
As an
ENERGY STAR® partner,
Sony Corporation has
determined that this product
meets the
ENERGY STAR®
guidelines for energy efficiency.
For the customers in
Canada
CAUTION
TO PREVENT ELECTRIC
SHOCK, DO NOT USE THIS
POLARIZED AC PLUG WITH
AN EXTENSION CORD,
RECEPTACLE OR OTHER
OUTLET UNLESS THE BLADES
CAN BE FULLY INSERTED TO
PREVENT BLADE EXPOSURE.

4GB
Precautions
On safety
· Caution The use of optical instruments with
this product will increase eye hazard.
· Should any solid object or liquid fall into the
cabinet, unplug the system and have it checked
by qualified personnel before operating it any
further.
On power sources
· The unit is not disconnected from the AC power
source (mains) as long as it is connected to the
wall outlet, even if the unit itself has been
turned off.
·AC power cord must be changed only at the
qualified service shop.
On placement
· Place the system in a location with adequate
ventilation to prevent heat build-up in the
system.
· At high volume, over long periods of time, the
cabinet becomes hot to the touch. This is not a
malfunction. However, touching the cabinet
should be avoided. Do not place the unit in a
confined space where ventilation is poor as this
may cause overheating.
· Do not block the ventilation slots by putting
anything on the system. The system is
equipped with a high power amplifier. If the
ventilation slots on the top surface are blocked,
the unit can overheat and malfunction.
· Do not place the system on a soft surface such
as a rug that might block the ventilation holes
on the bottom.
· Do not place the system in a location near heat
sources, or in a place subject to direct sunlight,
excessive dust, or mechanical shock.
On operation
· If the system is brought directly from a cold to
a warm location, or is placed in a very damp
room, moisture may condense on the lenses
inside the system. Should this occur, the
system may not operate properly. In this case,
remove the disc and leave the system turned on
for about half an hour until the moisture
evaporates.
· When you move the system, take out any discs.
If you don't, the disc may be damaged.
·For power saving purposes, the system can be
completely turned off by the POWER switch
on the main unit. Though the LED remains lit
for a while, the system is completely off.
On adjusting volume
Do not turn up the volume while listening to a
section with very low level inputs or no audio
signals. If you do, the speakers may be damaged
when a peak level section is played.
On cleaning
Clean the cabinet, panel, and controls with a soft
cloth slightly moistened with a mild detergent
solution. Do not use any type of abrasive pad,
scouring powder or solvent such as alcohol or
benzine.
If you have any questions or problems
concerning your system, please consult your
nearest Sony dealer.
On cleaning discs
Do not use a commercially available CD/DVD
cleaning disc. It may cause a malfunction.
On your TV's color
If the speakers cause the TV screen to have color
irregularity, turn off the TV at once then turn it
on after 15 to 30 minutes. If color irregularity
persists, place the speakers farther away from the
set.
IMPORTANT NOTICE
Caution: This system is capable of holding a
still video image or on-screen display image
on your television screen indefinitely. If you
leave the still video image or on-screen
display image displayed on your TV for an
extended period of time you risk permanent
damage to your television screen. Projection
televisions are especially susceptible to this.

5GB
continued
Table of Contents
WARNING .......................................................................................................... 2
Welcome! ........................................................................................................... 3
Precautions ........................................................................................................ 4
About this Manual .............................................................................................. 7
This system Can Play the Following Discs ........................................................ 7
Notes about the Discs ........................................................................................ 9
Note on DVD 5-disc changer with EXCHANGE mechanism ........................... 10
Index to Parts and Controls ............................................................................. 11
Guide to the Control Menu Display (Magic Pad) .............................................. 15
Getting Started ................................................................ 17
Quick Overview ................................................................................................ 17
Unpacking ........................................................................................................ 17
Inserting Batteries into the Remote ................................................................. 18
Step 1: Speaker System Hookup ..................................................................... 18
Step 2: Antenna Hookups ................................................................................ 21
Step 3: TV and Video Component Hookups .................................................... 23
Speaker Setup ................................................................................................. 25
Presetting Radio Stations ................................................................................ 30
Playing Discs .................................................................. 32
Playing Discs ................................................................................................... 32
Resuming Playback from the Point Where You Stopped the Disc
(Resume Play) ........................................................................................... 34
Using the DVD's Menu ..................................................................................... 35
Playing VIDEO CDs with PBC Functions (PBC Playback) .............................. 36
Selecting the Disc Mode (One Disc or All Discs) ............................................. 37
Creating Your Own Program (Program Play) ................................................... 37
Playing in random order (Shuffle Play) ............................................................ 39
Playing repeatedly (Repeat Play) .................................................................... 40
Searching for a Scene ....................................................... 41
Searching for a Particular Point on a Disc (Scan, Slow-motion Play) .............. 41
Searching for a Title/Chapter/Track/Index/Scene ............................................. 42
Viewing Information About the Disc ....................................... 44
Viewing the Playing Time and Remaining Time on the Front Panel Display .... 44
Checking the Playing Time and Remaining Time ............................................ 45