
Operating Instructions
Compact Hi-Fi
Component
System
4-233-429-12(1)
© 2001 Sony Corporation
CHC-CL5MD
2
Warning
To prevent fire or shock hazard, do not
expose the unit to rain or moisture.
To avoid electrical shock, do not open the cabinet.
Refer servicing to qualified personnel only.
To prevent fire, do not Cover the ventilation of the
apparatus with news papers, table-cloths, curtains,
etc. And don't place lighted candles on the apparatus.
To prevent fire or shock hazard, do not place vases on
the apparatus.
Do not install the appliance in a confined space,
such as a bookcase or built-in cabinet.
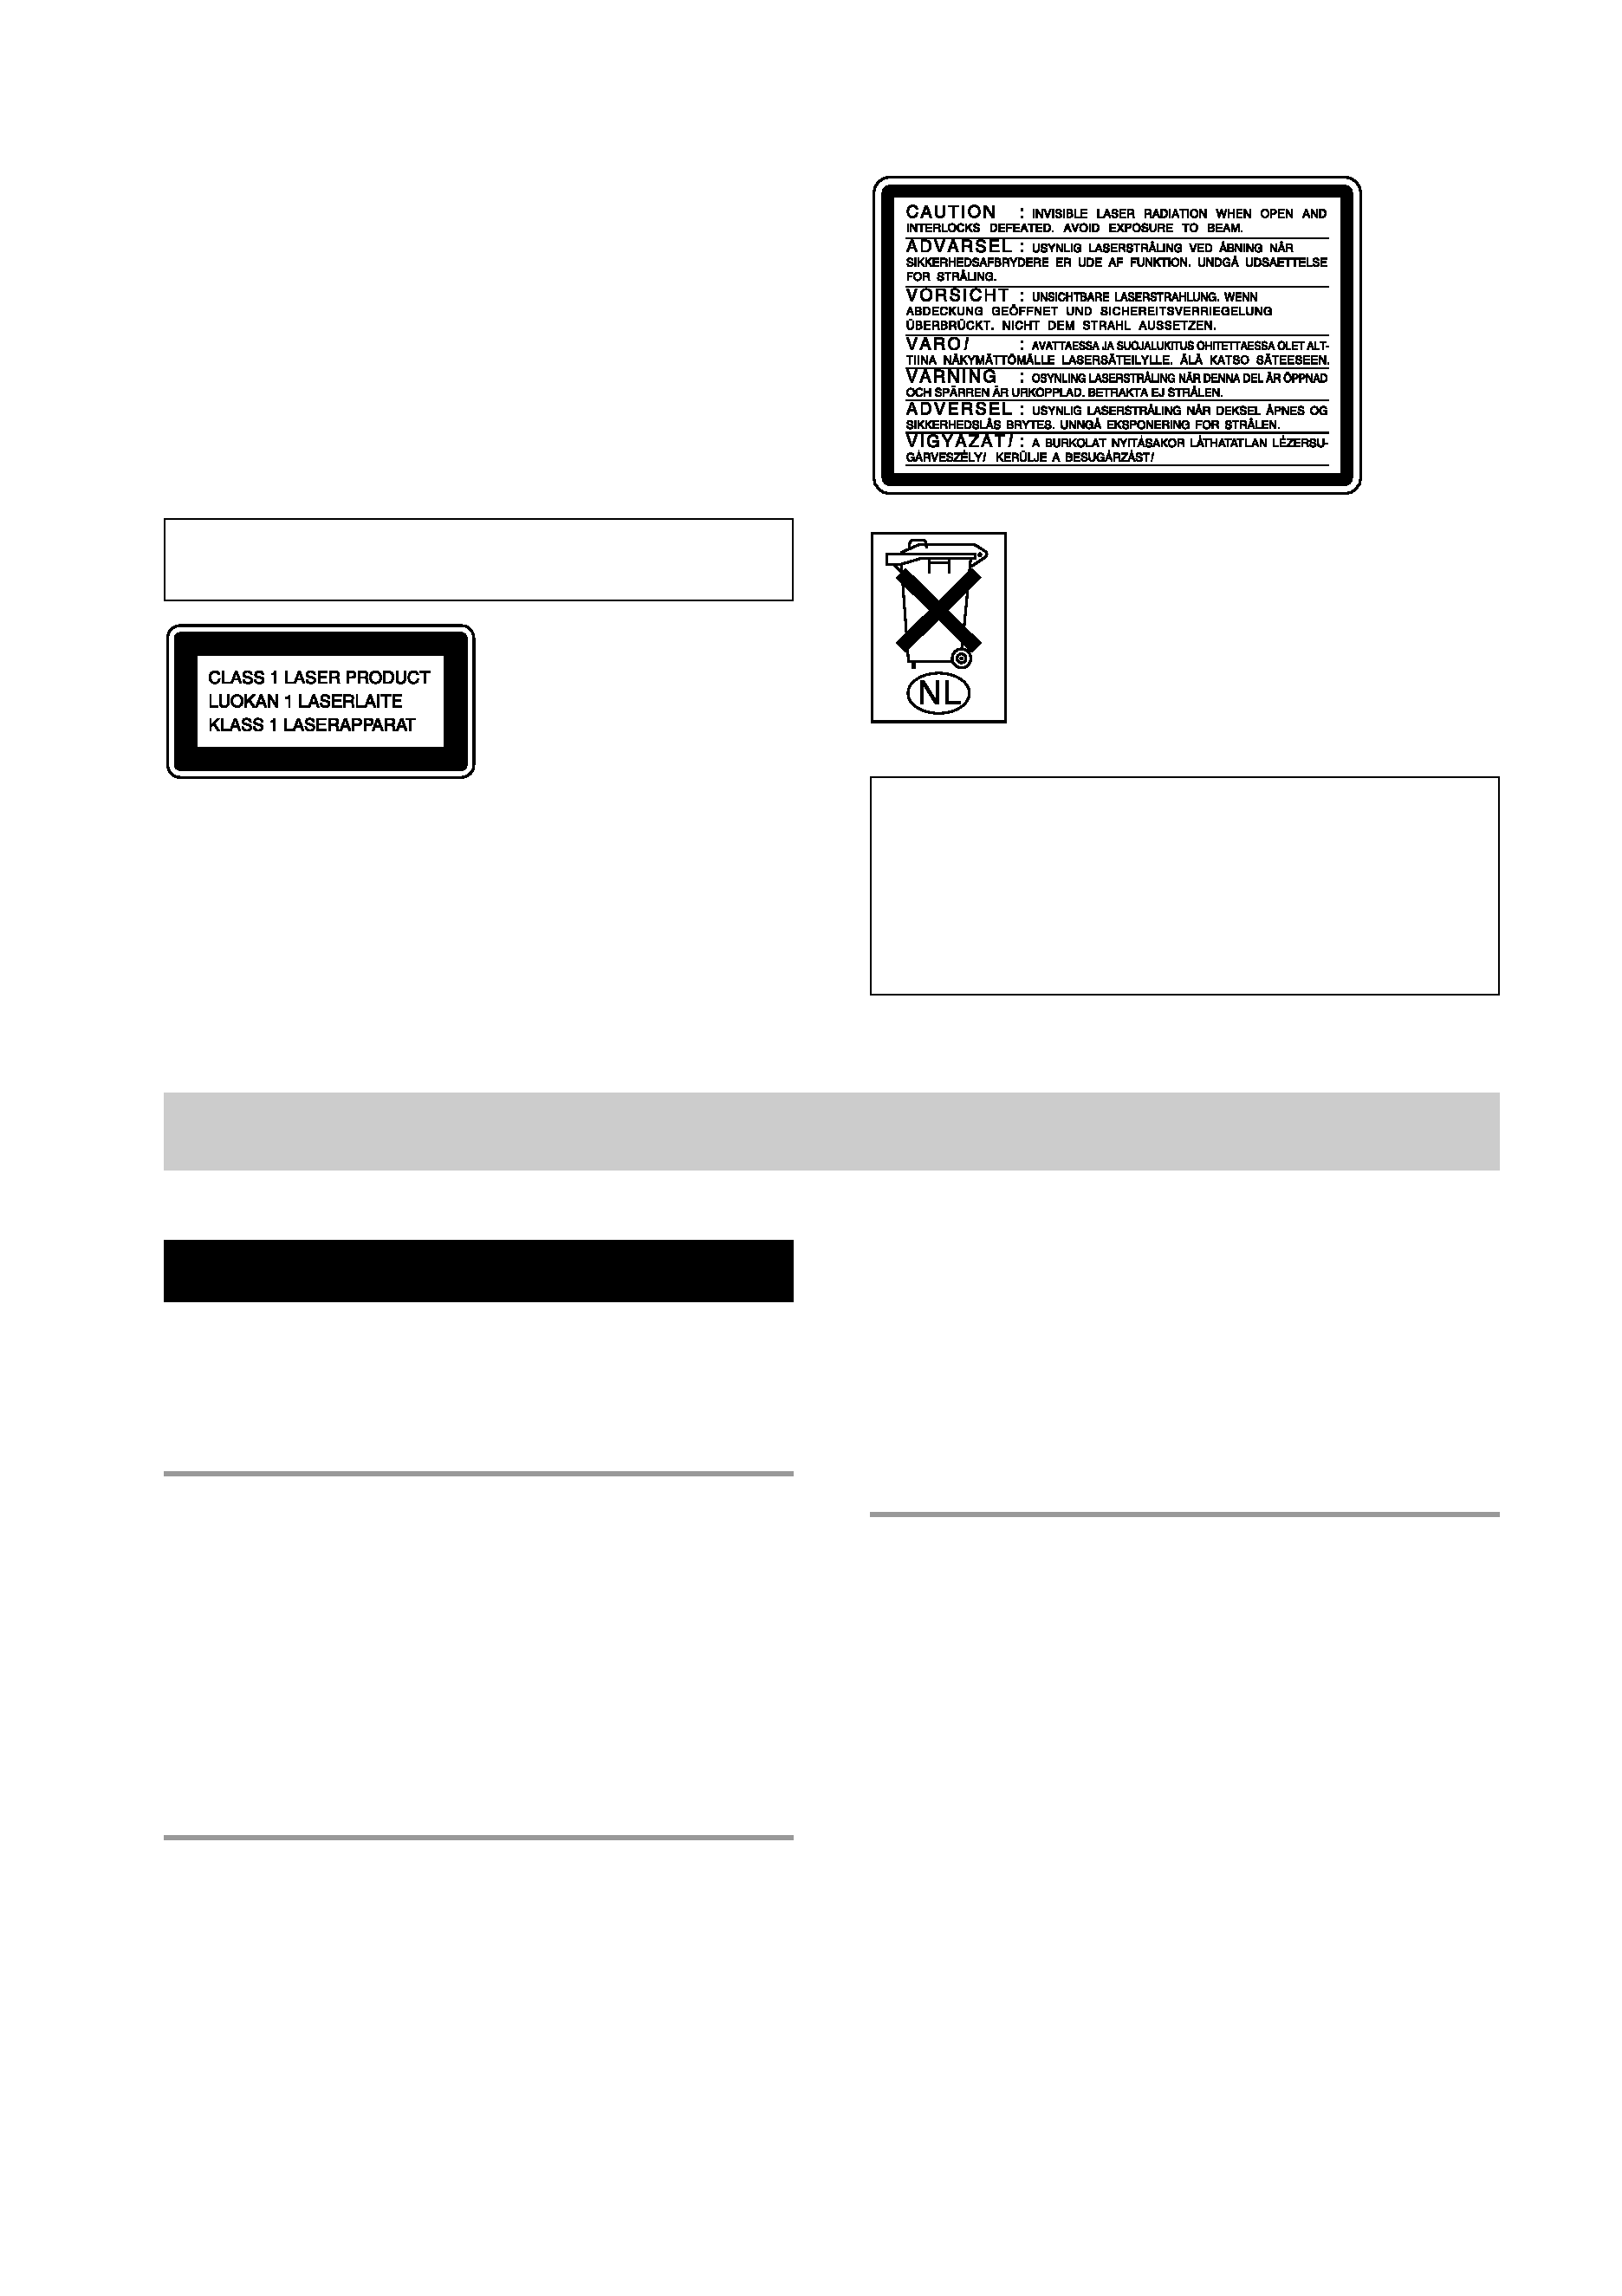
This appliance is
classified as a CLASS
1 LASER product.
The CLASS 1 LASER
PRODUCT
MARKING is located
on the rear exterior.
Table of Contents
The following caution label is located inside the unit.
Don't throw a battery, dispose it as the
injurious wastes.
IN NO EVENT SHALL SELLER BE LIABLE
FOR ANY DIRECT, INCIDENTAL OR
CONSEQUENTIAL DAMAGES OF ANY
NATURE, OR LOSSES OR EXPENSES
RESULTING FROM ANY DEFECTIVE
PRODUCT OR THE USE OF ANY PRODUCT.
Parts Identification
Main unit ................................................... 4
Remote Control ......................................... 5
Getting Started
Hooking up the system .............................. 6
Inserting two R6 (size AA) batteries
into the remote .................................... 7
Setting the time ......................................... 8
Saving the power in standby mode ........... 8
CD
Loading a CD ............................................ 9
Playing a CD
-- Normal Play/Shuffle Play/Repeat
Play ..................................................... 9
Programming CD tracks
-- Programme Play .......................... 11
Using the CD display .............................. 12
Labelling a CD
-- Disc Memo .................................. 12
MD Play
Loading an MD ....................................... 14
Playing an MD
-- Normal Play/Shuffle Play/
Repeat Play ....................................... 14
Programming MD tracks
-- Programme Play .......................... 15
Using the MD display ............................. 16

3
MD Recording
Before you start recording ....................... 16
Recording a CD on an MD
-- CD-MD Normal-Speed Synchro
Recording/CD-MD High-Speed
Synchro Recording ........................... 17
Recording a tape on an MD
-- TAPE-MD Synchro Recording ... 18
Recording on an MD manually
-- Manual Recording ....................... 19
Starting recording with 6 seconds of
prestored audio data
-- Time Machine Recording ............ 19
Recording tips ......................................... 20
-- Recording for long times/
Marking track numbers/Smart Space/
Adjusting the recording level
MD Editing
Before you start editing ........................... 24
Labelling an MD
-- Name Function ............................ 25
Erasing recordings ................................... 27
-- Erase Function/Track Erase
Function/All Erase Function/
A-B Erase Function
Moving recorded tracks
-- Move Function ............................ 29
Dividing recorded tracks
-- Divide Function ........................... 29
Combining recorded tracks
-- Combine Function ....................... 30
Undoing the last edit
-- Undo Function ............................. 31
Changing the recorded level after recording
-- S.F Edit Function ......................... 32
Tuner
Presetting radio stations .......................... 34
Listening to the radio
-- Preset Tuning ............................... 35
Labelling the preset stations
-- Station Name ............................... 36
Using the Radio Data System (RDS)* .... 36
Tape Play
Loading a tape ......................................... 37
Playing a tape .......................................... 37
Tape Recording
Recording a CD on a tape
-- CD-TAPE Synchro Recording .... 38
Recording an MD on a tape
-- MD-TAPE Synchro Recording ... 39
Recording on a tape manually
-- Manual Recording ....................... 39
Sound Adjustment
Adjusting the sound
-- GROOVE/DBFB ......................... 40
Selecting the preset music menu ............. 41
Timer
Falling asleep to music
-- Sleep Timer ................................. 41
Waking up to music
-- Daily Timer ................................. 42
Timer recording radio programmes ........ 43
Optional Components
Hooking up the optional components ..... 44
Additional Information
Precautions .............................................. 45
System limitations of MDs ..................... 47
Troubleshooting ...................................... 48
Self-diagnosis display ............................. 52
Specifications .......................................... 54
* European model only

4
Parts Identification
The items are arranged in alphabetical order. Refer to the pages indicated in parentheses for details.
Main unit
123
4
5
w;
wa
ws
wd
wf
wg
wh
6
7
8
9
0
qa
qs
qd
qf
qg
qh
qk
ql
qj
BASS/TREBLE wf (40)
CD 1 3 qj (11)
CD 1 3 Z qj (9)
CD disc tray qk (9)
CD NX qs (9)
DIMMER 5 (7)
DISPLAY wg (8, 12, 16)
Display window 3
ENTER/START ws (17, 38)
ENTER/YES 7 (8, 11, 15, 20,
25, 34, 42)
FUNCTION qh (9, 14, 17, 25, 37)
GROOVE w; (40)
MD insertion slot wd (14)
MD REC ws (19)
MD NX qf (14)
MENU/NO 6 (24)
MUSIC MENU wf (41)
PHONES jack qd
PLAY MODE/DIRECTION wa
(9, 14, 17, 37)
REC MODE ws (20)
Remote sensor wh
REPEAT ql (10, 14)
STEREO/MONO ql (35)
SYNCHRO MODE ws (17)
Tape deck lid 2 (37)
TAPE REC PAUSE/START ws
(39)
TAPE nN qg (37)
TUNER/BAND qa (34)
VOLUME 8
BUTTON DESCRIPTIONS
?/1 1
./> 4
Z 9
x 0
m/M wf
+/ wf
Parts
Identification
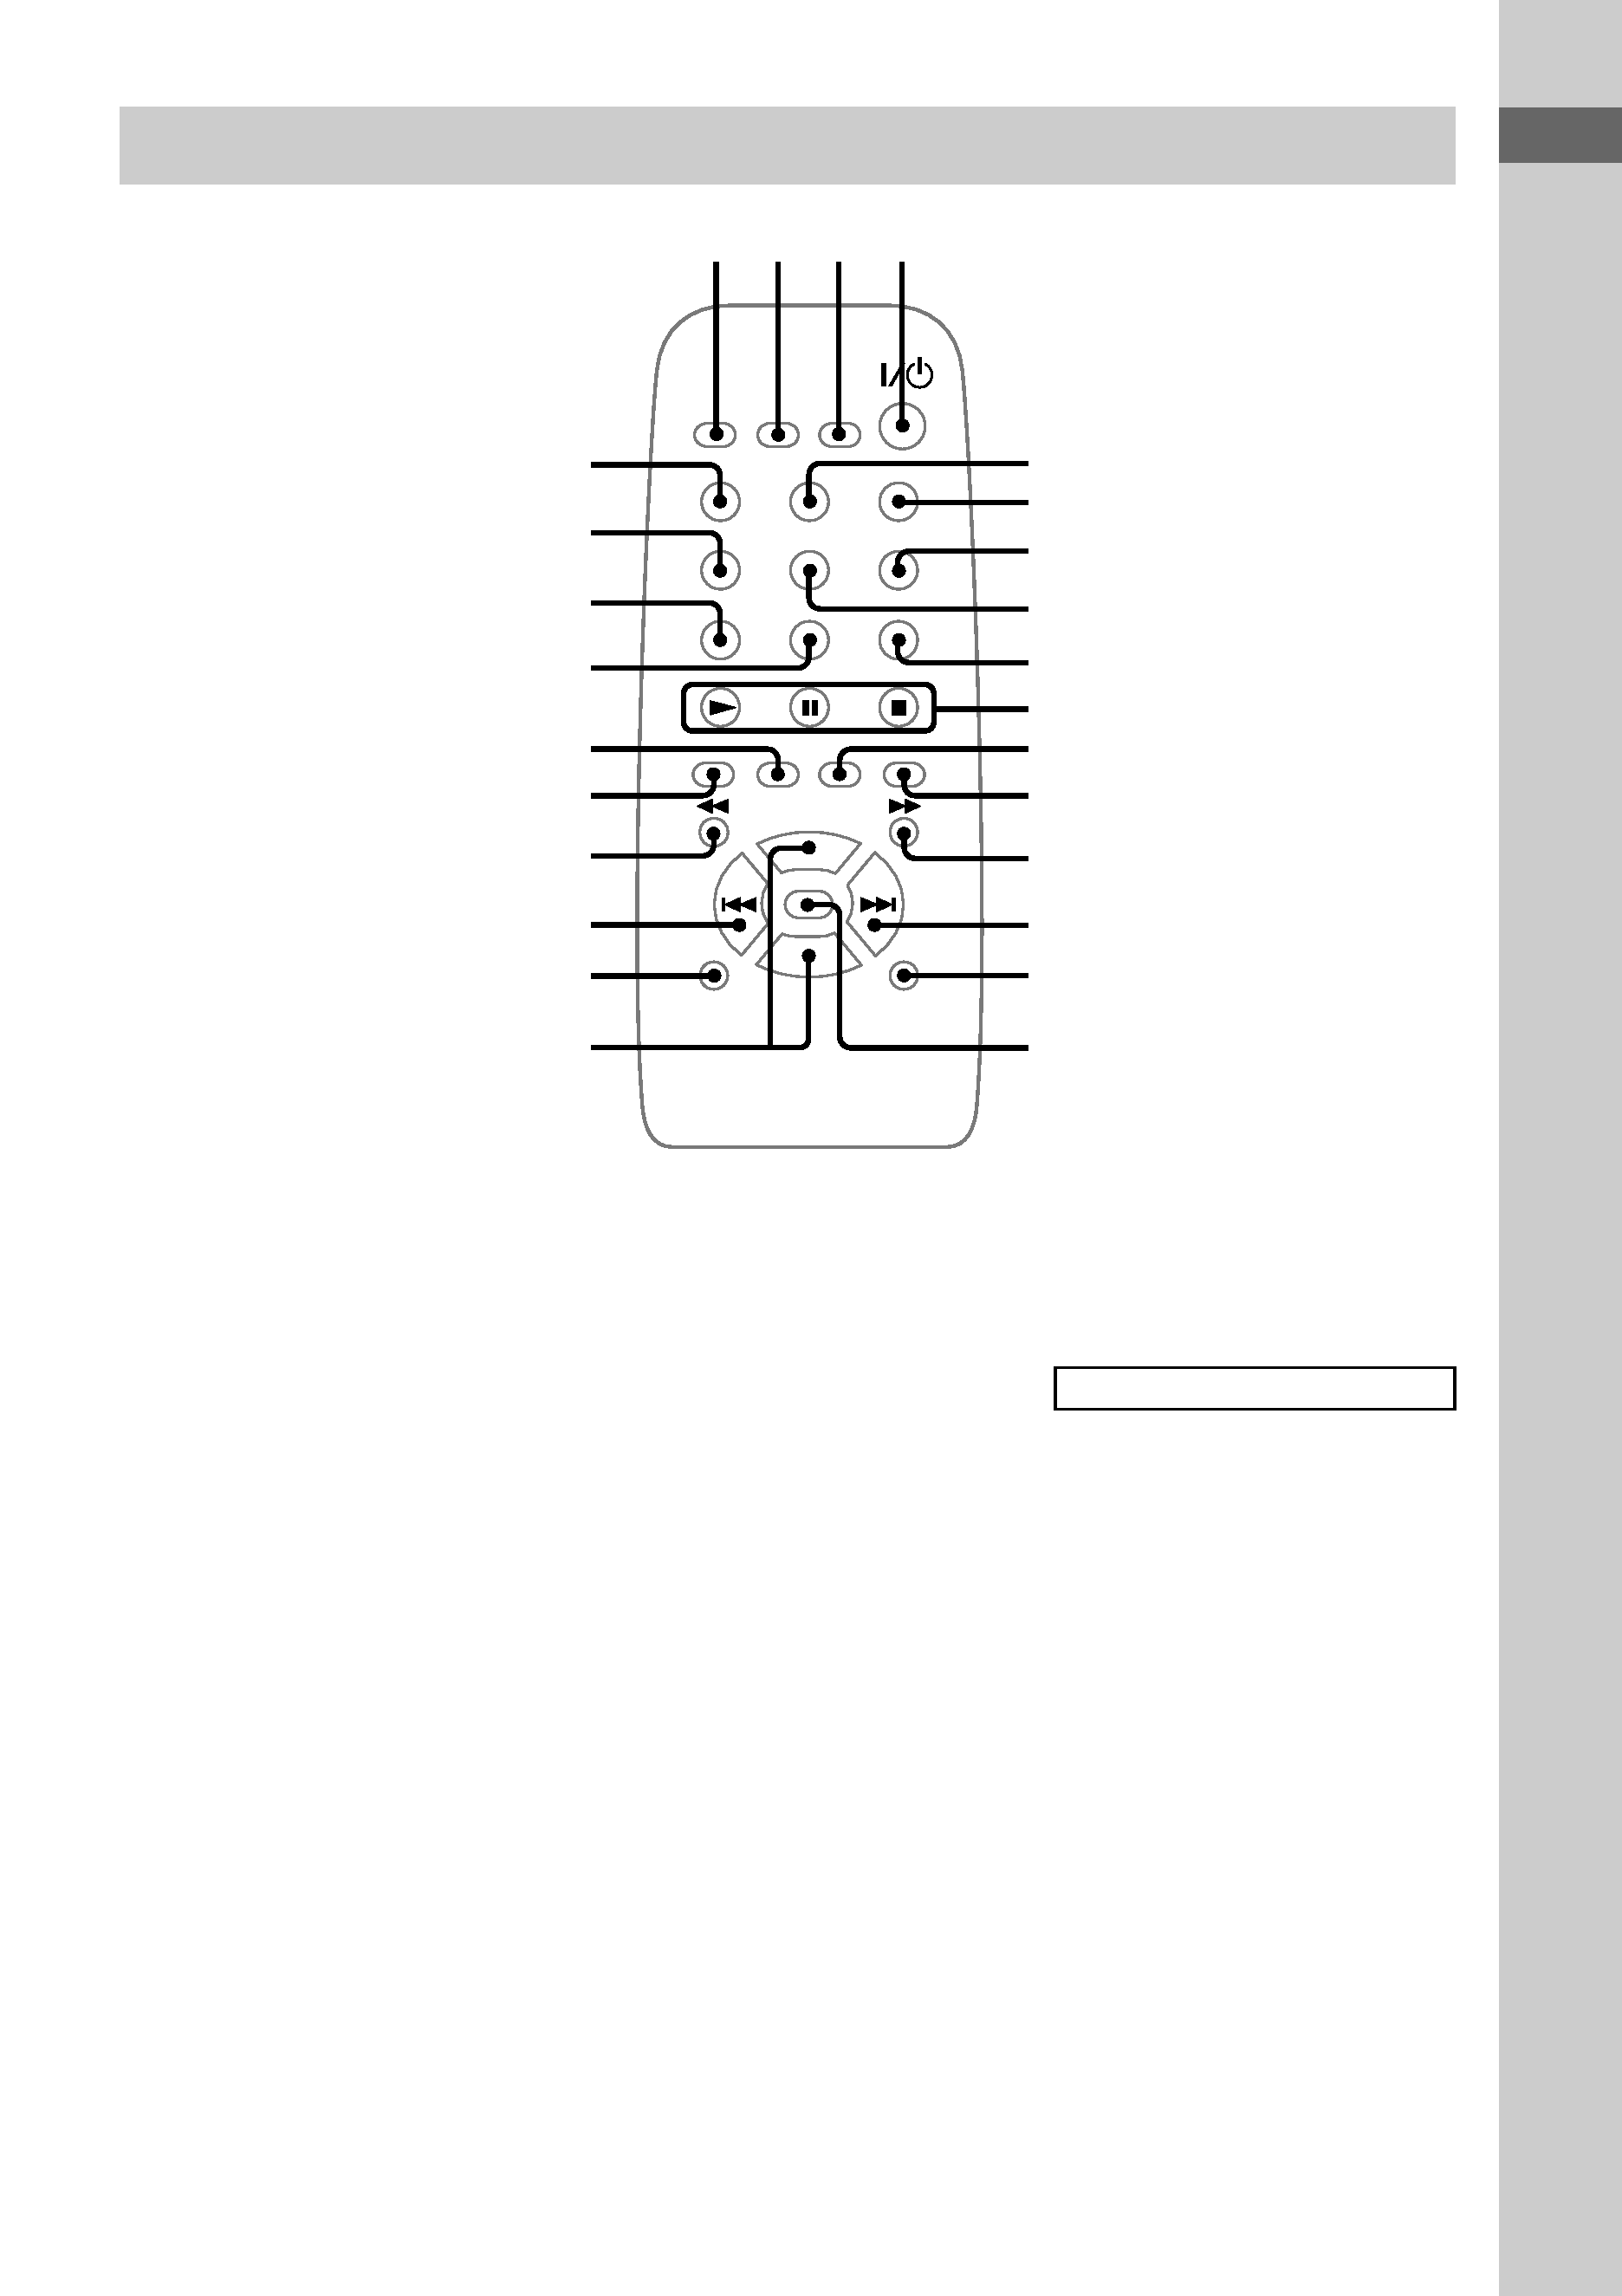
5
Remote Control
6
7
8
9
5
qf
qg
qh
0
qd
qa
qs
ql
qk
qj
w;
12 3 4
wa
ws
wd
wh
wg
wf
CHECK 8 (11, 15)
CLEAR qs (11, 15)
CLOCK/TIMER SELECT 2
(42)
CLOCK/TIMER SET 3
(8, 42)
DBFB wh (40)
DIMMER wd (7)
DISC SKIP 9 (10)
DISPLAY qk (8, 12, 16)
ENTER/YES qa (8, 11, 15, 20,
25, 34, 42)
FUNCTION qg (9, 14, 17, 25, 37)
GROOVE qh (40)
MENU/NO wa (24)
MUSIC MENU 6 (41)
NAME EDIT/CHARACTER ws
(12, 25, 36)
REPEAT 7 (10, 14)
SCROLL wg (13, 26)
SLEEP 1 (41)
SURROUND 5 (40)
TUNER/BAND wf (34)
VOL +/ qj
BUTTON DESCRIPTIONS
@/1 4
N q;
x q;
X q;
M qd
> qf
. ql
m w;