
RS 120 II
RS 119 II
Quick Guide
Consignes de sécurité
Indicaciones de seguridad
Guia de Segurança
Sicherheitshinweise
Guida per la sicurezza
Veiligheidsgids
rechargable batteries
NiMH AAA 1.2 V
1
2
3
4
5
6
1
FR
ES
PT
IT
NL
JP
DE
EN
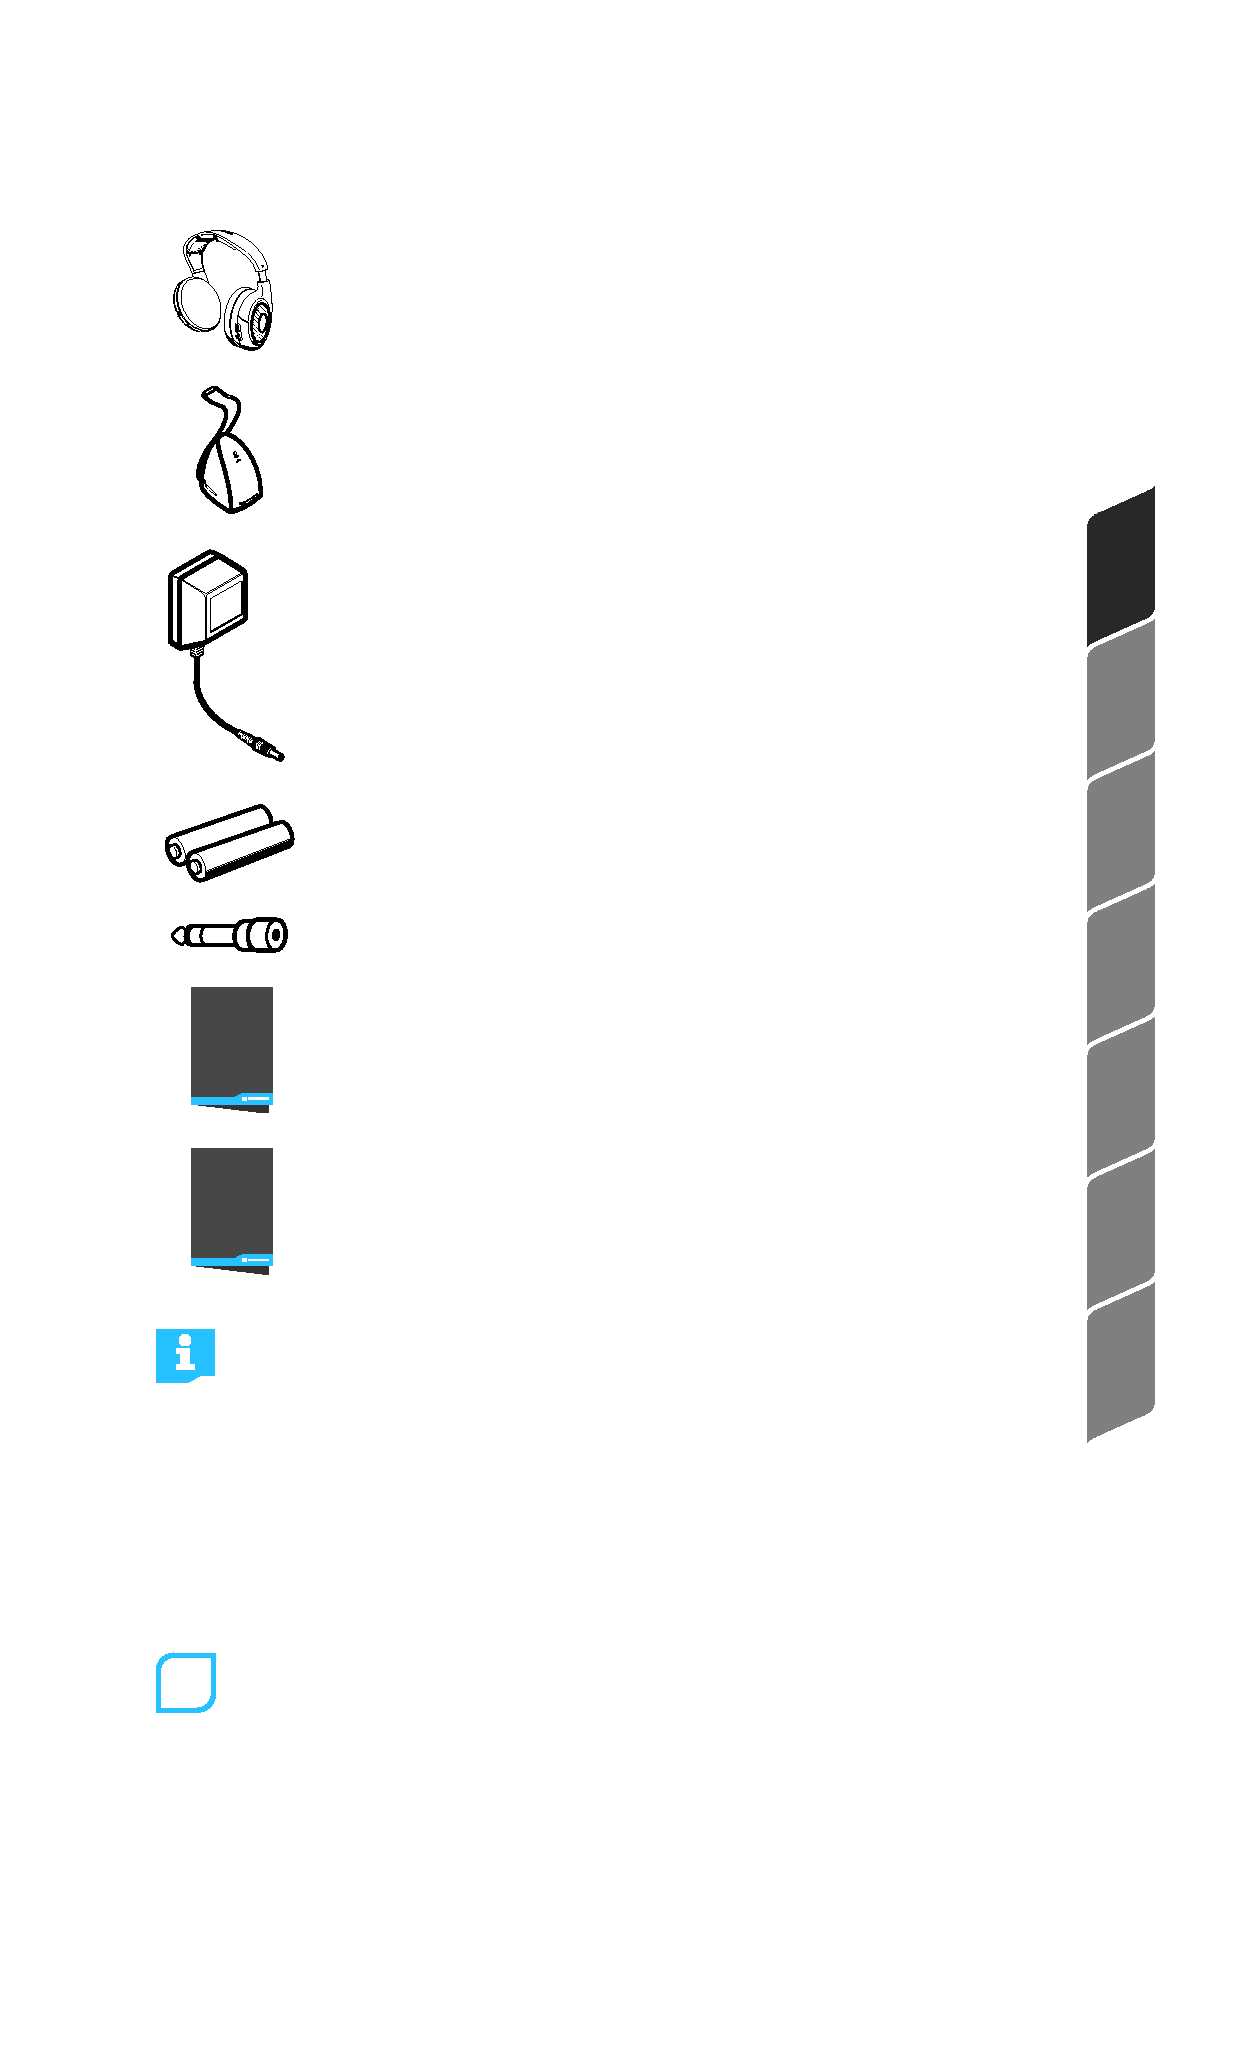
Delivery includes
HDR 120 II/HDR 119 II headphones
TR 120 II/TR 119 II transmitter with
audio connection cable
SA103K-09G/NT9-3A (EU) mains unit
(for EU market only)
SA103K-09B/NT9-3A (UK) mains unit
(for UK market only)
NiMH rechargeable batteries, AAA size, 1.2 V
Adapter, 1/4" (6.3 mm)
Quick
Guide
Quick Guide
Safety
Guide
Safety Guide
The diagrams corresponding to the chapter headings
can be found on the fold-out page.
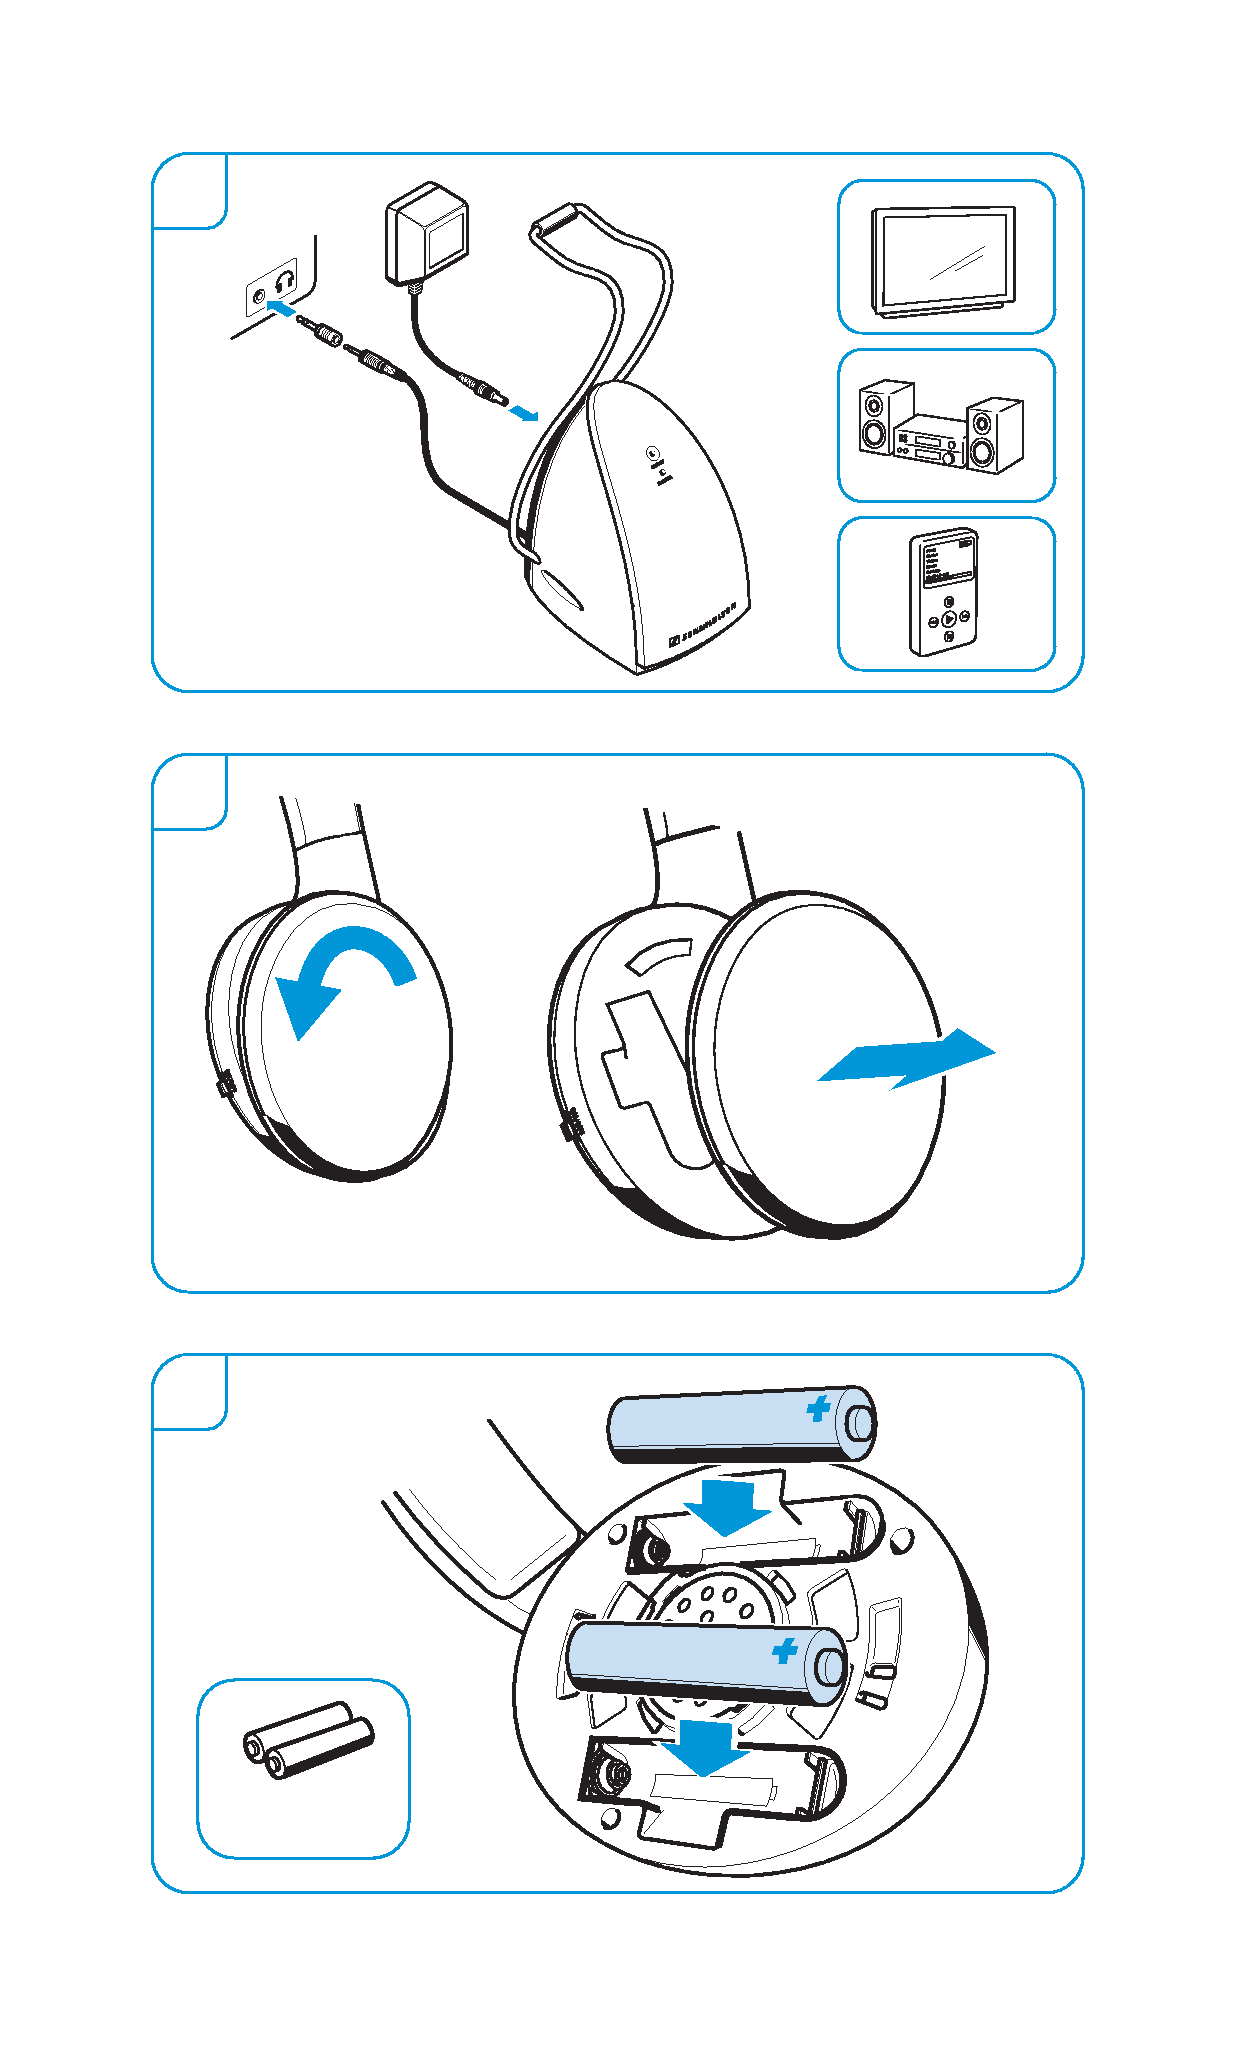
Preparing the transmitter for use
The transmitter is prepared for wall mounting (recess at the
rear of the transmitter). The required mounting material
(screws and plugs) is not included in the delivery.
1
Connecting the transmitter to an audio output of
your audio source
Choose a suitable place near your audio source (e.g. TV,
stereo or home cinema system). Avoid placing the trans-
mitter close to metal objects such as shelf bars, reinforced

2
concrete walls, etc. as this can decrease the transmitter's
range.
Connect the transmitter`s audio connection cable:
· either directly to the headphone socket or
· to the 1/4" (6.3 mm) adapter and a corresponding
headphone socket.
Set the volume for the headphone output of your audio
source to a medium level. If the headphone output volu-
me is set too low, the transmitter automatically switches
off.
Some TVs have a function that mutes the TV loud-
speakers when you connect a transmitter. If neces-
sary, change this setting via the operating menu of
your TV.
Connecting the transmitter to the mains
Connect the mains unit to the socket at the rear of the
transmitter. Plug the mains unit into a wall socket. The
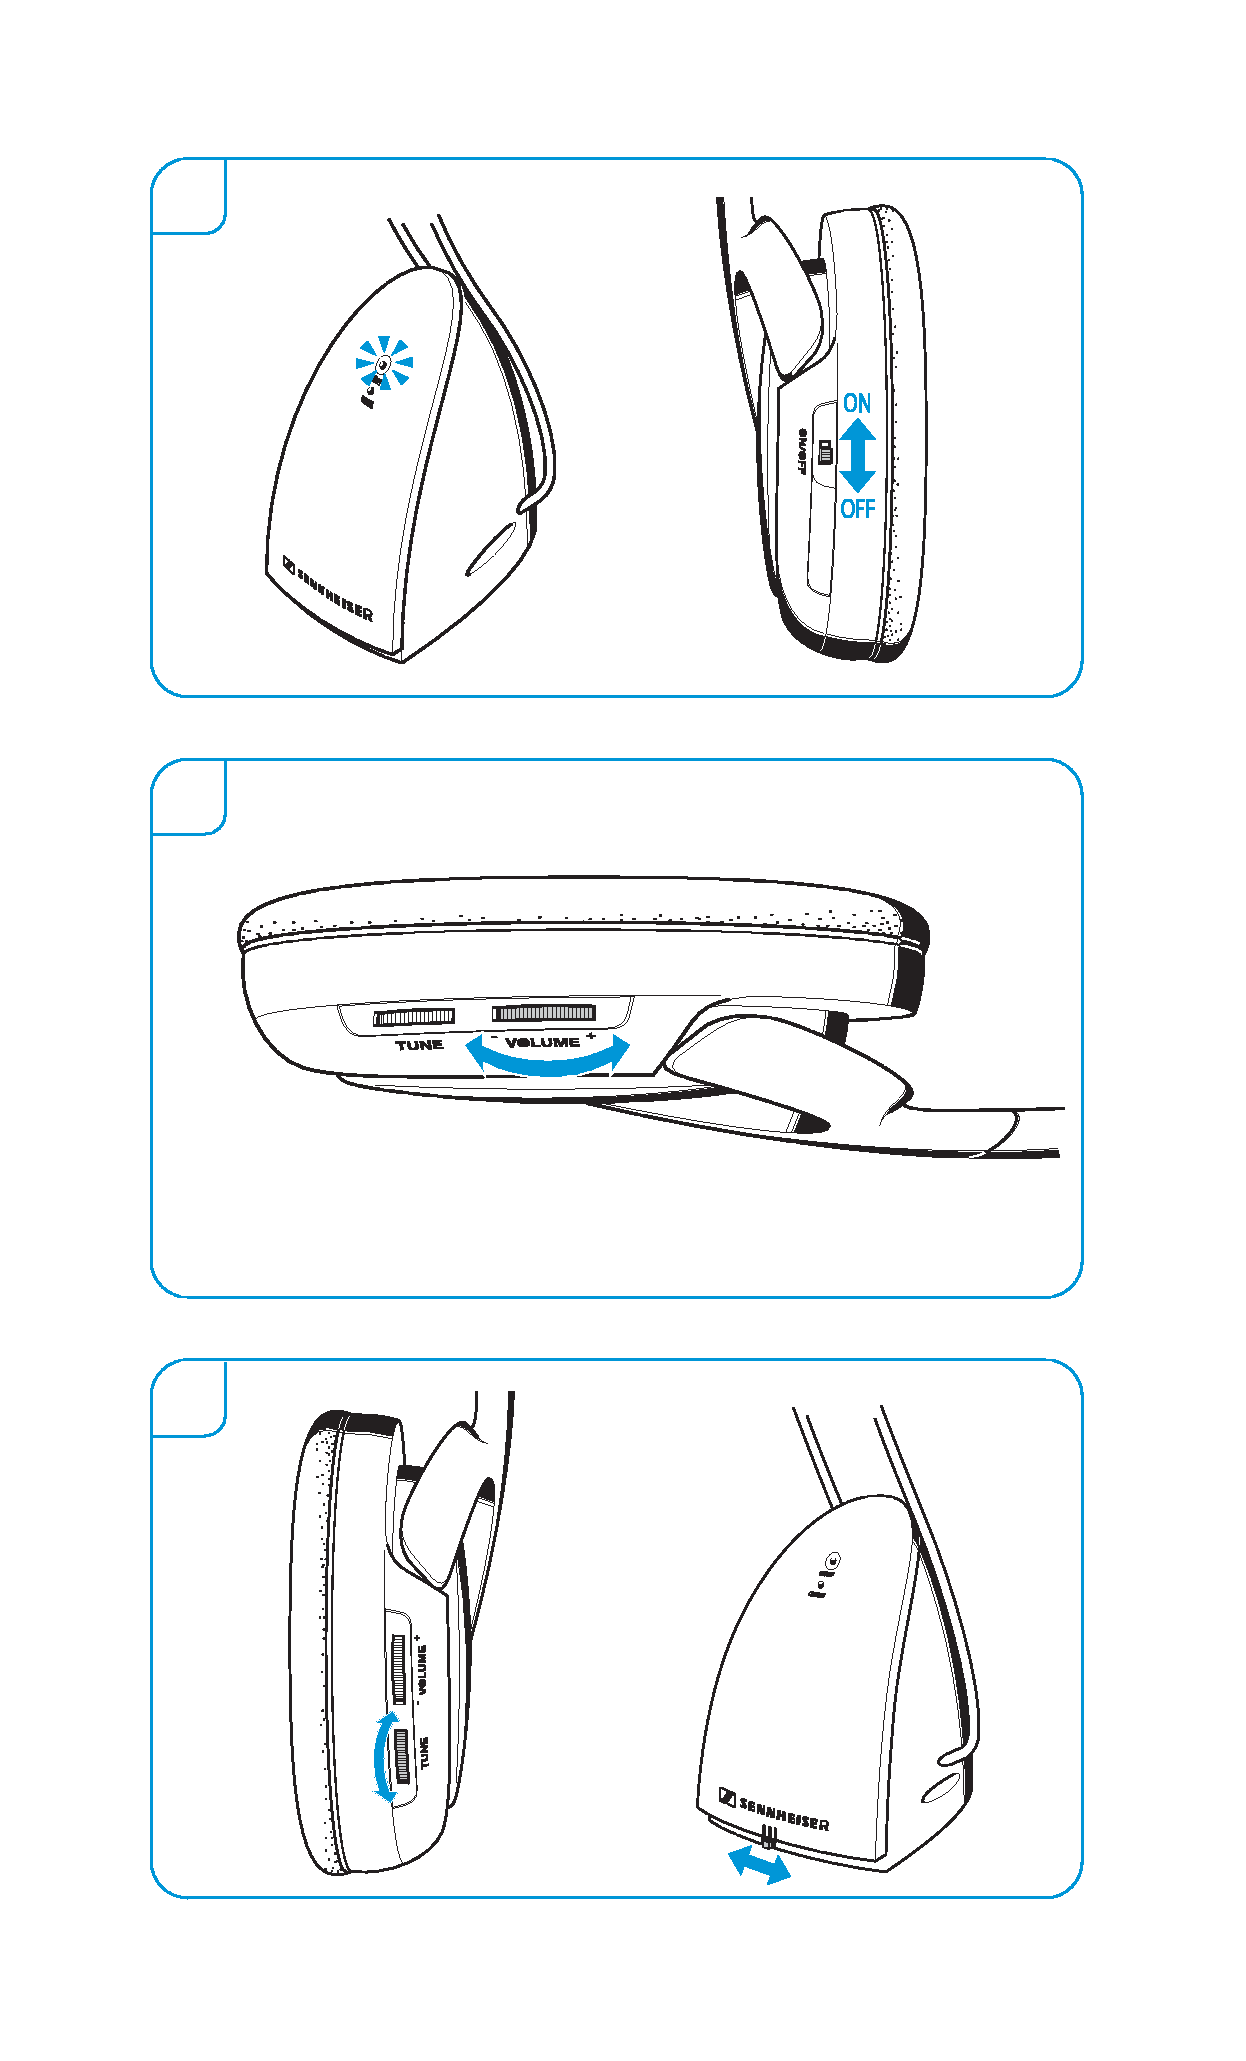
transmitter switches on and the ON/OFF LED lights up
green.
Preparing the headphones for use
2
Opening the battery compartments
Turn the ear pads in the direction of the arrow until you
overcome a slight resistance and lift them off the ear
cups.
3
Inserting and replacing the rechargeable batteries
CAUTION
Only use NiMH rechargeable batteries, never
use standard batteries!
Insert the supplied rechargeable batteries. Secure the ear
pads to the ear cups.
Charge the rechargeable batteries for at least 24 hours
prior to first time use. Subsequent charging time
depends on the previous operating time and is up to
18 hours max.