614
Bedienungsanleitung
Instructions for use
Notice d`emploi
Istruzioni per l`uso
Instrucciones para el uso
Gebruiksaanwijzing

Bedienungsanleitung.............................................................. 3
Instructions for use ................................................................. 9
Notice d'emploi ......................................................................15
Istruzioni per l'uso.................................................................21
Instrucciones para el uso......................................................27
Gebruiksaanwijzing...............................................................33
9
614
The super-cardioid
614 is a pre-polarised condenser
microphone designed for demanding applications which
require a wide frequency response, high sound pressure
level, fast transient response and a compact design. With
its frequency response of 40 Hz to 20 kHz, the
614 is
able to capture the full sound of the instrument, while its
super-cardioid pick-up pattern isolates the microphone
from other on-stage signals.
An excellent microphone for overheads, hi-hat and
percussions, the
614 is also an ideal choice for wood-
wind and string instruments. Its excellent acoustic
properties also make it a valuable tool for home
recording, the project studio and live stereo pair
recording.
Features
Rugged design
Excellent directivity across the whole frequency range
Full, natural sound
High maximum sound pressure level
Wide frequency response
10
Delivery includes
614 microphone
Pouch
MZQ 100 microphone clamp
Instructions for use
Warranty Certificate
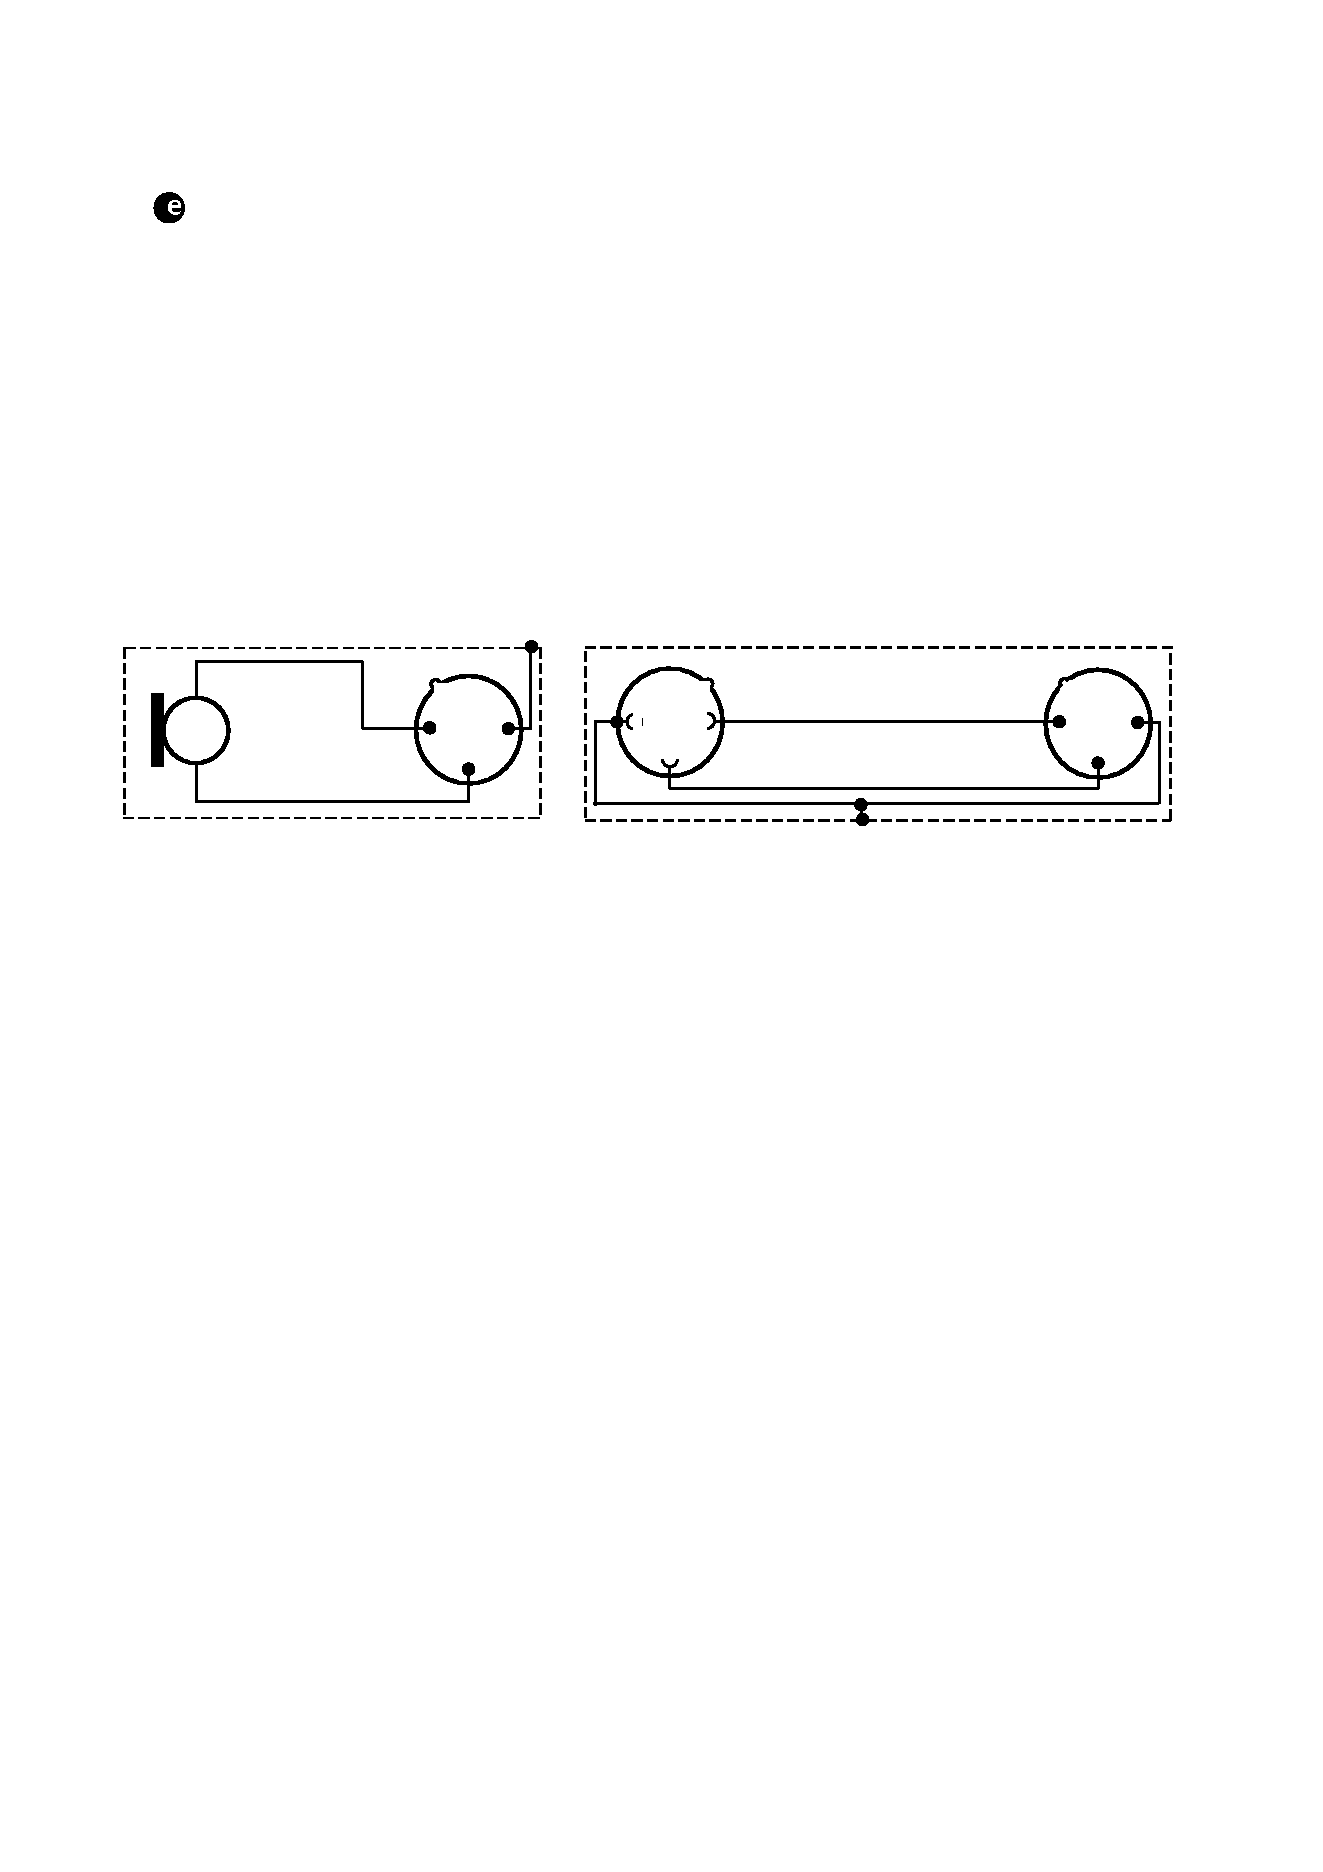
Pin assignment of XLR-3 connector
1
2
3
1
2
3
+
+
1
2
3
XLR
+
XLR
XLR
+
11
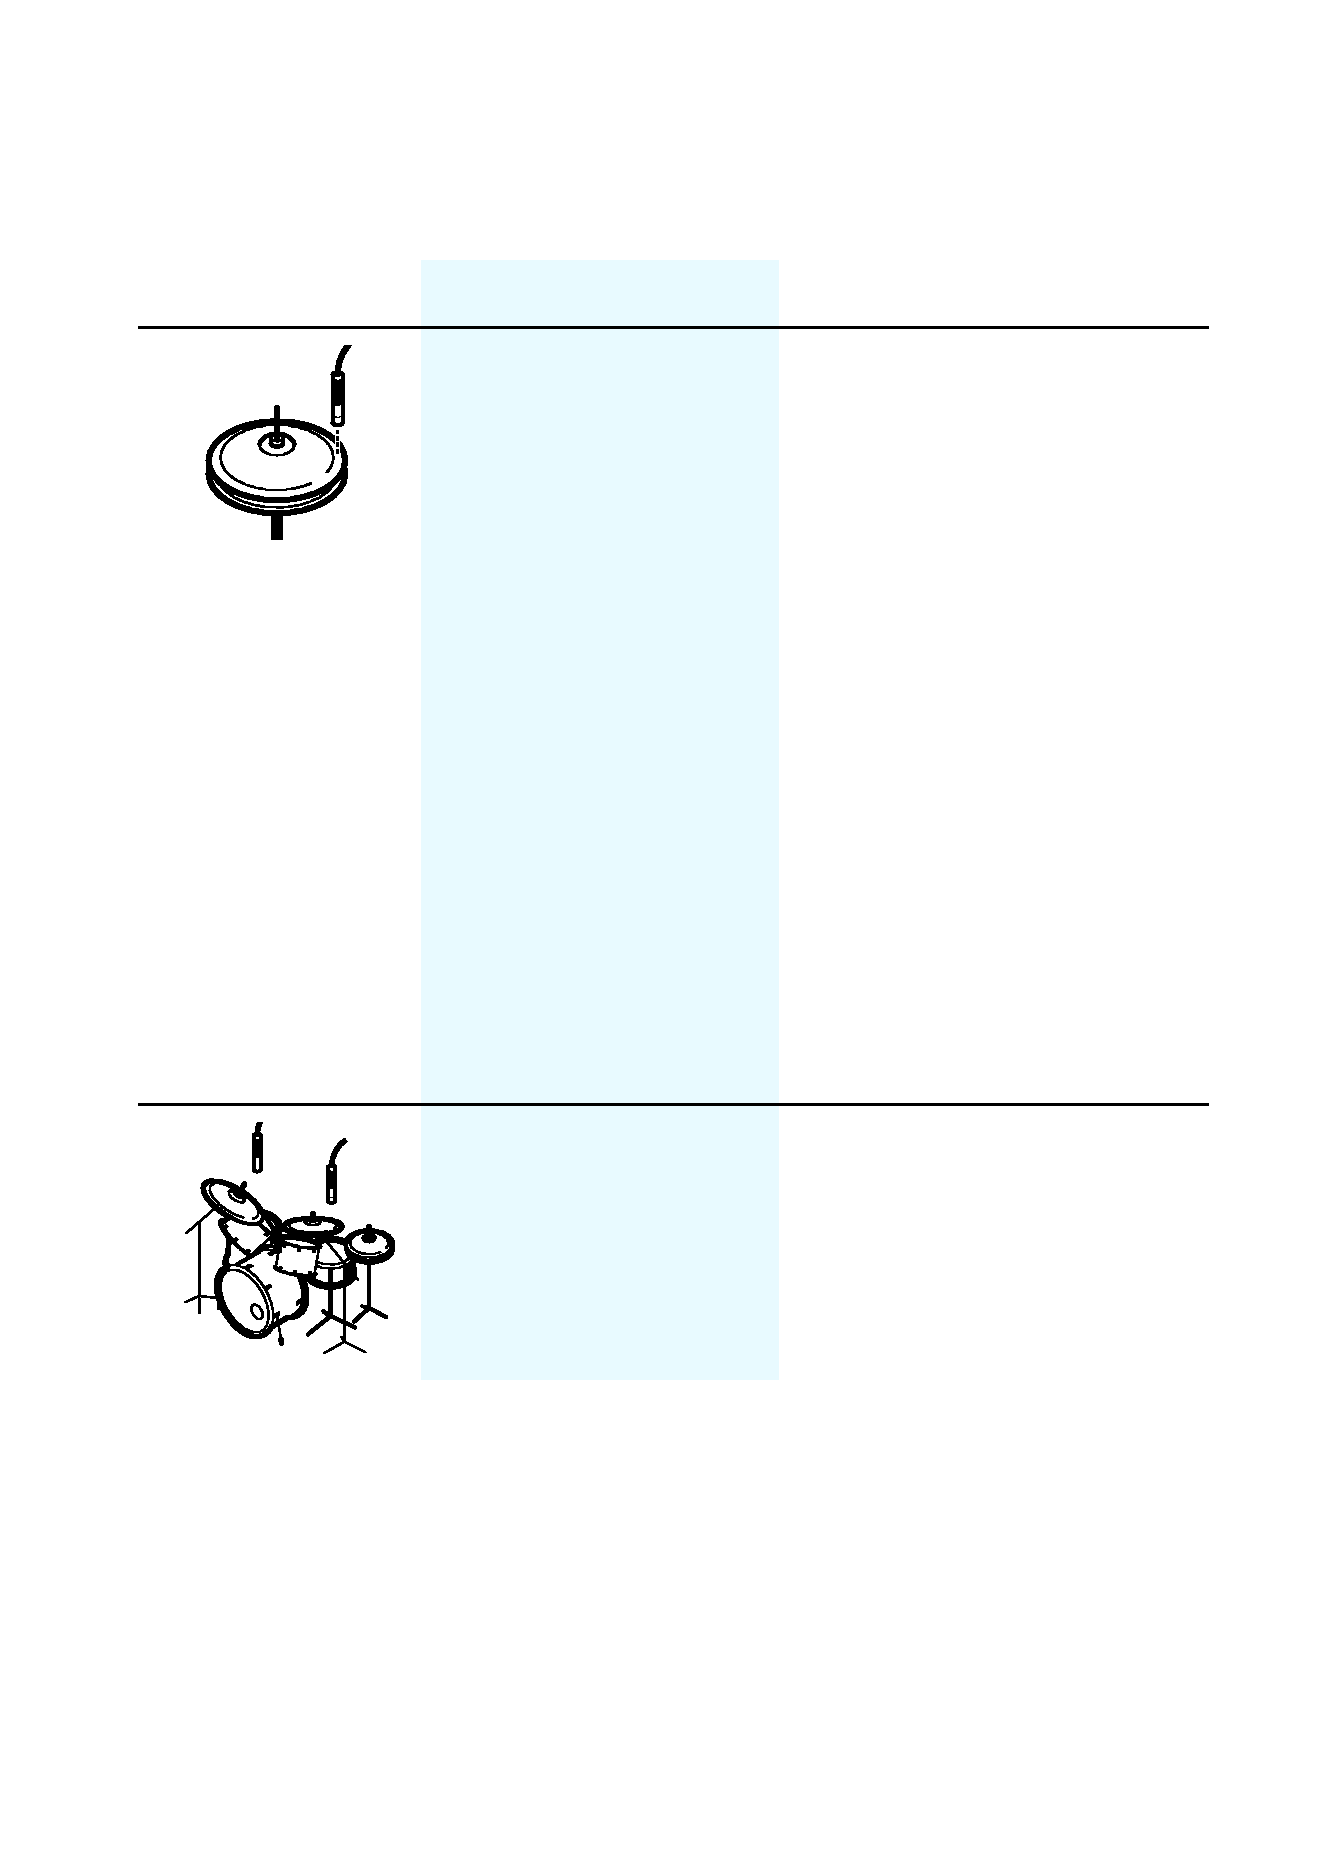
Positioning the microphone
Drums / Percussions
In order to prevent interference due to crosstalk between
adjacent sound sources, try to position the microphone so
that the interfering sound source is located in the angle
area of the highest cancellation of the microphone
(approx. 135°; see polar diagram)
Position
Resulting sound
Commentary
Natural, clear sound
Position the microphone
a few centimetres above
the outer edge of the
hi-hat aiming down.
If necessary, remove
unwanted low-frequency
signal portions by high
pass filtering.
Attention: When closing
the hi-hat, a strong air
current is created on the
edge. If the microphone
is positioned too close to
the edge, interfering
noise due to the air
current can occur.
More fundamental,
little overtones