DVD/CD Receiver
XV-DV9
Speaker System
S-DV9
Digital Wireless Speaker System
XW-DV1WS
Operating Instructions
XV-DV9.book 1

Location: Rear of the unit
10 cm or more
15 cm or more
Rear: 10 cm or more
PHONES
STANDBY/ON
DOWN
VOLUME
CD MODE TIMER
UP
DVD/CD
TUNER
TV/L1/L2
FM/AM/ST.
DIRECT PLAY
DISC SKIP
EXCHANGE
OPEN/CLOSE
12
3
4
5
DISC
12
34
5
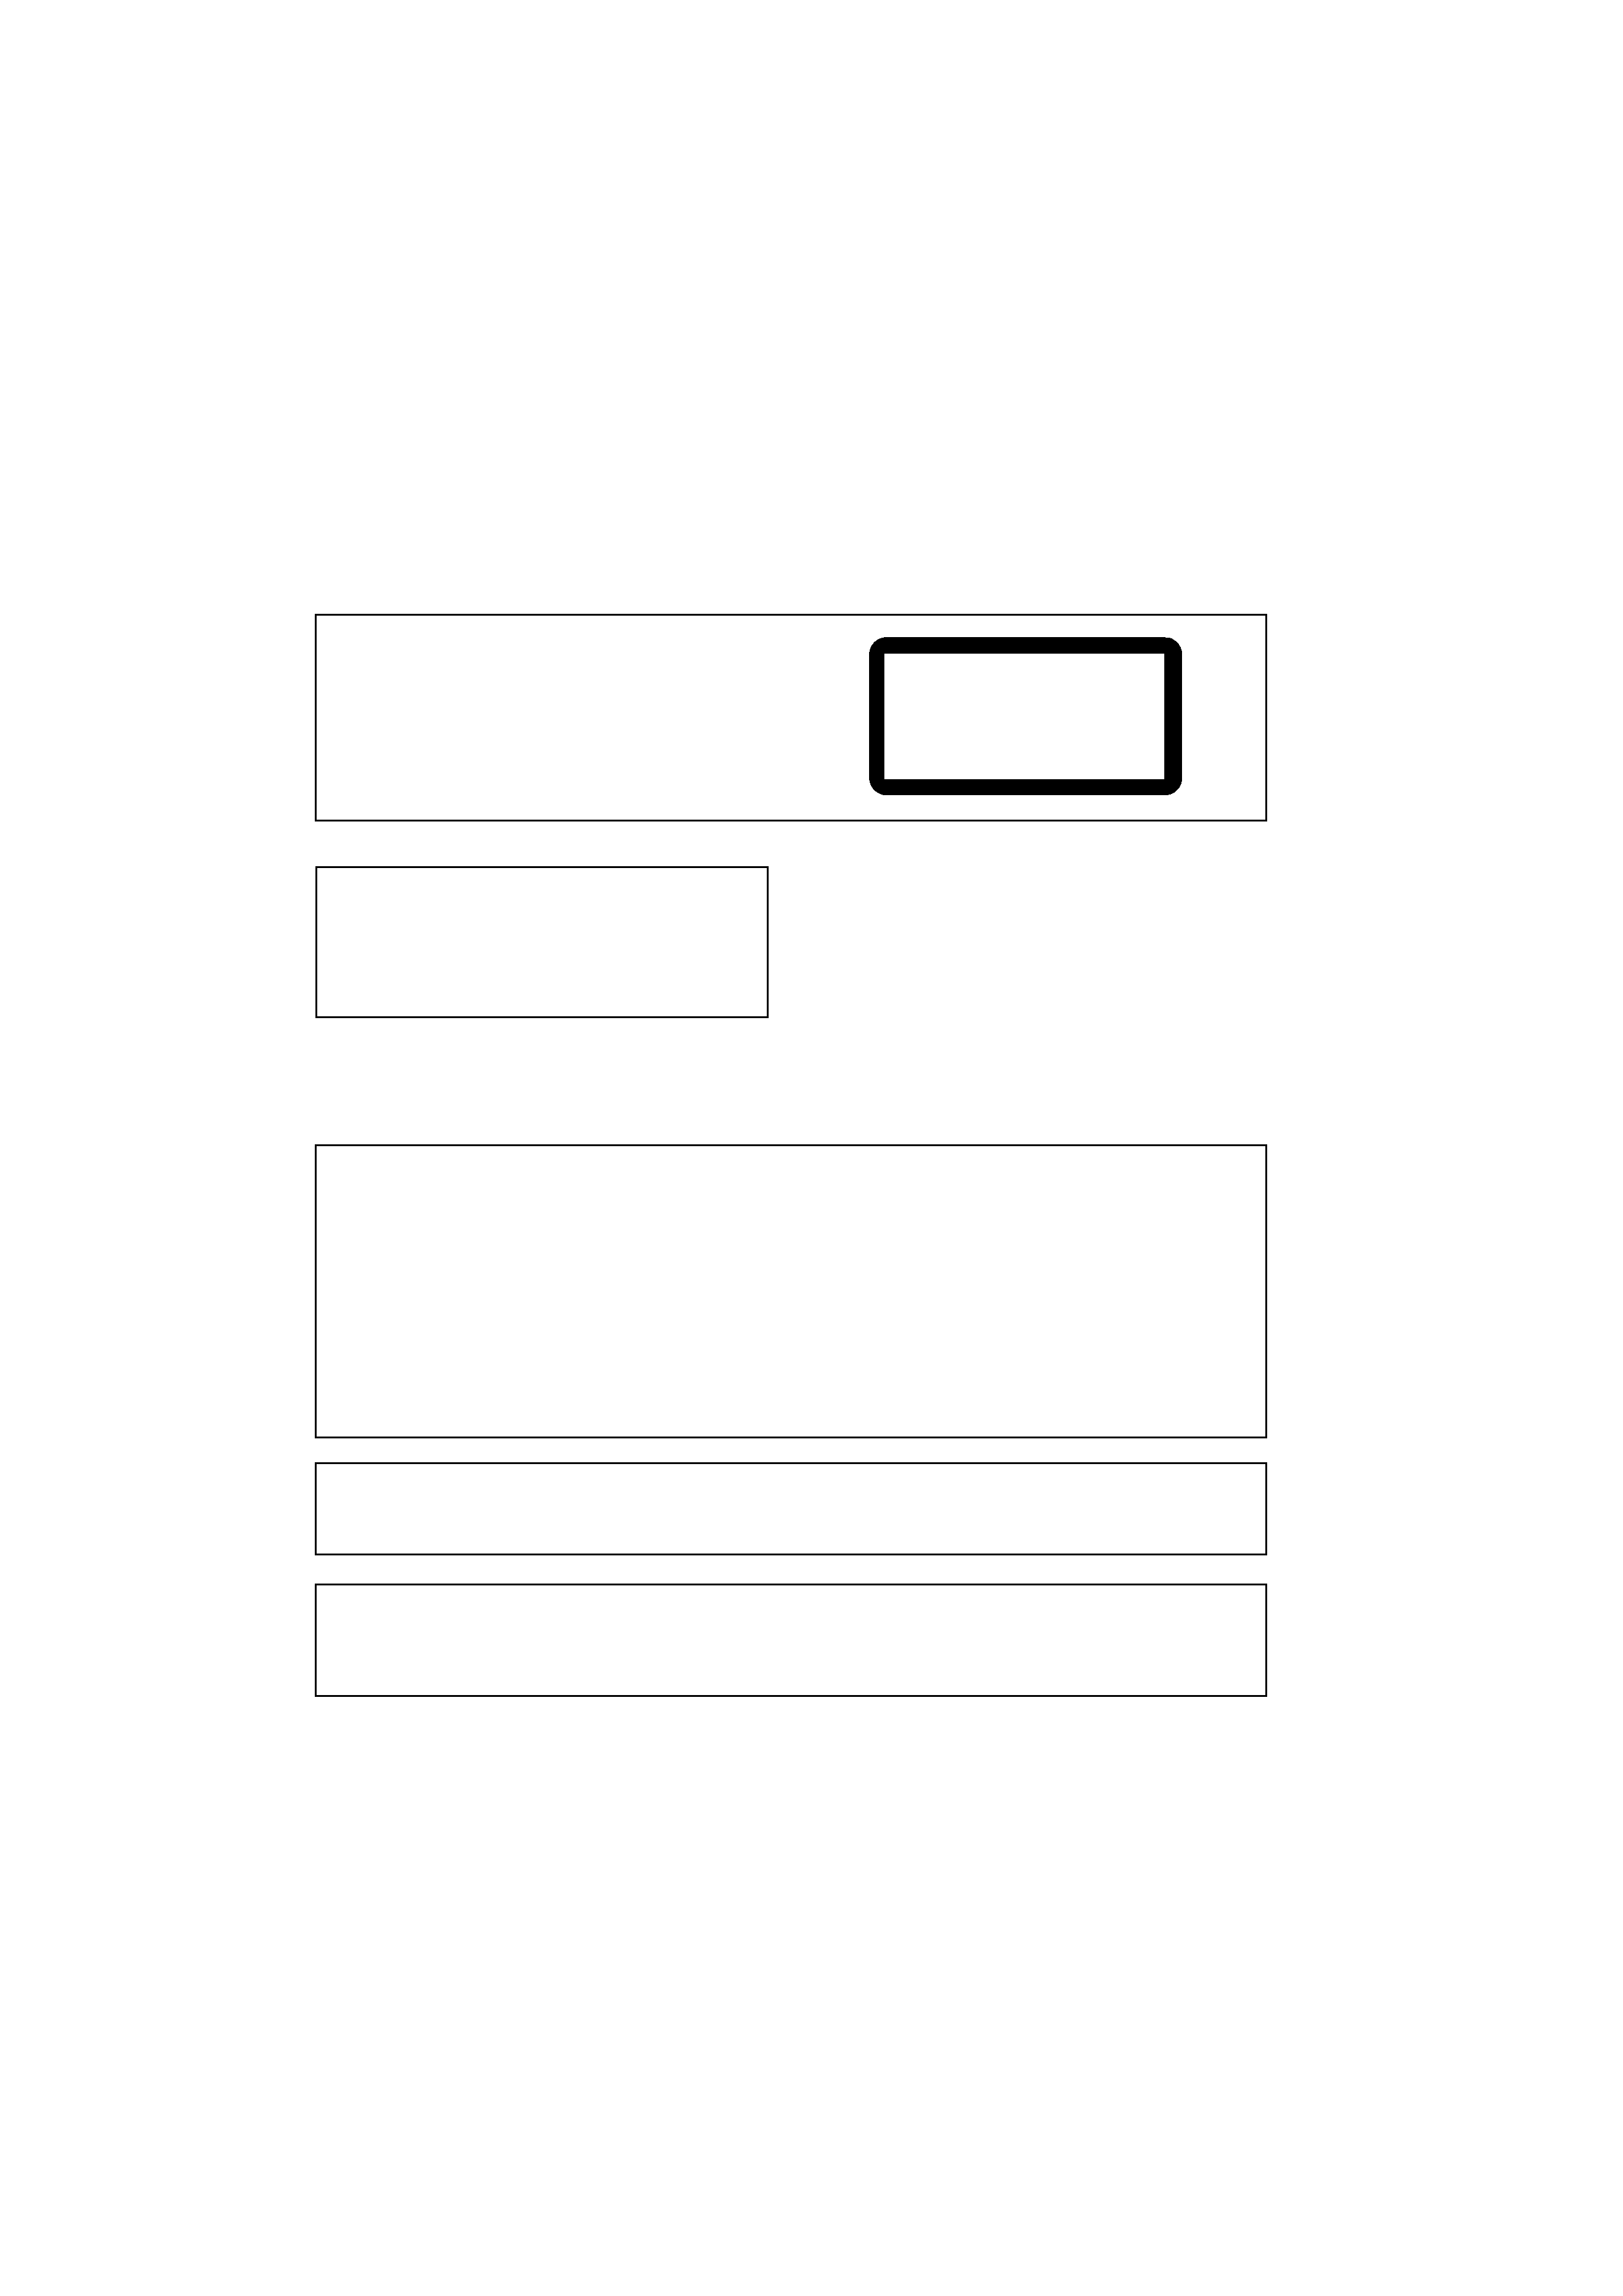
The exclamation point within an equilateral
triangle is intended to alert the user to the
presence of important operating and
maintenance (servicing) instructions in the
literature accompanying the appliance.
The lightning flash with arrowhead symbol,
within an equilateral triangle, is intended to
alert the user to the presence of uninsulated
"dangerous voltage" within the product's
enclosure that may be of sufficient
magnitude to constitute a risk of electric
shock to persons.
IMPORTANT
CAUTION:
TO PREVENT THE RISK OF ELECTRIC
SHOCK, DO NOT REMOVE COVER (OR
BACK). NO USER-SERVICEABLE PARTS
INSIDE. REFER SERVICING TO QUALIFIED
SERVICE PERSONNEL.
CAUTION
RISK OF ELECTRIC SHOCK
DO NOT OPEN
D3-4-2-1-1_En
WARNING: The apparatus is not waterproofs, to
prevent fire or shocks hazard, do not expose this
apparatus to rain or moisture and do not put any
water source near this apparatus, such as vase,
flower pot, cosmetics container and medicine
bottle etc.
D3-4-2-1-3_En
WARNING: No naked flame sources, such as
lighted candle, should be placed on the apparatus.
If naked flame sources accidentally fall down, fire
spread over the apparatus then may cause fire.
D3-4-2-1-7a_En
[For XV-DV9]
VENTILATION: When installing this unit, make
sure to leave space around the unit for ventilation
to improve heat radiation (at least 15 cm at top, 10
cm at rear, and 10 cm at each side).
[For XW-DV1WS]
VENTILATION: When installing this unit, make
sure to leave space around the unit for ventilation
to improve heat radiation (at least 10 cm at top, 10
cm at rear, and 10 cm at each side).
WARNING: Slot and openings in the cabinet are
provided for ventilation and to ensure reliable
operation of the product and to protect it from
overheating, to prevent fire hazard, the openings
should never be blocked and covered with items,
such as newspapers, table-cloths, curtains, etc. Also
do not put the apparatus on the thick carpet, bed,
sofa, or fabric having a thick pile.
D3-4-2-1-7b_En
Operating Environment
Operating environment temperature and humidity:
+5 ºC +35 ºC (+41 ºF +95 ºF); less than 85 %RH
(cooling vents not blocked)
Do not install in the following locations
· Location exposed to direct sunlight or strong artificial
light
· Location exposed to high humidity, or poorly
ventilated location
D3-4-2-1-7c_En
The STANDBY/ON switch is secondary connected
and therefore, does not separate the unit from mains
power in STANDBY position. Therefore install the
unit suitable places easy to disconnect the MAINS
plug in case of the accident. The MAINS plug of unit
should be unplugged from the wall socket when left
unused for a long period of time.
D3-4-2-2-2a_En
[For XV-DV9]
[For XW-DV1WS]
CAUTION
The POWER switch does not completely separates
the unit from the MAINS in off position. Therefore
install the unit suitable places easy to disconnect
the MAINS plug in case of the accident. The MAINS
plug of unit should be unplugged from the wall
socket when left unused for a long period of time.
D3-4-2-2-2b_En
XV-DV9.book 2
The following does not apply to the Asian and Oceanic models:
WARNING:
BEFORE PLUGGING IN THE UNIT FOR THE FIRST
TIME, READ THE FOLLOWING SECTION CAREFULLY.
The voltage of the available power supply differs
according to country or region. Be sure that the
power supply voltage of the area where this unit
will be used meets the required voltage (e.g., 230V
or 120V) written on the rear panel.
D3-4-2-1-4_En
CAUTION
This product contains a laser diode of higher class
than 1. To ensure continued safety, do not remove any
covers or attempt to gain access to the inside of the
product.
Refer all servicing to qualified personnel.
The following caution label appears on your unit.
CLASS 1
LASER PRODUCT
D3-4-2-1-8_En
CAUTION
These speaker terminals can be under
HAZARDOUS
VOLTAGE. When you connect or disconnect the
speaker cables, to prevent the risk of electric shock, do
not touch uninsulated parts before disconnecting the
power cord.
D3-4-2-2-3_En
CAUTION : USE OF CONTROLS OR ADJUSTMENTS OR PERFORMANCE OF PROCEDURES OTHER THAN THOSE
SPECIFIED HEREIN MAY RESULT IN HAZARDOUS RADIATION EXPOSURE.
CAUTION : THE USE OF OPTICAL INSTRUMENTS WITH THIS PRODUCT WILL INCREASE EYE HAZARD. D6-8-2-1_En
NOTE: This equipment has been tested and found to comply with the limits for a Class B digital device, pursuant to
Part 15 of the FCC Rules. These limits are designed to provide reasonable protection against harmful interference in
a residential installation. This equipment generates, uses, and can radiate radio frequency energy and, if not
installed and used in accordance with the instructions, may cause harmful interference to radio communications.
However, there is no guarantee that interference will not occur in a particular installation. If this equipment does
cause harmful interference to radio or television reception, which can be determined by turning the equipment off
and on, the user is encouraged to try to correct the interference by one or more of the following measures:
Reorient or relocate the receiving antenna.
Increase the separation between the equipment and receiver.
Connect the equipment into an outlet on a circuit different from that to which the receiver is connected.
Consult the dealer or an experienced radio/TV technician for help.
D8-10-1-2_En
Information to User
Alteration or modifications carried out without appropriate authorization may invalidate the user's right to operate
the equipment.
D8-10-2_En
This product is for general household purposes. Any
failure due to use for other than household purposes
(such as long-term use for business purposes in a
restaurant or use in a car or ship) and which
requires repair will be charged for even during the
warranty period.
K041_En
XV-DV9.book 3
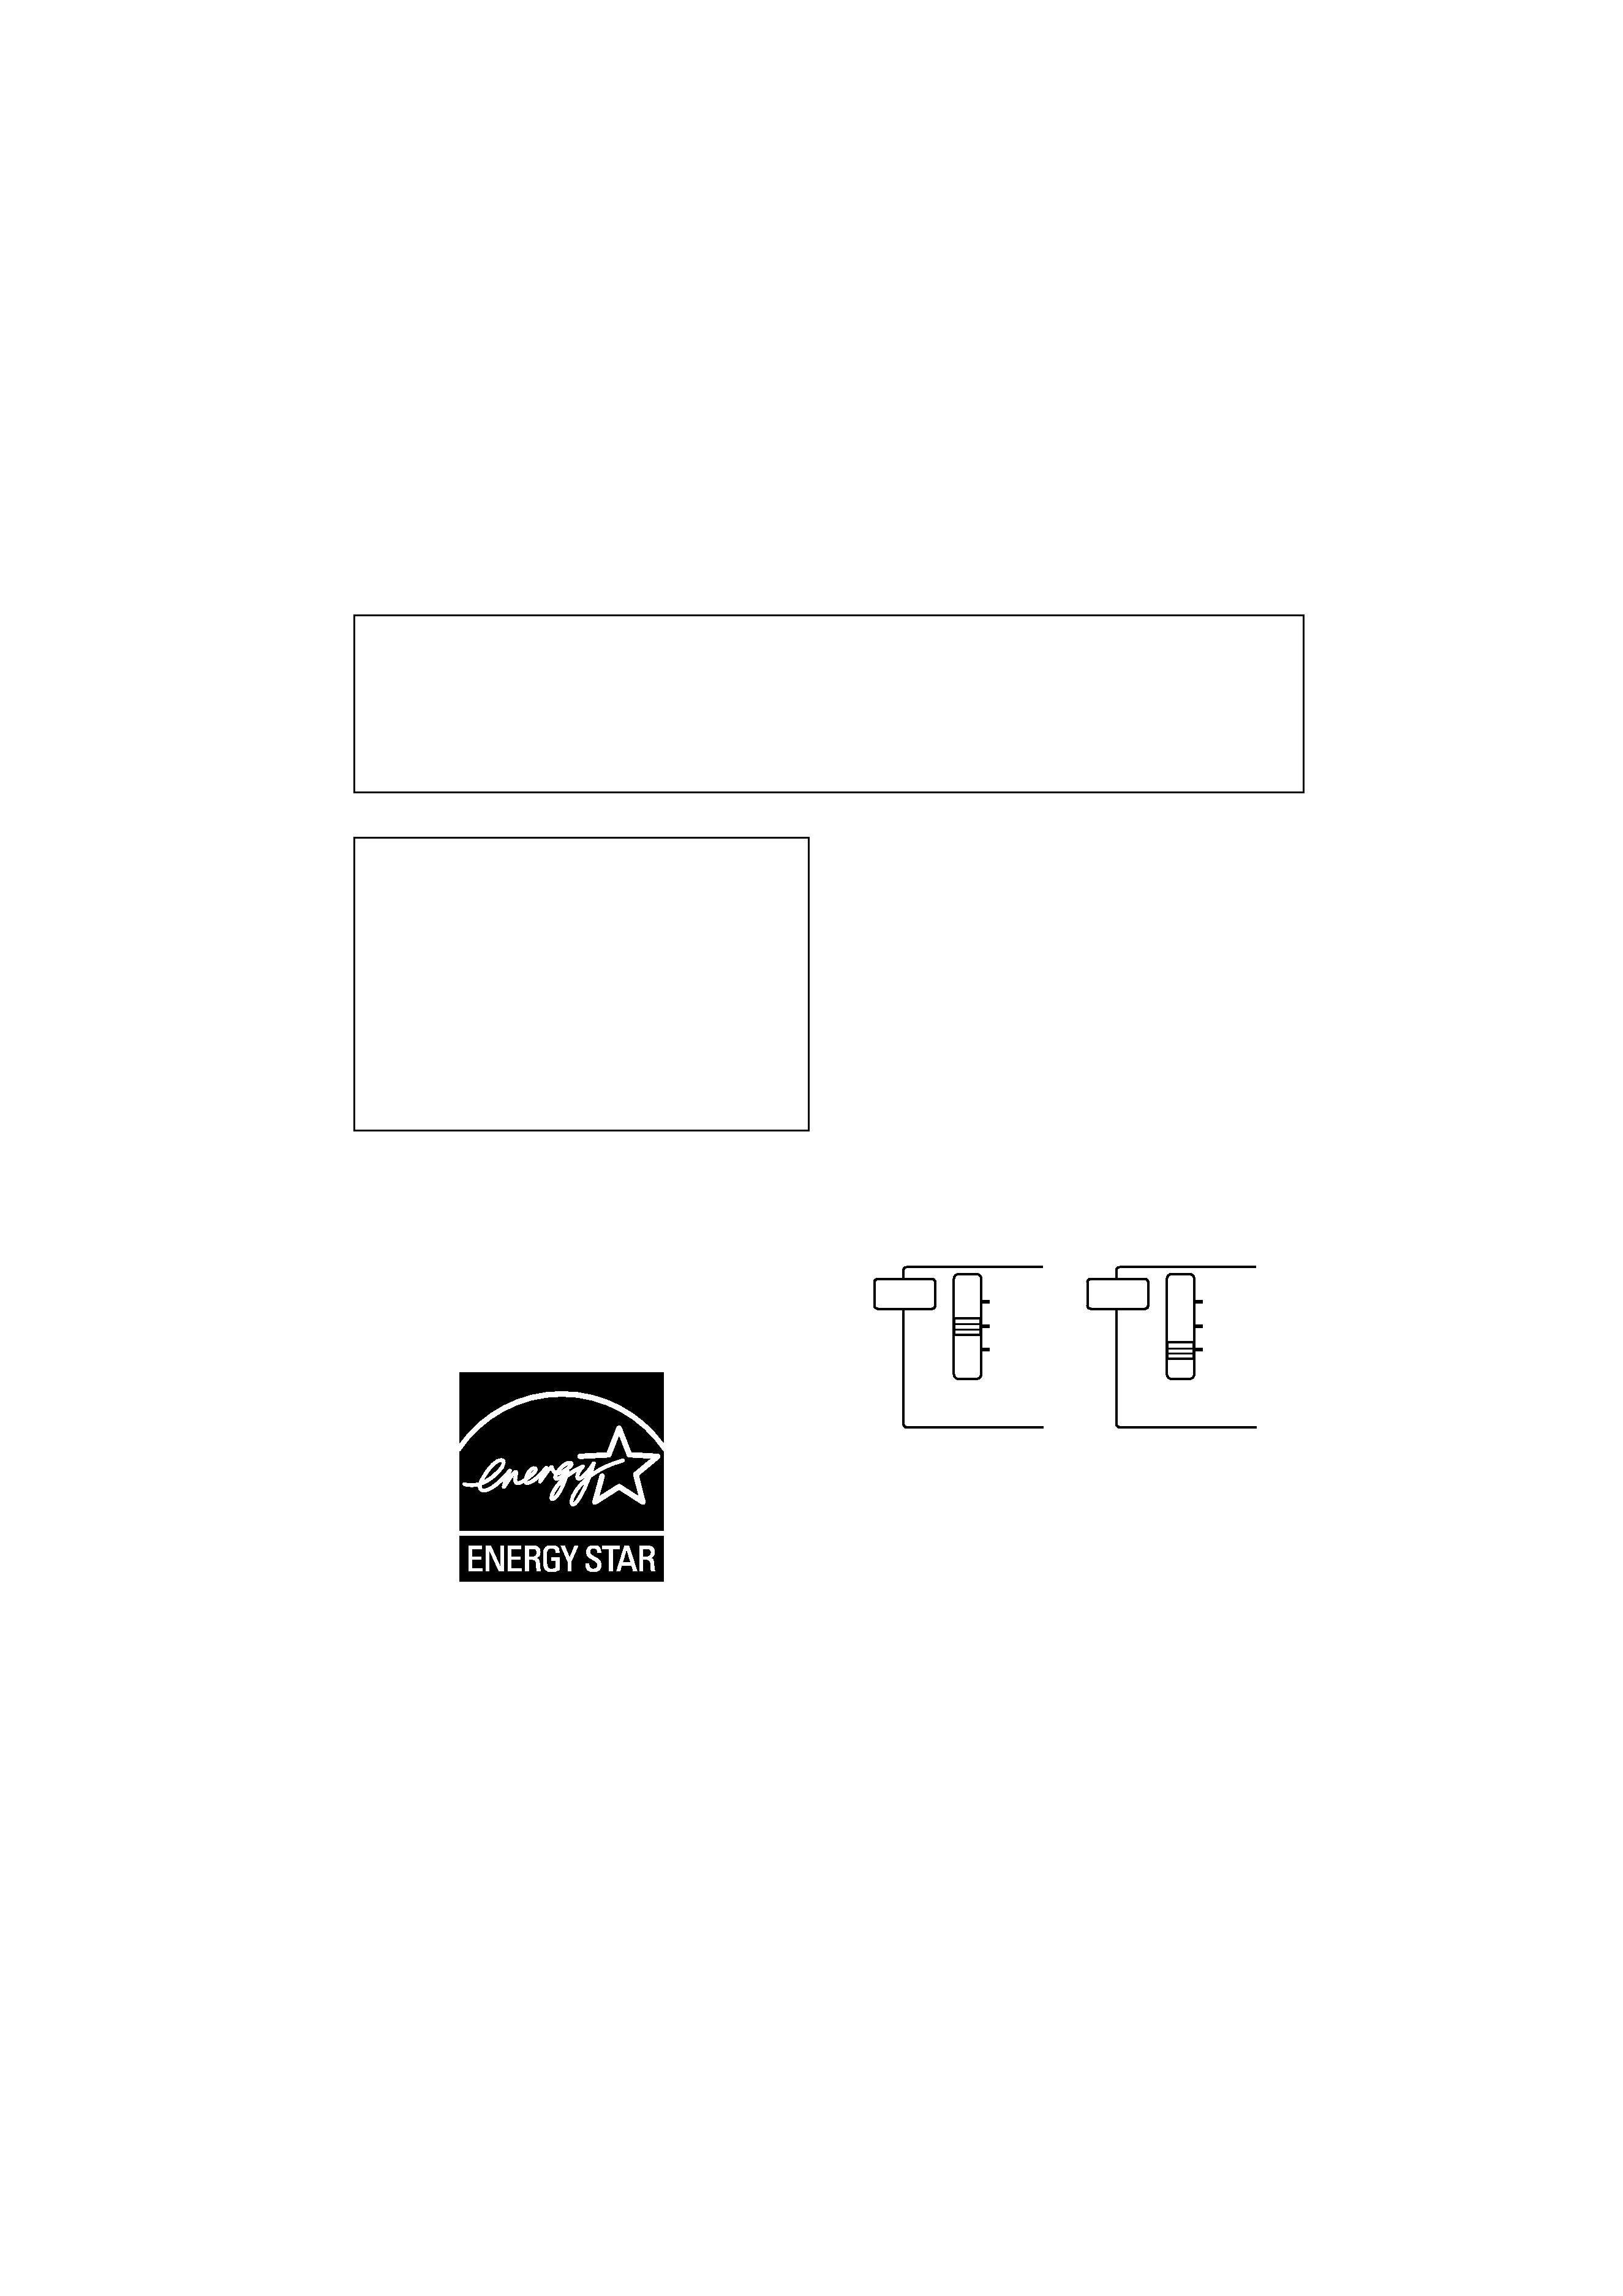
Energy-saving design
This system is designed to use 0.5W of
electricity when power is switched to
standby.
This product incorporates copyright protection
technology that is protected by method claims
of certain U.S. patents and other intellectual
property rights owned by Macrovision
Corporation and other rights owners. Use of
this copyright protection technology must be
authorized by Macrovision Corporation, and is
intended for home and other limited viewing
uses only unless otherwise authorized by
Macrovision Corporation. Reverse engineering
or disassembly is prohibited.
For U.S. and Australia Model
C67-7-3_En
[For XV-DV9 only]
For Australian and
New Zealand models only
D3-4-2-1-5_En
Voltage selector
You can find the voltage selector switch on the rear
panel of multi-voltage models.
The factory setting for the voltage selector is 220
230 V. Please set it to the correct voltage for your
country or region.
· For Taiwan, please set to 120-127V before using.
For Australian and New Zealand models:
The factory setting for the voltage selector is 240 V.
Please set it to the correct voltage for your country
or region.
Before changing the voltage, disconnect the AC power
cord. Use a medium size screwdriver to change the
voltage selector switch.
120-
127V
220-
230V
240V
VOLTAGE
SELECTOR
120-
127V
220-
230V
240V
VOLTAGE
SELECTOR
The channel, frequency, output power, and other features and functions of the equipment shall not be
changed after approval.
The equipment shall safely use only a channel frequency that is legally approved and shall not cause
interference on other channels. If the equipment fails to meet these requirements, use of the
equipment will be prohibited until compliance can be attained.
XV-DV9.book 4

5
En
Thank you for buying this Pioneer product.
Please read through these operating instructions so that you will know how to operate your model
properly. After you have finished reading the instructions, put them in a safe place for future
reference.
Contents
01 Before you start
Features
. . . . . . . . . . . . . . . . . . . . . . . . . . . . 8
What's in the box
. . . . . . . . . . . . . . . . . . . . . 8
Putting the batteries in the remote
control
. . . . . . . . . . . . . . . . . . . . . . . . . . . . . 9
Using the remote control
. . . . . . . . . . . . . . 9
Disc / content format playback
compatibility
. . . . . . . . . . . . . . . . . . . . . . . . 9
CD-R/RW compatibility
. . . . . . . . . . . . . . 10
DVD-R/RW compatibility
. . . . . . . . . . . . . 10
PC-created disc compatibility
. . . . . . . . . 10
Compressed audio compatibility
. . . . . . . 10
About WMA
. . . . . . . . . . . . . . . . . . . . . . . 10
JPEG file compatibility
. . . . . . . . . . . . . . . 11
02 Connecting up
Connecting the speakers and wireless
speaker system
. . . . . . . . . . . . . . . . . . . . . 12
Placing the speakers
. . . . . . . . . . . . . . . . . 14
Wall-mounting the center speaker
. . . . . . 15
Connecting to your TV
. . . . . . . . . . . . . . . . 16
Connecting using the S-video output
. . . . 16
Connecting using the component video
output
. . . . . . . . . . . . . . . . . . . . . . . . . . . 17
Listening to TV audio through this
system
. . . . . . . . . . . . . . . . . . . . . . . . . . . 18
Using this unit with a Pioneer plasma
display
. . . . . . . . . . . . . . . . . . . . . . . . . . . . 19
Using the SR+ mode with a Pioneer
plasma display
. . . . . . . . . . . . . . . . . . . . . 19
Connecting the supplied antennas
. . . . . . . 21
Assembling the loop antenna
. . . . . . . . . 21
AM loop antenna
. . . . . . . . . . . . . . . . . . . 21
FM wire antenna
. . . . . . . . . . . . . . . . . . . 22
Connecting the power
. . . . . . . . . . . . . . . . 22
03 Controls and displays
Front panel
. . . . . . . . . . . . . . . . . . . . . . . . 23
Display
. . . . . . . . . . . . . . . . . . . . . . . . . . . . 24
Remote control
. . . . . . . . . . . . . . . . . . . . . 26
Transmitter
. . . . . . . . . . . . . . . . . . . . . . . . 29
Wireless speaker
. . . . . . . . . . . . . . . . . . . . 29
04 Getting started
Switching on and setting up
. . . . . . . . . . . 31
Setting the clock
. . . . . . . . . . . . . . . . . . . 32
Using the Room Setup
. . . . . . . . . . . . . . . . 32
Setting up the remote to control
your TV
. . . . . . . . . . . . . . . . . . . . . . . . . . . . 33
Using the on-screen displays
. . . . . . . . . . . 34
Playing discs
. . . . . . . . . . . . . . . . . . . . . . . 34
Basic playback controls
. . . . . . . . . . . . . 35
Resume and Last Memory
. . . . . . . . . . . . 36
Changing discs
. . . . . . . . . . . . . . . . . . . . . 37
DVD-Video disc menus
. . . . . . . . . . . . . . 38
Video CD/Super VCD PBC menus
. . . . . . . 39
Listening to the radio
. . . . . . . . . . . . . . . . . 39
Improving poor FM reception
. . . . . . . . . 40
Memorizing stations
. . . . . . . . . . . . . . . . 40
Listening to station presets
. . . . . . . . . . . 41
Listening to other sources
. . . . . . . . . . . . . 41
Singing karaoke
. . . . . . . . . . . . . . . . . . . . . 41
Using the wireless speaker system
. . . . . . 42
05 Listening to your system
About the listening modes
. . . . . . . . . . . . . 44
Auto listening mode
. . . . . . . . . . . . . . . . . 44
Listening in surround sound
. . . . . . . . . . . 45
Dolby Pro Logic II Music settings
. . . . . . 45
Using the Advanced Surround effects
. . . . 46
Using Front Surround
. . . . . . . . . . . . . . . . 46
Adjusting the Advanced and Front
Surround effect level
. . . . . . . . . . . . . . . . 47
Listening in stereo
. . . . . . . . . . . . . . . . . . . 47
XV-DV9.book 5