Stereo DVD Cassette Deck Receiver
XV-GX3
Speaker System
S-GX3V
Operating Instructions
XV-GX3.book 1
The exclamation point within an equilateral
triangle is intended to alert the user to the
presence of important operating and
maintenance (servicing) instructions in the
literature accompanying the appliance.
The lightning flash with arrowhead symbol,
within an equilateral triangle, is intended to
alert the user to the presence of uninsulated
"dangerous voltage" within the product's
enclosure that may be of sufficient
magnitude to constitute a risk of electric
shock to persons.
CAUTION:
TO PREVENT THE RISK OF ELECTRIC
SHOCK, DO NOT REMOVE COVER (OR
BACK). NO USER-SERVICEABLE PARTS
INSIDE. REFER SERVICING TO QUALIFIED
SERVICE PERSONNEL.
CAUTION
RISK OF ELECTRIC SHOCK
DO NOT OPEN
IMPORTANT
D3-4-2-1-1_En-A
WARNING
This equipment is not waterproof. To prevent a fire
or shock hazard, do not place any container filed
with liquid near this equipment (such as a vase or
flower pot) or expose it to dripping, splashing, rain
or moisture.
D3-4-2-1-3_A_En
WARNING
The voltage of the available power supply differs
according to country or region. Be sure that the
power supply voltage of the area where this unit
will be used meets the required voltage (e.g., 230V
or 120V) written on the rear panel.
D3-4-2-1-4_A_En
Before plugging in for the first time, read the following
section carefully.
WARNING
To prevent a fire hazard, do not place any naked
flame sources (such as a lighted candle) on the
equipment.
D3-4-2-1-7a_A_En
VENTILATION CAUTION
When installing this unit, make sure to leave space
around the unit for ventilation to improve heat
radiation (at least 10 cm at top, 10 cm at rear, and
10 cm at each side).
WARNING
Slots and openings in the cabinet are provided for
ventilation to ensure reliable operation of the
product, and to protect it from overheating. To
prevent fire hazard, the openings should never be
blocked or covered with items (such as newspapers,
table-cloths, curtains) or by operating the
equipment on thick carpet or a bed.
D3-4-2-1-7b_A_En
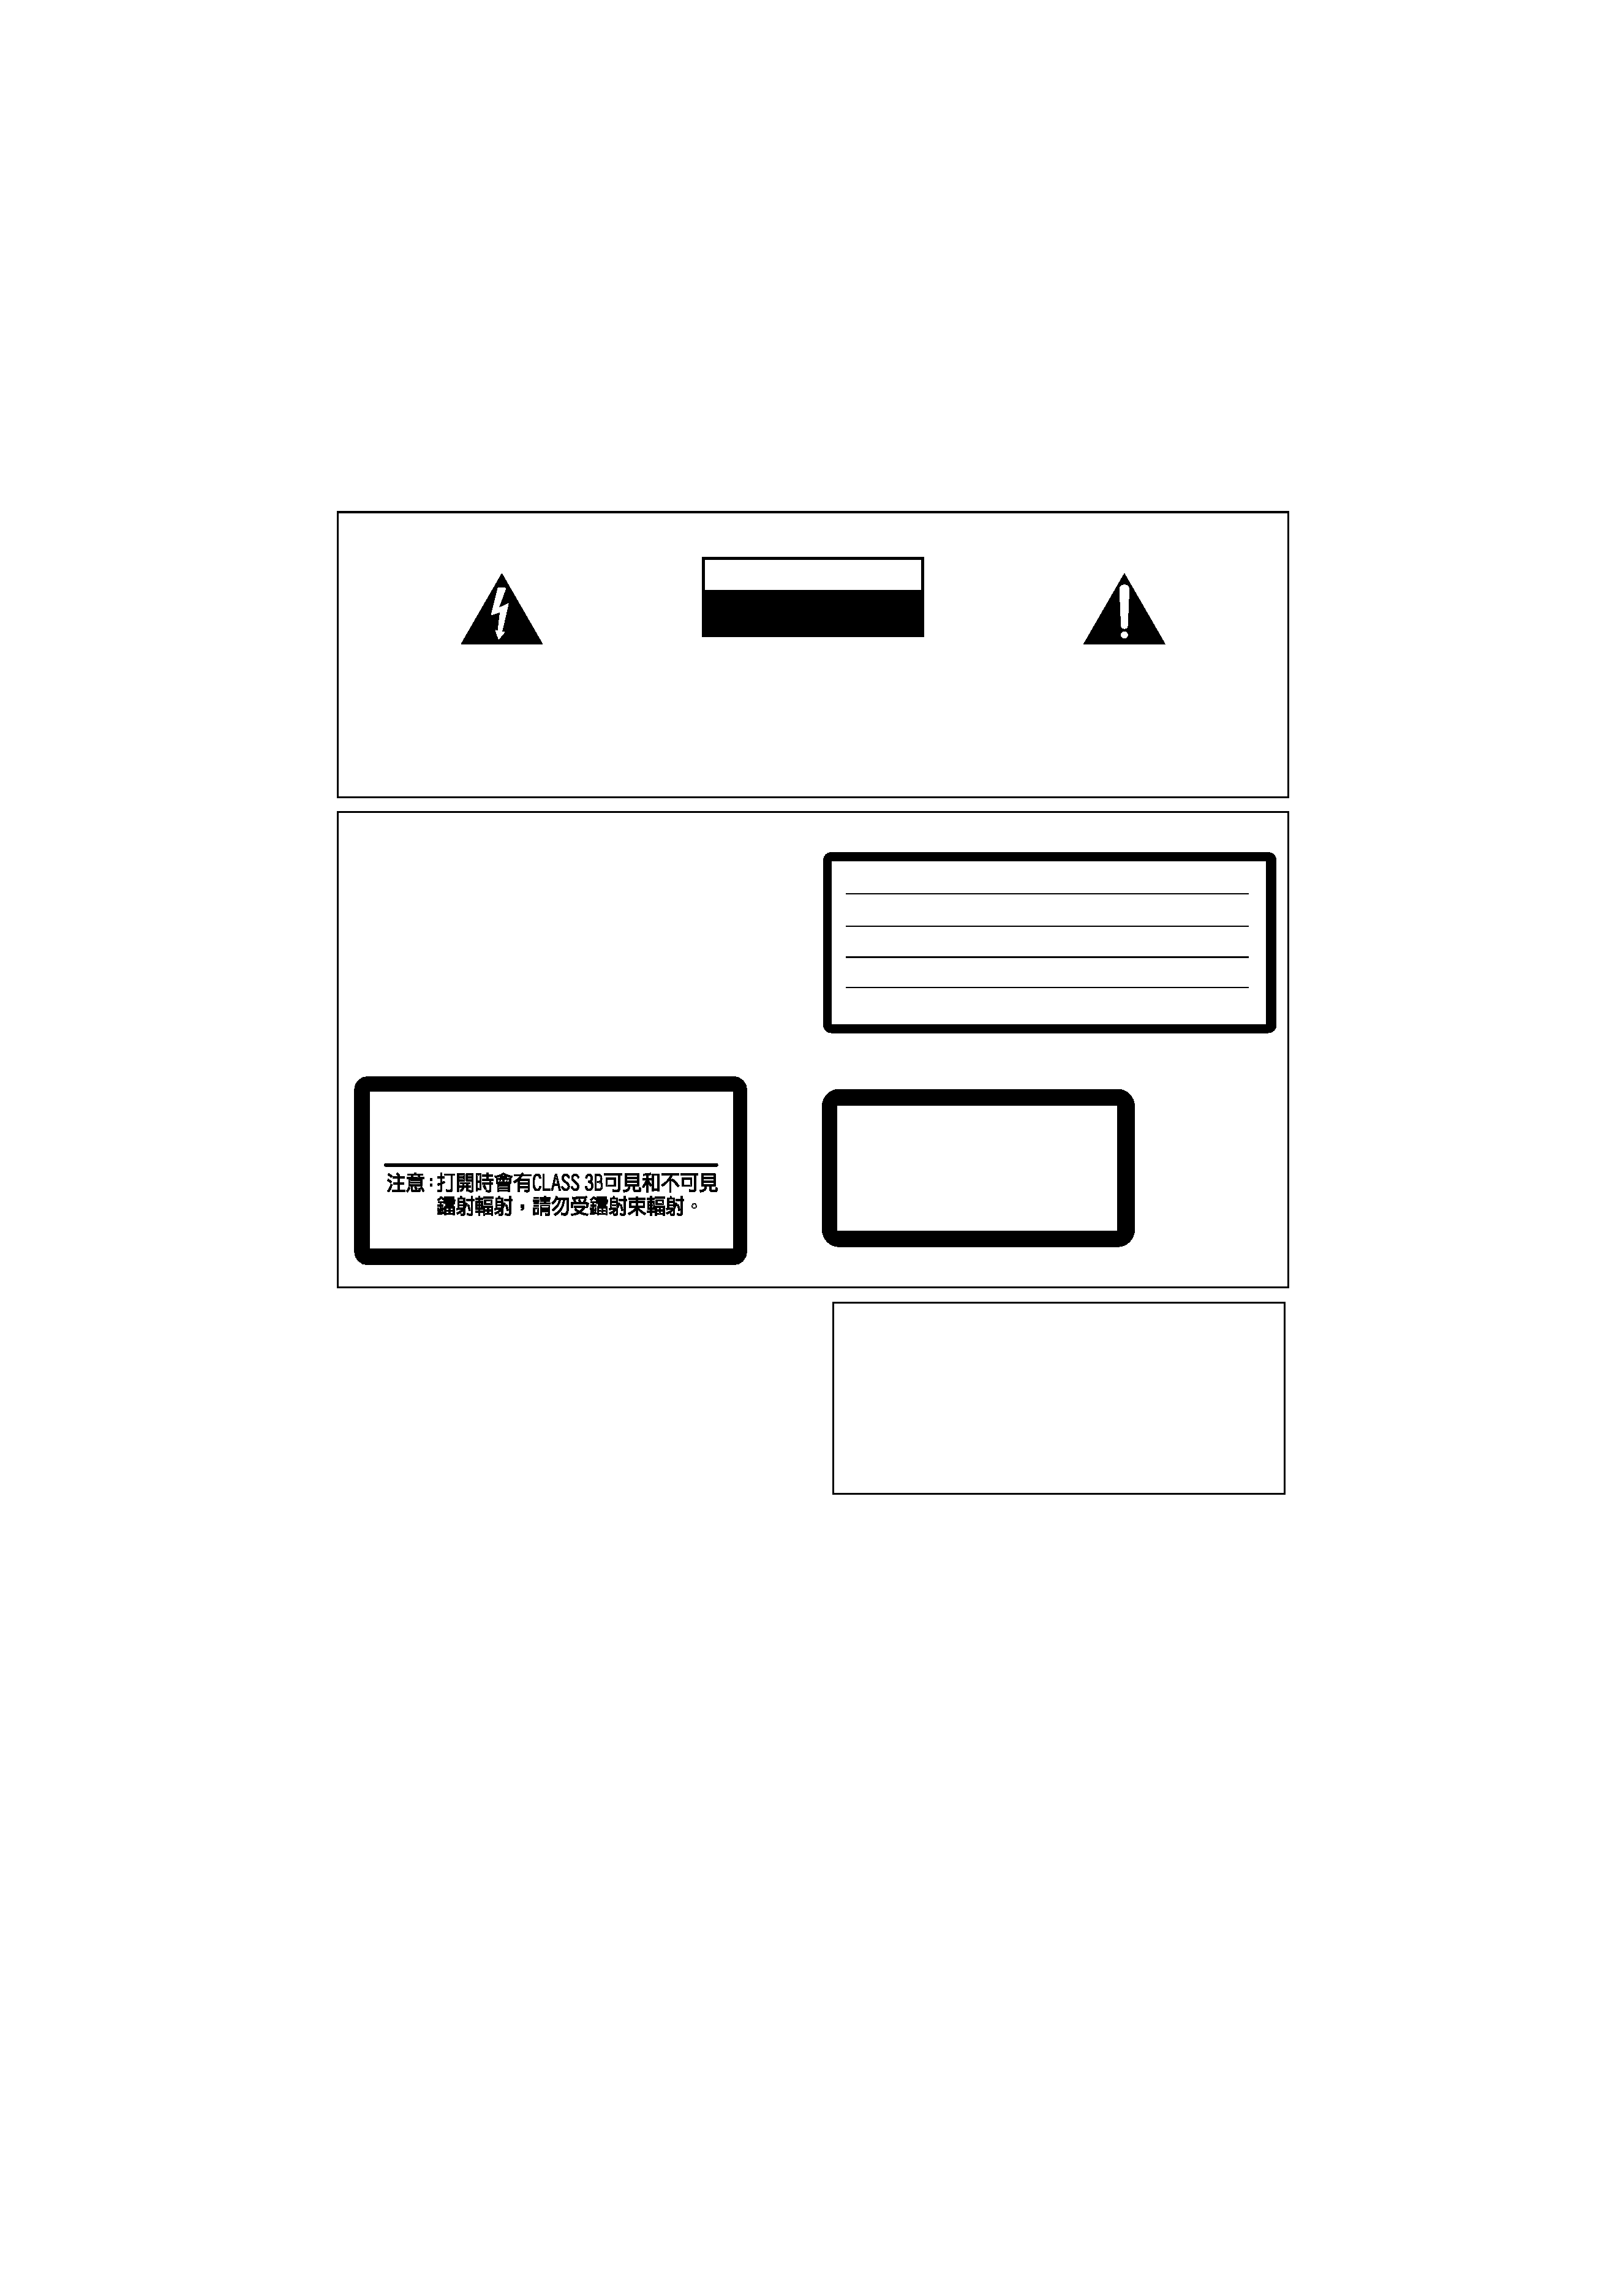
CAUTION
This product is a class 1 laser product, but this
product contains a laser diode higher than Class 1.
To ensure continued safety, do not remove any covers
or attempt to gain access to the inside of the product.
Refer all servicing to qualified personnel.
The following caution label appears on your unit.
CLASS 1
LASER PRODUCT
D3-4-2-1-8_A_En
Location: rear of the unit
Singapore, Malaysia, Taiwan, Indonesia,
Philippines models
All other models
Location: rear of the unit
CAUTION :
VORSICHT :
ADVARSEL :
VARNING :
VARO!
:
VISIBLE AND INVISIBLE LASER RADIATION WHEN OPEN.
AVOID EXPOSURE TO BEAM.
SICHTBARE UND UNSICHTBARE LASERSTRAHLUNG, WENN
ABDECKUNG GEÖFFNET NICHT DEM STRAHL AUSSETZEN!
SYNLIG OG USYNLIG LASERSTRÅLING VED ÅBNING
UNDGÅ UDSÆTTELSE FOR STRÀLING.
SYNLIG OCH OSYNLIG LASERSTRÅLNING NÄR DENNA
DEL ÄR ÖPPNAD BETRAKTA EJ STRÅLEN.
AVATTAESSA ALTISTUT NÄKYVÄ JA NÄKYMÄTTÖMÄLLE
LASERSATEIL YLLE. ÄLÄ KATSO SÄTEESEN.
VRW1699
CAUTION : CLASS 3B VISIBLE AND INVISIBLE LASER
VRW2159
EXPOSURE TO THE BEAM.
RADIATION WHEN OPEN, AVOID
Recording equipment and copyright: Recording
equipment should be used only for lawful copying
and you are advised to check carefully what is lawful
copying in the country in which you are making a
copy. Copying of copyright material such as films or
music is unlawful unless permitted by a legal
exception or consented to by the rightowners.
K018_En
Thank you for buying this Pioneer product. Please read through these operating instructions
so you will know how to operate your model properly. After you have finished reading the
instructions, put them away in a safe place for future reference.
XV-GX3.book 2
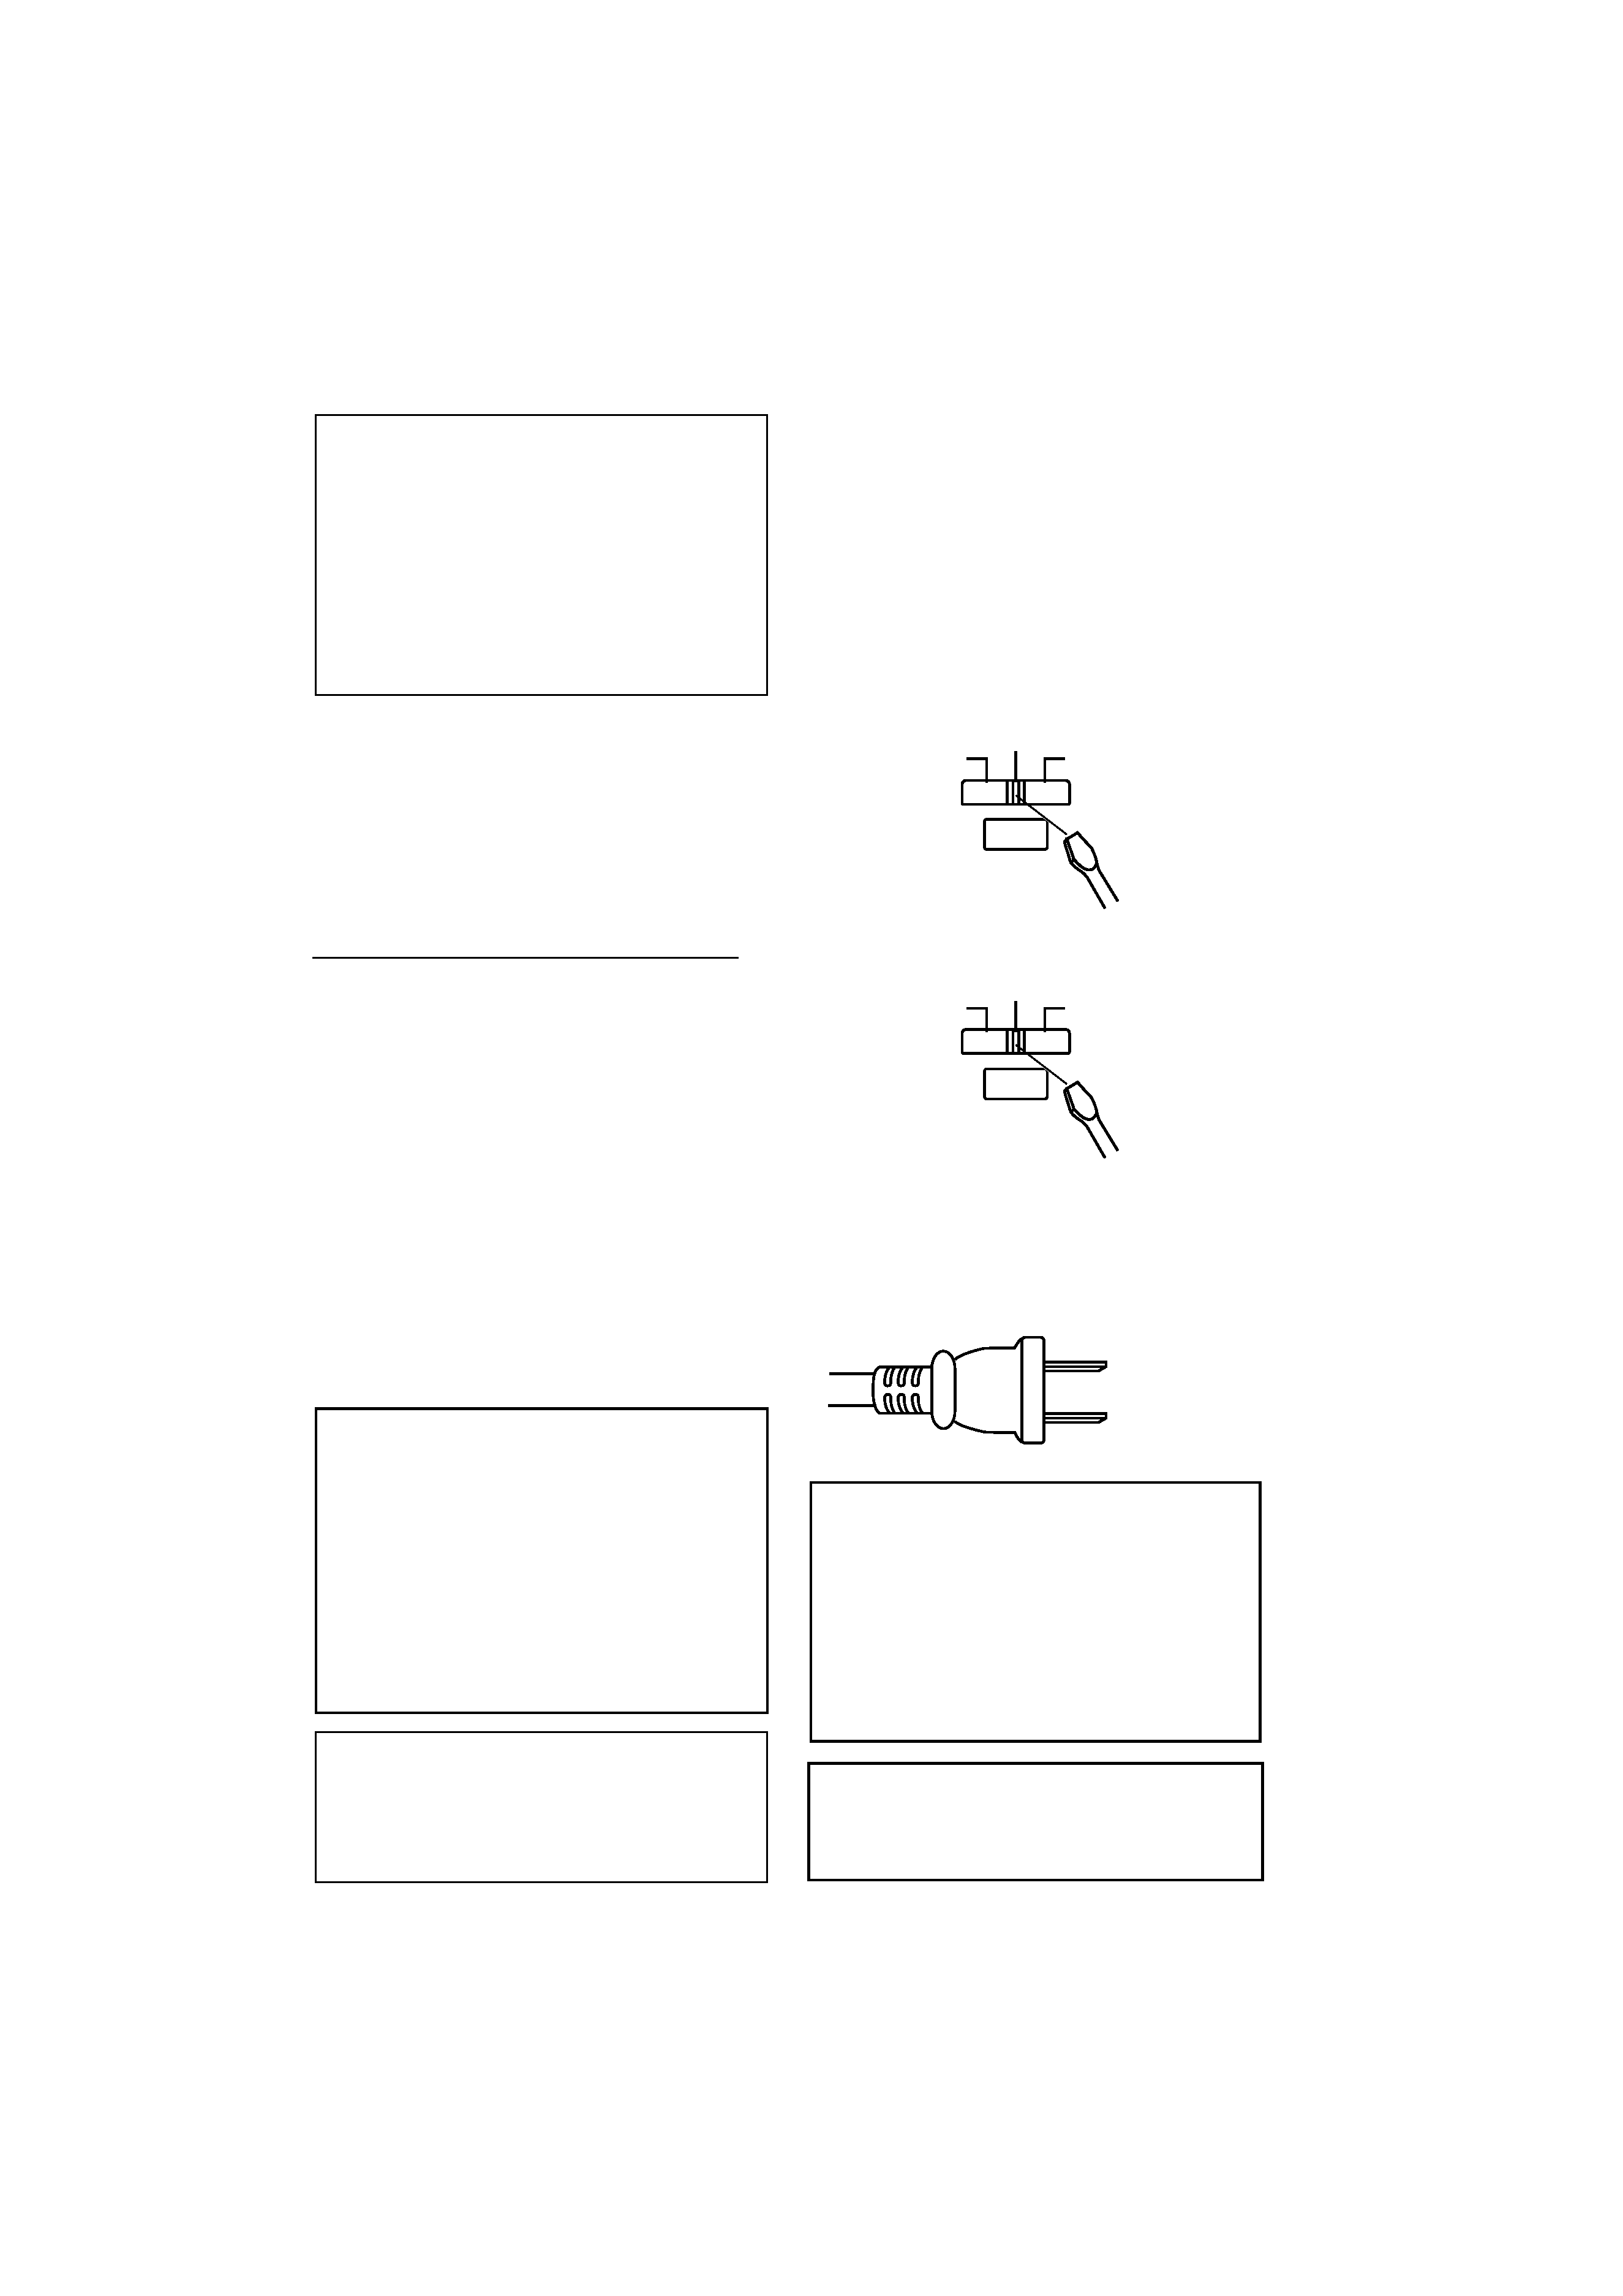
D3-4-2-1-5_En
Voltage selector
You can find the voltage selector switch on the rear
panel of multi-voltage models.
The factory setting for the voltage selector is
220V230V. Please set it to the correct voltage for
your country or region.
· For Taiwan, please set to 110V120V before using.
Before changing the voltage, disconnect the AC power
cord. Use a medium size screwdriver to change the
voltage selector switch.
Singapore, Malaysia, Taiwan, Indonesia,
Philippines models
110V-120V
220V-230V
240V
VOLTAGE
SELECTOR
Medium size
screwdriver
All other models
110V-127V
220V-230V
240V
VOLTAGE
SELECTOR
Medium size
screwdriver
Operating Environment
Operating environment temperature and humidity:
+5 ºC +35 ºC (+41 ºF +95 ºF); less than 65 %RH
(cooling vents not blocked)
Do not install this unit in a poorly ventilated area, or in
locations exposed to high humidity or direct sunlight (or
strong artificial light)
D3-4-2-1-7c_A_En
CAUTION
The STANDBY/ON switch on this unit will not
completely shut off all power from the AC outlet.
Since the power cord serves as the main disconnect
device for the unit, you will need to unplug it from
the AC outlet to shut down all power. Therefore,
make sure the unit has been installed so that the
power cord can be easily unplugged from the AC
outlet in case of an accident. To avoid fire hazard,
the power cord should also be unplugged from the
AC outlet when left unused for a long period of time
(for example, when on vacation).
D3-4-2-2-2a_A_En
CAUTION
These speaker terminals carry
HAZARDOUS LIVE
voltage. To prevent the risk of electric shock when
connecting or disconnecting the speaker cables,
disconnect the power cord before touching any
uninsulated parts.
D3-4-2-2-3_A_En
For Taiwan exclusively
Taiwanese two pin flat-bladed plug
POWER-CORD CAUTION
Handle the power cord by the plug. Do not pull out the
plug by tugging the cord and never touch the power
cord when your hands are wet as this could cause a
short circuit or electric shock. Do not place the unit, a
piece of furniture, etc., on the power cord, or pinch the
cord. Never make a knot in the cord or tie it with other
cords. The power cords should be routed such that they
are not likely to be stepped on. A damaged power cord
can cause a fire or give you an electrical shock. Check
the power cord once in a while. When you find it
damaged, ask your nearest PIONEER authorized
service center or your dealer for a replacement.
S002_En
This product is for general household purposes. Any
failure due to use for other than household purposes
(such as long-term use for business purposes in a
restaurant or use in a car or ship) and which
requires repair will be charged for even during the
warranty period.
K041_En
This product includes FontAvenue® fonts
licenced by NEC corporation.
FontAvenue is a registered trademark
of NEC Corporation.
DRM (digital rights management) copy
protection is a technology designed to
prevent unauthorized copying by restricting
playback, etc. of material on devices other
than the PC (or other WMA recording
equipment) used to record it. For detailed
information, please see the instruction
manuals or help files that came with your
PC and/or software.
This product incorporates copyright protection
technology that is protected by method claims
of certain U.S. patents and other intellectual
property rights owned by Macrovision
Corporation and other rights owners. Use of
this copyright protection technology must be
authorized by Macrovision Corporation, and is
intended for home and other limited uses only
unless otherwise authorized by Macrovision
Corporation. Reverse engineering or
disassembly is prohibited.
XV-GX3.book 3

4
En
Contents
01 Before you start
Checking what's in the box
. . . . . . . . . . . . . . . . . 5
Loading the batteries
. . . . . . . . . . . . . . . . . . . . . . 5
Attaching the non-skid pads
. . . . . . . . . . . . . . . . 5
Removing the front speaker grilles
. . . . . . . . . . 5
02 Connecting up
Connecting the speaker terminals
. . . . . . . . . . . . 6
Optional surround speaker connections
. . . . . . . 6
Connecting the radio antennas
. . . . . . . . . . . . . . 7
Connecting external antennas
. . . . . . . . . . . . . 7
Connecting to your TV
. . . . . . . . . . . . . . . . . . . . . 8
Connecting using component video
. . . . . . . . . 8
Connecting auxiliary components
. . . . . . . . . . . . 9
Connecting the power
. . . . . . . . . . . . . . . . . . . . . 9
03 Controls and displays
Front panel
. . . . . . . . . . . . . . . . . . . . . . . . . . . . 10
Display
. . . . . . . . . . . . . . . . . . . . . . . . . . . . . . . . 11
Remote control
. . . . . . . . . . . . . . . . . . . . . . . . . 12
04 Getting started
Using the on-screen displays
. . . . . . . . . . . . . . . 14
Playing discs
. . . . . . . . . . . . . . . . . . . . . . . . . . . 14
Basic playback controls
. . . . . . . . . . . . . . . . . 15
Resume and Last Memory
. . . . . . . . . . . . . . . . 15
DVD-Video disc menus
. . . . . . . . . . . . . . . . . . 15
Video CD/Super VCD PBC menus
. . . . . . . . . . 16
Playing cassette tapes
. . . . . . . . . . . . . . . . . . . . 16
Basic playback controls
. . . . . . . . . . . . . . . . . 16
Listening to the radio
. . . . . . . . . . . . . . . . . . . . . 17
Automatically saving station presets
. . . . . . . . 17
Listening to station presets
. . . . . . . . . . . . . . . 17
Listening to other sources
. . . . . . . . . . . . . . . . . 17
Setting the sleep timer
. . . . . . . . . . . . . . . . . . . . 17
05 Disc playback features
Scanning discs
. . . . . . . . . . . . . . . . . . . . . . . . . 18
Playing in slow motion
. . . . . . . . . . . . . . . . . . . . 18
Frame advance/frame reverse
. . . . . . . . . . . . . . 18
Playing a JPEG slideshow
. . . . . . . . . . . . . . . . . 18
Browsing DVD or Video CD/Super VCD discs
with the Disc Navigator
. . . . . . . . . . . . . . . . . . . 19
Browsing WMA, MP3, DivX video and JPEG
files with the Disc Navigator
. . . . . . . . . . . . . . . 19
Looping a section of a disc
. . . . . . . . . . . . . . . . 20
Using repeat play
. . . . . . . . . . . . . . . . . . . . . . . . 20
Using random play
. . . . . . . . . . . . . . . . . . . . . . . 21
Creating a program list
. . . . . . . . . . . . . . . . . . . 21
Using the OSD
. . . . . . . . . . . . . . . . . . . . . . . . 21
Other functions available from the
program menu
. . . . . . . . . . . . . . . . . . . . . . . . 22
Using the front panel display
. . . . . . . . . . . . . . 22
Searching a disc
. . . . . . . . . . . . . . . . . . . . . . . . 22
Switching subtitles
. . . . . . . . . . . . . . . . . . . . . . 23
Switching language / audio channels
. . . . . . . . 23
Zooming the screen
. . . . . . . . . . . . . . . . . . . . . . 23
Switching camera angles
. . . . . . . . . . . . . . . . . 23
Displaying disc information
. . . . . . . . . . . . . . . . 23
06 Making tape recordings
Manual recording to cassette
. . . . . . . . . . . . . . 24
07 Manual tuner features
Selecting stations manually
. . . . . . . . . . . . . . . . 25
Manually saving station presets
. . . . . . . . . . . . 25
Improving FM stereo sound
. . . . . . . . . . . . . . . . 25
08 Singing karaoke
Singing karaoke
. . . . . . . . . . . . . . . . . . . . . . . . . 26
Changing the vocal mix
. . . . . . . . . . . . . . . . . . 26
Changing the backing track
. . . . . . . . . . . . . . . 26
09 Adjusting the sound
Using the Sound menu
. . . . . . . . . . . . . . . . . . . . 27
Using the Sound Field Control
. . . . . . . . . . . . . . 27
Boosting the bass level
. . . . . . . . . . . . . . . . . . . . 27
Muting the sound
. . . . . . . . . . . . . . . . . . . . . . . . 27
10 Audio Settings and Video Adjust menu
Audio Settings menu
. . . . . . . . . . . . . . . . . . . . . 28
Virtual Surround
. . . . . . . . . . . . . . . . . . . . . . . 28
Audio DRC
. . . . . . . . . . . . . . . . . . . . . . . . . . . . 28
Video Adjust menu
. . . . . . . . . . . . . . . . . . . . . . . 28
11 Initial Settings menu
Using the Initial Settings menu
. . . . . . . . . . . . . 29
Video Output settings
. . . . . . . . . . . . . . . . . . . 29
Language settings
. . . . . . . . . . . . . . . . . . . . . . 29
Display settings
. . . . . . . . . . . . . . . . . . . . . . . . 30
Options settings
. . . . . . . . . . . . . . . . . . . . . . . . 30
Parental Lock
. . . . . . . . . . . . . . . . . . . . . . . . . . 30
About DivX® VOD content
. . . . . . . . . . . . . . . . 31
12 Additional information
Using the System Setup menu
. . . . . . . . . . . . . . 33
System Setup menu options
. . . . . . . . . . . . . . 33
System Setup menu options in standby
. . . . . . 33
Disc / content format playback compatibility
. . . 34
Disc compatibility table
. . . . . . . . . . . . . . . . . . 35
DVD Video regions
. . . . . . . . . . . . . . . . . . . . . . 35
About DivX
. . . . . . . . . . . . . . . . . . . . . . . . . . . . 35
About WMA
. . . . . . . . . . . . . . . . . . . . . . . . . . . 36
Taking care of discs
. . . . . . . . . . . . . . . . . . . . . . 36
Using cassette tapes
. . . . . . . . . . . . . . . . . . . . . 37
Tapes you should avoid
. . . . . . . . . . . . . . . . . . 37
Protecting your recordings
. . . . . . . . . . . . . . . . 37
Installation and maintenance
. . . . . . . . . . . . . . . 37
Hints on installation
. . . . . . . . . . . . . . . . . . . . . 37
Cleaning the pickup lens
. . . . . . . . . . . . . . . . . 38
Problems with condensation
. . . . . . . . . . . . . . 38
Moving the system unit
. . . . . . . . . . . . . . . . . . 38
Resetting the system
. . . . . . . . . . . . . . . . . . . . . 38
Screen sizes and disc formats
. . . . . . . . . . . . . . 38
Using the language code list
. . . . . . . . . . . . . . . 38
Language code list
. . . . . . . . . . . . . . . . . . . . . . . 39
Country/Area code list
. . . . . . . . . . . . . . . . . . . . 39
Troubleshooting
. . . . . . . . . . . . . . . . . . . . . . . . . 40
General
. . . . . . . . . . . . . . . . . . . . . . . . . . . . . . 40
DVD/CD/Video CD player
. . . . . . . . . . . . . . . . . 41
WMA/MP3/JPEG discs
. . . . . . . . . . . . . . . . . . . 41
Tuner
. . . . . . . . . . . . . . . . . . . . . . . . . . . . . . . . 42
Tape deck
. . . . . . . . . . . . . . . . . . . . . . . . . . . . . 42
Error Messages
. . . . . . . . . . . . . . . . . . . . . . . . 42
Specifications
. . . . . . . . . . . . . . . . . . . . . . . . . . . 43
XV-GX3.book 4
Before you start
01
5
En
English
Français
Deutsch
Nederlands
Italiano
Español
Chapter 1
Before you start
Checking what's in the box
Please check that you've received the following
supplied accessories:
· Remote control
· Dry cell batteries (AA/R6) x2
· Video cord
· AM loop antenna
· FM antenna
· Power cord:
Singapore, Malaysia, Taiwan, Indonesia
and Philippines models x2
All other models x1
· Non-skid pads (in speaker box) x8
· These operating instructions
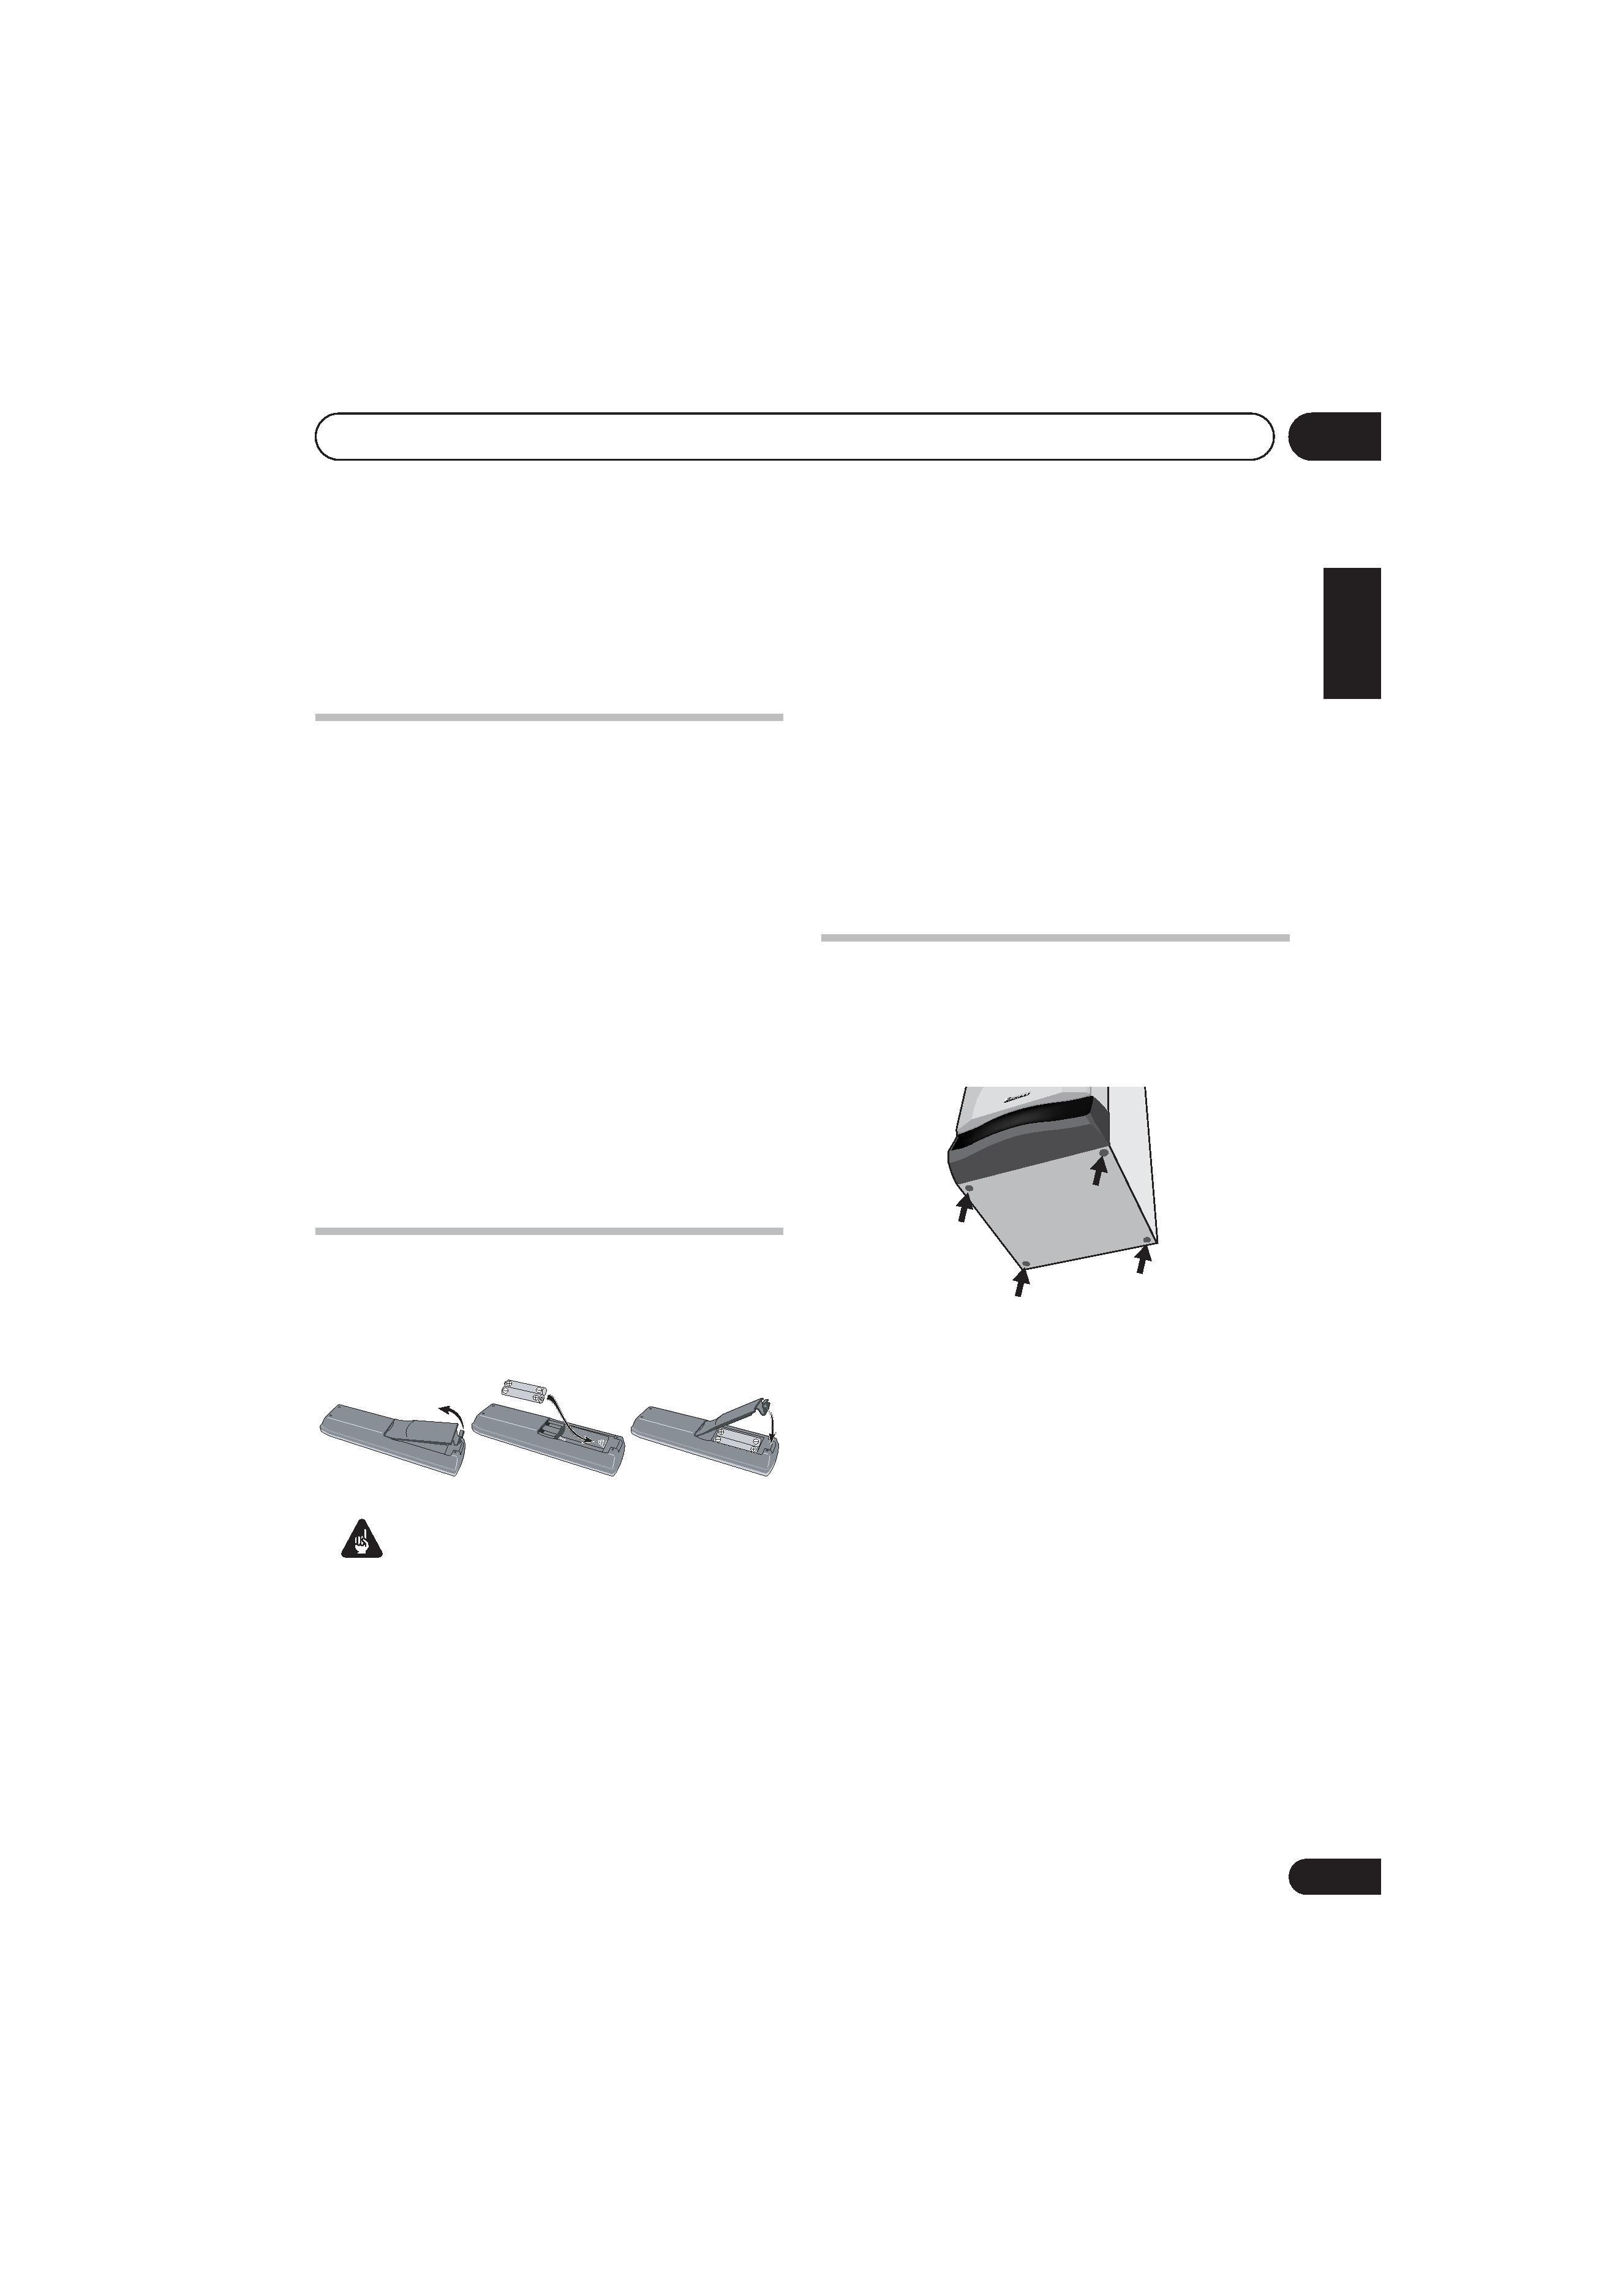
Loading the batteries
Use AA/R6 batteries with the supplied remote
control. Make sure to follow the indications (
,
) inside the compartment.
Important
Incorrect use of batteries may result in such
hazards as leakage and bursting. Observe the
following precautions:
· Never use new and old batteries together.
· Insert the plus and minus sides of the
batteries properly according to the marks
in the battery case.
· Batteries with the same shape may have
different voltages. Do not use different
batteries together.
· When disposing of used batteries, please
comply with governmental regulations or
environmental public instruction's rules
that apply in your country or area.
Attaching the non-skid pads
Use the self-adhesive non-skid pads to provide
a stable base for the speakers. Attach four to
each speaker as shown below.
Removing the front speaker grilles
If necessary, remove the front speaker grilles
as described below.
1
Gently ease the grille loose by gripping
the bottom and pulling towards you.
2
Pull the top free in the same way.
When reattaching, start from the top then push
the bottom in until secure.
· It is not recommended (due to dirt and
dust) to leave the speaker grilles removed.
· If the speaker grille is not properly attached
to the front of the speaker, it is possible it
may fall off and cause injury. Therefore, we
don't recommend placing the speaker in
high locations where this is likely to
happen.
XV-GX3.book 5