ORDER NO.
PIONEER CORPORATION 4-1, Meguro 1-chome, Meguro-ku, Tokyo 153-8654, Japan
PIONEER ELECTRONICS (USA) INC. P.O. Box 1760, Long Beach, CA 90801-1760, U.S.A.
PIONEER EUROPE NV Haven 1087, Keetberglaan 1, 9120 Melsele, Belgium
PIONEER ELECTRONICS ASIACENTRE PTE. LTD. 253 Alexandra Road, #04-01, Singapore 159936
PIONEER CORPORATION 2005
RRV3179
T ZZK JUNE 2005 Printed in Japan
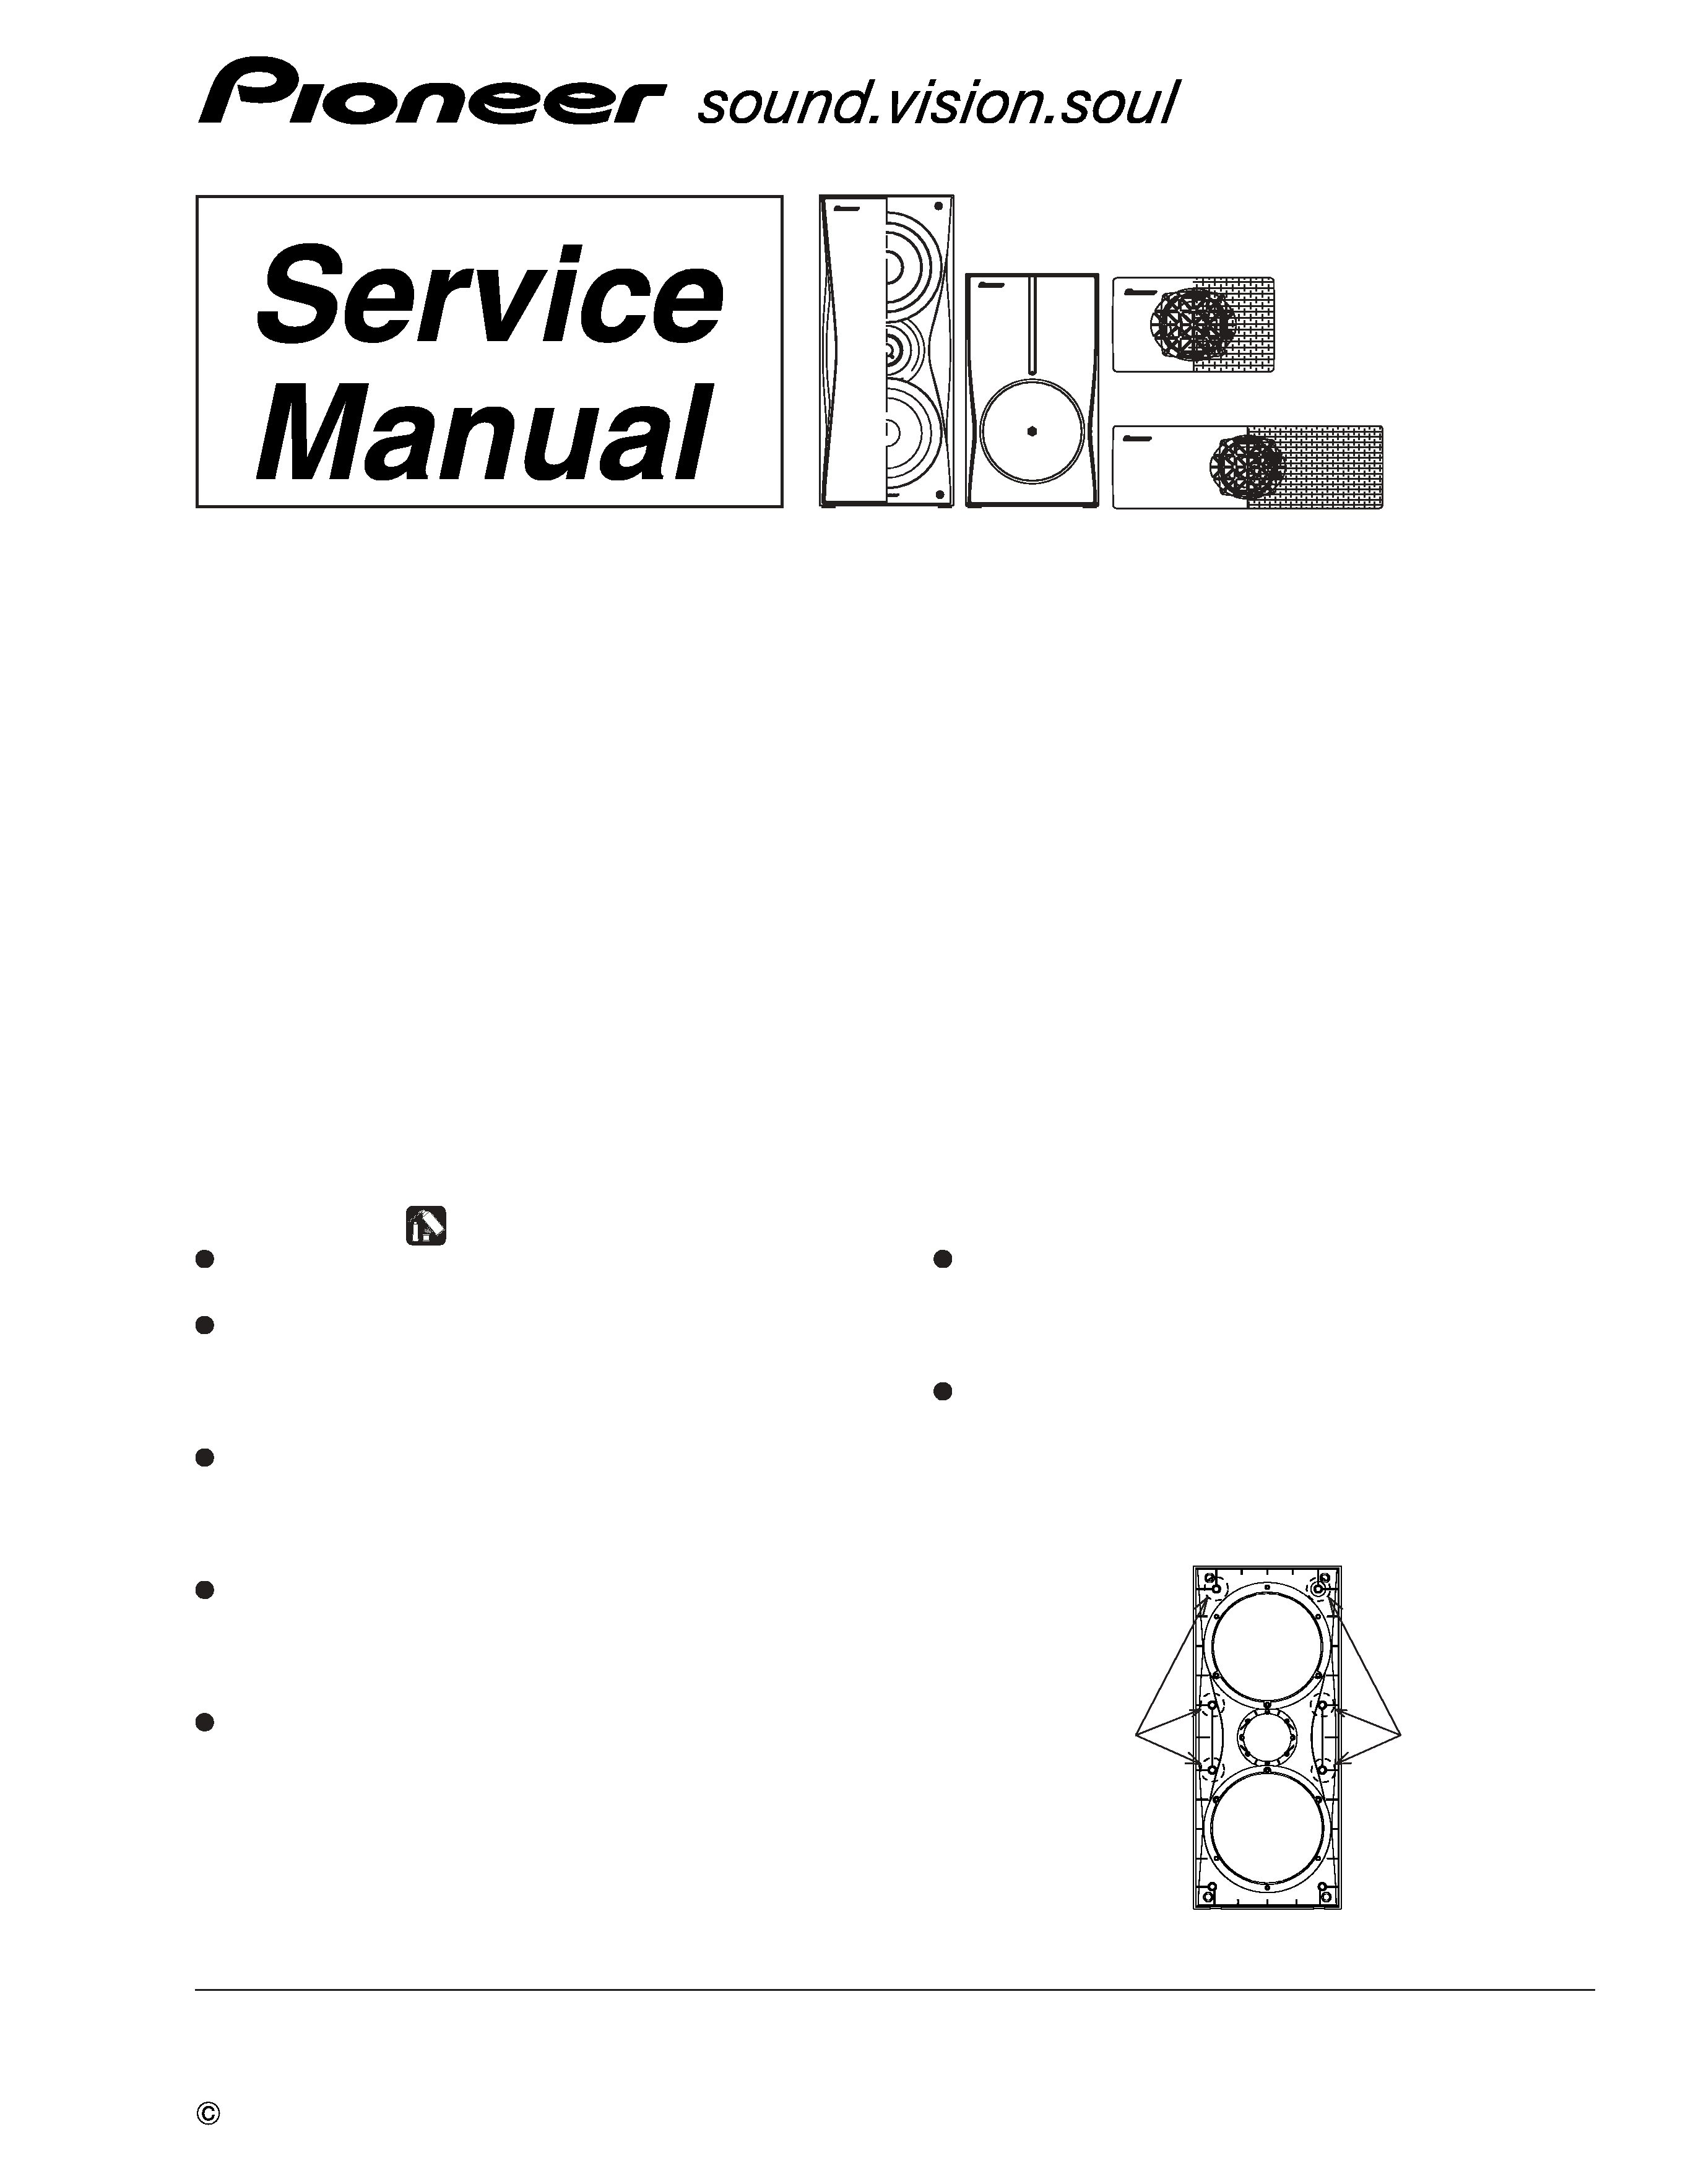
SPEAKER SYSTEM
S-EV1000V
XJM/E
S-EV1000V XJM/NC
Center
Surround
Sub Woofer
Front
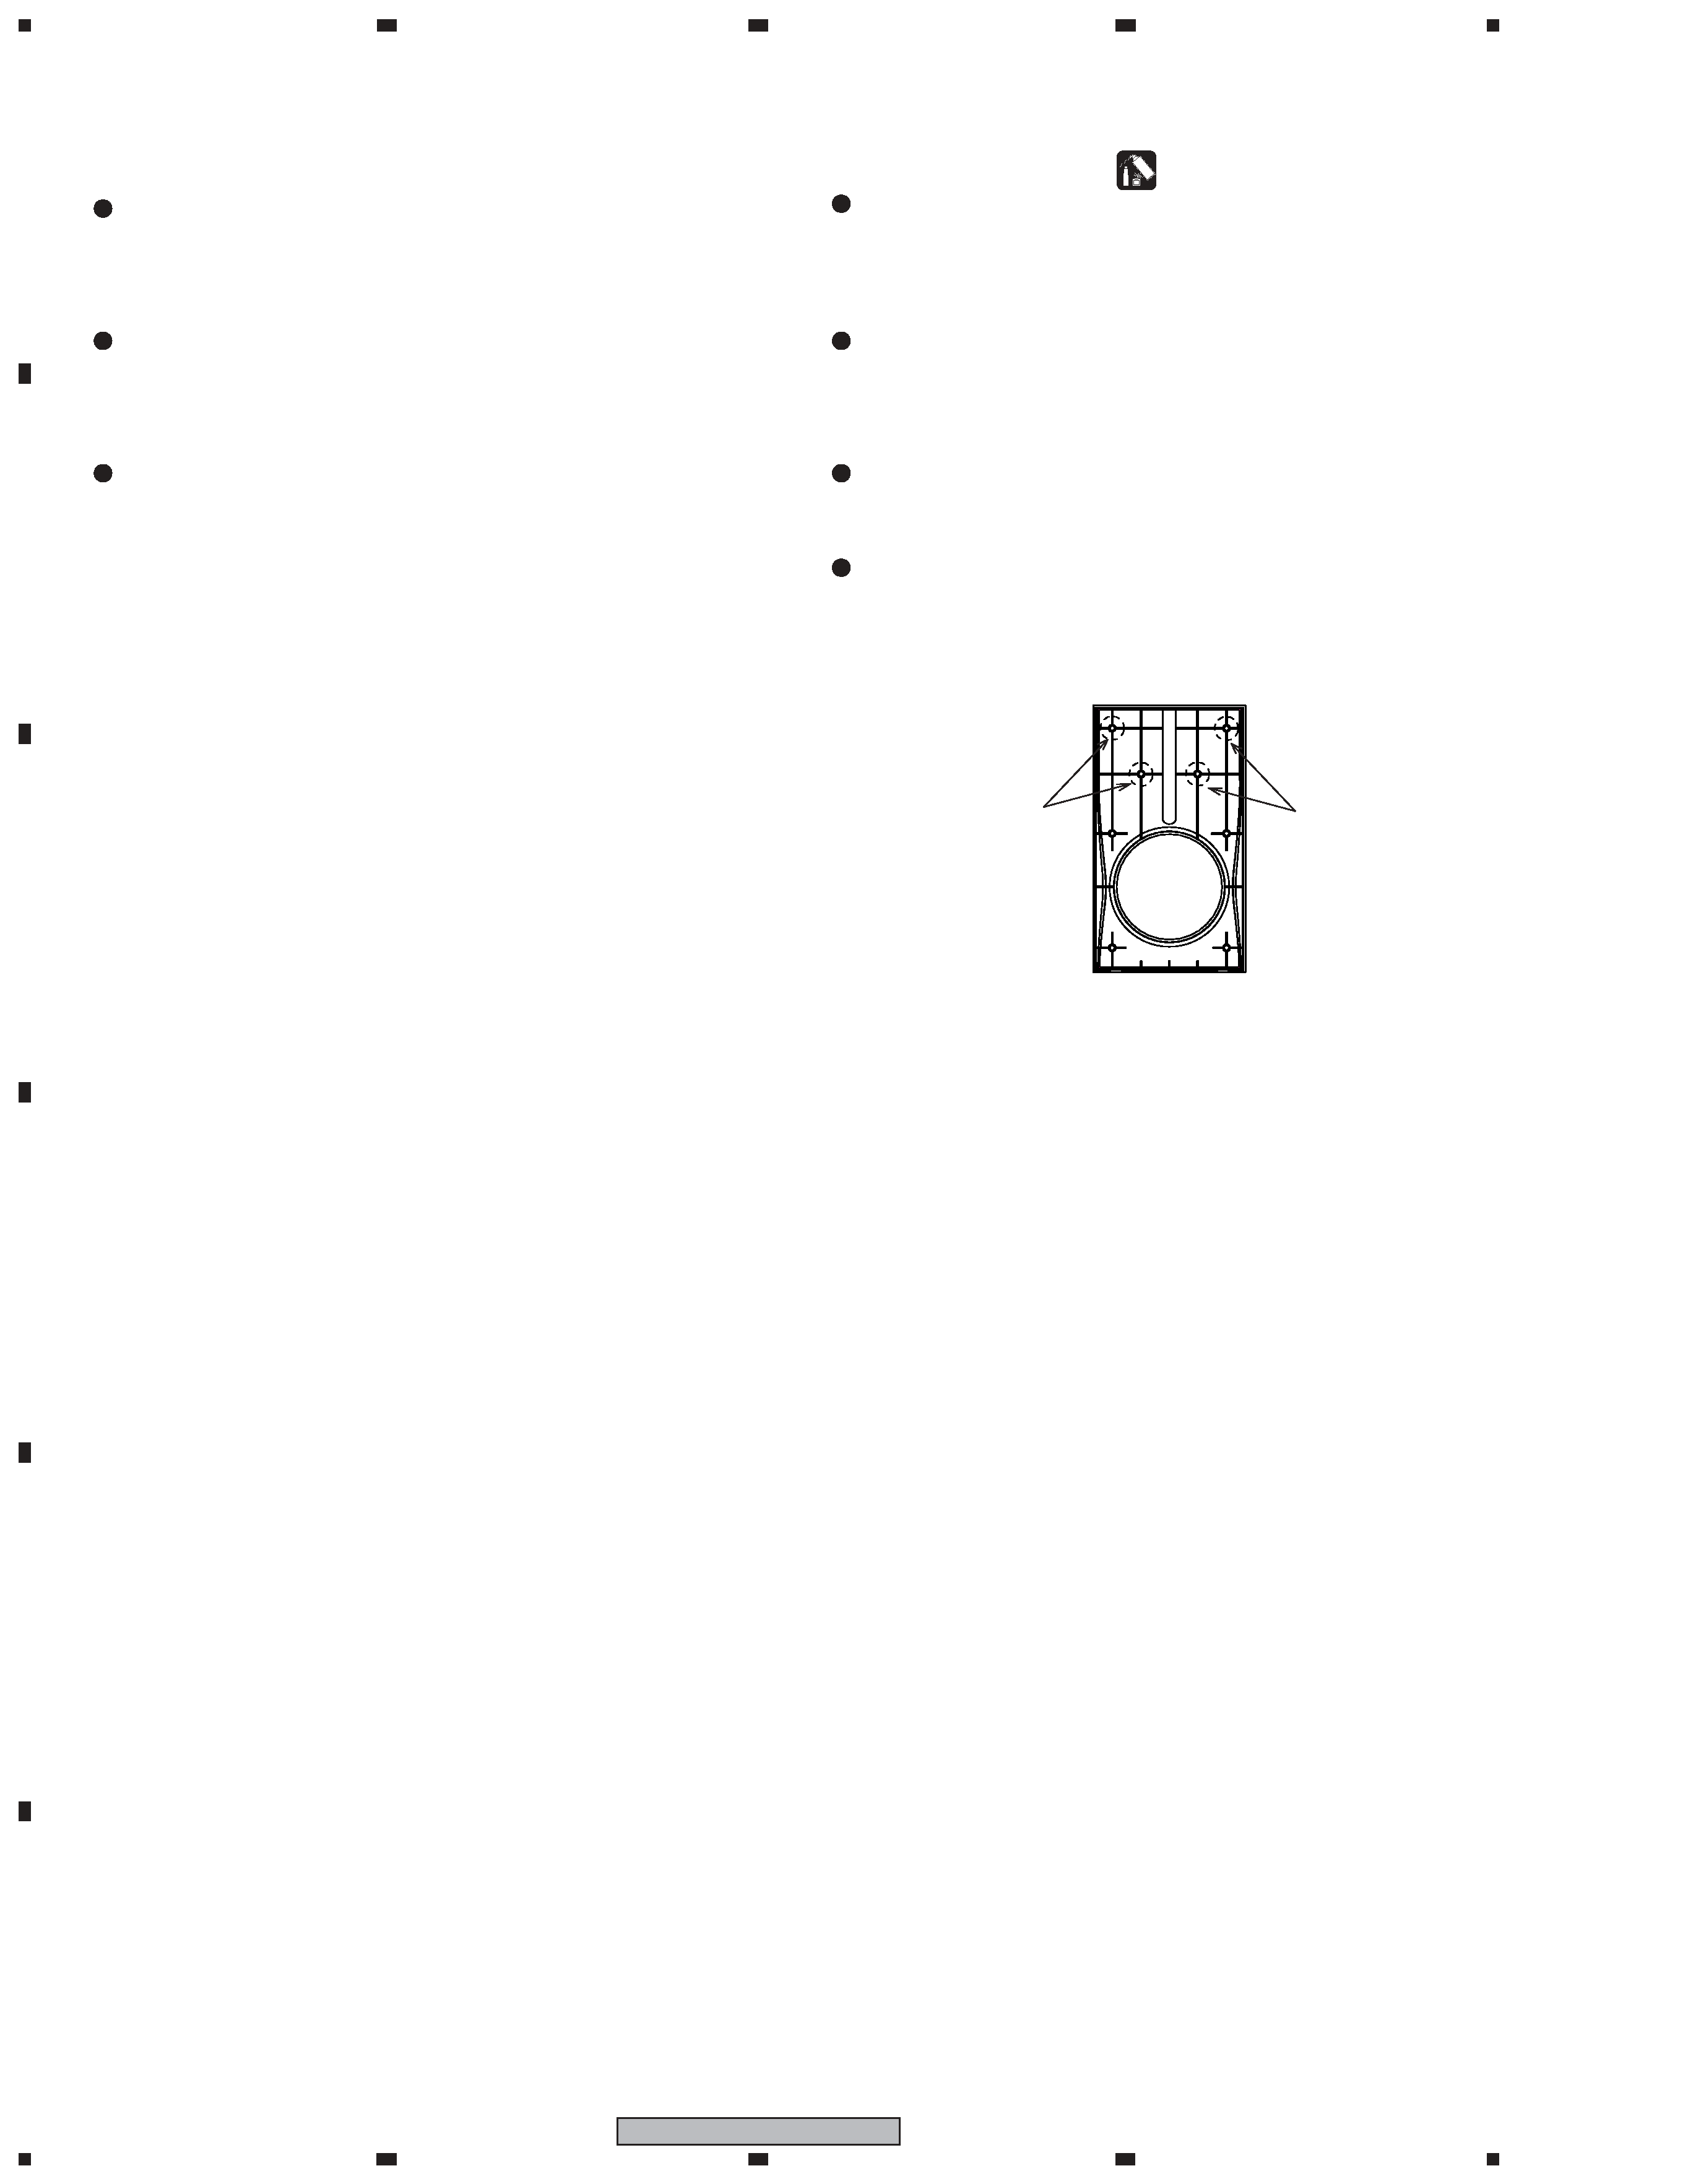
FOR PRECAUTION OF
REASSEMBLY AND DISASSEMBLY
CS Assy ( Front )
The grille assy is attached to the cabinet by catches. Detach by
pulling it toward you.
The catch is attached to the cosmetic baffle by press-fitting. To
detach it, insert a sharp-pointed tool like an eyeleteer into each
of side. To attach it, insert the holes of the cosmetic baffle assy
by press-fitting.
The cosmetic baffle assy is attached to the inner baffle by its
bosses. To detach it, pry it open by inserting a flat blade screw
driver into lower slot. To attach it, clean the press-fitting part
and apply a bit of adhesive . Then press it to the bafle. (Fig. 1)
The tweeter is attached to the cosmetic baffle by 2 internal
screws. To detach it, first remove the cosmetic baffle and the
connecting cord to a tweeter. Then unfasten those screws.
When attaching it, face its terminal downward.
The woofer is attached to the inner baffle by 4 screws with the
screw heads facing the cosmetic baffle. To detach it, first re-
move the cosmetic baffle and the connecting cord to a tweeter.
Then unfasten those screws. To attach it, replace the connecting
cord to a tweeter correctly and face its terminal downward. If
the connecting cord with packing overflows a slot, it will be-
come the cause of air-leak and unusual sound.
The passive radiator is attached to the inner baffle by 4 screws
with the screw heads facing the cosmetic baffle. To detach it,
first remove the cosmetic baffle and the connecting cord to a
tweeter. Then unfasten those screws.
The input terminal is attached to the back board by press-fitting
and glue. To detach it, pry it open by inserting a flat blade
screwdriver into the lower side. When attaching it, the red ter-
minal is right-side.
Fig. 1
apply adhesive
apply adhesive
2
1
23
4
12
3
4
C
D
F
A
B
E
S-EV1000V
CS Assy ( Surround and Center )
The grille assy is attached to the cabinet by 4 external screws.
To detach it, unfasten those screws. When attaching it, it at-
taches, as the connection cord is under the speaker unit.
( Surround )
The grille assy is attached to the cabinet by 8 external screws.
To detach it, unfasten those screws. When attaching it, it at-
taches, as the connection cord is under the speaker unit.
( Center )
The speaker unit is attached to the grille by 4 internal screws.
To detach it, first remove the grille assy. Next unfasten those
screws, and remove the cable. When attaching it, face its termi-
nal leftward. (See to the backside of the grille assy.)
Fig. 2
apply adhesive
apply adhesive
CS Assy ( Subwoofer )
The cosmetic baffle is attached to the cabinet by its bosses. To
detach it, pry it open by inserting a flat blade screw driver into
lower slot. To attach it, clean the press-fitting part and apply a
bit of adhesive . Then press it to the bafle. (Fig. 2)
The passive radiator is attached to the baffle by 4 external
screws. To detach it, first remove the cosmetic baffle. Then re-
move the passive radiator. When attaching it, face its the rib for
input terminal board toward the vertical direction.
The woofer is attached to the back board of cabinet by 4 exter-
nal screws. To detach it, unfasten those screws. When attaching
it, face its terminal upward.
The input terminal is attached to the back board by press-fitting
and glue. To detach it, pry it open by inserting a flat blade
screwdriver into the lower side. When attaching it, the red ter-
minal is right-side.
3
1
23
4
1
2
3
4
C
D
F
A
B
E
S-EV1000V
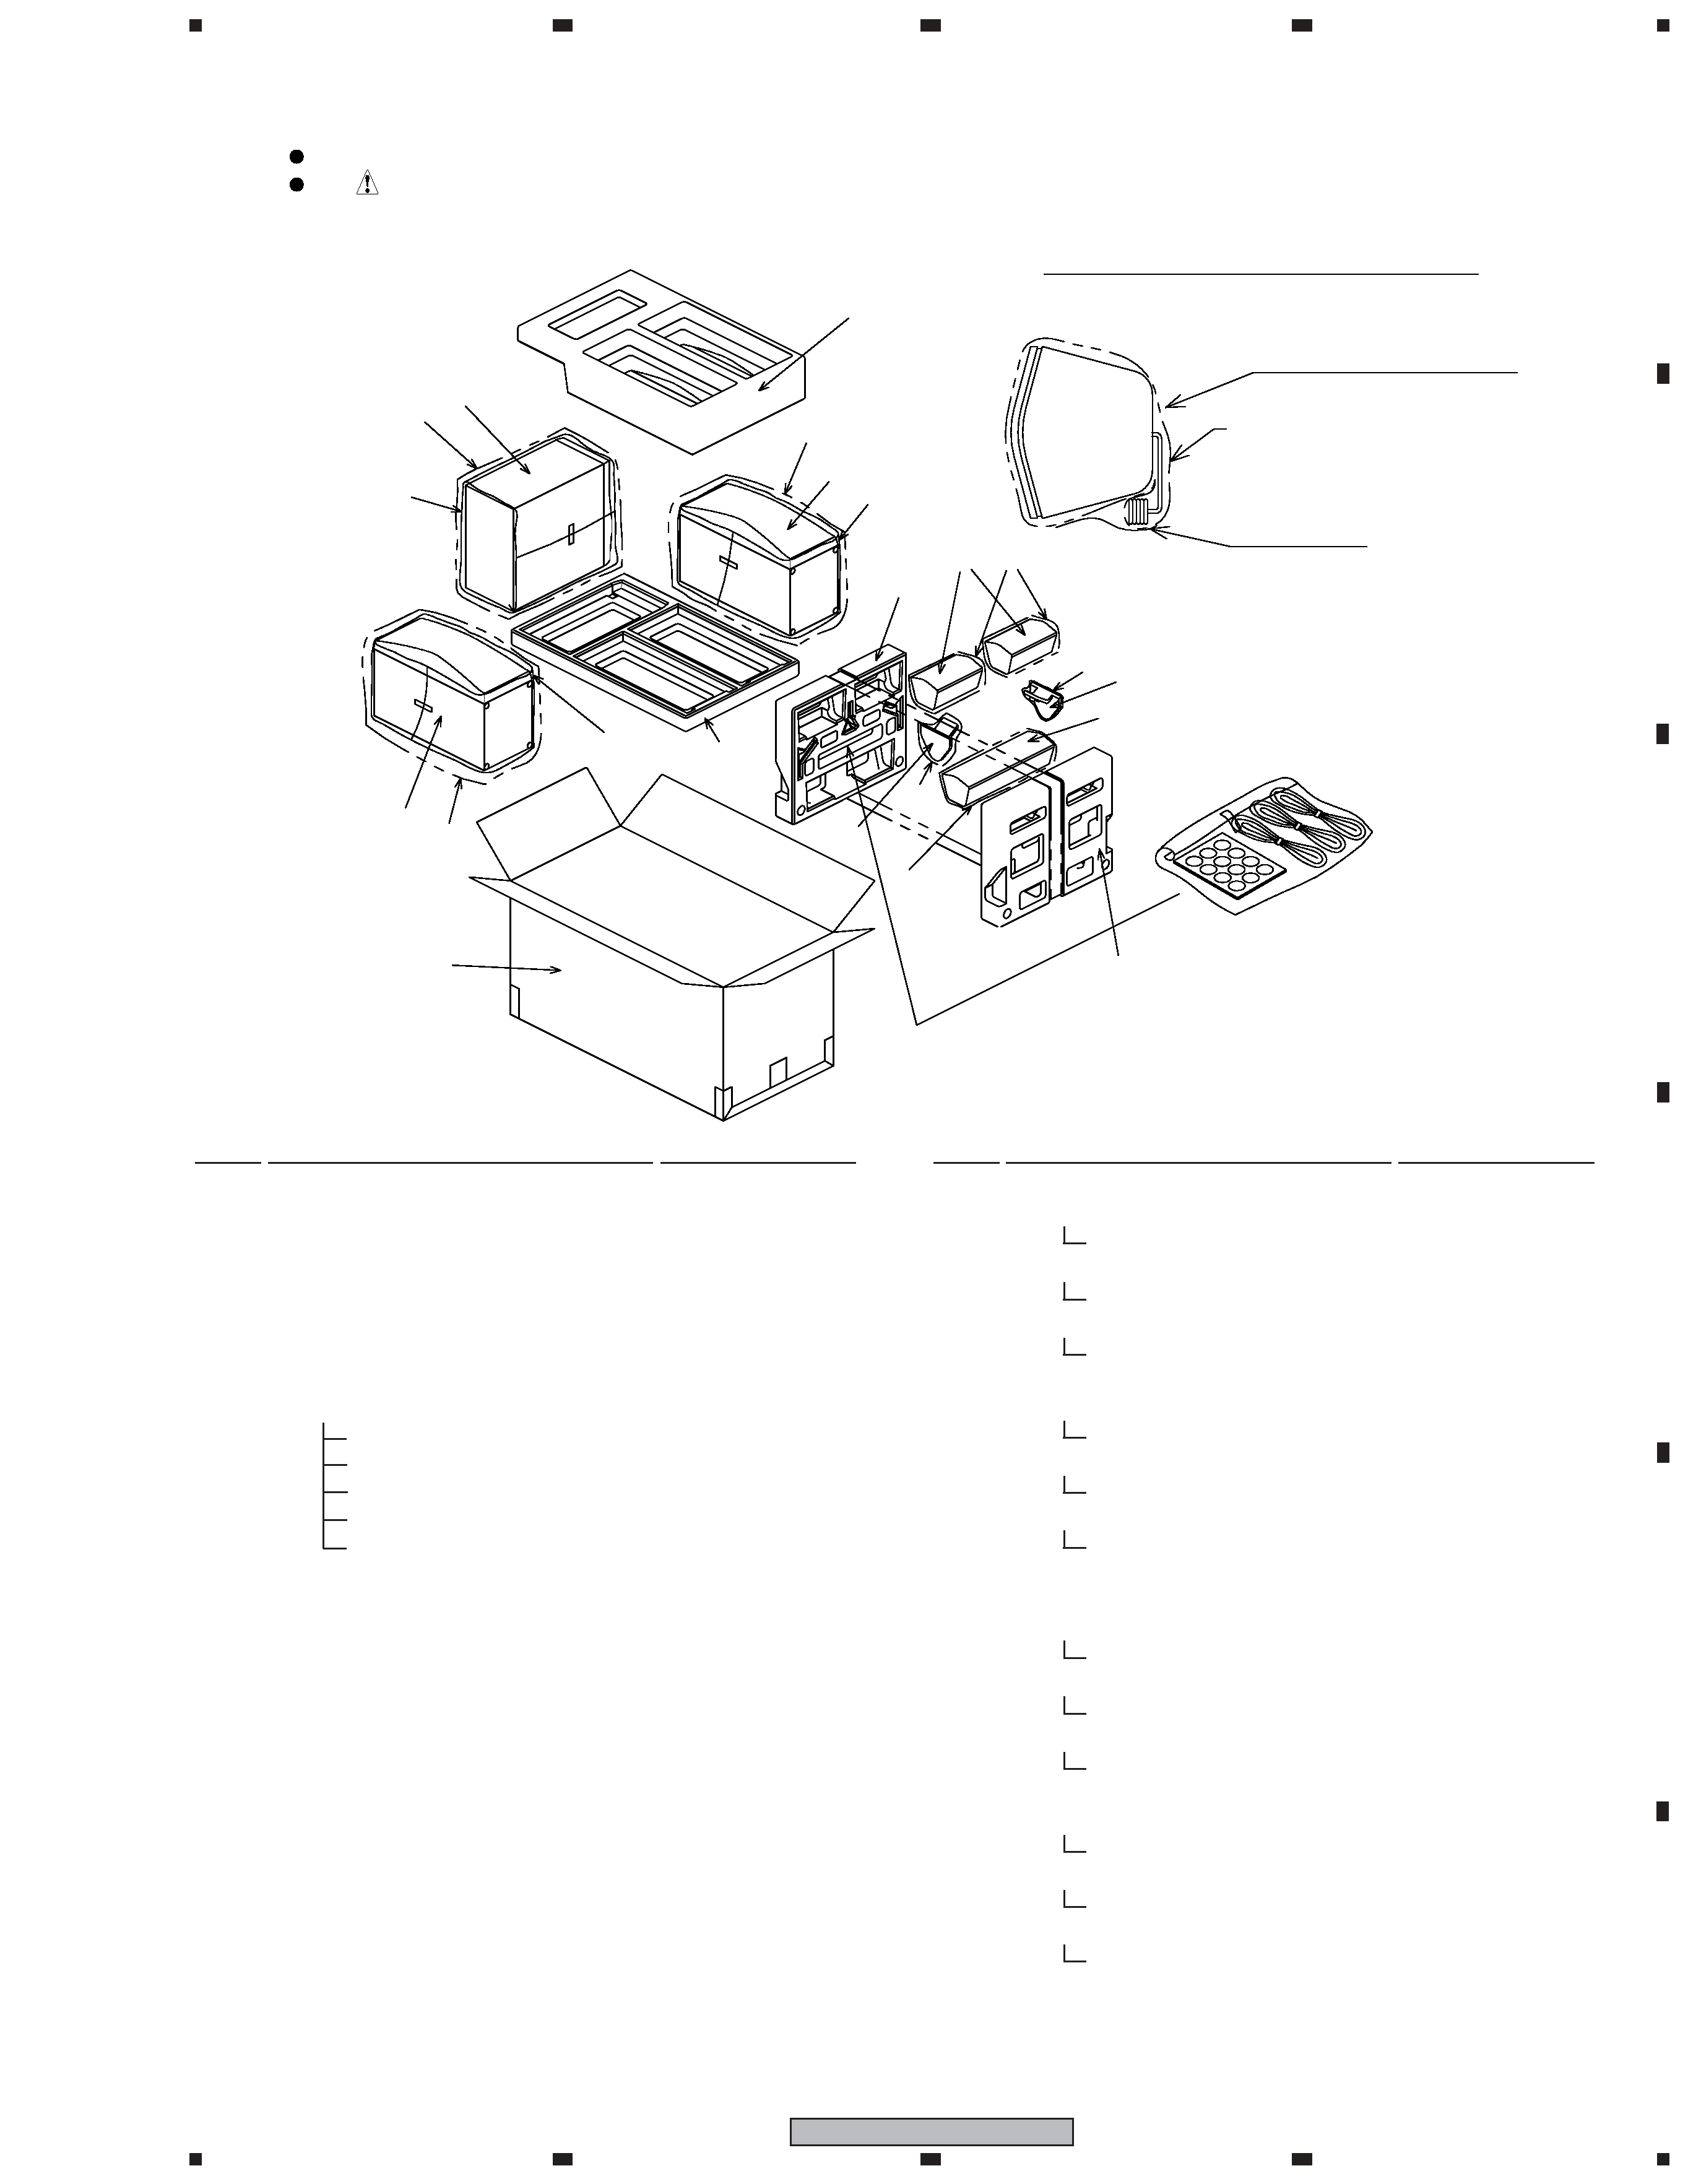
For Packing
Parts marked by "NSP" are generally unavailable because they are not in our Master Spare Parts List.
The
mark found on some component parts indicates the importance of the safety factor of the part.
Therefore, when replacing, be sure to use parts of identical designation.
NOTES:
PARTS LIST
NSP
1
CS Assy (Front)
SMW1891
NSP
2
CS Assy (Sub Woofer)
SMW1892
NSP
3
CS Assy (Center)
SMW1888
NSP
4
CS Assy (Surround L)
SMW1889
NSP
4
CS Assy (Surround R)
SMW1890
5
Stand
SNK2874
NSP
6
Accessories Set
SEA1701
Speaker cord
SDS1185
Speaker cord
SDS1186
Speaker cord
SDS1187
Non Skid Pad
SEC1938
NSP
Poly Bag S1
SHL1431
7
Satellite Protector
SHA2497
8
Top Protector
SHA2500
9
Bottom Protector
SHA2501
10 Protection Sheet S3
SHC1828
11 Protection Sheet S4
SHC1827
NSP
12 Poly Bag S1
SHL1431
13 Poly Bag S3
SHL1432
NSP
14 Poly Bag S4
SHL1433
NSP
15 Poly Bag S7
SHL1435
for XJM/E type
16 Packing Case
SHG2655
for XJM/NC type
16 Packing Case
SHG2656
Mark No.
Description
Part No.
for XJM/E type
NSP
Stanped Label (Front L)
SME3647
NSP
Model Label (Front L)
SAN3685
NSP
Stanped Label (Front R)
SME3648
NSP
Model Label (Front R)
SAN3686
NSP
Stanped Label (Sub WF)
SME3649
NSP
Model Label (Sub WF)
SAN3687
NSP
Stanped Label (Center)
SME3650
NSP
Model Label (Center)
SAN3688
NSP
Stanped Label (SUR.L)
SME3651
NSP
Model Label (SUR.L)
SAN3689
NSP
Stanped Label (SUR.R)
SME3652
NSP
Model Label (SUR.R)
SAN3690
for XJM/NC type
NSP
Stanped Label (Front L)
SME3653
NSP
Model Label (Front L)
SAN3691
NSP
Stanped Label (Front R)
SME3654
NSP
Model Label (Front R)
SAN3692
NSP
Stanped Label (Sub WF)
SME3655
NSP
Model Label (Sub WF)
SAN3693
NSP
Stanped Label (Center)
SME3656
NSP
Model Label (Center)
SAN3694
NSP
Stanped Label (SUR.L)
SME3657
NSP
Model Label (SUR.L)
SAN3695
NSP
Stanped Label (SUR.R)
SME3658
NSP
Model Label (SUR.R)
SAN3696
Mark No.
Description
Part No.
6
How to pack(surround & center)
*Pay attention
Should not touch the cabinet
and connecting cord directly.
poly bag
fastening
(clear tape)
16
9
1
1
2
8
7
7
3
4
5
5
13
14
15
15
15
10
10
11
12
12
4
1
23
4
12
3
4
C
D
F
A
B
E
S-EV1000V
NSP
Cabinet
SNK2879
Grille Assy
SMG1851
Name Plate 36
AAM7013
NSP
Grille Cloth
SAS1597
NSP
Grille Frame
SMH1109
for SMW1889 (Surround L)
Connection Cord
SDF1115
for SMW1890 (Surround R)
Connection Cord
SDF1116
NSP
Packing
SNK2878
Speaker
K77DC55-54D
Screw (for SP unit)
BPZ40P080FTC
Screw (for Cabinet)
BPZ40P100FTB
CS ASSY (Surround)
Mark No.
Description
Part No.
NSP
Cabinet
SMM2023
NSP
Inner Baffle
SNK2882
Grille Assy
SMG1846
Name Plate 36
AAM7013
Packing
SEC1924
NSP
Double Face Tape
SEH1072
NSP
Grille Frame
SMH1110
NSP
Punching Net
SNC1208
Cosmetic Baffle Assy
SXB1481
NSP
Cosmetic Flange
SFR1084
NSP
Cosmetic Baffle
SNK2883
NSP
Upper Cosmetic Ring
SNK2884
NSP
Lower Cosmetic Ring
SNK2885
Network Assy
SWN1753
Non Skid Pad
SEC1953
Input Terminal
SKX1095
NSP
Acoustic Absorbent
SMV2225
Catch
SNK2915
Speaker (Woofer)
A14LR80-52D
Speaker (Tweeter)
E52AP39-62D
Passive Radiator
DC-22G
Screw (for Tweeter)
BPZ40P060FTC
Screw (for Woofer, Passive Radiator) BPZ40P100FTC
CS ASSY (Front)
Mark No.
Description
Part No.
Mark No.
Description
Part No.
CS ASSY (Center)
NSP
Cabinet
SNK2877
Grille Assy
SMG1850
Name Plate 36
AAM7013
NSP
Grille Cloth
SAS1596
NSP
Grille Frame
SMH1108
Connection Cord
SDF1114
NSP
Packing
SNK2878
Speaker
K77DC55-53D
Screw (for SP unit)
BPZ40P080FTC
Screw (for Cabinet)
BPZ40P100FTB
NSP
Cabinet
SMM2024
Cosmetic Baffle Assy
SXB1483
Name Plate 36
AAM7013
NSP
Double Face Tape
SEH1072
NSP
Cosmetic BF. Assy
SXB1482
NSP
Punching Net
SNC1207
NSP
Cosmetic Plate
SNK2916
NSP
Cosmetic Baffle
SNK2876
Connection Cord
SDD1348
Non Skid Pad
SEC1953
Input Terminal
SKX1095
Speaker (Woofer)
A14LR80-53D
Passive Radiator
DC-21G
Screw (for Woofer)
BYC40P200FTB
Screw (for Passive Radiator)
BYC40P200FTC
CS ASSY (Subwoofer)
Mark No.
Description
Part No.
5
1
23
4
1
2
3
4
C
D
F
A
B
E
S-EV1000V
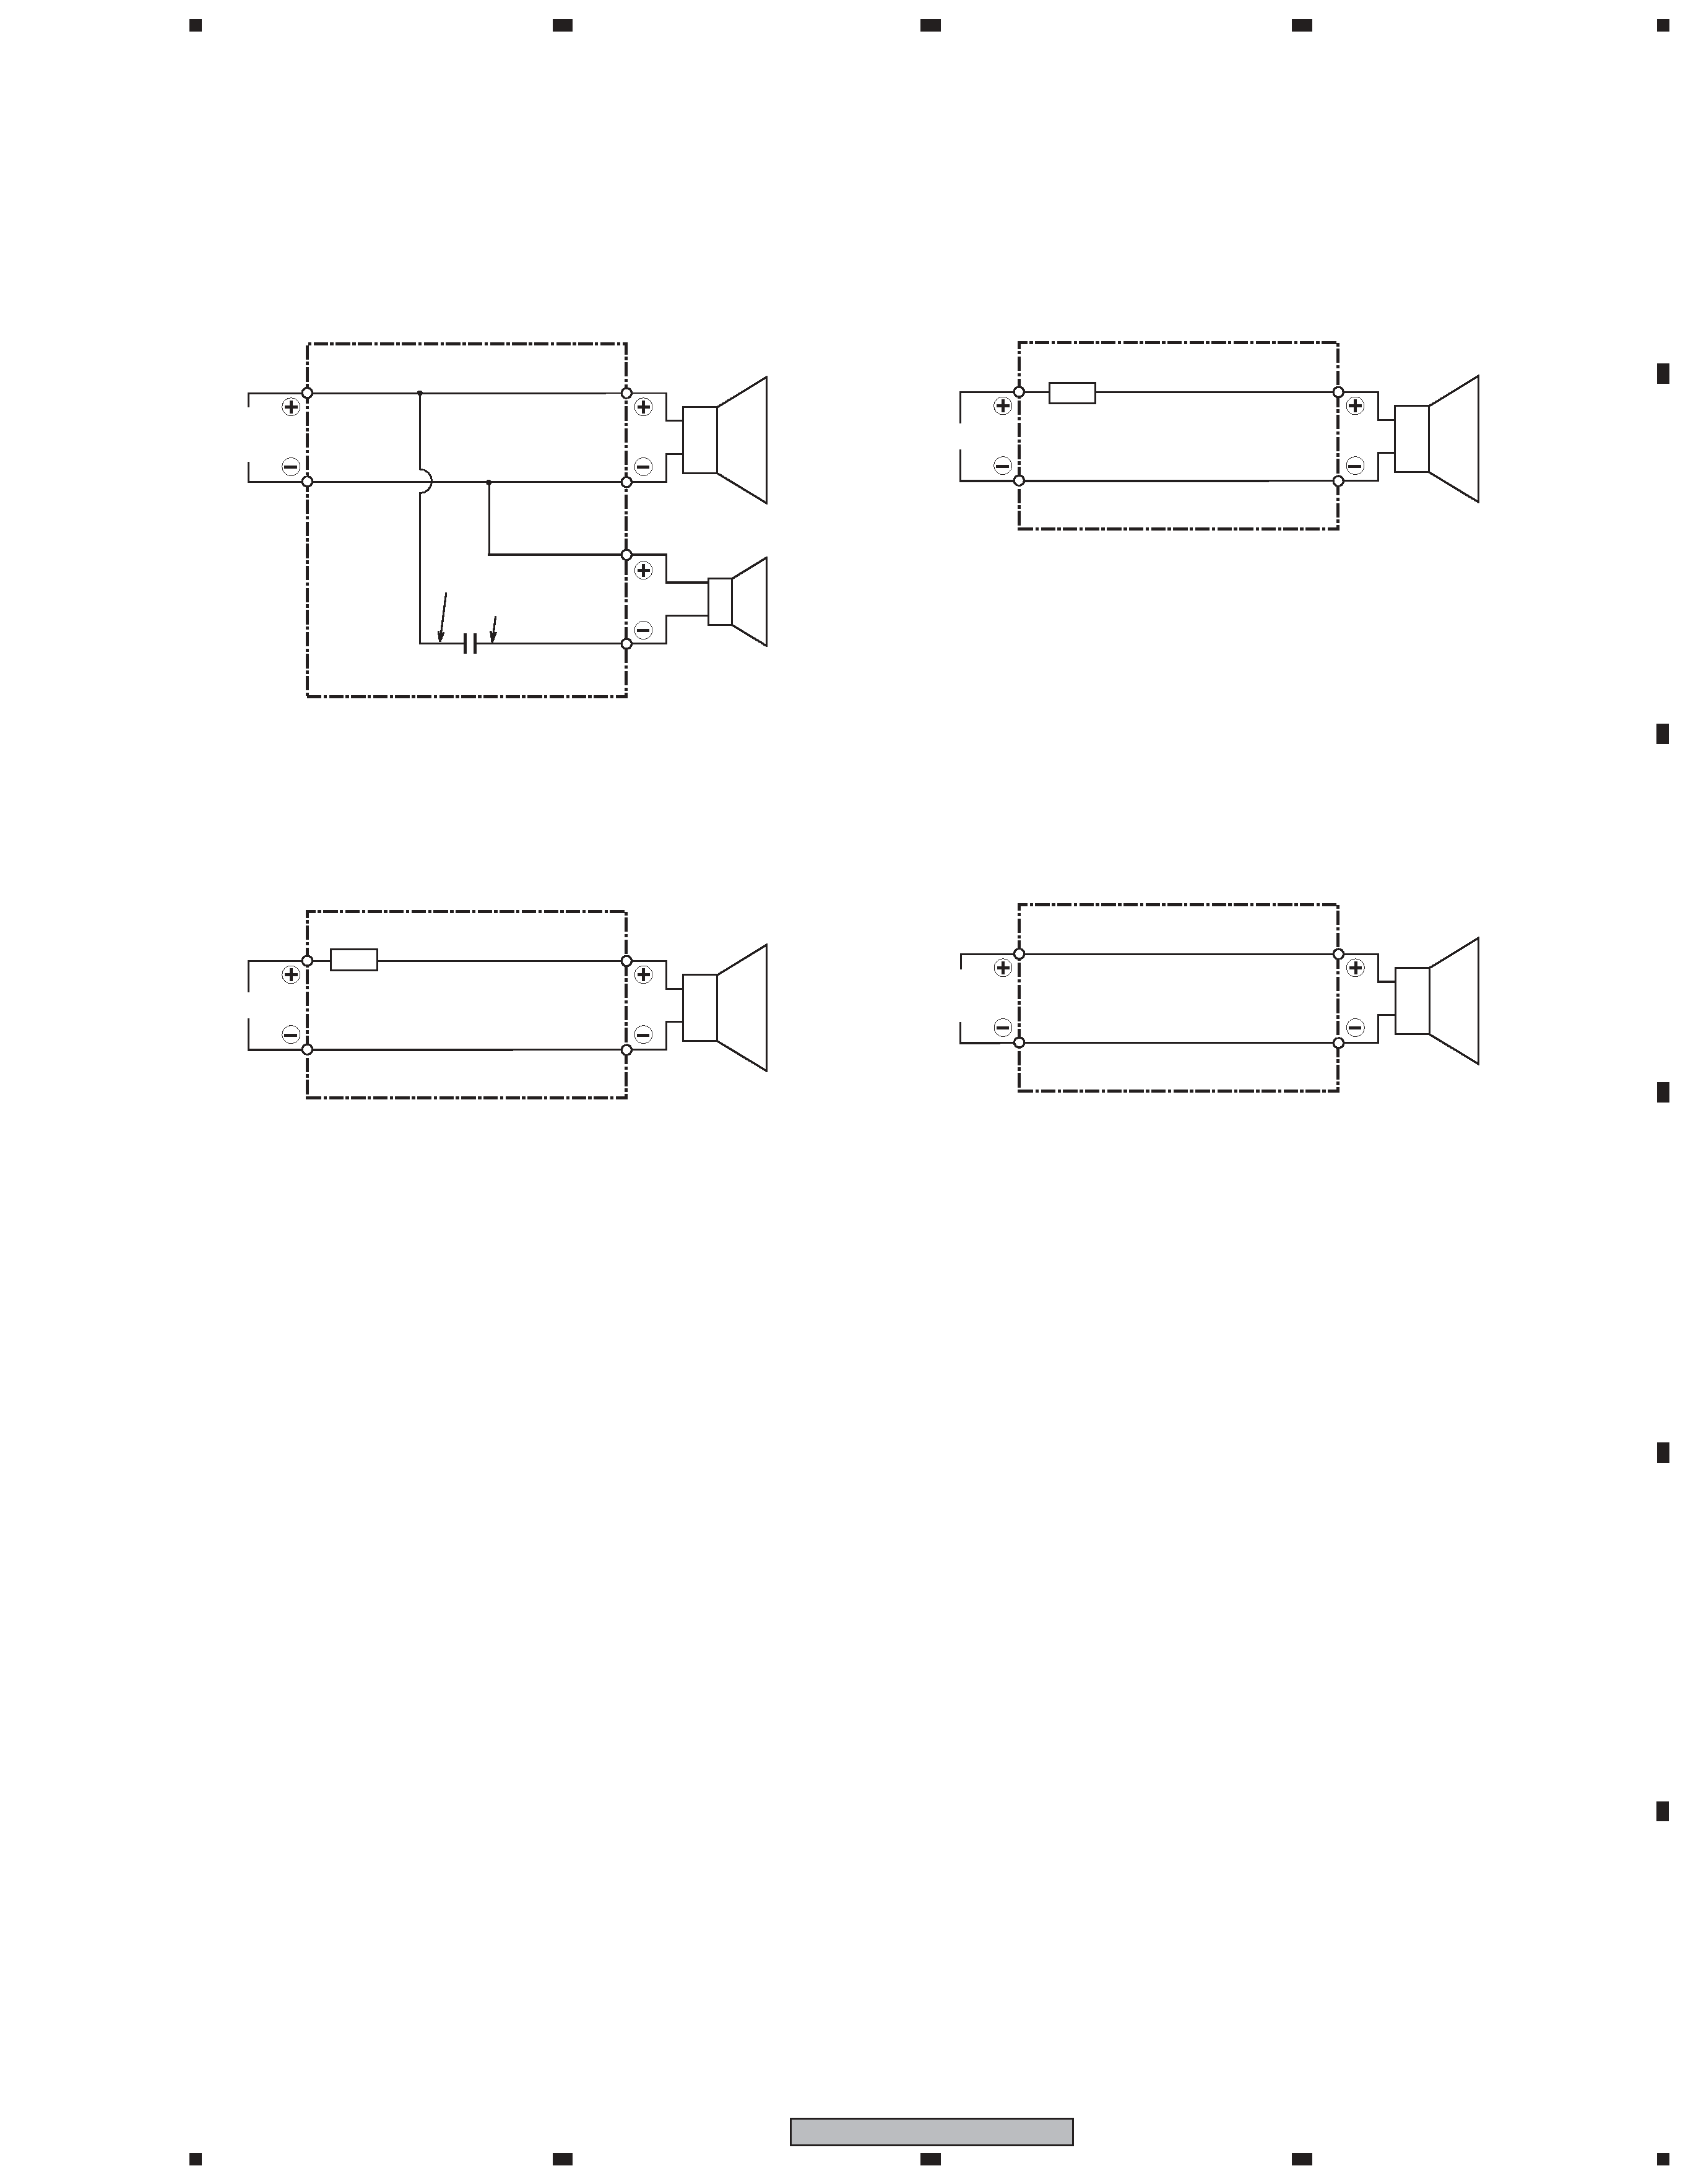
SCHEMATIC DIAGRAM
INPUT
Full-
Range
Connection Cord (SDF1115, SDF1116)
3. CS ASSY (SURROUND)
4. CS ASSY (SUB WOOFER)
Woofer
Connection Cord (SDD1348)
INPUT
Full-
Range
Connection Cord (SDF1114)
2. CS ASSY (CENTER)
Network Assy (SWN1753)
1. CS ASSY (FRONT)
2.2
µF/50V
Long Leg
C
Input
Terminal
Input
Terminal
Woofer
Black
Tube color
SDF1115: Blue (for Left channel)
SDF1116: Gray (for Right channel)
Tube color
SDF1114: Green
Red
White
Red
Tweeter
Short Leg
White
White with Gray Line
Tube
White
White with Gray Line
Tube
Black
Red