
Operating Instructions
Mode d'emploi
Bedienungsanleitung
Istruzioni per l'uso
Gebruiksaanwijzing
Manual de instrucciones
PLASMA DISPLAY
ÉCRAN PLASMA
PLASMA-DISPLAY
DISPLAY A PLASMA
PLASMASCHERM
PANTALLA DE PLASMA
PDP-5000EX
Discover the benefits of registering your product online at
www.pioneer.co.uk (or www.pioneer-eur.com).
Decouvrez les nombreux avantages offerts en enregistrant votre produit
en ligne maintenant sur www.pioneer.fr (ou www.pioneer-eur.com).
Bitte nutzen Sie die Möglichkeit zur Registrierung Ihres Produktes unter
www.pioneer.de (oder www.pioneer-eur.com)
Registra il tuo prodotto su www.pioneer.it (o www.pioneer-eur.com) e
scopri subito quali vantaggi puoi ottenere!
Ontdek nu de voordelen van online registratie! Registreer uw Pioneer
product via www.pioneer.nl - www.pioneer.be (of www.pioneer-eur.com)
Registre su producto en www.pioneer.es (o en www.pioneer-eur.com)
Descubra los beneficios de registrarse on-line:
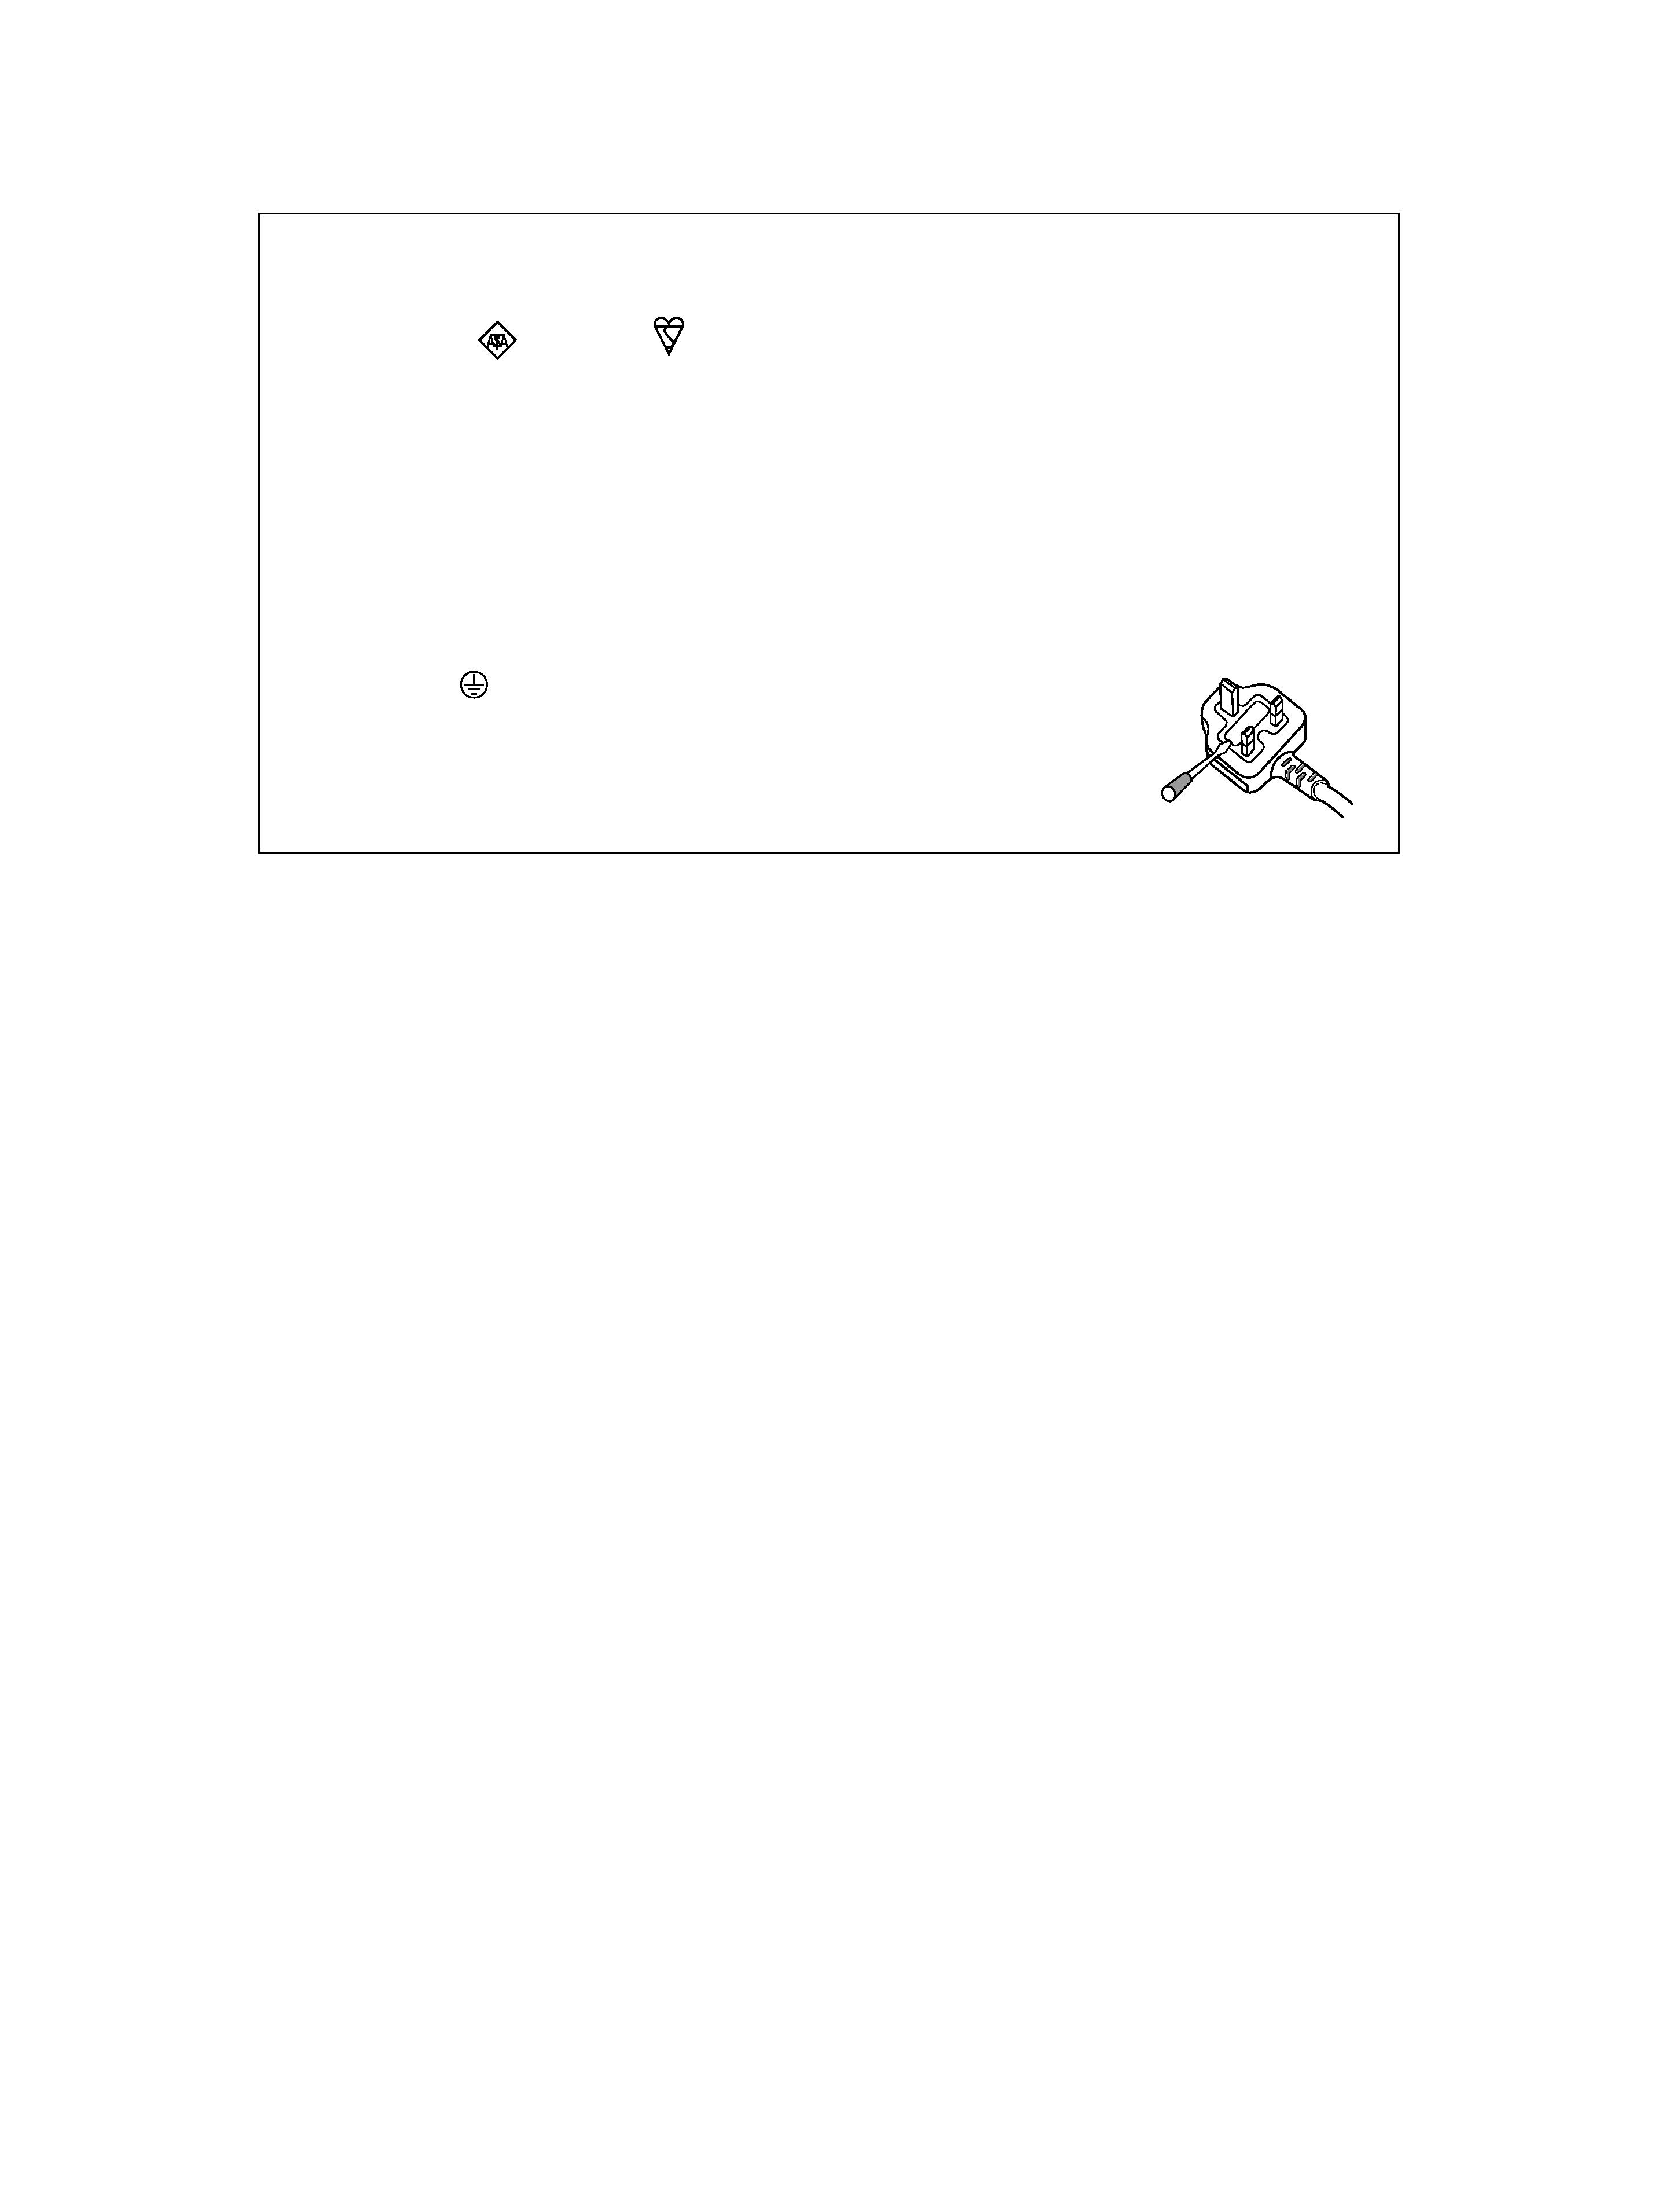
Replacement and mounting of an AC plug on the power supply cord of this unit should be performed only by qualified
service personnel.
IMPORTANT: THE MOULDED PLUG
This appliance is supplied with a moulded three pin mains plug for your safety and convenience. A 13 amp fuse is fitted in this plug. Should
the fuse need to be replaced, please ensure that the replacement fuse has a rating of 13 amps and that it is approved by ASTA or BSI to
BS1362.
Check for the ASTA mark
or the BSI mark
on the body of the fuse.
If the plug contains a removable fuse cover, you must ensure that it is refitted when the fuse is replaced. If you lose the fuse cover the plug
must not be used until a replacement cover is obtained. A replacement fuse cover can be obtained from your local dealer.
If the fitted moulded plug is unsuitable for your socket outlet, then the fuse shall be removed and the plug cut off and disposed of
safely. There is a danger of severe electrical shock if the cut off plug is inserted into any 13 amp socket.
If a new plug is to be fitted, please observe the wiring code as shown below. If in any doubt, please consult a qualified electrician.
WARNING : THIS APPARATUS MUST BE EARTHED.
IMPORTANT: The wires in this mains lead are coloured in accordance with the following code:
Green & Yellow : Earth
Blue : Neutral
Brown : Live
As the colours of the wires in the mains lead of this appliance may not correspond with the coloured markings identifying the terminals in
your plug, proceed as follows ;
The wire which is coloured GREEN-AND-YELLOW must be connected to the terminal in the plug which is marked with the letter
E or by
the earth symbol
or coloured GREEN or GREEN-AND-YELLOW.
The wire which is coloured BLUE must be connected to the terminal which is marked with the
letter
N or coloured BLACK.
The wire which is coloured BROWN must be connected to the terminal which is marked with the
letter
L or coloured RED.
How to replace the fuse: Open the fuse compartment with a screwdriver and replace the fuse.
D3-4-2-1-2-1_B_En
English
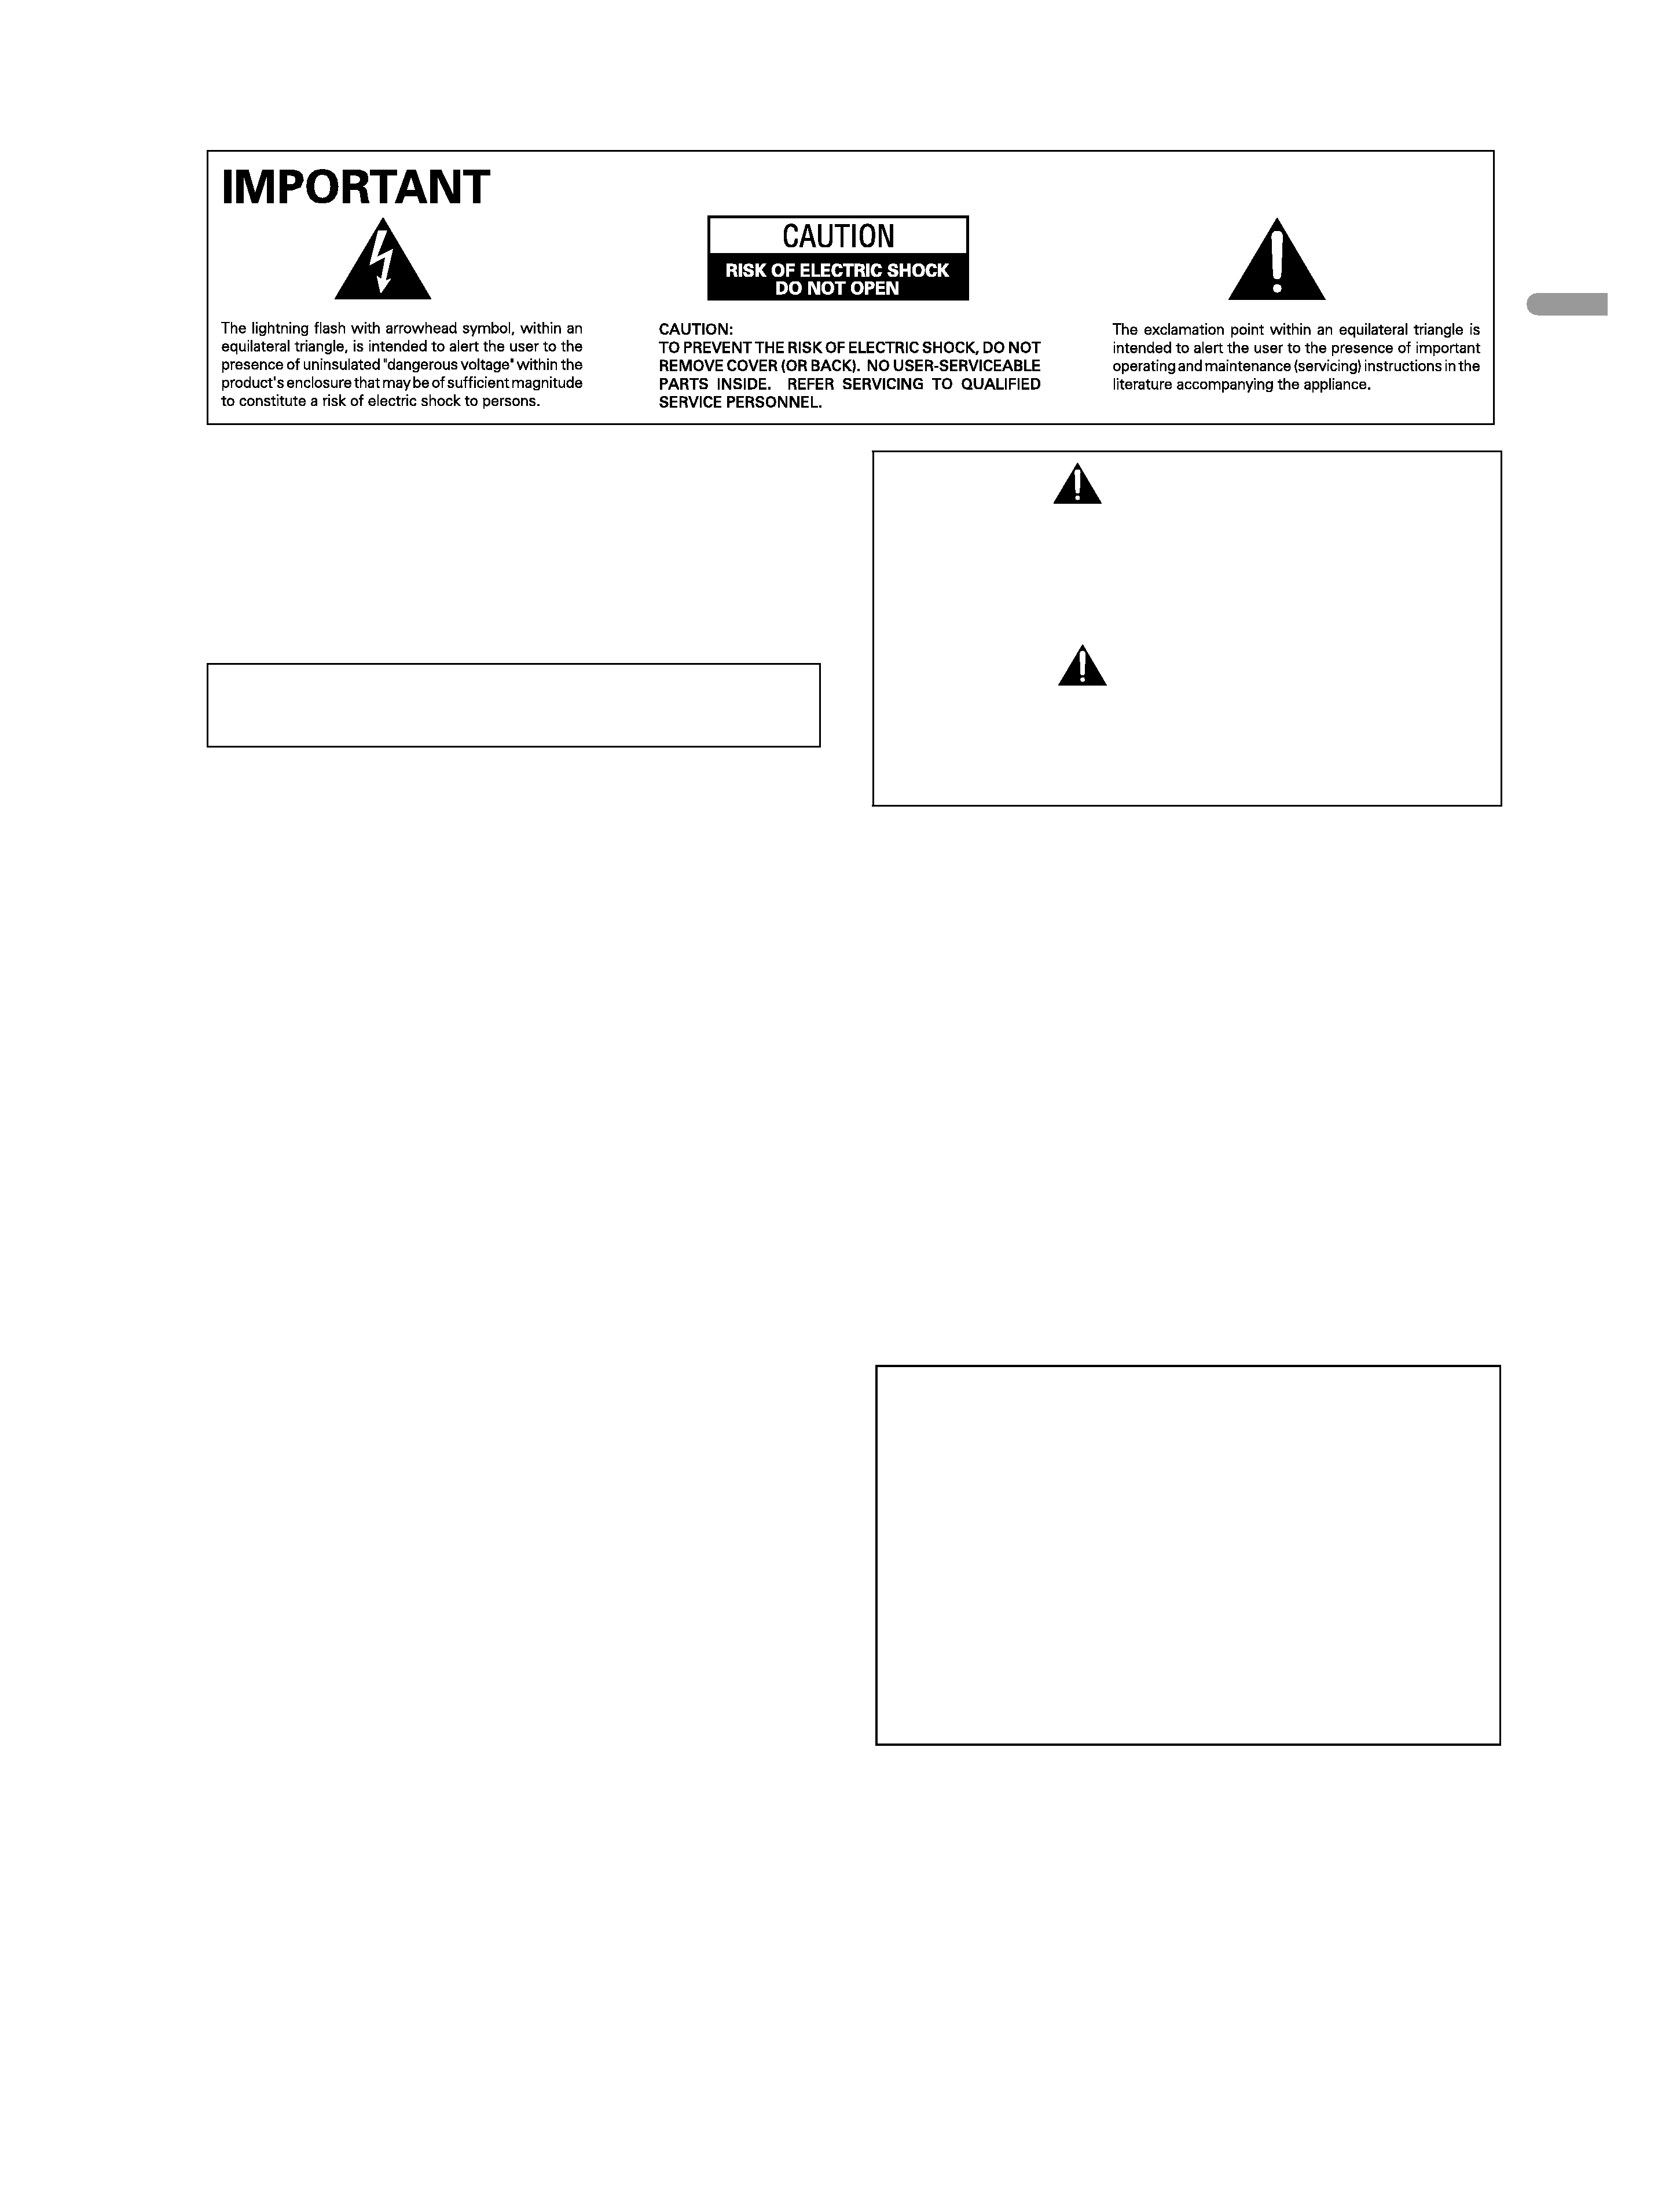
WARNING
This apparatus must be earthed.
The following symbols are found on
labels attached to the product. They alert
the operators and service personnel of
this
equipment
to
any
potentially
dangerous conditions.
STANDBY/ON Button
STANDBY: When placed into the standby mode, the main
power flow is cut and the unit is no longer fully
operational.
STANDBY/ON Indicator
The indicator is lit red when the unit is in the standby mode
and is lit blue when it is in the power-on mode.
WARNING
This equipment is not waterproof. To prevent a fire or shock
hazard, do not place any container filed with liquid near
this equipment (such as a vase or flower pot) or expose it to
dripping, splashing, rain or moisture.
D3-4-2-1-3_A_En
This product complies with the Low Voltage Directive (73/23/EEC,
amended by 93/68/EEC), EMC Directives (89/336/EEC, amended by
92/31/EEC and 93/68/EEC).
WARNING
The voltage of the available power supply differs
according to country or region. Be sure that the
power supply voltage of the area where this unit
will be used meets the required voltage (e.g., 230 V
or 120 V) written on the rear panel.
D3-4-2-1-4_A_En
Before plugging in for the first time, read the following
section carefully.
WARNING
This product equipped with a three-wire grounding
(earthed) plug - a plug that has a third (grounding) pin. This
plug only fits a grounding-type power outlet. If you are
unable to insert the plug into an outlet, contact a licensed
electrician to replace the outlet with a properly grounded
one. Do not defeat the safety purpose of the grounding
plug.
D3-4-2-1-6_A_En
WARNING
This symbol refers to a hazard or unsafe
practice which can result in personal
injury or property damage.
CAUTION
This symbol refers to a hazard or unsafe
practice which can result in severe
personal injury or death.
WARNING
To prevent a fire hazard, do not place any naked flame
sources (such as a lighted candle) on the equipment.
D3-4-2-1-7a_A_En
VENTILATION CAUTION
When installing this unit, make sure to leave space around
the unit for ventilation to improve heat radiation. For the
minimum space required, see page 16.
WARNING
Slots and openings in the cabinet are provided for
ventilation to ensure reliable operation of the product, and
to protect it from overheating. To prevent fire hazard, the
openings should never be blocked or covered with items
(such as newspapers, table-cloths, curtains) or by operating
the equipment on thick carpet or a bed.
CAUTION
The POWER switch on this unit will not completely
shut off all power from the AC outlet. Since the
power cord serves as the main disconnect device for
the unit, you will need to unplug it from the AC outlet
to shut down all power. Therefore, make sure the
unit has been installed so that the power cord can
be easily unplugged from the AC outlet in case of an
accident. To avoid fire hazard, the power cord should
also be unplugged from the AC outlet when left
unused for a long period of time (for example, when
on vacation).
D3-4-2-2-2a_A_En

4
En
Contents
Contents
Thank you for buying this Pioneer product.
Please read through these operating instructions so you will know how to operate your model properly. After you have finished
reading the instructions, put them away in a safe place for future reference.
In some countries or regions, the shape of the power plug and power outlet may sometimes differ from that shown in the
explanatory drawings. However the method of connecting and operating the unit is the same.
01 Important User Guidance Information
02 Safety Precautions
03 Optional line (sold separately)
04 Supplied Accessories
05 Part Names
Main unit ...................................................13
Remote control unit .................................14
Connection panel .....................................15
06 Preparation
Installing the Plasma Display .................16
Preventing the Plasma Display from
Falling Over ...............................................17
Connecting the power cord .....................18
How to route cables .................................19
Preparing the remote control unit ..........20
Inserting batteries ................................20
Cautions regarding batteries ..............20
Allowed operation range of the remote
control unit ............................................20
Cautions regarding the remote control
unit .........................................................20
07 Operation
Plasma Display status indicators ...........21
Changing the volume and sound ...........21
Use the multiscreen functions ...............22
Splitting the screen ..............................22
Confirming current status .......................22
AV Selection .............................................22
Selecting a screen size manually ...........23
08 Menu Setup
Using the menu .......................................24
AV mode menus ...................................24
PC mode menus ...................................24
Menu operations ..................................24
09 Basic Adjustment Settings
Language setting .....................................25
Basic picture adjustments ......................25
Advanced picture adjustments ...............25
Using PureCinema ...............................25
Using Color Temp .................................26
Using CTI ...............................................26
Using Color Management ...................26
Reducing the noise in images ............27
Using the Dynamic Range Expander
(DRE) functions ....................................27
Using the 3DYC and I-P Mode .............27
Sound adjustments ..................................28
FOCUS ...................................................28
Front Surround .....................................28
Power Control ...........................................29
10 Useful Adjustment Settings
Switching the vertical drive frequency
(AV mode only) .........................................30
Adjusting image positions
(AV mode only) .........................................30
Adjusting image positions and clock
automatically (PC mode only) .................30
Adjusting image positions and clock
manually (PC mode only) ........................30
Selecting an input signal type ................31
Color system setting ................................31
Selecting a screen size automatically
(AV mode only) .........................................32
Selecting a screen size for received 4:3
aspect ratio signals (AV mode only) ...32

5
En
Contents
English
11 Enjoying through External Equipment
Watching a decoder or VCR image ....... 33
Connecting a decoder or VCR ............ 33
Displaying a decoder or VCR image .. 33
Using HDMI Input ................................... 33
Connecting HDMI equipment ............ 34
Using DVI Input ....................................... 35
Connecting DVI equipment ................ 35
Watching a DVD image .......................... 35
Connecting a DVD player ................... 35
Displaying a DVD image ..................... 36
Enjoying a game console or watching
camcorder images .................................. 36
Connecting a game console or
camcorder ............................................ 36
Displaying an image from the game
console or camcorder ......................... 36
Watching an image from a personal
computer .................................................. 36
Connecting a personal computer ...... 36
Displaying an image from a personal
computer .............................................. 36
Computer compatibility chart ............ 37
Connecting control cords ....................... 37
About SR+ ........................................... 37
12 Appendix
Troubleshooting ...................................... 38
Specifications .......................................... 39