
PLASMA DISPLAY SYSTEM
SYSTEME D'ÉCRAN PLASMA
PLASMA DISPLAY-SYSTEM
PDP-42RXE
Operating Instructions
Mode d'emploi
Bedienungsanleitung
Discover the benefits of registering your product online at
www.pioneer.co.uk (or www.pioneer-eur.com).
Découvrez les nombreux avantages offerts en enregistrant votre produit
en ligne maintenant sur www.pioneer.fr (ou www.pioneer-eur.com).
Bitte nutzen Sie die Möglichkeit zur Registrierung Ihres Produktes unter
www.pioneer.de (oder www.pioneer-eur.com)
01-PDP42RXE-Eng (Cover)
9/30/05, 12:15 PM
1

The wire which is coloured brown must be connected to
the terminal which is marked with the letter L or coloured
red.
NOTE
After replacing or changing a fuse, the fuse cover in the
plug must be replaced with a fuse cover which
corresponds to the colour of the insert in the base of the
plug or the word that is embossed on the base of the plug,
and the appliance must not be used without a fuse cover.
If lost replacement fuse covers can be obtained from your
dealer.
Only 5 A fuses approved by B.S.I or A.S.T.A to B.S.1362
should be used.
P3-4-2-1-2-1_En
The wires in this mains lead are coloured in
accordance with the following code:
Green and Yellow
: Earth
Blue
: Neutral
Brown
: Live
If the plug provided is unsuitable for your socket outlets,
the plug must be cut off and a suitable plug fitted.
IMPORTANT
FOR USE IN THE UNITED
KINGDOM.
The cut-off plug should be disposed of and must not be
inserted into any 13 amp socket as this can result in
electric shock. The plug or adaptor or the distribution
panel should be provided with 5 A fuse. As the colours of
the wires in the mains lead of this appliance may not
correspond with coloured markings identifying the
terminals in your plug, proceed as follows ;
The wire which is coloured green and yellow must be
connected to the terminal in the plug which is marked
with the letter E or by the earth symbol
, or coloured
green or green and yellow.
The wire which is coloured blue must be connected to the
terminal which is marked with the letter N or coloured
black.
Replacement and mounting of an AC plug on the power supply cord of this unit should be performed only by qualified service
personnel.
02-PDP42RXE-Eng (02-03)
9/30/05, 12:15 PM
2
English
WARNING
This equipment is not waterproof. To prevent a fire or shock
hazard, do not place any container filed with liquid near
this equipment (such as a vase or flower pot) or expose it to
dripping, splashing, rain or moisture.
D3-4-2-1-3_A_En
This product complies with the Low Voltage Directive (73/23/EEC,
amended by 93/68/EEC), EMC Directives (89/336/EEC, amended by
92/31/EEC and 93/68/EEC).
WARNING
The voltage of the available power supply differs according
to country or region. Be sure that the power supply voltage
of the area where this unit will be used meets the required
voltage (e.g., 230 V or 120 V) written on the rear panel.
D3-4-2-1-4_A_En
Before plugging in for the first time, read the following
section carefully.
WARNING
This apparatus must be earthed.
WARNING
This product equipped with a three-wire grounding
(earthed) plug - a plug that has a third (grounding) pin. This
plug only fits a grounding-type power outlet. If you are
unable to insert the plug into an outlet, contact a licensed
electrician to replace the outlet with a properly grounded
one. Do not defeat the safety purpose of the grounding
plug.
D3-4-2-1-6_A_En
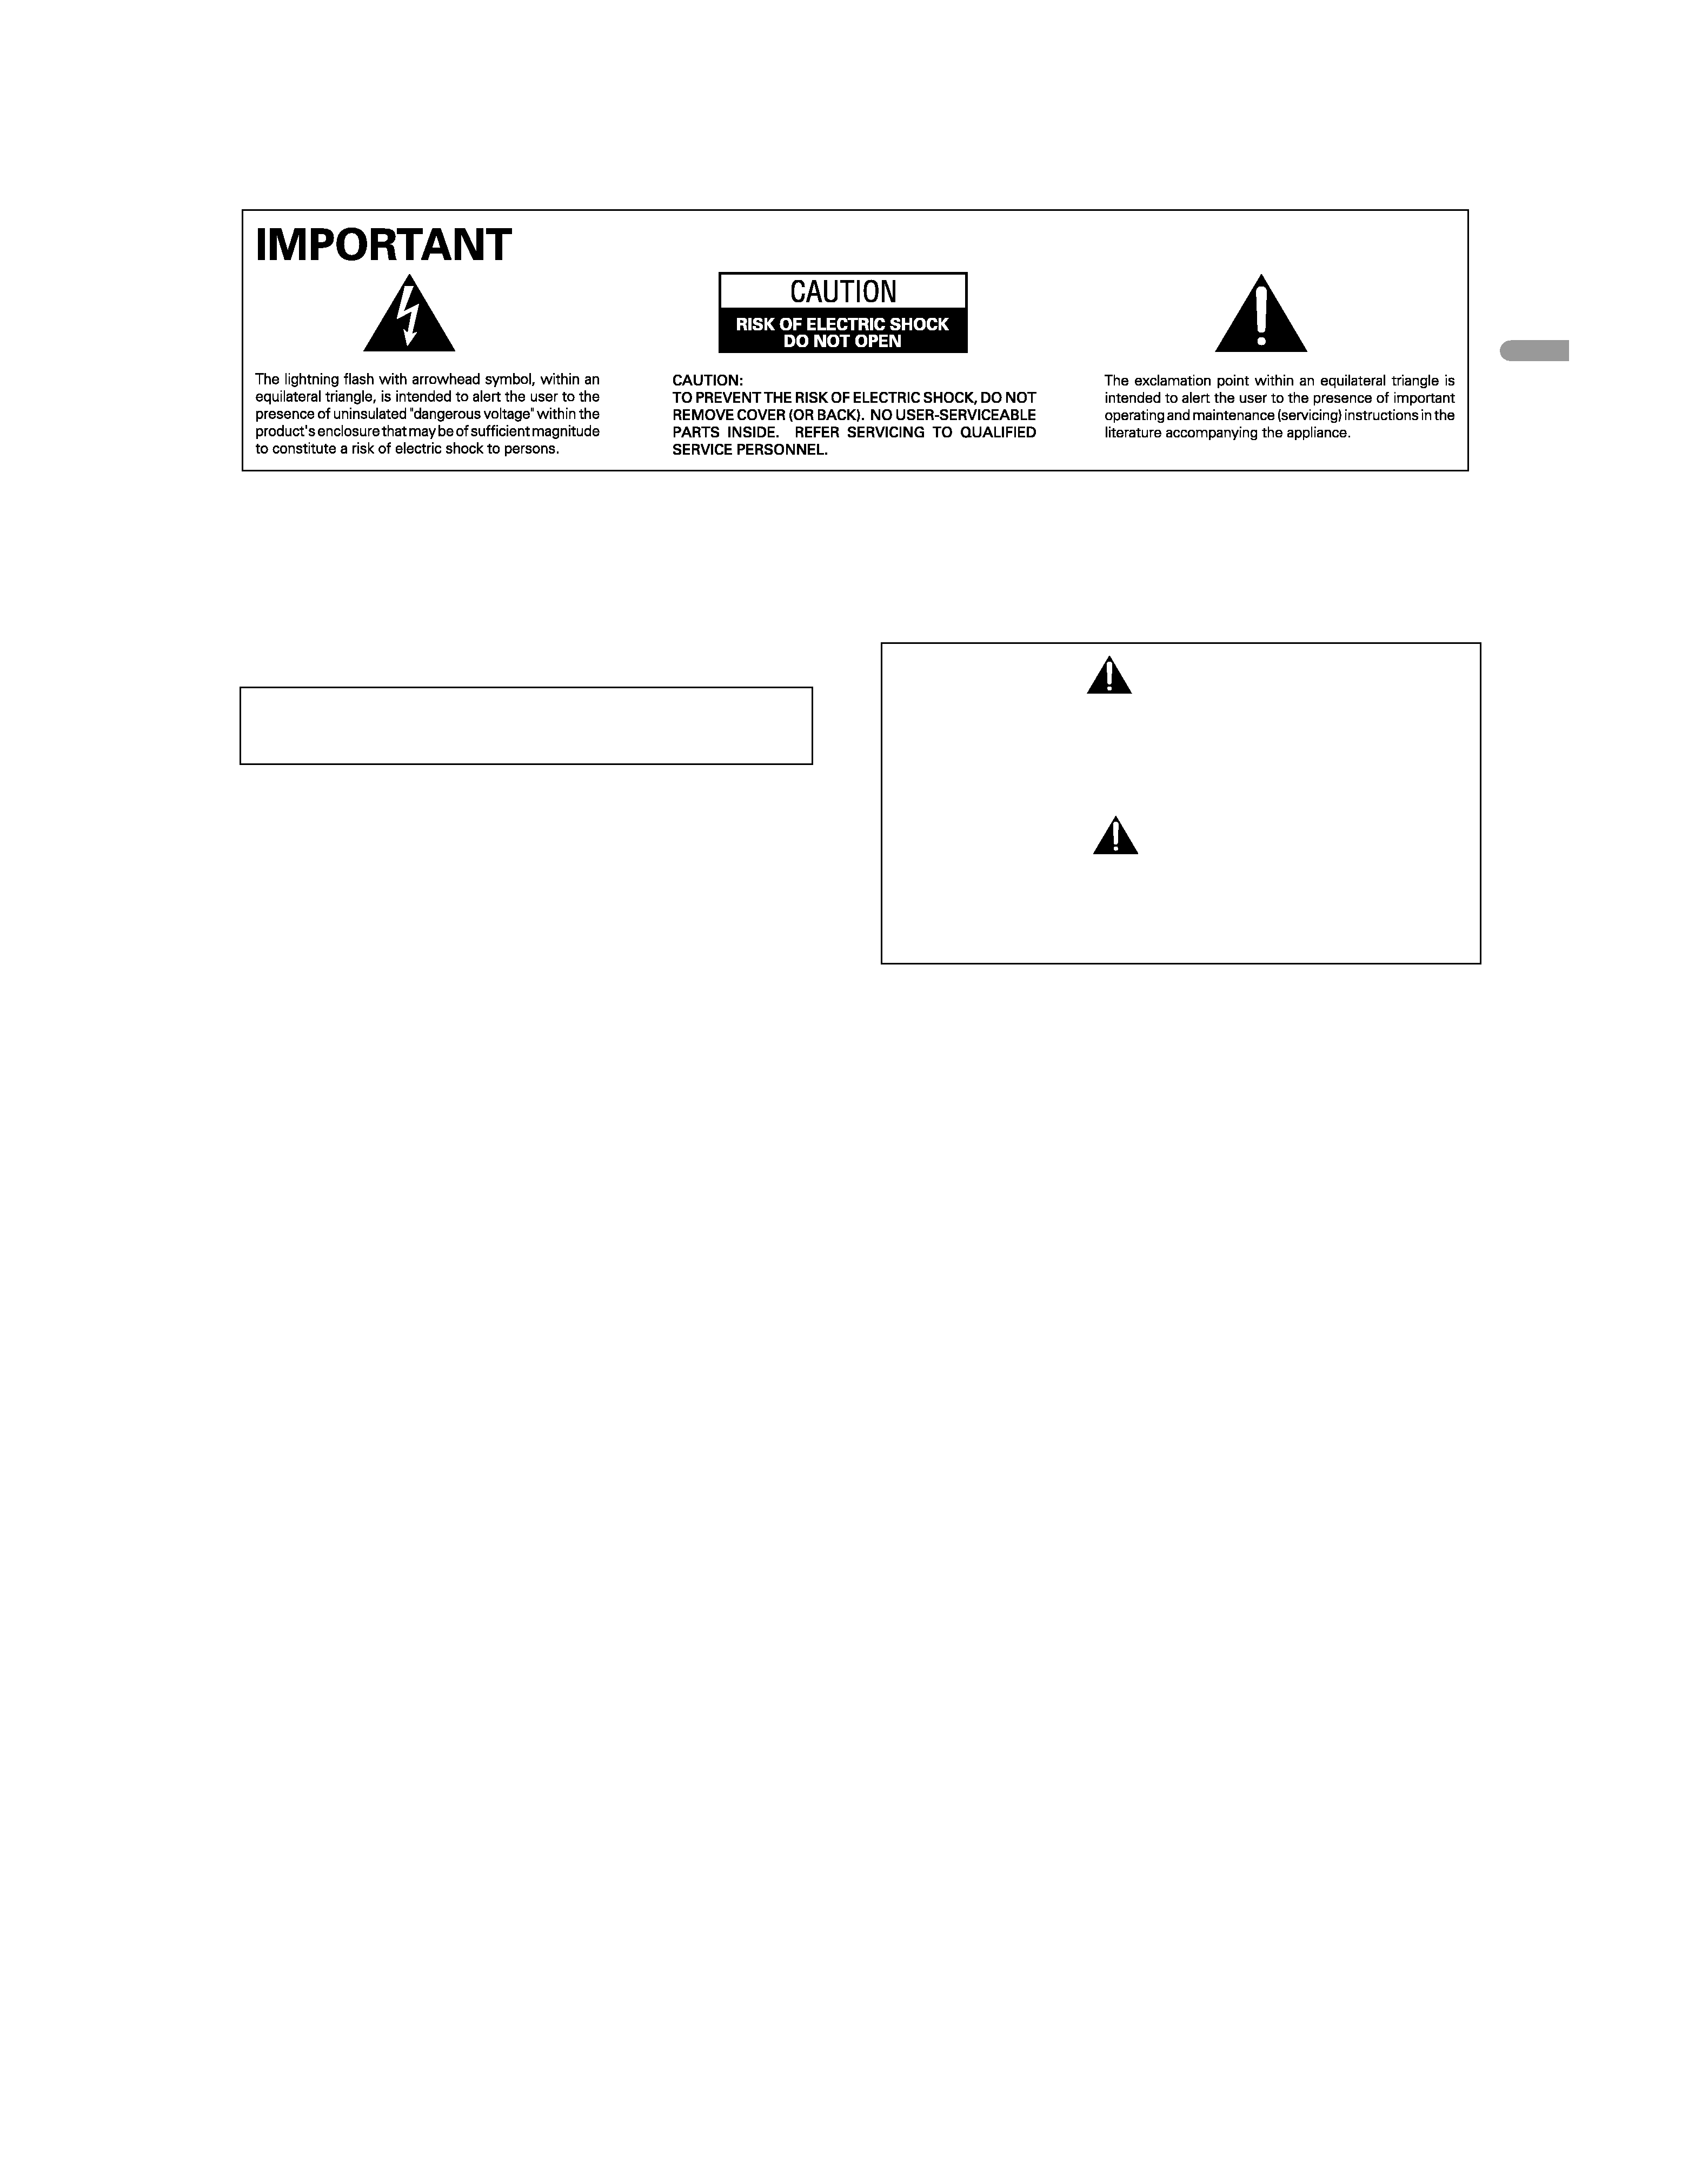
The following symbols are found on labels
attached to the product. They alert the opera-
tors and service personnel of this equipment to
any potentially dangerous conditions.
WARNING
This symbol refers to a hazard or unsafe prac-
tice which can result in personal injury or
property damage.
CAUTION
This symbol refers to a hazard or unsafe prac-
tice which can result in severe personal injury
or death.
WARNING
To prevent a fire hazard, do not place any naked flame
sources (such as a lighted candle) on the equipment.
D3-4-2-1-7a_A_En
VENTILATION CAUTION
When installing this unit, make sure to leave space around
the unit for ventilation to improve heat radiation. For the
minimum space required, see page 14.
WARNING
Slots and openings in the cabinet are provided for
ventilation to ensure reliable operation of the product, and
to protect it from overheating. To prevent fire hazard, the
openings should never be blocked or covered with items
(such as newspapers, table-cloths, curtains) or by operating
the equipment on thick carpet or a bed.
CAUTION
The power switch does not completely separate the unit
from the mains in off position. Therefore install the unit
suitable places easy to disconnect the mains plug in case of
the accident. The mains plug of unit should be unplugged
from the wall socket when left unused for a long period of
time.
STANDBY/ON Button
STANDBY: When set to the STANDBY position, the main
power flow is cut and the unit is no longer
fully operational. A minute flow of power
feeds the unit to maintain operation
readness.
STANDBY Indicator
The indicator is lit red when the unit is in the
standby mode.
02-PDP42RXE-Eng (02-03)
9/30/05, 12:15 PM
3

4
En
Contents
Thank you for buying this Pioneer product.
Please read through these operating instructions so you will know how to operate your model properly. After you have finished
reading the instructions, put them away in a safe place for future reference.
In some countries or regions, the shape of the power plug and power outlet may sometimes differ from that shown in the explana-
tory drawings. However the method of connecting and operating the unit is the same.
01 Important User Guidance Information
02 Safety Precautions
03 Supplied Accessories
04 Part Names
Plasma Display ................................................................... 10
Remote control unit ............................................................ 12
05 Preparation
Installing the Plasma Display ............................................ 14
Preventing the Plasma Display from falling over ............. 14
Preparing the remote control unit ..................................... 15
Inserting batteries ......................................................... 15
Cautions regarding batteries ....................................... 15
Allowed operation range of the remote
control unit ................................................................. 15
Cautions regarding the remote control unit .............. 16
Connecting to an antenna ................................................. 16
Connecting the power cord ............................................... 17
06 Basic Operations
Turning the power on and off (Standby) ........................... 18
Watching TV channels ........................................................ 19
Selecting the analogue channels ...................................... 19
Changing channels ...................................................... 19
Changing the volume and sound ................................ 20
Displaying Information ....................................................... 20
Using
on the remote control unit ................................ 21
Using the multiscreen functions ....................................... 22
07 Menu Setup
Menu configuration ............................................................ 24
Menu operations ................................................................. 24
08 Tuner Setup
Setting up TV channels ...................................................... 25
Scanning Channels Automatically ............................. 25
Scanning Analogue Channels Manually .................... 25
Editing Channel List ..................................................... 26
Display the Channel List .............................................. 26
Setting the Current Date and Time ................................... 27
09 Adjustments and Settings
Sleep Timer .......................................................................... 28
Picture adjustments ........................................................... 28
Selecting the Picture Mode ......................................... 28
Customizing the Picture Settings ............................... 29
Using the Noise Reduction Feature ............................ 29
Setting the Colour Temperature .................................. 30
Selecting the Sound Effect ................................................ 30
Customizing the Sound Settings ....................................... 30
Adjusting the Volume Automatically ................................. 31
Setting the Surround Sound .............................................. 31
Changing the Screen Size .................................................. 31
Viewing the Input Source ................................................... 32
Selecting an input signal type ........................................... 32
Selecting an output source ................................................ 32
Setting for the language of on-screen display ................. 32
Setting for the TTX (Teletext) Language ............................ 33
Screen Saver ....................................................................... 33
Setting the Full White mode ........................................ 33
Power Control ...................................................................... 34
Switching the Plasma Display Off Automatically ...... 34
Setting the Plasma Display On Time .......................... 34
Setting the Plasma Display Off Time .......................... 34
10 Enjoying through External Equipment
Connecting to the SCART terminal ................................... 35
Connecting to the External Input ...................................... 36
Connecting to the Component Input ................................ 36
Connecting to the HDMI Input .......................................... 37
11 Using the Teletext Functions
What is Teletext? ................................................................. 38
Operating the Teletext basics ............................................. 38
Turning on and off Teletext ........................................... 38
Selecting and operating Teletext pages ...................... 38
12 Appendix
Troubleshooting .................................................................. 39
Connecting pin assignments for SCART .......................... 40
Specifications ...................................................................... 41
03-PDP42RXE-Eng (04)
9/30/05, 12:15 PM
4

01
Important User Guidance Information
English
5
En
In order to obtain maximum enjoyment from this Pioneer
PureVision PDP-42RXE Plasma Display System, please first
read this information carefully.
With the Pioneer PureVision PDP-42RXE, you can be assured of
a high quality Plasma Display System with long-life and high
reliability. To achieve images of exceptional quality, this Pioneer
Plasma Display System incorporates state-of-the-art design and
construction, as well as very precise and highly advanced
technology.
Over the course of its lifetime, the luminosity of the Pioneer
PDP-42RXE Plasma Display System will diminish very slowly,
such as with all phosphor-based screens (for example, a
traditional tube-type television). To enjoy beautiful and bright
images on your Pioneer Plasma Display System for many years
to come, please carefully read and follow the usage guidelines
below.
Usage guidelines
All phosphor-based screens (including conventional tube-type
televisions) can be affected by displaying static images for a
prolonged period. Plasma Display Systems are no exception to
this rule. After-image and permanent effects on the screen can
be avoided by taking some basic precautions. By following the
recommendations listed below, you can ensure longer and
satisfactory results from your plasma:
· Whenever possible, avoid frequently displaying the same
image or virtually still moving pictures (e.g. closed-captioned
images or video game images which have static portions).
· Do not display Teletext for a prolonged period of time.
· Avoid viewing the On Screen Display for extended periods,
from a DVD player, VCR, and all other components.
· Do not leave the same picture freeze-framed or paused
continuously over a long period of time, when using the still
picture mode from a TV, VCR, DVD player or any other
component.
· Images which have both very bright areas and very dark
areas side by side should not be displayed for a prolonged
period of time.
· When playing a game, the "Game" mode setting within "AV
Selection" is strongly recommended. However, please limit its
use to less than 2 hours at a time.
·After playing a game, or any still image, it is best to view a
normal moving picture in the "Wide" or "Full" screen setting
for over 3 times longer than the previous still/moving image.
·After using the Plasma Display System, always switch the
display to "STANDBY" mode.
Installation guidelines
The Pioneer PureVision PDP-42RXE Plasma Display System
incorporates a very thin design. To ensure safety, please take
the proper measures to mount or install the Plasma Display, in
order to prevent the unit from tipping over in the event of
vibration or accidental movement.
This product should be installed by using only parts and
accessories designed by PIONEER. Use of accessories other
than the PIONEER installation bracket may result in instability,
and could cause injury. For custom installation, please consult
the dealer where the unit was purchased. To ensure correct
installation, experienced and qualified experts must install the
unit. PIONEER will not be held responsible for accident or
damage caused by the use of parts and accessories manufac-
tured by other companies.
To avoid malfunction and overheating when installing, make
sure that the vents on the main unit are not blocked. To ensure
proper heat emission:
· Distance the unit slightly from other equipment, walls, etc.
For the minimum space required around the unit, see page
14.
· Do not fit the unit inside narrow spaces where ventilation is
poor.
· Do not cover with a cloth, etc.
· Clean the vents on the sides and rear of the unit to remove
dust build-up by using a vacuum cleaner set to its lowest
suction setting.
· Do not place the product on a carpet or blanket.
· Do not leave the product tilted over.
· Do not reverse the product.
Using the unit without proper ventilation may cause the
internal temperature to rise, and could result in possible
malfunction. When the surrounding or internal temperature
exceeds a certain degree, the display will automatically power
off in order to cool the internal electronics and prevent a
hazardous occurrence.
Malfunction can be caused by many factors: inappropriate
installation site, improper assembly/installation/mounting,
improper operation of or modifications made to this product.
However, PIONEER cannot be held responsible for accidents or
malfunction caused by the above.
The following are typical effects and characteristics of a
phosphor-based matrix display and as such, are not covered by
the manufacturer's limited warranties:
·Permanent residual images upon the phosphors of the panel.
· The existence of a minute number of inactive light cells.
·Panel generated sounds, examples: Fan motor noise, and
electrical circuit humming / glass panel buzzing.
01 Important User Guidance Information
04-PDP42RXE-Eng (05-9)
9/30/05, 12:15 PM
5