
PDA-5001
VIDEO BOX
Operating Instructions

iv
Basic
Operations
ii
<ARE1351> En
English
Introduction
Safety Precautions
WARNING: TO PREVENT FIRE OR SHOCK HAZARD, DO
NOT EXPOSE THIS APPLIANCE TO RAIN OR MOISTURE.
IMPORTANT NOTICE
The serial number for this equipment is located on the rear
panel. Please write this serial number on your enclosed
warranty card and keep it in a secure area. This is for your
security.
The following symbols are found on labels
attached to the product. They alert the
operators and service personnel of this
equipment to any potentially dangerous
conditions.
CAUTION:
TO PREVENT THE RISK OF ELECTRIC
SHOCK, DO NOT REMOVE COVER (OR
BACK). NO USER-SERVICEABLE PARTS
INSIDE. REFER SERVICING TO QUALIFIED
SERVICE PERSONNEL.
The exclamation point within an equilateral triangle
is intended to alert the user to the presence of
important operating and maintenance (servicing)
instructions in the literature accompanying the
appliance.
The lightning flash with arrowhead symbol, within
an equilateral triangle, is intended to alert the user to
the presence of uninsulated "dangerous voltage"
within the product's enclosure that may be of
sufficient magnitude to constitute a risk of electric
shock to persons.
WARNING
This symbol refers to a hazard or unsafe
practice which can result in personal injury
or property damage.
CAUTION
This symbol refers to a hazard or unsafe
practice which can result in severe personal
injury or death.
CAUTION
RISK OF ELECTRIC SHOCK
DO NOT OPEN
IMPORTANT
i
Thank you very much for purchasing this PIONEER product.
Before using this unit, please carefully read the "Safety
Precautions" and these "Operating Instructions" so you
will know how to operate the Plasma Display properly. Keep
this manual in a safe place. You will find it useful in the
future.
Notes on Installation Work:
This product is marketed assuming that it is installed by qualified
personnel with enough skill and competence. Always have an
installation specialist or your dealer install and set up the product.
PIONEER cannot assume liabilities for damage caused by
mistake in installation or mounting, misuse, modification or a
natural disaster.
Note for Dealers:
After installation, be sure to deliver this manual to the customer
and explain to the customer how to handle the product.
WARNING: TO PREVENT FIRE OR SHOCK HAZARD, DO
NOT EXPOSE THIS APPLIANCE TO RAIN OR MOISTURE.
WARNING:
This is a Class A product. In a domestic environment this
product may cause radio interference in which case the user
may be required to take adequate measures.
To ensure proper heat radiation, distance the unit slightly from
other equipment, walls, etc. (normally mode than 10 cm). Avoid
the following installations which will block vents and cause heat
to build up inside, resulting in fire hazards.
· Do not attempt to fit the unit inside narrow spaces where
ventilation is poor
· If planning special installation such as fitting close to the wall,
placing it horizontally, etc., be sure to consult your Pioneer
dealer first.

1
<ARE1351> En
Part
Names
and
Functions
English
This unit offers additional features when connected to
the PDP-502MXE plasma display. Though the
PDP-502MXE is designed for use as personal computer
monitor, the following functions and possiblities are
available when this unit is connected.
1. The number of input jacks is increased to offer
composite video, S-video, and separate Y/C video input
possibilities (INPUT1 and INPUT2).
2. Connection to a number of non-PC related audiovisual
components is possible.
Features
Contents
Features
/
Contents
Notes on Installation Work:
This product is marketed assuming that it is installed by qualified
personnel with enough skill and competence. Always have an
installation specialist or your dealer install and set up the product.
PIONEER cannot assume liabilities for damage caused by
mistake in installation or mounting, misuse, modification or a
natural disaster.
Note for Dealers:
After installation, be sure to deliver this manual to the customer
and explain to the customer how to handle the product.
Safety Precautions ............................. i
Before Proceeding ............................. 2
How to use this manual ...................................... 2
About operations in this manual ....................... 2
Checking supplied accessories .......................... 2
Part Names and Functions ............... 3
Connection panel (PDP-502MXE & PDA-5001) . 3
Installation and Connections ........... 5
Connecting this unit to the monitor .................. 5
About the input jacks .......................................... 7
Connection to INPUT1 ........................................ 8
Connection to INPUT2 ........................................ 8
Connection to INPUT3 and INPUT4 ................... 9
About DVB set top box connection ................. 11
Audio connections ............................................ 12
How to route cables .......................................... 13
Setting Up the System ................... 14
Setting up INPUT1 and INPUT2 ....................... 14
Setting up INPUT3 and INPUT4 ....................... 15
G ON SYNC setup (CLAMP) ............................. 16
Operations ....................................... 17
Selecting an input source ................................. 17
Screen size selection ........................................ 18
POWER SAVE .................................................... 20
Display Panel Adjustments ............ 21
Adjusting the picture quality ............................ 21
Adjusting the display image ............................ 22
Setting the regional TV system format ........... 23
Viewing in a bright location
(HIGH CONTRAST) ........................................ 23
Resetting the unit to factory set defaults ........ 24
Additional Information ................... 24
Troubleshooting ................................................ 24
Specifications .................................................... 25
Supplement 1 .................................................... 26
Supplement 2 .................................................... 27
Explanation of Terms ........................................ 27
2
<ARE1351> En
Part
Names
and
Functions
English
Before Proceeding
How to use this manual
This manual is set up to follow the course of actions and
operations in the order that would seem most logical for
someone setting up this unit.
Once the unit has been taken out of the box, and it has
been confirmed that all the parts have been received, the
section "Connecting this unit to the monitor" starting on
page 5 outlines the procedure for connecting this unit to
the plasma display, PDP-502MXE.
After the unit is connected to the plasma display, use this
instruction manual in conjunction with the instruction
manual included with the PDP-502MXE to control your
system
To familiarize yourself with the parts, buttons, and
controls of this unit, the plasma display, and the remote
control unit, please refer to the section "Part Names and
Functions" on page 3 and the corresponding section in
the instruction manual for the PDP-502MXE.
Once this unit is connected to the plasma display,
PDP-502MXE, the section "About the input jacks"
starting on page 7 covers all the necessary points
regarding connections to a wide variety of components.
The section "Setting Up the System" starting on page 14
covers the necessary on-screen menu settings to
establish correct linkage to connected components.
Depending on the connections made, this section may or
not be necessary.
The sections "Operations" and "Display Panel
Adjustments" starting on pages 17 and 21 respectively,
are dedicated to the basic operations associated with
selecting a source component as well as the more
complex operations associated with adjusting the plasma
display picture to match the requirements of specific
components and personal preferences.
About operations in this manual
Operations in this manual are outlined in step by step
numbered procedures. Most of the procedures are
written in reference to the remote control unit unless the
button or control is only present on the main unit.
However, if a button or control on the main unit has the
same or similar name as that on the remote control unit,
that button can be used when performing operations.
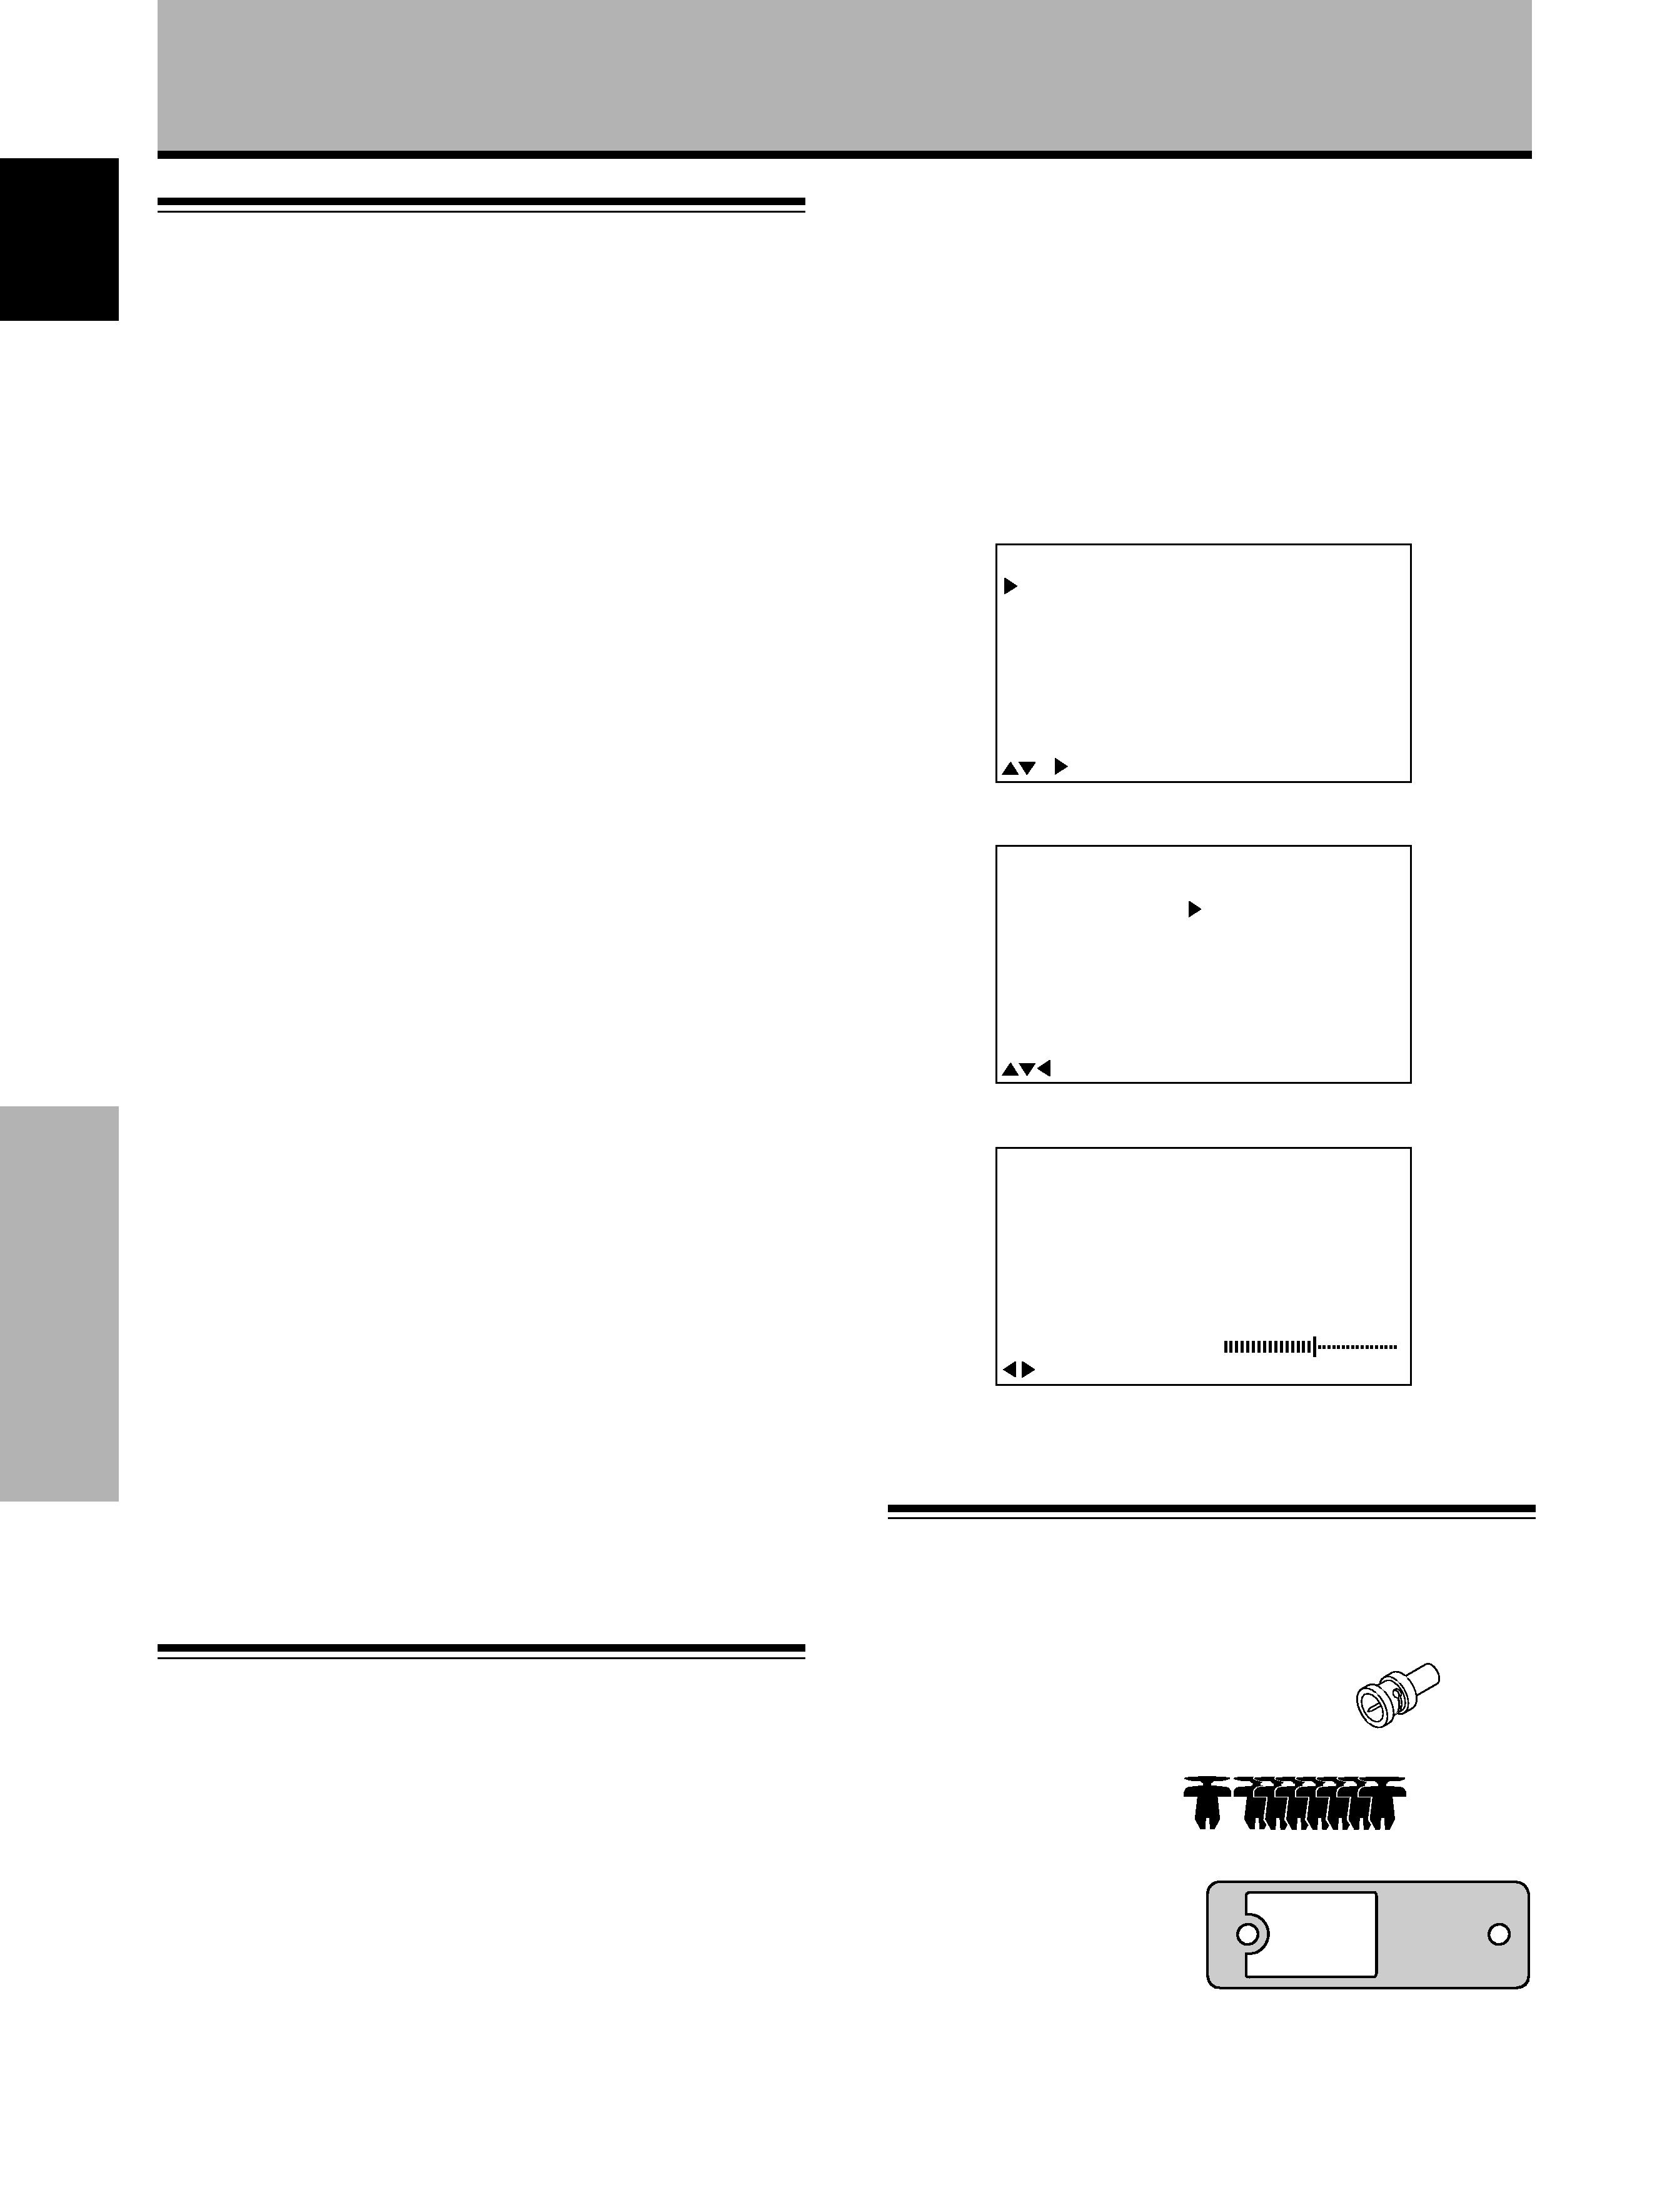
The following example is an actual operation that shows
how one might set the brightness of the screen. The
screens shown at each step are provided as a visual
guide to confirm that the procedure is proceeding as it
should. Please familiarize yourself with this process
before continuing on with the rest of this manual.
1 Press MENU to display the menu screen.
2 Press 5/ to select PICTURE, and then press 3.
3 Press 5/ to select BRIGHT, and then press SET.
4 Press 2/3 to adjust the picture quality as desired.
5 When the setup is finished, press MENU to exit
the menu screen.
M A IN
ME N U
M EN U : ME NU
O F F
: S EL E C T
P IC T U R E
C ON T R A ST
B R I GH T
C OL OR
T I NT
0
:
0
:
0
:
0
0
:
S HAR P
R ES E T
:
S C R E E N
AL L
RE S E T
P OWE R
S ET
U P
S AV E
M A IN
ME N U
M EN U : ME NU
O F F
: S EL E C T
P IC T U R E
C ON T R A ST
A D JU S T
B R I GH T
C OL OR
T I NT
0
:
0
:
0
:
0
0
:
S HAR P
R ES
S ET
E
:
T
:
S C R E E N
P OWE R
S ET
U P
S AV E
AL L
RE S E T
Checking supplied accessories
Check that the following accessories were supplied.
1 Pin/BNC conversion adaptor x 1
2 Screw rivets x 8
3 Connector cover x 1
÷ Operating Instructions
P I CT U RE
BR I G H T
S
0
ET : E X I T
: A D J U S T