<VRB1462-A>
Printed in China
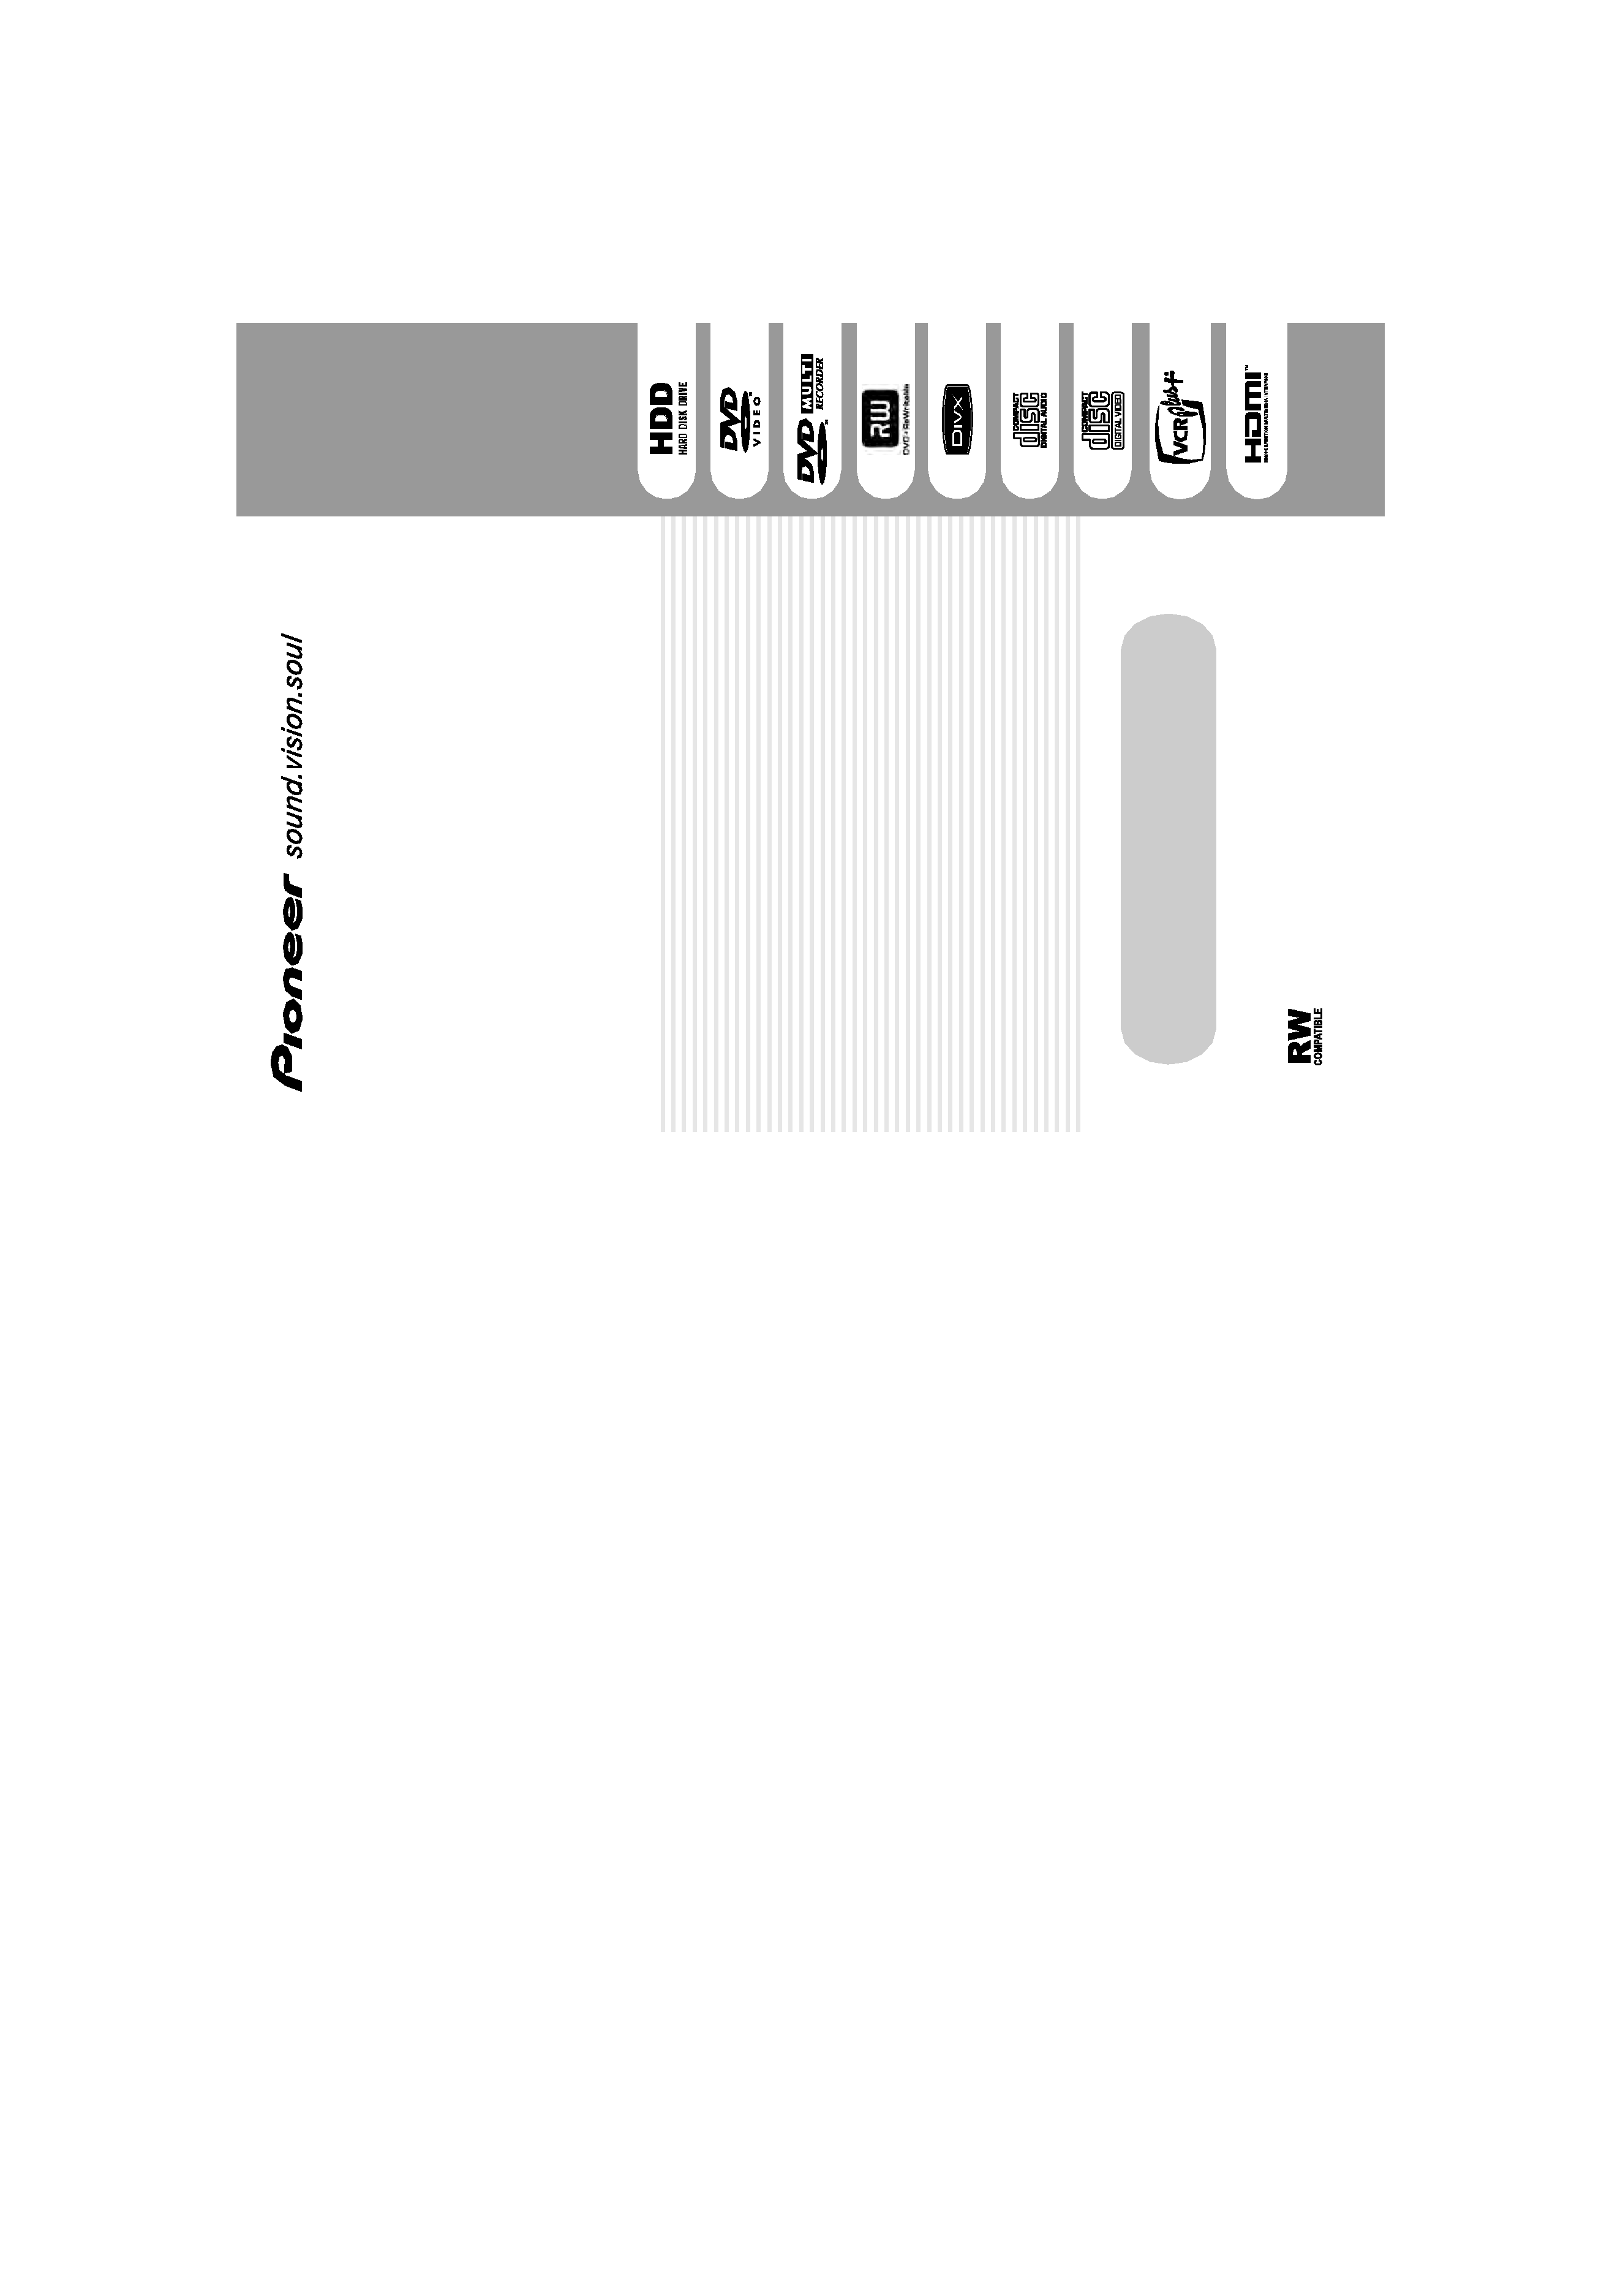
HDD/DVD Recorder
DVR-650H-K
DVR-550H-K
DVR-450H-S
Operating Instructions
HDD/D
VD
RECORDER
Operating
Instructions
Published by Pioneer Corporation.
Copyright © 2007 Pioneer Corporation.
All rights reserved.
PIONEER CORPORATION
4-1, Meguro 1-Chome, Meguro-ku, Tokyo 153-8654, Japan
PIONEER ELECTRONICS (USA) INC.
P.O. BOX 1540, Long Beach, California 90801-1540, U.S.A. TEL: (800) 421-1404
PIONEER ELECTRONICS OF CANADA, INC.
300 Allstate Parkway, Markham, Ontario L3R 0P2, Canada TEL: 1-877-283-5901, 905-479-4411
PIONEER EUROPE NV
Haven 1087, Keetberglaan 1, B-9120 Melsele, Belgium TEL: 03/570.05.11
PIONEER ELECTRONICS ASIACENTRE PTE. LTD.
253 Alexandra Road, #04-01, Singapore 159936 TEL: 65-6472-7555
PIONEER ELECTRONICS AUSTRALIA PTY. LTD.
178-184 Boundary Road, Braeside, Victoria 3195, Australia, TEL: (03) 9586-6300
PIONEER ELECTRONICS DE MEXICO S.A. DE C.V.
Blvd.Manuel Avila Camacho 138 10 piso Col.Lomas de Chapultepec, Mexico,D.F. 11000 TEL: 55-9178-4270
K002_B_En
Register Your Product on
http://www.pioneerelectronics.ca
Should this product require service in Canada, please contact a Pioneer Canadian
Authorized Dealer to locate the nearest Pioneer Authorized Service Company in Canada.
Alternatively, please contact the Customer Satisfaction Department at the following address:
Pioneer Electronics of Canada, Inc.
Customer Satisfaction Department
300 Allstate Parkway, Markham, Ontario L3R 0P2
1-877-283-5901
905-479-4411
For warranty information please see the Limited Warranty sheet included with your product.
Si ce produit doit être réparé au Canada, veuillez vous adresser à un distributeur autorisé
Pioneer du Canada pour obtenir le nom du Centre de Service Autorisé Pioneer le plus près
de chez-vous. Vous pouvez aussi contacter le Service à la clientèle de Pioneer:
Pioneer Électroniques du Canada, Inc.
Service Clientèle
300, Allstate Parkway, Markham, Ontario L3R 0P2
1-877-283-5901
905-479-4411
Pour obtenir des renseignements sur la garantie, veuillez vous reporter au feuillet sur la
garantie restreinte qui accompagne le produit.
S018_B_EF
00 Cover_back_KU_EN.fm 1
Thank you for buying this Pioneer product.
Please read through these operating instructions so you will know how to operate your model properly.
After you have finished reading the instructions, put them away in a safe place for future reference.
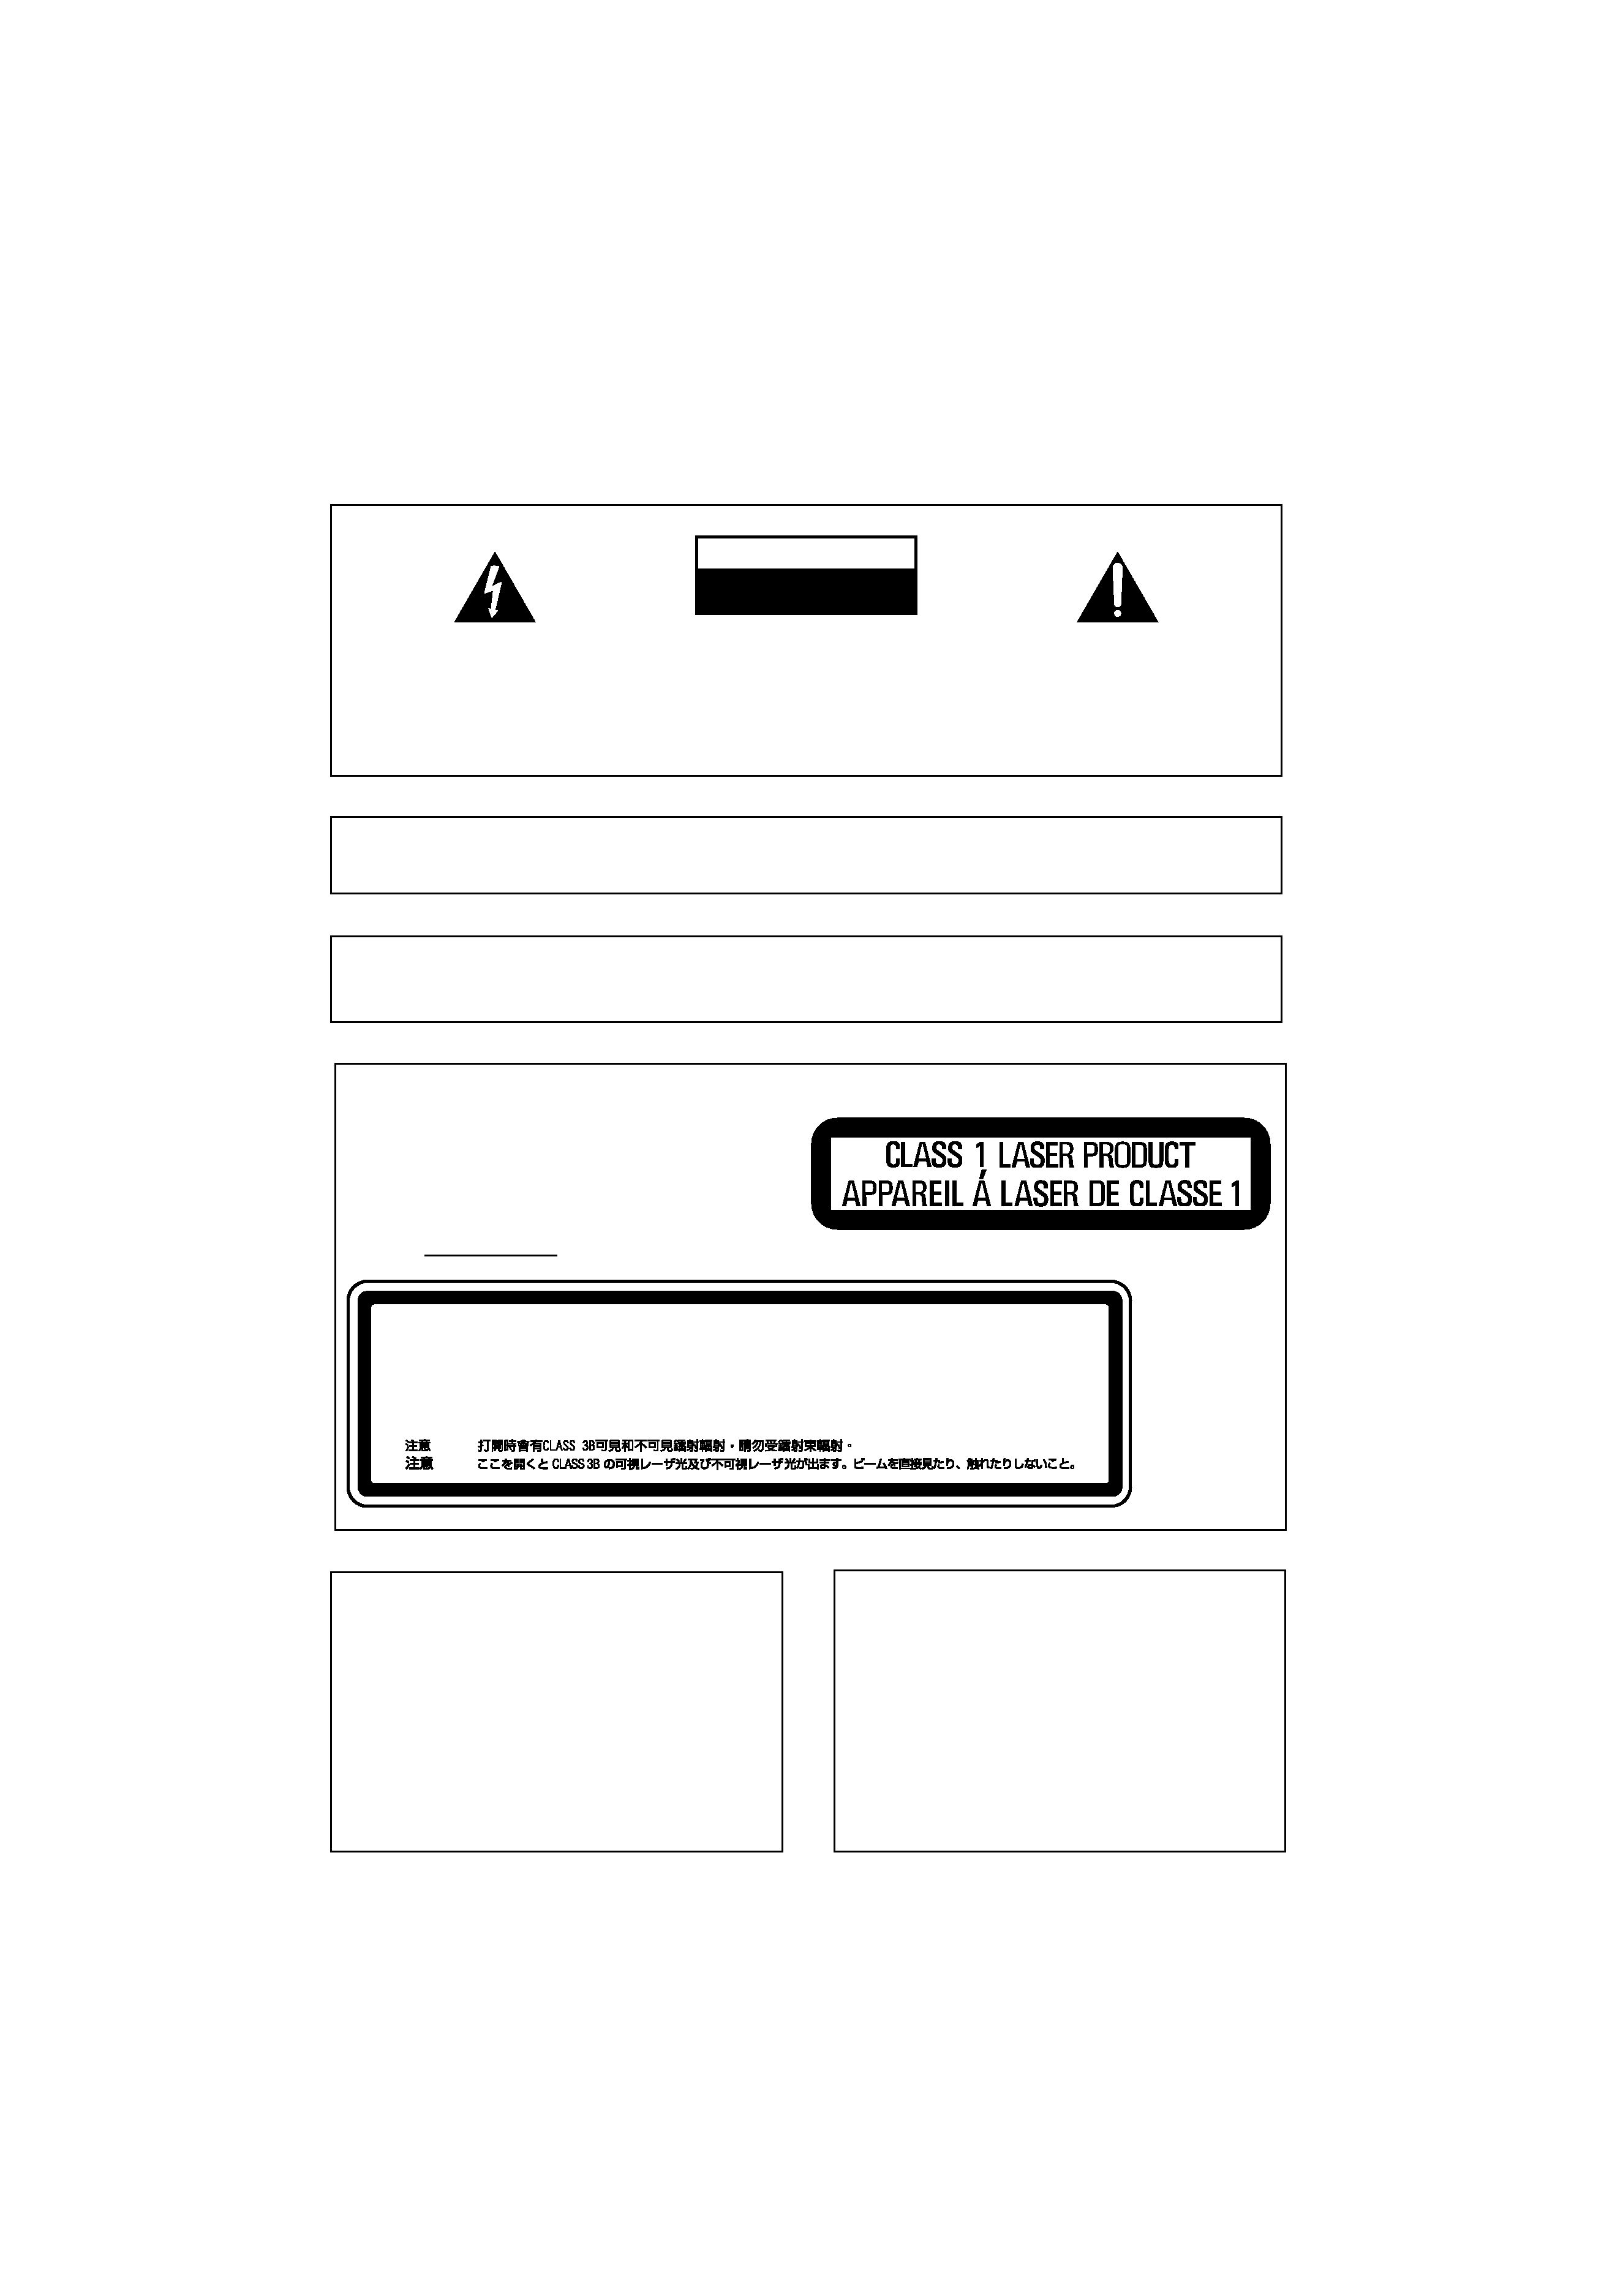
The exclamation point within an equilateral
triangle is intended to alert the user to the
presence of important operating and
maintenance (servicing) instructions in the
literature accompanying the appliance.
The lightning flash with arrowhead, within
an equilateral triangle, is intended to alert
the user to the presence of uninsulated
"dangerous voltage" within the product's
enclosure that may be of sufficient
magnitude to constitute a risk of electric
shock to persons.
CAUTION:
TO PREVENT THE RISK OF ELECTRIC
SHOCK, DO NOT REMOVE COVER (OR
BACK). NO USER-SERVICEABLE PARTS
INSIDE. REFER SERVICING TO QUALIFIED
SERVICE PERSONNEL.
CAUTION
RISK OF ELECTRIC SHOCK
DO NOT OPEN
D1-4-2-3_En
IMPORTANT
IMPORTANT NOTICE THE SERIAL NUMBER FOR THIS EQUIPMENT IS LOCATED IN THE REAR.
PLEASE WRITE THIS SERIAL NUMBER ON YOUR ENCLOSED WARRANTY CARD AND
KEEP IN A SECURE AREA. THIS IS FOR YOUR SECURITY.
D1-4-2-6-1_En
This Class B digital apparatus complies with Canadian ICES-003.
Cet appareil numérique de la Classe B est conforme à la norme NMB-003 du Canada.
D8-10-1-3_EF
If the AC plug of this unit does not match the AC
outlet you want to use, the plug must be removed
and appropriate one fitted. Replacement and
mounting of an AC plug on the power supply cord of
this unit should be performed only by qualified
service personnel. If connected to an AC outlet, the
cut-off plug can cause severe electrical shock. Make
sure it is properly disposed of after removal.
The equipment should be disconnected by removing
the mains plug from the wall socket when left
unused for a long period of time (for example, when
on vacation).
D3-4-2-2-1a_A_En
CAUTION
The STANDBY/ON switch on this unit will not
completely shut off all power from the AC outlet.
Since the power cord serves as the main disconnect
device for the unit, you will need to unplug it from
the AC outlet to shut down all power. Therefore,
make sure the unit has been installed so that the
power cord can be easily unplugged from the AC
outlet in case of an accident. To avoid fire hazard,
the power cord should also be unplugged from the
AC outlet when left unused for a long period of time
(for example, when on vacation).
D3-4-2-2-2a_A_En
CAUTION
This product is a class 1 laser product, but this product
contains a laser diode higher than Class 1.
To ensure continued safety, do not remove any covers or
attempt to gain access to the rear of the product.
Refer all servicing to qualified personnel.
The following caution label appears on your unit.
Location: inside of the unit
D3-4-2-1-8_B_En
CAUTION
ATTENTION
CLASS 3B VISIBLE AND INVISIBLE LASER RADIATION WHEN OPEN, AVOID EXPOSURE TO THE BEAM.
VRW2262 - A
RADIATIONS LASER VISIBLES ET INVISIBLES DE CLASSE 3B QUAND OUVERT. ÉVITEZ TOUT EXPOSITION AU FAISCEAU.
ADVARSEL
KLASSE 3B SYNLIG OG USYNLIG LASERSTRÅLING VED ÅBNING. UNDGÅ UDSÆTTELSE FOR STRÅLING.
VARNING
KLASS 3B SYNLIG OCH OSYNLIG LASERSTRÅLNING NÄR DENNA DEL ÄR ÖPPNAD. UNDVIK ATT UTSÄTTA DIG FÖR STRÅLEN.
VARO!
AVATTAESSA OLET ALTTIINA NÄKYVÄLLE JA NÄKYMÄTTÖMÄLLE LUOKAN 3B LASERSÄTEILYLLE. ÄLÄ KATSO SÄTEESEEN.
PRECAUCIÓN CUANDOSE ABRE HAY RADIACIÓN LÁSER DE CLASE 3B VISIBLE E INVISIBLE. EVITE LA EXPOSICIÓN A LOS RAYOS LÁSER.
VORSICHT
BEI GEÖFFNETER ABDECKUNG IST SICHTBARE UND UNSICHTBARE LASERSTRAHLUNG DER KLASSE 3B IM GERÄTEINNEREN VORHANDEN.
NICHT DEM LASERSTRAHL AUSSETZEN!
DVR650HK_KC_EN.book 2

WARNING TO PREVENT FIRE OR SHOCK
HAZARD, DO NOT EXPOSE THIS
APPLIANCE TO RAIN OR MOISTURE.
D1-4-2-1_En
WARNING
This equipment is not waterproof. To prevent a fire
or shock hazard, do not place any container filed
with liquid near this equipment (such as a vase or
flower pot) or expose it to dripping, splashing, rain
or moisture.
D3-4-2-1-3_A_En
WARNING
The voltage of the available power supply differs
according to country or region. Be sure that the
power supply voltage of the area where this unit
will be used meets the required voltage (e.g., 230 V
or 120 V) written on the rear panel.
D3-4-2-1-4_A_En
Before plugging in for the first time, read the following
section carefully.
WARNING
To prevent a fire hazard, do not place any naked
flame sources (such as a lighted candle) on the
equipment.
D3-4-2-1-7a_A_En
VENTILATION CAUTION
When installing this unit, make sure to leave space
around the unit for ventilation to improve heat
radiation (at least 10 cm at top, 10 cm at rear, and
10 cm at each side).
WARNING
Slots and openings in the cabinet are provided for
ventilation to ensure reliable operation of the
product, and to protect it from overheating. To
prevent fire hazard, the openings should never be
blocked or covered with items (such as newspapers,
table-cloths, curtains) or by operating the
equipment on thick carpet or a bed.
D3-4-2-1-7b_A_En
Operating Environment
Operating environment temperature and humidity:
+5 ºC to +35 ºC (+41 ºF to +95 ºF); less than 85 %RH
(cooling vents not blocked)
Do not install this unit in a poorly ventilated area, or in
locations exposed to high humidity or direct sunlight (or
strong artificial light)
D3-4-2-1-7c_A_En
NOTE TO CATV SYSTEM INSTALLER
THIS REMINDER IS PROVIDED TO CALL THE CATV
SYSTEM INSTALLER'S ATTENTION TO ARTICLE 820-
40 OF THE NEC THAT PROVIDES GUIDELINES FOR
PROPER GROUNDING AND, IN PARTICULAR,
SPECIFIES THAT THE CABLE GROUND SHALL BE
CONNECTED TO THE GROUNDING SYSTEM OF THE
BUILDING, AS CLOSE TO THE POINT OF CABLE
ENTRY AS PRACTICAL.
D1-4-2-8_En
POWER-CORD CAUTION
Handle the power cord by the plug. Do not pull out the
plug by tugging the cord and never touch the power
cord when your hands are wet as this could cause a
short circuit or electric shock. Do not place the unit, a
piece of furniture, etc., on the power cord, or pinch the
cord. Never make a knot in the cord or tie it with other
cords. The power cords should be routed such that they
are not likely to be stepped on. A damaged power cord
can cause a fire or give you an electrical shock. Check
the power cord once in a while. When you find it
damaged, ask your nearest PIONEER authorized
service center or your dealer for a replacement.
S002_En
This product contains mercury. Disposal of this
material may be regulated due to environmental
considerations. For disposal or recycling information,
please contact your local authorities or the Electronics
Industries Alliance : www.eiae.org.
K057_En
Recording equipment and copyright: You may use
this product only to reproduce or copy materials for
which you own the copyright or have obtained
permission to copy from the copyright owner or for
which you otherwise have a legal right to reproduce
or copy. Unless you own the copyright or have
obtained permission from the copyright owner or
otherwise have a legal right to reproduce or copy,
you may be violating the law, including copyright
law, and may be subject to payment of damages and
other remedies.
K018US_En
This product is for general household purposes. Any
failure due to use for other than household purposes
(such as long-term use for business purposes in a
restaurant or use in a car or ship) and which
requires repair will be charged for even during the
warranty period.
K041_En
WARNING: Handling the cord on this product or
cords associated with accessories sold with the
product will expose you to chemicals listed on
proposition 65 known to the State of California and
other governmental entities to cause cancer and
birth defect or other reproductive harm.
D36-P4_A_En
Wash hands after handling
DVR650HK_KC_EN.book 3
S001_En
Selecting fine audio equipment such as the unit
you've just purchased is only the start of your
musical enjoyment. Now it's time to consider how
you can maximize the fun and excitement your
equipment offers. This manufacturer and the
Electronic Industries Association's Consumer
Electronics Group want you to get the most out of
your equipment by playing it at a safe level. One that
lets the sound come through loud and clear without
annoying blaring or distortion-and, most importantly,
without affecting your sensitive hearing.
Sound can be deceiving. Over time your hearing
"comfort level" adapts to higher volumes of sound.
So what sounds "normal" can actually be loud and
harmful to your hearing. Guard against this by
setting your equipment at a safe level BEFORE your
hearing adapts.
To establish a safe level:
· Start your volume control at a low setting.
· Slowly increase the sound until you can hear it
comfortably and clearly, and without distortion.
Once you have established a comfortable sound
level:
· Set the dial and leave it there.
Taking a minute to do this now will help to prevent
hearing damage or loss in the future. After all, we
want you listening for a lifetime.
We Want You Listening For A Lifetime
Used wisely, your new sound equipment will
provide a lifetime of fun and enjoyment. Since
hearing damage from loud noise is often
undetectable until it is too late, this manufacturer
and the Electronic Industries Association's
Consumer Electronics Group recommend you avoid
prolonged exposure to excessive noise. This list of
sound levels is included for your protection.
Decibel
Level Example
30
Quiet library, soft whispers
40
Living room, refrigerator, bedroom away from traffic
50
Light traffic, normal conversation, quiet office
60
Air conditioner at 20 feet, sewing machine
70
Vacuum cleaner, hair dryer, noisy restaurant
80
Average city traffic, garbage disposals, alarm clock
at two feet.
THE FOLLOWING NOISES CAN BE DANGEROUS
UNDER CONSTANT EXPOSURE
90
Subway, motorcycle, truck traffic, lawn mower
100
Garbage truck, chain saw, pneumatic drill
120
Rock band concert in front of speakers,
thunderclap
140
Gunshot blast, jet plane
180
Rocket launching pad
Information courtesy of the Deafness Research Foundation.
DVR650HK_KC_EN.book 4

5
En
Contents
01 Before you start
What's in the box
. . . . . . . . . . . . . . . . . . . 7
Putting the batteries in the
remote control
. . . . . . . . . . . . . . . . . . . . . . 7
Using the remote control
. . . . . . . . . . . . . . 7
Disc/content format playback
compatibility
. . . . . . . . . . . . . . . . . . . . . . . 8
About the internal hard disk drive
. . . . . . 13
Symbols used in this manual
. . . . . . . . . 14
02 Connections
Rear panel connections
. . . . . . . . . . . . . . 15
Front panel connections
. . . . . . . . . . . . . 16
Easy connections
. . . . . . . . . . . . . . . . . . 17
Using other types of video output
. . . . . . 18
Connecting to a cable box or satellite
receiver (1)
. . . . . . . . . . . . . . . . . . . . . . . 19
Connecting to a cable box or satellite
receiver (2)
. . . . . . . . . . . . . . . . . . . . . . . 20
Connecting to an AV amplifier or
receiver
. . . . . . . . . . . . . . . . . . . . . . . . . . 21
Connecting using HDMI
. . . . . . . . . . . . . 22
Connecting other AV sources
. . . . . . . . . 23
Connecting a USB device
. . . . . . . . . . . . 24
Plugging in
. . . . . . . . . . . . . . . . . . . . . . . 25
03 Controls and displays
Front panel
. . . . . . . . . . . . . . . . . . . . . . . 26
Display
. . . . . . . . . . . . . . . . . . . . . . . . . . 27
Remote control
. . . . . . . . . . . . . . . . . . . . 28
04 Getting started
Switching on and setting up
. . . . . . . . . . 30
05 Recording
About DVD recording
. . . . . . . . . . . . . . . 33
About HDD recording
. . . . . . . . . . . . . . . 34
Recorded audio
. . . . . . . . . . . . . . . . . . . 35
Restrictions on video recording
. . . . . . . 35
Using the built-in TV tuner
. . . . . . . . . . . 36
Setting the picture quality/
recording time
. . . . . . . . . . . . . . . . . . . . 36
Basic recording from the TV
. . . . . . . . . . 37
Setting a timer recording
. . . . . . . . . . . . 38
Simultaneous recording and playback
(Chase Play)
. . . . . . . . . . . . . . . . . . . . . . 45
Recording from an external
component
. . . . . . . . . . . . . . . . . . . . . . . 46
Automatic recording from a satellite
tuner
. . . . . . . . . . . . . . . . . . . . . . . . . . . . 46
Playing your recordings on other DVD
players
. . . . . . . . . . . . . . . . . . . . . . . . . . 48
Initializing recordable DVD discs
. . . . . . 49
DVD-RW Auto Initialize
. . . . . . . . . . . . . . 50
06 Playback
Introduction
. . . . . . . . . . . . . . . . . . . . . . 51
Basic playback
. . . . . . . . . . . . . . . . . . . . 51
Using the Disc Navigator to browse the
contents of a disc
. . . . . . . . . . . . . . . . . . 55
Scanning discs
. . . . . . . . . . . . . . . . . . . . 56
Playing in slow motion
. . . . . . . . . . . . . . 56
Frame advance/frame reverse
. . . . . . . . 57
The Play Mode menu
. . . . . . . . . . . . . . . 57
Displaying and switching subtitles
. . . . . 59
Switching DVD and DivX
soundtracks
. . . . . . . . . . . . . . . . . . . . . . 60
Switching audio channels
. . . . . . . . . . . 60
Switching camera angles
. . . . . . . . . . . . 60
Displaying disc information
on-screen
. . . . . . . . . . . . . . . . . . . . . . . . 61
DVR650HK_KC_EN.book 5