1
DVR-107
DVD/CD WRITER
Operating instructions
Thank you for buying this PIONEER product. Please read through
these operating instructions so you will know how to operate
your unit properly. After you have finished reading the
instructions, put them away in a safe place for future reference.
The Generation of Acoustical Noise Is Less Than 70dB.
(ISO7779/DIN45635)
CAUTION
This product contains a laser diode of higher class
than 1. To ensure continued safety, do not remove
any covers or attempt to gain access to the inside of
the product.
Refer all servicing to qualified personnel.
The following caution label appears on
your unit.
Location: on top of the cover.
For pluggable equipment the socket-outlet shall be installed
near the equipment and shall be easily accessible.
CLASS 1 LASER PRODUCT
LASER KLASSE 1
CLASS 1 LASER PRODUCT
LASER KLASSE 1
AXL
BXL
2
DANGER VISIBLE AND INVISIBLE LASER RADIATION
WHEN OPEN. AVOID DIRECT EXPOSURE TO BEAM.
÷ Avoid touching or scratching the signal surface (shiny
side) of the disc.
÷ Hold the disc by the edges or by the center hold and
one edge.
÷ Do not affix paper or labels to the disc.
÷ Discard warped or cracked discs as they may cause
damage to the drive.
÷ Avoid specially shaped discs such as hearts or
polygons.
÷
÷
÷
÷
÷
FEDERAL COMMUNICATIONS COMMISSION
DECLARATION OF CONFORMITY
This device complies with part 15 of the FCC Rules. Operation
is subject to the following two conditions: (1) This device may
not cause harmful interference, and (2) this device must accept
any interference received, including interference that may cause
un-desired operation.
Product Name: DVD/CD WRITER
Model Numbers: DVR-107AXL, DVR-107BXL
Responsible Party Name: PIONEER ELECTRONICS (USA )INC.
Customer Support Division
Address: 1925 E. DOMINGUEZ ST. LONG BEACH, CA 90810
U.S.A. Phone: 800-872-4159
3
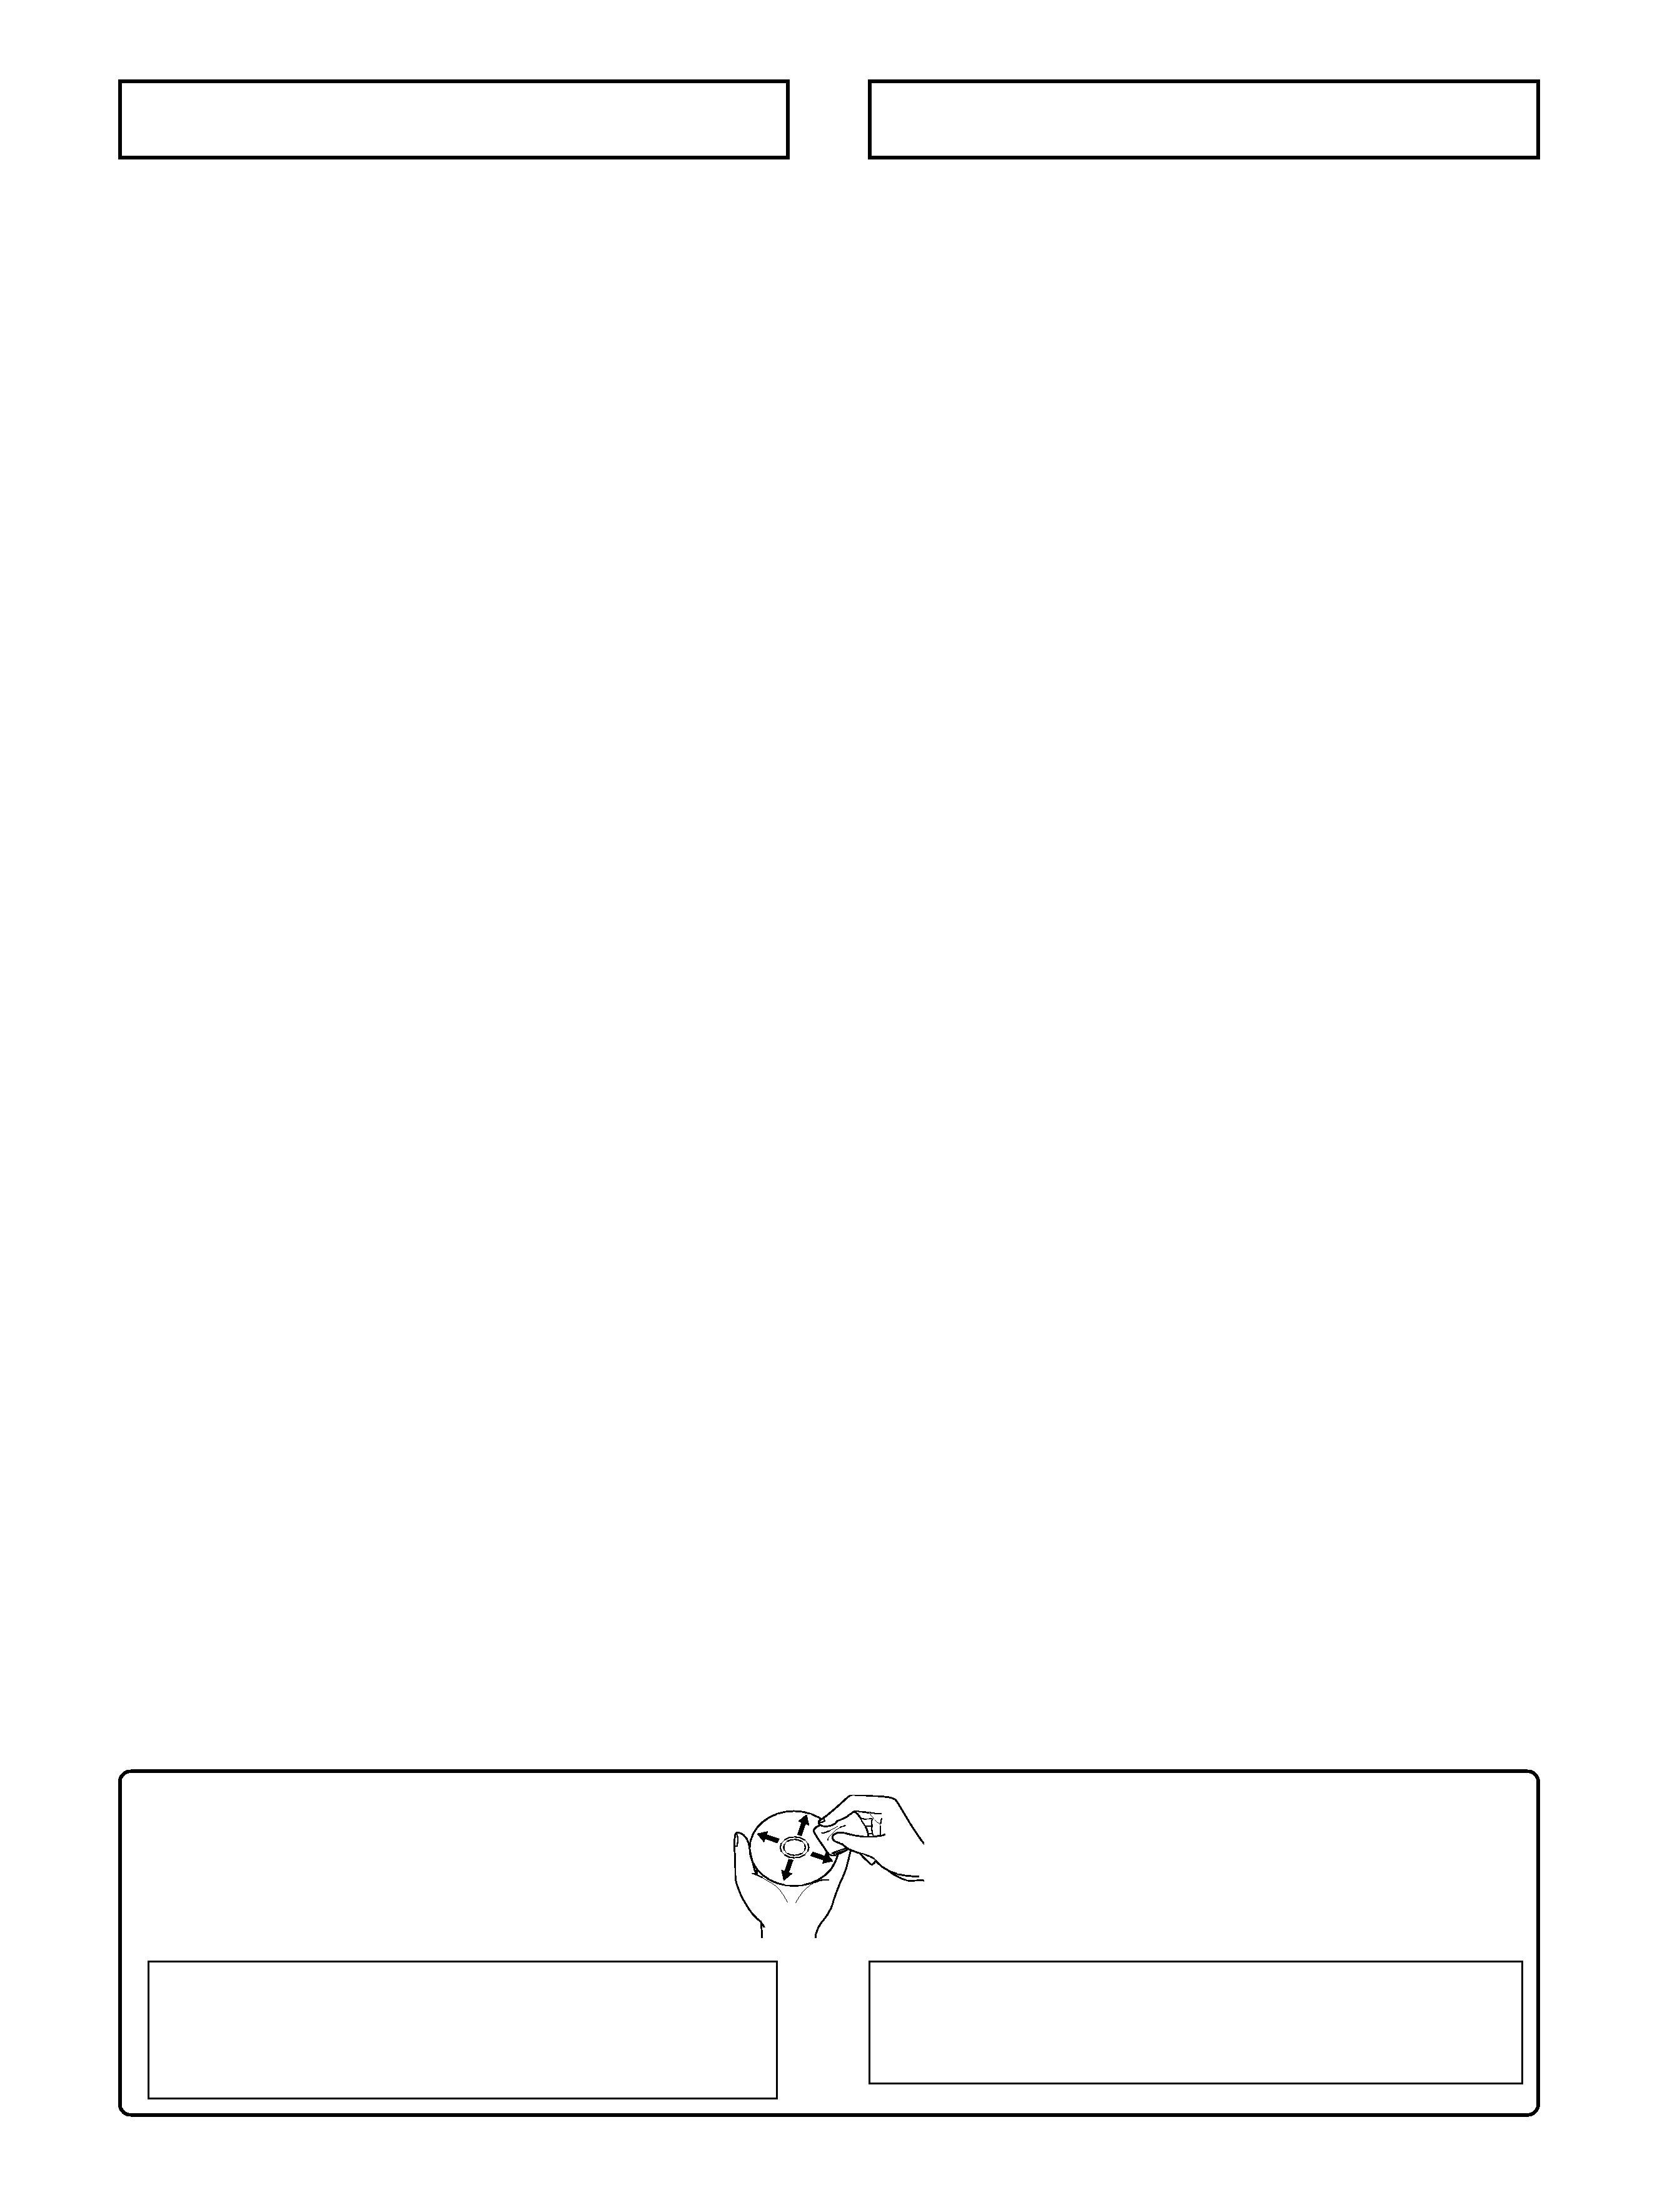
÷ Remove dust or lint from the disc with a soft cloth
by wiping from the inside to the outside edge
rather than in a circular motion.
÷ Do not use record-cleaning or anti-static agents
as the solutions may cause damage to a disc.
Always be sure to store your discs in proper DVD-R
storage cases when not in use, and always be sure to
check for dirt or dust on discs (especially on the
recording side) before use.
÷
÷
SAFETY INSTRUCTIONS
To ensure your personal safety and to maximize the full
operating potential of your Drive, read and follow these safety
precautions:
ENVIRONMENT - Please do not use the unit at places with
much dust, high temperature, or high humidity. Please use
the unit at a place where it is not subjected to vibrations or
shocks.
POWER - Before installing the unit on the system, be sure to
turn off power on the system and remove the power cord
from the AC outlet.
READ INSTRUCTIONS - Read all safety and operating
instructions before the Drive is operated.
RETAIN INSTRUCTIONS - Retain the safety and operating
instructions for future reference.
FOLLOW INSTRUCTIONS - Follow all operating and use
instructions.
HEED WARNINGS - All warnings must be adhered to.
CLEANING - DO NOT use liquid, aerosol cleaners, or alcohol.
Use only a damp cloth to clean the exterior housing.
WATER AND MOISTURE - DO NOT use this product near
water.
POWER SOURCES - Operate this product from the type of
power source indicated on the marking label. If you are not
sure of the type of power available, consult Authorized
Pioneer Dealer.
OVERLOADING - DO NOT overload wall outlets and
extension cords. Doing so can result in fire or electric shock.
OBJECT AND LIQUID ENTRY - Never push objects of any
kind into this product. Touching dangerous voltage points may
cause a short resulting in fire or electric shock. Do not spill
liquid of any kind on this product.
CONDENSATION - Moisture will form in the operating
section of the product causing performance to be impaired if
it is brought from cool surroundings into a warmer
environment. If you are moving the unit to a location with a
warmer temperature, let the product stand for 1-2 hours in
the new location before turning it back on.
SERVICING - Do not attempt to repair this product yourself.
Opening or removing covers may expose you to dangerous
voltage or other hazards. Refer all servicing to qualified service
personnel. (Refer to the enclosed Service and Support Card.)

4
FEATURES
÷ Write Speed
DVD-R
1X, 2X, 4X, 6X, 8X (ZCLV)
DVD-RW
1X, 2X, 4X
DVD+R
2.4X, 4X, 6X, 8X (ZCLV)
DVD+RW
2.4X, 4X
CD-R
4X, 8X, 16X, 24X (ZCLV)
CD-RW
4X, 10X, 16X, 24X (ZCLV)
÷ Maximum Read Speed
DVD-ROM(single)
12X
DVD-ROM(dual)
8X
DVD-R, DVD+R
8X
DVD-RW, DVD+RW 8X
DVD-RAM
2X
CD-ROM, CD-R
40X
CD-RW
32X
÷ Buffer Memory Size
2Mbyte (Write, Read)
÷ IDE Data Transfer Mode
PIO Mode 4 / Multi Word DMA Mode 2 / Ultra DMA Mode2
÷ Supports Video CD
÷ 5.25-inch Half-Height built in type
÷ Stereo Audio Output
÷ LCD Tilt Servo Mechanism
÷ Horizontal/Vertical orientation available
÷ Low vibration Mechanism by DRA system
÷ Supports CD text format
Disc Format(Read/Write)
÷ DVD single layer/dual layer /120 mm disc /80 mm disc
÷ DVD-R (In case of write, 650nm disc for General only.)
÷ 4X-SPEED DVD-R
÷ 8X-SPEED DVD-R
÷ DVD-RW
÷ 2X-SPEED DVD-RW
÷ 4X-SPEED DVD-RW
÷ DVD+R
÷ 4X-SPEED DVD+R
÷ 8X-SPEED DVD+R
÷ DVD+RW
÷ 4X-SPEED DVD+RW
÷ DVD-RAM(Version 2.0,Version 2.1)(Read only)
÷ CD-ROM Mode 1
÷ CD-ROM XA Mode2 (form 1, form2)
÷ Photo CD (single and multiple session)
÷ CD-DA
÷ CD-Extra (CD PLUS)
÷ CD-R
÷ CD-RW ,High-Speed CD-RW,Ultra-Speed CD-RW
Note:
÷ Specific application program that support above format is
needed to write.
÷ Supported media required for specific DVD & CD writing
speeds.
Precautions on playing 8 cm (3.15") Discs
An 8 cm (3.15") disc cannot be played even an adapter is
attached to the disc when the drive is upright condition.
÷
÷
÷
÷
÷
÷
÷
÷
÷
÷
÷
÷
÷
÷
÷
÷
÷
÷
÷
÷
÷
÷
÷
÷
÷
÷
÷
÷
÷
÷
÷
÷
÷
5
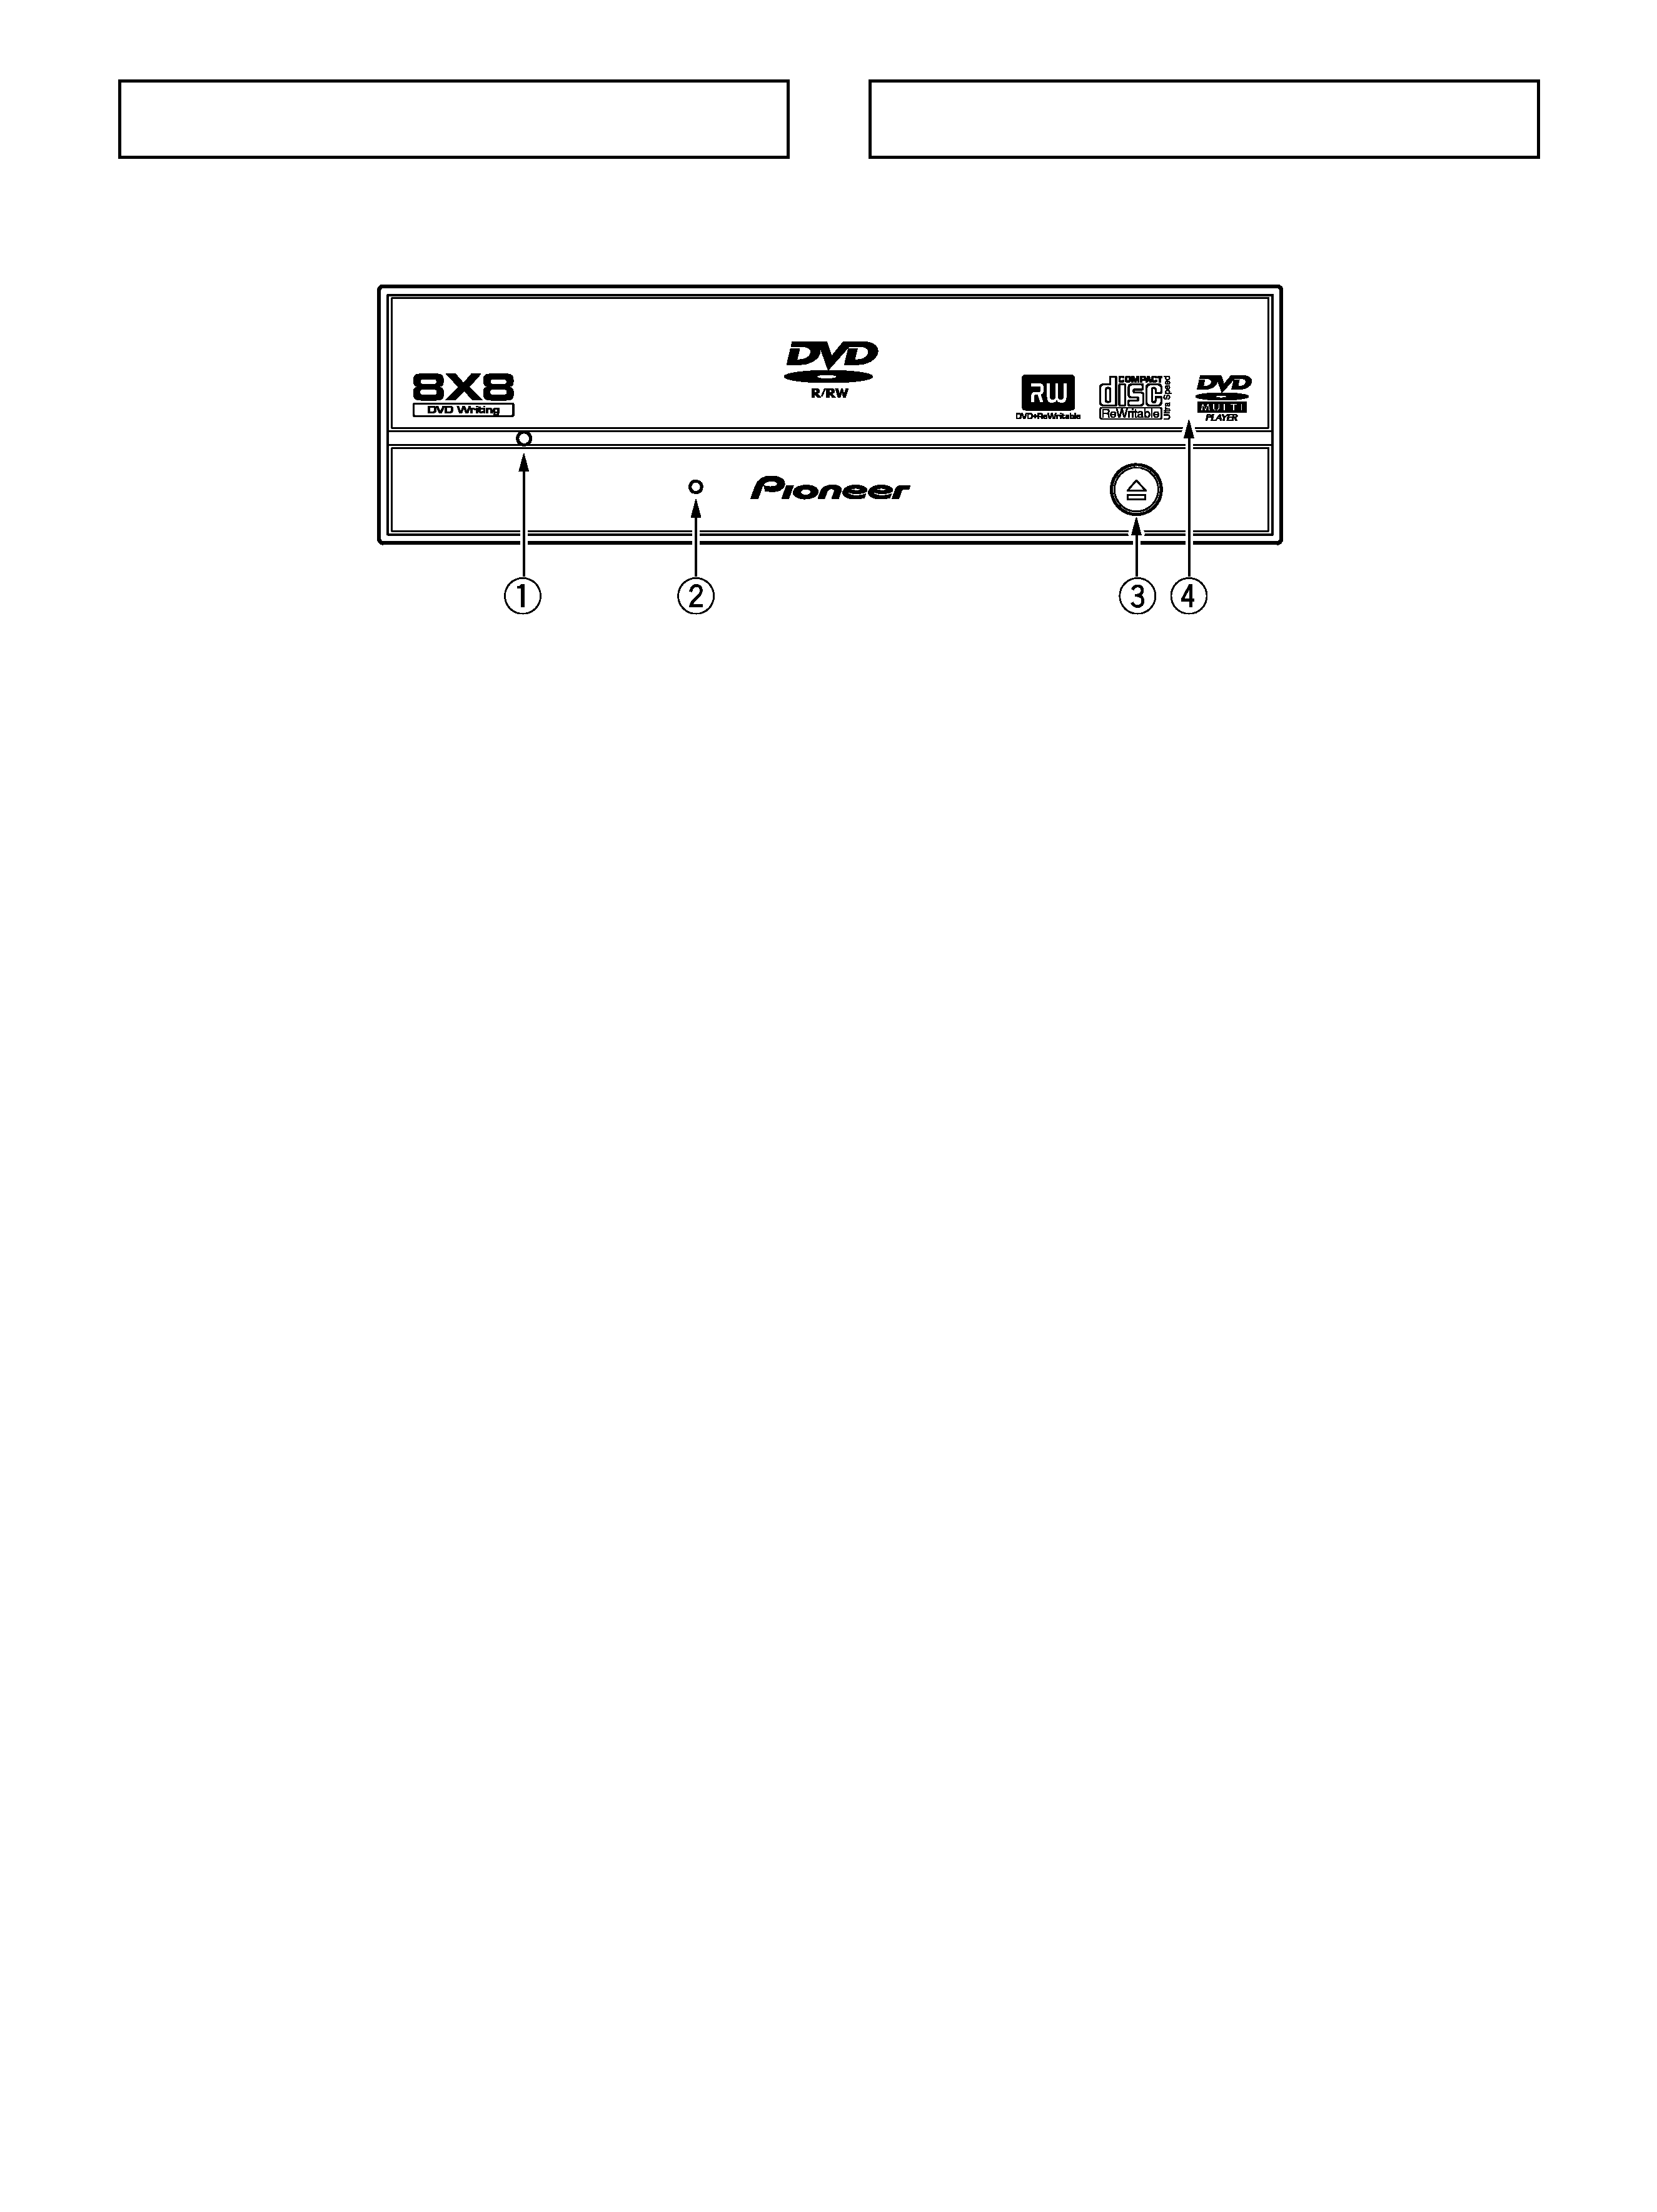
INTERFACE
FRONT VIEW
1 Forced Ejection Hole
Insert a stiff rod into the hole and push to eject the tray
when the tray doesn't unload by pressing the Eject button.
In the normal operation, the eject button should be used
to unload the tray. Make sure the power of the drive is
turned off and wait more than one minute till the disc
rotation is stopped when access the eject hole.
2 BUSY Indicator
Operation status is indicated as follows.
During reading
Lights
During writing
Lights
3 Eject Button (
0)
To unload /load the disc, press the button.
4 Disc Tray
Open the loading tray by pressing the eject button, then
place a CD or DVD disc into the slit with the label facing up.
Press the eject button or push the front part of tray to
load the tray with the disc.
Do not attempt to pull out the disc tray forcibly.
1
2
3
0
4