DV-610AV-S DVD Player
Operating Instructions
Discover the benefits of registering your product online at
http://www.pioneer.co.uk (or http://www.pioneer.eu).
DV610AV_WV_EN.book
1
2
En
Operating Environment
D3-4-2-1-7c_A_En
CAUTION
D3-4-2-1-8_B_En
Thank you for buying this Pioneer product.
Please read through these operating instructions so you will know how to operate your model properly.
After you have finished reading the instructions, put them away in a safe place for future reference.
The exclamation point within an equilateral
triangle is intended to alert the user to the
presence of important operating and
maintenance (servicing) instructions in the
literature accompanying the appliance.
The lightning flash with arrowhead symbol,
within an equilateral triangle, is intended to
alert the user to the presence of uninsulated
"dangerous voltage" within the product's
enclosure that may be of sufficient
magnitude to constitute a risk of electric
shock to persons.
CAUTION:
TO PREVENT THE RISK OF ELECTRIC
SHOCK, DO NOT REMOVE COVER (OR
BACK). NO USER-SERVICEABLE PARTS
INSIDE. REFER SERVICING TO QUALIFIED
SERVICE PERSONNEL.
CAUTION
RISK OF ELECTRIC SHOCK
DO NOT OPEN
IMPORTANT
D3-4-2-1-1_En-A
DV610AV_WV_EN.book
2
3
En
This product complies with the Low Voltage Directive
2006/95/EC and EMC Directive 2004/108/EC.
D3-4-2-1-9a_A_En
CAUTION
The
STANDBY/ON switch on this unit will not
completely shut off all power from the AC outlet.
Since the power cord serves as the main disconnect
device for the unit, you will need to unplug it from
the AC outlet to shut down all power. Therefore,
make sure the unit has been installed so that the
power cord can be easily unplugged from the AC
outlet in case of an accident. To avoid fire hazard,
the power cord should also be unplugged from the
AC outlet when left unused for a long period of time
(for example, when on vacation).
D3-4-2-2-2a_A_En
This product incorporates copyright protection
technology that is protected by method claims of
certain U.S. patents and other intellectual property
rights owned by Macrovision Corporation and other
rights owners. Use of this copyright protection
technology must be authorized by Macrovision
Corporation, and is intended for home and other
limited viewing uses only unless otherwise authorized
by Macrovision Corporation. Reverse engineering or
disassembly is prohibited.
This product includes FontAvenue® fonts licenced by
NEC Corporation. FontAvenue is a registered
trademark of NEC Corporation.
Replacement and mounting of an AC plug on the power supply cord of this unit should be performed only by qualified
service personnel.
D3-4-2-1-2-2_B_En
IMPORTANT: THE MOULDED PLUG
This appliance is supplied with a moulded three pin mains plug for your safety and convenience. A 5 amp fuse is fitted in this plug. Should the
fuse need to be replaced, please ensure that the replacement fuse has a rating of 5 amps and that it is approved by ASTA or BSI to BS1362.
Check for the ASTA markor the BSI mark
on the body of the fuse.
If the plug contains a removable fuse cover, you must ensure that it is refitted when the fuse is replaced. If you lose the fuse cover the plug
must not be used until a replacement cover is obtained. A replacement fuse cover can be obtained from your local dealer.
If the fitted moulded plug is unsuitable for your socket outlet, then the fuse shall be removed and the plug cut off and disposed of
safely. There is a danger of severe electrical shock if the cut off plug is inserted into any 13 amp socket.
If a new plug is to be fitted, please observe the wiring code as shown below. If in any doubt, please consult a qualified electrician.
IMPORTANT: The wires in this mains lead are coloured in accordance with the following code:
Blue : Neutral
Brown : Live
As the colours of the wires in the mains lead of this appliance may not correspond with the coloured markings identifying the terminals in
your plug, proceed as follows ;
The wire which is coloured BLUE must be connected to the terminal which is marked with the
letter
N or coloured BLACK.
The wire which is coloured BROWN must be connected to the terminal which is marked with the
letter
L or coloured RED.
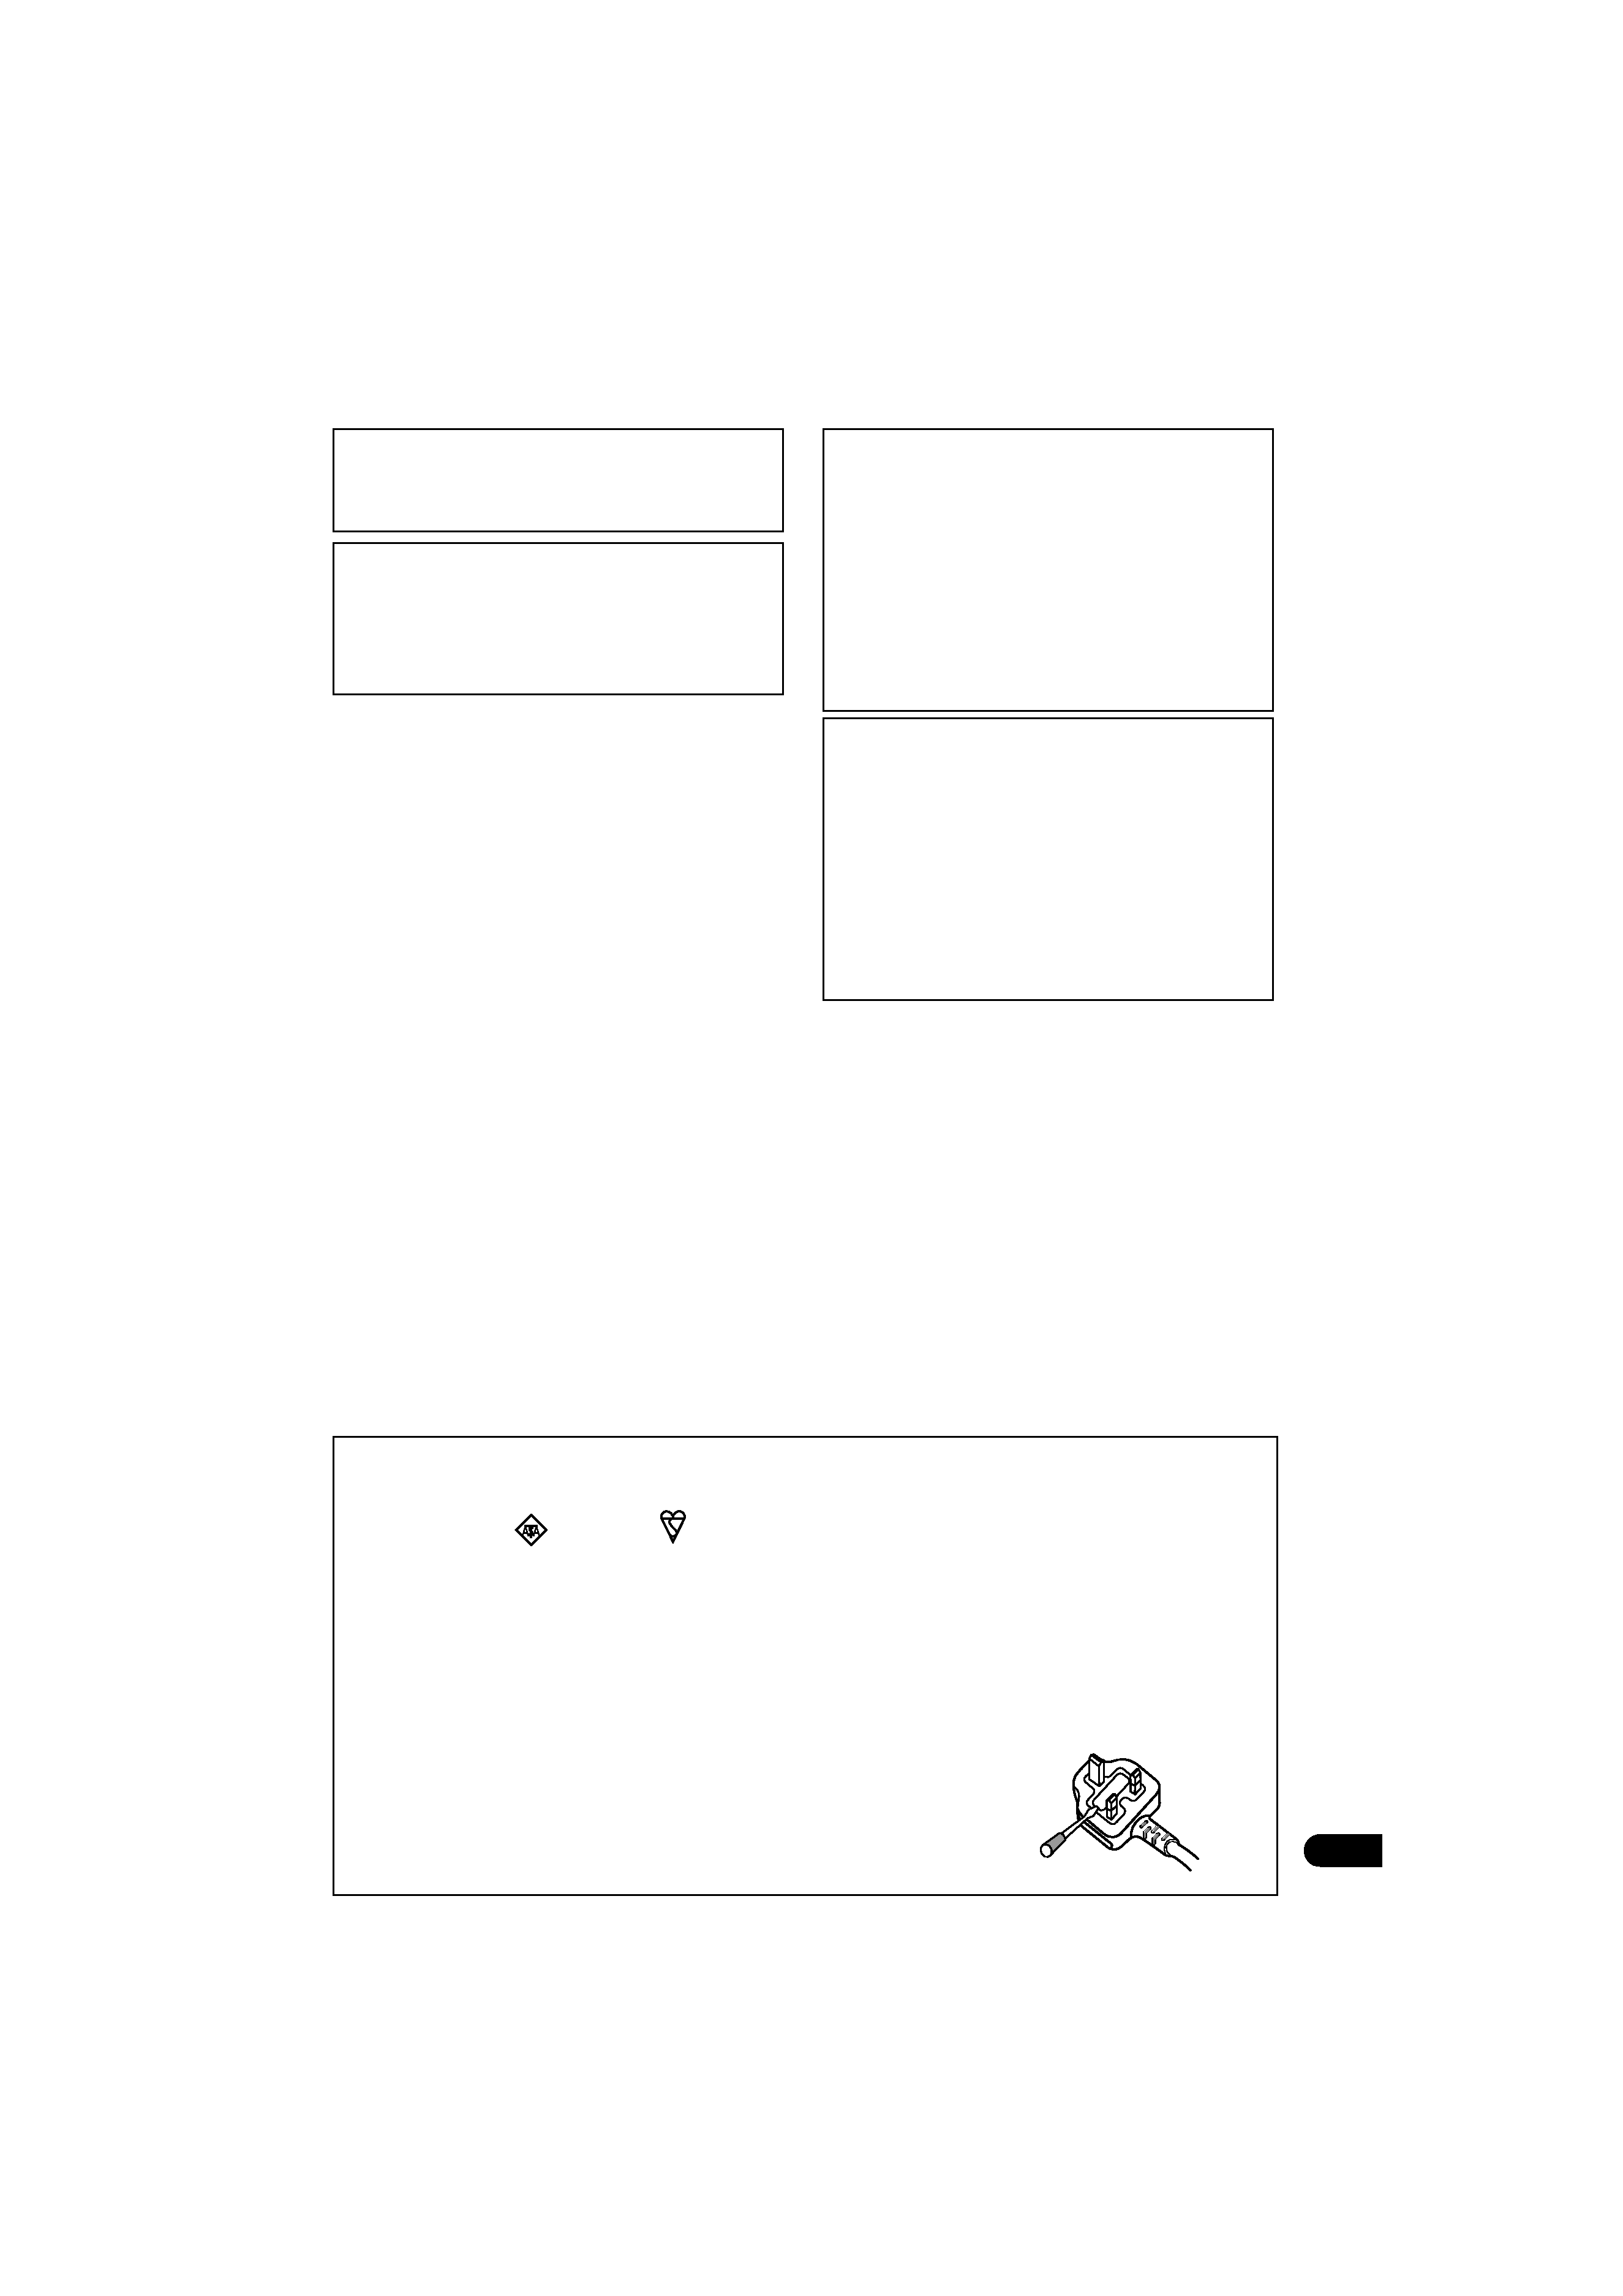
How to replace the fuse: Open the fuse compartment with a screwdriver and replace the fuse.
POWER-CORD CAUTION
S002_En
DV610AV_WV_EN.book
3

4
En
Contents
01 Before you start
Features
. . . . . . . . . . . . . . . . . . . . . . . . . . . . 5
What's in the box
. . . . . . . . . . . . . . . . . . . . . 5
Hints on installation
. . . . . . . . . . . . . . . . . . 6
Disc/content format playback
compatibility
. . . . . . . . . . . . . . . . . . . . . . . . 6
02 Connections
Easy connections
. . . . . . . . . . . . . . . . . . . . 10
Connecting using a SCART AV cable
. . . . . 11
Connecting using the S-Video output
. . . . 11
Connecting using the component
video output
. . . . . . . . . . . . . . . . . . . . . . . . 12
Connecting to an AV receiver
. . . . . . . . . . . 13
Connecting using HDMI
. . . . . . . . . . . . . . 14
03 Controls and displays
Front panel
. . . . . . . . . . . . . . . . . . . . . . . . 16
Remote control
. . . . . . . . . . . . . . . . . . . . . 17
04 Getting started
Switching on
. . . . . . . . . . . . . . . . . . . . . . . 18
Using the on-screen displays
. . . . . . . . . . . 18
Setting up the player for your TV
. . . . . . . . 19
Setting the language of this player's on-screen
displays
. . . . . . . . . . . . . . . . . . . . . . . . . . . 19
Playing discs
. . . . . . . . . . . . . . . . . . . . . . . 20
05 Playing discs
Scanning discs
. . . . . . . . . . . . . . . . . . . . . 23
Playing in slow motion
. . . . . . . . . . . . . . . . 23
Frame advance/frame reverse
. . . . . . . . . . 24
Viewing a JPEG slideshow
. . . . . . . . . . . . . 24
Browsing Discs with
the Disc Navigator
. . . . . . . . . . . . . . . . . . . 25
Browsing Files with
the Disc Navigator
. . . . . . . . . . . . . . . . . . . 26
Looping a section of a disc
. . . . . . . . . . . . 27
Using repeat play
. . . . . . . . . . . . . . . . . . . . 27
Using random play
. . . . . . . . . . . . . . . . . . 28
Creating a program list
. . . . . . . . . . . . . . . 29
Searching a disc
. . . . . . . . . . . . . . . . . . . . 30
Switching subtitles
. . . . . . . . . . . . . . . . . . 30
Switching audio language/channels
. . . . . 31
Zooming the screen
. . . . . . . . . . . . . . . . . .31
Switching camera angles
. . . . . . . . . . . . . .31
Displaying disc information
. . . . . . . . . . . .31
06 USB playback
Using the USB interface
. . . . . . . . . . . . . . .32
Recording the tracks of a music CD on a USB
device
. . . . . . . . . . . . . . . . . . . . . . . . . . . . .33
07 Audio Settings and Video Adjust
menus
Audio Settings menu
. . . . . . . . . . . . . . . . .35
Video Adjust menu
. . . . . . . . . . . . . . . . . . .36
08 Initial Settings menu
Using the Initial Settings menu
. . . . . . . . . .37
Digital Audio Out settings
. . . . . . . . . . . . . .38
Video Output settings
. . . . . . . . . . . . . . . . .39
Language settings
. . . . . . . . . . . . . . . . . . .40
Display settings
. . . . . . . . . . . . . . . . . . . . .41
Options settings
. . . . . . . . . . . . . . . . . . . . .41
Parental Lock
. . . . . . . . . . . . . . . . . . . . . . .42
DTS Downmix
. . . . . . . . . . . . . . . . . . . . . . .43
About DivX® VOD content
. . . . . . . . . . . . .43
Speakers settings
. . . . . . . . . . . . . . . . . . . .44
HDMI output with DVD-Audio and SACD
sources
. . . . . . . . . . . . . . . . . . . . . . . . . . . .47
09 Additional information
Taking care of your player and discs
. . . . . .50
Screen sizes and disc formats
. . . . . . . . . .51
Setting the TV system
. . . . . . . . . . . . . . . . .52
Resetting the player
. . . . . . . . . . . . . . . . . .53
DVD-Video regions
. . . . . . . . . . . . . . . . . . .53
Selecting languages using the language code
list
. . . . . . . . . . . . . . . . . . . . . . . . . . . . . . . .53
Troubleshooting
. . . . . . . . . . . . . . . . . . . . .54
Glossary
. . . . . . . . . . . . . . . . . . . . . . . . . . .58
Language code list
. . . . . . . . . . . . . . . . . . .60
Country/Area code list
. . . . . . . . . . . . . . . .60
Specifications
. . . . . . . . . . . . . . . . . . . . . . .61
DV610AV_WV_EN.book
4
01
5
En
Chapter 1
Before you start
Features
·
PureCinema Progressive Scan video
When connected to a progressive
scan-compatible TV or monitor using the
component video outputs, you can enjoy
extremely stable, flicker free images, with the
same frame refresh rate as the original movie.
·
24-bit/192 kHz compatible DAC
The on-board 24-bit/192 kHz DAC means that
this player is fully compatible with high
sampling-rate discs, capable of delivering
exceptional sound quality in terms of dynamic
range, low-level resolution and high-frequency
detail.
What's in the box
Please confirm that the following accessories
are in the box when you open it.
· Remote control
· AA/R6P dry cell batteries x 2
· Audio/video cable (red/white/yellow plugs)
·Power cable
· Warranty card
· Operating instructions
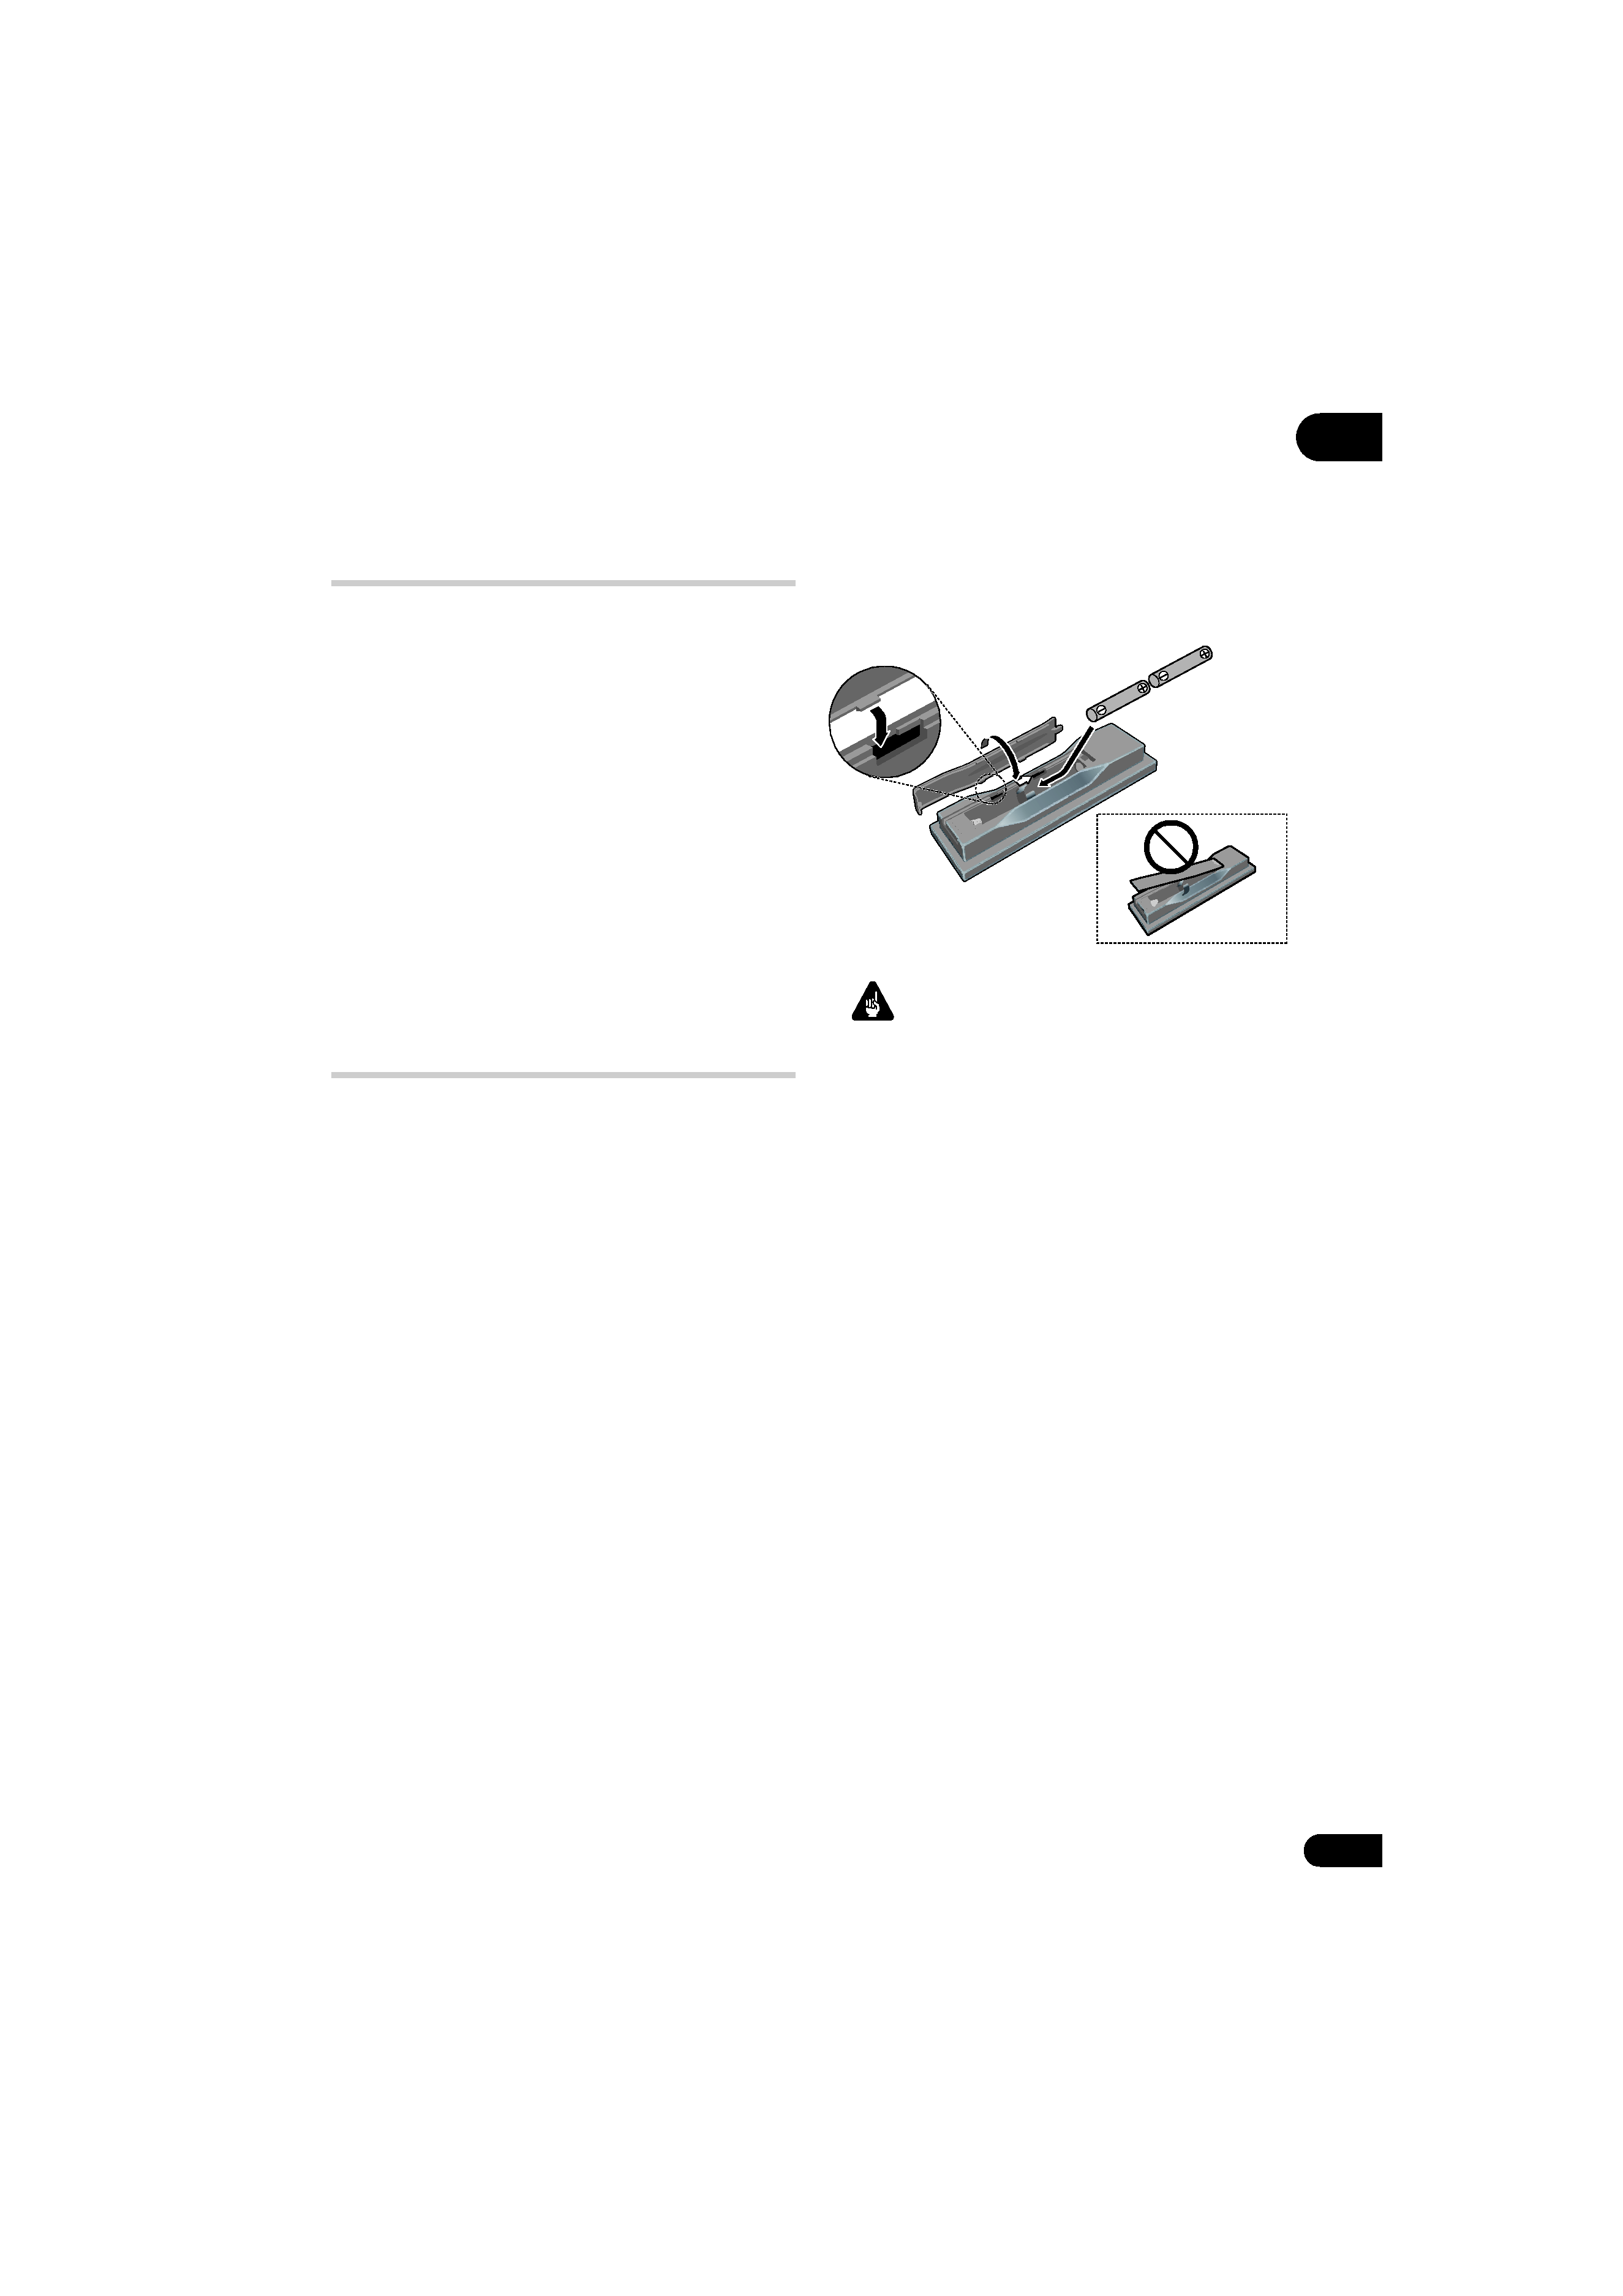
Putting the batteries in the remote
·
Open the battery compartment cover
and insert the batteries as shown.
Use two AA/R6P batteries and follow the
indications (
, ) inside the compartment.
Close the cover when you're finished.
When closing the cover, align the notch and
tab, and slide in the direction indicated by the
arrow
.
Important
Incorrect use of batteries can result in hazards
such as leakage and bursting. Please observe
the following:
· Don't mix new and old batteries together.
· Don't use different kinds of battery
together -- although they may look
similar, different batteries may have
different voltages.
· Make sure that the plus and minus ends of
each battery match the indications in the
battery compartment.
· Remove batteries from equipment that
isn't going to be used for a month or more.
· When disposing of used batteries, please
comply with governmental regulations or
environmental public instruction's rules
that apply in your country/area.
· Do not use or store batteries in direct
sunlight or other excessively hot place,
such as inside a car or near a heater. This
can cause batteries to leak, overheat,
explode or catch fire. It can also reduce the
life or performance of batteries.
DV610AV_WV_EN.book
5