
Operation Manual
Manual de instrucciones
CD RDS Receiver
Reproductor de CD con receptor RDS
DEH-P4900IB
English
Español

Thank you for buying this Pioneer product.
Please read through these operating instructions so you will know how to operate
your model properly. After you have finished reading the instructions, keep this man-
ual in a safe place for future reference.
Before You Start
About this unit
4
Visit our website
5
In case of trouble
5
Protecting your unit from theft
5
Removing the front panel 5
Attaching the front panel 6
About the demo mode
6
Use and care of the remote control
6
Installing the battery 6
Using the remote control 6
Operating this unit
What
's What 7
Head unit 7
Remote control 7
Basic Operations
8
Power ON/OFF 8
Selecting a source 8
Adjusting the volume 9
Turning the unit off 9
Tuner
9
Basic Operations 9
Storing and recalling broadcast
frequencies
10
Introduction of advanced
operations
10
Storing the strongest broadcast
frequencies
10
Tuning in strong signals 11
Selecting alternative frequencies 11
Receiving traffic announcements 12
Switching the RDS display 12
PTY list 12
Built-in CD Player
13
Basic Operations 13
Introduction of advanced
operations
14
Selecting a repeat play range 14
Playing tracks in random order 14
Scanning folders and tracks 14
Pausing disc playback 14
Using compression and BMX 14
Searching every 10 tracks in the current
disc or folder
15
Using disc title functions 15
Displaying text information on disc 15
Playing songs on iPod
16
Basic Operations 16
Browsing for a song 17
Displaying text information on
iPod
17
Introduction of advanced
operations
17
Repeating play 17
Playing songs in a random order
(shuffle)
18
Playing all songs in a random order
(shuffle all)
18
Pausing a song 18
Audio Adjustments
18
Introduction of audio adjustments 18
Using balance adjustment 19
Using the equalizer 19
Adjusting loudness 20
Using subwoofer output 20
Using the high pass filter 21
Boosting the bass 21
Front image enhancer (F.I.E.) 21
Adjusting source levels 21
Initial Settings
22
Adjusting initial settings 22
Setting the date and clock 22
Turning the off clock display on or
off
23
Setting the FM tuning step 23
Switching Auto PI Seek 23
Switching the warning tone 23
Contents
En
2

Switching the auxiliary setting 23
Switching the dimmer setting 23
Setting the rear output and subwoofer
controller
24
Multi language display setting 24
Switching the feature demo 24
Switching the Ever Scroll 25
Other Functions
25
Using the AUX source 25
Sound muting 26
Available accessories
Playing songs on USB portable audio player/
USB memory
27
Basic Operations 27
Introduction of advanced
operations
27
Displaying text information of an audio
file
28
Multi-CD Player
28
Basic Operations 28
Introduction of advanced
operations
29
Using ITS playlists 30
Using disc title functions 31
Using CD TEXT functions 31
TV tuner
32
Basic Operations 32
Introduction of advanced
operations
32
Storing and recalling broadcast
stations
32
Storing the strongest broadcast
stations sequentially
32
Bluetooth adapter
33
Additional Information
Troubleshooting
34
Understanding error messages
34
Handling guideline of discs and player
34
Dual Discs
35
Compressed audio files
35
Example of a hierarchy 36
Compressed audio compatibility 36
About handling the iPod
36
About iPod settings 37
Russian character chart
37
Specifications
38
En
3
English
Contents
If you want to dispose this product, do not mix
it with general household waste. There is a se-
parate collection system for used electronic
products in accordance with legislation that re-
quires proper treatment, recovery and recy-
cling.
Private households in the 25 member states of
the EU, in Switzerland and Norway may return
their used electronic products free of charge
to designated collection facilities or to a retai-
ler (if you purchase a similar new one).
For countries not mentioned above, please
contact your local authorities for the correct
method of disposal.
By doing so you will ensure that your disposed
product undergoes the necessary treatment,
recovery and recycling and thus prevent po-
tential negative effects on the environment
and human health.
About this unit
The tuner frequencies on this unit are allo-
cated for use in Western Europe, Asia, the
Middle East, Africa and Oceania. Use in other
areas may result in poor reception. The RDS
(radio data system) function operates only in
areas with FM stations broadcasting RDS sig-
nals.
CAUTION
! Do not allow this unit to come into contact
with liquids. Electrical shock could result.
Also, this unit damage, smoke, and overheat
could result from contact with liquids.
! "CLASS 1 LASER PRODUCT"
This product contains a laser diode of higher
class than 1. To ensure continued safety, do
not remove any covers or attempt to gain ac-
cess to the inside of the product. Refer all ser-
vicing to qualified personnel.
! The Pioneer CarStereo-Pass is for use only in
Germany.
! Keep this manual handy as a reference for op-
erating procedures and precautions.
! Always keep the volume low enough so that
you can hear sounds from outside the vehicle.
! Protect this unit from moisture.
! If the battery is disconnected or discharged,
the preset memory will be erased and must be
reprogrammed.
About WMA
The Windows Media
TM logo printed on the box
indicates that this unit can play back WMA
data.
WMA is short for Windows Media Audio and
refers to an audio compression technology
that is developed by Microsoft Corporation.
WMA data can be encoded by using Windows
Media Player version 7 or later.
Windows Media and the Windows logo are tra-
demarks or registered trademarks of Microsoft
Corporation in the United States and/or other
countries.
! This unit may not operate correctly depend-
ing on the application used to encode
WMA files.
Before You Start
En
4
Section
01
About MP3
Supply of this product only conveys a license
for private, non-commercial use and does not
convey a license nor imply any right to use
this product in any commercial (i.e. revenue-
generating) real time broadcasting (terrestrial,
satellite, cable and/or any other media), broad-
casting/streaming via internet, intranets and/
or other networks or in other electronic con-
tent distribution systems, such as pay-audio or
audio-on-demand applications. An indepen-
dent license for such use is required. For de-
tails, please visit
http://www.mp3licensing.com.
iPod® compatibility
This unit can control and listen to songs on an
iPod.
! iPod is a trademark of Apple Computer,
Inc., registered in the U.S. and other coun-
tries.
! This unit supports only an iPod with Dock
Connector.
! This unit does not support software ver-
sions prior to iPod update 2004-10-20. For
supported versions, consult your nearest
Pioneer dealer.
! Operations may vary depending on the soft-
ware version of iPod.
Visit our website
Visit us at the following site:
! Register your product. We will keep the de-
tails of your purchase on file to help you
refer to this information in the event of an
insurance claim such as loss or theft.
! We offer the latest information about
Pioneer Corporation on our website.
In case of trouble
Should this product fail to operate properly,
contact your dealer or nearest authorized
Pioneer Service Station.
Protecting your unit from
theft
The front panel can be detached to deter theft.
! If the front panel is not detached from the
head unit within five seconds of turning off
the ignition, a warning tone will sound.
! You can turn off the warning tone. See
Switching the warning tone on page 23.
Important
! Handle gently when removing or attaching
the front panel.
! Avoid subjecting the front panel to excessive
shocks.
! Keep the front panel out of direct sunlight and
high temperatures.
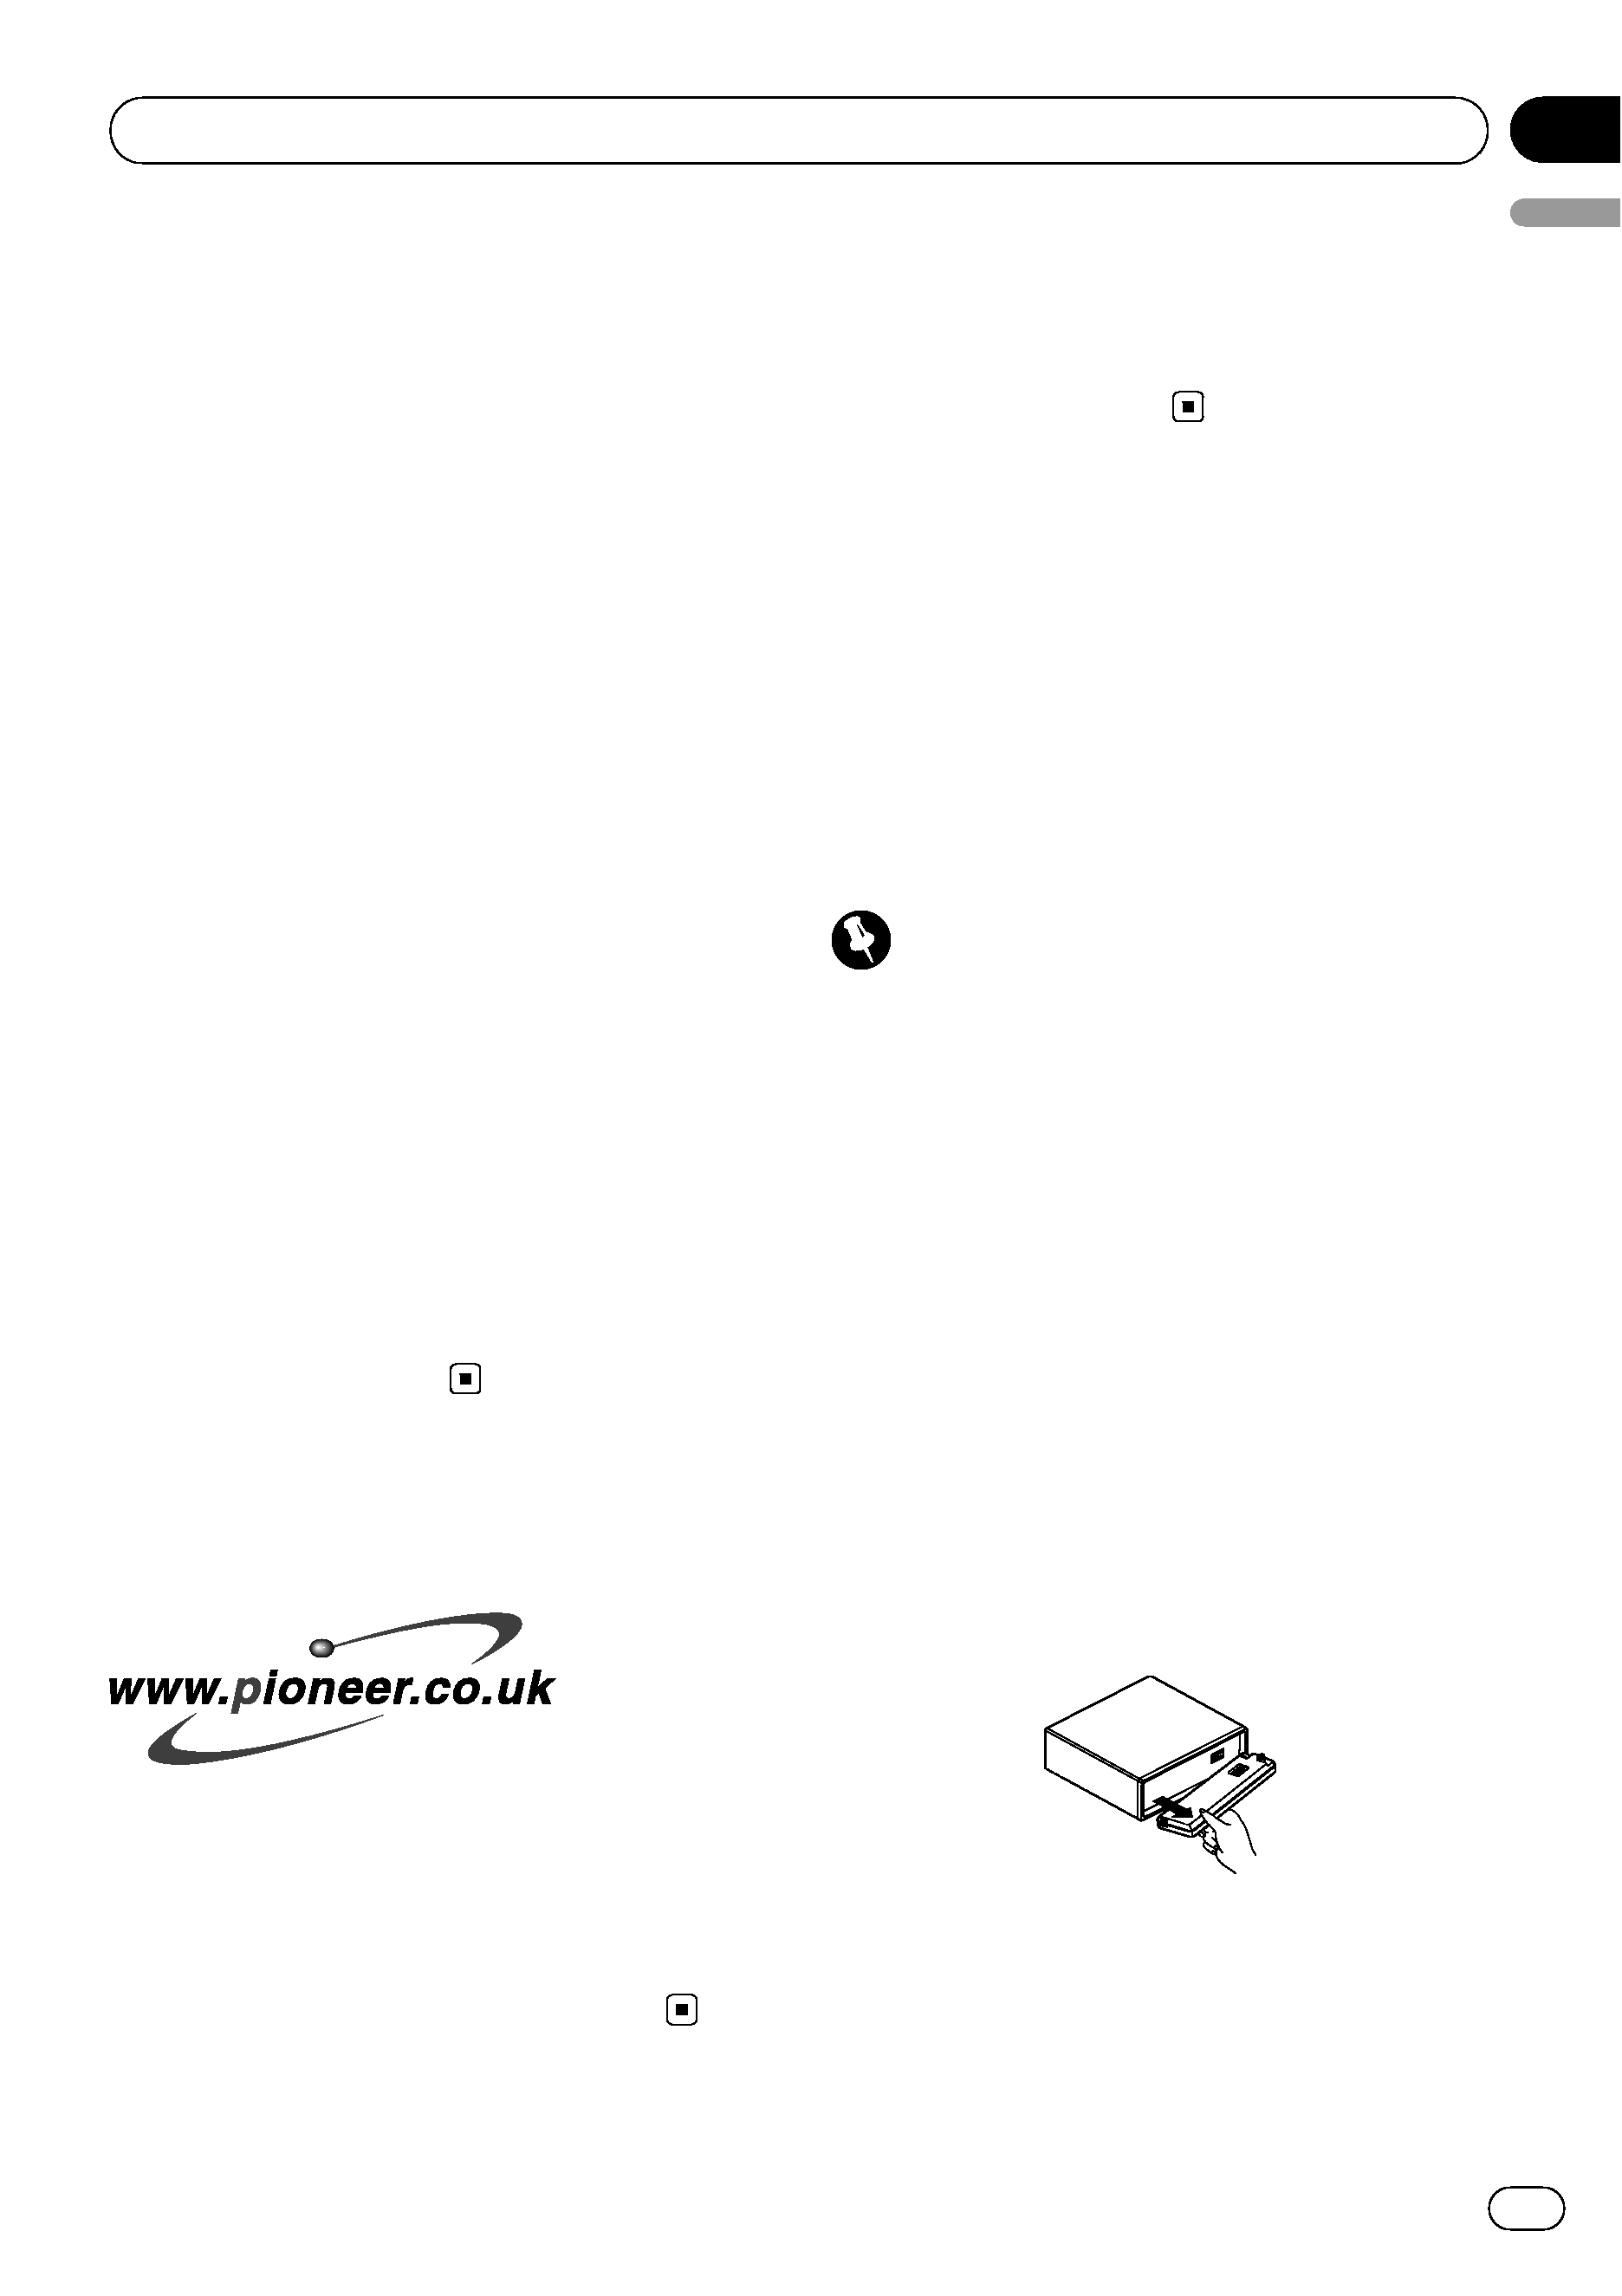
Removing the front panel
1
Press OPEN to open the front panel.
2
Grip the left side of the front panel and
pull it gently outward.
Take care not to grip it too tightly or to drop
the front panel and protect it from contact
with water or other fluids to prevent perma-
nent damage.
3
Put the front panel into provided pro-
tective case for safe keeping.
Before You Start
En
5
English
Section
01