
Operation Manual
C:>2>4AB2> ?> M:A?;C0B0F88
High power CD player with FM/MW/LW tuner
@>83@K20B5;L :><?0:B-48A:>2 2KA>:>9 <>I=>AB8
A FM/MW/LW BN=5@><
DEH-1610
English
C
AA:89
Thank you for buying this Pioneer product.
Please read through these operating instructions so you will know how to operate
your model properly. After you have finished reading the instructions, put them away
in a safe place for future reference.
Before You Start
About this unit 3
About this manual 3
Precautions 3
In case of trouble 3
Protecting your unit from theft 3
Removing the front panel 3
Attaching the front panel 4
Whats What
Head unit 5
Power ON/OFF
Turning the unit on 6
Selecting a source 6
Turning the unit off 6
Tuner
Listening to the radio 7
Storing and recalling broadcast
frequencies 7
Tuning in strong signals 8
Storing the strongest broadcast
frequencies 8
Built-in CDPlayer
Playing a CD 9
Playing tracks in a random order 9
Repeating play 9
Pausing CD playback 10
Audio Adjustments
Introduction of audio adjustments 11
Using balance adjustment 11
Using the equalizer 11
Recalling equalizer curves 11
Adjusting equalizer curves 12
Fine adjusting equalizer curve 12
Adjusting loudness 13
Front image enhancer (F.I.E.) 13
Adjusting source levels 13
Other Functions
Setting the clock 14
Turning the clock display on or off 14
Additional Information
Understanding built-in CD player error
messages 15
Cellular telephone muting 15
CD player and care 15
CD-R/CD-RW discs 16
Specifications 17
Contents
En
2
About this unit
The tuner frequencies on this unit are allo-
cated for use in Europe, Asia, the Middle East,
Africa and Oceania. Use in other areas may re-
sult in improper reception.
About this manual
This unit features a number of sophisticated
functions ensuring superior reception and op-
eration. All the functions have been designed
for the easiest possible use, but many are not
self-explanatory. This operation manual will
help you benefit fully from this units potential
and to maximize your listening enjoyment.
We recommend that you familiarize yourself
with the functions and their operation by read-
ing through the manual before you begin
using this unit. It is especially important that
you read and observe precautions on this
page and in other sections.
Precautions
CAUTION:
USE OF CONTROL OR ADJUSTMENT OR
PERFORMANCE OF PROCEDURES
OTHERTHAN THOSE SPECIFIED HEREIN
MAY RESULT IN HAZARDOUS RADIATION
EXPOSURE.
CAUTION:
THE USE OF OPTICAL INSTRUMENTS
WITH THIS PRODUCT WILL INCREASE
EYE HAZARD.
! Keep this manual handy as a reference for
operating procedures and precautions.
! Always keep the volume low enough so you
can hear sounds outside of the car.
! Protect this unit from moisture.
! If the battery is disconnected or dis-
charged, the preset memory will be erased
and must be reprogrammed.
In case of trouble
Should this product fail to operate properly,
contact your dealer or nearest authorized Pio-
neer Service Station.
Protecting your unit from
theft
The front panel can be detached from the
head unit and stored in the protective case
provided to discourage theft.
! Keep the front panel closed while driving.
Important
! Never use force or grip the display and the
buttons tightly when removing or attaching.
! Avoid subjecting the front panel to excessive
shocks.
! Keep the front panel out of direct sunlight and
high temperatures.
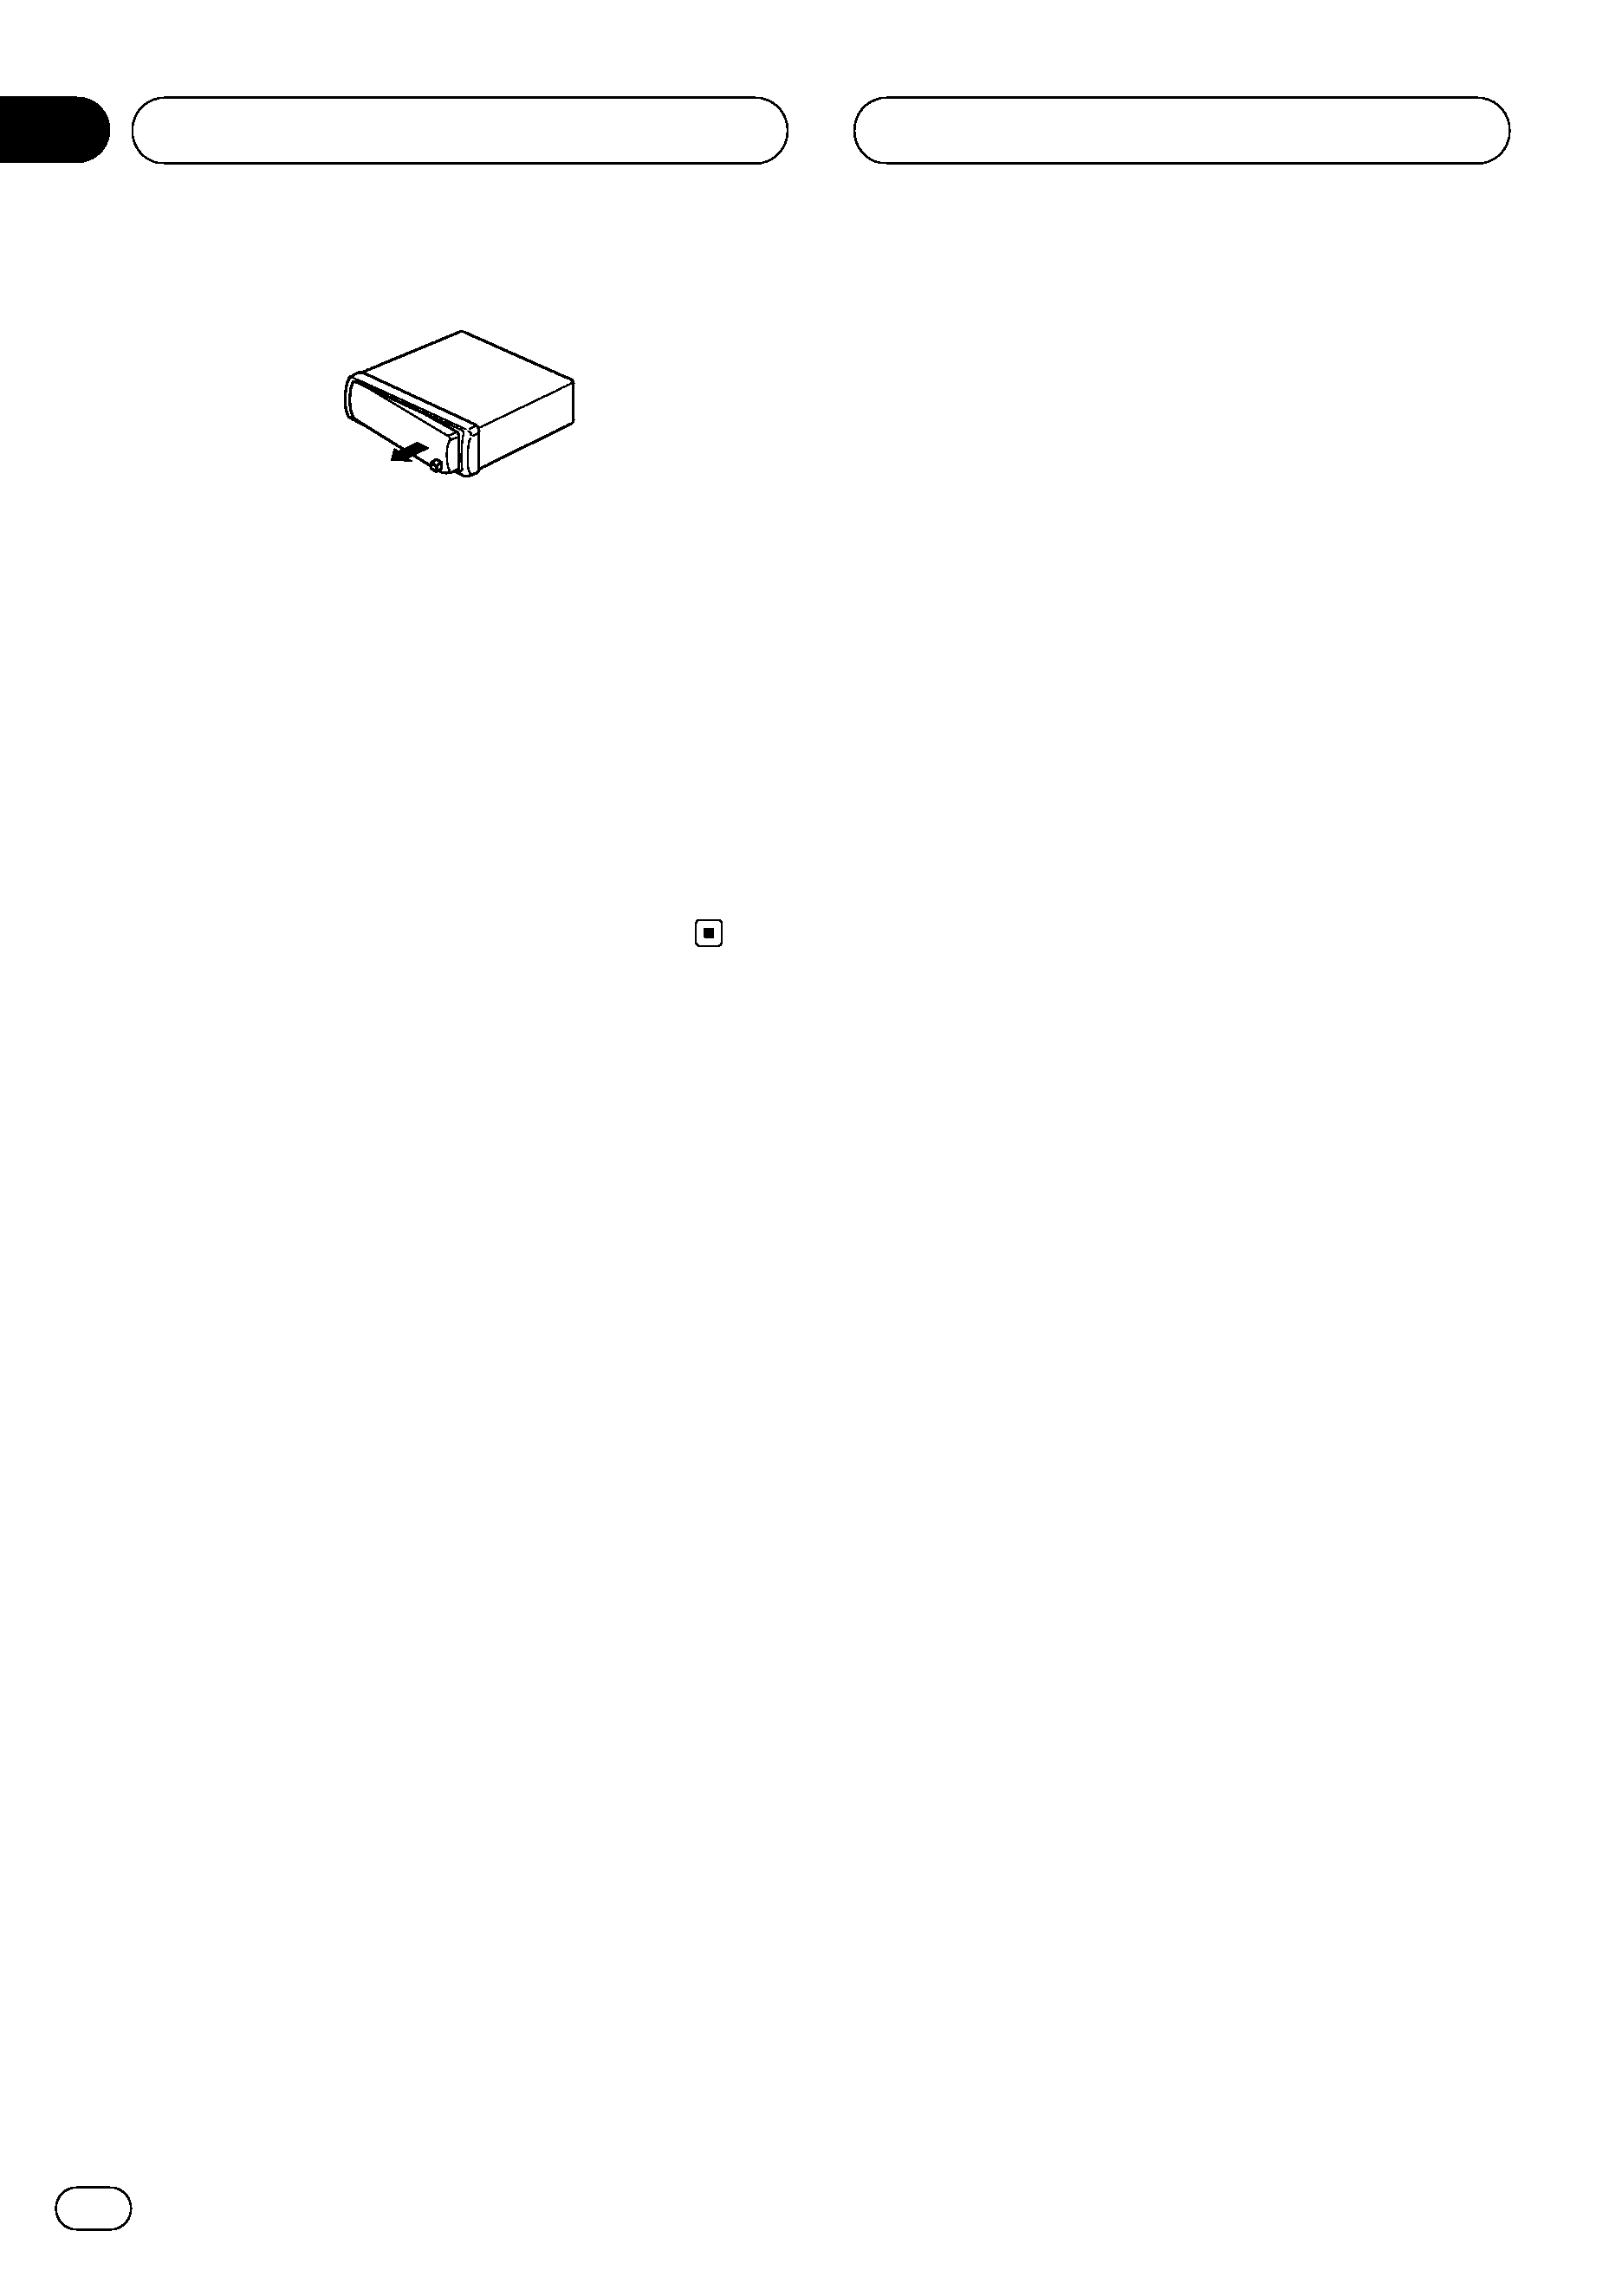
Removing the front panel
1 Press DETACH to release the front
panel.
Press DETACH and the right side of the panel
is released from the head unit.
2 Grab the front panel and remove.
Grab the right side of the front panel and pull
away to the left. The front panel will be de-
tached from the head unit.
Before You Start
En
3
English
Section
01
3 Put the front panel into the protective
case provided for safe keeping.
Attaching the front panel
1 Place the front panel flat against the
head unit.
2 Press the front panel into the face of
the head unit until it is firmly seated.
Before You Start
En
4
Section
01
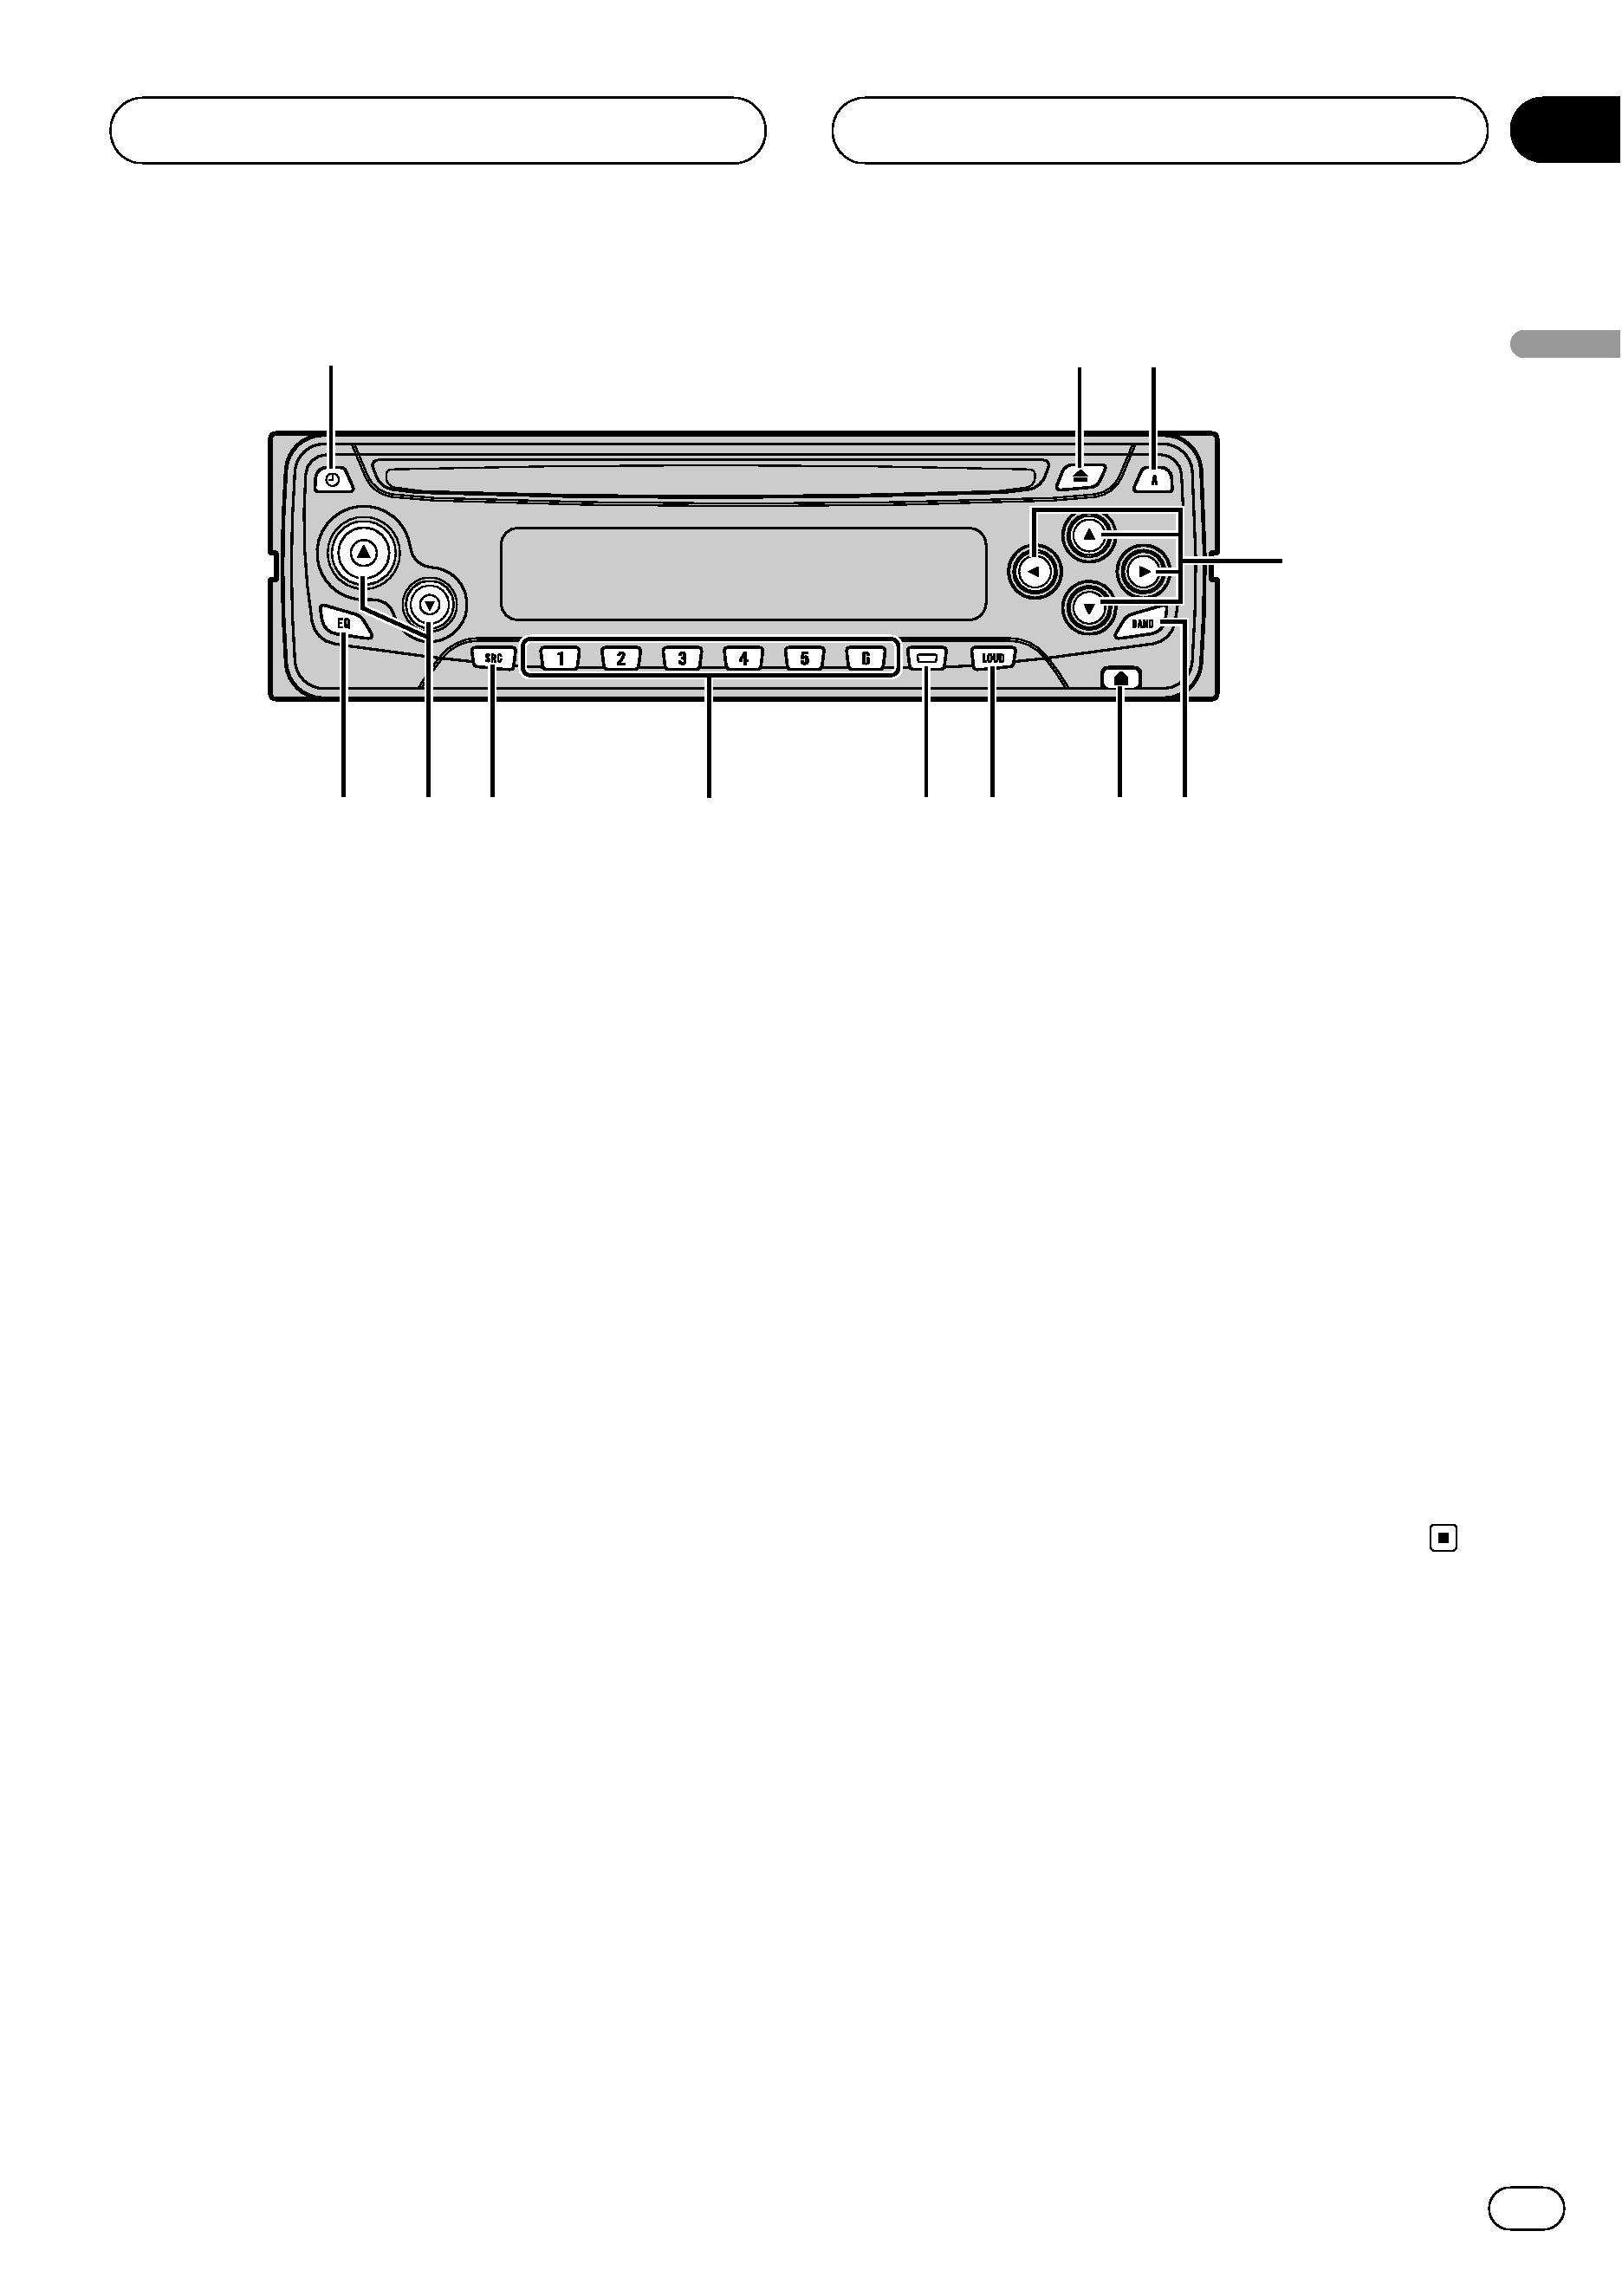
Head unit
1 CLOCK button
Press to change to the clock display.
2 EJECT button
You can eject a CD by pressing EJECT.
3 AUDIO button
Press to select various sound quality con-
trols.
4 a/b/c/d buttons
Press to do manual seek tuning, fast for-
ward, reverse and track search controls.
Also used for controlling functions.
5 BAND button
Press to select among three FM and one
AM bands and cancel the control mode of
functions.
6 DETACH button
Press DETACH to release the front panel.
7 LOUDNESS button
Press to turn loudness on or off.
8 LOCAL/BSM button
Press to turn local function on or off.
Press and hold to turn BSM function on or
off.
9 16 buttons
Press for preset tuning.
a SOURCE button
This unit is turned on by selecting a source.
Press to cycle through all of the available
sources.
b VOLUME
Press to increase or decrease the volume.
c EQ button
Press to select various equalizer curves.
1
1
1
2
5
5
5
6
6
6
7
7
7
8
8
8
9
9
9
a
a
a
3
4
b
b
c
c
c
Whats What
En
5
English
Section
02