Operating Instructions
Blu-ray Disc PLAYER

2
En
WARNING
This equipment is not waterproof. To prevent a fire
or shock hazard, do not place any container filled
with liquid near this equipment (such as a vase or
flower pot) or expose it to dripping, splashing, rain
or moisture.
D3-4-2-1-3_B_En
Thank you for buying this Pioneer product.
Please read through these operating instructions so you will know how to operate your model properly.
After you have finished reading the instructions, put them away in a safe place for future reference.
CAUTION
This product is a class 1 laser product, but this
product contains a laser diode higher than Class 1.
To ensure continued safety, do not remove any covers
or attempt to gain access to the inside of the product.
Refer all servicing to qualified personnel.
D3-4-2-1-8_B_En
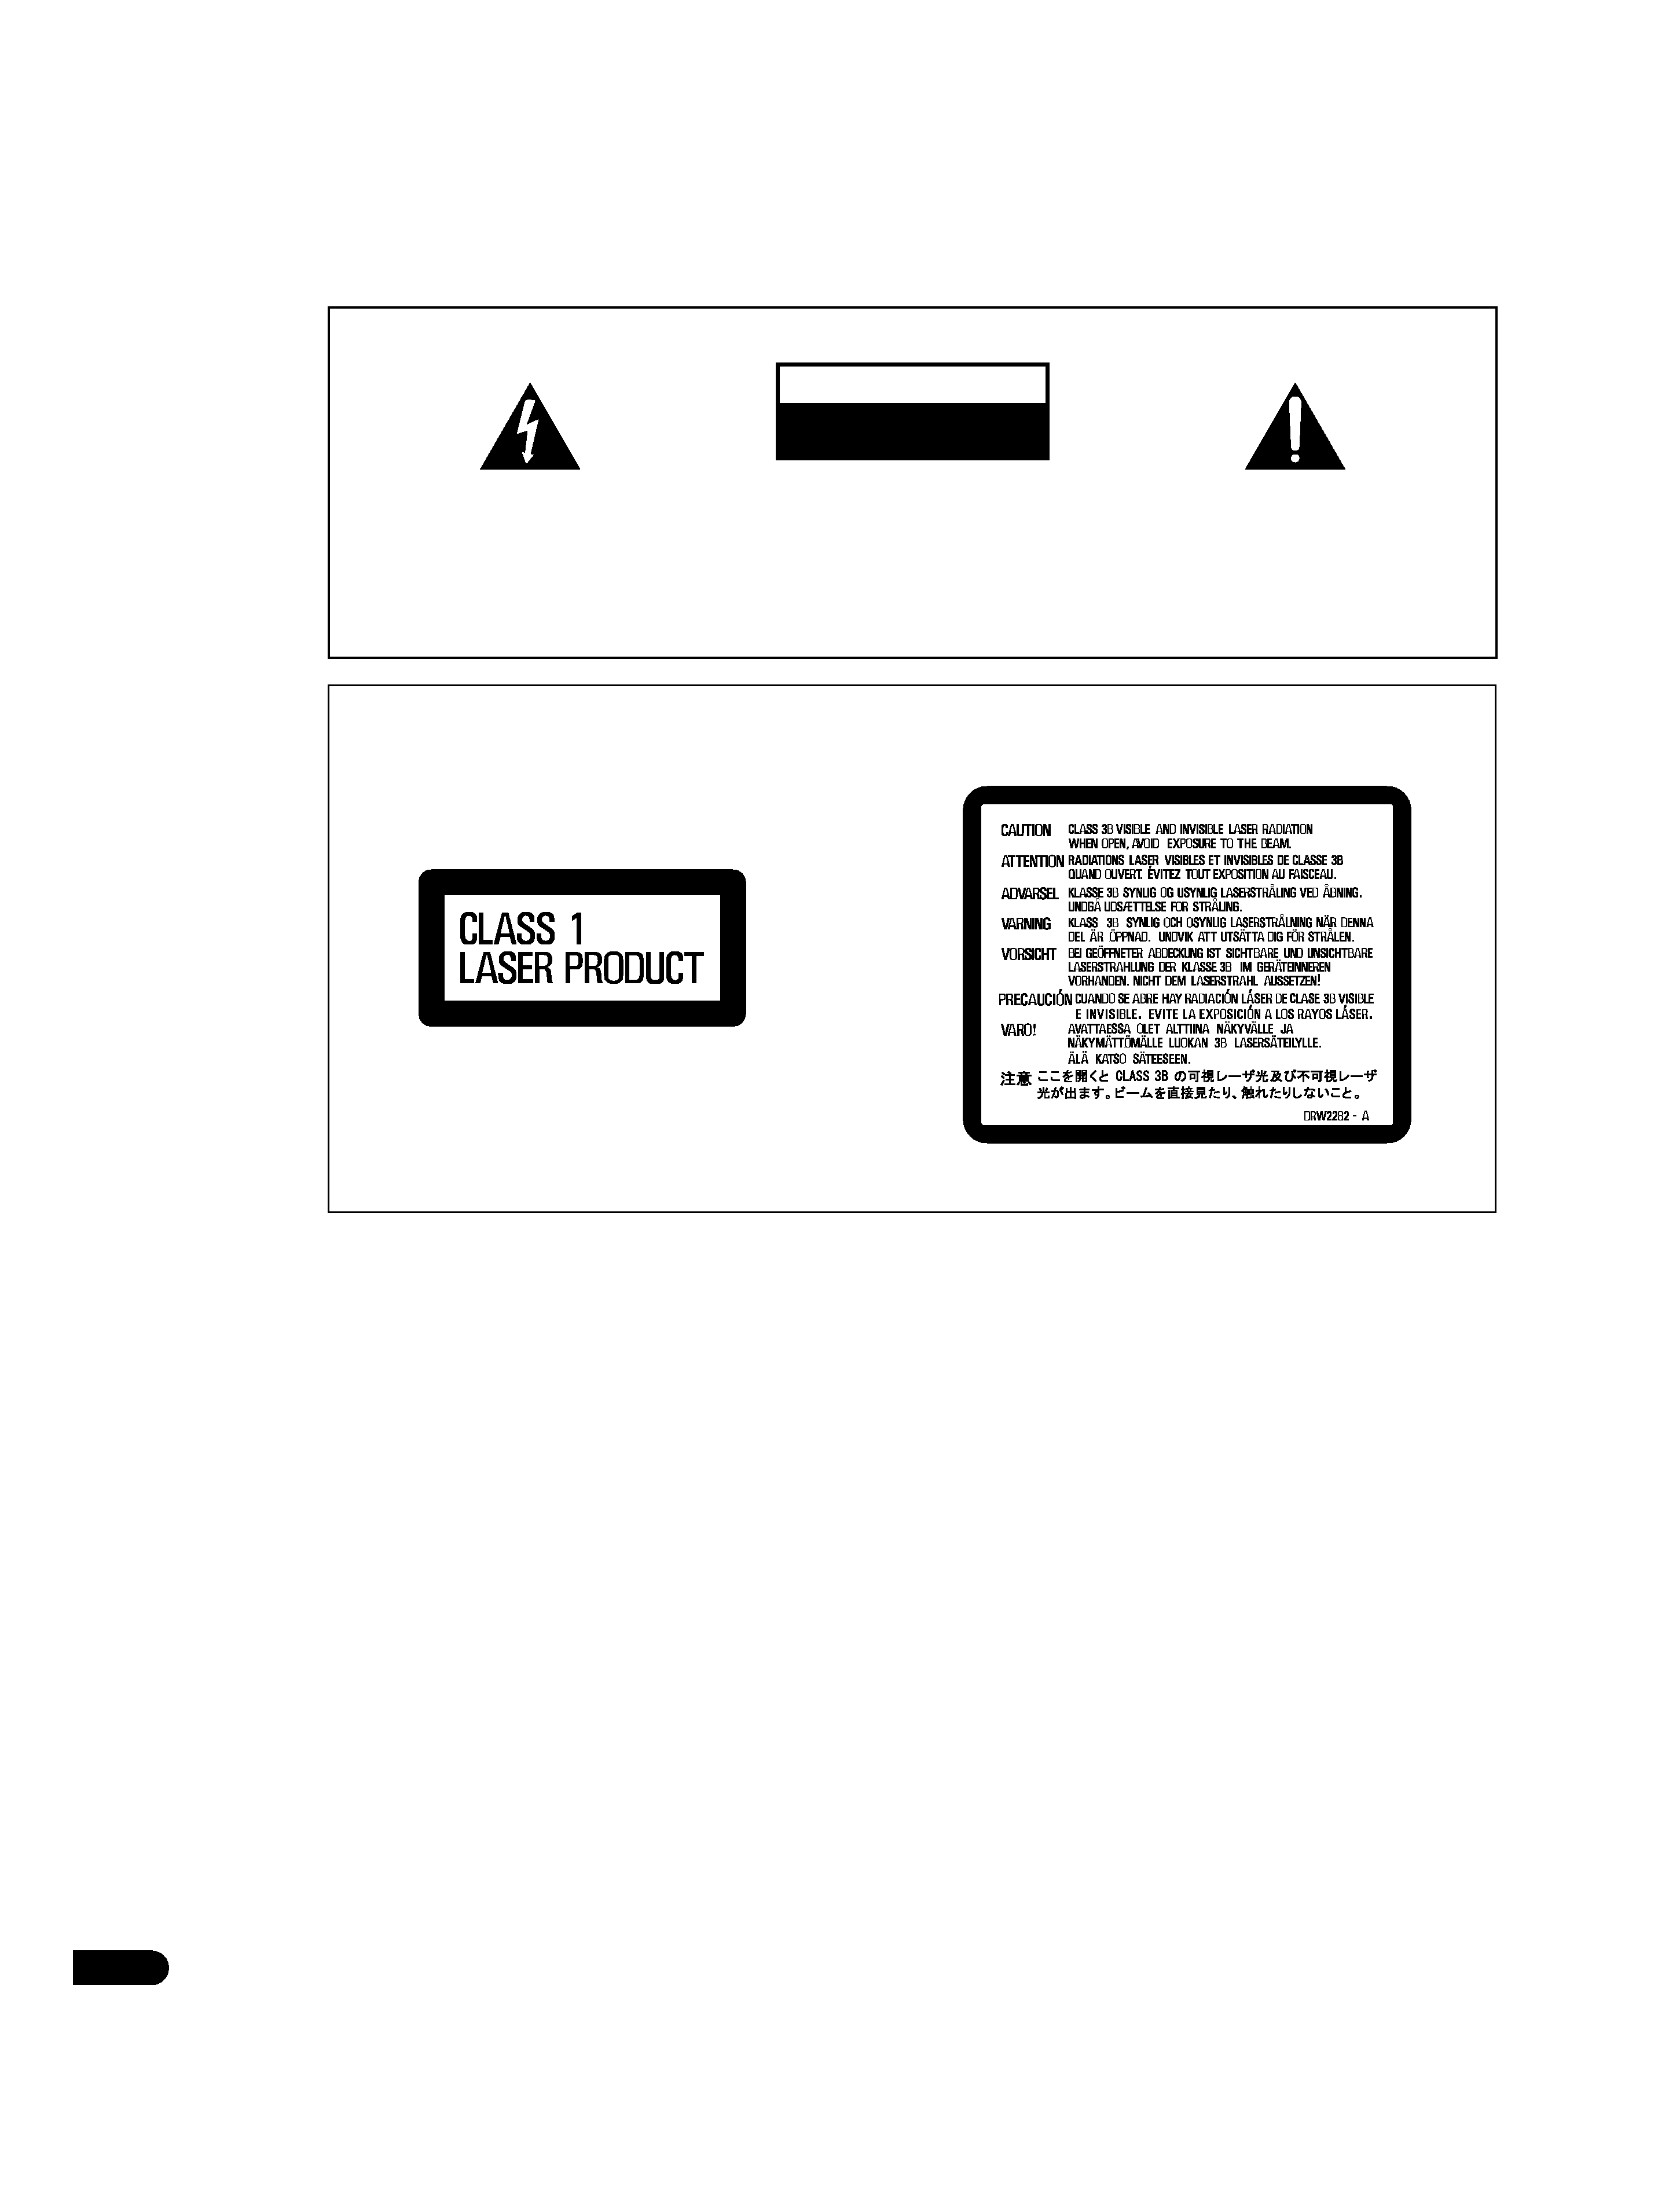
The following caution label appears on your unit.
Location: inside of the unit
The exclamation point within an equilateral
triangle is intended to alert the user to the
presence of important operating and
maintenance (servicing) instructions in the
literature accompanying the appliance.
The lightning flash with arrowhead symbol,
within an equilateral triangle, is intended to
alert the user to the presence of uninsulated
"dangerous voltage" within the product's
enclosure that may be of sufficient
magnitude to constitute a risk of electric
shock to persons.
CAUTION:
TO PREVENT THE RISK OF ELECTRIC
SHOCK, DO NOT REMOVE COVER (OR
BACK). NO USER-SERVICEABLE PARTS
INSIDE. REFER SERVICING TO QUALIFIED
SERVICE PERSONNEL.
CAUTION
RISK OF ELECTRIC SHOCK
DO NOT OPEN
IMPORTANT
D3-4-2-1-1_En-A

3
En
POWER-CORD CAUTION
S002_En
Operating Environment
D3-4-2-1-7c_A_En
For U.S. and Australia Model
C67-7-3_En
CAUTION
The
STANDBY/ON switch on this unit will not
completely shut off all power from the AC outlet.
Since the power cord serves as the main disconnect
device for the unit, you will need to unplug it from
the AC outlet to shut down all power. Therefore,
make sure the unit has been installed so that the
power cord can be easily unplugged from the AC
outlet in case of an accident. To avoid fire hazard,
the power cord should also be unplugged from the
AC outlet when left unused for a long period of time
(for example, when on vacation).
D3-4-2-2-2a_A_En
This product incorporates copyright protection
technology that is protected by method claims
of certain U.S. patents and other intellectual
property rights owned by Macrovision
Corporation and other rights owners. Use of
this copyright protection technology must be
authorized by Macrovision Corporation, and is
intended for home and other limited viewing
uses only unless otherwise authorized by
Macrovision Corporation. Reverse engineering
or disassembly is prohibited.
Replacement and mounting of an AC plug on the power supply cord of this unit should be performed only by qualified
service personnel.
D3-4-2-1-2-2_B_En
IMPORTANT: THE MOULDED PLUG
This appliance is supplied with a moulded three pin mains plug for your safety and convenience. A 10 amp fuse is fitted in this plug. Should the
fuse need to be replaced, please ensure that the replacement fuse has a rating of 10 amps and that it is approved by ASTA or BSI to BS1362.
Check for the ASTA markor the BSI mark
on the body of the fuse.
If the plug contains a removable fuse cover, you must ensure that it is refitted when the fuse is replaced. If you lose the fuse cover the plug
must not be used until a replacement cover is obtained. A replacement fuse cover can be obtained from your local dealer.
If the fitted moulded plug is unsuitable for your socket outlet, then the fuse shall be removed and the plug cut off and disposed of
safely. There is a danger of severe electrical shock if the cut off plug is inserted into any 13 amp socket.
If a new plug is to be fitted, please observe the wiring code as shown below. If in any doubt, please consult a qualified electrician.
IMPORTANT: The wires in this mains lead are coloured in accordance with the following code:
Blue : Neutral
Brown : Live
As the colours of the wires in the mains lead of this appliance may not correspond with the coloured markings identifying the terminals in
your plug, proceed as follows ;
The wire which is coloured BLUE must be connected to the terminal which is marked with the
letter
N or coloured BLACK.
The wire which is coloured BROWN must be connected to the terminal which is marked with the
letter
L or coloured RED.
How to replace the fuse: Open the fuse compartment with a screwdriver and replace the fuse.
For Singapore model:

4
En
Contents
01 Before you start
Features
. . . . . . . . . . . . . . . . . . . . . . . . . . . . . . . . . . . . . . . . . . . . 5
What's in the box
. . . . . . . . . . . . . . . . . . . . . . . . . . . . . . . . . . . . . 6
Putting the batteries in the remote control
. . . . . . . . . . . . . . . . . . 6
Using the remote control
. . . . . . . . . . . . . . . . . . . . . . . . . . . . . . . 6
Disc/content format playback compatibility
. . . . . . . . . . . . . . . . . 7
File compatibility
. . . . . . . . . . . . . . . . . . . . . . . . . . . . . . . . . . . . . 7
Titles and chapters
. . . . . . . . . . . . . . . . . . . . . . . . . . . . . . . . . . . . 8
DVD-Video regions
. . . . . . . . . . . . . . . . . . . . . . . . . . . . . . . . . . . . 8
BD-ROM regions
. . . . . . . . . . . . . . . . . . . . . . . . . . . . . . . . . . . . . 8
02 Connecting up
Rear panel
. . . . . . . . . . . . . . . . . . . . . . . . . . . . . . . . . . . . . . . . . . 9
Easy connections
. . . . . . . . . . . . . . . . . . . . . . . . . . . . . . . . . . . . 10
Using other types of video output
. . . . . . . . . . . . . . . . . . . . . . . . 10
Connecting for HDMI output
. . . . . . . . . . . . . . . . . . . . . . . . . . . 11
Connecting using the component video output
. . . . . . . . . . . . . 11
Changing the output video resolution
. . . . . . . . . . . . . . . . . . . . 12
Connecting using an S-Video output
. . . . . . . . . . . . . . . . . . . . . 12
Connecting for surround sound
. . . . . . . . . . . . . . . . . . . . . . . . . 13
Network connection
. . . . . . . . . . . . . . . . . . . . . . . . . . . . . . . . . . 14
Controlling this player via another Pioneer component
. . . . . . . 14
Using an external IR receiver with this player
. . . . . . . . . . . . . . . 15
03 Controls and displays
Front panel
. . . . . . . . . . . . . . . . . . . . . . . . . . . . . . . . . . . . . . . . . 16
Front panel display
. . . . . . . . . . . . . . . . . . . . . . . . . . . . . . . . . . . 16
Remote control
. . . . . . . . . . . . . . . . . . . . . . . . . . . . . . . . . . . . . 17
04 Getting Started
Switching on and setting up
. . . . . . . . . . . . . . . . . . . . . . . . . . . 18
Using the on-screen displays
. . . . . . . . . . . . . . . . . . . . . . . . . . . 19
Setting up for network use
. . . . . . . . . . . . . . . . . . . . . . . . . . . . . 19
Playing movies, music and photos
. . . . . . . . . . . . . . . . . . . . . . . 20
Playing BD/DVD movies and Audio CD
. . . . . . . . . . . . . . . . . . . 20
Playback controls
. . . . . . . . . . . . . . . . . . . . . . . . . . . . . . . . . . . . 21
Frequently Asked Questions
. . . . . . . . . . . . . . . . . . . . . . . . . . . . 24
05 Using the Disc Navigator
Introduction
. . . . . . . . . . . . . . . . . . . . . . . . . . . . . . . . . . . . . . . . 25
Movie Navigator
. . . . . . . . . . . . . . . . . . . . . . . . . . . . . . . . . . . . . 25
Photo Navigator
. . . . . . . . . . . . . . . . . . . . . . . . . . . . . . . . . . . . . 26
Music Navigator
. . . . . . . . . . . . . . . . . . . . . . . . . . . . . . . . . . . . . 28
06 Using the Home Media Gallery
Introduction
. . . . . . . . . . . . . . . . . . . . . . . . . . . . . . . . . . . . . . . . 30
About network playback
. . . . . . . . . . . . . . . . . . . . . . . . . . . . . . . 30
Using the Home Media Gallery
. . . . . . . . . . . . . . . . . . . . . . . . . . 31
Movie Navigator
. . . . . . . . . . . . . . . . . . . . . . . . . . . . . . . . . . . . . 31
Photo Navigator
. . . . . . . . . . . . . . . . . . . . . . . . . . . . . . . . . . . . . 33
Music Navigator
. . . . . . . . . . . . . . . . . . . . . . . . . . . . . . . . . . . . . 34
About Windows Media Player 11/Windows Media Connect
. . . . 36
07 Video/Audio Adjust menu
Video Adjust
. . . . . . . . . . . . . . . . . . . . . . . . . . . . . . . . . . . . . . . . 37
Audio Adjust
. . . . . . . . . . . . . . . . . . . . . . . . . . . . . . . . . . . . . . . . 38
08 Initial Setup menu
Using the Initial Setup menu
. . . . . . . . . . . . . . . . . . . . . . . . . . . . 39
About the audio output settings
. . . . . . . . . . . . . . . . . . . . . . . . . 42
Speaker Setup
. . . . . . . . . . . . . . . . . . . . . . . . . . . . . . . . . . . . . . . 43
Software updating
. . . . . . . . . . . . . . . . . . . . . . . . . . . . . . . . . . . . 43
09 Additional information
Taking care of your player and discs
. . . . . . . . . . . . . . . . . . . . . . 44
Screen sizes and disc formats
. . . . . . . . . . . . . . . . . . . . . . . . . . . 45
Resetting the player
. . . . . . . . . . . . . . . . . . . . . . . . . . . . . . . . . . 45
Setting up the remote to control your TV
. . . . . . . . . . . . . . . . . . . 46
TV Preset code list
. . . . . . . . . . . . . . . . . . . . . . . . . . . . . . . . . . . . 46
BD/DVD language code list
. . . . . . . . . . . . . . . . . . . . . . . . . . . . . 47
BD/DVD country/area code list
. . . . . . . . . . . . . . . . . . . . . . . . . . 47
Troubleshooting
. . . . . . . . . . . . . . . . . . . . . . . . . . . . . . . . . . . . . 47
Glossary
. . . . . . . . . . . . . . . . . . . . . . . . . . . . . . . . . . . . . . . . . . . 52
License
. . . . . . . . . . . . . . . . . . . . . . . . . . . . . . . . . . . . . . . . . . . . 54
Specifications
. . . . . . . . . . . . . . . . . . . . . . . . . . . . . . . . . . . . . . . 63

01
5
En
Chapter 1
Before you start
Features
BD-ROM playback
Blu-ray Disc is a next-generation video disc format featuring far
higher disc capacity than conventional DVD. The higher capacity
makes a whole range of new and enhanced features possible, such
as support for high-definition video up to 1920 x 1080 pixels, high
quality, surround sound audio, greater interactivity and richer
content.
BD-ROM discs are commercially produced discs (Video Distribution
format) that can contain movie and other video content, interactive
content, enhanced menu features such as pop-up menus (press
POPUP MENU/MENU during playback for these), full-color,
high-definition animated buttons and animated menu transition
effects, button sounds (sounds are played when menu buttons are
selected or activated), high-definition bitmap subtitles supporting
full-color images with frame-accurate animation effects up to full
video frame rate, and so on.
While BD capacity is enough for most applications, the BD-ROM
standard allows for content to be spread across several discs,
removing the limit of one physical disc. Follow the on-screen
instructions during playback when using these special kinds of
discs.
BD-J application
The BD-ROM specification supports Java for interactive content.
The Java specification for BD-ROM is known as BD-J. This allows
content providers to put games and other interactive material linked
to specific titles on to BD-ROM discs. (This player does not support
downloadable BD-J content, direct connection to the Internet or the
retrieval of content through the Internet.)
· Java and all Java-based trademarks and logos are trademarks or
registered trademarks of Sun Microsystems, Inc. in the U.S. and
other countries.
· © 2000-2007 Esmertec AG
Esmertec and Jbed are trademarks and/or registered trademarks of
Esmertec AG.
Connect to a local area network
Connect this player to one or more computers in your house via
Ethernet and use them as media servers, streaming audio, video
and still image files for playback on your TV and/or audio system.
HDMI digital interface
The HDMI (High-Definition Multimedia Interface) interconnect
provides high quality digital audio and video, all from a single
user-friendly connector. HDMI is the first consumer electronics
interface to support uncompressed standard, enhanced, or
high-definition video plus standard to multi-channel surround
sound audio, all using one interface. You can easily connect to an
HDMI-equipped AV receiver or audio-visual device for high quality
audio and video.
· HDMI, the HDMI logo and High-Definition Multimedia Interface
are trademarks or registered trademarks of HDMI Licensing LLC.
HDMI Control
By connecting this unit to a Pioneer plasma television or AV system
(amplifier or AV receiver etc.) with an HDMI cable, you can control
this unit from the connected plasma television, as well as have the
connected plasma television or AV system automatically change
inputs in response to this unit starting playback or having the GUI
screen (ex. Disc Navigator) displayed (known as the Auto-select
function). The connected plasma television can thereby have its
power turned from off to on by this function.
You can also have this unit turn on automatically when you control
this unit from a connected plasma television that is turned on
(Simultaneous power function).
Additionally, when the language information from a connected
plasma television is received, you can have this unit's on-screen
display language change automatically to that of the plasma
television (only when playback is stopped and GUI screen is not
displayed).
Refer to your plasma television's operating manual for more
information regarding how your plasma television transmits
language information.
For more information about which operations can be carried out by
connecting via HDMI cable, refer to the operating manual for your
plasma television, or AV system.
PureCinema
When you playback film material (24 frames/second) on a BD-ROM
or DVD-Video disc, the progressive scan line automatically converts
the film material to optimum quality (see PureCinema on page 37).
1080/50p, 1080/60p and 1080/24p output video
This player supports a variety of output video resolutions, up to
1080 lines/50 or 60 frames per second, progressive (HDMI only),
making it ideal for playing high-definition Blu-ray Discs.
