
CD/MD TUNER AMPLIFIER
FR-N3X
Instruction Manual
Thank you for purchasing the Onkyo CD/MD TUNER
AMPLIFIER.
Please read this manual thoroughly before making
connections and turning on the power.
Following the instructions in this manual will enable
you to obtain optimum performance and listening
pleasure from your new CD/MD TUNER
AMPLIFIER.
Please retain this manual for future reference.
Contents
Before Using
Preparations
Connecting
Basic Operation
Advanced Operation
Additional Operation
2
PORTABLE CART WARNING
S3125A
Important Safeguards
1. Read Instructions Read all safety and operating instruc-
tions before operating the appliance.
2. Retain Instructions Retain the safety and operating
instructions for future reference.
3. Heed Warnings Heed all warnings on the appliance and
in the operating instructions.
4. Follow Instructions Follow all operating and usage
instructions.
5. Cleaning Unplug the appliance from the wall outlet before
cleaning. The appliance should be cleaned only as recom-
mended by the manufacturer.
6. Attachments Attachments not recommended by the
manufacturer may create hazards. Use only recommended
attachments.
7. Water and Moisture Do not use the appliance near water
for example, near a bath tub, wash bowl, kitchen sink, or
laundry tub; in a wet basement; or near a swimming pool,
and the like.
8. Accessories Do not place the appliance on an unstable
cart, stand, tripod, bracket, or table.The appliance may fall,
causing serious injury to a child or adult, and serious dam-
age to the appliance. Use only with a cart, stand, tripod,
bracket, or table recommended by the manufacturer, or sold
with the appliance. Any mounting of the appliance should
follow the manufacturer's instructions, and should use a
mounting accessory recommended by the
manufacturer.
9. Move appliance and cart combinations
with care. Quick stops, excessive force,
and uneven surfaces may cause the
appliance and cart combination to over-
turn.
10. Ventilation Slots and openings in the
cabinet are provided for ventilation and to ensure reliable
operation of the appliance and to protect it from overheat-
ing. Do not block or cover these openings by placing the
appliance on a bed, sofa, rug, or other similar surface. Do
not place the appliance in a built-in installation such as a
bookcase or rack unless proper ventilation is provided.
There should be free space of at least 20 cm (8 in.) and an
opening behind the appliance.
11. Power Sources The appliance should be operated only
from the type of power source indicated on the marking label.
If you are not sure of the type of power supply to your home,
consult your appliance dealer or local power company.
12. Grounding or Polarization The appliance may be
equipped with a polarized alternating current line plug (a
plug having one blade wider than the other). This plug will fit
into the power outlet only one way. This is a safety feature. If
you are unable to insert the plug fully into the outlet, try
reversing the plug. If the plug should still fails to fit, contact
your electrician to replace your obsolete outlet. Do not
defeat the safety purpose of the polarized plug.
13. Power-Cord Protection Power-supply cords should be
routed so that they are not likely to be walked on or pinched
by items placed upon or against them. Pay particular atten-
tion to cords at plugs, convenience receptacles, and the
point at which they exit from the appliance.
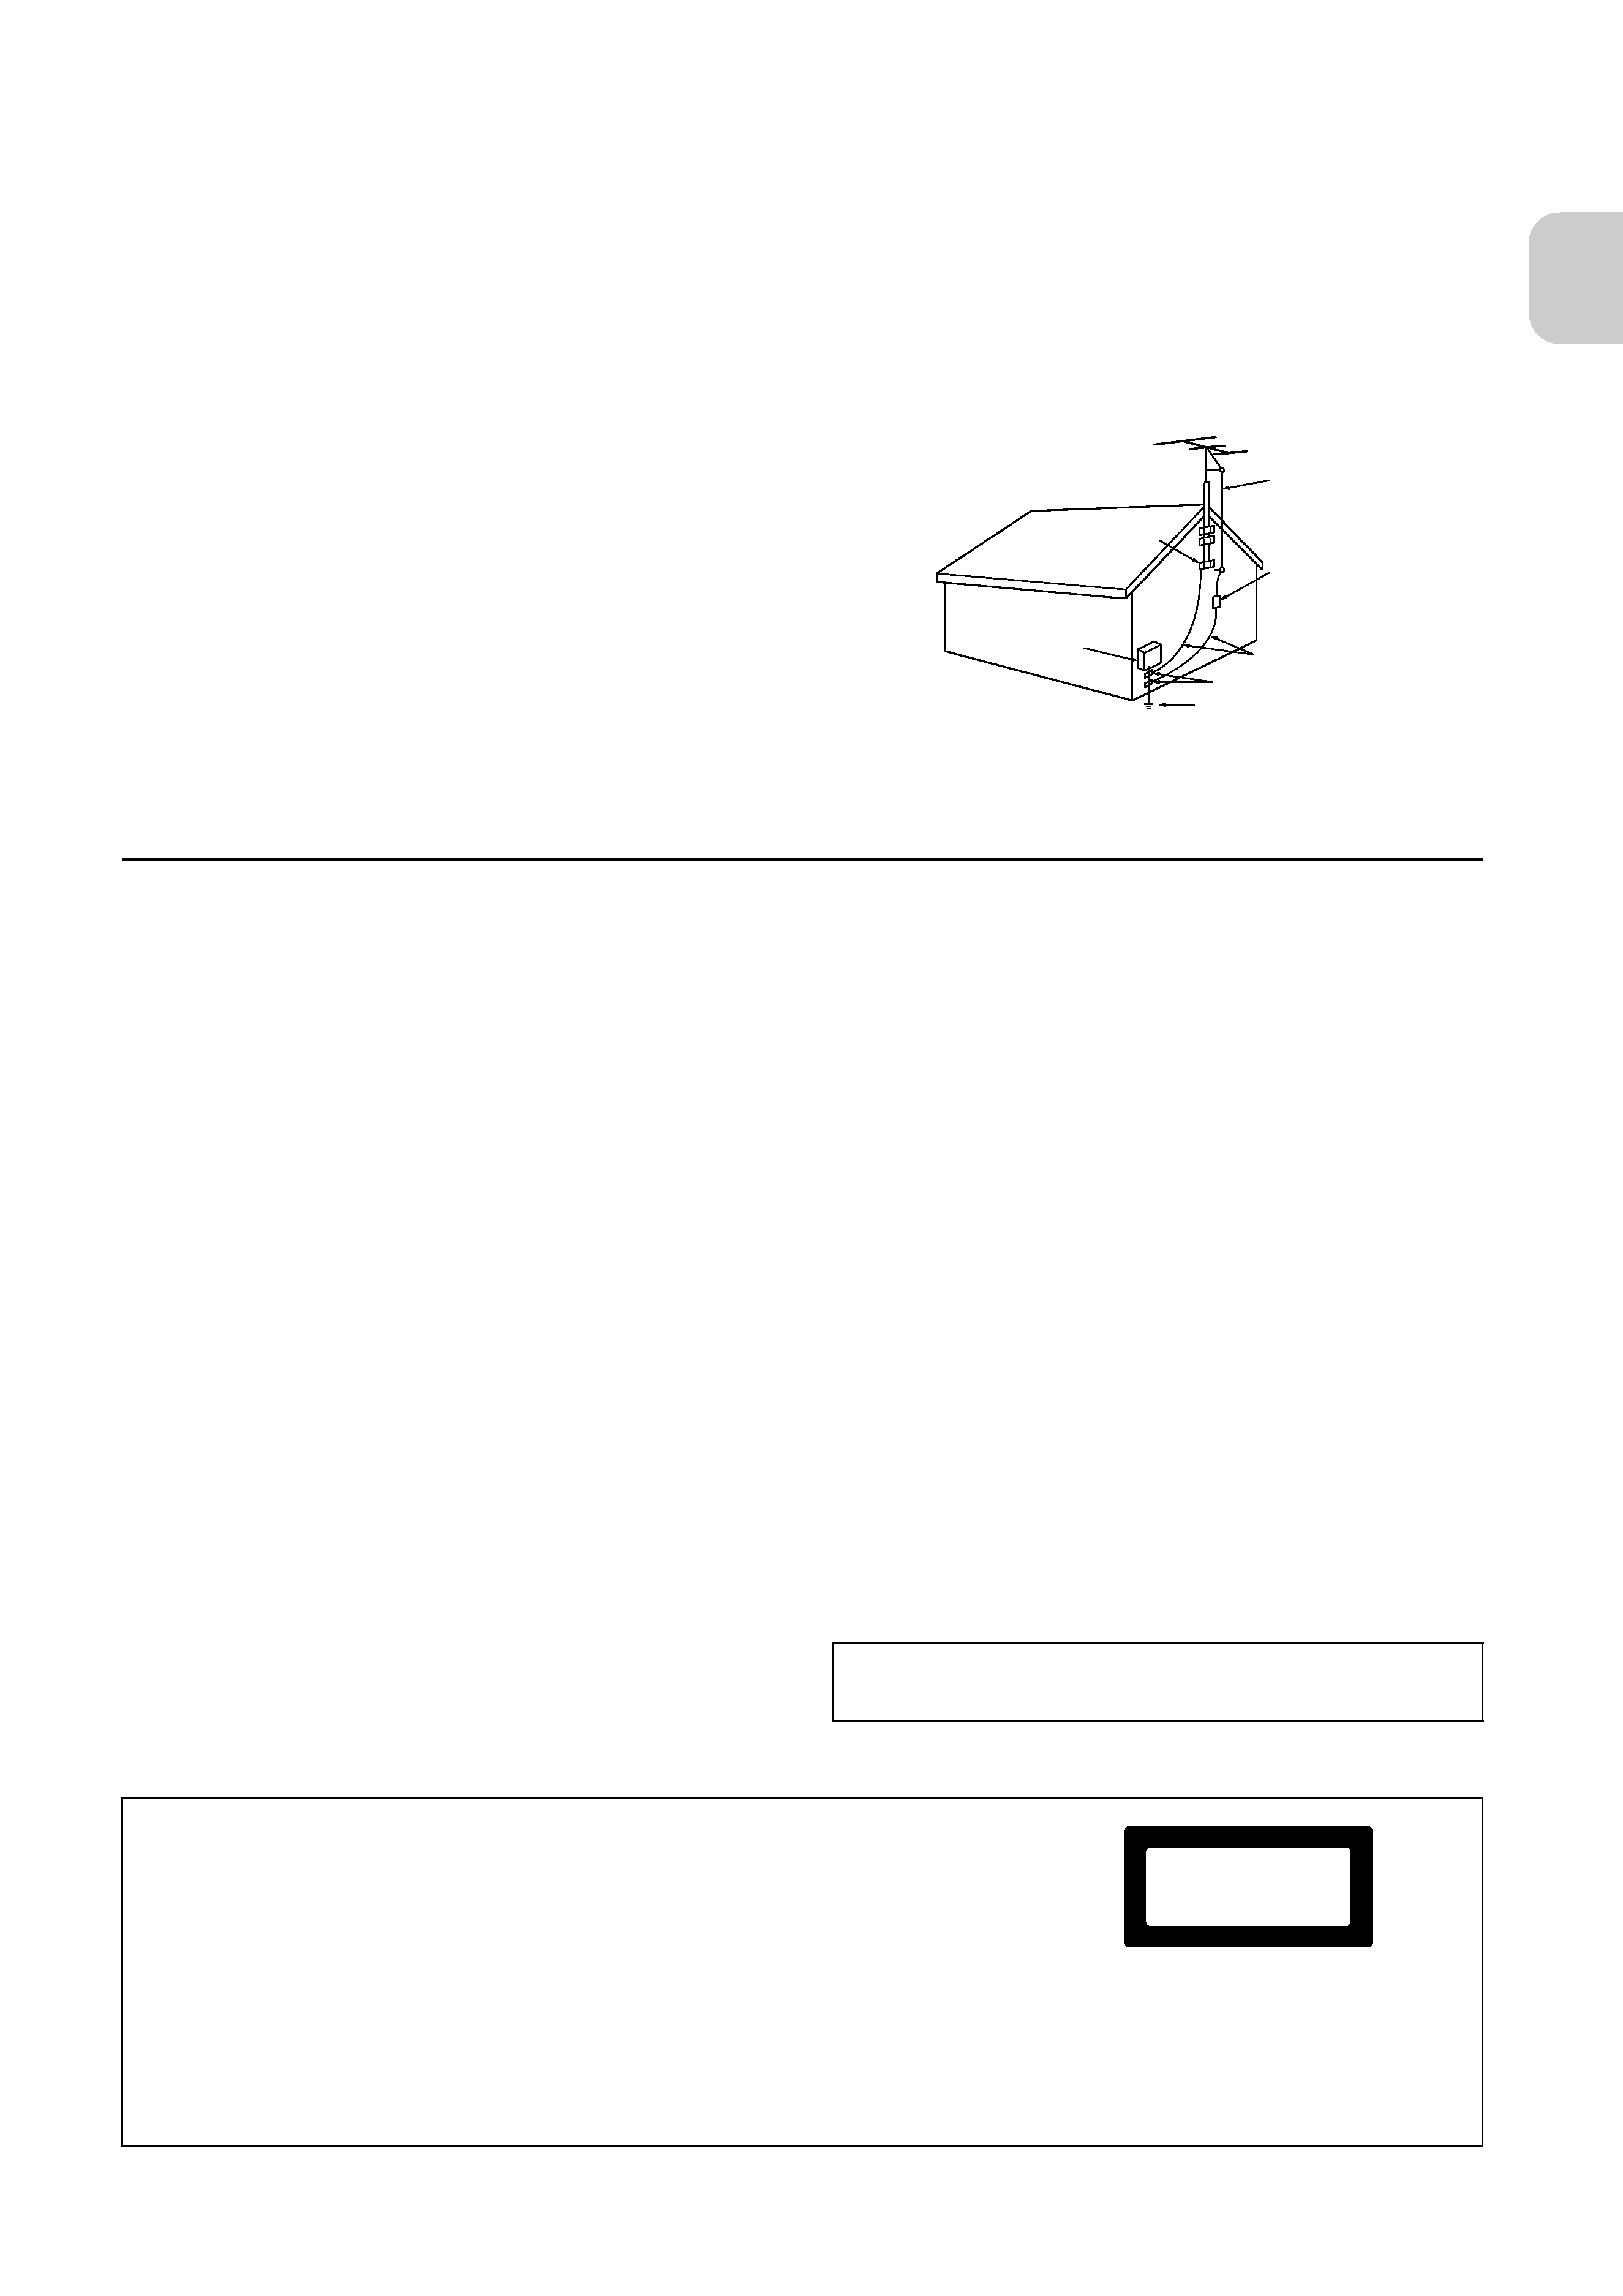
14. Outdoor Antenna Grounding If an outside antenna or
cable system is connected to the appliance, be sure the
antenna or cable system is grounded so as to provide some
protection against voltage surges and built-up static
charges. Article 810 of the National Electrical Code, ANSI/
NFPA 70, provides information with regard to proper
grounding of the mast and supporting structure, grounding
of the lead-in wire to an antenna-discharge unit, size of
grounding conductors, location of antenna-discharge unit,
connection to grounding electrodes, and requirements for
the grounding electrode. See Figure 1.
15. Lightning For added protection for the appliance during a
lightning storm, or when it is left unattended and unused for
long periods of time, unplug it from the wall outlet and dis-
connect the antenna or cable system. This will prevent dam-
age to the appliance due to lightning and power-line surges.
16. Power Lines An outside antenna system should not be
located in the vicinity of overhead power lines or other elec-
tric light or power circuits, or where it can fall into such power
lines or circuits. When installing an outside antenna system,
extreme care should be taken to avoid touching such power
lines or circuits as contact with them can be fatal.
17. Overloading Do not overload wall outlets, extension
cords, or integral convenience receptacles as this can result
in a risk of fire or electric shock.
18. Object and Liquid Entry Never push objects of any kind into
the appliance through openings as they may touch dangerous
voltage points or short-out parts, resulting in a fire or electric
shock. Never spill liquid of any kind on the appliance.
19. Servicing Do not attempt to service the appliance your-
self as opening or removing covers may expose you to dan-
gerous voltage or other hazards. Refer all servicing to
qualified service personnel.
WARNING
RISK OF ELECTRIC SHOCK
DO NOT OPEN
RISQUE DE CHOC ELECTRIQUE
NE PAS
OUVRIR
AVIS
WARNING:
TO REDUCE THE RISK OF FIRE OR ELECTRIC
SHOCK, DO NOT EXPOSE THIS APPLIANCE TO
RAIN OR MOISTURE.
CAUTION:
TO REDUCE THE RISK OF ELECTRIC SHOCK, DO
NOT REMOVE COVER (OR BACK). NO USER-
SERVICEABLE PARTS INSIDE. REFER SERVICING
TO QUALIFIED SERVICE PERSONNEL.
The lightning flash with arrowhead symbol,
within an equilateral triangle, is intended to
alert the user to the presence of uninsulated
"dangerous voltage" within the product's
enclosure that may be of sufficient magnitude
to constitute a risk of electric shock to persons.
The exclamation point within an equilateral
triangle is intended to alert the user to the
presence of important operating and
maintenance (servicing) instructions in the
literature accompanying the appliance.
3
20. Damage Requiring Service Unplug the appliance form
the wall outlet and refer servicing to qualified service per-
sonnel under the following conditions:
A. When the power-supply cord or plug is damaged
B. If liquid has been spilled, or objects have fallen into the
appliance
C. If the appliance has been exposed to rain or water
D. If the appliance does not operate normally as per the
operating instructions. Adjust only those controls that are
covered by the operating instructions as an improper
adjustment of other controls may result in damage and
will often require extensive work by a qualified technician
to restore the appliance to its normal operation.
E. If the appliance has been dropped or damaged in any
way, and
F. When the appliance exhibits a distinct change in perfor-
mance this indicates a need for service.
21. Replacement Parts When replacement parts are
required, be sure the service technician has used replace-
ment parts specified by the manufacturer or that have the
same characteristics as the original part. Unauthorized sub-
stitutions may result in fire, electric shock, or other hazards.
22. Safety Check Upon completion of any service or repairs
to the appliance, ask the service technician to perform
safety checks to determine that the appliance is in proper
operating condition.
23. Wall or Ceiling Mounting The appliance should be
mounted to a wall or ceiling only as recommended by the
manufacturer.
24. Heat The appliance should be situated away from heat
sources such as radiators, heat registers, stoves, or other
appliances (including amplifiers) that produce heat.
25. Liquid Hazards The appliance shall not be exposed to
dripping or splashing and no objects filled with liquids, such
as vases shall be placed on the appliance.
FIGURE 1:
EXAMPLE OF ANTENNA GROUNDING AS PER NATIONAL
ELECTRICAL CODE, ANSI/NFPA 70
Precautions
1. Recording Copyright
Recording of copyrighted material for other than personal use
is illegal without permission of the copyright holder.
2. AC Fuse
The fuse is located inside the chassis and is not user-service-
able. If power does not come on, contact your Onkyo autho-
rized service station.
3. Power
WARNING
BEFORE PLUGGING IN THE UNIT FOR THE FIRST TIME,
READ THE FOLLOWING SECTION CAREFULLY.
The voltage of the available power supply differs according to
country or region. Be sure that the power supply voltage of the
area where this unit will be used meets the required voltage
(e.g., AC 230 V, 50 Hz or AC 120 V, 60 Hz) written on the rear
panel.
Setting the STANDBY button to standby mode does not shut
off the power completely.
4. Do not touch this unit with wet hands.
Do not handle this unit or power cord when your hands are wet
or damp. If water or any other liquid enters the case, take this
unit to an authorized service center for inspection.
5. Location of this unit
Place this unit in a well-ventilated location.
Take special care to provide plenty of ventilation on all sides of
this unit especially when it is placed in an audio rack. If ventila-
tion is blocked, this unit may overheat and malfunction.
Do not expose this unit to direct sunlight or heating units as
this unit's internal temperature may rise and shorten the life of
the pickup.
Avoid damp and dusty places and places directly affected by
vibrations from the speakers. In particular, avoid placing the
unit on or above one of the speakers.
Be sure this unit is placed in a horizontal position. Never place it
on its side or on a slanted surface as it may malfunction.
Do not place this unit near tuners or TV sets.
If placed next to a TV or tuner, it may cause reception interfer-
ence resulting in some noise in the TV or tuner output.
6. Care
From time to time you should wipe the front and rear panels
and the cabinet with a soft cloth. For heavier dirt, unplug the
power cord from the AC outlet, dampen a soft cloth in a weak
solution of mild detergent and water, wring it out dry, and wipe
off the dirt. Following this, dry the unit immediately with a
clean cloth.
Do not use rough material, thinners, alcohol or other chemical
solvents or cloths since these could damage the finish or
remove the panel lettering.
7. Points to remember
If this unit is brought from a cold environment to a warm one or
is in a cold room that is quickly heated, condensation may
form on the pickup, preventing proper operation. In this case,
remove the disc and leave the power ON for about one hour to
remove the condensation.
When transporting this unit, be careful not to bump it.
ANTENNA
DISCHARGE UNIT
(NEC SECTION 810-20)
GROUNDING CONDUCTORS
(NEC SECTION 810-21)
GROUND CLAMPS
POWER SERVICE GROUNDING
ELECTRODE SYSTEM
(NEC ART 250, PART H)
NEC NATIONAL ELECTRICAL CODE
ELECTRIC
SERVICE
EQUIPMENT
GROUND
CLAMP
ANTENNA
LEAD IN
WIRE
S2898A
US and foreign patents licensed from Dolby Laboratories
Licensing Corporation.
"CLASS 1 LASER
PRODUCT "
This unit contains a semiconductor laser system and is classified as a "CLASS 1
LASER PRODUCT." To use this model properly, read this Instruction Manual
carefully. In case of any trouble, please contact the store where you purchased the
unit. To prevent being exposed to the laser beam, do not try to open the enclosure.
DANGER:
INVISIBLE LASER RADIATION WHEN OPEN AND INTERLOCK FAILED OR
DEFEATED. AVOID DIRECT EXPOSURE TO BEAM.
CAUTION:
THIS PRODUCT UTILIZES A LASER. USE OF CONTROLS OR ADJUSTMENTS
OR PERFORMANCE OF PROCEDURES OTHER THAN THOSE SPECIFIED
HEREIN MAY RESULT IN HAZARDOUS RADIATION EXPOSURE.
This unit is a CLASS 1 LASER PRODUCT
and employs a laser inside the cabinet.
To prevent the laser from being exposed,
do not remove the cover. Refer servicing to
qualified personnel.
1.
2.
This label on the left hand panel states that:
4
· DLA Link (Digital Rec Level Adjustment) function
automatically adjusts the recording level of CD-to-
MD dubbing.
· Adjustable digital recording volume level.
· Supports MDLP long hour recording mode (2X/4X).
· Double-speed CD-to-MD dubbing function
· Sampling rate converter equipped
· Title function facilitates naming an MD.
· Optical digital OUT connectors equipped.
· WRAT (Wide Range Amplifier Technology) could
lead to a broad-band, next-generation media.
· Various external IN connectors (CD-R and LINE).
· A tuner enables you to program up to 30 preset sta-
tions into memory.
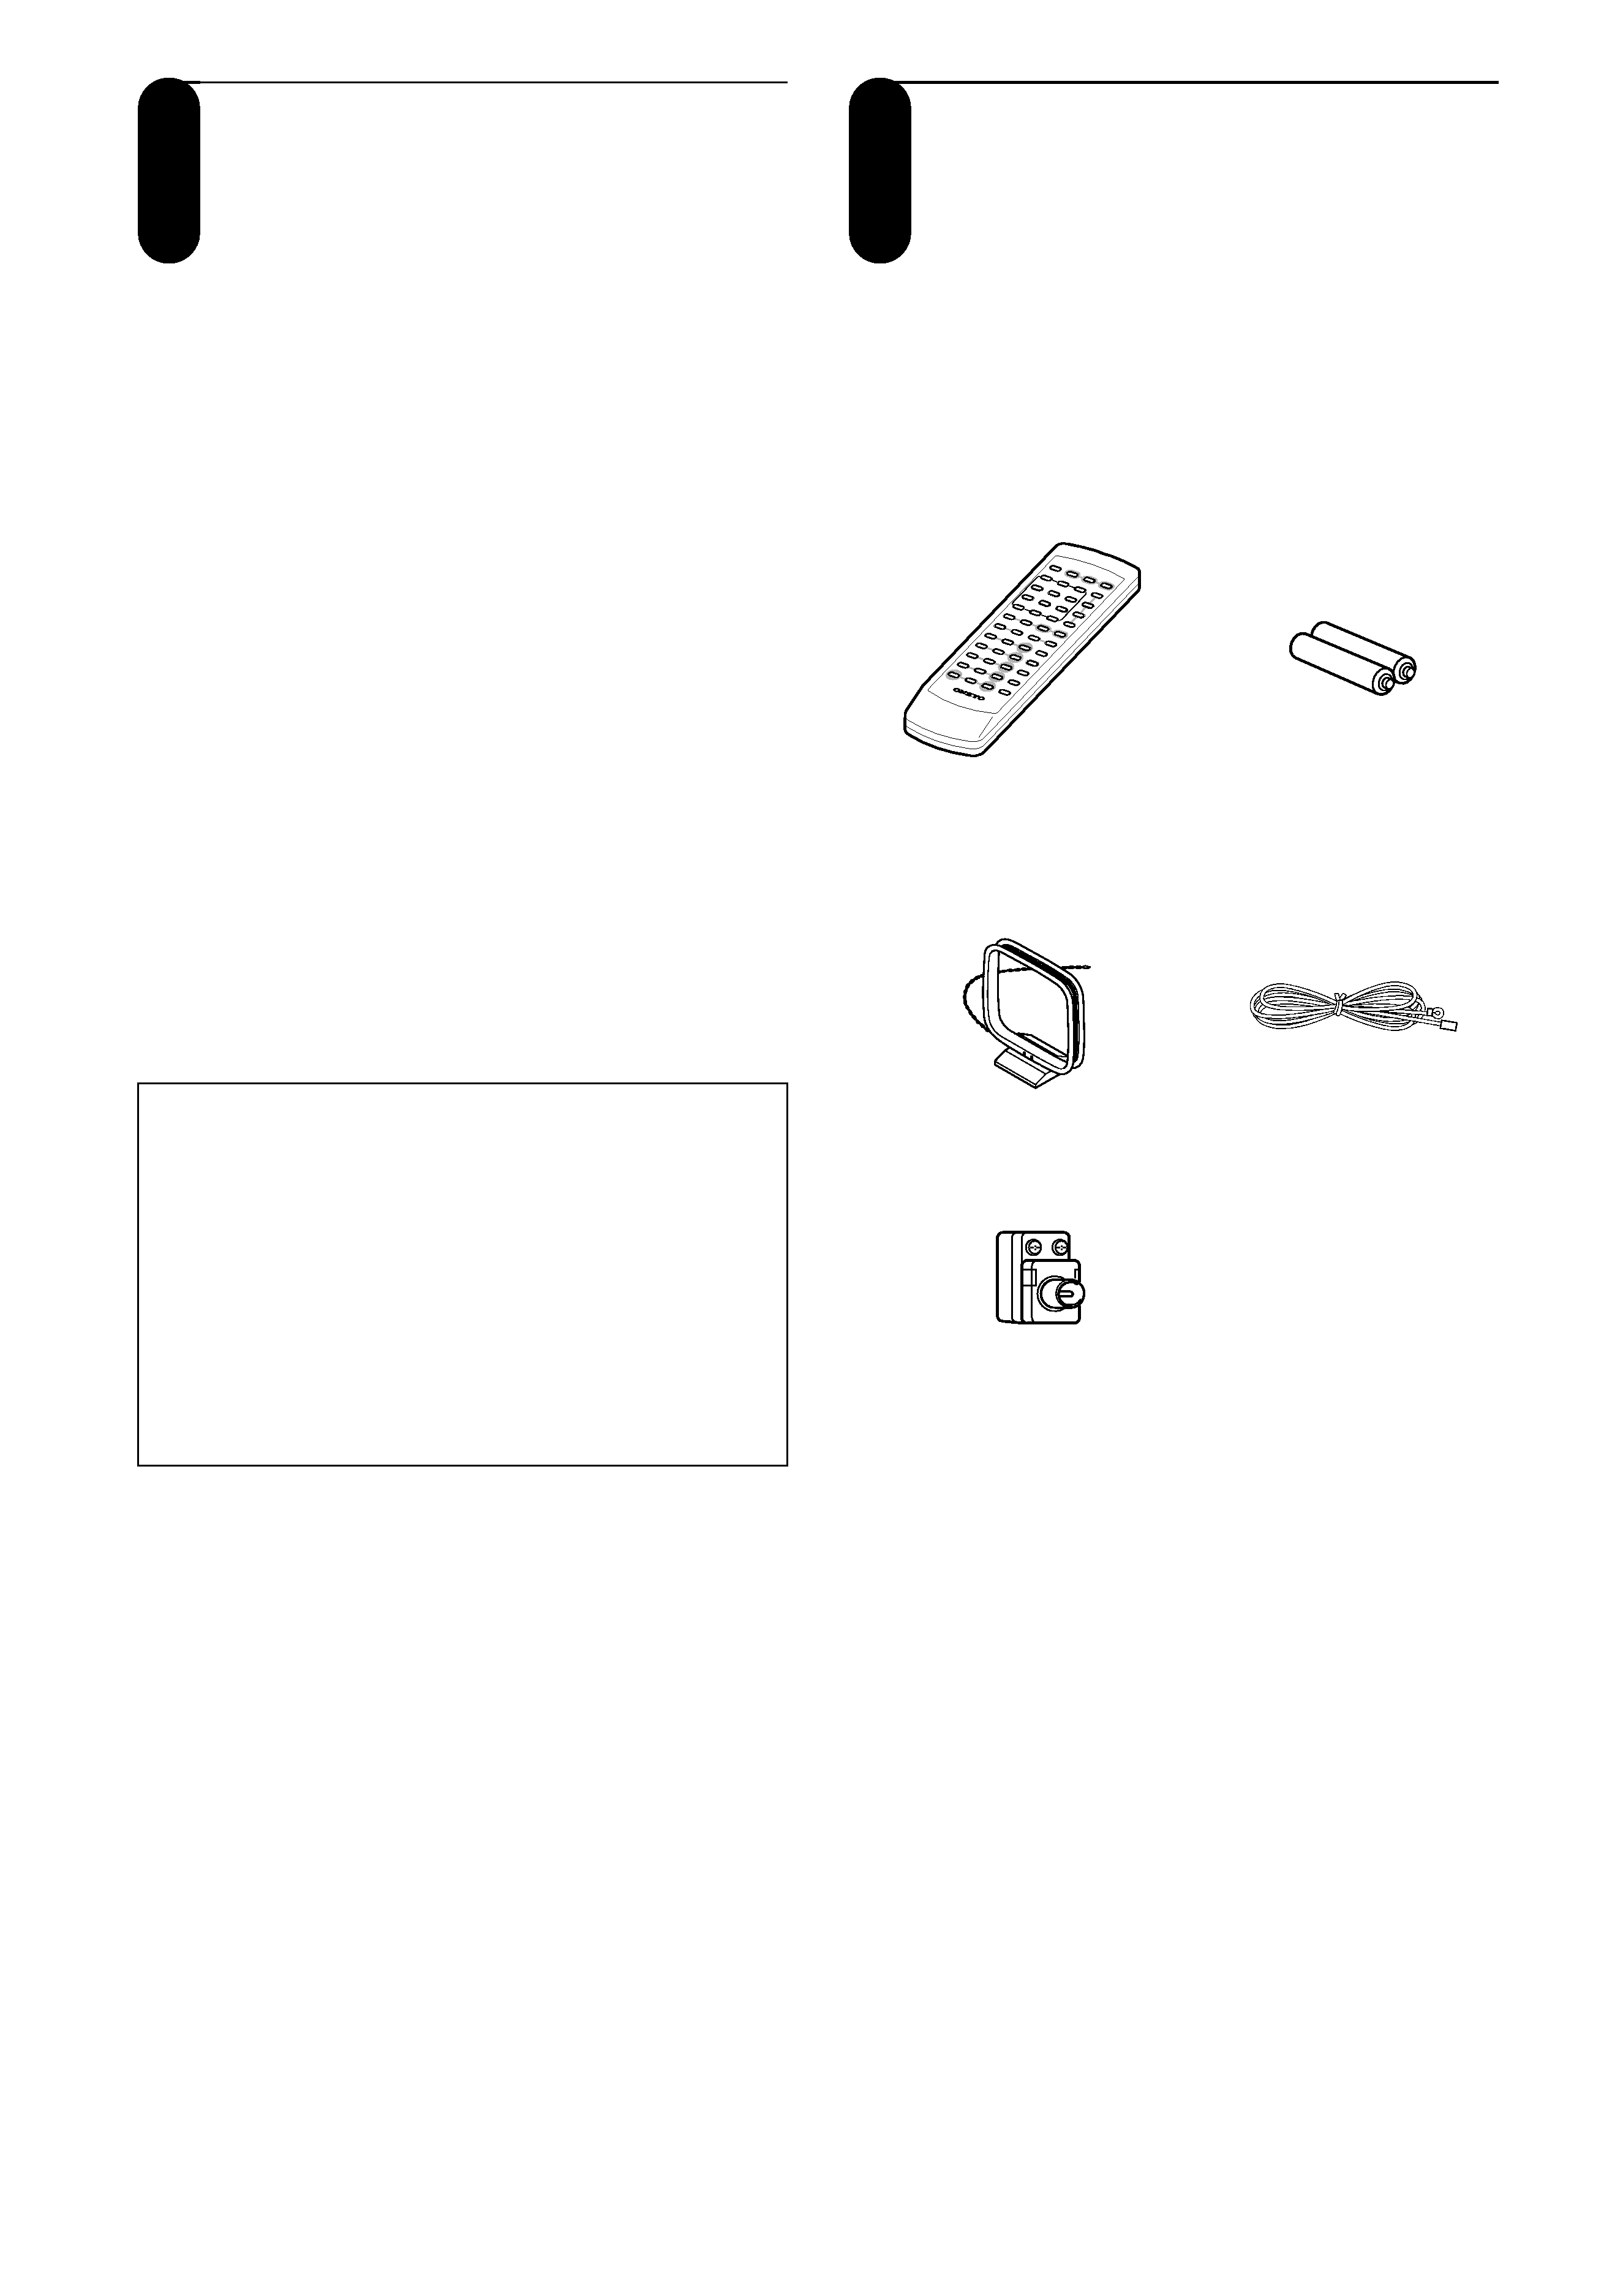
Check that the following accessories are supplied with
this unit.
The number of accessories is indicated in brackets.
Main features
Memory Preservation
This unit does not require memory preservation batter-
ies. A built-in memory power back-up system preserves
the contents of the memory during power failures and
even when the unit is unplugged. The unit must be con-
nected to a power source to charge the back-up system.
The memory preservation period after the unit has been
unplugged varies depending on climate and placement
of the unit. On the average, memory contents are pro-
tected over a period of a few weeks after the last time the
unit has been unplugged. This period is shorter when the
unit is exposed to a humid climate.
Supplied accessories
· Remote controller
RC-497S [1]
· Batteries (size AA/
R6/UM3) [2]
· Indoor FM antenna
(aerial) [1]
· Indoor AM antenna
(aerial) [1]
· 75/300 ohm antenna
adapter [1]
· Instruction Man-
ual (this manual)
[1]

5
Before Using
Important Safeguards/Precautions/Main features/Supplied accessories ................................24
Connecting
Antenna (aerial) and speakers ....................................................................................................6
Audio/video equipment ................................................................................................................9
Connecting the power cord........................................................................................................11
Preparations
Precautions for handling Compact Discs (CDs) ........................................................................12
Precautions for handling MiniDiscs (MDs).................................................................................12
Preparing the remote controller .................................................................................................13
Part names and functions ..........................................................................................................14
Understanding preparatory and common operations ................................................................16
Setting the day of the week and the time ..................................................................................17
Programming FM stations automatically -- Auto Preset ...........................................................18
Programming AM/FM stations one by one -- Preset Write.......................................................19
Basic Operation
Playing a CD..............................................................................................................................20
Playing an MD ...........................................................................................................................22
Listening to an FM/AM station ...................................................................................................24
Adjusting the tone ......................................................................................................................26
Dubbing CD to MD (CD dubbing) ..............................................................................................27
Dubbing CD to MD at double speed..........................................................................................28
Recording CD to MD (Various CD Dubbing) .............................................................................29
Recording CD to MD (Synchro recording).................................................................................31
Recording an FM/AM broadcast program to an MD..................................................................32
Recording from another Onkyo System (Synchro Recording) ..................................................33
Recording data from a connected external device to an MD.....................................................34
Settings for Recording ...............................................................................................................35
Advanced Operation
Various ways to play CDs and MDs ..........................................................................................40
Using the MD Group Function ...................................................................................................43
Editing Groups (Move, Combine and Erase).............................................................................45
MD Group Functions (Playing MD Groups)...............................................................................48
Changing the FM/AM preset channels ......................................................................................50
Naming an MD and its tracks, and preset channels ..................................................................52
Moving, dividing, combining, and erasing MD tracks ................................................................55
Using the timer functions ...........................................................................................................60
Customizing the source names .................................................................................................65
Miscellaneous
Messages ..................................................................................................................................66
Rules for digital recording ..........................................................................................................67
System limitations......................................................................................................................68
Troubleshooting .........................................................................................................................69
Specifications ............................................................................................................................71
Table of contents