
O W N E R ' S
M A N U A L
PORTABLE RECORDING PREAMP
with 96kHz FIREWIRE INTERFACE
ONYX Satellite
ONYX
S
at
ellit
e
1. Readtheseinstructions.
2. Keeptheseinstructions.
3. Heedallwarnings.
4. Followallinstructions.
5. Donotusethisapparatusnearwater.
6. Cleanonlywithdrycloth.
7. Donotblockanyventilationopenings.Installinaccordancewiththe
manufacturer'sinstructions.
8. Donotinstallnearanyheatsourcessuchasradiators,heatregisters,
stoves,orotherapparatus(includingamplifiers)thatproduceheat.
9. Donotdefeatthesafetypurposeofthepolarizedorgrounding-type
plug.Apolarizedplughastwobladeswithonewiderthantheother.
Agrounding-typeplughastwobladesandathirdgroundingprong.
Thewidebladeorthethirdprongareprovidedforyoursafety.Ifthe
providedplugdoesnotfitintoyouroutlet,consultanelectricianfor
replacementoftheobsoleteoutlet.
10.Protectthepowercordfrombeingwalkedonorpinchedparticularlyat
plugs,conveniencereceptacles,andthepointwheretheyexitfromthe
apparatus.
11.Onlyuseattachments/accessoriesspecifiedbythemanufacturer.
12.Useonlywithacart,stand,tripod,bracket,ortablespecifiedbythe
manufacturer,orsoldwiththeapparatus.Whenacartisused,use
cautionwhenmovingthecart/apparatuscombinationtoavoidinjury
fromtip-over.
13.Unplugthisapparatusduringlightningstormsorwhenunusedforlong
periodsoftime.
14.Referallservicingtoqualifiedservicepersonnel.Servicingisrequired
whentheapparatushasbeendamagedinanyway,suchaspower-
supplycordorplugisdamaged,liquidhasbeenspilledorobjectshave
fallenintotheapparatus,theapparatushasbeenexposedtorainor
moisture,doesnotoperatenormally,orhasbeendropped.
15.Thisapparatusshallnotbeexposedtodrippingorsplashing,andno
objectfilledwithliquids,suchasvases,shallbeplacedontheapparatus.
16.ThisapparatusdoesnotexceedtheClassA/ClassB(whicheveris
applicable)limitsforradionoiseemissionsfromdigitalapparatusas
setoutintheradiointerferenceregulationsoftheCanadianDepartment
ofCommunications.
ATTENTION--Le présent appareil numérique n'émet pas de bruits
radioélectriques dépassant las limites applicables aux appareils numériques de
class A/de class B (selon le cas) prescrites dans le réglement sur le brouillage
radioélectrique édicté par les ministere des communications du Canada.
17.Exposuretoextremelyhighnoiselevelsmaycausepermanenthearing
loss.Individualsvaryconsiderablyinsusceptibilitytonoise-induced
hearingloss,butnearlyeveryonewilllosesomehearingifexposedto
sufficientlyintensenoiseforaperiodoftime.TheU.S.Government's
OccupationalSafetyandHealthAdministration(OSHA)hasspecified
thepermissiblenoiselevelexposuresshowninthefollowingchart.
AccordingtoOSHA,anyexposureinexcessofthesepermissiblelimits
couldresultinsomehearingloss.Toensureagainstpotentiallydanger-
ousexposuretohighsoundpressurelevels,itisrecommendedthatall
personsexposedtoequipmentcapableofproducinghighsoundpres-
surelevelsusehearingprotectorswhiletheequipmentisinoperation.
Earplugsorprotectorsintheearcanalsorovertheearsmustbeworn
whenoperatingtheequipmentinordertopreventpermanenthearing
lossifexposureisinexcessofthelimitssetforthhere.
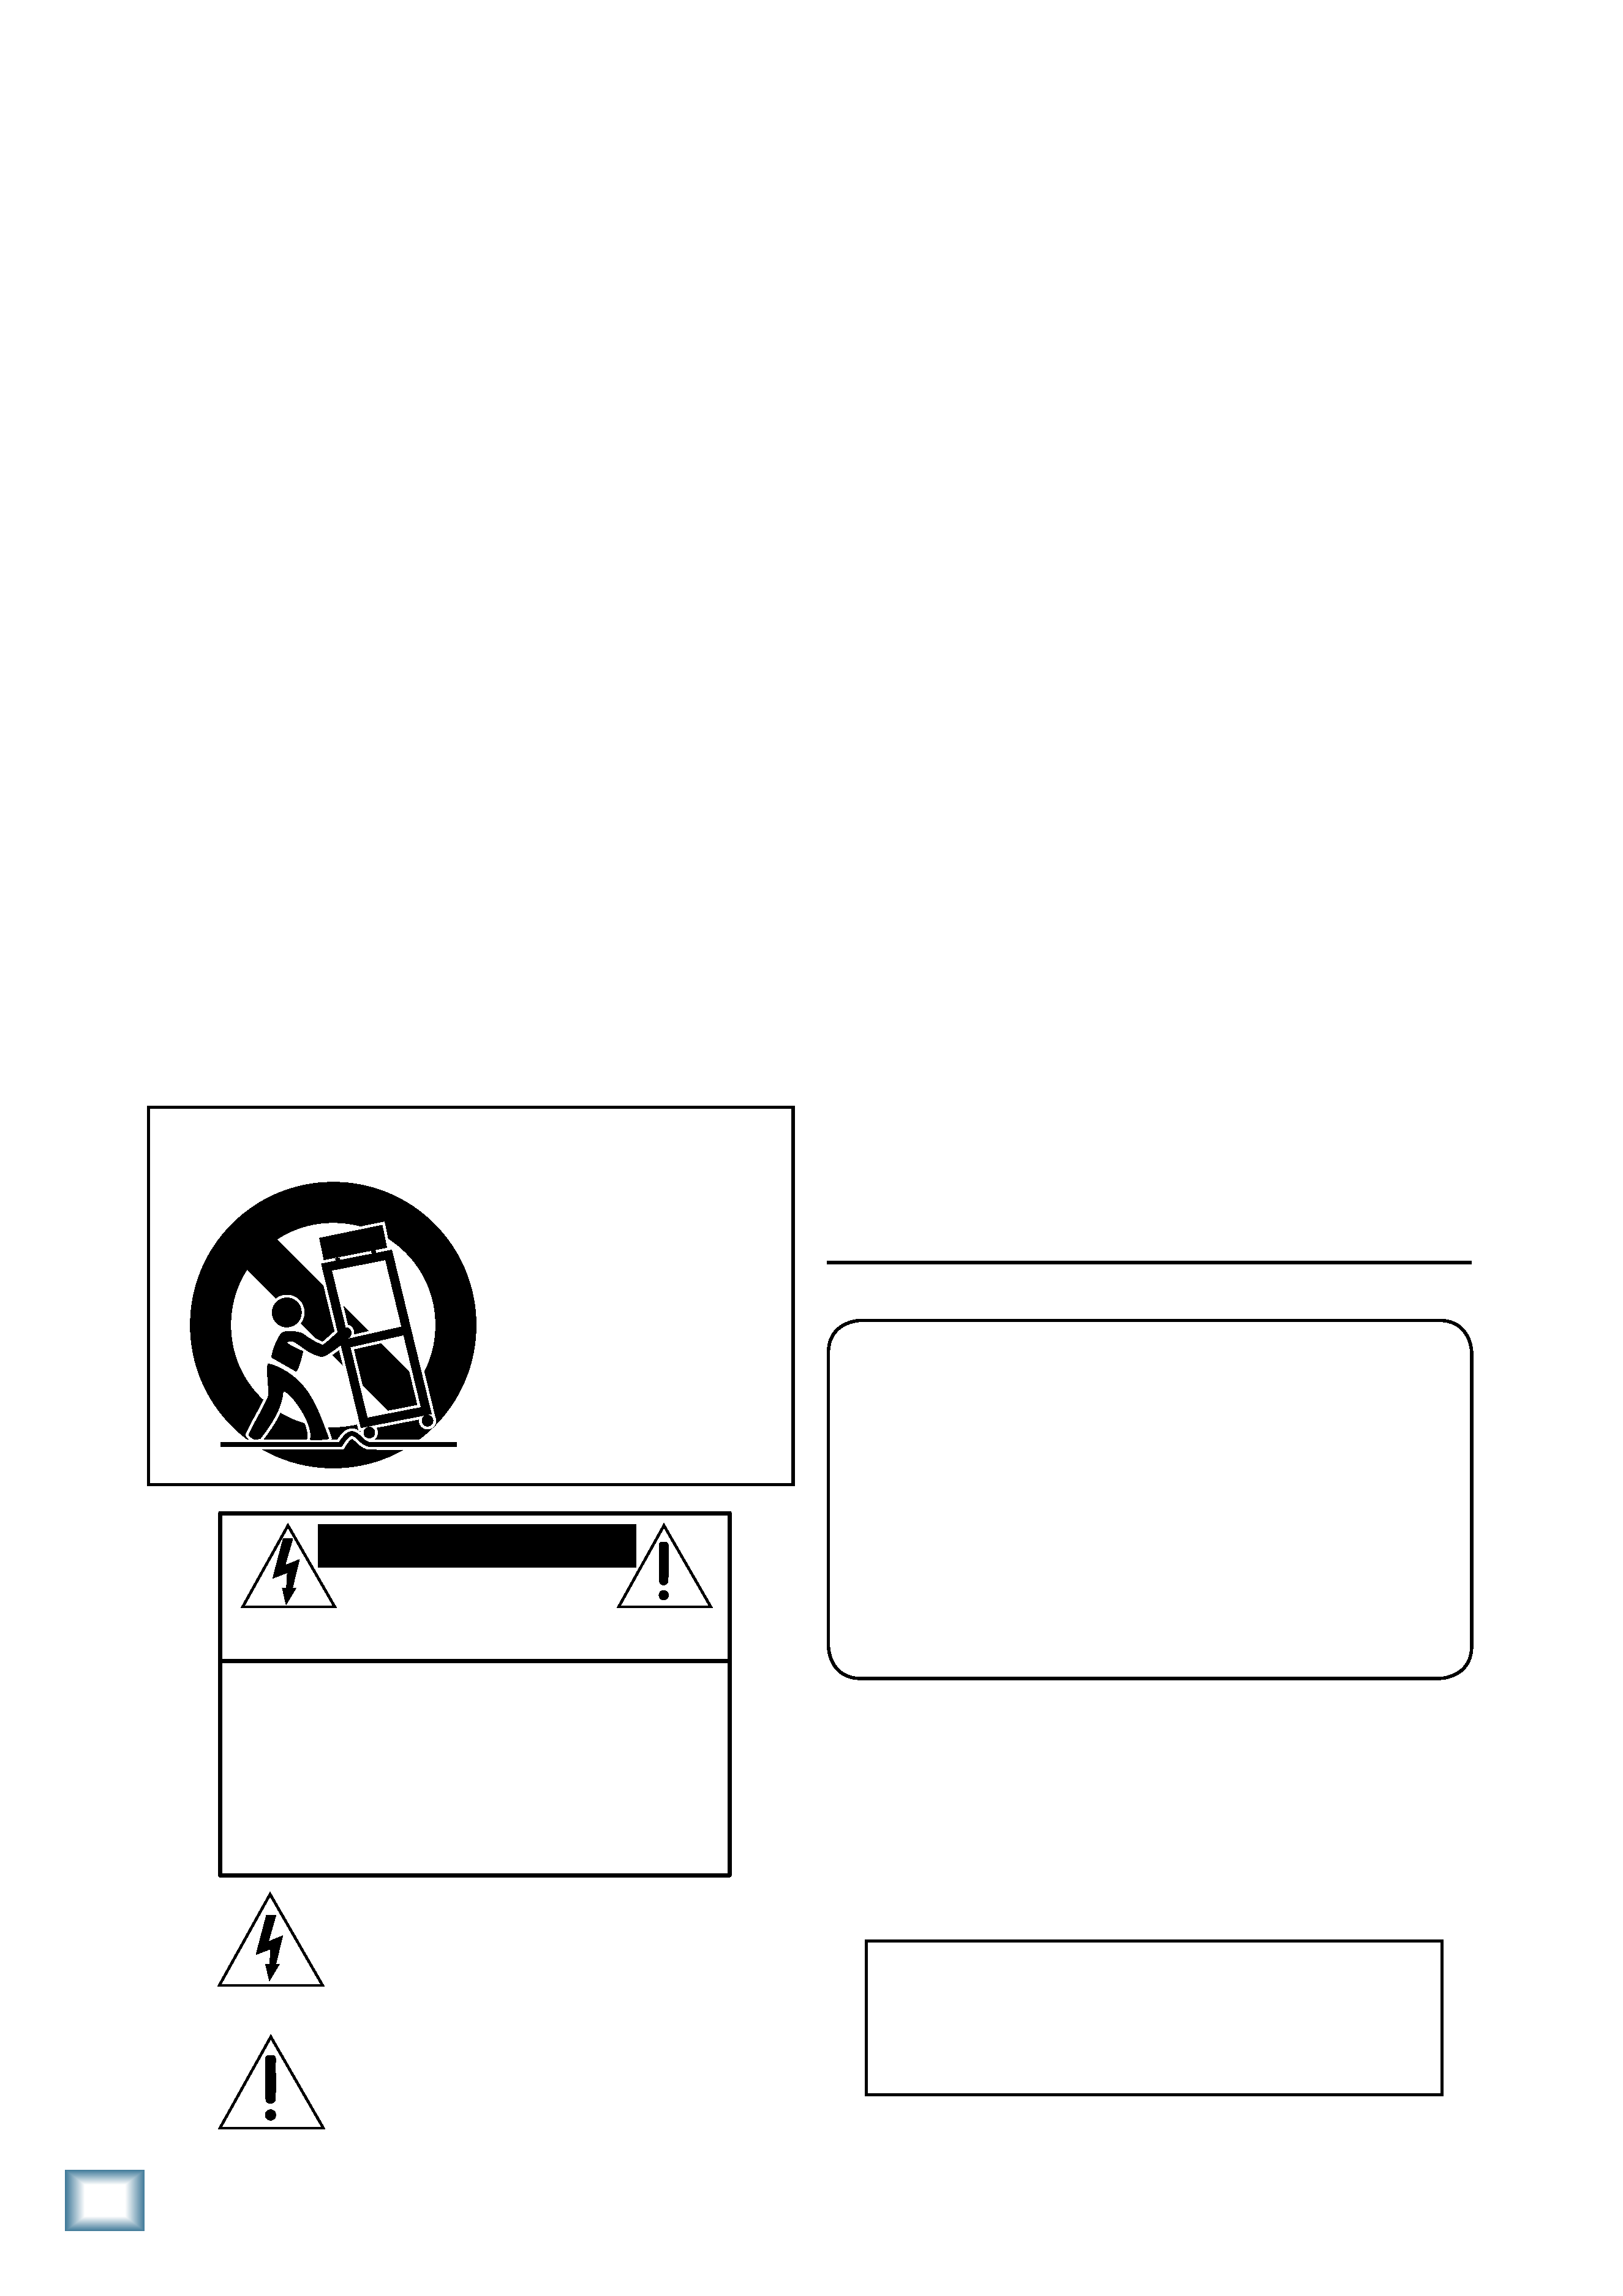
Important Safety Instructions
WARNING--Toreducetheriskoffireor
electricshock,donotexposethisapparatus
torainormoisture.
Duration Per Day
Sound Level dBA,
Typical
In Hours
Slow Response
Example
8
90
Duoinsmallclub
6
92
4
95
SubwayTrain
3
97
2
100
Veryloudclassicalmusic
1.5
102
1
105
TamiscreamingatAdrianaboutdeadlines
0.5
110
0.25orless
115
Loudestpartsatarockconcert
PORTABLE CART WARNING
Carts and stands - The
Component should be used
only with a cart or stand
that is recommended by
the manufacturer.
A Component and cart
combination should be
moved with care. Quick
stops, excessive force, and
uneven surfaces may cause
the Component and cart
combination to overturn.
CAUTION AVIS
RISK OF ELECTRIC
SHOCK
DO NOT OPEN
RISQUE DE CHOC ELECTRIQUE
NE PAS OUVRIR
CAUTION: TO REDUCE THE RISK OF ELECTRIC SHOCK
DO NOT REMOVE COVER (OR BACK)
NO USER-SERVICEABLE PARTS INSIDE
REFER SERVICING TO QUALIFIED PERSONNEL
ATTENTION: POUR EVITER LES RISQUES DE CHOC
ELECTRIQUE, NE PAS ENLEVER LE COUVERCLE. AUCUN
ENTRETIEN DE PIECES INTERIEURES PAR L'USAGER. CONFIER
L'ENTRETIEN AU PERSONNEL QUALIFIE.
AVIS: POUR EVITER LES RISQUES D'INCENDIE OU
D'ELECTROCUTION, N'EXPOSEZ PAS CET ARTICLE
A LA PLUIE OU A L'HUMIDITE
The lightning flash with arrowhead symbol within an equilateral
triangle is intended to alert the user to the presence of uninsulated
"dangerous voltage" within the product's enclosure, that may be
of sufficient magnitude to constitute a risk of electric shock to persons.
Le symbole éclair avec point de flèche à l'intérieur d'un triangle
équilatéral est utilisé pour alerter l'utilisateur de la présence à
l'intérieur du coffret de "voltage dangereux" non isolé d'ampleur
suffisante pour constituer un risque d'éléctrocution.
The exclamation point within an equilateral triangle is intended to
alert the user of the presence of important operating and maintenance
(servicing) instructions in the literature accompanying the appliance.
Le point d'exclamation à l'intérieur d'un triangle équilatéral est
employé pour alerter les utilisateurs de la présence d'instructions
importantes pour le fonctionnement et l'entretien (service) dans le
livret d'instruction accompagnant l'appareil.

Part No. 0019085 Rev. A 06/06
©2006 LOUD Technologies Inc. All Rights Reserved.
Owner's Manual
Owner'
sManual
Don't forget to visit our website at www.mackie.com for more
information about this and other Mackie products.
R
Table of Contents
Introduction.................................................................................................................................5
Onyx Satellite Features........................................................................................................................................................6
Getting Started...........................................................................................................................7
Computer Requirements......................................................................................................................................................7
Installing the Windows Drivers ..........................................................................................................................................7
Macintosh OS X Audio MIDI Setup....................................................................................................................................7
Installing Tracktion ............................................................................................................................................................8
Zero the Controls..................................................................................................................................................................10
Connections............................................................................................................................................................................10
Set the Levels..........................................................................................................................................................................11
Set the Sample Rate and Latency .....................................................................................................................................11
Start Recording to DAW......................................................................................................................................................1
Hookup Diagrams......................................................................................................................1
Onyx Satellite Features............................................................................................................17
Pod Front Panel......................................................................................................................................................................17
1. Channel GAIN..................................................................................................................................................................17
. Signal Level Indicators.................................................................................................................................................17
. Instrument Switch.........................................................................................................................................................17
4. POWER Indicator ..........................................................................................................................................................17
5. FireWire Indicator.........................................................................................................................................................18
6. 48V Phantom Power Switch and Indicator .....................................................................................................................18
7. CTRL RM/PHONES 1 Level..........................................................................................................................................18
8. PHONES Level.............................................................................................................................................................18
9. PHONES 1 and Outputs.............................................................................................................................................18
Pod Rear Panel.......................................................................................................................................................................19
10. MIC/Line Inputs..........................................................................................................................................................19
11. CR OUT............................................................................................................................................................................19
1. TO DOCK Connector...................................................................................................................................................19
1. FIREWIRE.......................................................................................................................................................................19
14. POWER Connector......................................................................................................................................................19
15. Kensington Security Slot...........................................................................................................................................19
Base Station Front Panel....................................................................................................................................................0
16. MIC Input Select Switch...........................................................................................................................................0
17. Instrument Input Select Switch..............................................................................................................................0

4
ONYX Satellite
ONYX
S
at
ellit
e
Please write your serial number here for future
reference (i.e., insurance claims, tech support,
return authorization, etc.)
Purchased at:
Date of purchase:
18. Line Input 1 Select Switch........................................................................................................................................0
19. Line Input Select Switch........................................................................................................................................0
0. Built-in Talkback Mic.................................................................................................................................................1
1. TALKBACK LEVEL Control..........................................................................................................................................1
. TO PHONES Switch.....................................................................................................................................................1
. TO DAW Switch............................................................................................................................................................1
4. CONTROL ROOM LEVEL Control............................................................................................................................1
5. SOURCE Select Switch...............................................................................................................................................1
6. A/B Select Switch .....................................................................................................................................................
7. 1-/1-6 Select Switch.................................................................................................................................................
8. Power Switch ..............................................................................................................................................................
9. Base Station Dock......................................................................................................................................................
Base Station Rear Panel.......................................................................................................................................................
0. MIC Input ......................................................................................................................................................................
1. LINE 1 Input....................................................................................................................................................................
. LINE Input...................................................................................................................................................................
. Instrument Input.........................................................................................................................................................
4. INSERT Jacks .................................................................................................................................................................
5. OUTPUTS -6 ...............................................................................................................................................................4
6. CR OUT 1 and ............................................................................................................................................................4
7. FIREWIRE......................................................................................................................................................................4
8. POWER Connector.....................................................................................................................................................4
9. Kensington Security Slot..........................................................................................................................................4
Appendix A: Service Information.........................................................................................5
Warranty Service ................................................................................................................................................................. 5
Troubleshooting................................................................................................................................................................... 5
Repair......................................................................................................................................................................................6
Appendix B: Connections .......................................................................................................7
Appendix C: Technical Info ....................................................................................................0
Onyx Satellite Specifications ...........................................................................................................................................0
Onyx Satellite Dimensions ................................................................................................................................................1
Onyx Satellite Block Diagram...........................................................................................................................................
Onyx Satellite Limited Warranty......................................................................................... 5
5
Owner's Manual
Owner'
sManual
Introduction
Thank you for choosing the Mackie Onyx Satellite
professional audio interface for studio and mobile
digital audio recording. The Onyx Series computer audio
interfaces are designed for the digital era and offer the
newest features and latest technologies for digital stu-
dio recording in a durable, road-worthy package.
The Onyx Satellite is equipped with two of our new
premium precision-engineered studio-grade Onyx mic
preamps. Mackie is renowned for the high-quality mic
preamps used in our mixers, and the Onyx mic pre's are
better than ever, with specifications rivaling other stand-
alone boutique mic preamplifiers at twice the price.
The Onyx Satellite is designed to be a transparent au-
dio interface for direct tracking and mixdown, using high
performance 24-bit/96 kHz converters to provide wide
dynamic range and low noise. It works with virtually any
ASIO/Core Audio compliant DAW software application on
a PC or Mac as a 2x6 audio interface.
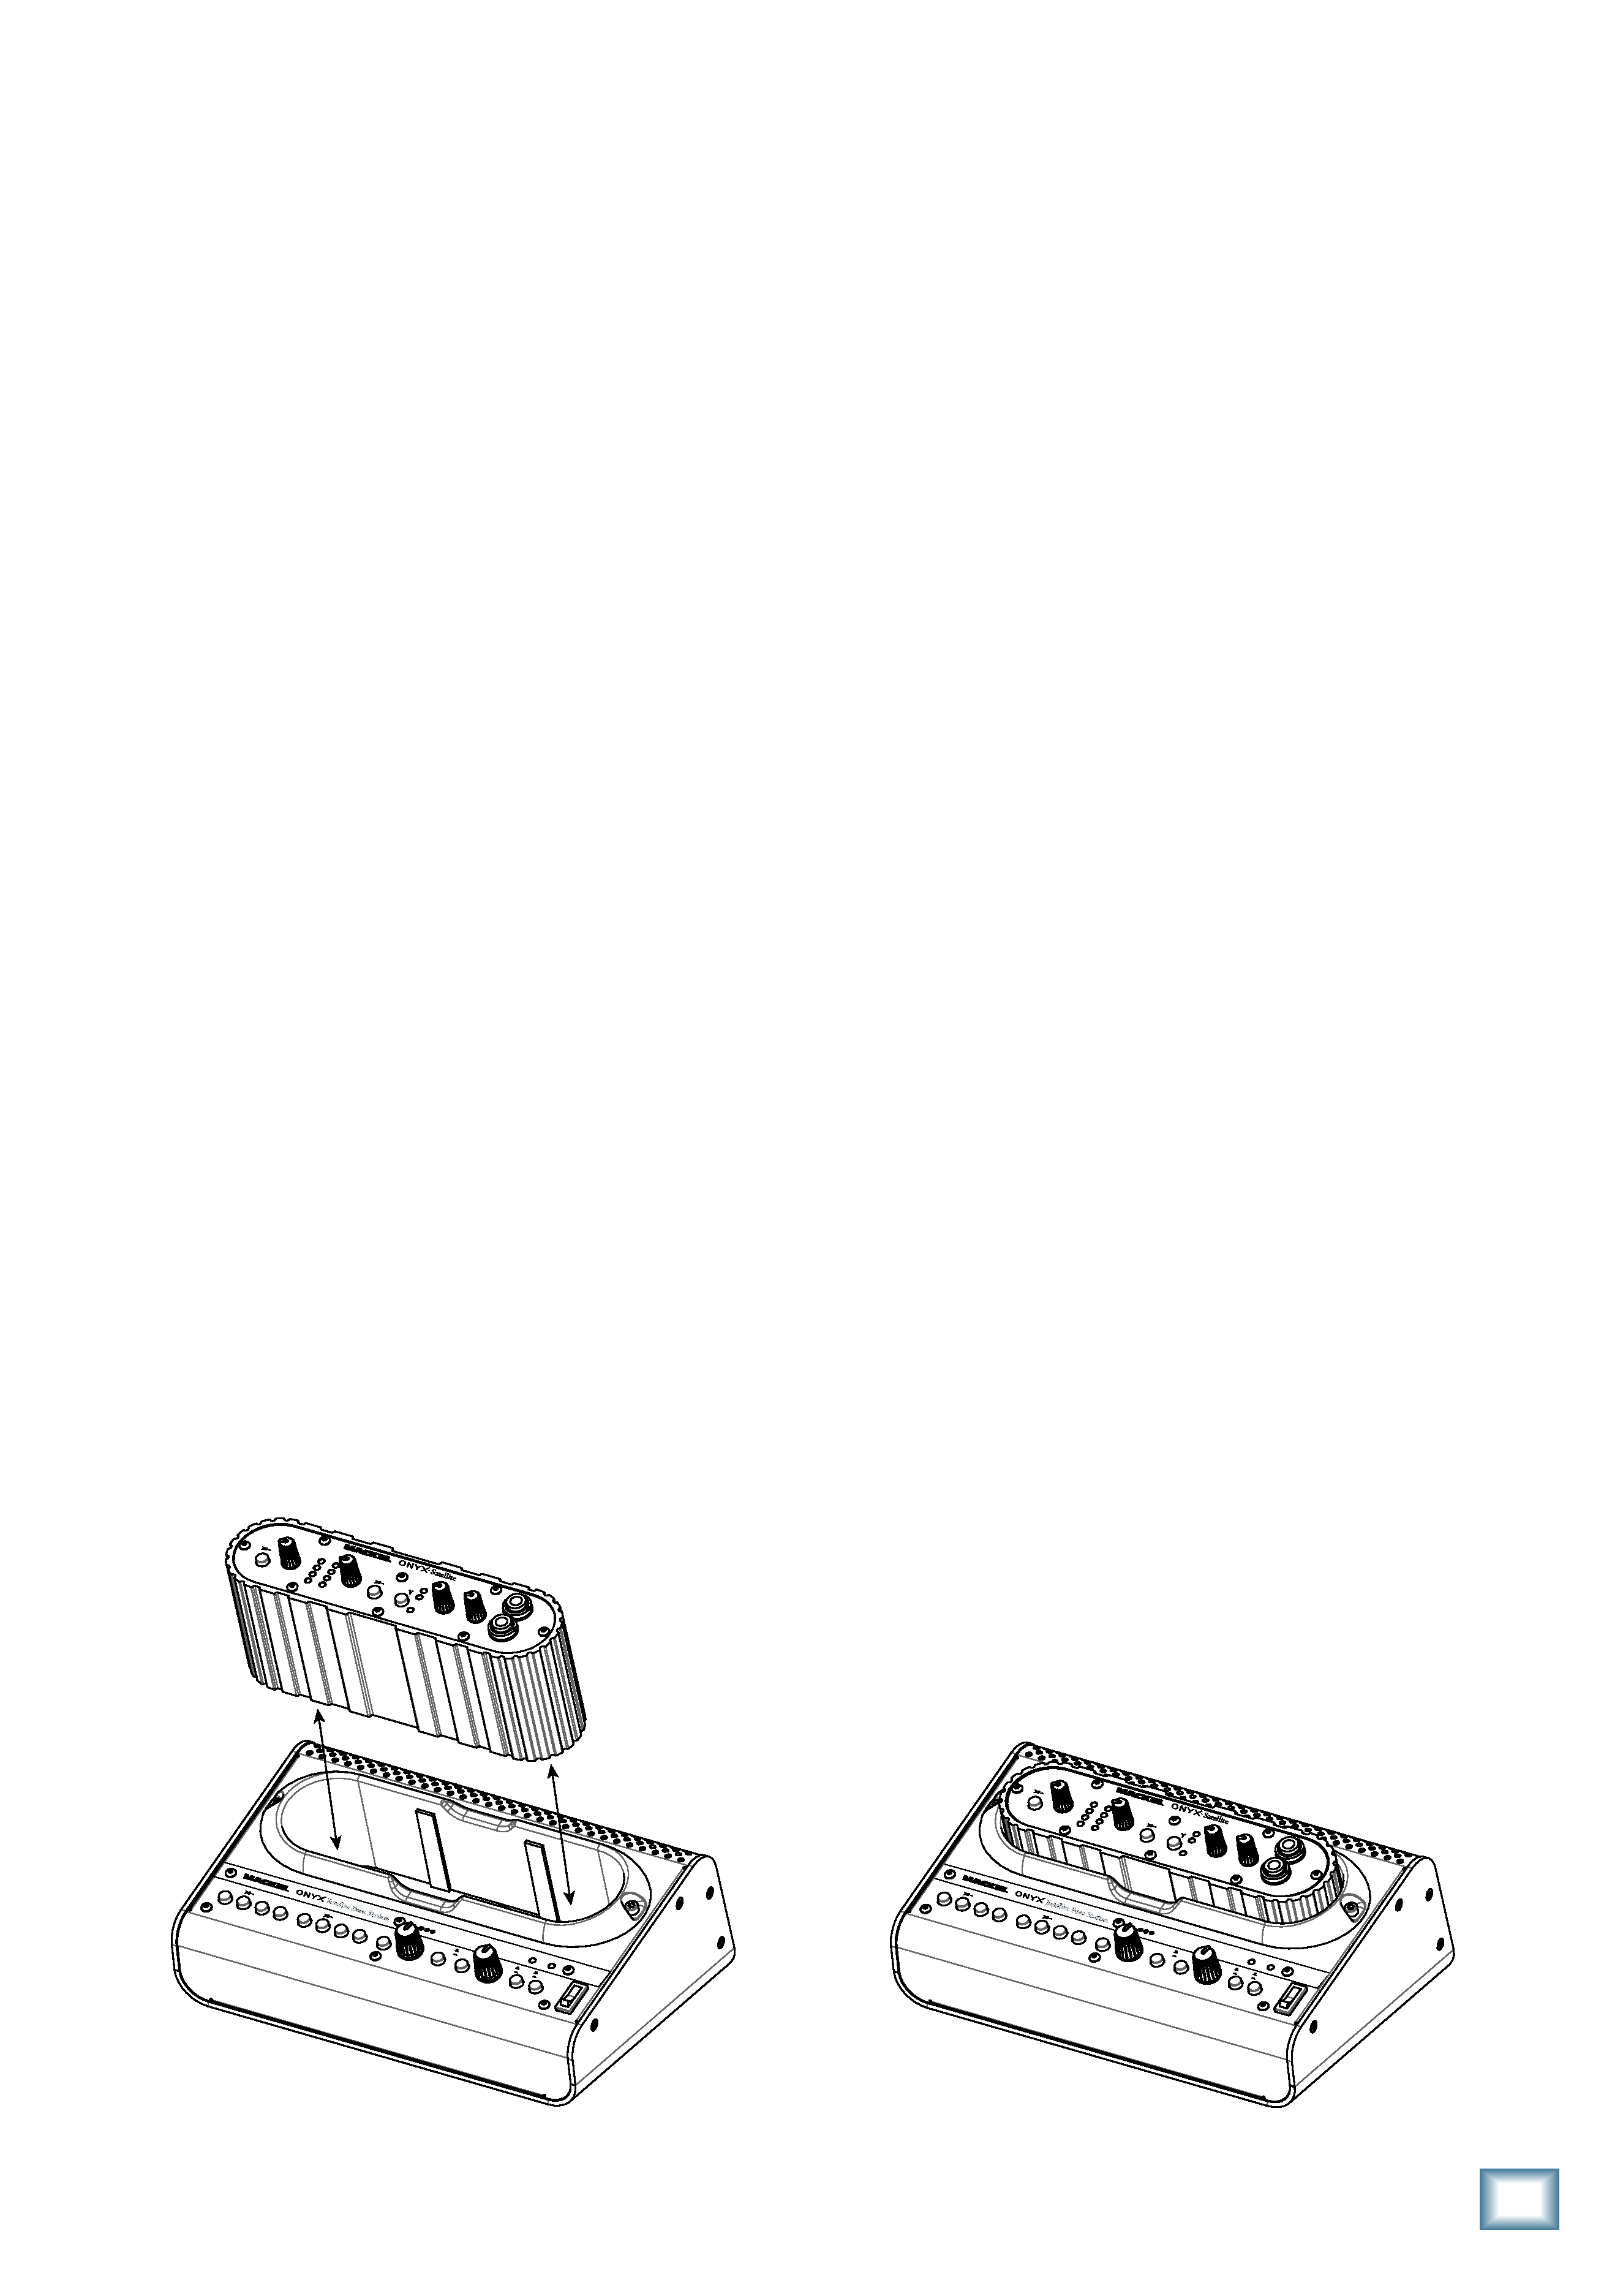
The unique docking feature allows you to set up the
Onyx Satellite in your studio, and leave it connected to
multiple mic, line, and instrument sources and studio
monitors, while "undocking" the portable pod to use
on location. This gives you the freedom to take the pod
into the field for overdubbing projects or live recordings
without having to constantly patch and unpatch the
cables that are connected to the base station.
The pod features a NeutrikTM Combo input connector
on channels 1-2, which allows you to use either a 1/4"
TRS connector or an XLR connector. A global 48V switch
applies phantom power to both XLR input connectors.
Channels 1 and 2 also feature an instrument select
switch, which lets you connect an acoustic, electric,
or bass guitar directly to the 1/4" input, eliminating
the need for an external direct box. The pod also has a
stereo control room output and two stereo headphone
jacks, each with separate level controls (the Control
Room and Phones 1 outputs share a level control), and a
FireWire connector to connect to your laptop.
When the pod is "docked" to the base station, it gains
additional features and expanded input and output ca-
pabilities. The base station has a separate XLR connec-
tor, two 1/4" TRS line-input connectors, and a 1/4" TS
instrument connector for each channel (channels 1-2),
with select switches for each input source. Insert jacks
are also provided for channels 1-2 to send and return
the signal to an external processor. These are pre-ADC
(Analog-to-Digital Converters) so they work great for
compressors and other dynamic processors.
Six channels of analog balanced line outputs are
provided on 1/4" TRS connectors. Two of these can be
used as stereo control room outputs, with an A/B switch
to route the signal to two separate pairs of monitors
for comparison. The built-in talkback microphone can
be routed to the phones/control room output or to the
DAW for slating. A FireWire connector provides a simple
connection to a laptop or desktop computer and allows
the audio to be streamed to and from your software of
choice.
Both units can be powered either directly from the
FireWire bus (when using a six-pin FireWire connector),
or from the 12V DC power supply included in the box.
As a bonus, Tracktion 2 is included with your Onyx
Satellite, our full-featured music production software
application for easy recording, mixing, and mastering on
a PC or Mac.
OL
-10
-20
-40
POWER
GAIN
GAIN
ON
TO
PHON
ES
TO
DAW
A
B
1-2
1-6
DAW
INPUTS
2
1
MIC
2
1
MIC
Pod
Base Station
Docked
ON
TO
PHON
ES
TO
DAW
A
B
1-2
1-6
DAW
INPUTS
2
1
MIC
2
1
MIC
OL
-10
-20
-40
POWER
GAIN
GAIN