
SK-SYTL1
MOBILE VIDEO CONSOLE
INSTRUCTION MANUAL
FOR USE WITH KENWOOD MOBILE
VIDEO PRODUCTS
2000-up Chevy Suburban
2000-up GMC Yukon/XL
2000-up Chevy Tahoe
2001-up Chevy Avalanche
1999-up GM Ext.Cab Trucks.
KENWOOD CORPORATION
Take the time to read through this instruction manual.
Familiarity with installation and operation procedures
will help you obtain the best performance from your
new mobile video system.
Re-install all previously removed
factory components and panels.
Turn on and test everything.
(If system does not work properly,
recheck all connections and fuses).
The installation of your new Video
System is now complete.
Rev 10-01-01
Open the console lid and remove the (2)
screws toward the rear of the console. Fold
down the cup holder on the rear of the console
until it hits the stops. Continue to push down
on the cup holder snapping it past the stops.
Remove the (2) screws inside the cup holder
recess. Unsnap the rear portion of the console
and disconnect wiring. The rear radio controls
(if equipped) will be relocated to the Q-View
console.
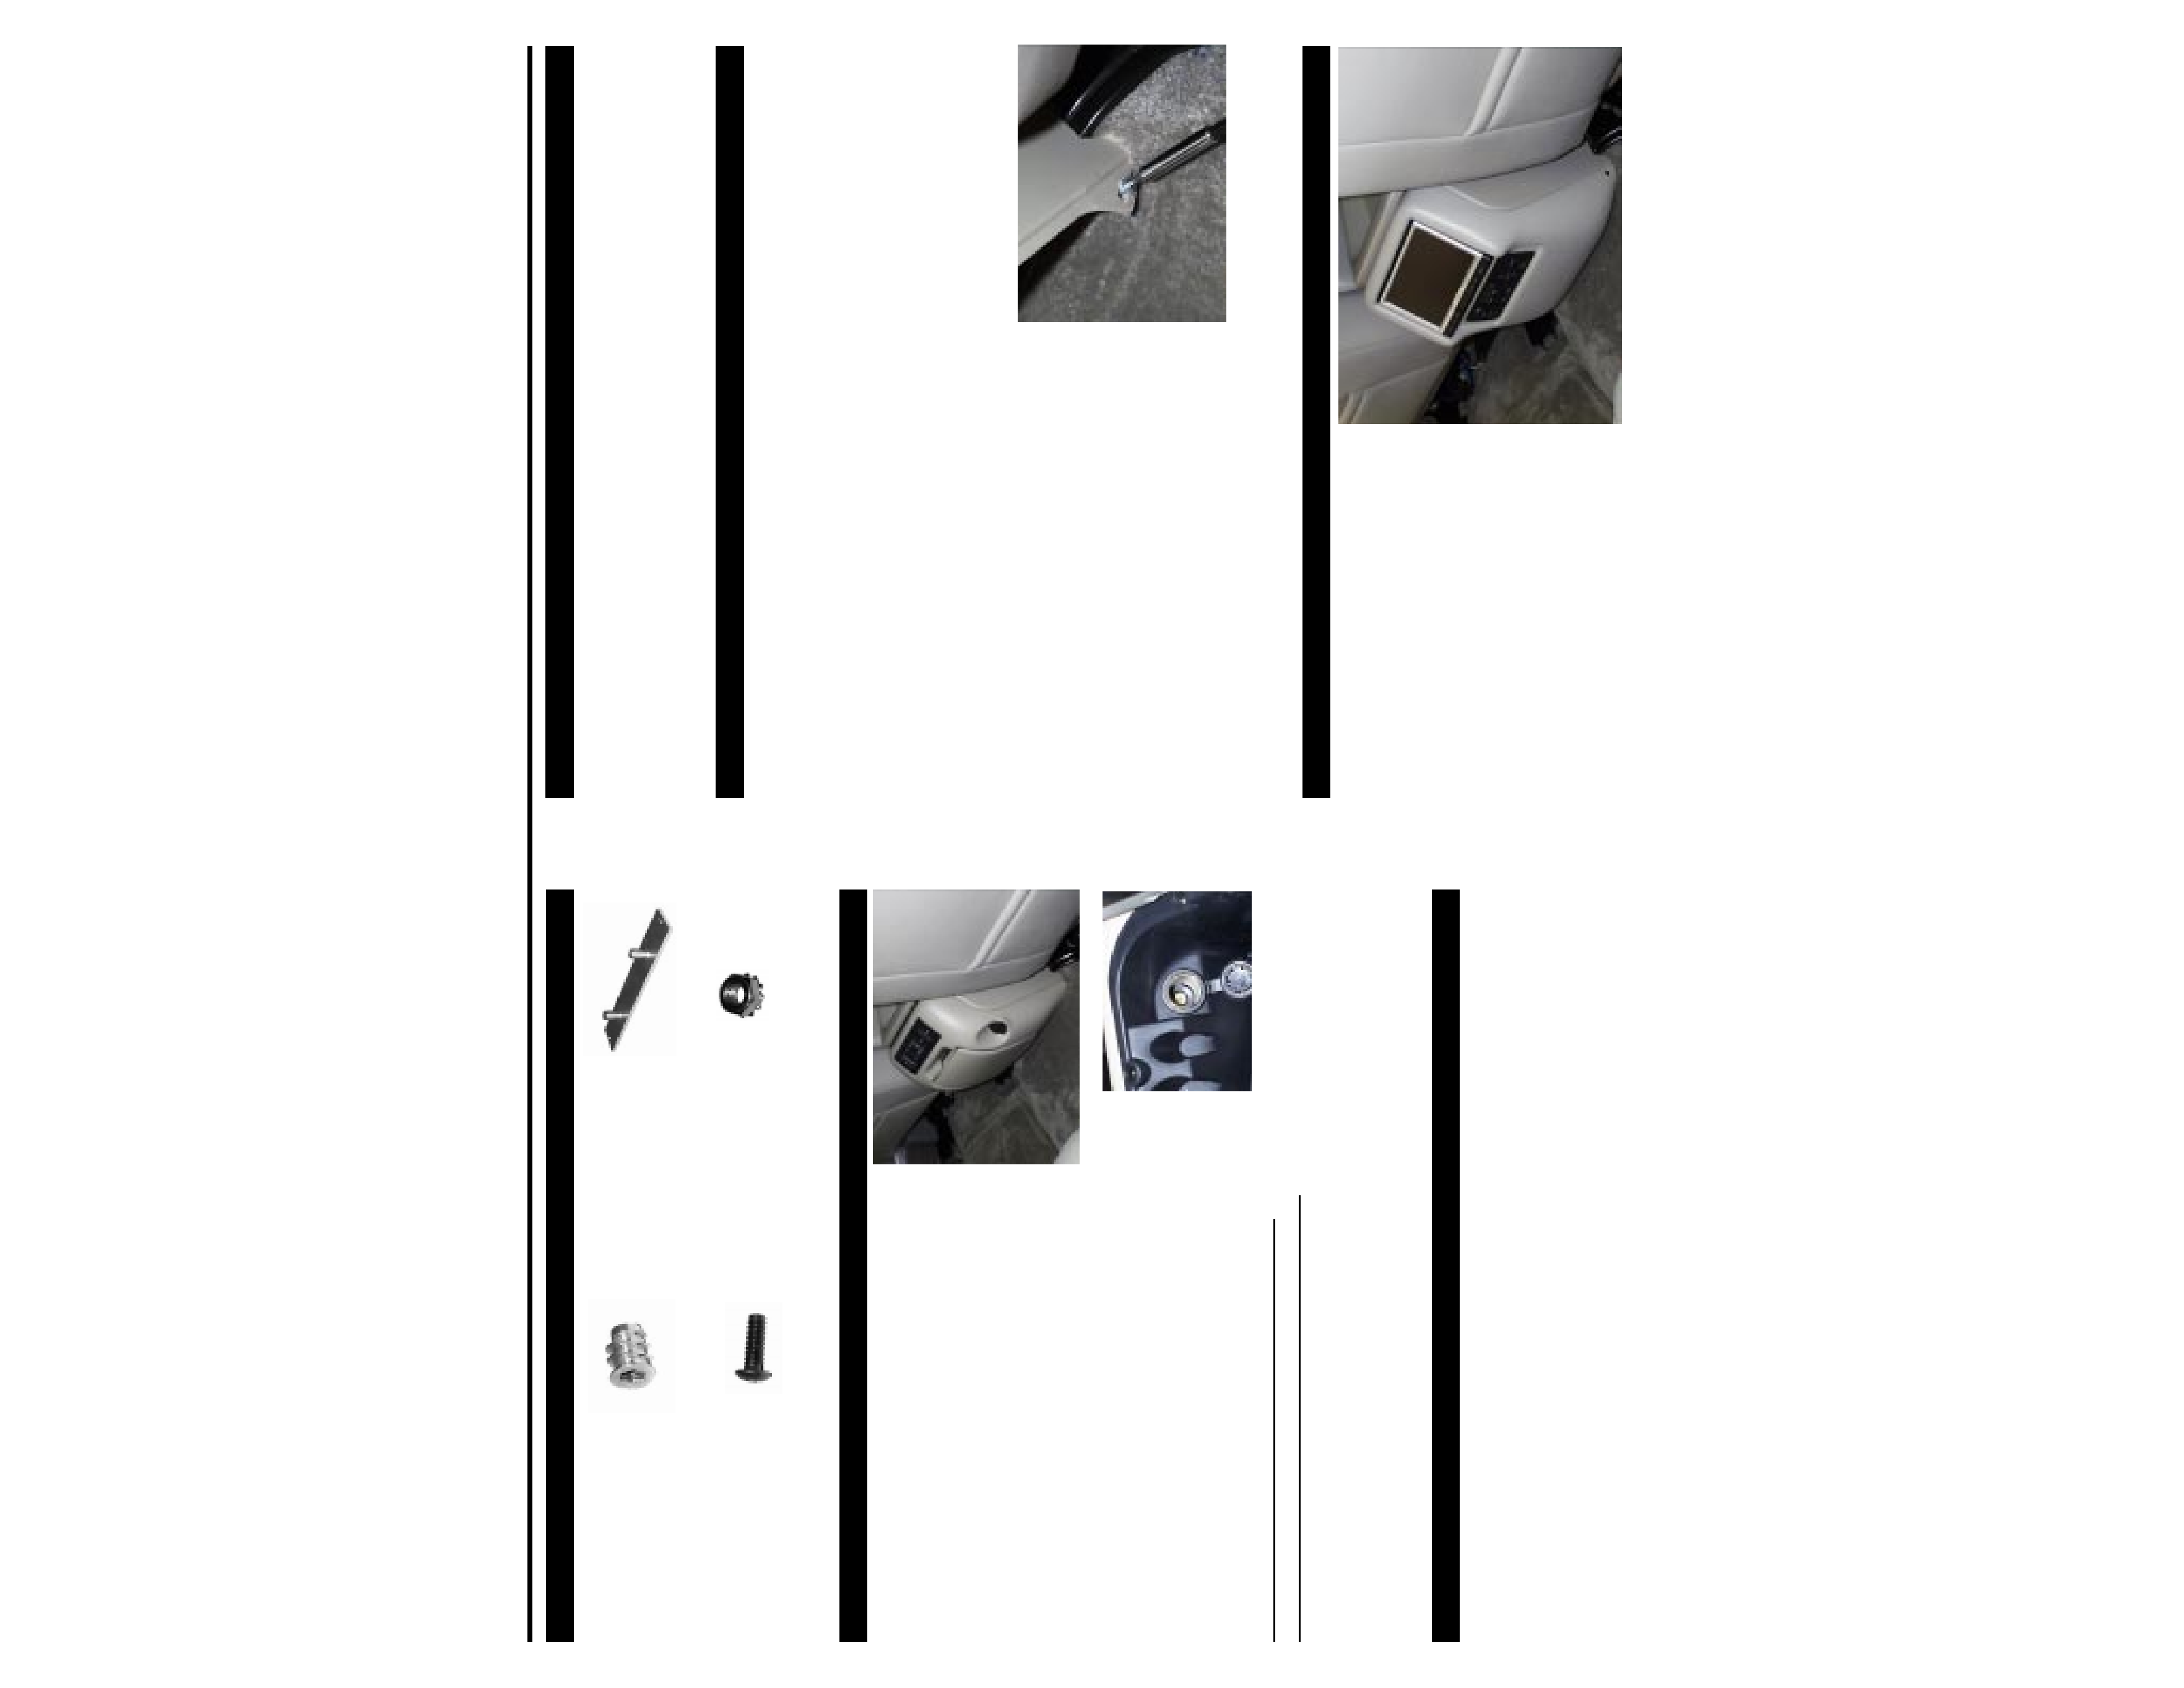
The power point can be relocated to the
optional factory mounting location inside the
console storage bin if so desired.
(see picture at
right)
NOTE: If installing into truck with console
mounted air vents follow these instructions.
Remove the remaining five screws around the top edge of the console storage bin.
Remove the four 10mm bolts in the bottom of the storage bin. Gently lift up and remove
the bin. Pull out and remove the Y-shaped portion of the AC ductwork. Block off the
ductwork near the front of the console and replace the console storage bin.
Installation
Figure 1
Figure
2
Figure 1
Route all wires and cables at this time. Install wiring and cables according to
the instruction provided with electronic equipment. Run all cable for external
video sources at this time.
Radio Control Unit Re-Installation:
Fit the previously removed rear radio control box into the video console. If the
vehicle was not equipped with rear radio controls, fit the supplied color-matched
filler plate into the recessed area and secure with the (2) supplied
#8 x 1/2" sheet metal screws through the predrilled holes into the plastic
housing.
Prepare the monitor for installation by sliding the small studded bracket into
the back panel of the monitor. Run the monitor data cable through the
rectangular-shaped hole in the video console and connect to the monitor.
Slide the monitor into the console and secure using the (2) supplied star nuts.
(Do not overtighten)
Slide the metal bracket on the video console into place between the storage
bin and the console and snap into place(
Make sure that no cables are
pinched). Make a mark on the console using the pre-drilled hole on each
side towards the bottom of the video console as a guide. Remove the video
console and install one of the supplied metal
inserts into the oblong hole on each side of the
console, at the mark previously made.)
Re-connect the factory harness to the rear
radio control unit. Re-install the video console
and secure with (2) supplied #8-32 x 1/2"
machine-thread screws through the pre-drilled
holes in the plastic housing into the threaded
inserts
(Do not overtighten). Replace the two
factory screws under the console lid towards
the rear of the console.
SK-SYTL1 Installed
1 - Monitor Bracket
(KMB701)
2 - #8-32 Inserts
(KMSI832)
2 - #8-32 x 1/2"
Black Machine Screw
(KMSB832.5)
2 - 1/4-20 Star Nut
(KSN1420)
Factory Console
Optional Power Port Location
Prepare Video Console
Remove Factory Console
Accessories
Wiring and Connections
Installation of Video Console
Final Steps
Install Threaded Inserts