Remote
Control
Remote Control Instruction Manual
Quick start guide .......................................... 1
Getting the most from your remote control ........... 3
Setup code chart .......................................... 7
In case of difficulty ...................................... 13
Remote operation of other components ............. 14
Remote Control Instruction Manual
Preset Remote Control Quick Start Guide
This quick start guide explains how to setup the remote
control to operate audio and video components other
than the receiver.
In order to make full use of the functions of the remote
control, be sure to read the section of this manual
entitled "Getting the most from your remote control".
It contains a detailed explanation of how to operate the
remote control and make the necessary settings.
The quick start guide describes the operation of the
following keys:
1 ENT key
Gets you into and out of the preset code registration
mode.
2 VIDEO, AUDIO, and TV keys
Use these keys to select the input you want to register.
3 Numeric keys
In the preset code registration mode, you use these
keys to enter the code numbers that let you control your
components.
4 POWER key
Once you have entered the setup code for another
component, you can press this key to turn power to that
component on or off. This lets you confirm that you
entered the code properly.
B60-4148-00 01 MA (T, E2, Q, X) OC
9809
This instruction manual is for some models.
Model availability and features (functions) may differ depending on
the country and sales area.
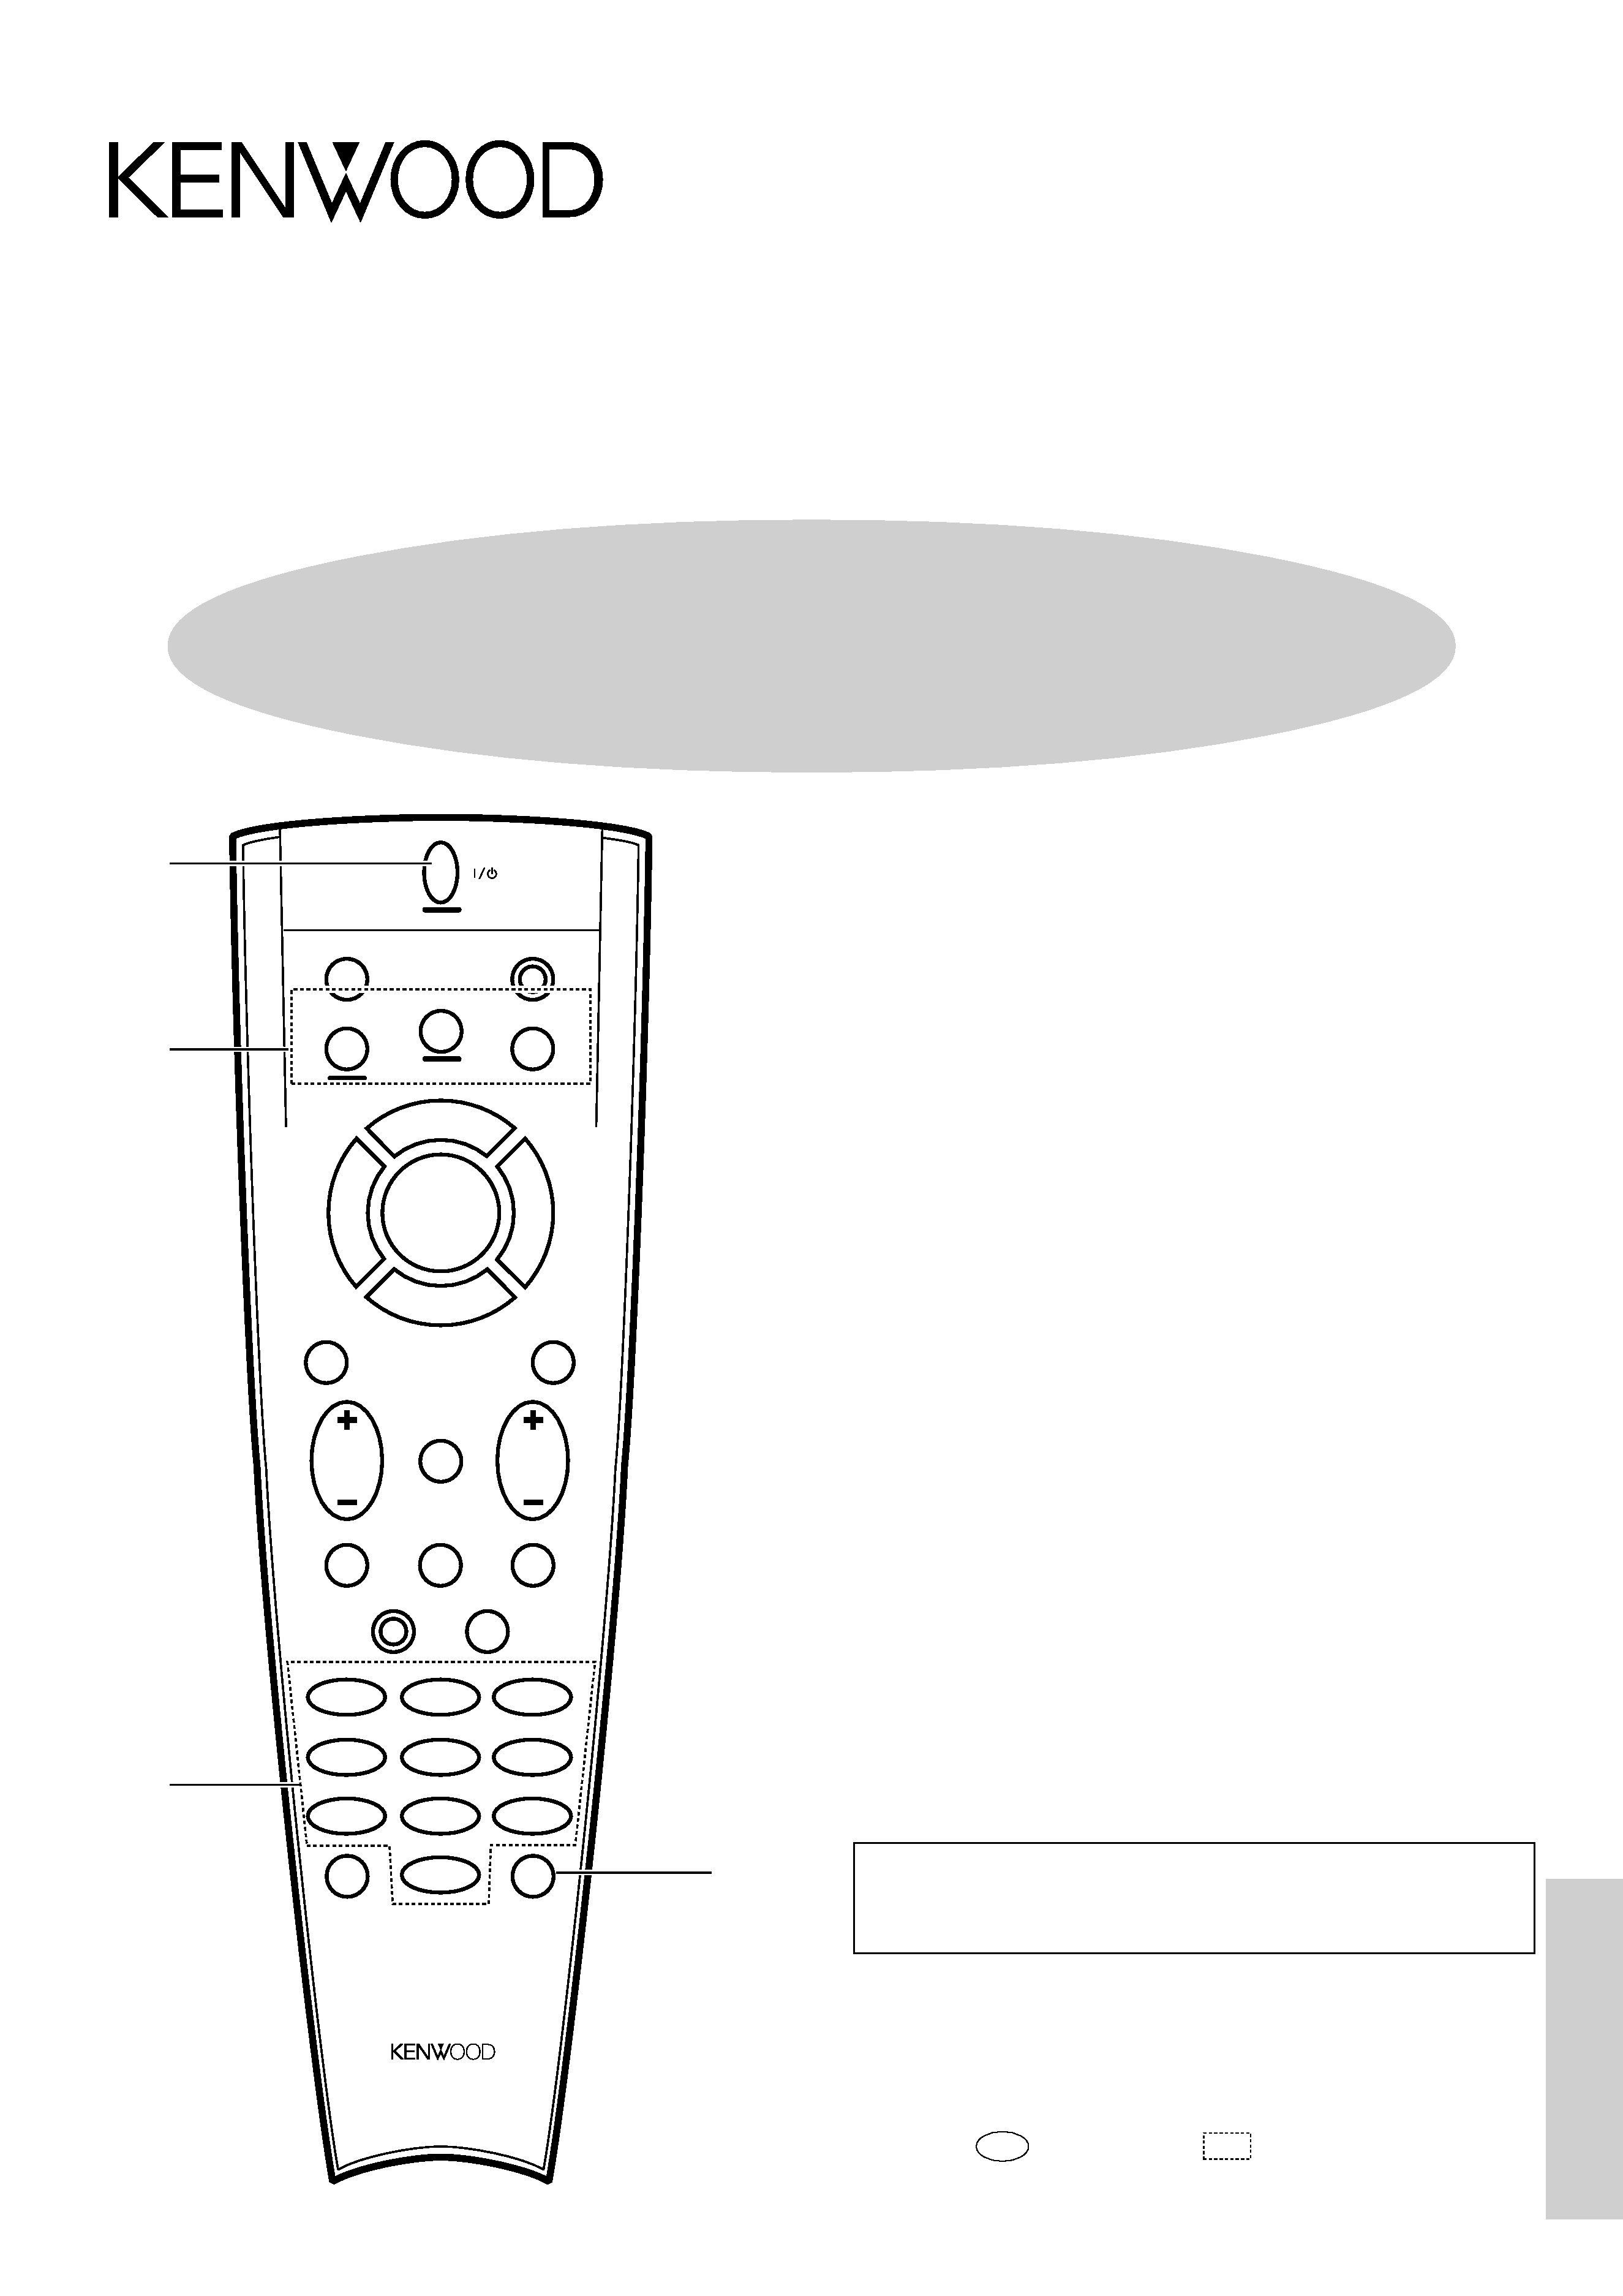
AUDIO
SHIFT
MACRO
TV
VIDEO
GUIDE
REC
MUTE
VOLUME
TUNING/SKIP
THEME
FAV
MENU
FUNCTION
SHIFT
SETUP
INFO
ALT AUD
TV/SAT/VID
REPEAT
RANDOM
+100
DISPLAY
ENT
+10
LISTEN
MODE
SOUND
SUBWOOFER
23
1
56
4
89
7
0
REMOTE CONTROL UNIT
2
3
1
8
7
4¢
6
BAND
P. CALL
P. CALL
POWER
4
2
RC-R0508 (En/T)
Remote
Control
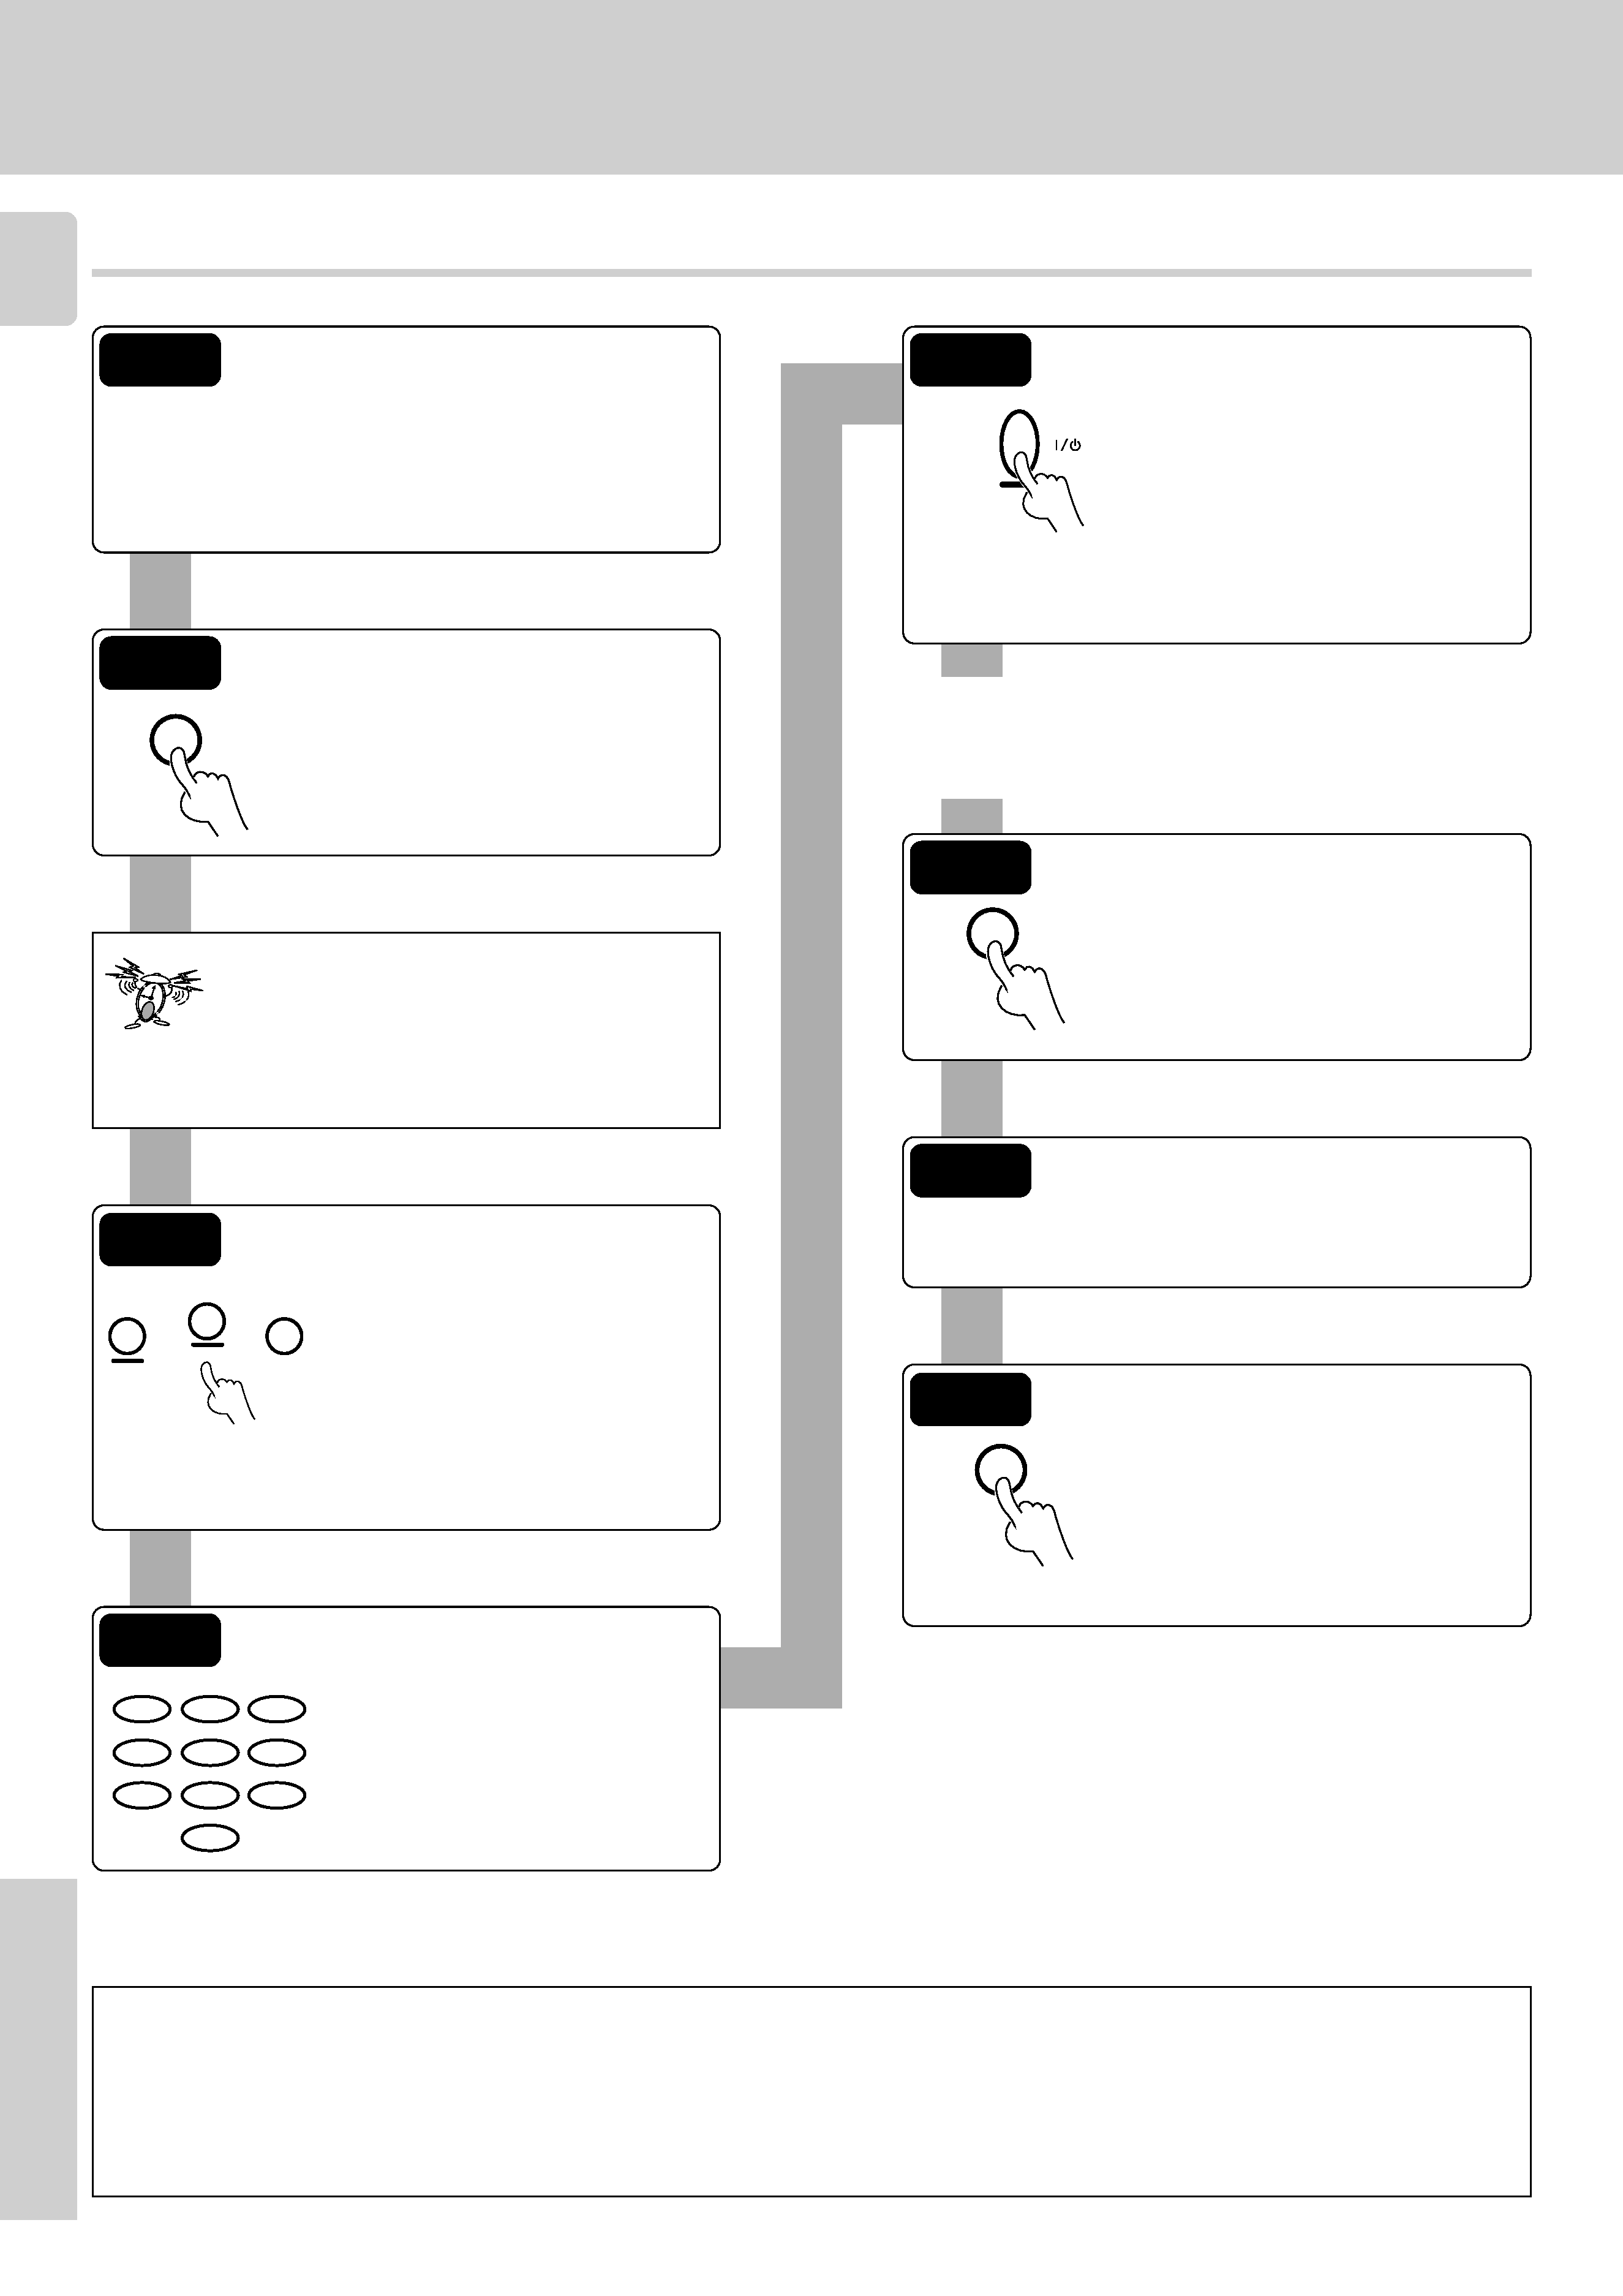
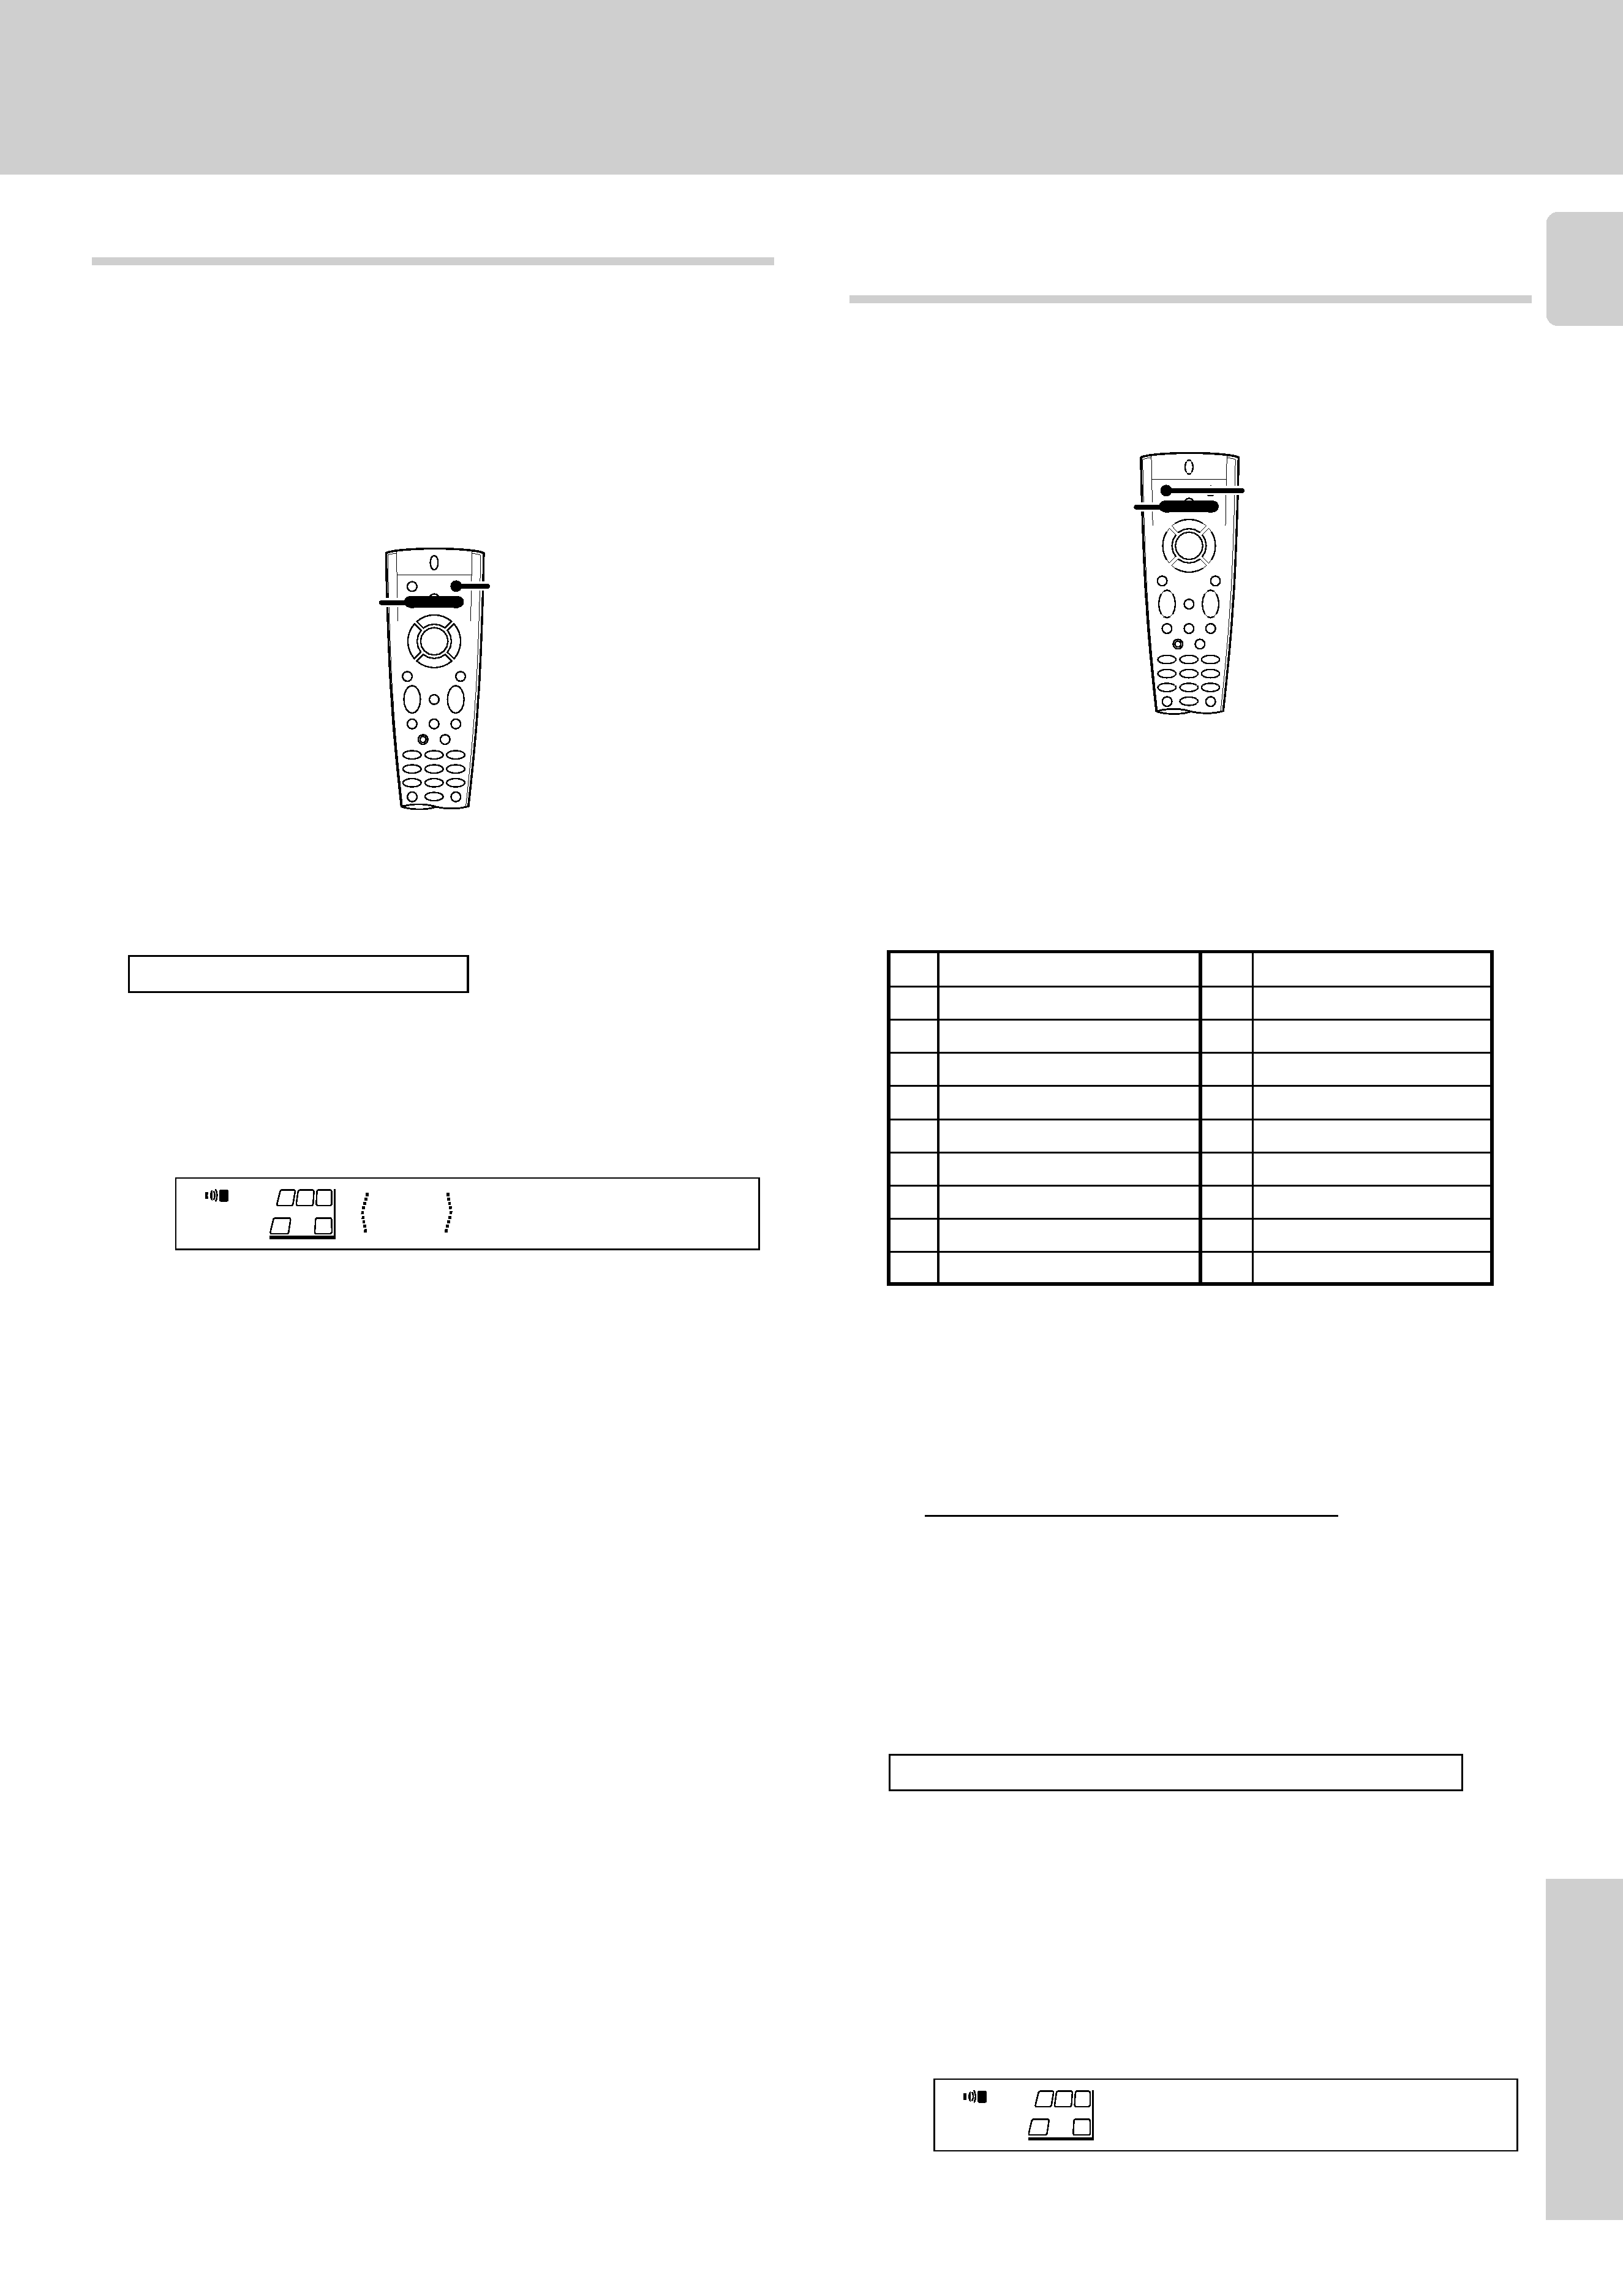
Register the setup codes for your audio and video components
ENT
Step 1
Look up the setup code for the component you want
to control.
RC7
Write down all the applicable setup codes.
(This step is very important.)
Step 2
Hold down ENT key until the light
flashes twice (about three seconds).
For step 2 through step 8, make sure you
start the next step within five seconds of
completing the previous one. If more than
five seconds elapses between any two
steps, you will need to go back and start
over from step 2.
Step 3
Press the VIDEO, AUDIO, or TV
key to select the input you want to
register. (Each press of the key
advances you one by one through
the available input settings.) The
current input setting appears on
the display of the receiver.
Step 4
Use the numeric keys to enter the
4-digit setup code for the compo-
nent.
AUDIO
TV
VIDEO
THEME
FAV
MENU
INFO
ALT AUD
TV/SAT/VID
REPEAT
RANDOM
+100
DISPLAY
23
1
56
4
89
7
0
POWER
Step 5
Press the POWER key to see if you
can turn the component on and
off. (If the component you want to
control has a mechanical power
key that cannot be operated by
remote control, press the PLAY
key or the TUNING/SKIP key to
test it.)
If the component does not respond when you try to
control it, return to step 4 and enter the next setup
code on the list. Repeat this procedure until you find
the code that matches the component.
ENT
Step 6
Press the ENT key to store the
code.
Step 7
Repeat steps 3 through 6 to enter the codes for each
component you want to control.
ENT
Step 8
Once you have finished registering
setup codes for all of the inputs,
hold down ENT key until the light
flashes twice (about three seconds).
This exists the registration mode.
If you accidentally exit the registration mode by pressing
the wrong key, you will not lose any setup codes you have
already saved.
Automatic input naming
In the initial factory setting, the remote control already has provisional component names registered for each input. Before you register setup codes,
pressing the input keys of the remote control causes the display to change from the factory preset input names of the receiver (VIDEO1, VIDEO2,
etc.) to the input names registered in the remote control (VCR1, VCR2, etc.). Once you have registered the appropriate setup codes for your
components, pressing the input keys of the remote control causes the display to change to the actually connected component names (LD, DVD,
etc.) for which you have registered setup codes.
Quick Start Guide
3
RC-R0508 (En/T)
Remote
Control
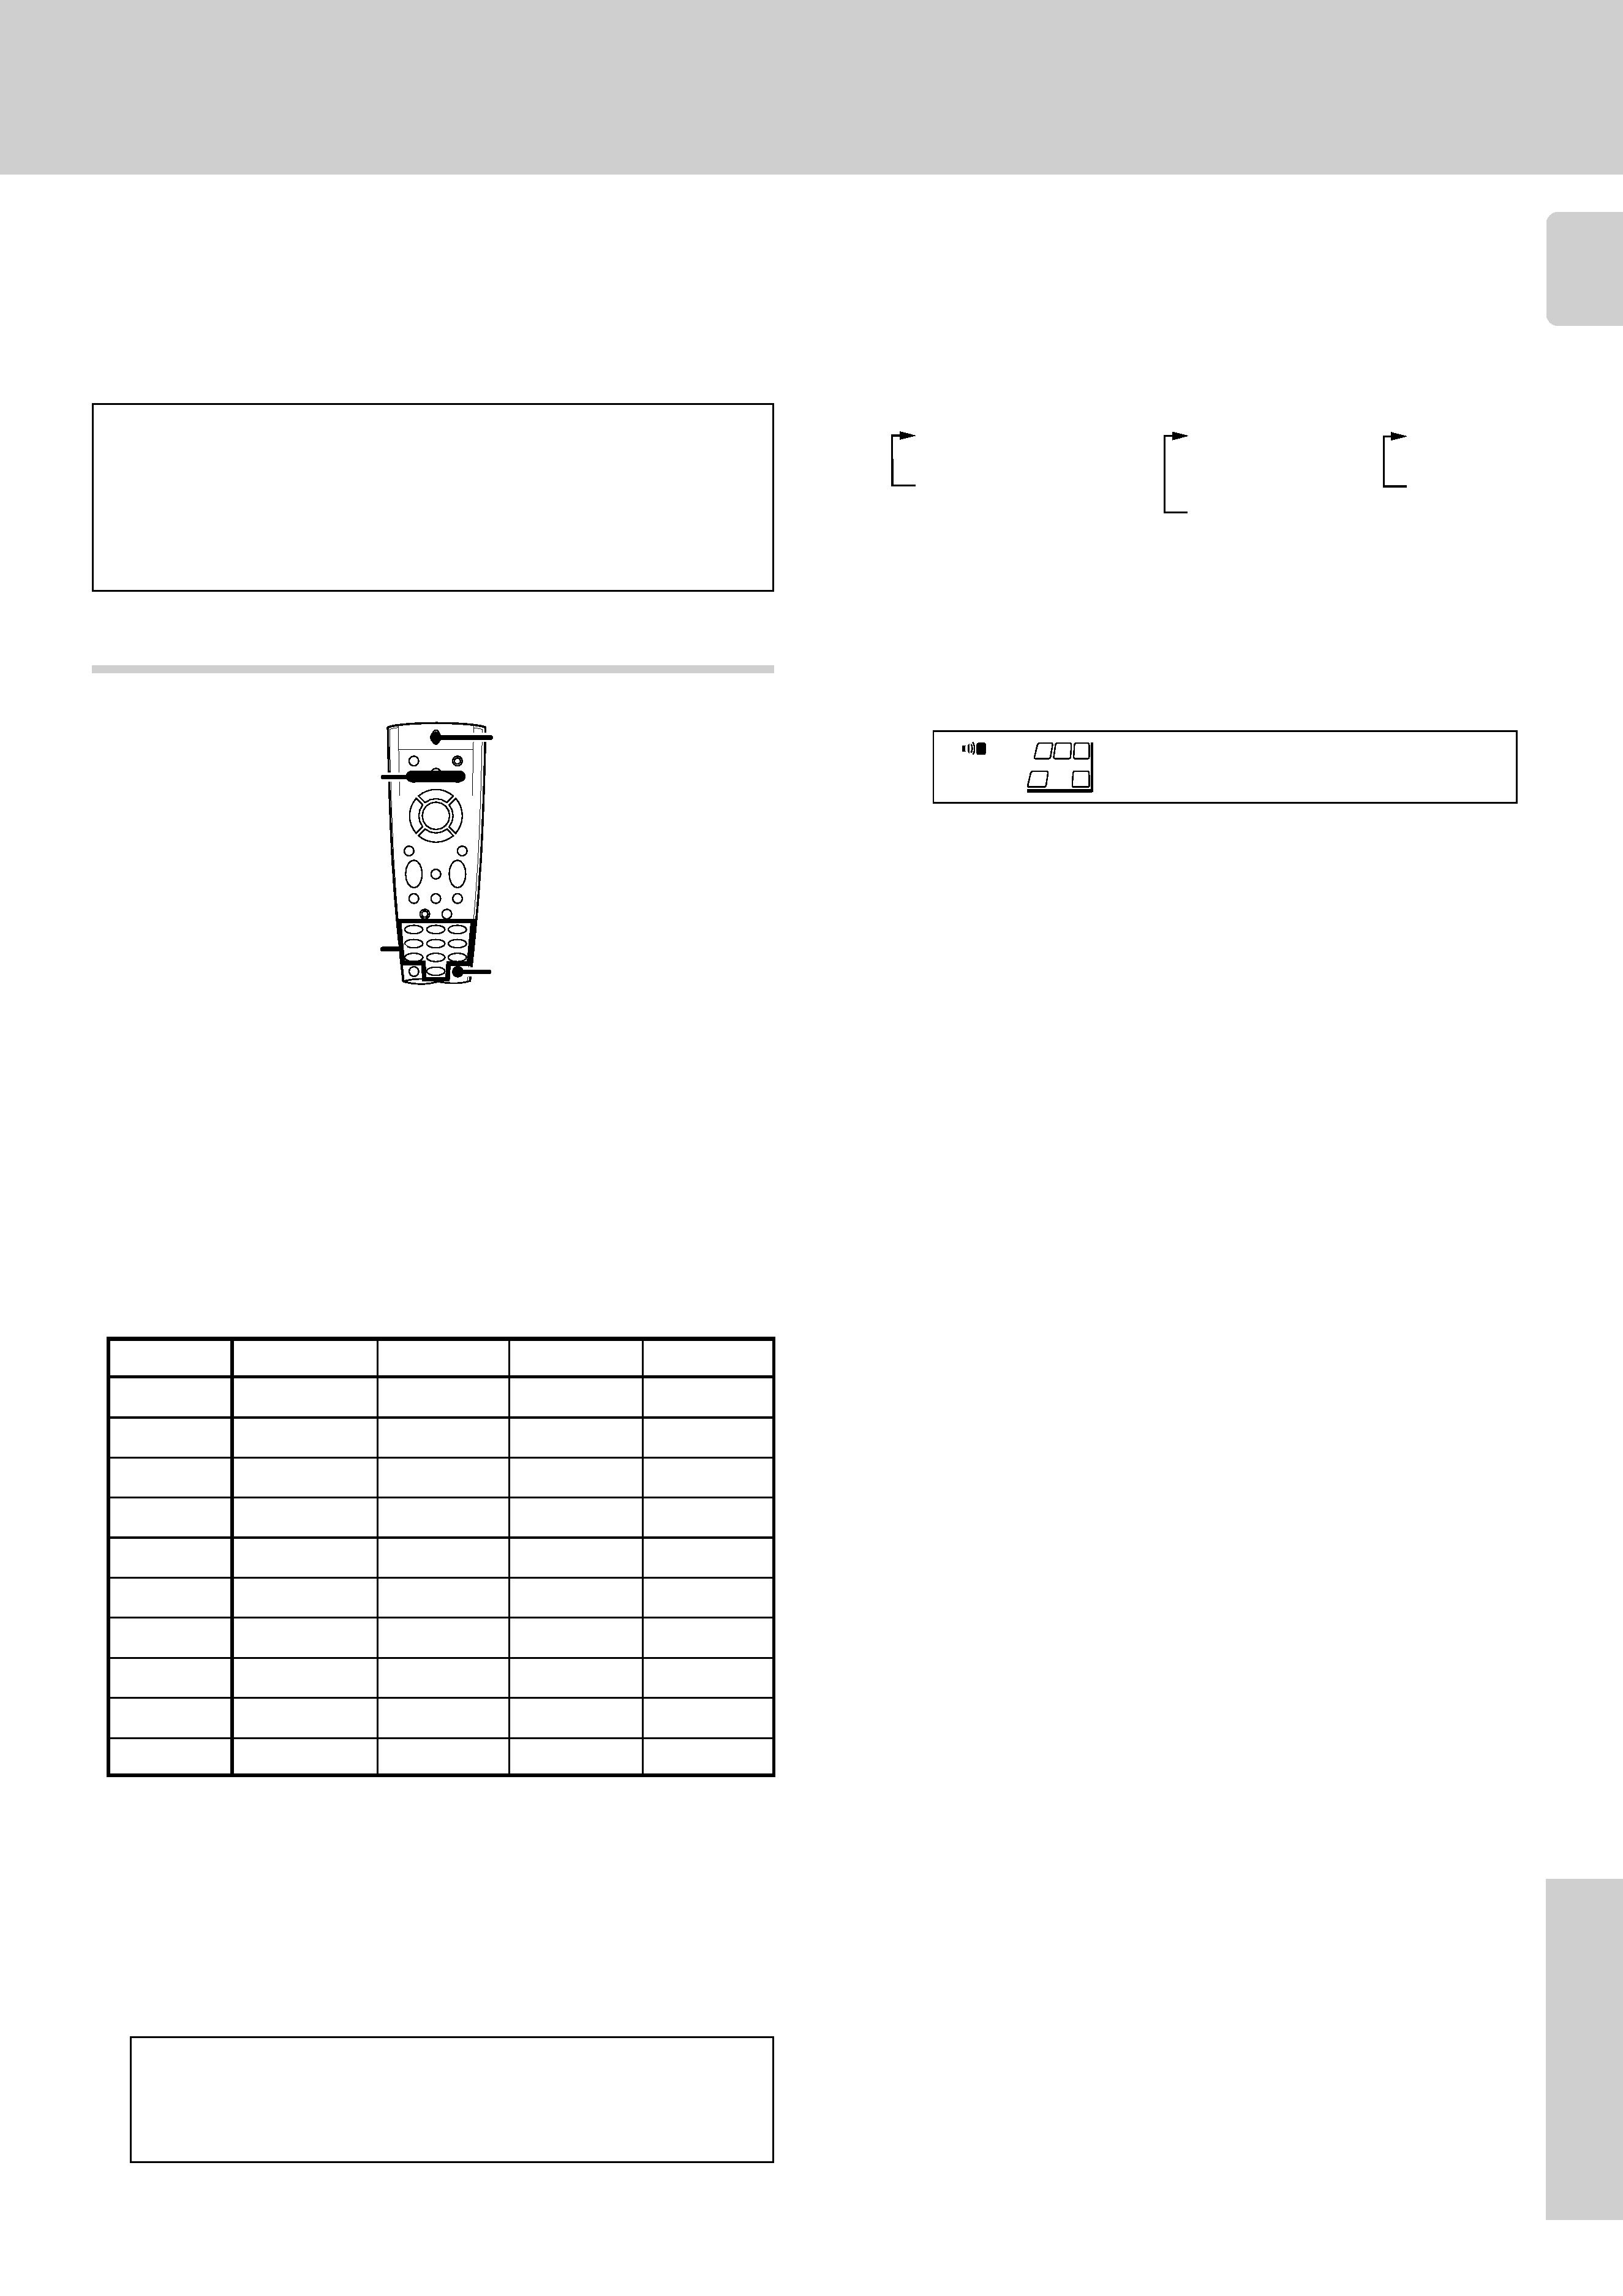
Input
Component
Maker
Code
Key
(CD)
CD player
KENWOOD 8028, 8037
AUDIO
TV 1
TV 2
CABLE
The remote control supplied with this receiver is also
capable of controlling components from a variety of manu-
facturers once you register the appropriate setup codes
into the remote control unit.
Refer to "Remote operation of other components" for de-
tails about the operations available for each component.
1
Registering setup codes for other components
Find the setup code of the component to be registered.
Getting the most from your remote control
· Refer to the setup code lists to find the setup code for the
component to be registered.
RC7
Example: To register a CD made by KENWOOD, you would enter
"8028".
· When registering setup codes for KENWOOD audio components
which are connected to this unit by system control cords, use the
following codes to insure proper system control operation:
Cassette: 7000, CD: 8099, MD: 9000.
2
3
Hold down the ENT key until the light flashes twice.
Press the VIDEO, AUDIO, or TV key repeatedly to select
the desired component.
· At this time all inputs become available regardless of any earlier
registration.
· Example : To register the component connected to the VIDEO 1
jacks, select "VIDEO 1 (VCR1)".
· On models that include a "DVD 6ch" input selector, although a set up
code can be input the same way as other selectors, "DVD 6ch" will
remain as is on the display. It is not possible to change the name of
this input.
VIDEO key
1VIDEO1 (VCR1)
2VIDEO2 (VCR2)
3VIDEO3 (DVD)
or DVD 6ch
AUDIO key
1CD (CD)
2TAPE or MD
(TAPE)
3PHONO
TV key
1TV1
2TV2
3CABLE
Low battery warning
Replace all four batteries with new ones when you notice a shortening
of the distance from which the remote control will operate or if the
remote control blinks 5 times when you press a key. The remote
control is designed to retain setup codes in memory while you
change batteries.
4 Use the numeric keys to enter the setup code.
5 Press the POWER key, and check to see that the compo-
nent you want to control turns on.
7 Repeat steps 3 to 6 to register additional components
until all components have been registered.
6 Press the ENT key to store the code you have just input.
· Example: Press "5258" to register a LD player made by KENWOOD.
· The light flashes once each time a number is entered.
· If an invalid setup code is entered the remote will output one long
blink, disregard that code and return to the beginning of step 4.
· If you push an invalid key, the remote will exit the setup mode.
· The light flashes twice.
· This code replaces any previous setup codes entered for the respec-
tive component.
If the component does not react, and there is more than one
setup code, enter another setup code and try again.
· PLAY, TUNING/SKIP (+/) or MULTI CONTROL key can also be
used instead of POWER key.
· If the component is already on, pressing POWER key will turn it off.
· If you have components that are not remote controllable, like a
record player (etc.), you will need to register a Non-IR code at the
respective input. This keeps the respective input in the remote
control's cyclic list so you can select it using the remote control.
Please consult the owner's manual of the components you are
connecting for information regarding remote controllability. The list
of Non-IR codes is included at the beginning of the Setup code
chart.
ENT
VIDEO, AUDIO, TV
POWER
1-0
For step 2 through step 8, make sure you start the next step
within five seconds of completing the previous one. If more
than five seconds elapses between any two steps, you will
need to go back and start over from step 2.
VCR1
A
SP
SW
R
L
Continued to next page
4
RC-R0508 (En/T)
Remote
Control
Getting the most from your remote control
8
Note
Although each setup code is designed to work with a number of
different models, certain codes may not work with some models.
(Also, certain codes may only operate some of the functions available
on a given model.)
· Once registered, the display on the receiver shows the component
type instead of the default input name.
Example: if you register a VCR at the VIDEO 1 jacks, "VCR" appears
instead of "VIDEO 1 (VCR1)".
· After initial setup, any VIDEO or TV (TV1, TV2, CABLE) inputs that
have not been programmed with a setup code or Non-IR code are
deleted from the cyclic list. The PHONO input will be deleted if a
Non-IR code was not registered.
· The INPUT SELECTOR on the front panel of the receiver always
cycles through all inputs.
Once setup codes have been entered for all components,
hold down the ENT key until the light flashes twice.
This operation lets you operate the registered components.
KENWOOD audio components with system control turn on and off
automatically with the receiver via the system control connections.
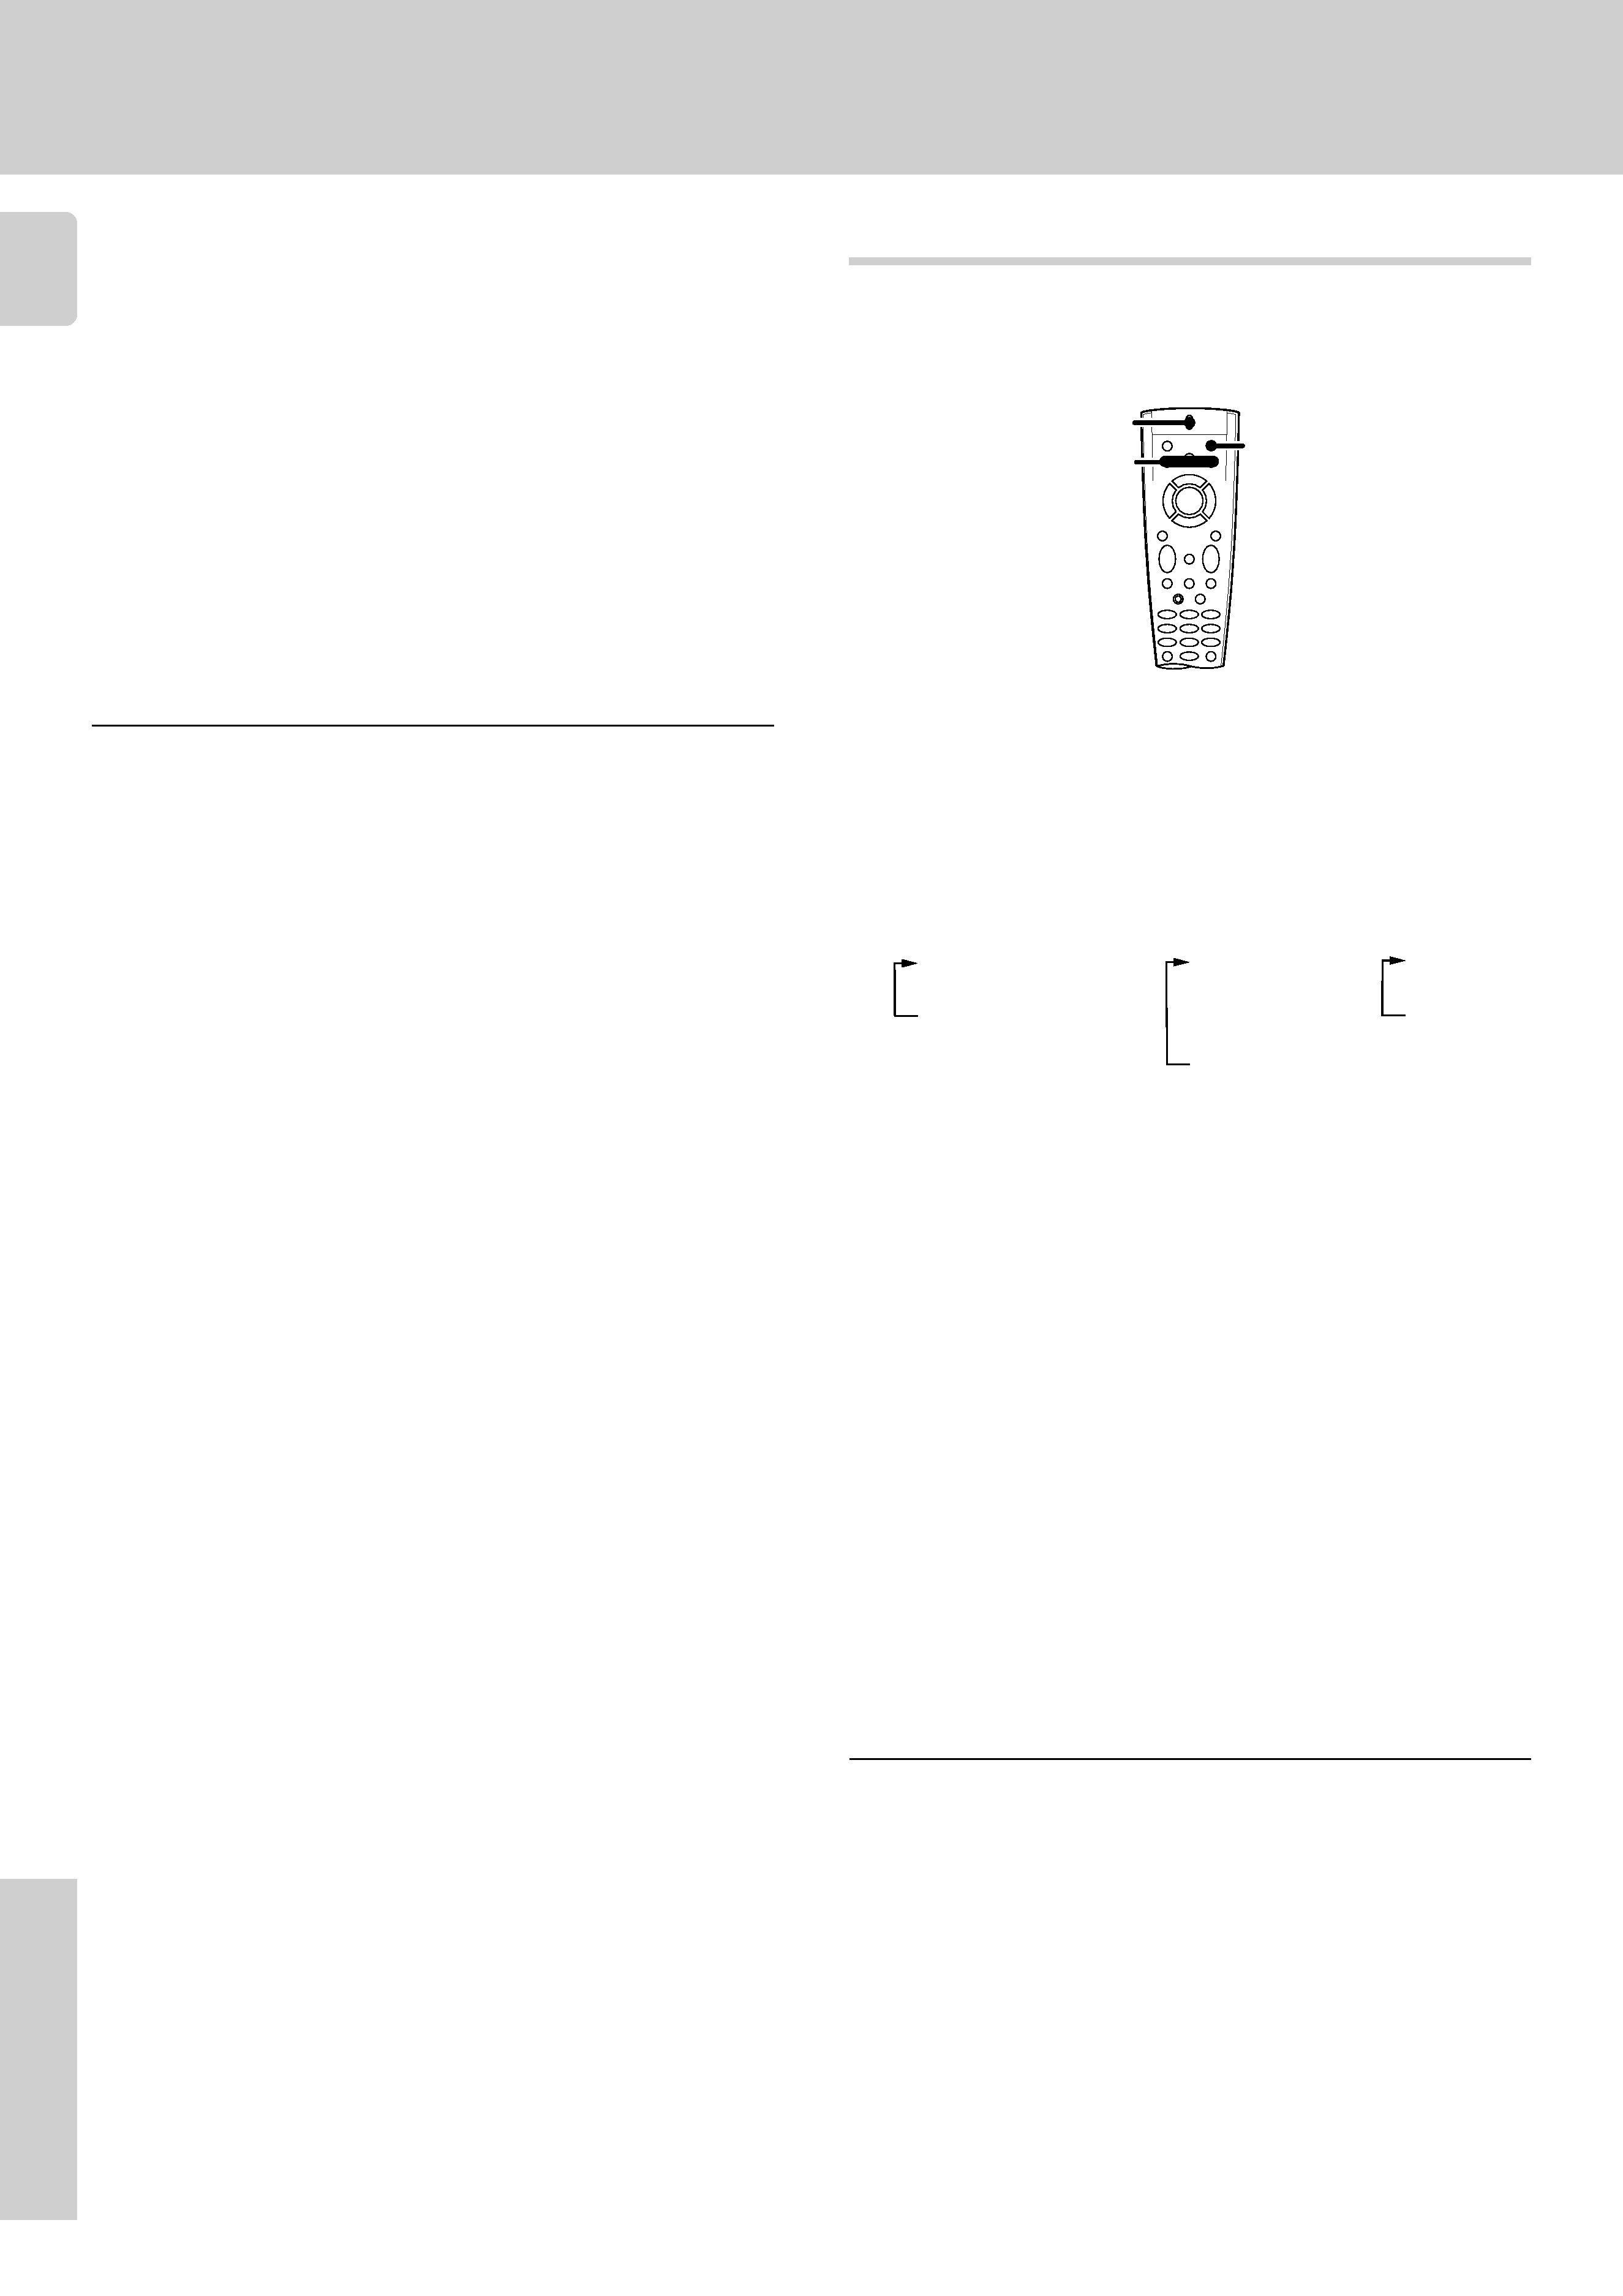
Operating other components
Use the VIDEO, AUDIO, or TV keys to select the compo-
nent you desire.
· Pressing the VIDEO or AUDIO key also changes the input selector
on the receiver. If you do not want to change the current input, press
the SHIFT key before step
1.
RC5
Note
Be sure to point the remote control at the remote sensor on the receiver
when you want to operate KENWOOD components connected by
system control cords. Otherwise, point the remote control at the
component you want to operate.
VIDEO key
1 VIDEO1 (VCR 1)
2 VIDEO2 (VCR 2)
3 VIDEO3 (DVD)
or DVD 6ch
AUDIO key
1 CD (CD)
2 TAPE or MD
(TAPE)
3 TUNER
4 PHONO
TV key
1 TV1
2 TV2
3 CABLE
Press the SHIFT key and then press the POWER key
(within 3 seconds).
· Pressing the SHIFT key is only required when turning the selected
component on or off. Pressing the POWER key directly turns the
receiver on and off.
· See "Remote operation of other components" at the end of this
manual for a list of keys available with each component.
RC$
The remote control mode remains in the set at the component
selected in step
1 mode until you select another component
(etc.).
1
2
3 Press the operation keys you desire.
SHIFT
VIDEO, AUDIO, TV
POWER
5
RC-R0508 (En/T)
Remote
Control
The macro play function allows you to set the remote to control several
components in succession. After completing this setup, you can
perform a series of operations automatically. Enter the setup codes for
the components you want to control beforehand.
Preparing for automatic operations
(MACRO play)
Getting the most from your remote control
1 Make a plan of the macro play you want to Setup.
The order of the operations may be fairly complex and you may
not be remember all of the necessary commands during the
setup procedure.
Use the space provided below to write down the operations in
the order you are going to enter them.
1!
2@
3#
4$
5%
6^
7&
8*
9(
0)
· Up to 20 steps can be memorized for each macro.
· The example below shows the plan for step
4 (which occupies a
total of 9 steps) :
1 TV + SHIFT + POWER
3 steps
2 FUNCTION SHIFT + 4
2 steps
3 VIDEO + VIDEO
2 steps
4 SHIFT + POWER
2 steps
Total
9 steps
· If you attempt to store more than 20 steps, the remote will output
one long blink and exit the macro programming mode.
· Enter channel numbers (for the monitor TV, etc.) exactly as you
would using the original remote.
2 PressandholdtheMACROkeyuntilthelightflashestwice.
Perform each of the following steps within 5 seconds.
· To operate a TV, start from step
2.
Go to step
2 within 3 seconds.
1
2
Press the SHIFT key.
Press the VIDEO, AUDIO or TV key repeatedly to display
the remote control mode for the component you want to
control.
Changing (confirming) the operation mode
3Execute the desired operations.
· See "Remote operation of other components" for a list of keys
available with each component.
RC$
The operation mode remains set at the component specified in
step
2.
To return control to the original component, press SHIFT and
then press the VIDEO or AUDIO key to return to the original
control mode.
· Pressing any other keys after the SHIFT key cancels the shift
function and sends the normal code associated with the respective
key.
· The input selector does not change during this operation.
· If you press
VIDEO or AUDIO key more than 3 seconds after
pressing the SHIFT key, the input selector changes together with
the operation mode.
The component to be controlled is displayed in parenthesis
This operation lets you change the remote control operation mode
without changing the input selector.
You may find this useful when you want to control one component while
using another. (For example, if you want to rewind the tape deck while
listening to a CD.)
This operation is also useful if you don't know the which mode the
remote control is set to. Executing this operation allows you to change
or reconfirm the operation mode you desire.
SHIFT
VIDEO, AUDIO, TV
MACRO
VIDEO, AUDIO, TV
3
· You can store up to 3 different macros, one at each key:
VIDEO
= "MACRO 1", AUDIO = "MACRO 2", TV = "MACRO 3"
· The light flashes once when you select the macro location.
· Pressing a key other than VIDEO, AUDIO, or TV cancels the macro
program mode.
When VIDEO is pressed
Press the VIDEO, AUDIO, or TV key to select the macro
location. (MACRO1, 2, and 3 respectively)
CD
A
SP
SW
R
L
MACRO1
A
SP
SW
R
L
Continued to next page