
Box contents
Unpack your Here2Anywhere carefully and make
sure that everything listed here is present:
1 x Here
2Anywhere
main unit
1 x Remote control
2 x AAA batteries
If anything is missing or damaged, or if your
Here2Anywhere fails to operate, notify your dealer
immediately. If your Here2Anywhere was shipped to
you directly, notify your shipper immediately.
Kenwood recommends that you retain the original
carton and packing materials in case you need to
ship your Here2Anywhere in the future.
Safety precautions
Warning
Take the following precautions to prevent traffic
accidents and avoid personal injury:
· Installation must be performed according to this
installation manual. Kenwood is not responsible
for issues arising from installations not performed
according to the procedures in this manual.
· Do not install the unit where it may obstruct your
view through the windshield or of your vehicle's
indicator displays.
· Do not install the unit where it may hinder the
function of safety devices such as an airbag.
Doing so may prevent the airbag from functioning
properly in the event of an accident.
· The installation and use suggestions contained in
this manual are subject to any restrictions or lim-
itations that may be imposed by applicable law--
the purchaser should check applicable law for any
restrictions or limitations before installing and/or
operating this unit.
· Failure to follow these safety instructions and
warnings may result in a serious accident.
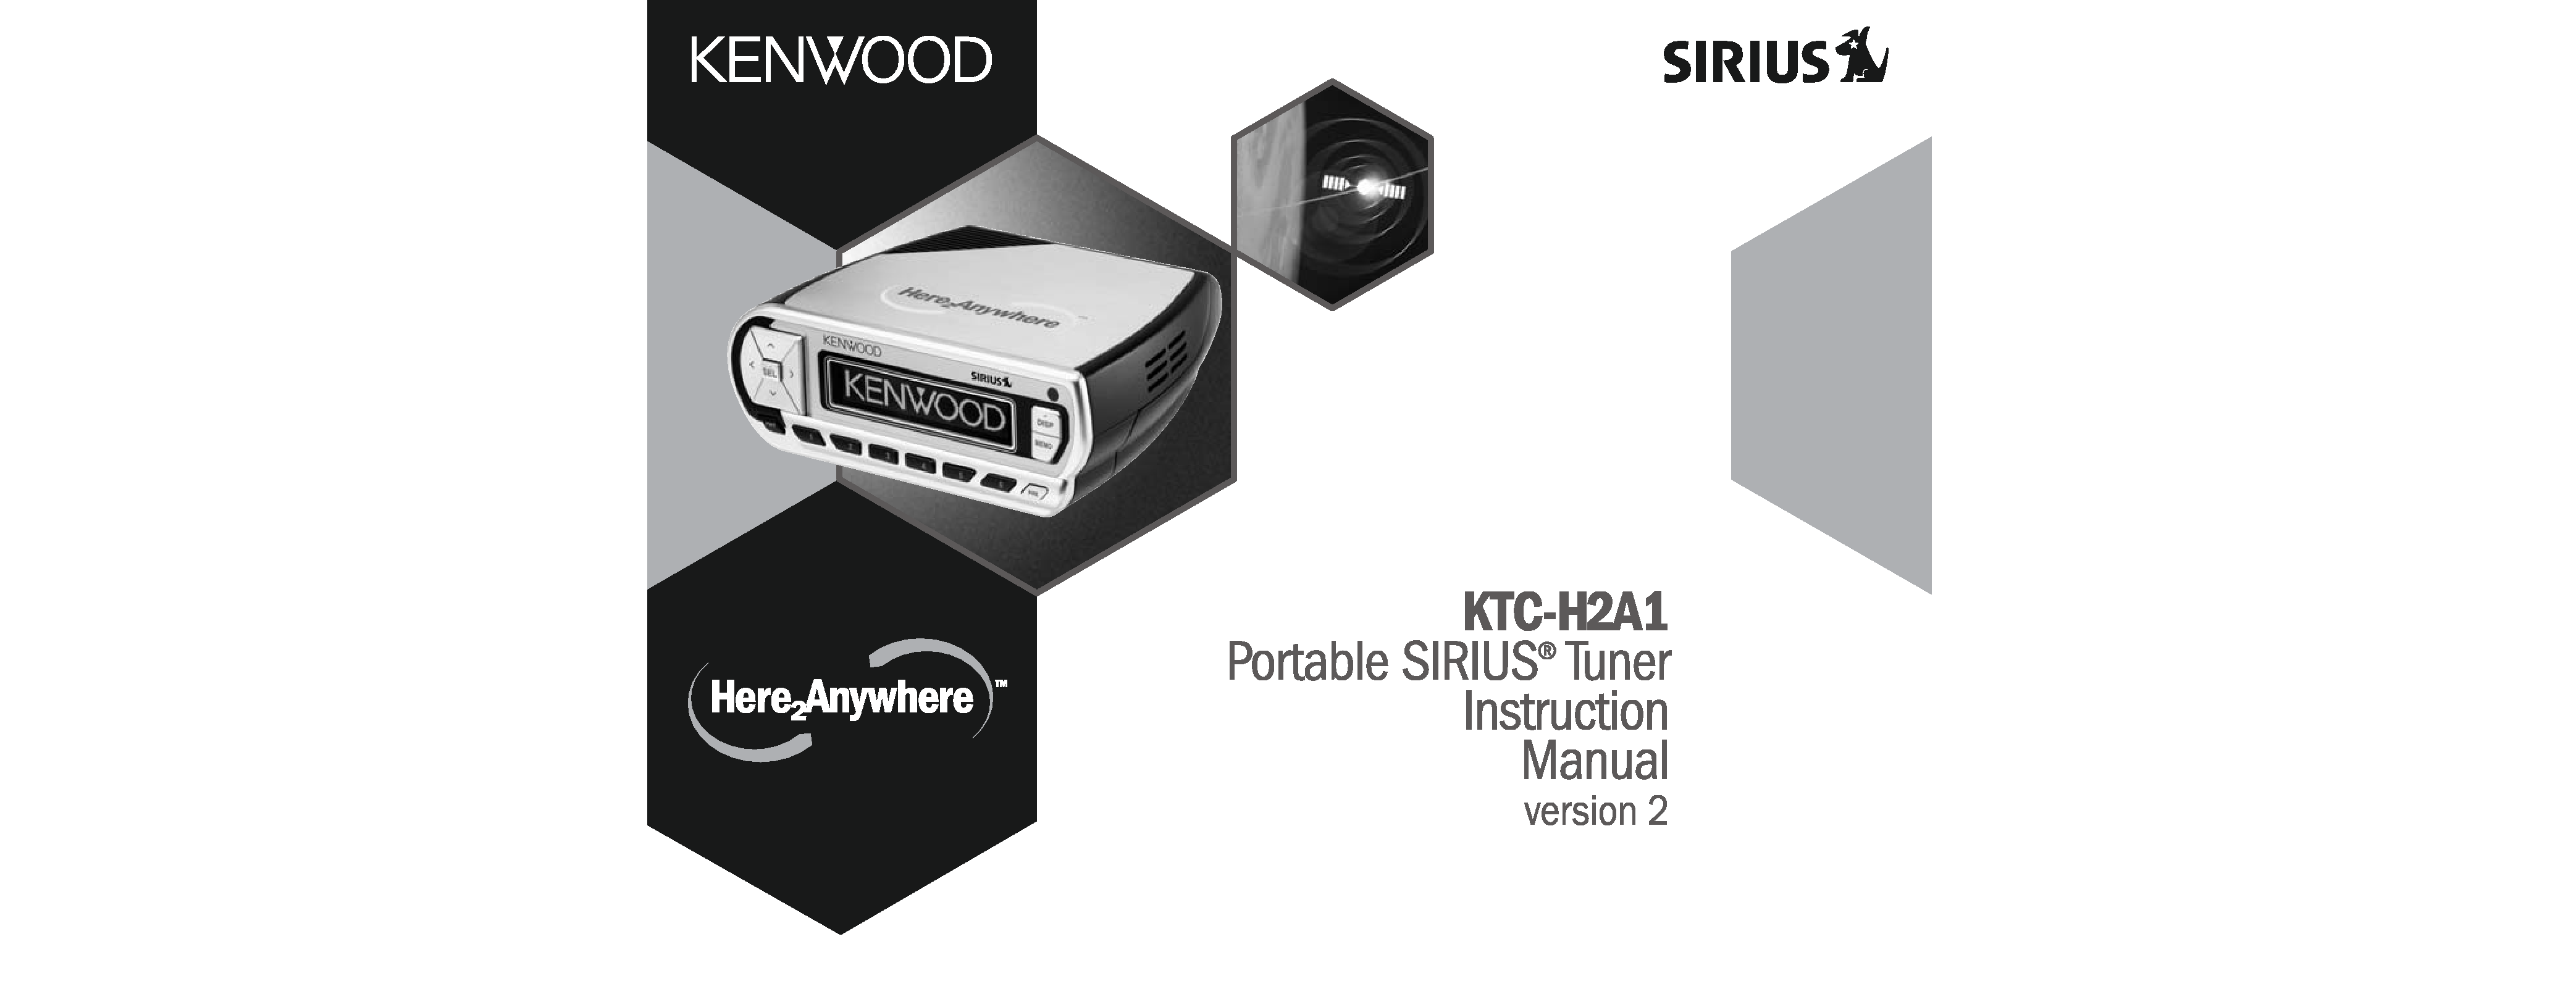
CONGRATULATIONS!
Your Here2AnywhereTM Portable SIRIUS® Satellite Tuner lets you enjoy SIRIUS Satellite's digital entertain-
ment streams anywhere you've installed one of our KPA-H2H Home Docking Kits or KPA-H2C/KPA-H2CFM
Car Docking Kits (available separately). Use this manual to familiarize yourself with all of Here2Anywhere's
features and capabilities.
For the latest information about this and other Kenwood products, visit the
Kenwood USA Corporation Web site at: www.kenwoodusa.com
Here2Anywhere Instruction Manual (ver. 2)
Here2Anywhere Instruction Manual (ver. 2)
2
3
SEL
DISP
MEMO
PRE
PWR
6
5
4
3
2
1
Table of contents
Congratulations .....................................................2
Box contents .........................................................3
Safety precautions ................................................3
Installation in a vehicle.........................................6
Mounting the antenna...........................................8
Installation in a home .........................................10
Finding a location for the antenna .....................11
Front panel controls and features ......................14
Remote control functions....................................15
Activating your SIRIUS subscription ....................16
Removing Here2Anywhere from the dock ...........16
Basic operation . . . . . . . . . . . . . . . . . . . . . . . . .17
Selecting music . . . . . . . . . . . . . . . . . . . . . . . . .18
Setting and using stream presets . . . . . . . . . . .20
Saving and recalling music information . . . . . . .22
Display options . . . . . . . . . . . . . . . . . . . . . . . . . .23
Setup mode . . . . . . . . . . . . . . . . . . . . . . . . . . . .24
Troubleshooting guide . . . . . . . . . . . . . . . . . . . .34
Specifications . . . . . . . . . . . . . . . . . . . . . . . . . . .35

instruction manual. The user could lose the authority
to operate this equipment if an unauthorized change
or modification is made.
Note
This equipment has been tested and found to
comply with the limits for a Class B digital device,
pursuant to Part 15 of the FCC Rules. These limits are
designed to provide reasonable protection against
harmful interference in a residential installation. This
equipment may cause harmful interference to radio
communications if it is not installed and used in accor-
dance with these instructions. However, there is no
guarantee that interference will not occur in a
particular installation. If this equipment does cause
harmful interference to radio or television reception,
which can be determined by turning the equipment off
and on, the user is encouraged to try to correct the
interference by one of more of the following measures:
· Reorient or relocate the receiving antenna
· Increase the separation between the equipment
and receiver
· Connect the equipment into an outlet on a circuit
different from that to which the receiver is
connected
· Consult the dealer or an experienced radio/TV
technician for help
Cleaning the unit
If the unit becomes dirty, turn its power off and wipe
it clean with a soft dry cloth.
Do not use hard cloths or paint thinner, alcohol, or
other volatile solvents to clean the unit. These may
cause damage or remove indicator characters.
Warning
Do not operate the unit in a way that might divert your
attention from driving safely. As a driver, you alone
are responsible for safely operating your vehicle in
accordance with traffic safety laws at all times.
Warning
Take the following precautions to prevent fire and
avoid personal injury:
· To avoid short circuits, never put or leave any
metallic objects (coins, tools, etc.) inside the unit.
· If the unit emits smoke or strange smells, turn the power
off immediately and consult your Kenwood dealer.
· Do not drop the unit or subject it to strong shocks.
· If the LCD display becomes damaged or broken,
do not touch the liquid crystal fluid. The fluid may
be dangerous to your health or even fatal. If the
liquid crystal fluid contacts your body or clothing,
immediately wash it off with soap and water.
Caution
Take the following precautions to keep the unit in
proper working order:
· Be sure the unit is connected to a 12V DC power
supply with a negative ground connection.
· Do not open the unit.
· Do not install the unit where it will be exposed to
high levels of humidity, moisture, or dust.
· When replacing a fuse, use only a new one with
the proper rating. Using a fuse with the wrong
rating may cause the unit to malfunction.
· To prevent a short circuit when replacing a fuse,
first disconnect the wiring harness.
· When drilling holes to mount the unit, make sure
not to damage wiring or other systems on the
other side.
Note
If the unit doesn't seem to be working properly:
· Turn the unit's power off, wait 5 10 seconds,
then turn the power on again.
· If the unit still mis-operates, turn the unit's power
off, remove it from the cradle, wait 5 10 seconds,
replace it in the cradle and turn the power back on.
If the problem persists, consult your Kenwood dealer.
FCC Warning
This equipment may generate or use radio
frequency energy. Changes or modifications to this
equipment may cause harmful interference unless
the modifications are expressly approved in this
Here2Anywhere Instruction Manual (ver. 2)
Here2Anywhere Instruction Manual (ver. 2)
4
5

Here2Anywhere Instruction Manual (ver. 2)
7
Here2Anywhere Instruction Manual (ver. 2)
6
Installation in a vehicle (continued)
Installation in a vehicle with the KPA-H2C kit (available separately)
Note: Do not put Here2Anywhere in the docking station until you have completed the installation.
2. You can bend the leaves on the base to
conform to curved mounting surfaces.
3. Peel the covering away from the adhesive on
the bottom of the base and adhere it to the
mounting surface. Use the provided screws
to securely attach the base to the surface.
· If using screws, be sure that you do not
damage wiring or other systems on the
other side of the mounting surface.
1. Determine where you want to mount
Here2Anywhere.
· Do not install Here2Anywhere where
it may obstruct your view through
the windshield or your view of your
vehicle's indicator displays.
· Do not install Here2Anywhere where
it will hinder your access to the
vehicle's controls.
· Do not install Here2Anywhere where
it may hinder the function of safety
devices such as an airbag. Doing so
may prevent the air-bag from
functioning properly in the event of
an accident.
· Find a location that provides good
visibility of and access to
Here2Anywhere's front panel.
· Kenwood strongly recommends that
you mount Here2Anywhere in a
location where the base can be
attached with the provided screws.
5A. Plug the cassette adapter into the back of the cradle, as shown on the left.
5B. If your car stereo has an aux input, plug the supplied audio cable (instead of the
cassette adapter) into the back of the cradle, as shown on the right. Plug the audio
cable's white (L ch,) and red (R ch.) connectors into your car stereo.
4. Plug the cigarette lighter adapter
into the back of the cradle, as shown.
Don't plug the adapter into the
cigarette lighter until the installation
is completed (see pg. 10, Step 10).
6. Temporarily plug the antenna into
the "1-Sat/Terr (Main)" connector on
the back of the cradle until it is firmly
seated, as shown.

2. Before permanently mounting the antenna and routing the
cable, confirm that the antenna is mounted in a good location:
a. Temporarily plug the cigarette lighter adapter into the
cigarette lighter.
b. Slide Here2Anywhere all the way into the cradle so that the
connector at the rear of the unit makes proper contact in the
cradle. Press the POWER button to turn Here2Anywhere on.
c. If your Here2Anywhere has been properly connected and the
antenna is receiving the SIRIUS signal (preview stream
#184) you will hear audio. If you do not hear audio, the
display will read "Acquiring Signal". Re-orient the antenna
until you hear audio. (See
Antenna Signal, on page 33 to use
the ANTENNA SIGNAL screen to aim the antenna.)
· Make sure the vehicle is not in garage, or somewhere the
satellite signal could be blocked
3. Turn Here2Anywhere's power off and remove it from the
cradle; unplug the cigarette lighter adapter from the cigarette
lighter; unplug the antenna from the cradle.
4. Remove the yellow protective backing from the adhesive strip
and firmly adhere it to the underside of the antenna tail. (Do
not remove the red protective backing at this time.)
5. Once the strip is adhered to the tail, remove the red protective
backing from the adhesive and firmly adhere the tail to the
vehicle.
· At room temperature, maximum adhesion usually occurs
within 72 hours. During this period, car washes and other
contact with the antenna and tail should be avoided.
6. Route the exposed portion of the antenna cable from the end
of the tail to the vehicle's interior by tucking it underneath the
rubber molding around the vehicle's rear window, as shown
below.
Here2Anywhere Instruction Manual (ver. 2)
9
Installation in a vehicle (continued)
Here2Anywhere Instruction Manual (ver. 2)
8
Note: If you're using the Kenwood CX-SR10 SIRIUS antenna, you'll need to remove the plastic housings from the antenna connectors
before connecting it to the cradle--we recommend labeling the wires with their respective colors. (See pg. 9, figure 16 of the CX-SR10
Installation Manual for details). Once you've removed the housings, connect the wire that had the yellow connector to the connector
on the cradle labeled "1-Sat/Terr (Main)", and connect the other one to the connector labeled "2-Terr".
Mounting the included
antenna
1. Find an antenna location on a metal
surface at least 12" x 12". The antenna
should be mounted exactly 5.5" (the length
of the antenna's tail) away from the vehicle's
rear window, so that only the portion of the
cable protected by the tail is exposed, as
shown to the right. The antenna's 3 powerful
magnets will secure it to the metal surface.
· Do not shorten the antenna's tail. Doing
so could damage the cable, since its
insulation is integrated with the tail.
· Best reception is achieved with the anten-
na mounted on the roof; mounting on the
trunk lid will work for convertibles. If the
vehicle has a roof rack or skid ribs, it may
be necessary to mount the antenna off-
center.