KDC-X494
KDC-MP445U
KMR-440U
CD-RECEIVER
Quick Start Guide
AMPLI-TUNER LECTEUR DE CD
Guide de démarrage rapide
REPRODUCTOR DE DISCOS COMPACTOS RECEPTOR DE FM/AM
Guía de inicio rápido
© B59-2005-10/01 (KW)

2 | Quick Start Guide
Contents
About the Quick Start Guide............... 2
Before use .................................................. 3
First step ..................................................... 4
Basic Operations...................................... 5
Playing Music (CD/USB/iPod).............. 6
Listening to the Radio ........................... 7
Hands-free phoning ............................... 8
Accessories ..............................................10
Installation Procedure .........................10
Before Installation .................................11
Connecting Wires to Terminals.........12
Installation/Removing the Unit........14
About the Quick Start
Guide
This Quick Start Guide explains the basic
functions of this unit. For functions
not covered in this Guide, refer to the
Instruction Manual (PDF file) contained in
the included CD-ROM "Instruction Manual".
To refer to the Instruction Manual contained
in the CD-ROM, a PC loaded with Microsoft®
Windows XP/Vista/7 or Mac OS X® 10.4
or later is required in addition to Adobe®
ReaderTM 7.1 or Adobe® Acrobat® 7.1 or later.
The Instruction Manual is subject to
change for modification of specifications
and so forth. You can download the latest
version of the Instruction Manual from
www.kenwood.com/cs/ce/.

English | 3
Before use
2WARNING
To prevent injury or fire, take the
following precautions:
To prevent a short circuit, never put or leave
any metallic objects (such as coins or metal
tools) inside the unit.
How to reset your unit
If the unit fails to
operate properly,
press the Reset
button. The unit
returns to factory
settings when the
Reset button is
pressed.
Cleaning the Unit
If the faceplate of this unit is stained, wipe it
with a clean soft dry cloth such as a silicon
cloth.
If the faceplate is stained badly, wipe the
stain off with a cloth moistened with a
neutral cleaner, then wipe it again with a
clean soft dry cloth.
Applying spray cleaner directly to the unit
may affect its mechanical parts. Wiping
the faceplate with a hard cloth or using a
volatile liquid such as thinner or alcohol
may scratch the surface or erase characters.
Unit and Faceplate Terminals
· To prevent deterioration, do not touch the
terminals of the unit and faceplate with
your fingers.
· If the terminals on the unit or faceplate
get dirty, wipe them with a clean soft
dry cloth.
Lens Fogging
When you turn on the car heater in cold
weather, dew or condensation may form
on the lens in the CD player of the unit.
Called lens fogging, this condensation on
the lens may not allow CDs to play. In such
a situation, remove the disc and wait for
the condensation to evaporate. If the unit
still does not operate normally after a while,
consult your Kenwood dealer.
Notes
· If you experience problems during
installation, consult your Kenwood dealer.
· When you purchase optional accessories,
check with your Kenwood dealer to make
sure that they work with your model and
in your area.
· Characters that conform to ISO 8859-1
can be displayed.
· The illustrations of the display and the
panel appearing in this manual are
examples used to explain more clearly
how the controls are used. Therefore,
what appears on the display in the
illustrations may differ from what appears
on the display on the actual equipment,
and some of the illustrations on the
display may be inapplicable.
Reset button
4 | Quick Start Guide
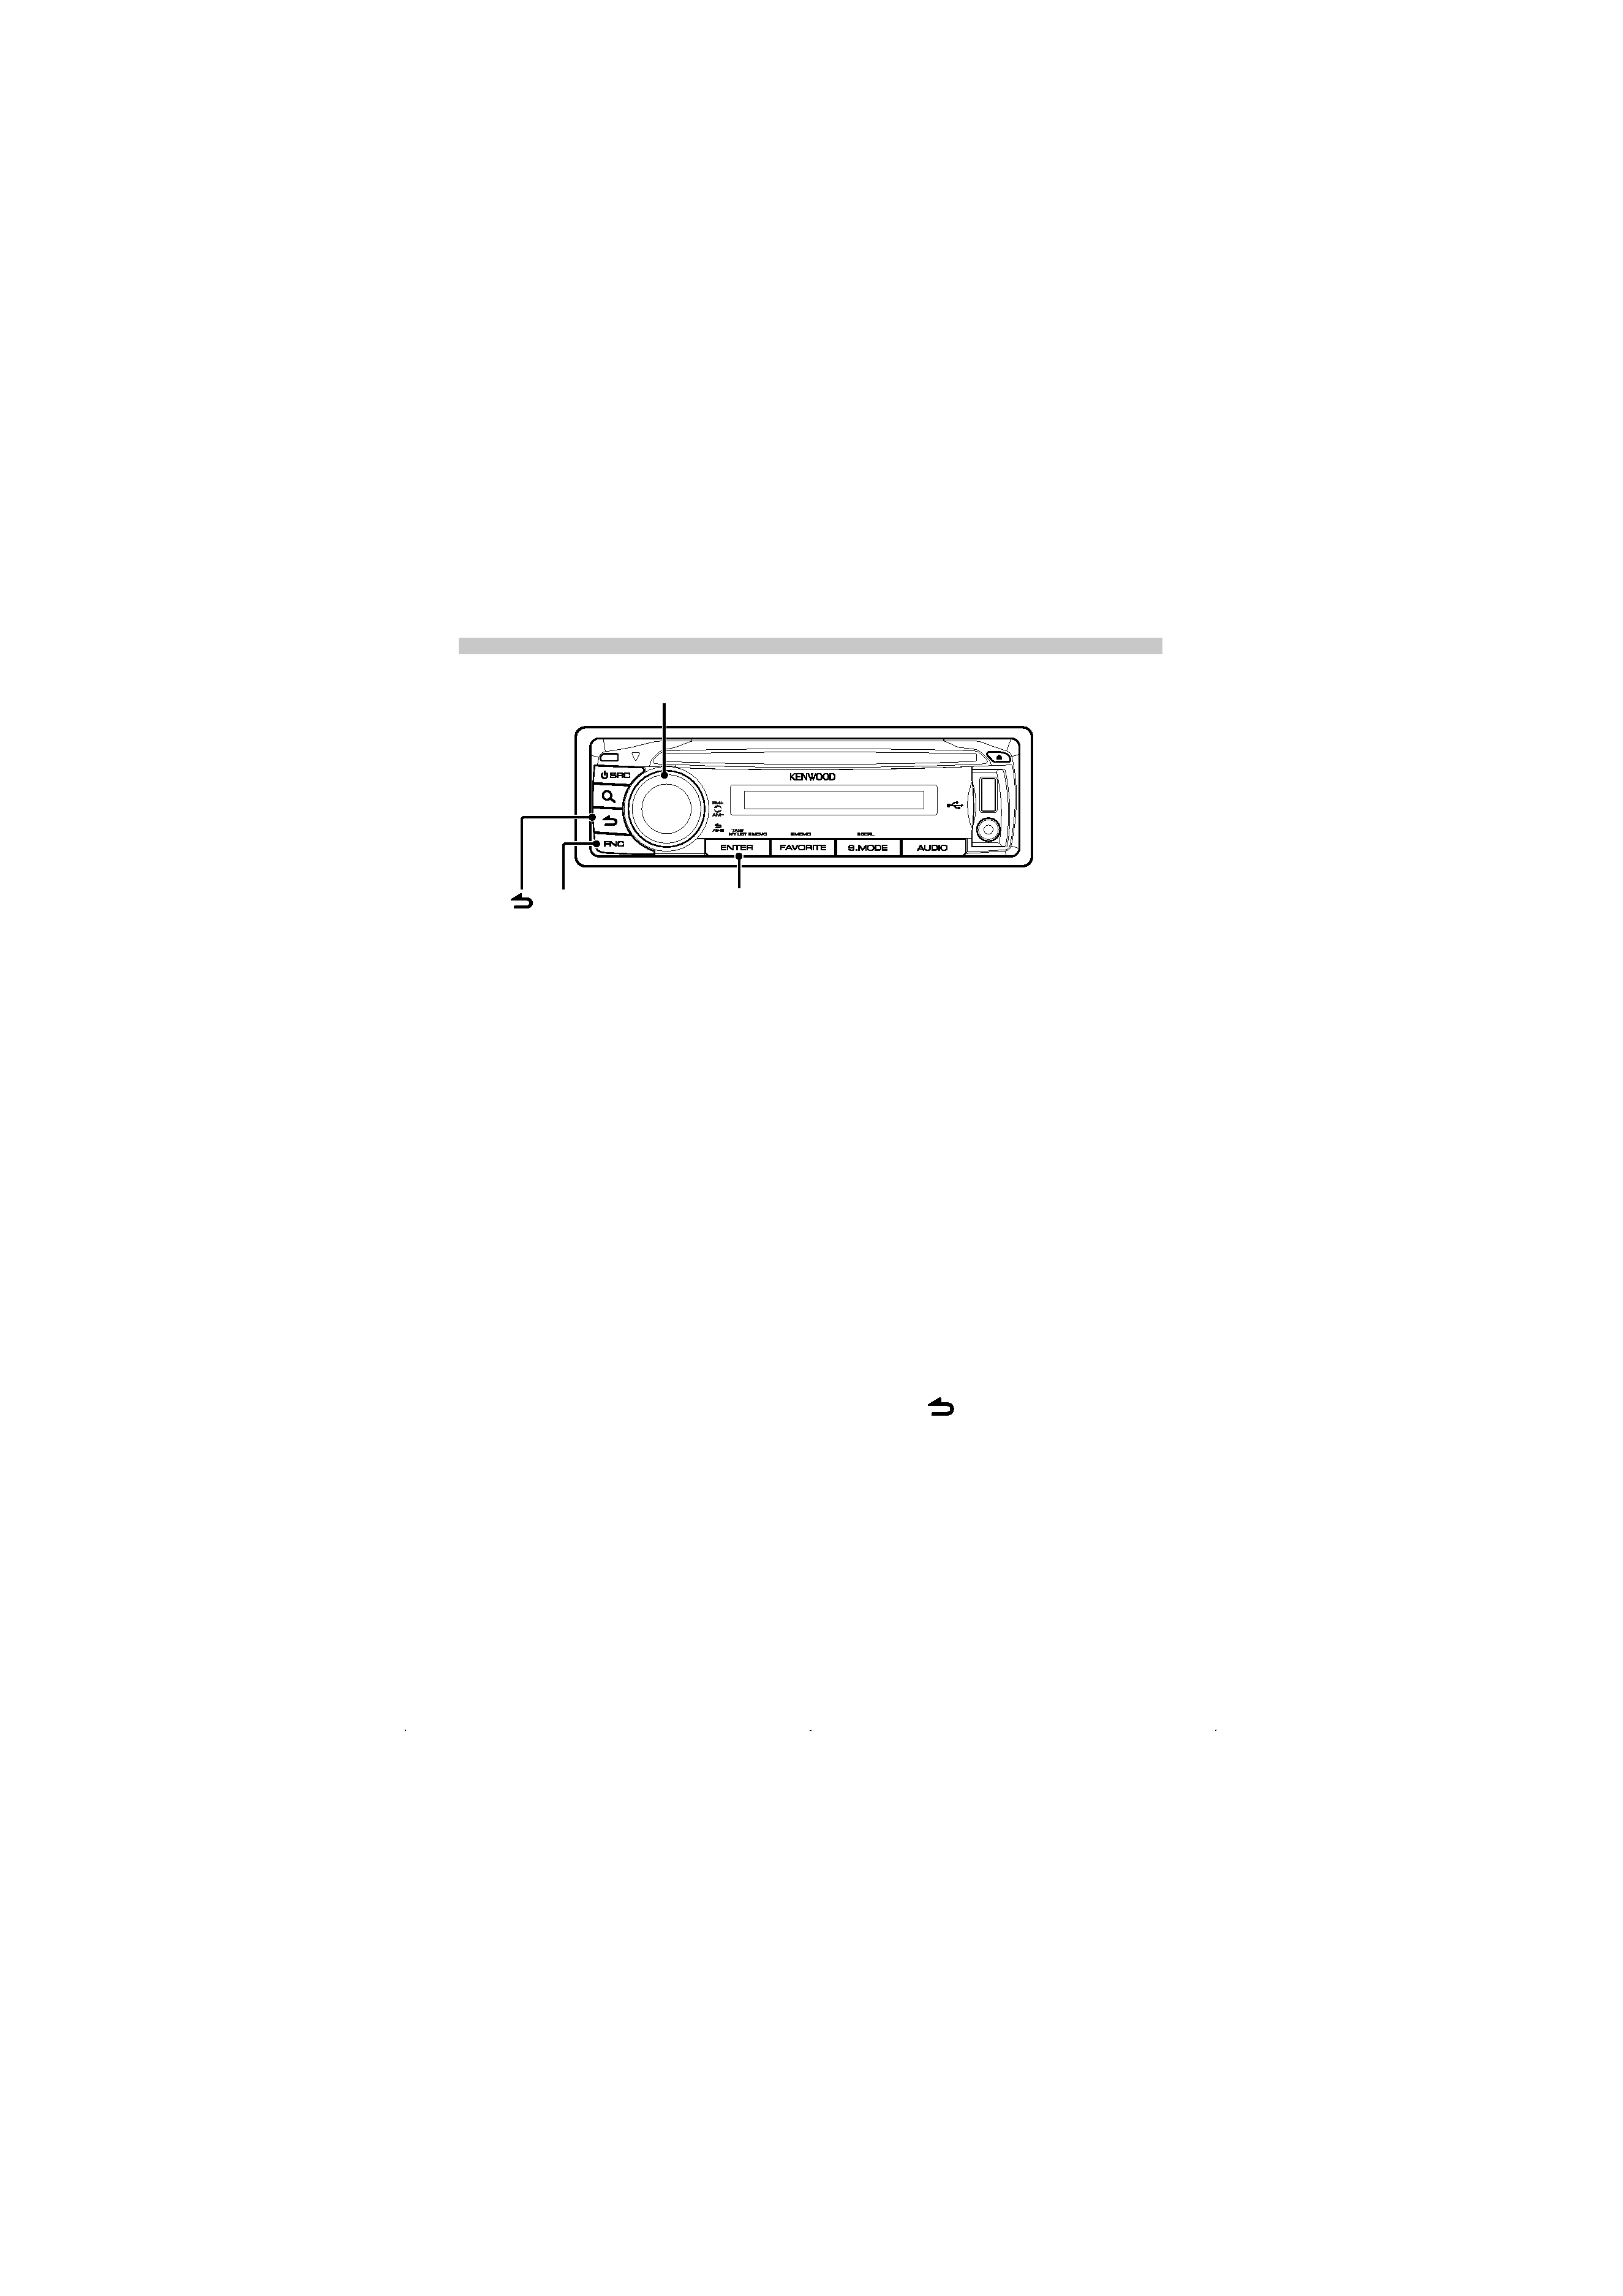
First step
Exit Demonstration Mode
(KDC-X494/ KDC-MP445U only)
Turn off the demonstration mode
when you use it for the first time after
installation.
1 Press the [ENTER] button to quit
the demonstration mode when the
messages "To Cancel DEMO Press the
ENTER Key" are displayed (approx. 15
seconds).
2 Turn the Control knob to select "YES",
and then press the [ENTER] button.
The demonstration mode can also be
canceled in the Function setting mode.
Refer to <Function setting> (page 16) of
Instruction manual.
Adjusting the Clock & Date
1 Press the [FNC] button to enter the
Function setting mode.
2 The item can be selected and
determined as follows.
"Settings"
"Clock & Date" "Clock
Adjust"
To select the item, turn the Control
knob. To determine the item, press the
[ENTER] button.
3 Turn the Control knob to adjust the
hour, and then press the [ENTER] button.
4 Turn the Control knob to adjust the
minute, and then press the [ENTER]
button.
5 Turn the Control knob to select "Date
Adjust", and then press the [ENTER]
button.
6 Turn the Control knob to adjust the
year, and then press the [ENTER] button.
7 Turn the Control knob to adjust the
month, and then press the [ENTER]
button.
8 Turn the Control knob to adjust the day,
and then press the [ENTER] button.
9 Turn the Control knob to select "Date
Mode", and then press the [ENTER]
button.
10 Turn the Control knob to select Date
format, and then press the [ENTER]
button.
11 Press the [
] button for at least 1
second to exit the Function setting
mode.
Control Knob
[FNC]
[ENTER]
[
]
English | 5
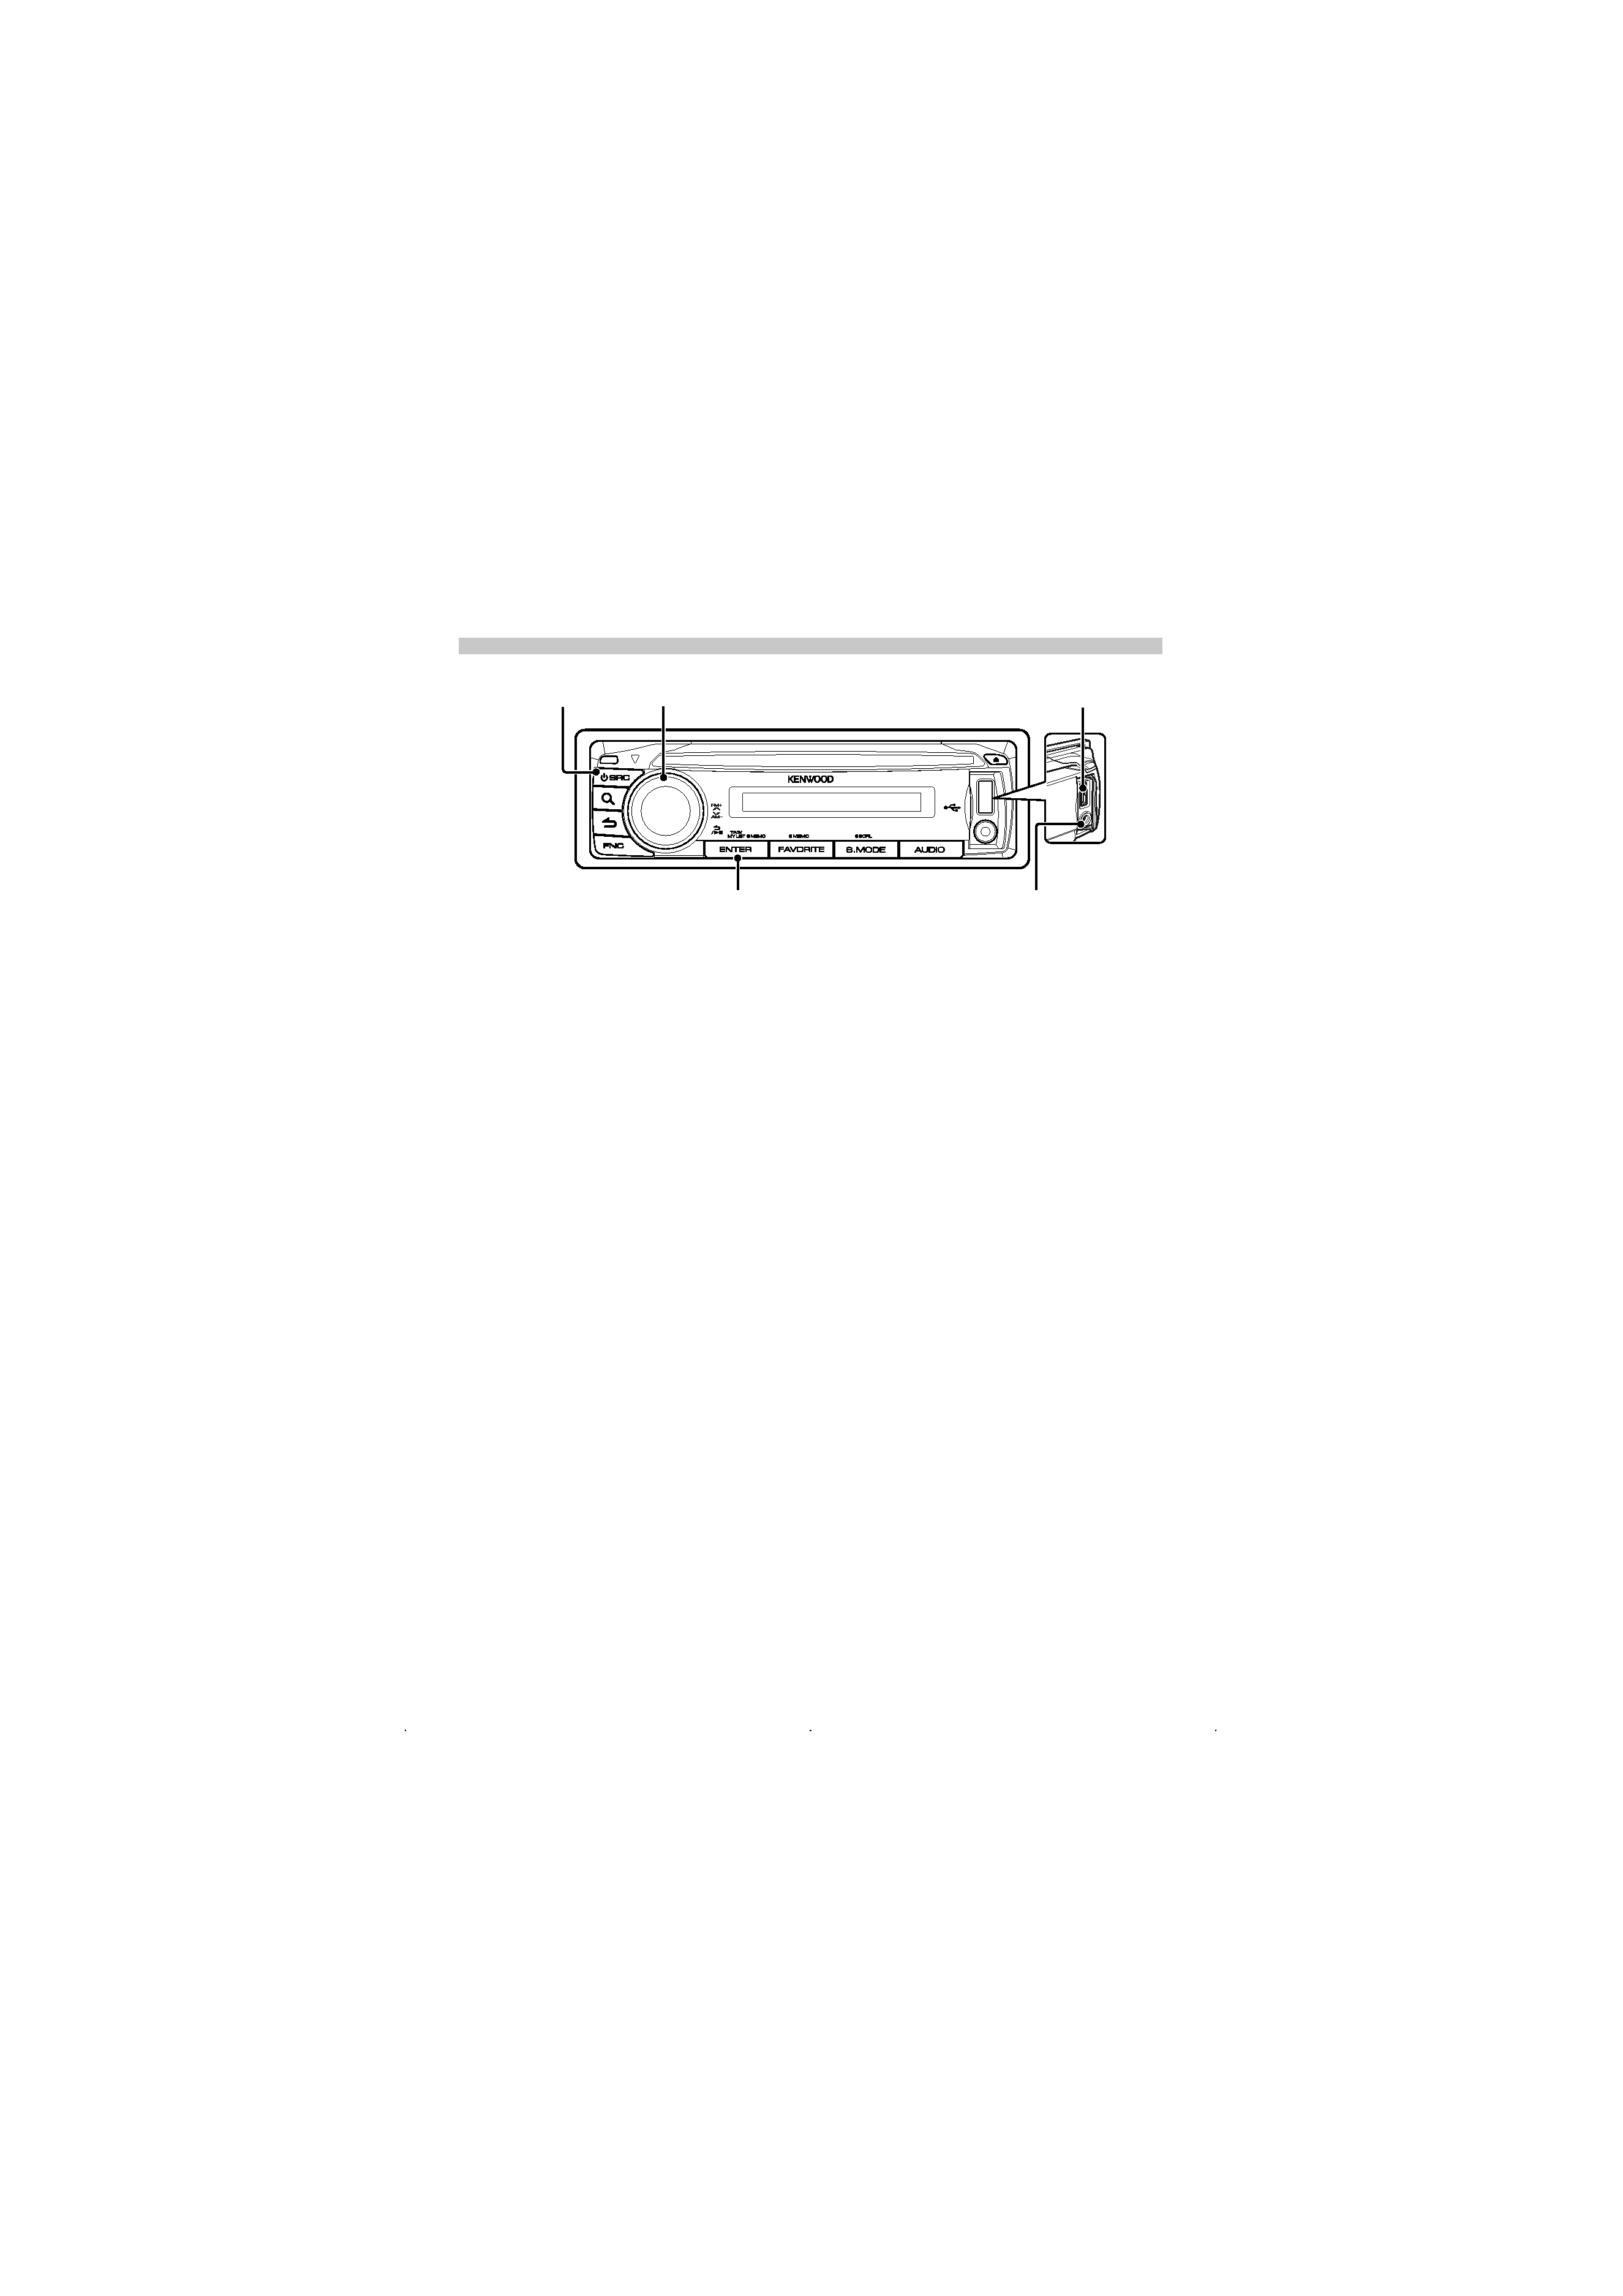
Basic Operations
Power
Turns the power ON by pressing the
[SRC] button.
Press the [SRC] button for at least 1
second to turn the power OFF.
Source selection
Press the [SRC] button and then turn the
Control knob. To determine the selected
source, press the [ENTER] button.
Tuner ("TUNER" or "HD RADIO")
USB
("USB") or iPod ("iPod")
CD ("CD")
Auxiliary Input ("AUX") Standby
("STANDBY")
Tuner...
Volume
Turn the Control knob to adjust the
sound volume.
USB terminal
USB device or iPod can be connected.
CA-U1EX or KCA-iP101 (optional
accessories) is recommended to connect
a USB device or iPod.
Auxiliary input
Portable audio device can be connected
with the stereo mini-plug (3.5 mm ø).
[ENTER]
[SRC]
Auxiliary input
USB Terminal
Control Knob