US Residence Only
Register Online
Register your Kenwood product at www.Kenwoodusa.com
CD-RECEIVER
KDC-X993
KDC-HD942U
KDC-X693
KDC-MP642U
INSTRUCTION MANUAL
© B64-4416-00/00 (KW)
Take the time to read through this instruction manual.
Familiarity with installation and operation procedures will help you obtain the best
performance from your new CD-receiver.
For your records
Record the serial number, found on the back of the unit, in the spaces designated on the
warranty card, and in the space provided below. Refer to the model and serial numbers
whenever you call upon your Kenwood dealer for information or service on the product.
Model KDC-X993/ KDC-HD942U/ KDC-X693/ KDC-MP642U Serial number

2 | KDC-X993/ KDC-HD942U/ KDC-X693/ KDC-MP642U
Contents
Before use
3
Basic Operation
4
Hands-free phoning
Function Control
6
Display Settings
10
Display Type Selection
Text Display Selection
Illumination Color Selection
Auxiliary Input Display Setting
Music disc/Audio file Operation
13
Music Search
Music Search for iPod
Searching for Music by Initial
All Random
iPod Control by Hand Mode
Direct Music Search
Direct Disc Search
Basic Operation of Disc Changer (Optional)
Tuner Operation
16
Auto Memory Entry
Station Preset Memory
Preset Tuning
Direct Access Tuning
PTY (Program Type)
Program Type Preset
Registration of a Station as a PTY
HD Radio tuner control
18
Auto Memory Entry
Station Preset Memory
Preset Tuning
Direct Access Tuning
HD Radio Tagging (iTunes Tagging)
Operation of hands-free phoning
20
Before Use
Receiving a call
During a call
Call waiting
Other functions
Making a call
Dial a number
Speed dialing (Preset dial)
Calling a number in the Phone Book
Calling a number in the call log
Make a voice dialing call
Registering to the Preset Dial Number List
Display of phone number type (category)
Bluetooth Audio Operation
24
Before Use
Basic Operation
Other Functions
25
Activating Security Code
Deactivating Security Code
Manual Clock Adjustment
Date Adjustment
Date Format Selection
AMP Control
Demonstration mode setting
Theft Deterrent Faceplate
Audio Adjustments
28
Audio Control
Audio Setup
Sound Setup
29
Cabin selection
Speaker setting
DTA (Digital Time Alignment) setting
X'Over setting
Preset Equalizer curve select
Manual Equalizer Control
Preset position selection
Manual position setting
Audio Preset Memory
Audio Preset Recall
Favorite Control
34
Favorite Preset Memory
Favorite Preset Recall
Favorite Preset Memory Delete
Favorite Name Setting
Bluetooth Setup
36
Registering Bluetooth device
Registering Special Bluetooth device
Registering PIN Code
Downloading the Phone Book
Selecting the Bluetooth device You Wish to Connect
Deleting a Registered Bluetooth device
Displaying the Firmware Version
Adding a voice dialing command
Setting a Voice Command for Category
SMS (Short Message Service)
Downloading the SMS
Satellite Radio tuner (Optional Accessory)
control
41
Basic Operation
Category and Channel Search
Preset Memory
Preset Tuning
Channel Scan
Direct Access Tuning
Basic Operations of remote control
43
Appendix
45
Accessories/ Installation Procedure
50
Connecting Wires to Terminals
51
Installation/Removing the Unit
52
Troubleshooting Guide
54
Specifications
57
English
|
3
Before use
2WARNING
To prevent injury or fire, take the following
precautions:
· To prevent a short circuit, never put or leave any
metallic objects (such as coins or metal tools) inside
the unit.
Do not use this unit before canceling
Demonstration mode!
This unit is initially set on the Demonstration mode.
When using this unit for the first time, cancel the
<Demonstration mode setting> (page 27).
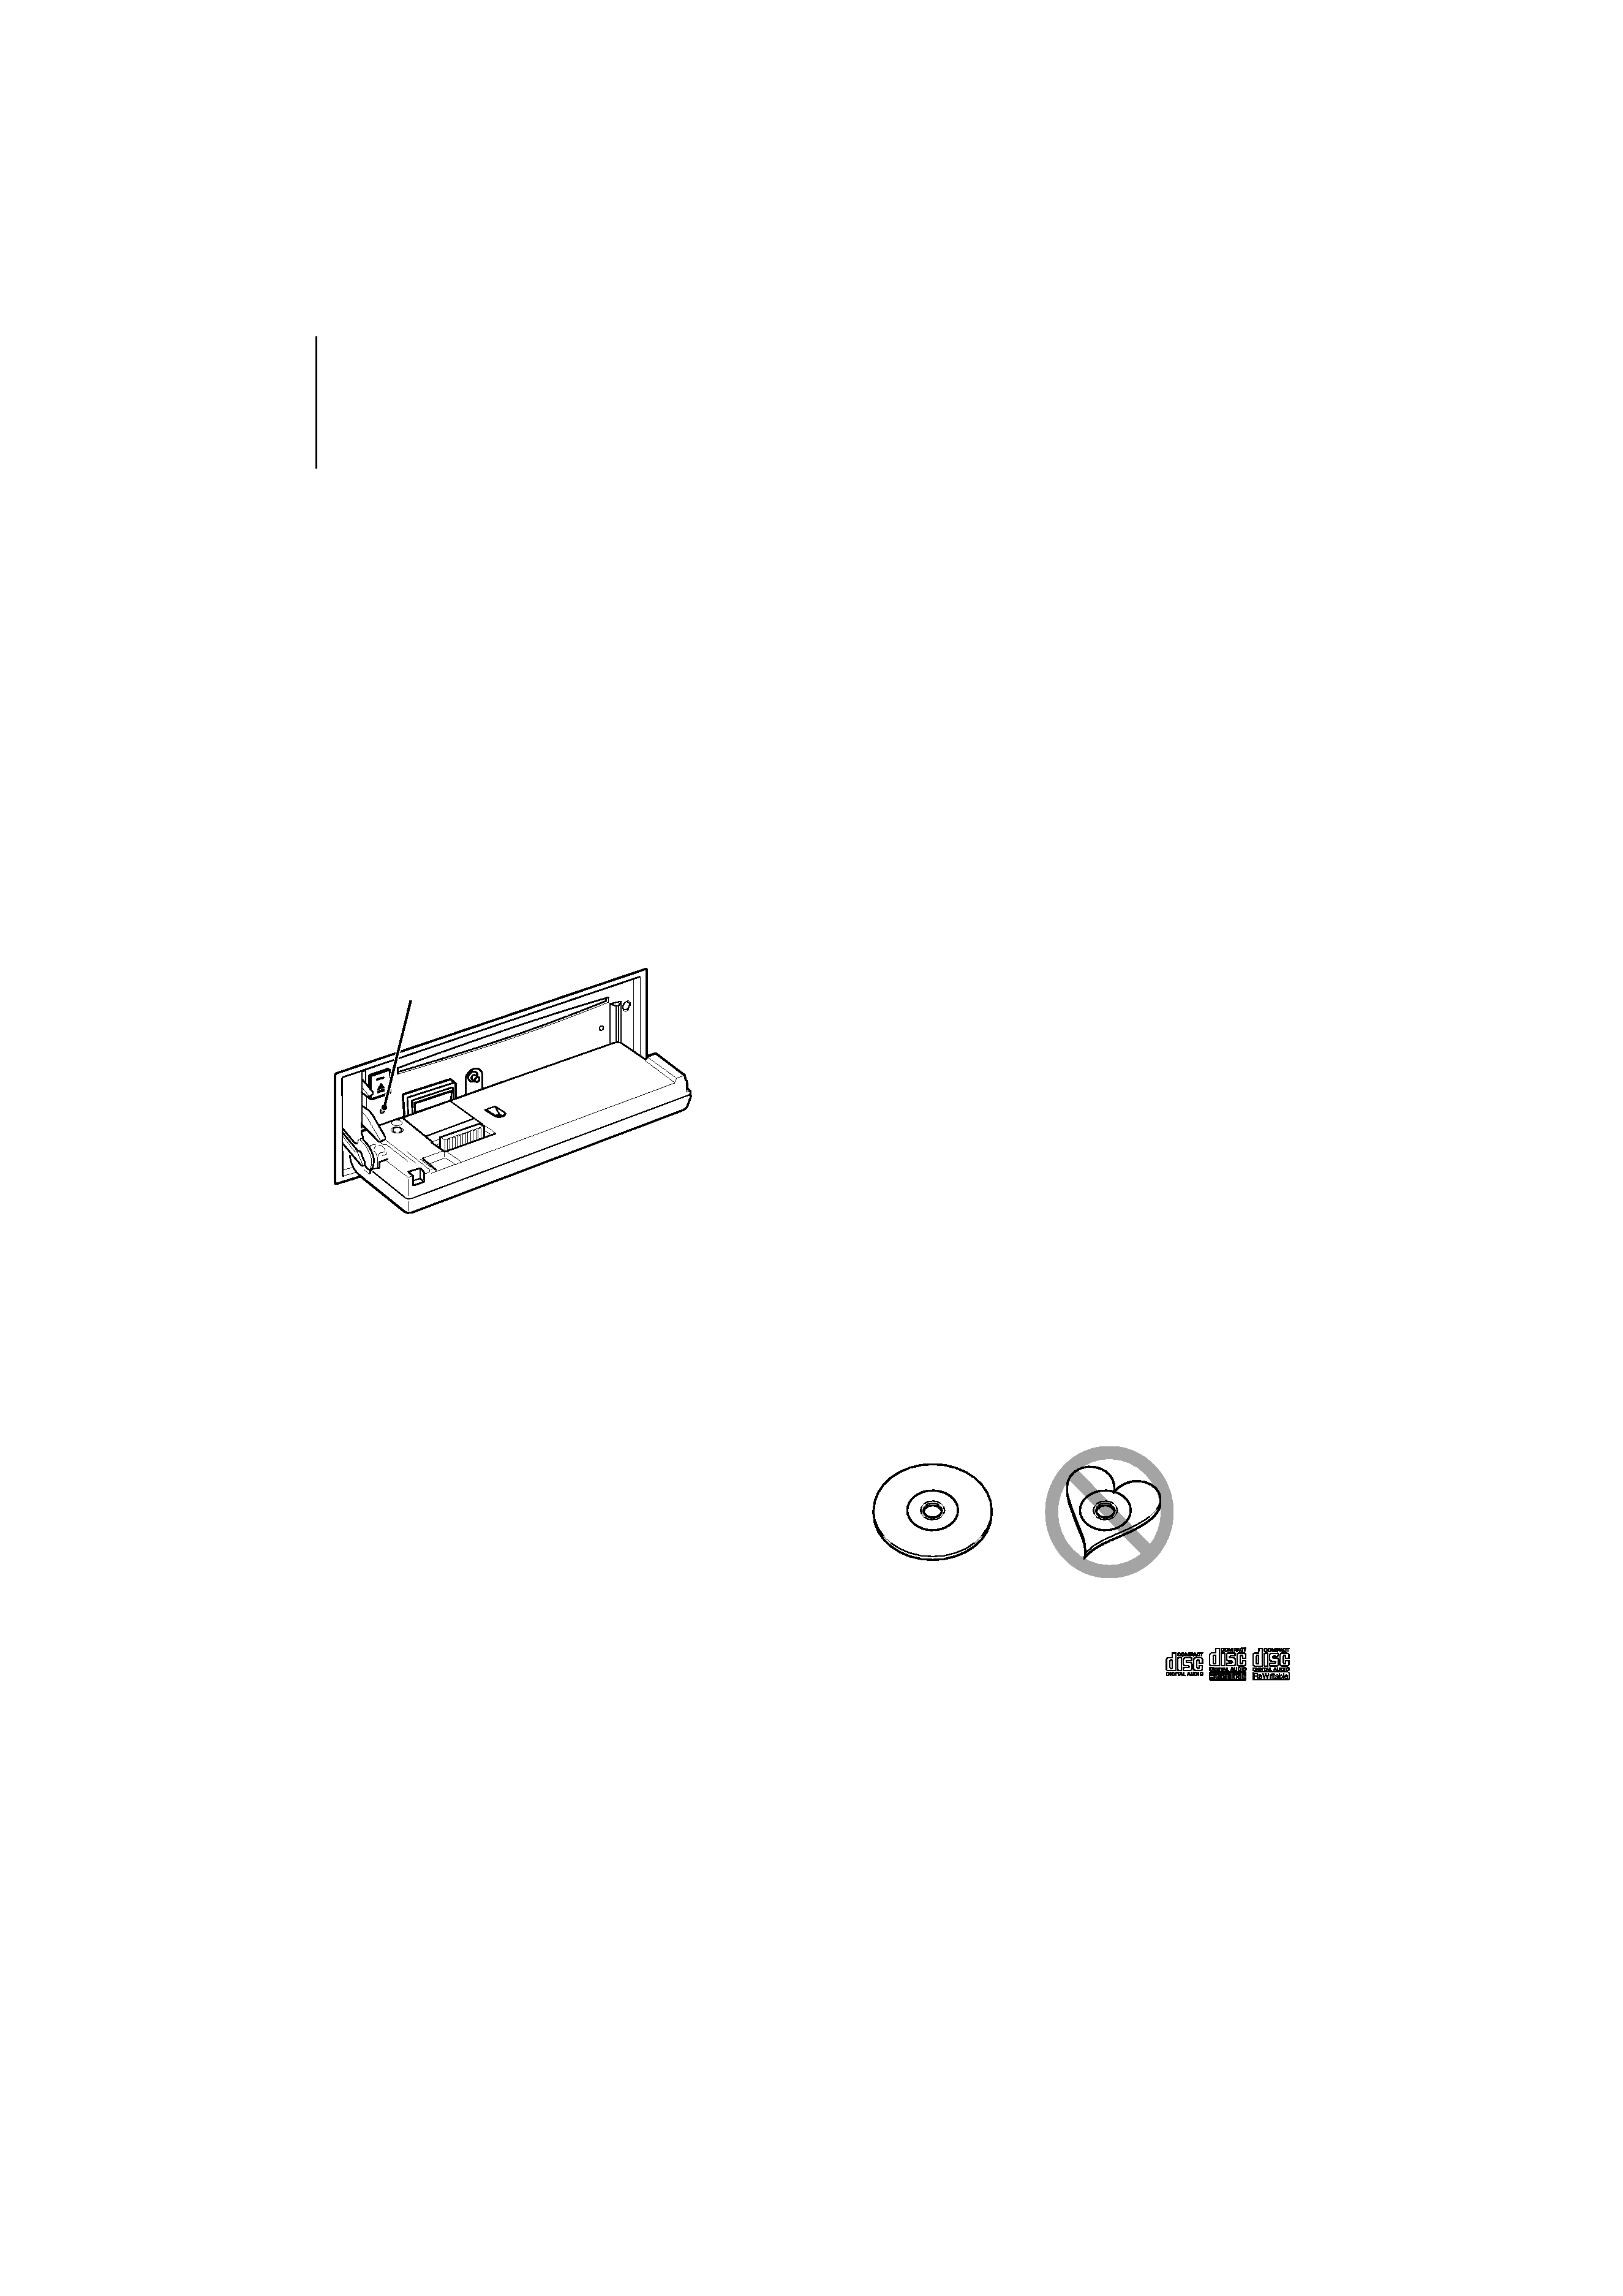
How to reset your unit
· If this unit or the connected unit (disc auto changer,
etc.) fails to operate properly, press the Reset button.
The unit returns to factory settings when the Reset
button is pressed.
Reset button
Cleaning the Unit
If the faceplate of this unit is stained, wipe it with a
dry soft cloth such as a silicon cloth.
If the faceplate is stained badly, wipe the stain off with
a cloth moistened with neutral cleaner, then wipe it
again with a clean soft dry cloth.
¤
· Applying spray cleaner directly to the unit may affect its
mechanical parts. Wiping the faceplate with a hard cloth or
using a volatile liquid such as thinner or alcohol may scratch
the surface or erases characters.
Cleaning the Faceplate Terminals
If the terminals on the unit or faceplate get dirty, wipe
them with a clean soft dry cloth.
Lens Fogging
When you turn on the car heater in cold weather,
dew or condensation may form on the lens in the
CD player of the unit. Called lens fogging, this
condensation on the lens may not allow CDs to play.
In such a situation, remove the disc and wait for the
condensation to evaporate. If the unit still does not
operate normally after a while, consult your Kenwood
dealer.
· If you experience problems during installation,
consult your Kenwood dealer.
· When you purchase optional accessories, check with
your Kenwood dealer to make sure that they work
with your model and in your area.
· Characters that conform to ISO 8859-1 can be
displayed.
· The RDS feature won't work where the service is not
supported by any broadcasting station.
· In this document, the description indicator will light
means a status is displayed. Refer to <Display Type
Selection> (page 10) for the details of the status
display.
· The illustrations of the display and the panel
appearing in this manual are examples used to
explain more clearly how the controls are used.
Therefore, what appears on the display in the
illustrations may differ from what appears on the
display on the actual equipment, and some of the
illustrations on the display may be inapplicable.
Handling CDs
· Do not touch the recording surface of the CD.
· Do not stick tape etc. on the CD, or use a CD with
tape stuck on it.
· Do not use disc type accessories.
· Clean from the center of the disc and move
outward.
· When removing CDs from this unit, pull them out
horizontally.
· If the CD center hole or outside rim has burrs,
use the CD only after removing the burrs with a
ballpoint pen etc.
CDs that cannot be used
· CDs that are not round cannot be used.
· CDs with coloring on the recording surface or CDs
that are dirty cannot be used.
· This unit can only play the CDs with
.
This unit may not correctly play discs which do not
have the mark.
· You cannot play a CD-R or CD-RW that has not been
finalized. (For the finalization process refer to your
CD-R/CD-RW writing software, and your CD-R/CD-
RW recorder instruction manual.)
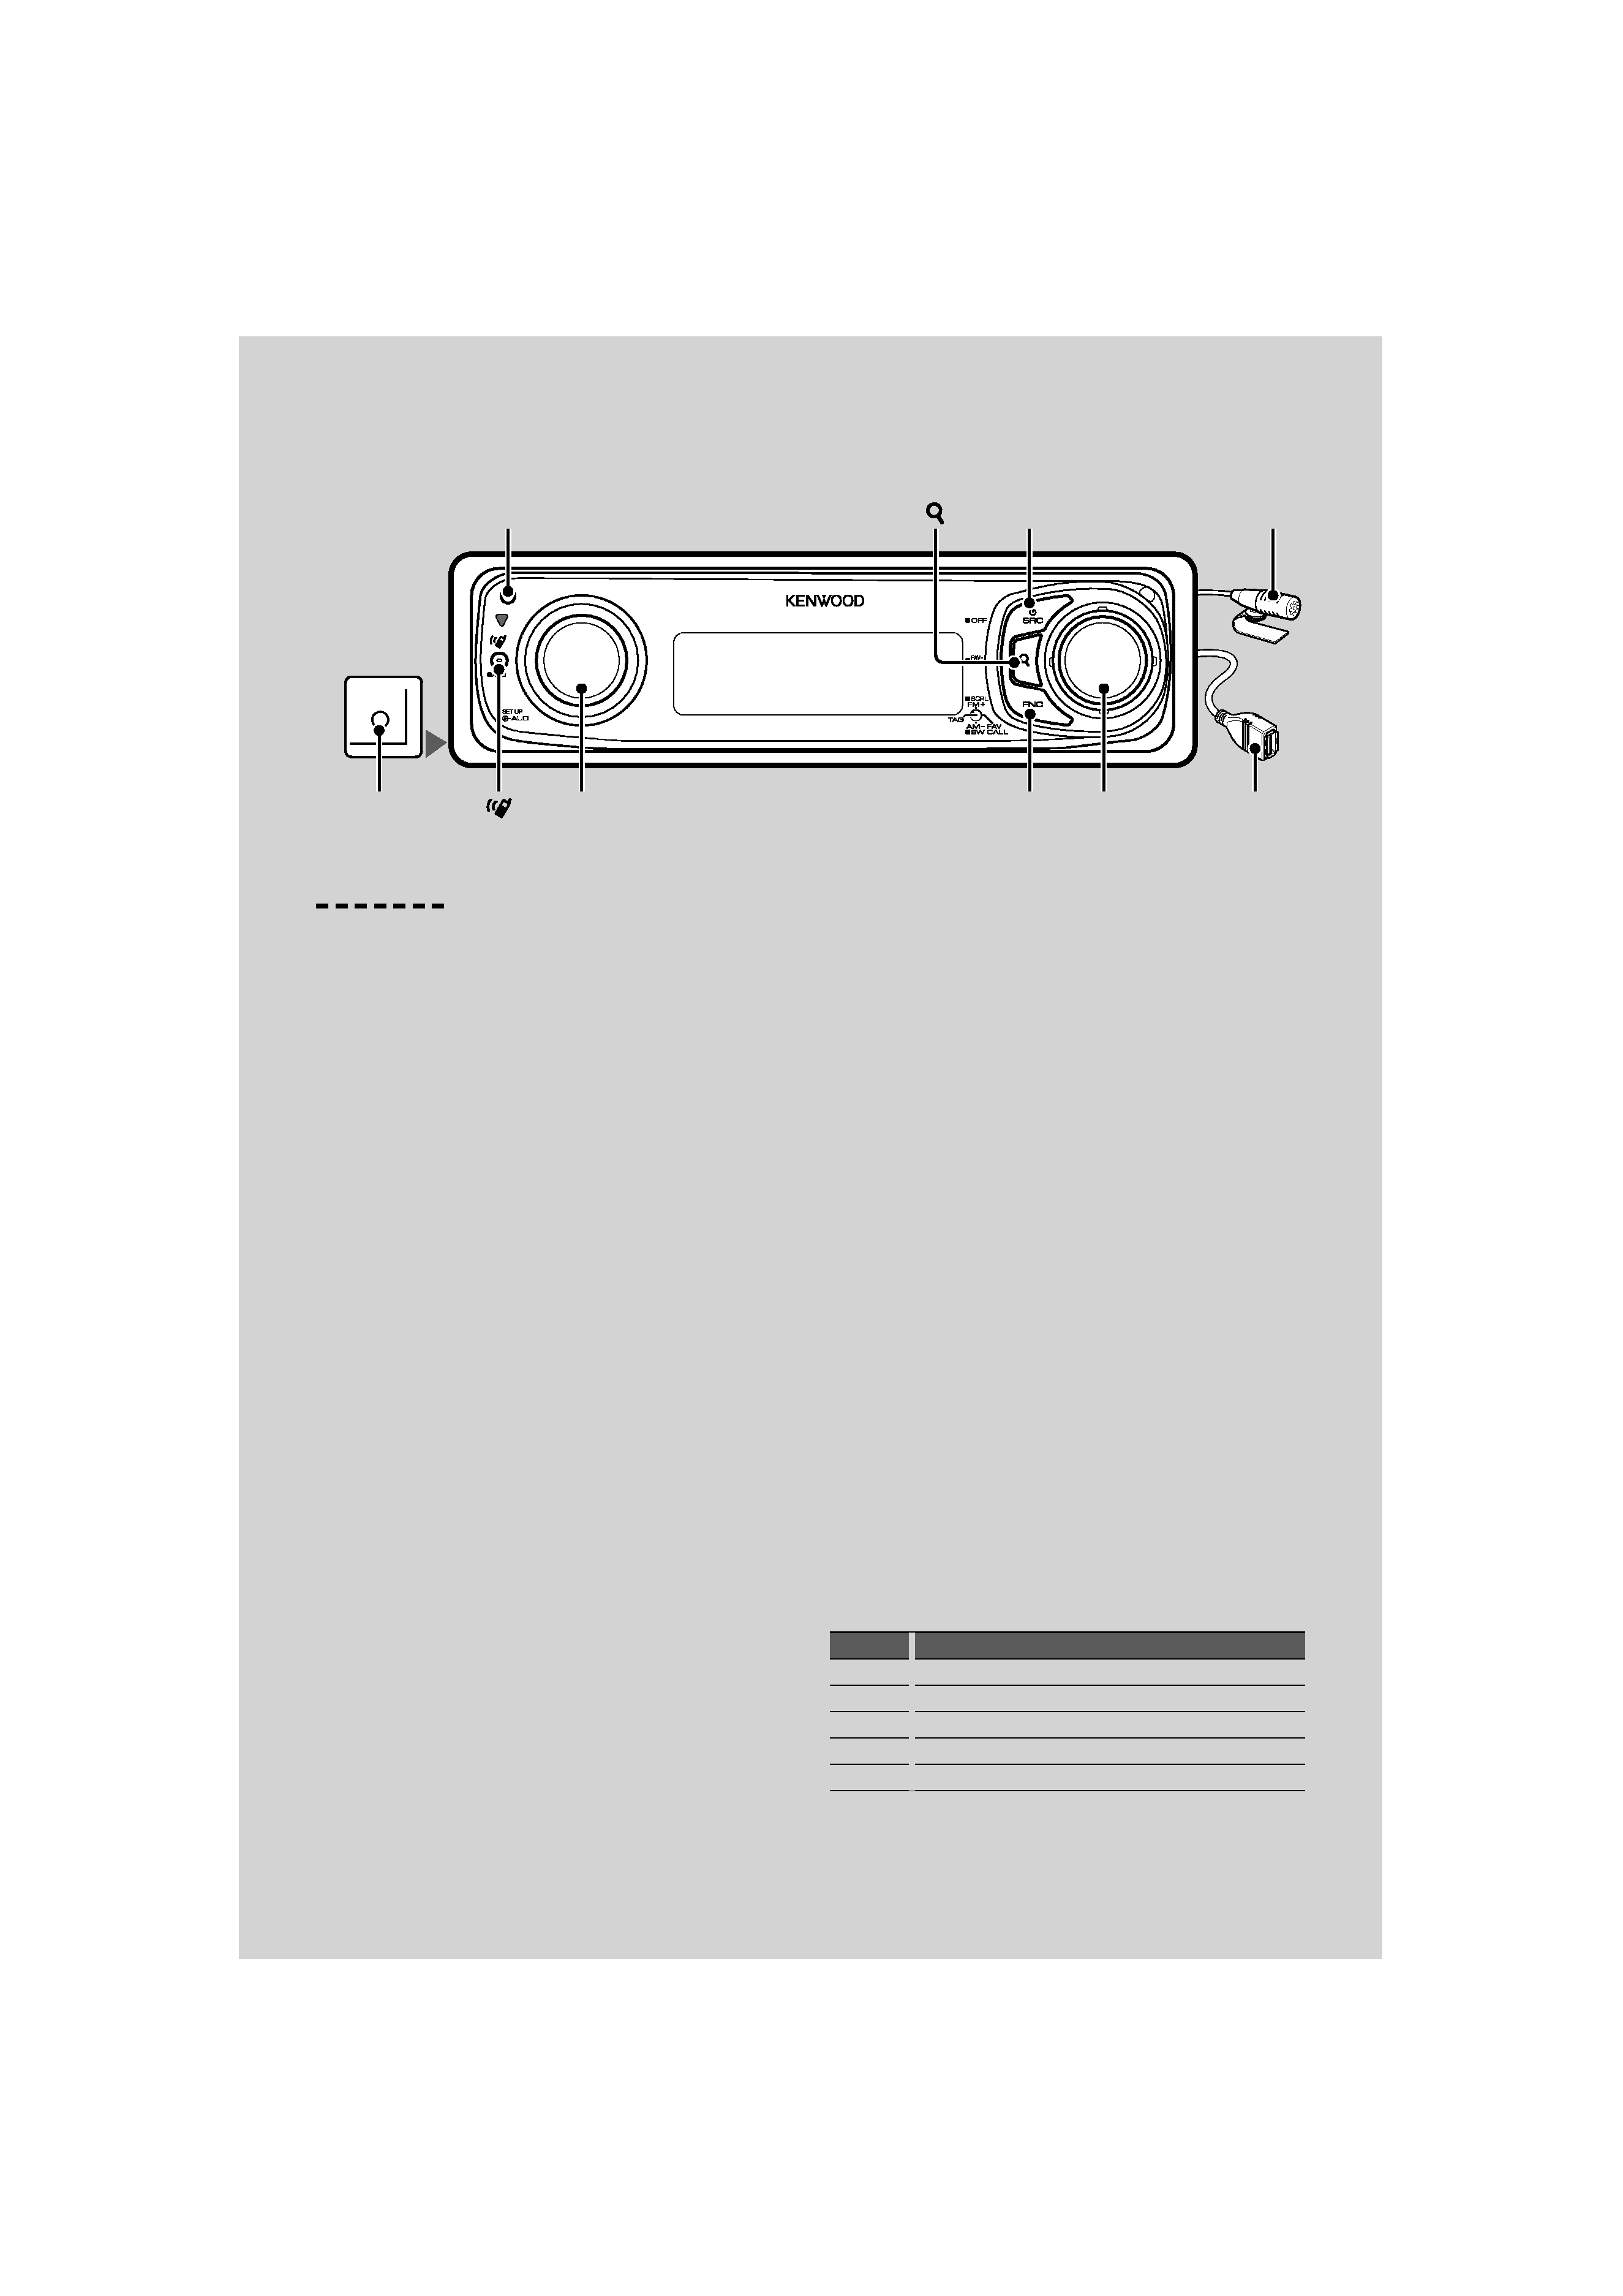
AUX
[AUD]
[FNC]
[SRC]
[ ]
[AUTO]
[
]
4 | KDC-X993/ KDC-HD942U/ KDC-X693/ KDC-MP642U
General functions
Power/Source Select button: [SRC]
Turns on the power.
When the power is ON, select a source.
SRC Select mode 1: Press the [SRC] button and then
turn the Control knob or push it toward up or down.
To determine the selected source, press the Control
knob.
SRC Select mode 2: Pressing this button each time
switches between sources.
Tuner ("TUNER" or "HD Radio") , USB or iPod ("USB" or
"iPod"), CD ("CD") , Auxiliary input ("AUX"), and Standby
("STANDBY")
Press at least 1 second to turn off the power.
/
· The SRC Select mode can be set in "MENU"
> "SRC Select" of
<Function Control> (page 6).
· Auxiliary input source is initially set to "OFF". Set "Built in
AUX" described in <Function Control> (page 6) to "ON".
: Select "MENU"
> "Built in AUX"
· When an optional accessory is connected, the source name
for each device appears.
· When connection of the iPod is recognized, the source
display changes from "USB" to "iPod".
· USB (iPod) source is recognized as CD source on the
connected unit.
Volume control: [AUD] knob
Turn the knob to adjust the volume.
Subwoofer output: Control knob
Switches between ON ("SUBWOOFER ON") and OFF
("SUBWOOFER OFF") each time pushing toward down
for at least 2 seconds.
Auxiliary input
Connect a portable audio device with mini-plug
cable (3.5 ø).
/
· Use the mini-plug cable which is stereo type and does not
have any resistance.
· The auxiliary input requires the setting made in "MENU"
>
"AUX" of <Function Control> (page 6).
Text/Title scroll: Control knob
Scrolls the CD and audio file text display when
pushing toward up for at least 2 seconds.
Muting volume upon reception of phone call
When there is a call, "CALL" is displayed and the audio
system is paused.
When the call ends, "CALL" disappears and the audio
system comes back on.
The audio system comes back on when [SRC] is
pressed during a call.
/
· To use the TEL Mute feature, you need to hook up the MUTE
wire to your telephone using a commercial telephone
accessory. Refer to <Connecting Wires to Terminals> (page
51).
Function Control: [FNC]
Pressing this button allows you to set various
functions using the Control knob. Refer to <Function
Control> (page 6).
Category Function of setup item
MENU
Allows you to set up the environment.
SETUP
Allows you to set up the display and color.
SOUND
Allows you to set up the sound environment.
BT
Allows you to set up the Bluetooth function.
--
Allows you to set up the each source function.
Basic Operation
Release
Auxiliary
input
Microphone
USB Terminal
Control
knob
English
|
5
Favorite Control: Control knob
You can recall the various registered functions by
turning the Control knob.
For example, you can recall and playback the playlist
in iPod while listening to Tuner.
Refer to <Favorite Control> (page 34).
Tuner functions
FM band: Control knob
Switches between FM1, FM2, and FM3 each time
pushing toward up.
AM band: Control knob
Switches to AM when pushing toward down.
Tuning: Control knob
Changes the frequency when pushing toward left or
right.
/
· During reception of stereo stations the "ST" indicator is ON.
Tuning mode select: [AUTO]
·
For KDC-HD942U/ KDC-X693/ KDC-MP642U:
Switches as follows each time this button is pressed.
·
For KDC-X993: Switches as follows each time this
button is pressed for at least 1 second.
Tuning mode Display
Operation
Auto seek
"Seek Mode : Auto1" Automatic search for a station.
Preset station
seek
"Seek Mode : Auto2" Search in order of the stations in
the Preset memory.
Manual
"Seek Mode : Manual" Normal manual tuning control.
Disc & Audio file play functions
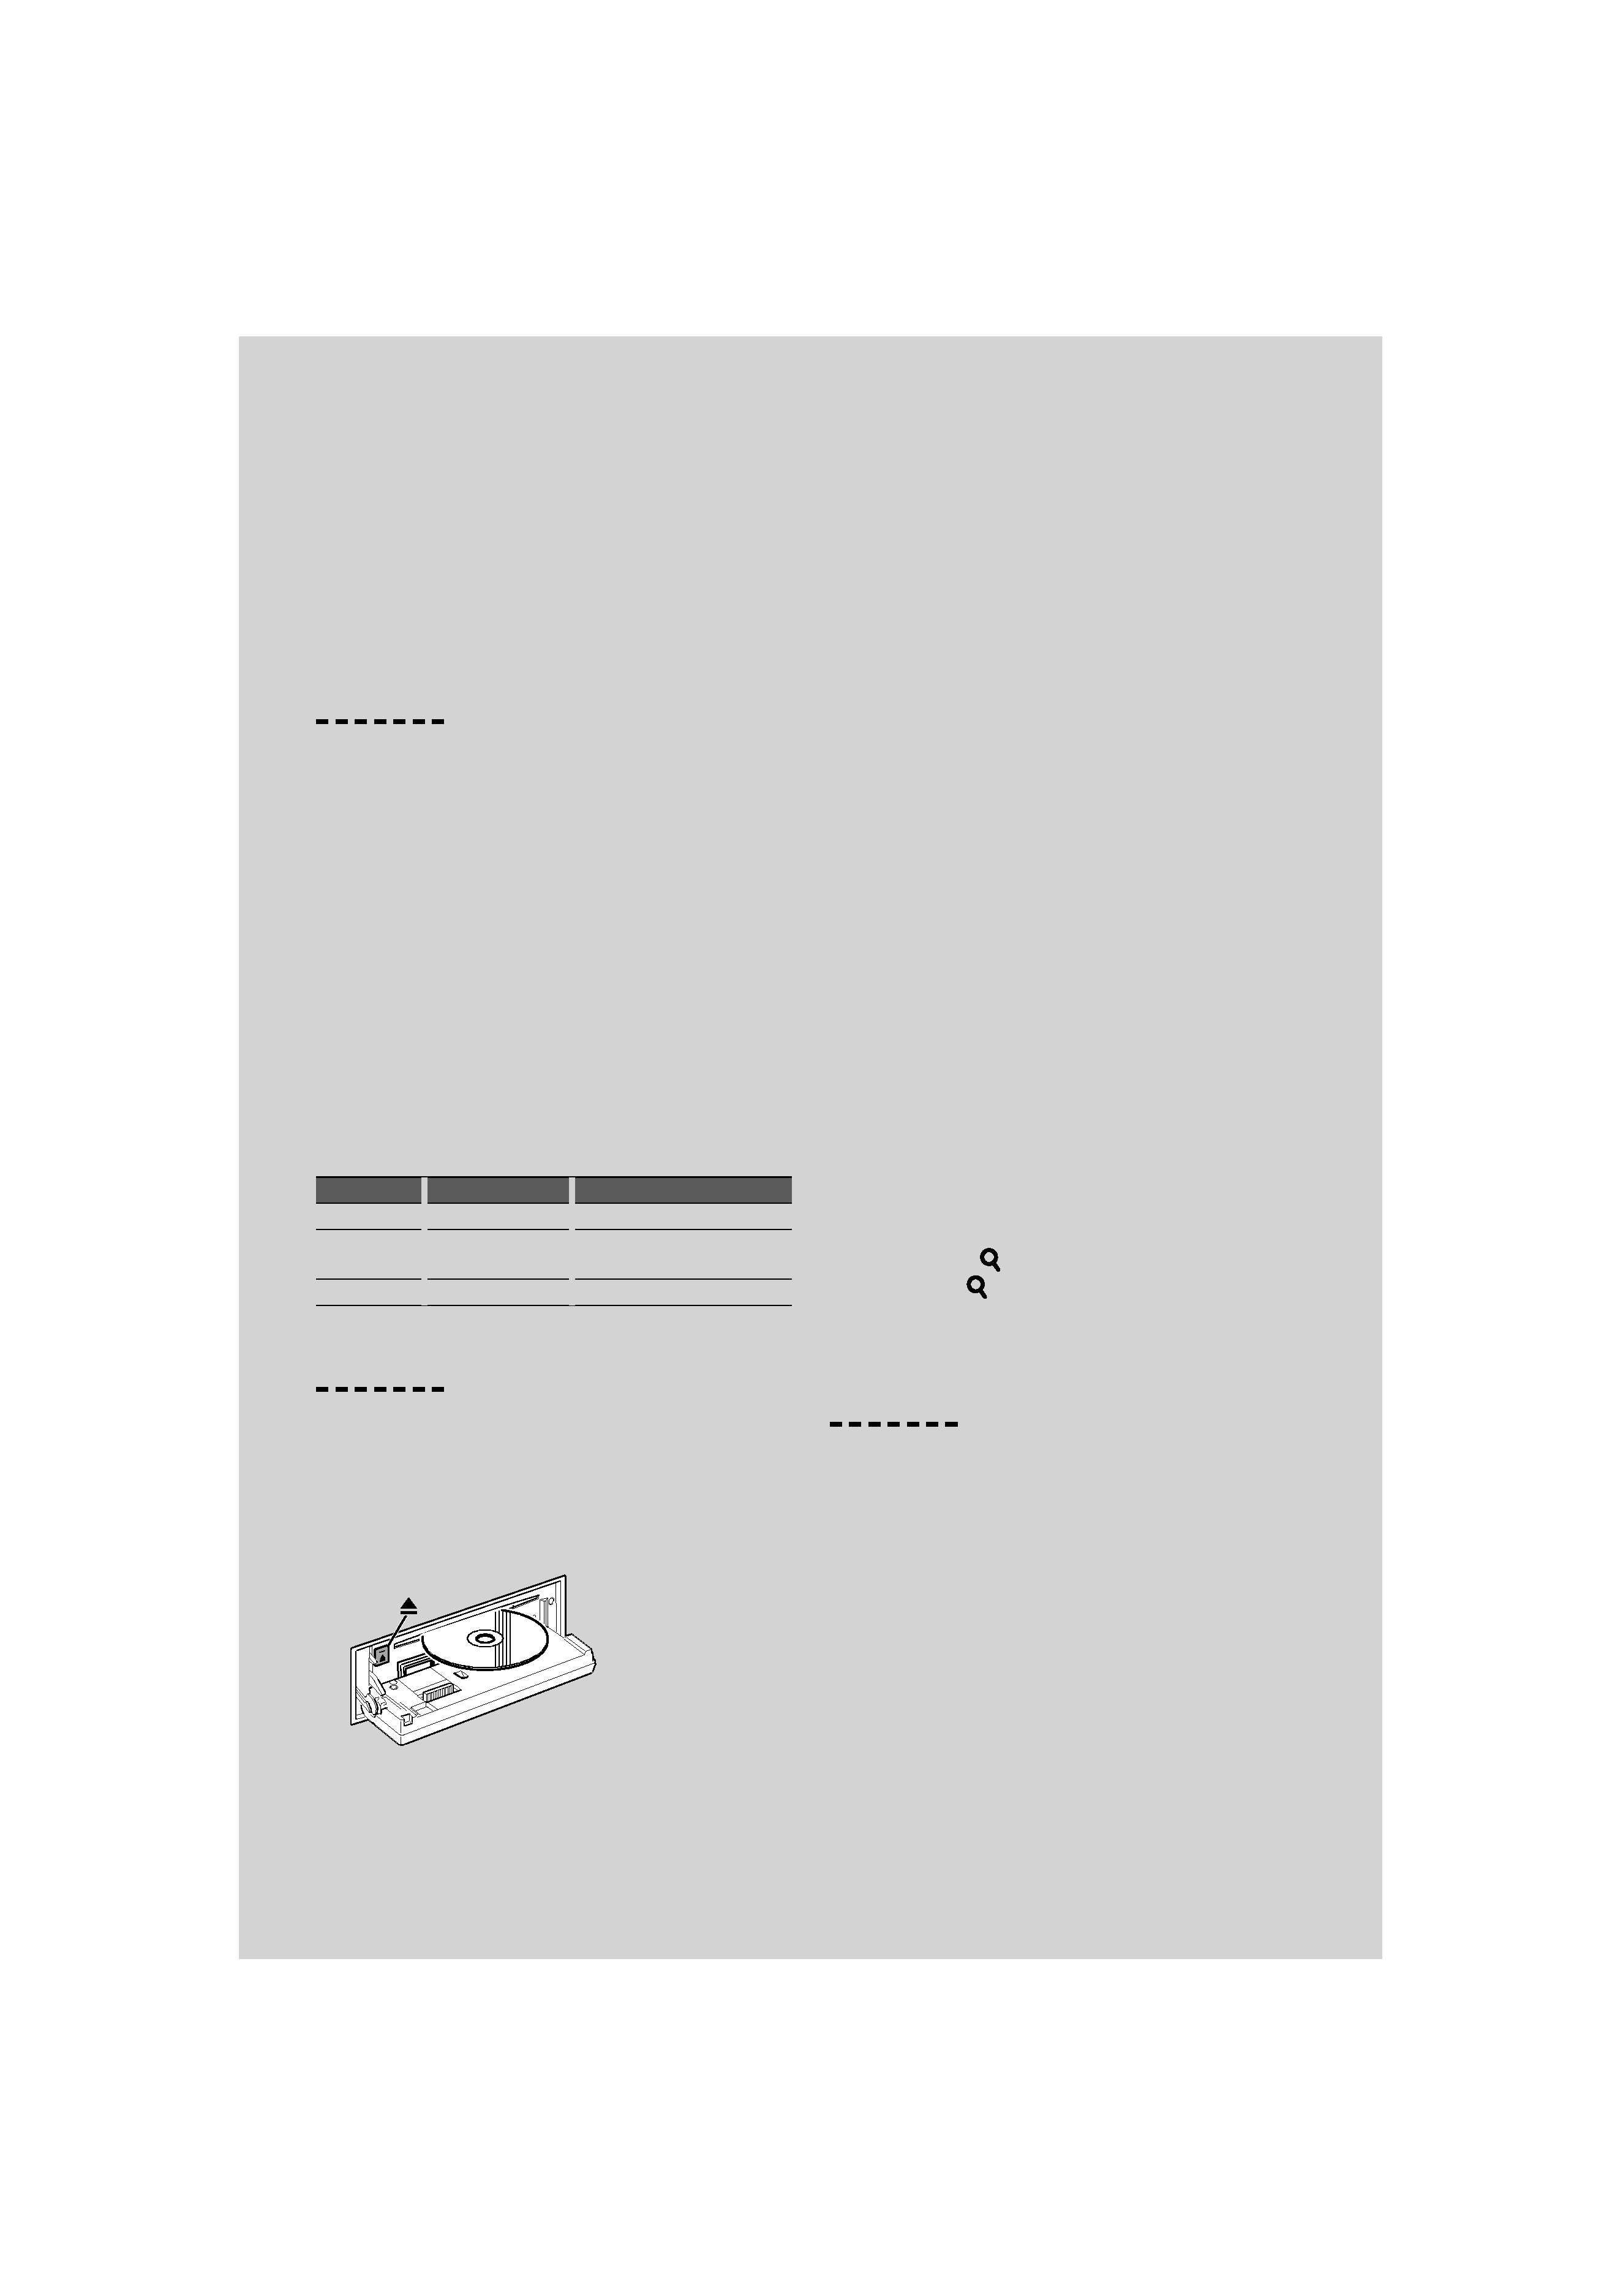
Drop open the faceplate: Release
/ · Push the faceplate on the left side, and return it to its
former position.
Disc play: Disc slot
Starts playing when a disc is inserted.
When a CD is inserted, the "CD-IN" indicator is ON.
/ · 3 inch CD cannot be used. Attempt to insert using
an adapter can cause malfunction.
Disc ejection: [
0]
/
· You can eject the disc for 10 minutes after switching off the
engine.
USB device/iPod play: USB Terminal
Connecting a USB device starts playback.
/
· For the playable audio file, media, and devices, refer to
<About Audio file> (page 45).
Pause and play: Control knob
Switches between pause and play each time this
button is pressed.
USB device removing: [
0]
Press this button for 2 seconds or longer to select the
remove mode, and the remove the USB device.
During the remove mode, "USB REMOVE" is displayed.
Music search: Control knob
Changes the music when pushing toward left or right.
Fast reverses or forwards the music while keeping
pushing toward left or right. (No sound is output
while playing audio file.)
Folder search: Control knob
Changes the folder containing the audio file when
pushing toward up or down.
· For the operation on iPod, enter <Music Search for iPod>
(page 13) is first to enter the search mode.
Search mode: [
]
After pressing [
] button, you can quickly search
songs with the Control knob. See <Music Search>
(page 13) for details.
Hands-free phoning
Microphone:
(Accessory of KDC-X993)
The microphone for the hands free phone is supplied.
When your voice cannot be recognized due to the
low microphone volume or noises in the vehicle,
adjust the microphone settings by selecting "MENU"
>"Mic Gain" of <Function Control> and "MENU" >"NR
Level" of <Function Control> (page 6).