
CD-RECEIVER
KDC-BT40U
KDC-BT30
INSTRUCTION MANUAL
© B64-4535-00/00 (EW/E0)
$AA'A'PINKUJKPFF

2 | KDC-BT40U/KDC-BT30
Contents
Before Use
3
Component names and functions
4
General operation
5
Before Using
Common Operation
Function Setting Operation
Music Disc/Audio File/iPod Operation
6
Basic Operation
Play function
All Random
Music Search
Music Search for iPod
Alphabet Search
My Playlist for iPod
Audio File/ iPod Setting
iPod Control by Hand Mode
Direct Music Search
Tuner Operation
10
Basic Operation
Station Preset Memory
Tuner Setting
PTY (Program Type)
Program Type Preset
Changing Language for PTY Function
Operation of Hands-Free Phoning
12
Connecting a Bluetooth Device
Making a Call
Calling a Number in the Phone Book
Calling a Number in the Call Log
Dial a Number
Make a Voice Dialing Call
Registering to the Preset Dial Number (Preset Memory)
Speed Dialing (Preset Dial)
Receiving a Call
During a Call
Call Waiting
Other Functions
Display of Phone Number Type (Category)
Audio Adjustments
15
Audio Control
Display Settings
16
Display Selection
Text Scroll
Display Setting
Auxiliary Input Display Setting
Other Functions
18
Clock Adjustment
Demonstration Mode Setting
Initial Setting
Removing the Faceplate
How to Reset Your Unit
Bluetooth Setup
20
Bluetooth Setup
Registering Bluetooth Device (Pairing)
Deleting a Registered Bluetooth Device
Registering PIN Code
Displaying the Firmware Version
Downloading the Phone Book
Selecting the Bluetooth Device You Wish to Connect
Downloading the SMS
SMS (Short Message Service)
Adding a Voice Dialing Command
Setting a Voice Command for Category
Basic Operations of Remote Control
26
Appendix
28
Accessories/ Installation Procedure
32
Connecting Wires to Terminals
33
Installation/Removing the Unit
35
Troubleshooting Guide
36
Specifications
38
$AA'A'PINKUJKPFF

English
|
3
Before Use
2WARNING
To prevent injury or fire, take the following
precautions:
To prevent a short circuit, never put or leave any
metallic objects (such as coins or metal tools) inside
the unit.
Before using this unit for the first time
This unit is initially set on the Demonstration mode.
When using this unit for the first time, cancel
the Demonstration mode. Refer to <Exit of the
Demonstration Mode> (page 5).
Cleaning the Unit
If the faceplate of this unit is stained, wipe it with a
dry soft cloth such as a silicon cloth.
If the faceplate is stained badly, wipe the stain off with
a cloth moistened with neutral cleaner, then wipe it
again with a clean soft dry cloth.
¤
Applying spray cleaner directly to the unit may affect its
mechanical parts. Wiping the faceplate with a hard cloth or
using a volatile liquid such as thinner or alcohol may scratch
the surface or erases characters.
About the Terminals of the Unit and
Faceplate
· To prevent deterioration, do not touch the terminals of the
unit and faceplate with your fingers.
· If the terminals on the unit or faceplate get dirty, wipe them
with a clean soft dry cloth.
Lens Fogging
When you turn on the car heater in cold weather,
dew or condensation may form on the lens in the
CD player of the unit. Called lens fogging, this
condensation on the lens may not allow CDs to play.
In such a situation, remove the disc and wait for the
condensation to evaporate. If the unit still does not
operate normally after a while, consult your Kenwood
dealer.
Notes
· If you experience problems during installation,
consult your Kenwood dealer.
· When you purchase optional accessories, check with
your Kenwood dealer to make sure that they work
with your model and in your area.
· The characters which can be displayed by this unit
are A-Z 0-9 @ " ` ` % & * + = , . / \ < > [ ] ( ) : ; ^ - { } |
~ .
· The RDS feature won't work where the service is not
supported by any broadcasting station.
· The illustrations of the display and the panel
appearing in this manual are examples used to
explain more clearly how the controls are used.
Therefore, what appears on the display in the
illustrations may differ from what appears on the
display on the actual equipment, and some of the
illustrations on the display may be inapplicable.
Handling CDs
· Do not touch the recording surface of the CD.
· Do not stick tape etc. on the CD, or use a CD with
tape stuck on it.
· Do not use disc type accessories.
· Clean from the center of the disc and move
outward.
· When removing CDs from this unit, pull them out
horizontally.
· If the CD center hole or outside rim has burrs,
use the CD only after removing the burrs with a
ballpoint pen etc.
CDs that cannot be used
· CDs that are not round cannot be used.
· CDs with coloring on the recording surface or CDs
that are dirty cannot be used.
· This unit can only play the CDs with
.
This unit may not correctly play discs which do not
have the mark.
· You cannot play a CD-R or CD-RW that has not
been finalized. (For the finalization process refer to
your CD-R/CD-RW writing software, and your CD-R/
CD-RW recorder instruction manual.)
· 3 inch CD cannot be used. Attempt to insert using
an adapter can cause malfunction.
$AA'A'PINKUJKPFF
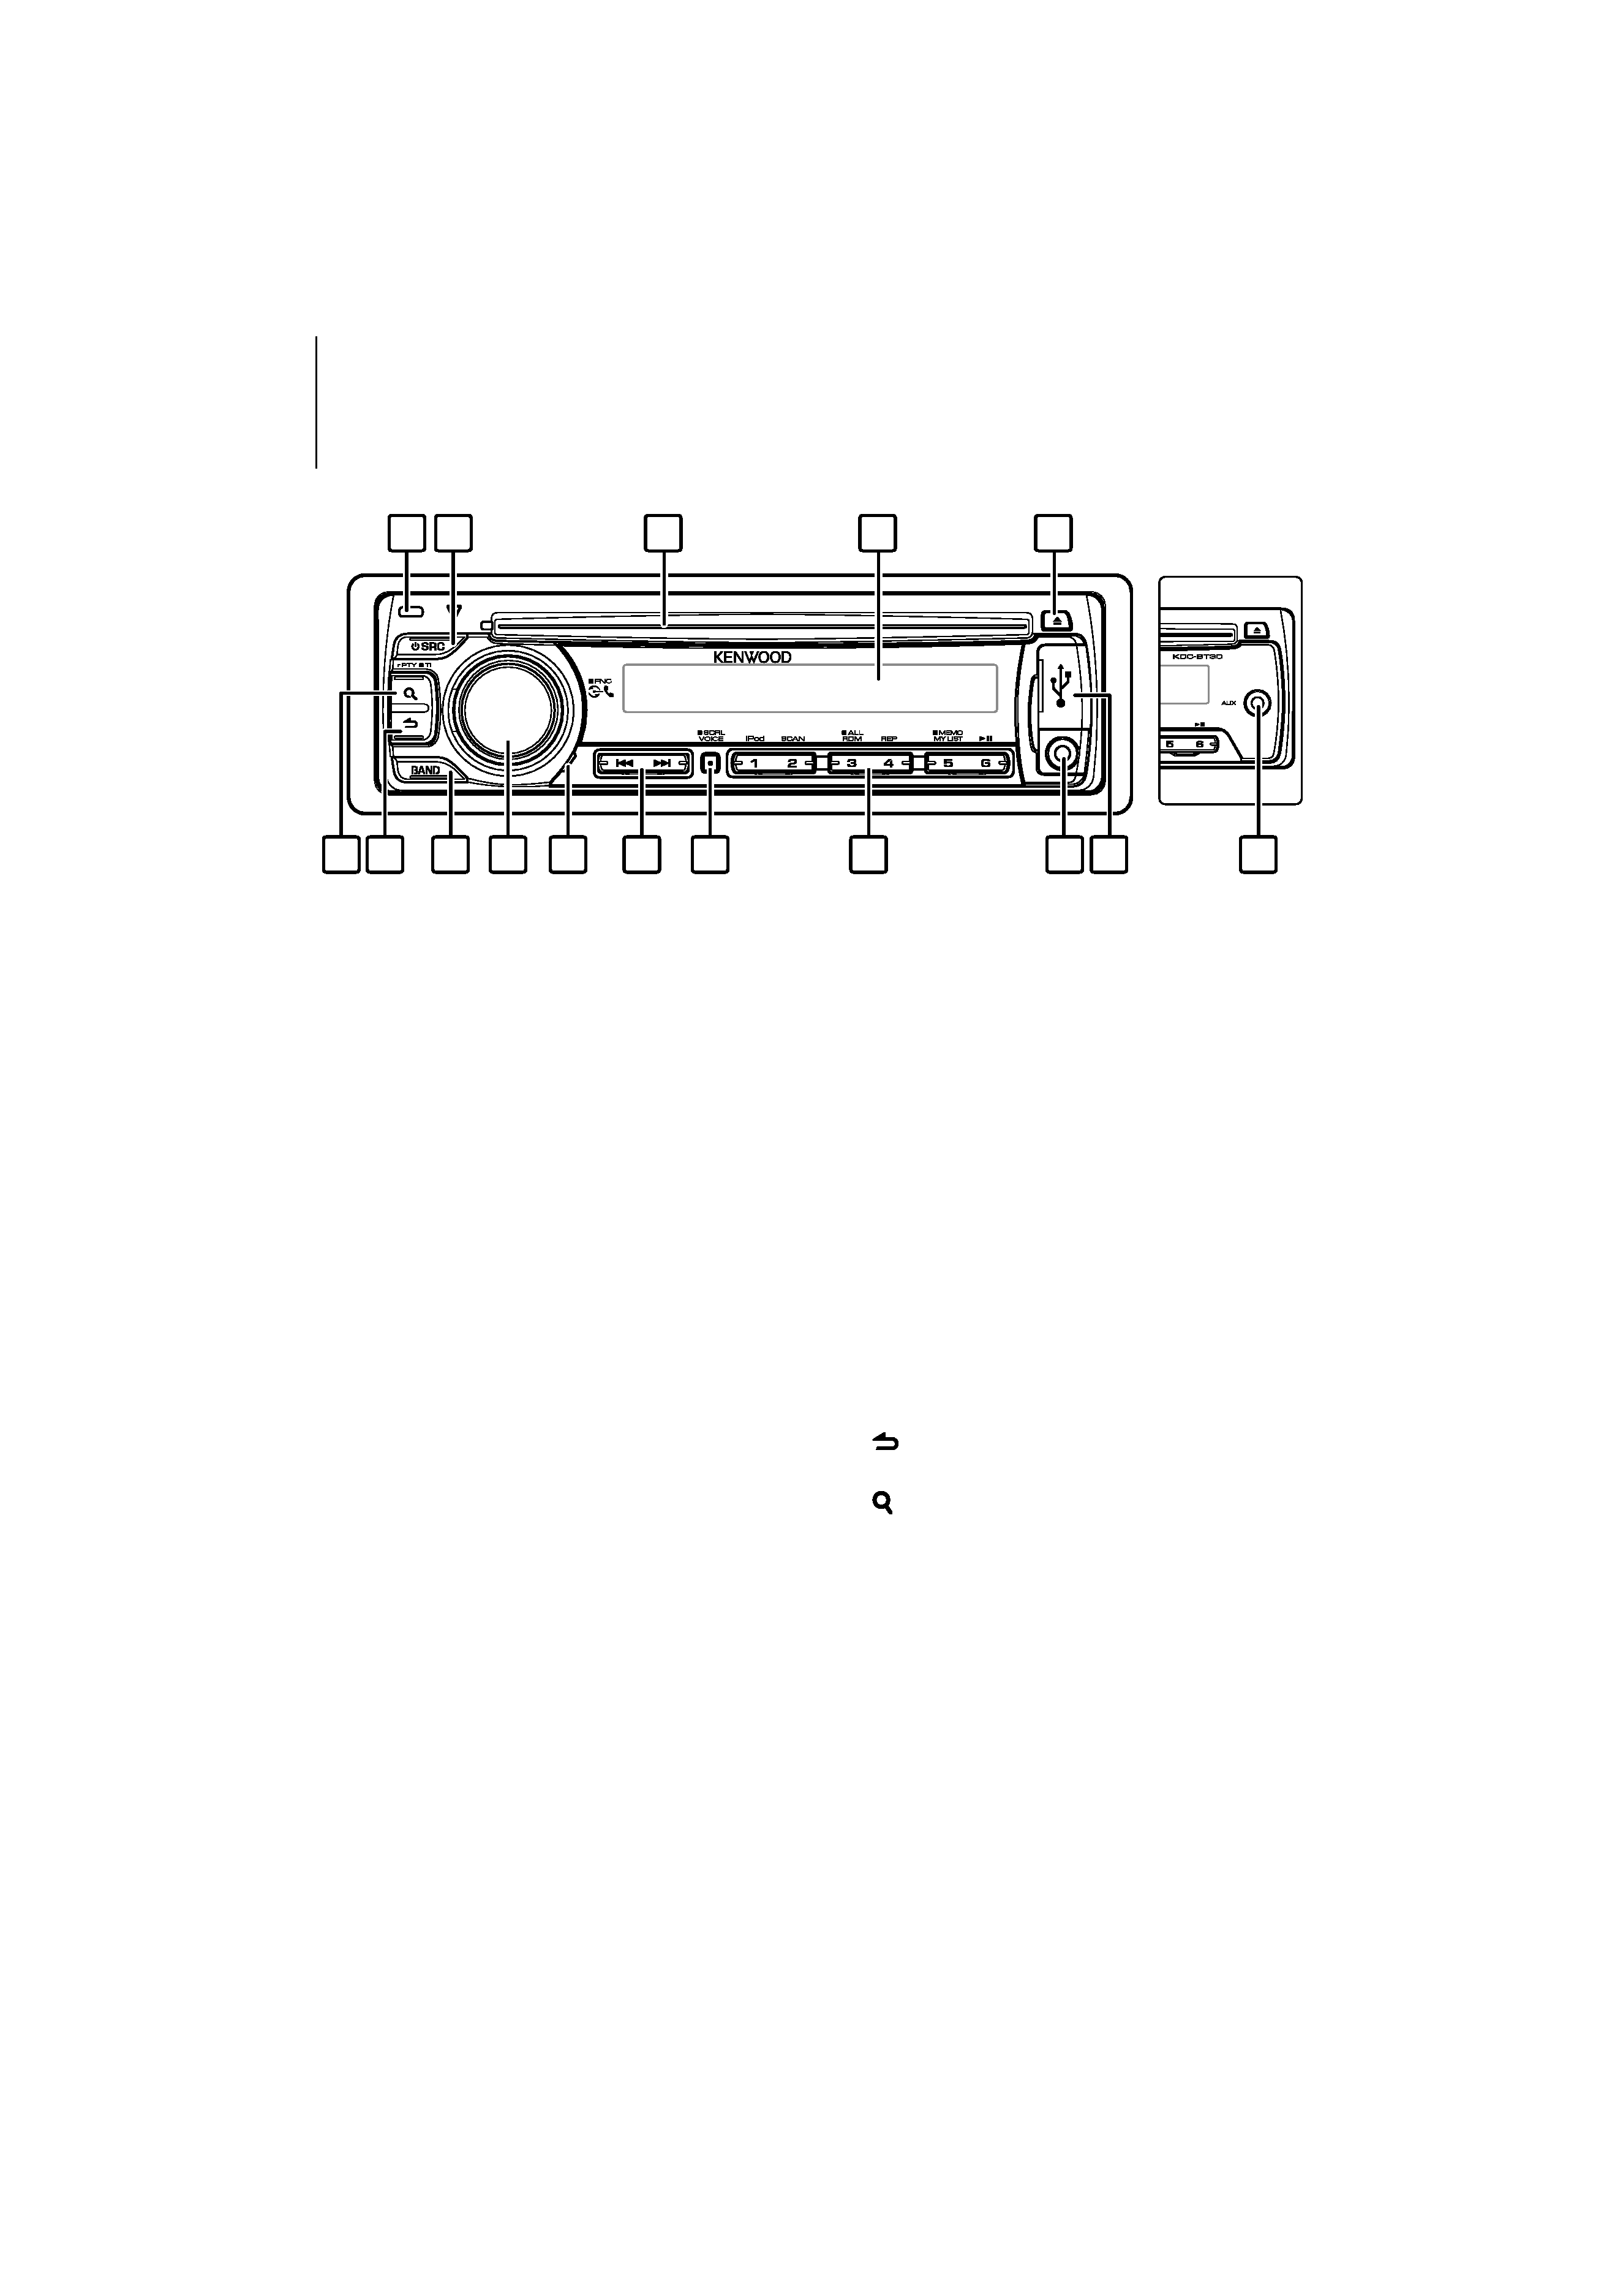
1 Release button
The faceplate of the unit can be detached and
taken with you, helping to deter theft. Refer to
<Removing the Faceplate> (page 19).
2 [SRC] button
To turn on this unit and select the Source.
To turn off this unit (press the button at least 1
second).
3 Disc slot
When inserted a disc (label side up), the source is
switched automatically and a song starts playing.
4 Display window
5 [
0] button
To eject the disc.
To select the remove mode, and remove the USB
device or an iPod (press the button at least 2
seconds or more).
6 USB Terminal: KDC-BT40U only
When connecting, open up the USB terminal lid. A
USB device or an iPod can be connected.
7 Auxiliary Input Terminal
Portable audio device can be connected with the
mini-plug (3.5 mm ø).
· Use the mini-plug cable which is stereo type and does
not have any resistance.
8 [1] [6] button
To recall the memorized station.
Switches the play mode between music discs,
audio files, and iPod.
9 [VOICE] button
To make a voice dialing call.
To change text scroll. (press the button at least 1
second)
p [
4] / [¢] button
To select a station, song and setting items.
q Microphone
The microphone for the hands free phone is built
in. When your voice cannot be recognized due
to the low microphone volume, noises or echo
in the vehicle. Adjust the microphone settings
by "MIC GAIN", "NR LEVEL" and "EC LEVEL" of
<Bluetooth Setup> (page 20).
w [VOL] knob
To adjust volume.
Enters function setting mode and setting item
(turn and press the knob). Refer to <Function
Setting Operation> (page 5) for details.
e [BAND] button
To select the receiving band, the folder for audio
file.
r [
] button
To return to previous item.
t [
] button
To enter the music search mode.
To enter the PTY and Traffic information mode.
To enter the dialing mode.
Component names and functions
4 | KDC-BT40U/KDC-BT30
15 14
13
12
11
10
9
8
1
2
3
4
5
7
6
7
KDC-BT30
$AA'A'PINKUJKPFF
Function Setting Operation
The basic operating procedure for using this
function is described below. The individual function
items are covered in the operating procedures.
1 Select the source
Press the [SRC] button.
Function items vary from source to source. For a list
of the function items. Refer to <Function Item List>
(Page 30).
2 Enter Function Setting mode
Press the [VOL] knob for at least 1 second.
"FUNCTION" is displayed.
3 Select your desired function item
Turn the [VOL] knob and press it when the
desired item is displayed.
Repeat the operation until your desired function
item is selected.
/
Press the [
] button to return to the previous
item.
Example:
AUDIO CONTROL
[VOL]
[VOL]
BASS BOOST
SUPREME SET
...
DETAILED SET
DETAIL SET
...
...
...
...
DISP SELECT
SETTINGS
In this manual, the above selection is indicated as
Select "AUDIO CONTROL" ("AUDIO CTRL")
>
"DETAILED SET" ("DETAIL SET")
> "SUPREME SET".
(" ") encloses a display appearing on the KDC-BT30.
It is shown only if it differs from the one appearing
on the KDC-BT40U.
4 Make a setting
Turn the [VOL] knob to select a setting value,
and then press the [VOL] knob.
5 Exit Function Setting mode
Press the [
] button for at least 1 second.
Before Using
Exit of the Demonstration Mode
Turn off the demonstration mode when you use it
for the first time after installation.
1 Press the [VOL] knob to quit the demonstration
mode when the messages "CANCEL DEMO" and
"PRESS", "VOLUME KNOB" are displayed (approx.
15 seconds).
2 Turn the [VOL] knob to select "YES" and press the
[VOL] knob.
/
· The demonstration can be set or cancel using
<Demonstration Mode Setting> (page 18).
Common Operation
Power and source select
Turns the power ON by pressing the [SRC]
button.
Pressing [SRC] button each time switches
between sources.
Tuner ("TUNER")
USB* or iPod* ("USB" or
"iPod")
CD ("CD") Auxiliary input ("AUX")
Standby ("STANDBY")
Keeping pressing the [SRC] button at least 1
second turns the power OFF.
/
· * Function is KDC-BT40U only.
· When connection of the iPod is recognized, the source
display changes from "USB" to "iPod".
· The source "CD" and "iPod" can be selected when each
source is ready to play.
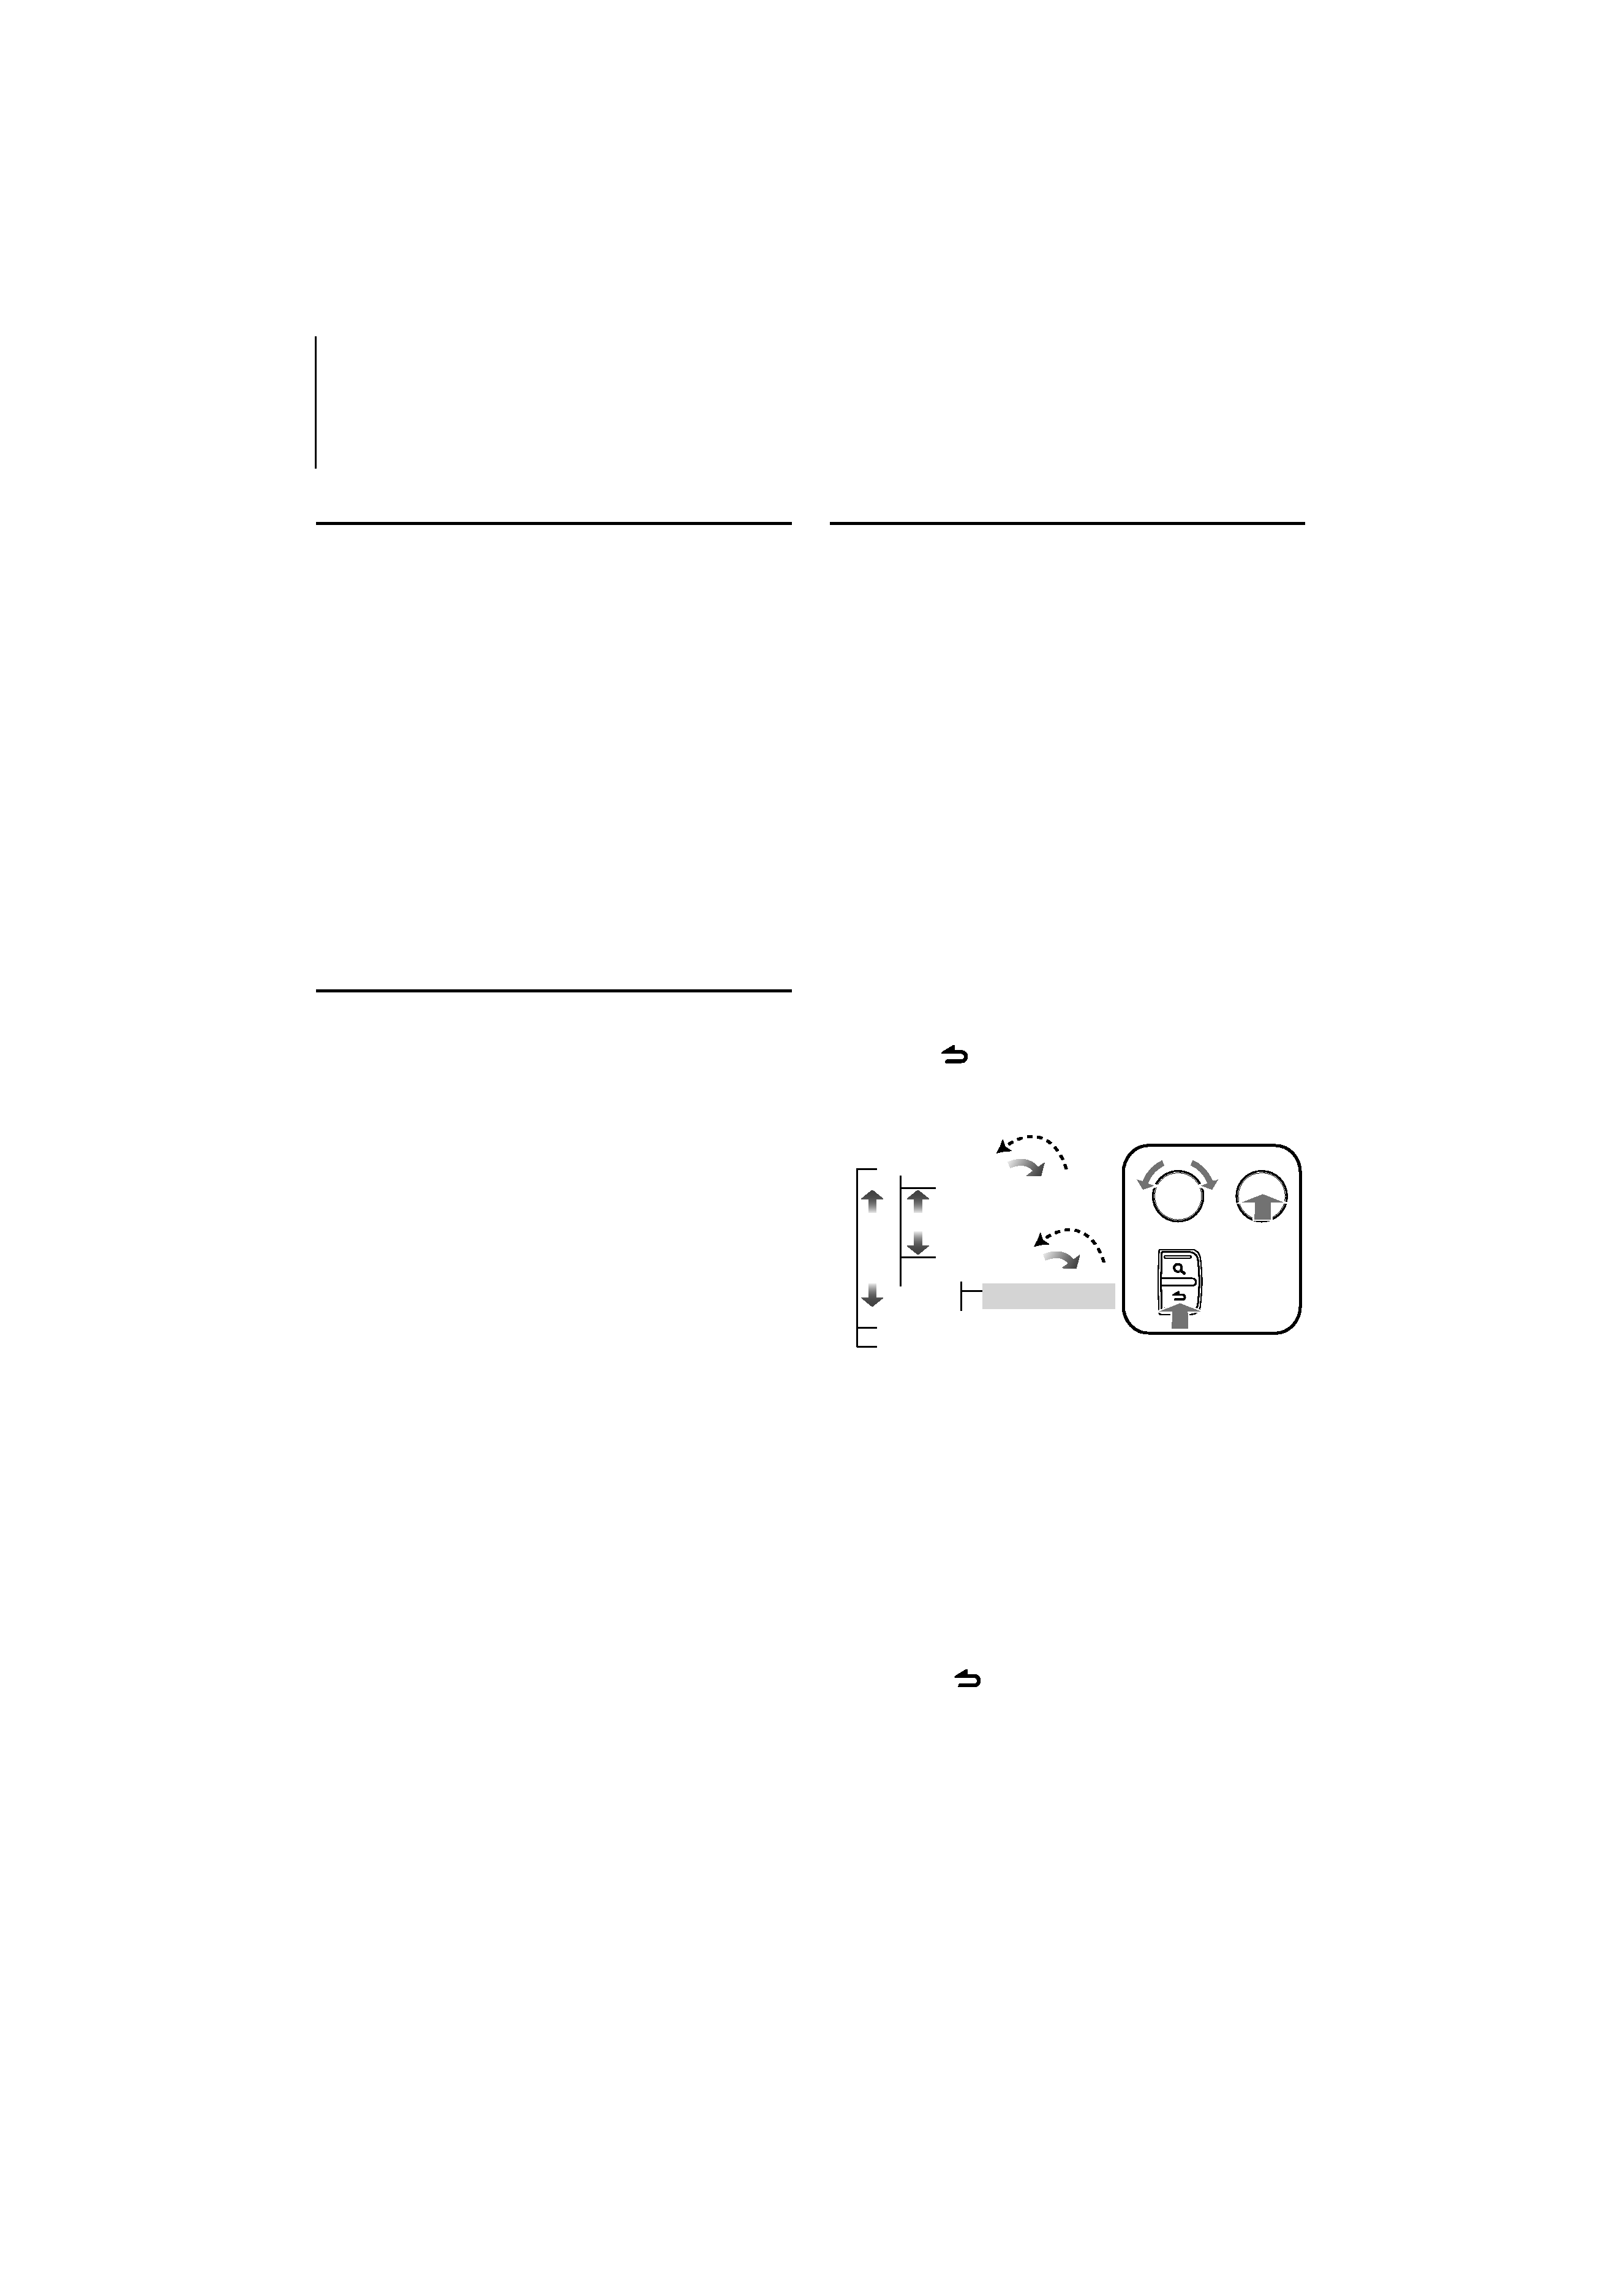
Volume
Turning the [VOL] knob adjusts the sound
volume.
General operation
English
|
5
$AA'A'PINKUJKPFF