
LIFE STYLE HI-FI COMPONENT SYSTEM
INSTRUCTION MANUAL
KENWOOD CORPORATION
B60-5365-00 01 MA (E) CR 0305
HM-L700
ESP
AÑOL
IT
ALIANO
DEUTSCH
FRANÇAIS
DIGITAL AUDIO
COMPACT
ENGLISH
5MD3MD/01-05/EN
10/2/03, 4:12 AM
1
Before applying power
2 EN
ENGLISH
Units are designed for operation as follows.
Europe ................................................. AC 230 V only
Safety precautions
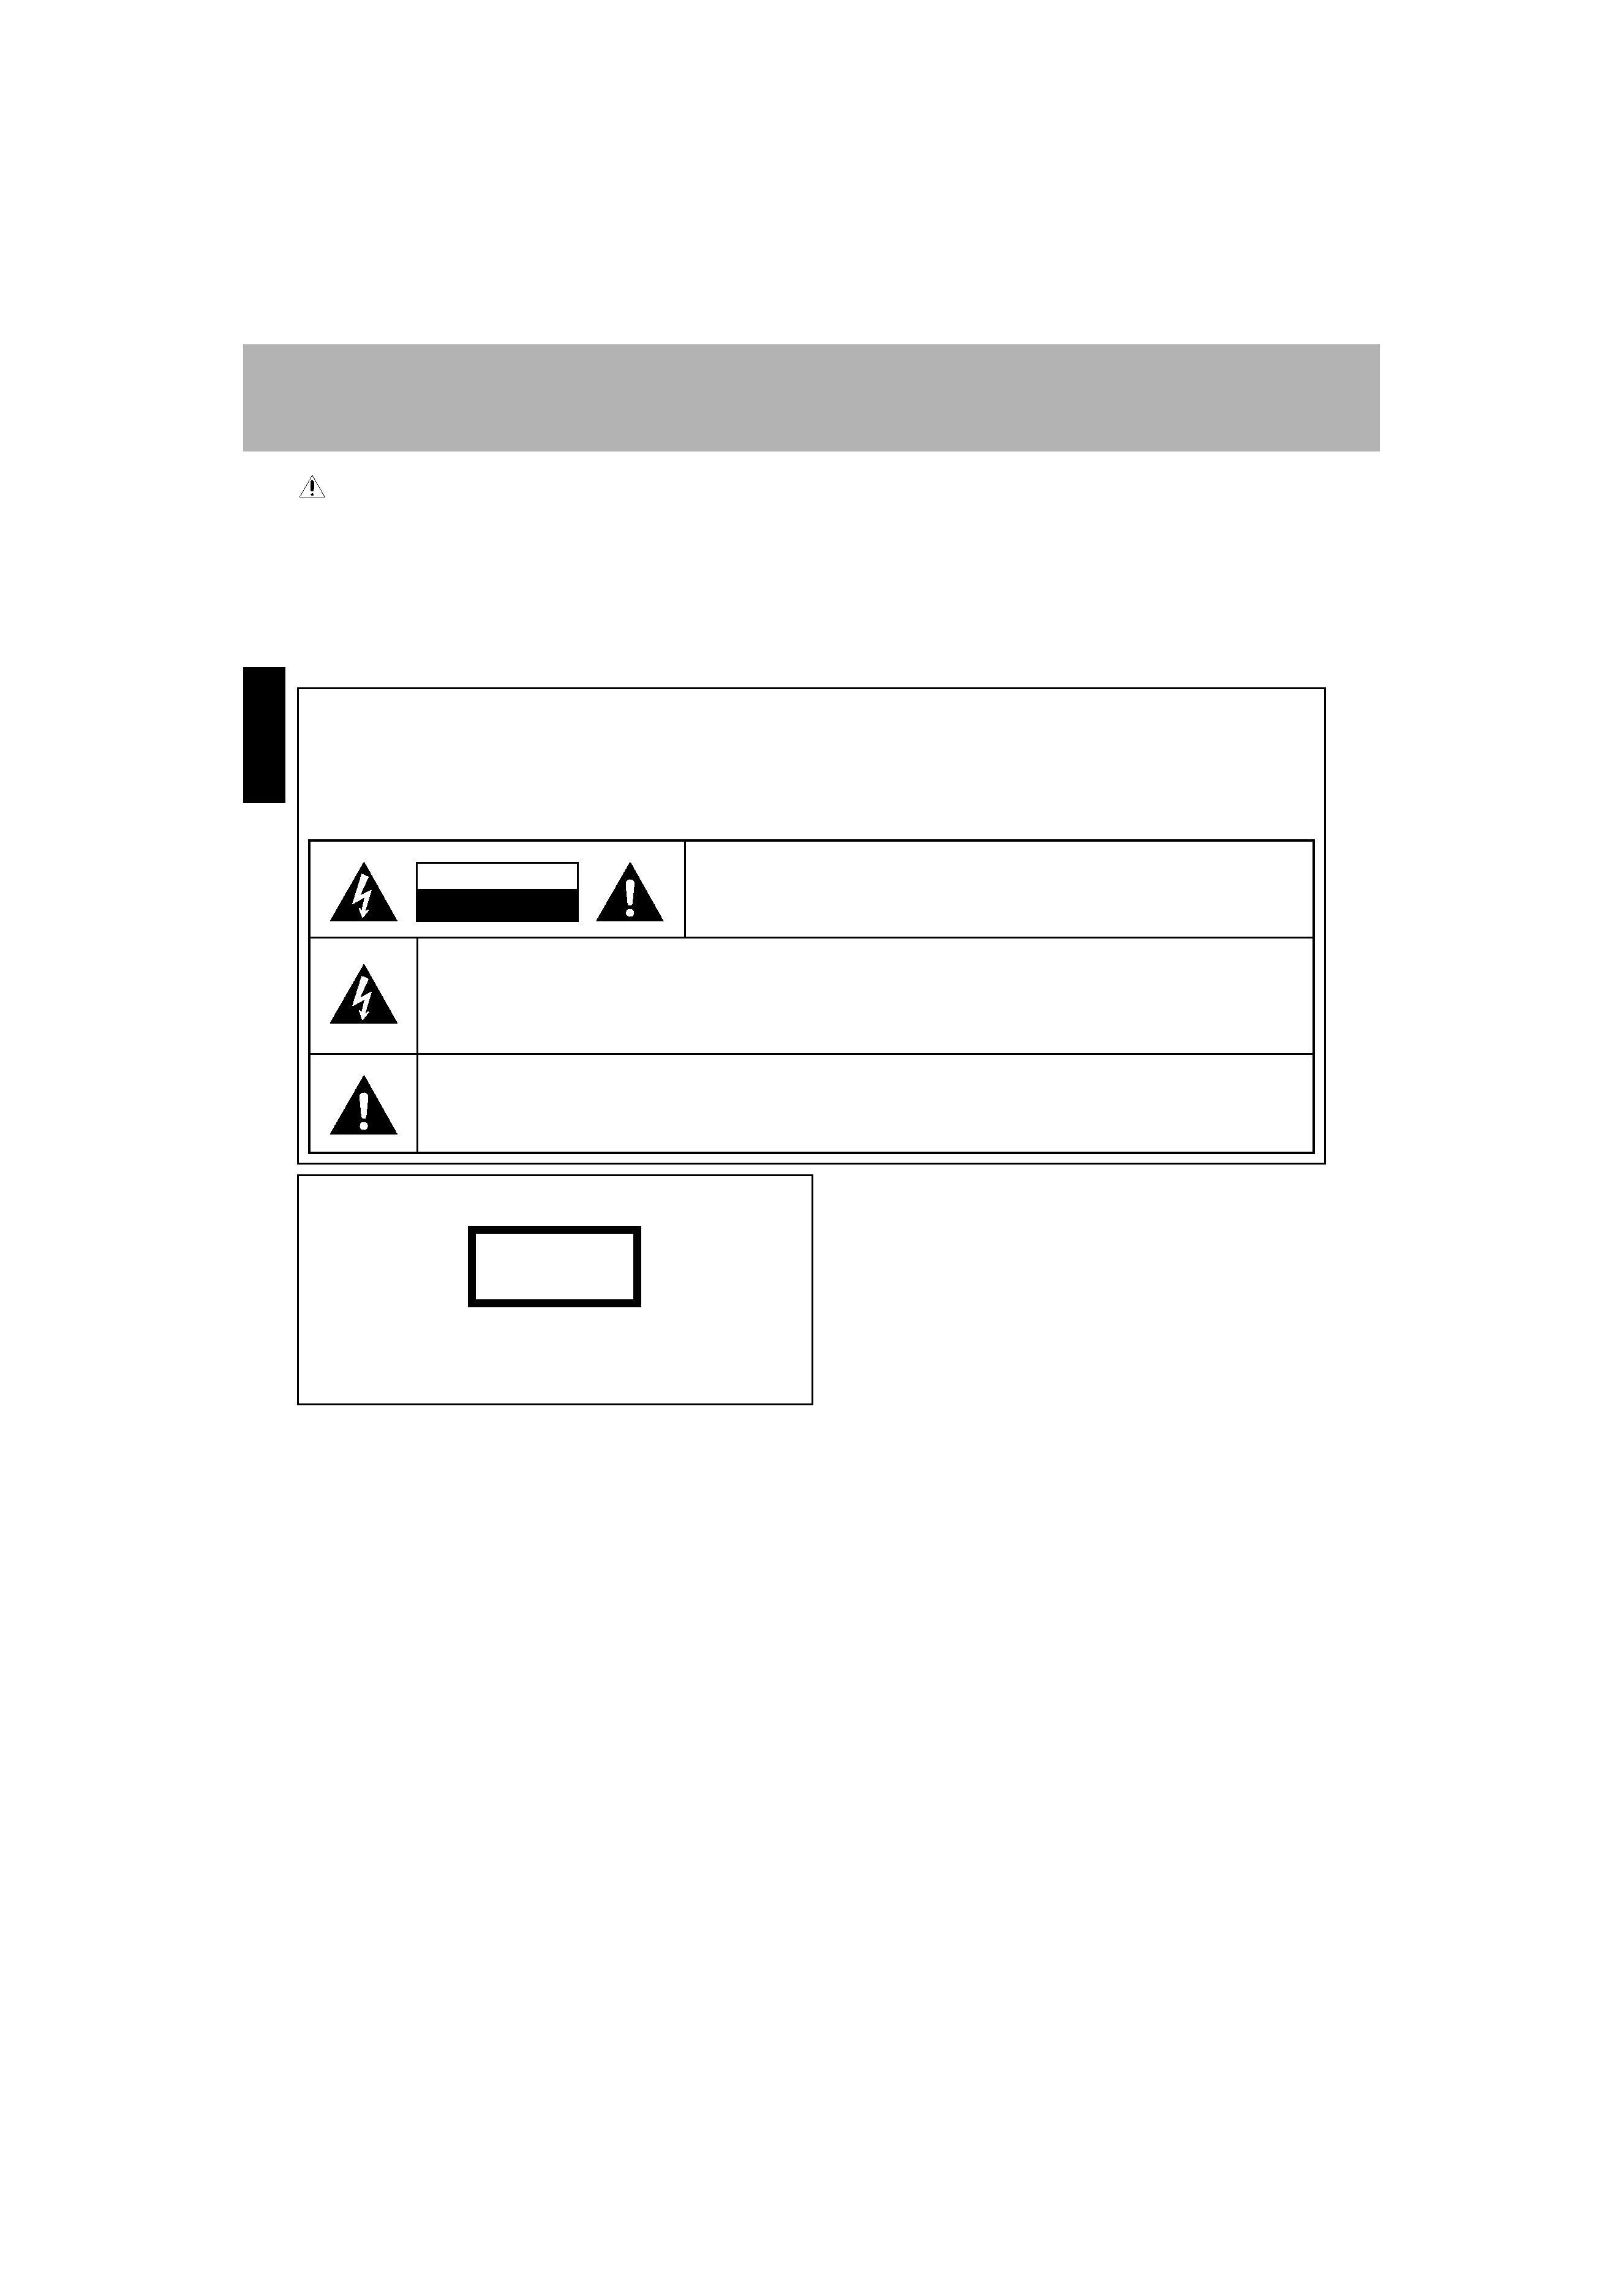
WARNING : TO PREVENT FIRE OR ELECTRIC SHOCK, DO NOT
EXPOSE THIS APPLIANCE TO RAIN OR MOISTURE.
CAUTION: TO REDUCE THE RISK OF ELECTRIC SHOCK, DO NOT RE-
MOVE COVER (OR BACK). NO USER-SERVICEABLE PARTS INSIDE.
REFER SERVICING TO QUALIFIED SERVICE PERSONNEL.
RISK OF ELECTRIC SHOCK
DO NOT OPEN
THE LIGHTNING FLASH WITH ARROWHEAD SYMBOL, WITHIN AN EQUILATERAL TRIANGLE, IS IN-
TENDED TO ALERT THE USER TO THE PRESENCE OF UNINSULATED "DANGEROUS VOLTAGE" WITHIN
THE PRODUCT'S ENCLOSURE THAT MAY BE OF SUFFICIENT MAGNITUDE TO CONSTITUTE A RISK OF
ELECTRIC SHOCK TO PERSONS.
THE EXCLAMATION POINT WITHIN AN EQUILATERAL TRIANGLE IS INTENDED TO ALERT THE
USER TO THE PRESENCE OF IMPORTANT OPERATING AND MAINTENANCE (SERVICING) INSTRUC-
TIONS IN THE LITERATURE ACCOMPANYING THE APPLIANCE.
CAUTION
Before applying power
Caution : Read this page carefully to ensure safe operation.
The marking of products using lasers
The marking of this product has been classified as Class 1. It means
that there is no danger of hazardous radiation outside the product.
Location: Back panel
CLASS 1
LASER PRODUCT
5MD3MD/01-05/EN
9/5/03, 2:02 PM
2
Before applying power
3 EN
ENGLISH
VERSATILE timer features
÷ Weekly timer playback :
Two timer programs (PROG. 1, PROG. 2) are available for timer playback or AI timer playback. (With the
AI timer playback, the playback volume increases gradually after the start of timer playback.)
÷ Sleep timer :
This timer turns the unit off automatically when the set time has elapsed. It is convenient for example,
falling asleep while listening to music in the night time, etc.
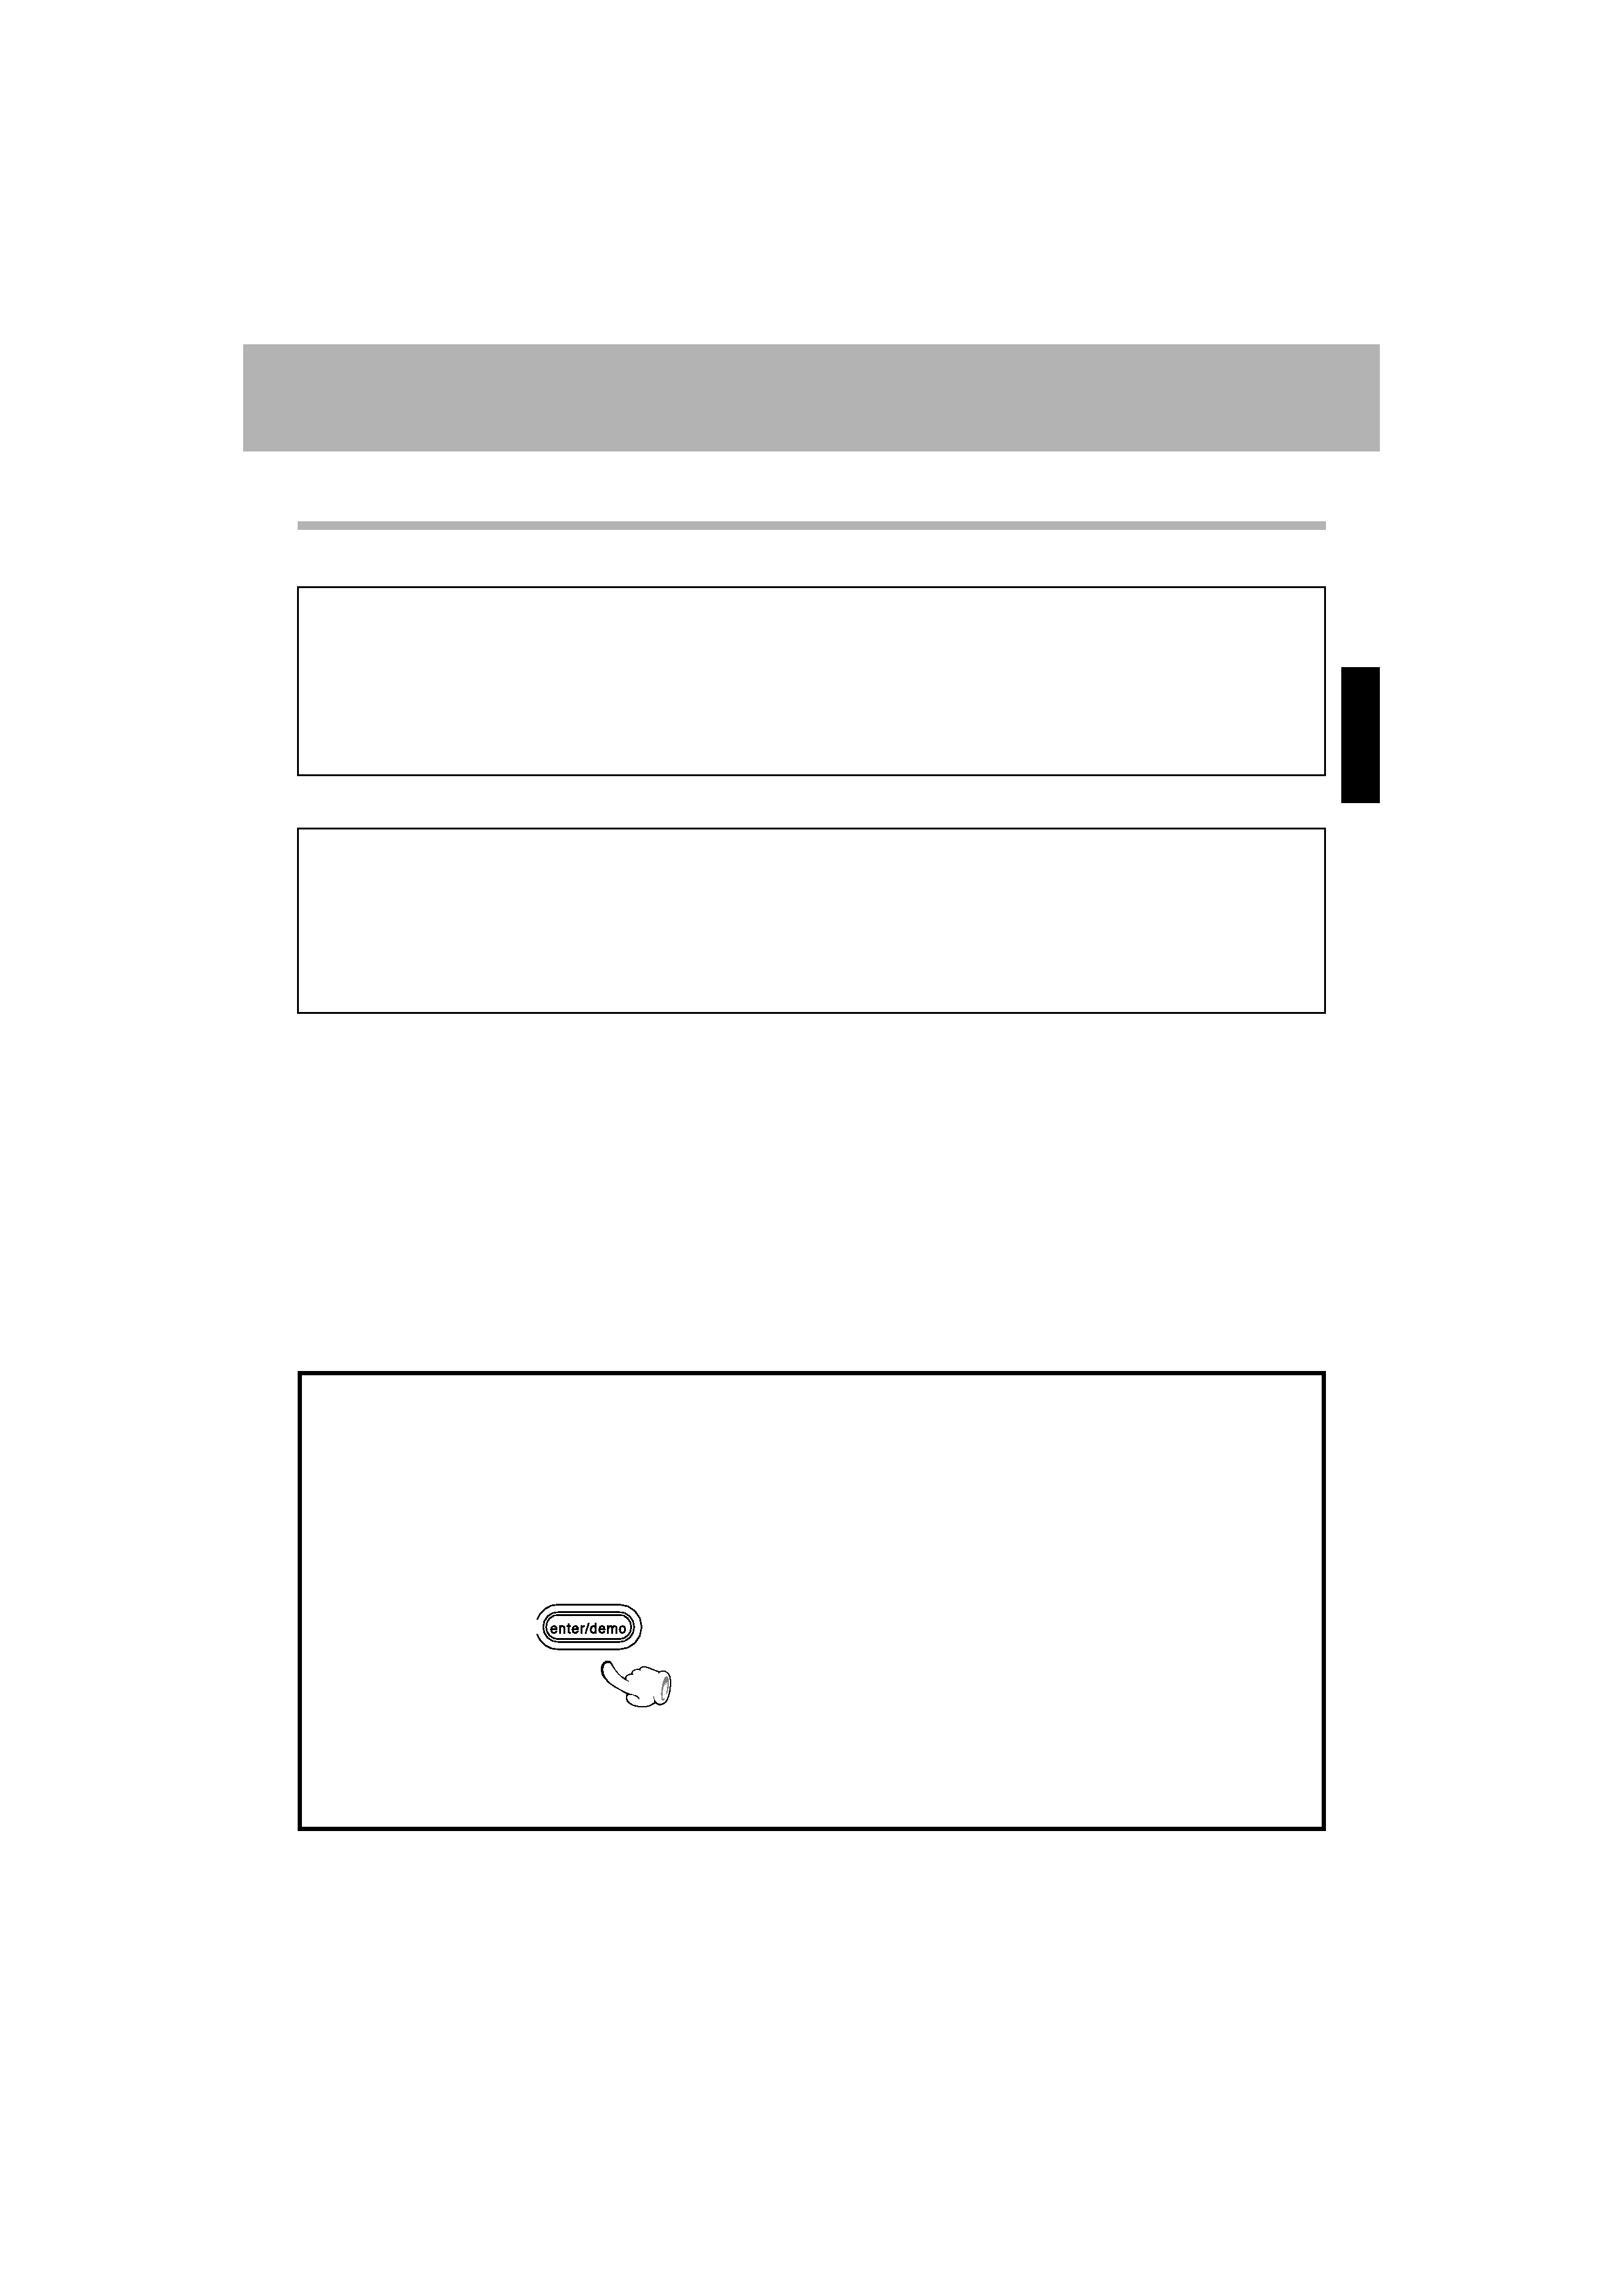
This unit is equipped with a demonstration function (only display). The demonstration consists of se-
quential change of display and indicators showing the operations, but the audio itself does not change.
The demonstration function can be canceled as follows.
÷ This operates automatically when a power failure
has occurred or the plug of the power cable has
been pulled while the power was ON.
In regard to demonstration
"DEMO ON" (To execute demonstration):
After turning power ON, press and hold the en-
ter/demo key (for more than 2 seconds).
"DEMO OFF" (To cancel demonstration):
Press the enter/demo key during demonstration.
Special features
Playback capability of CD-R and CD-RW discs.
This unit can playback music data recorded in CD-R (Compact Disc Recordable) and CD-RW (Compact Disc
Rewritable).
However, some CD-R and CD-RW discs may not be playable on the CD player depending on the recording
characteristics of the recording equipment (including the pick-up), properties of the CD-R or CD-RW in use,
its recording condition and so on. Also note that a CD-R or CD-RW disc which has not been finalized cannot
be played back.
5MD3MD/01-05/EN
9/5/03, 2:02 PM
3
Before applying power
4 EN
ENGLISH
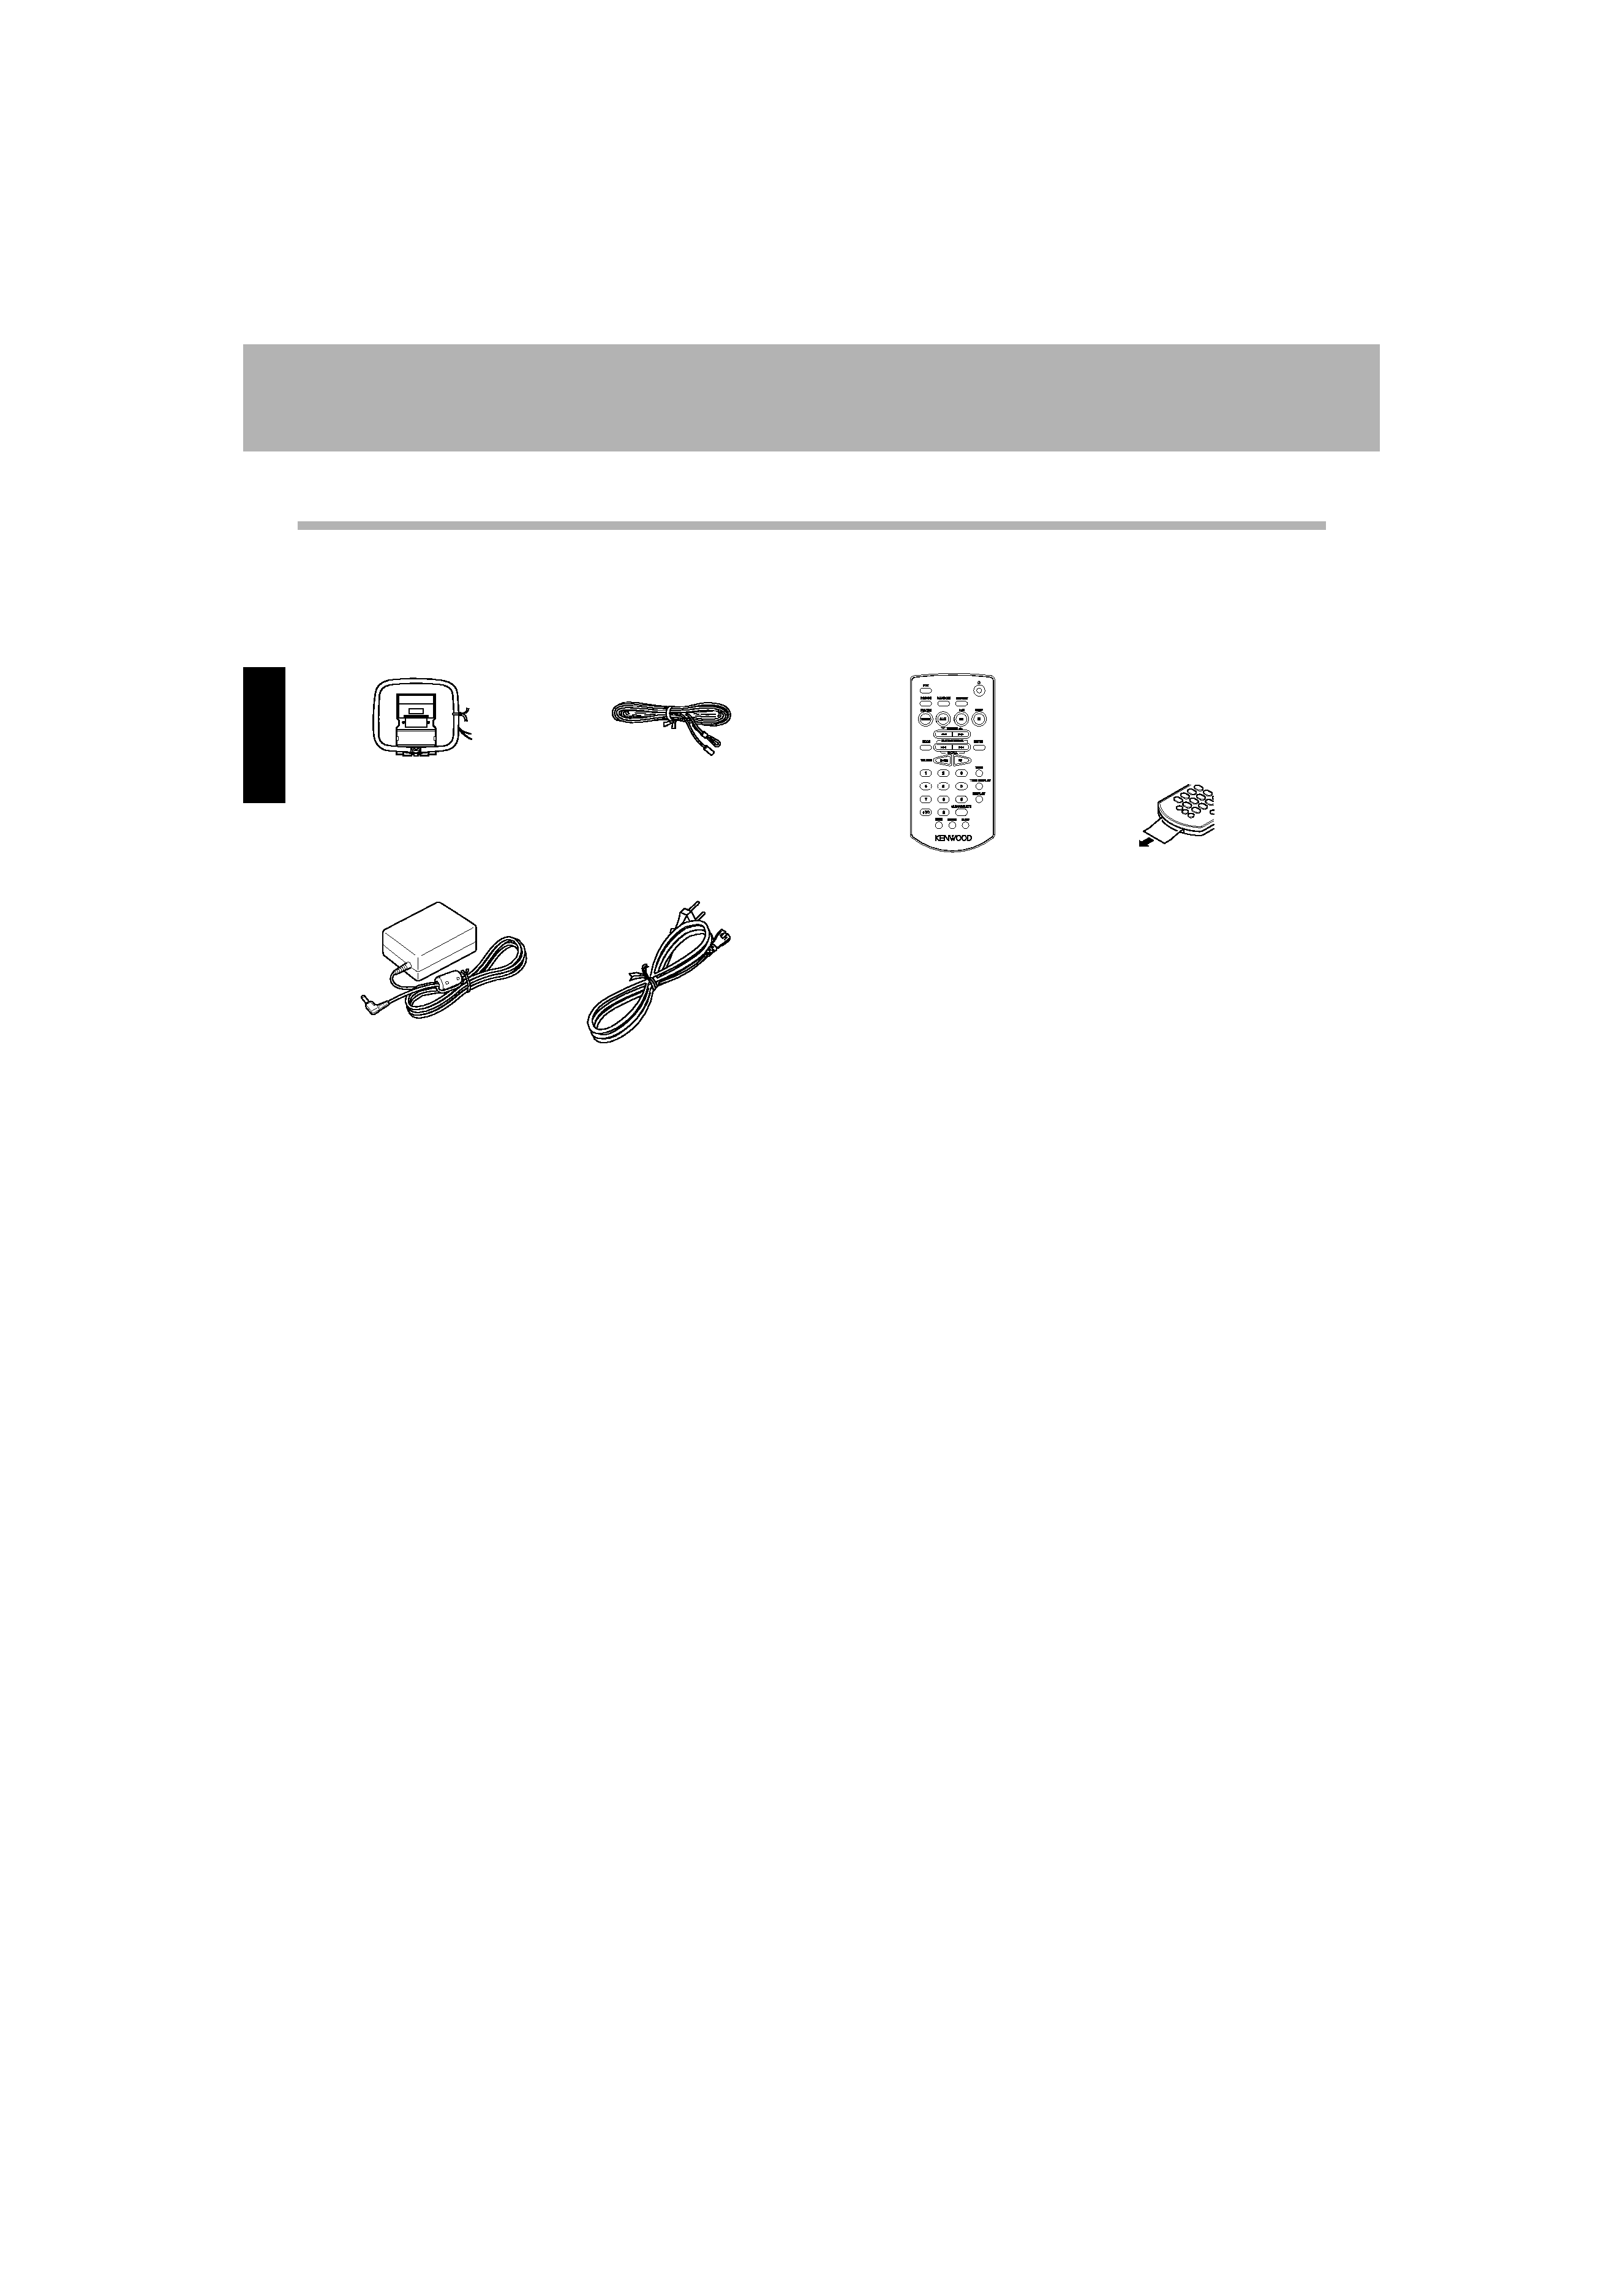
Unpacking
Unpack the unit carefully and make sure that all the accessories are present.
If any accessories are missing, or if the unit is damaged or fails to operate, notify your dealer immediately. If the unit was
shipped to you directly, notify your shipper immediately. Kenwood recommends that you retain the original carton and
packing materials in case you need to move or ship the unit in the future.
Keep this manual handy for future reference.
FM indoor antenna (1)
AM loop antenna (1)
Card-type remote control unit
(1, with built-in button battery)
Accessories
Before use
Peel the battery sheet from the
card-type remote control unit
in the direction of the arrow.
AC adaptor (1)
Power cord (1)
5MD3MD/01-05/EN
9/5/03, 2:02 PM
4

Before applying power
5 EN
ENGLISH
Contents
Caution : Read the pages marked
carefully to ensure safe operation.
Before applying power ....................................... 2
Safety precautions ......................................................... 2
Special features ..................................................................... 3
Accessories ............................................................................ 4
Contents ................................................................................... 5
System connection .................................................... 6
Connection of the supplied antenna .................................. 6
Connection of the AC adaptor ............................................. 6
Connection of other accessories (Commercially available
parts) ........................................................................................ 7
Detaching and attaching the speakers ............................. 8
Controls and indicators........................................... 10
Main unit ............................................................................... 10
Operation of remote control unit ...................................... 12
Display ................................................................................... 14
Preparation section
Basic section
Application section
Knowledge sections
Basic use method ..................................................... 15
Playback of CD ......................................................... 17
Receiving broadcast station .................................. 20
RDS (Radio Data System) ........................................ 24
Searching for a desired program type (PTY search) ..... 25
Listening to an AUX input source .......................... 27
Various CD playback features ............................... 28
Listening to the desired sequence
(program playback) ............................................................. 28
Repeated playback .............................................................. 30
Playing tracks in a random order (random playback) .. 31
Clock adjustment ..................................................... 32
Timer operation ........................................................ 33
Sleep timer (SLEEP) ............................................................. 33
Setting the timer program .................................................. 34
To cancel the program timer ............................................. 37
Adjusting the display and setting indicator ........ 38
Important items ......................................................... 39
Maintenance ........................................................................ 39
Reference .............................................................................. 39
In case of difficulty .................................................. 41
Specifications ........................................................... 43
5MD3MD/01-05/EN
9/5/03, 2:02 PM
5