
MICRO HI-FI COMPONENT SYSTEM
INSTRUCTION MANUAL
KENWOOD CORPORATION
B60-4726-08 (EN)
HM-332
TEXT
DIGITAL AUDIO
COMPACT
2
Preparation
section
Before applying power
Caution : Read this page carefully to ensure safe operation.
AC
110 -
120V `
AC
220 -
240V `
For the United Kingdom
Units are designed for operation as follows.
U.S.A. and Canada ...................................................... AC 120 V only
Australia ....................................................................... AC 240 V only
Europe and U.K. ........................................................... AC 230 V only
China and Russia ........................................................ AC 220 V only
*Other countries .................... AC 110-120 / 220-240 V switchable
Factory fitted moulded mains plug
1. The mains plug contains a fuse. For replacement, use only
a 13-Amp ASTA-approved (BS1362) fuse.
2. The fuse cover must be refitted when replacing the fuse in
the moulded plug.
3. Do not cut off the mains plug from this equipment. If the
plug fitted is not suitable for the power points in your home
or the cable is too short to reach a power point, then obtain
an appropriate safety approved extension lead or adapter,
or consult your dealer.
If nonetheless the mains plug is cut off, remove the fuse
and dispose of the plug immediately, to avoid a possible
shock hazard by inadvertent connection to the mains sup-
ply.
IMPORTANT : The wires in the mains lead are coloured in
accordance with the following code:
Blue : Neutral
Brown : Live
Do not connect those leads to the earth terminal of a three-
pin plug.
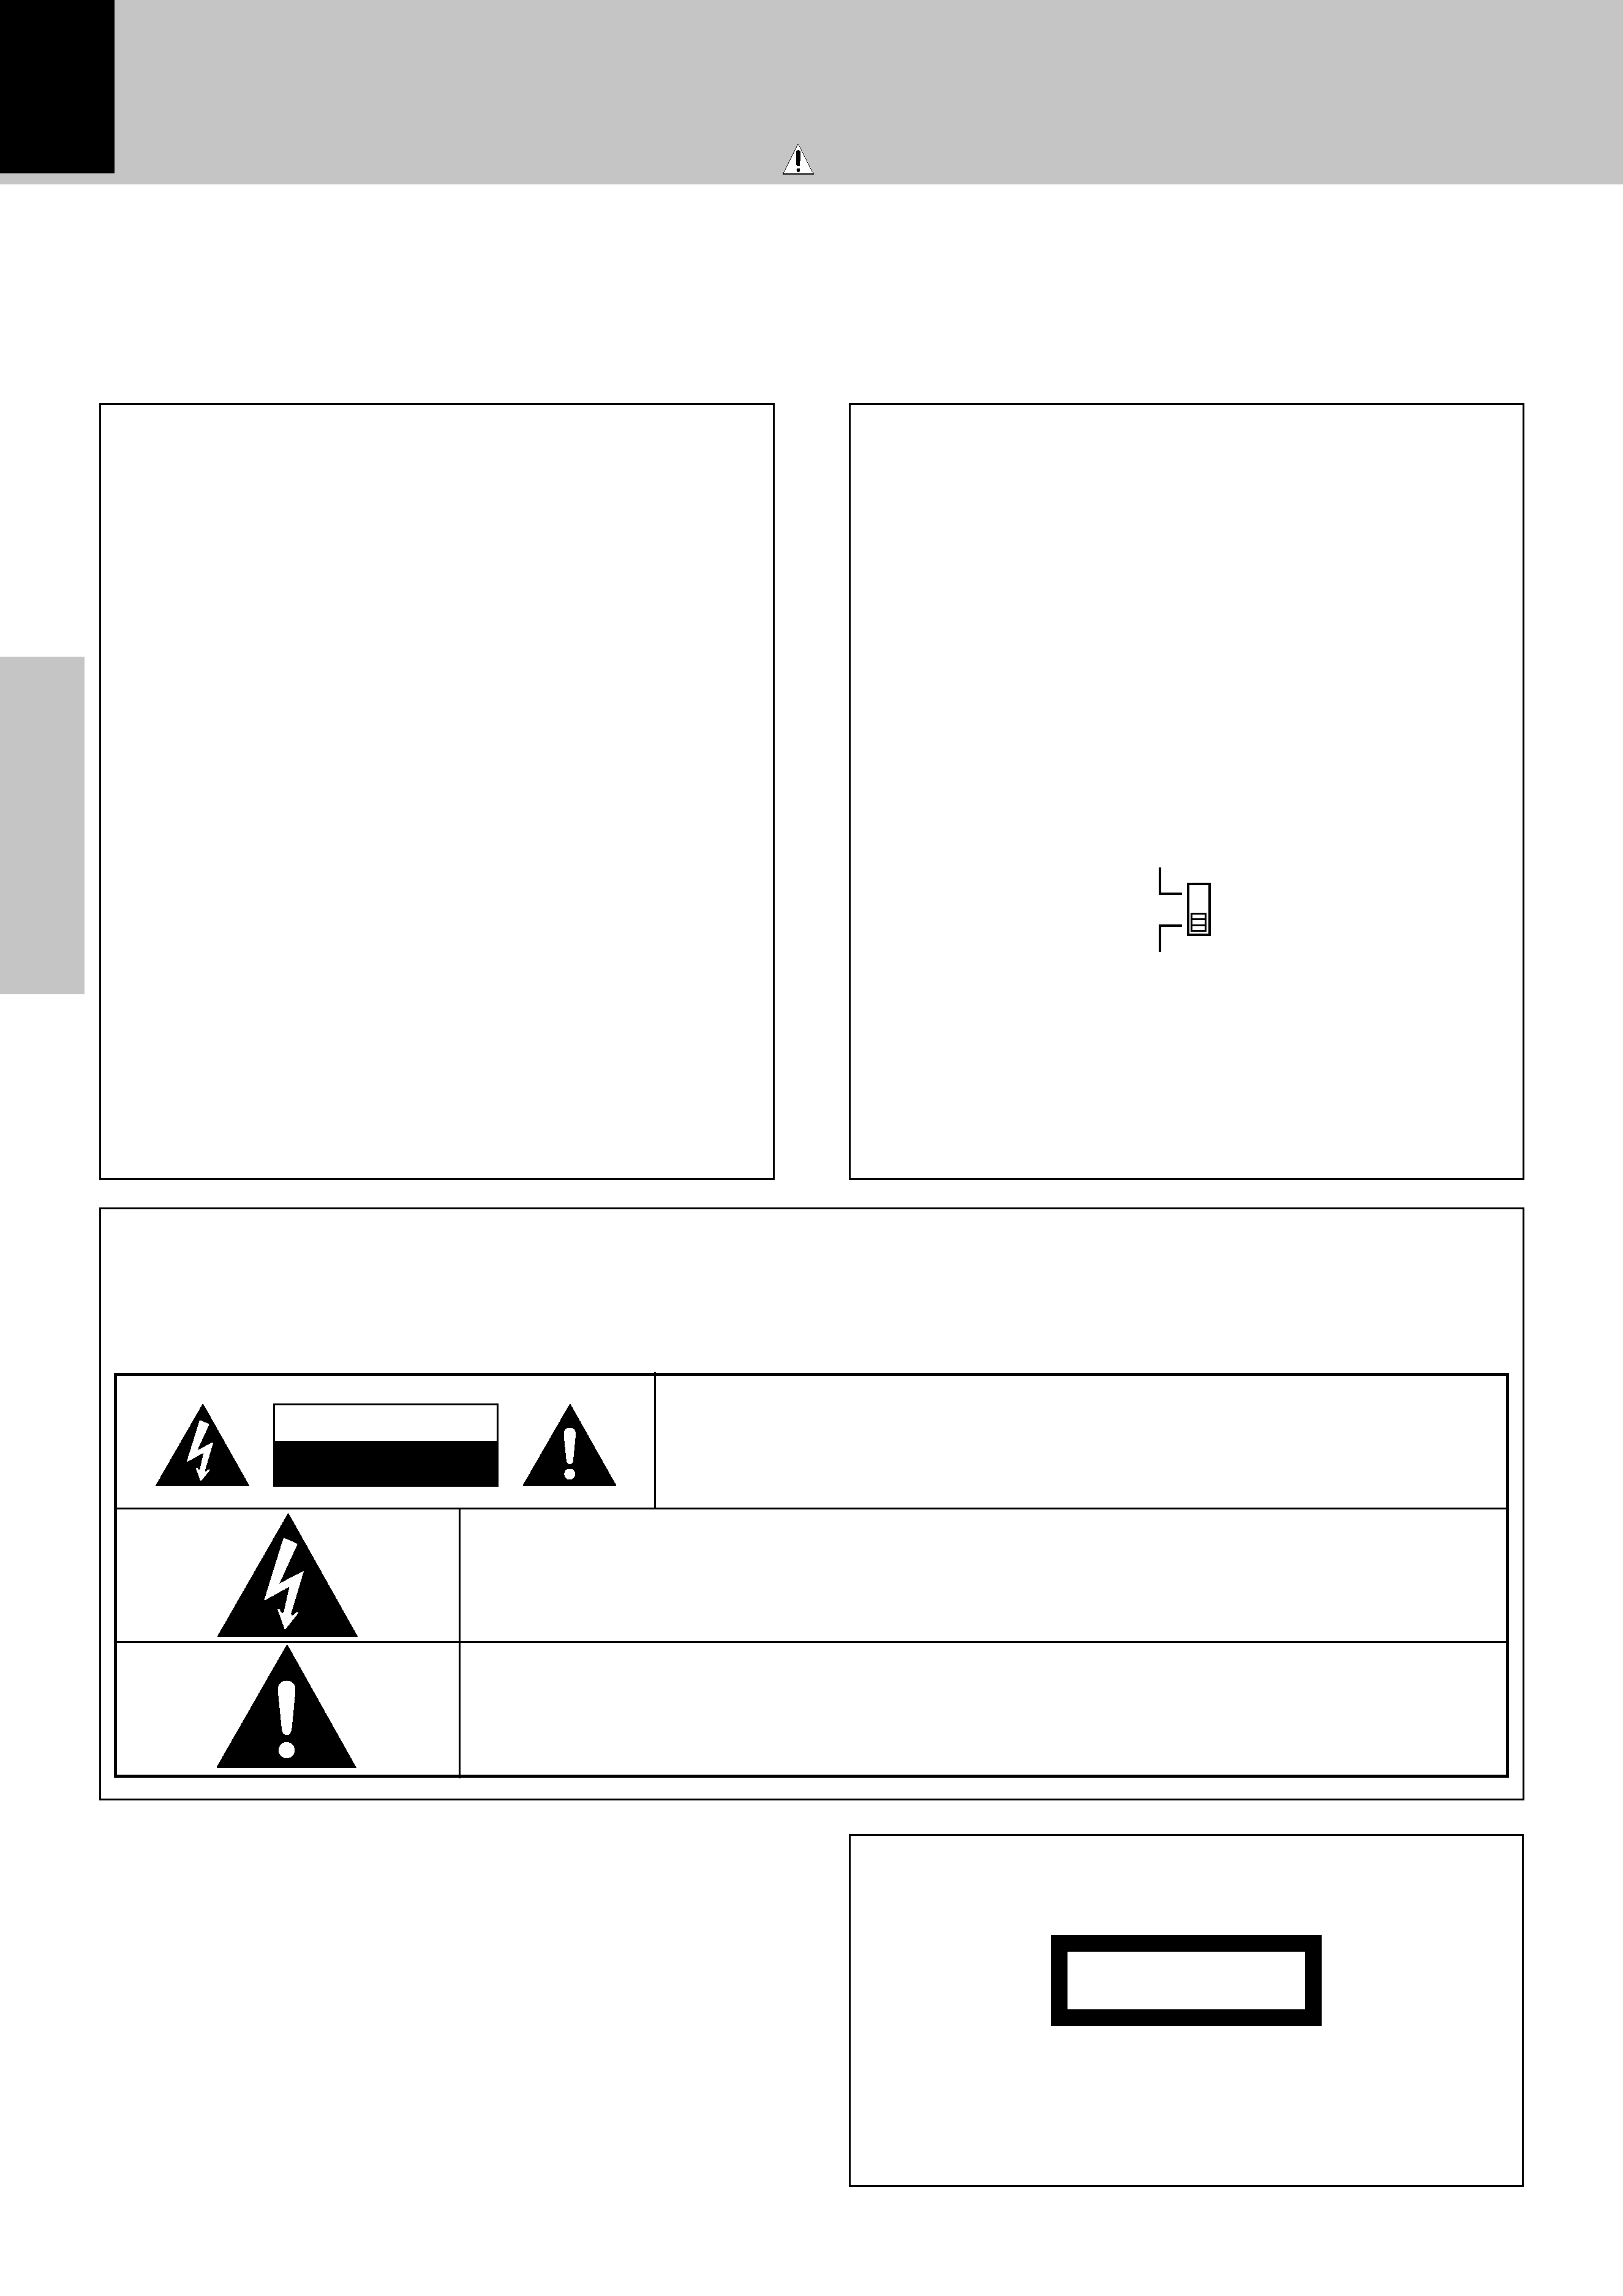
*AC voltage selection
The AC voltage selector switch on the rear panel is set to the
voltage that prevails in the area to which the unit is shipped.
Before connecting the power cord to your AC outlet, make
sure that the setting position of this switch matches your line
voltage. If not, it must be set to your voltage in accordance
with the following direction.
AC voltage selector switch
Move switch lever to match your line volt-
age with a small screwdriver or other
pointed tool.
Note:
Our warranty does not cover damage caused by excessive
line voltage due to improper setting of the AC voltage selec-
tor switch.
The marking is located on the rear panel and says that the
component uses laser beams that have been classified as
Class 1. It means that the unit is utilizing laser beams that are
of a weaker class. There is no danger of hazardous radiation
outside the unit.
CLASS 1
LASER PRODUCT
The marking of products using lasers
(Except for some areas)
Safety precautions
WARNING : TO PREVENT FIRE OR ELECTRIC SHOCK, DO NOT EXPOSE THIS APPLI-
ANCE TO RAIN OR MOISTURE.
CAUTION: TO REDUCE THE RISK OF ELECTRIC SHOCK, DO NOT REMOVE
COVER (OR BACK). NO USER-SERVICEABLE PARTS INSIDE. REFER SER-
VICING TO QUALIFIED SERVICE PERSONNEL.
RISK OF ELECTRIC SHOCK
DO NOT OPEN
THE LIGHTNING FLASH WITH ARROWHEAD SYMBOL, WITHIN AN EQUILATERAL TRIANGLE,
IS INTENDED TO ALERT THE USER TO THE PRESENCE OF UNINSULATED "DANGEROUS
VOLTAGE" WITHIN THE PRODUCT'S ENCLOSURE THAT MAY BE OF SUFFICIENT MAGNI-
TUDE TO CONSTITUTE A RISK OF ELECTRIC SHOCK TO PERSONS.
THE EXCLAMATION POINT WITHIN AN EQUILATERAL TRIANGLE IS INTENDED TO ALERT
THE USER TO THE PRESENCE OF IMPORTANT OPERATING AND MAINTENANCE (SERVIC-
ING) INSTRUCTIONS IN THE LITERATURE ACCOMPANYING THE APPLIANCE.
CAUTION

Preparation
section
3
Caution : Read this page carefully to ensure safe operation.
Before applying power
Contents
Preparation section
Application section
Basic section
Knowledge section
Before applying power ............................... 2
Safety precautions ........................................................... 2
Special features ................................................................ 5
Accessories ....................................................................... 5
System connection........................................... 6
Connection of the system accessories .......................... 6
Connection of other accessories
(Commercially available parts) ...................................... 8
Controls and indicators ................................... 9
Display ................................................................................ 9
Main unit ........................................................................... 10
Operation of remote control unit ................. 12
Important Items ............................................... 43
Maintenance .................................................................... 43
Reference ......................................................................... 43
In case of difficulty ........................................ 45
Specifications ............................................ 47
Various CD playback features ...................... 26
Listening in the desired sequence
(program playback) ................................................... 26
Repeated playback ......................................................... 27
Listening to an unexpected title sequence
(random playback) .................................................... 28
R.D.S. (Radio Data System)
(Except for some areas) ............................ 29
Searching for a desired program type
(PTY search) ............................................................... 30
Convenient recording methods ..................... 33
Selection of the recording type .................................... 33
One-touch edit recording (CD
=TAPE) ....................... 34
Program recording (CD
=TAPE) ................................... 35
Tone adjustment ............................................. 36
Tone adjustment .............................................................. 36
Balance adjustment
(Adjust for the desired left / right balance.) .............. 36
Listening to an AUX input source ................. 37
Listening to an AUX input source ................................. 37
Adjusting the AUX input level ....................................... 37
Clock adjustment............................................ 38
Timer operation............................................... 39
Setting the O.T.T. timer ................................................... 39
Setting an everyday timer program ............................. 40
Sleep timer (SLEEP) ........................................................ 42
Basic use method ........................................... 14
Playback of CD................................................ 16
Playback of tape .............................................. 18
Receiving broadcast station ......................... 20
Collective presetting of stations (auto preset) .......... 22
Channel space setting ................................................... 22
Recording on tape .......................................... 24

4
Preparation
section
Before applying power

Preparation
section
5
CD text information display
When discs conforming to CD-TEXT are played with this unit, the text information recorded on the CD (disc
name or titles) is displayed automatically.
#
Some CDs conforming to CD-TEXT may not display text information.
Up to 1000 letters may be displayed. If the CD exceeds 1000 letters, "TEXT MEMORY FULL" will be displayed.
Special features
Convenient recording features
Versatile recording features are provided, allowing the user to select desired one for each purpose.
÷ One-touch recording : Pressing a single key starts recording of all tracks or a single track in a CD.
>
÷ Program recording : Your favorite tracks can be recorded in any desired order.
fi
Convenient timer features
Before applying power
In addition to the 2-program timer, the timer also provides the following convenient features.
÷ AI timer
: When timer playback starts, the volume level increases gradually until a certain level is reached.
q
÷ O.T.T.
: Timer playback which occurs only once and only for an hour can be programmed by simply
setting the start time.
·
÷ Sleep timer
: Power of the unit can be switched off automatically after the set time has elapsed. Designed
for example for falling asleep while listening to music in the night time, etc.
w
O.T.T. ....... (Operate easy-To-use Timer)
Unpacking
Unpack the unit carefully and make sure that all accessories are put aside so they will not be lost.
Examine the unit for any possibility of shipping damage. If your unit is damaged or fails to operate, notify your dealer immediately.
If your unit was shipped to you directly, notify the shipping company without delay. Only the consignee (the person or company
receiving the unit) can file a claim against the carrier for shipping damage.
We recommend that you retain the original carton and packing materials for use should you transport or ship the unit in the future.
Accessories
Please confirm that the following accessories are present.
FM indoor antenna (1)
AM loop antenna (1)
Remote control unit (1)
Batteries (R6/AA) (2)
Europe and U.K
Other countries