'9'9,'(23/$<(5
;90%.;906/
DISC
SELECT
TV
DVD
PLAY
MODE
123
56
89
0
+10
10
7
4
3D
PHONIC
TV/VIDEO
CANCEL
SUBTITLE
ANGLE
TV1
TV2
TV3
TV4
TV5
TV6
TV7
TV8
TV9
TV -/--
TV0
MUTING
AUDIO
THEATER
POSITION
DIGEST
PREVIO
US
NEXT
CLEAR
STROBE
SLOW+
SLOW
TITLE
MENU
CHOICE
ENTER
RM-SXVM50J REMOTE CONTROL
CH+
SELECT
CH-
VOL
+
VOL
-
DISPLAY
ZOOM
RETURN
4
¢
1
¡
5
5
5
7
8
3
TV
DVD
STANDBY/ON
DISC TITLE CHAP
RESUME THEATER
DVD
EACH
STAND/BY
STANDBY/ON
PAUSE
PLAY
STOP
SKIP
DISC 3
38
7
0
DISC 2
0
DISC 1
0
¢
4
DISC
3
DISC
2
DISC
1
3
2
1
DOLBY
D I G I T A L
PLAY & EXCHANGE
DVD / VIDEO CD / CD
10-bit/27MHz VIDEO D/A CONVERTER
XV-M50
DVD/CD PLAYER
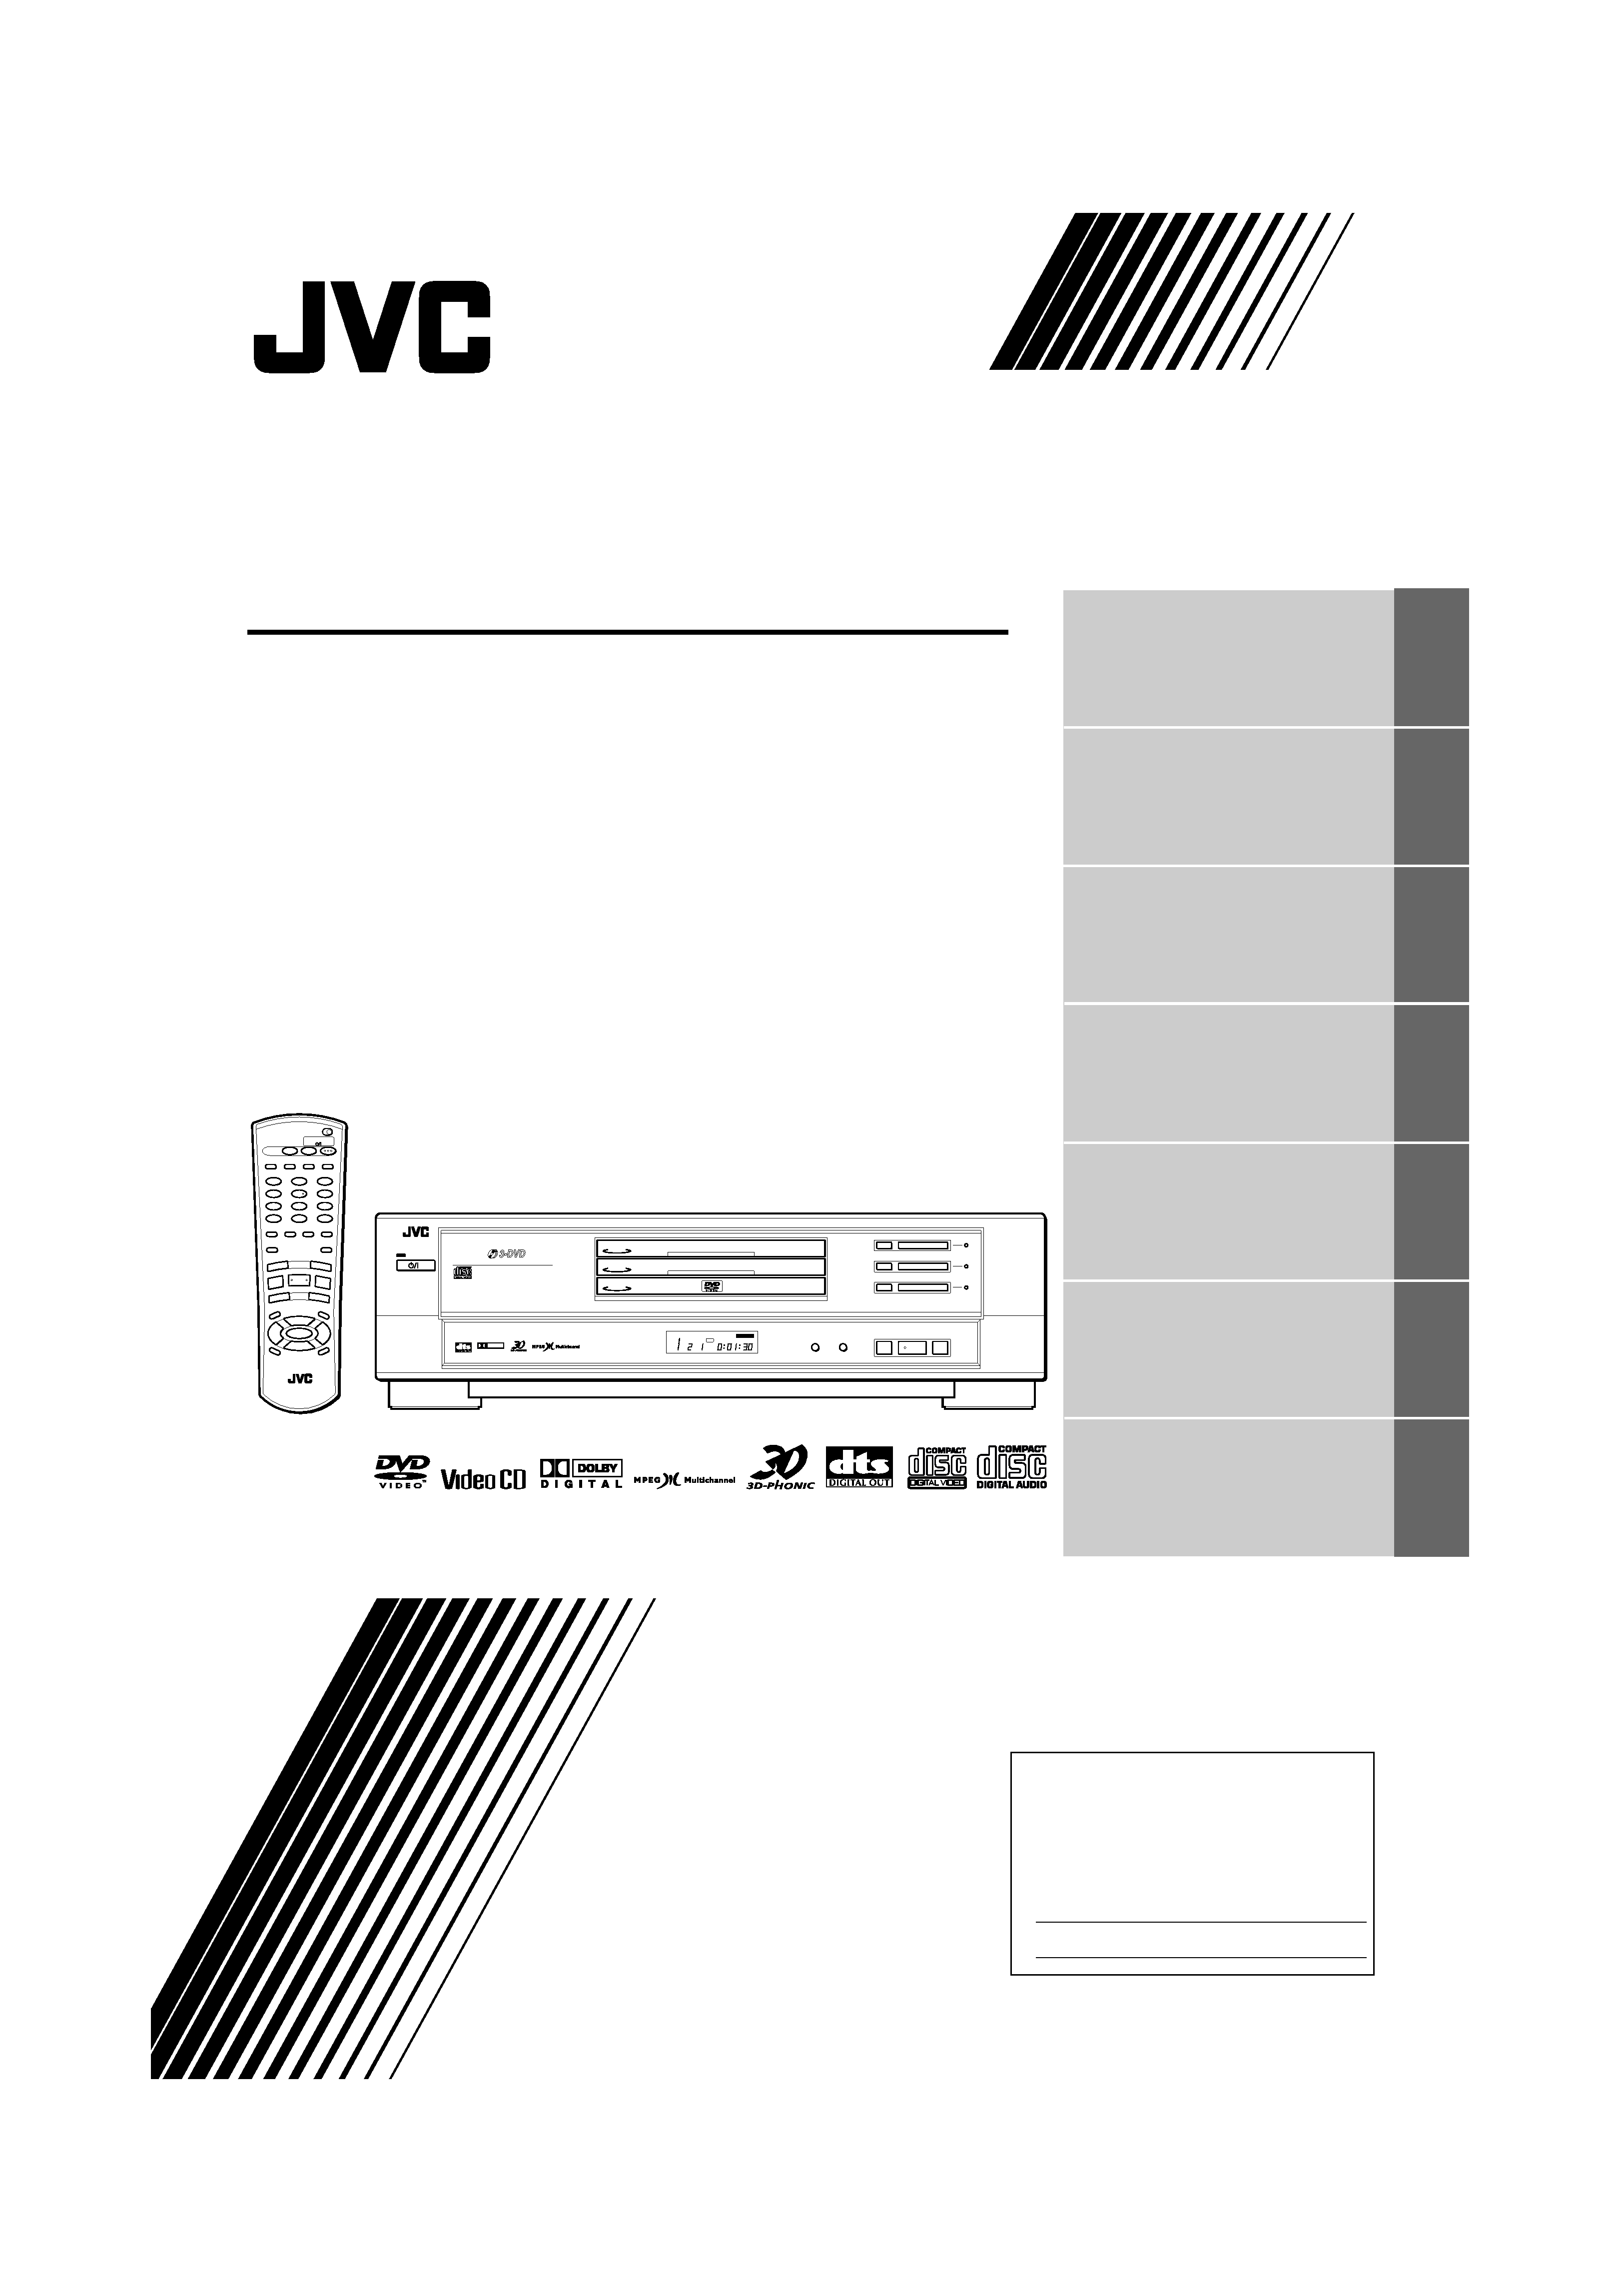
Introduction
2
Preliminary knowledge
5
Getting started
13
Basic operations
20
Advanced operations
24
Initial settings
39
Additional information
46
)RU &XVWRPHU8VH
(QWHU EHORZ WKH 0RGHO 1R DQG 6HULDO 1R
ZKL.KDUH OR.DWHGRQ WKHUHDU ERWWRPRU
VLGH RI WKH .DELQHW 5HWDLQ WKLV LQIRUPDWLRQ
IRU IXWXUHUHIHUHQ.H
0RGHO 1R
6HULDO 1R
/(7$
>%@
,16758&7,216
0(1*ERRN 3DJH )ULGD\ 0DU.K 30
Warnings, Cautions and Others
IMPORTANT for the U.K.
DO NOT cut off the mains plug from this equipment. If the plug
fitted is not suitable for the power points in your home or the
cable is too short to reach a power point, then obtain an
appropriate safety approved extension lead or consult your
dealer.
BE SURE to replace the fuse only with an identical approved
type, as originally fitted.
If nonetheless the mains plug is cut off ensure to remove the
fuse and dispose of the plug immediately, to avoid a possible
shock hazard by inadvertent connection to the mains supply.
If this product is not supplied fitted with a mains plug then follow
the instructions given below:
IMPORTANT.
DO NOT make any connection to the terminal which is marked
with the letter E or by the safety earth symbol or coloured green
or green-and-yellow.
The wires in the mains lead on this product are coloured in
accordance with the following code:
Blue :
Neutral
Brown :
Live
As these colours may not correspond with the coloured
markings identifying the terminals in your plug proceed as
follows:
The wire which is coloured blue must be connected to the
terminal which is marked with the letter N or coloured black.
The wire which is coloured brown must be connected to the
terminal which is marked with the letter L or coloured red.
IF IN DOUBT - CONSULT A COMPETENT ELECTRICIAN.
CAUTION
To reduce the risk of electrical shocks, fire, etc.:
1.
Do not remove screws, covers or cabinet.
2.
Do not expose this appliance to rain or moisture.
Caution
switch!
Disconnect the mains plug to shut the power off completely.
The
switch in any position does not disconnect the mains
line. The power can be remote controlled.
CAUTION:
· Do not block the ventilation openings or holes.
(If the ventilation openings or holes are blocked by a newspaper or
cloth, etc., the heat may not be able to get out.)
· Do not place any naked flame sources, such as lighted candles, on
the apparatus.
· When discarding batteries, environmental problems must be con-
sidered and local rules or laws governing the disposal of these bat-
teries must be followed strictly.
· Do not use this apparatus in a bathroom or places with water.
Also do not place any containers filled with water or liquids (such as
cosmetics or medicines, flower vases, potted plants, cups, etc.) on
top of this apparatus.
IMPORTANT FOR LASER PRODUCTS
1.
CLASS 1 LASER PRODUCT
2.
DANGER: Visible and Invisible laser radiation when open and
interlock failed or defeated. Avoid direct exposure to beam.
3.
CAUTION: Do not open the top cover. There are no user
serviceable parts inside the Unit; leave all servicing to qualified
service personnel.
REPRODUCTION OF LABELS
1 CLASSIFICATION LABEL, PLACED ON REAR ENCLOSURE
2 WARNING LABEL, PLACED INSIDE THE UNIT
CLASS
1
LASER
PRODUCT
CAUTION: Invisible laser
radiation when open and
interlock failed or defeated.
AVOID DIRECT EXPOSURE
TO BEAM.
(e)
ADVARSEL: Usynlig laser-
stråling ved åbning, når
sikkerhedsafbrydere er ude
af funktion. Undgå udsæt-
telse for stråling
(d)
VARNING: Osynlig laser-
strålning när denna del är
öppnad och spärren är
urkopplad.
Betrakta
ej
strålen.
(s)
VARO: Avattaessa ja suo-
jalukitus ohitettaessa olet
alttiina
näkymättömälle
lasersäteilylle. Älä katso
säteeseen.
(f)
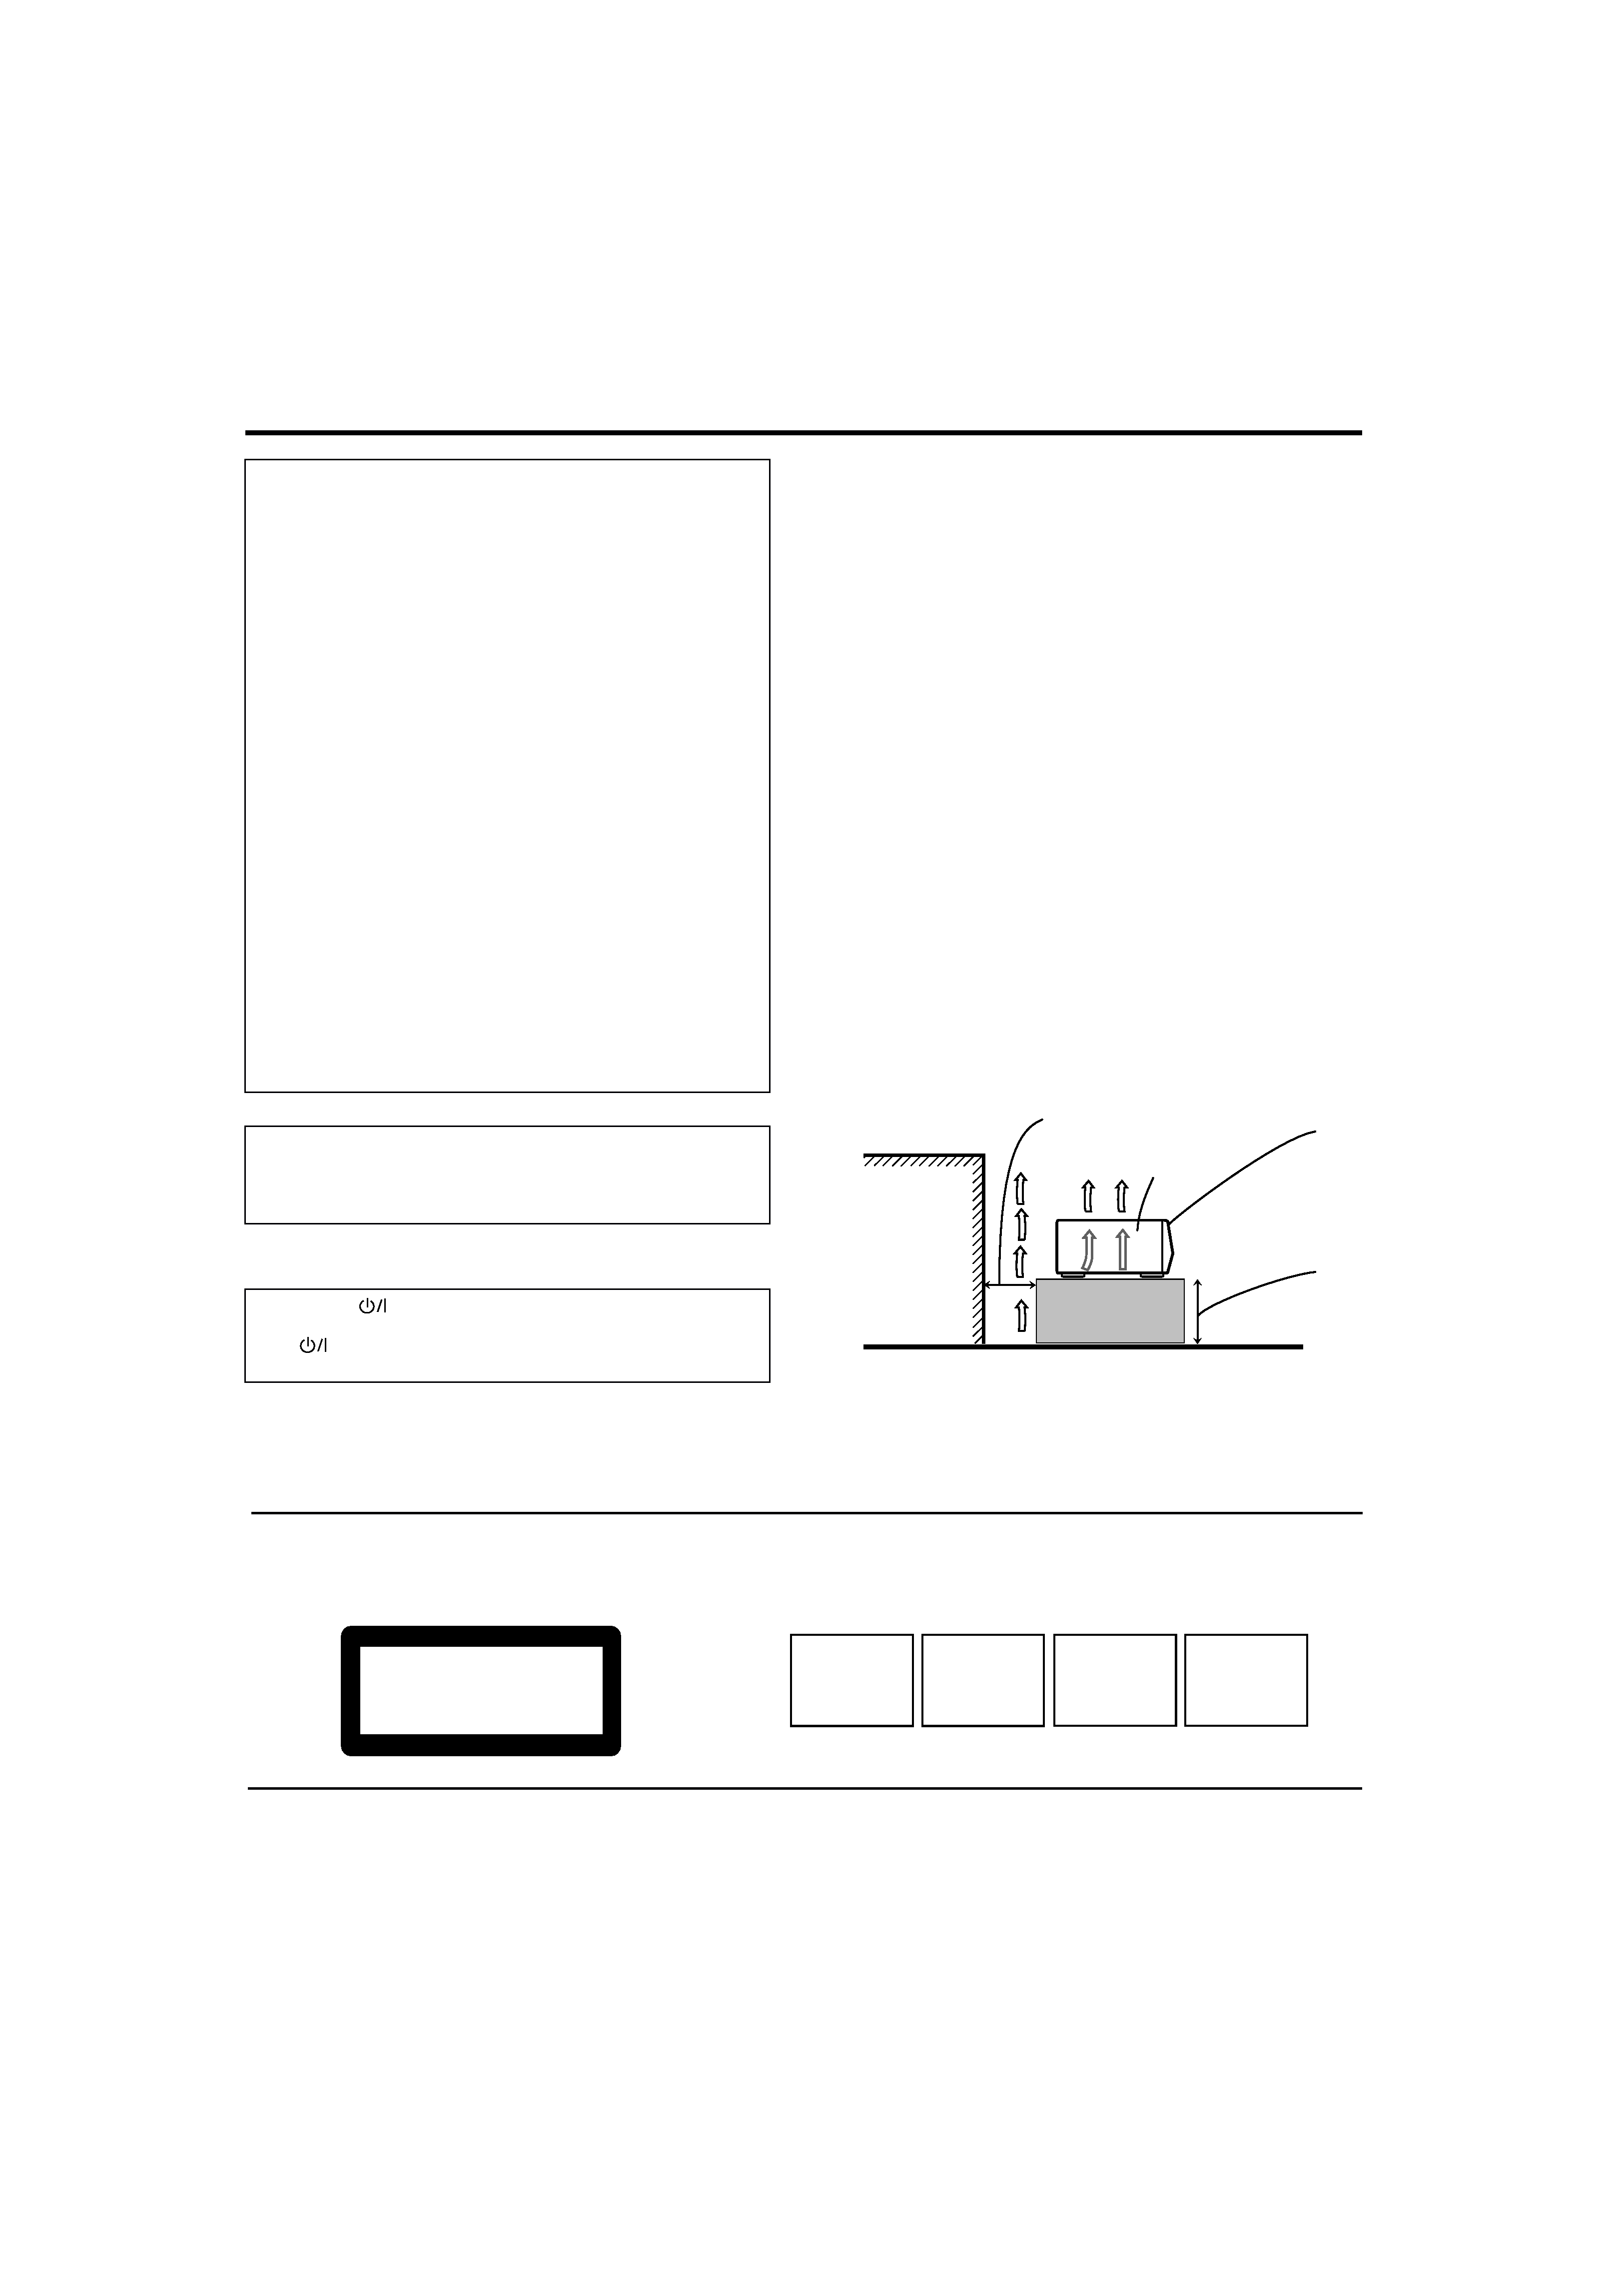
Floor
Spacing 15 cm or more
Stand height
5 cm or more
Wall or obstructions
Front
Caution: Proper Ventilation
To avoid risk of electric shock and fire and to protect from damage.
Locate the apparatus as follows:
Front:
No obstructions open spacing.
Sides:
No obstructions in 3 cm from the sides.
Top:
No obstructions in 5 cm from the top.
Back:
No obstructions in 15 cm from the back
Bottom:
No obstructions, place on the level surface.
XV-M50BK/
XV-M52SL
0(1*ERRN 3DJH )ULGD\ 0DU.K 30

Introduction
1
Table of Contents
Introduction
Page 2
Features...............................................................................2
Supplied accessories..........................................................2
About this instruction manual ..........................................3
Notes on handling ..............................................................4
Preliminary knowledge
Page 5
Names of parts and controls .............................................5
Front panel................................................................................5
Remote control unit .................................................................6
Display window........................................................................8
Rear panel.................................................................................8
Operational Principles........................................................9
On-screen displays...................................................................9
To prevent the monitor from burning out
[SCREEN SAVER] ................................................................10
On-screen guide icons ...........................................................11
How to use numeric buttons.................................................11
About discs .......................................................................12
Playable disc types.................................................................12
Disc structure..........................................................................12
Getting started
Page 13
Connections ......................................................................13
Before making any connections ...........................................13
To connect to a TV .................................................................13
To connect to a TV with the SCART connector ...................14
To connect to an audio amplifier or receiver.......................15
To connect to audio equipment with a digital input ...........16
To connect the power cord ...................................................16
Using the remote control unit.........................................17
To install batteries in the remote control unit .....................17
To use the remote control unit for TV operation.................18
Basic operations
Page 20
Turning on/off the unit ....................................................20
Inserting and removing discs ..........................................20
Basic playback ..................................................................21
To start playback ....................................................................21
To stop playback completely ................................................21
To stop playback temporarily ...............................................21
To advance or reverse playback rapidly
while monitoring.................................................................22
To locate the beginning of the scene or song .....................22
Resuming playback ..........................................................22
To memorize the interrupted position .................................22
To resume playback...............................................................23
Advanced operations
Page 24
Playing from a specific position on a disc......................24
To locate a desired scene from the DVD menu ...................24
To locate a desired scene from the menu of the
Video CD with PBC..............................................................24
To locate a desired selection using the numeric buttons...25
To locate a desired selection using
4 or ¢ ...................25
To locate a desired scene by specifying the chapter
number [CHAP.SEARCH] ...................................................26
To locate a desired position in the current title or track
[TIME SEARCH] ...................................................................26
To locate a desired scene from the display [DIGEST] ........27
Special picture playback ................................................. 28
To advance a still picture frame-by-frame ...........................28
To display continuous still pictures [STROBE]....................28
To playback in slow-motion [SLOW]....................................29
To zoom a scene [ZOOM]......................................................29
Changing the playback order ......................................... 30
To playback in the desired order [PROGRAM] ....................30
To playback in random order [RANDOM]...........................31
Repeat playback............................................................... 31
To repeat the current selection or all discs contents
[REPEAT] .............................................................................31
To repeat a desired part [A-B REPEAT] ................................32
Selecting a scene angle of DVD VIDEO ......................... 33
To select a scene angle from the normal screen
[ANGLE] ...............................................................................33
To select a scene angle from the angle list display
[ANGLE] ...............................................................................34
Changing the language and sound ................................ 34
To select the subtitle language [SUBTITLE] ........................34
To change the audio language or sound [AUDIO] ..............35
Selecting the picture character ...................................... 36
To select the picture character [THEATER POSITION]........36
Enjoying virtual surround sound.................................... 36
To simulate surround sound [3D PHONIC] ..........................36
Checking the status......................................................... 37
To check the disc/time information ......................................37
To check the DVD function status.........................................38
To dim, the brightness of the display window............. 38
Dimming the brightness of the display window .................38
Initial settings
Page 39
Selecting preferences...................................................... 39
How to set preferences..........................................................39
LANGUAGE page...................................................................39
AUDIO page............................................................................40
DISPLAY page ........................................................................41
SYSTEM page ........................................................................42
Limiting playback by children ........................................ 43
To set Parental Lock for the first time
[PARENTAL LOCK]..............................................................43
To change the settings [PARENTAL LOCK] ........................44
To temporarily release the Parental lock
[PARENTAL LOCK] .............................................................45
Additional information
Page 46
Care and handling of discs.............................................. 46
Troubleshooting .............................................................. 47
Specifications................................................................... 48
Table of languages and their abbreviations.. Appendix A
Country code list for parental lock..................Appendix B
0(1*72&IP 3DJH 0RQGD\ $SULO 30
2
In
trod
uc
ti
on
Introduction
Features
7
7
7
7Strobe function
The unit can display nine continuous still pictures on
the TV screen.
7
7
7
7Digest function
You can select the desired selection to be played from
the opening scenes displayed on the TV screen.
7
7
7
7Angle function*
You can select a desired angle from multiple camera
angles recorded on the DVD VIDEO disc.
7
7
7
7Zoom function
You can view scenes close-up.
7
7
7
7Parental lock*
You can restrict the playback of DVD VIDEO discs with
scenes which you do not want children to see, such as
adult or violent films.
7
7
7
7Theater position
You can select the picture character according to the
lighting of your room.
7
7
7
7High quality digital sound
You can enjoy high quality sound with Dolby Digital or
Linear-PCM.
7
7
7
7Surround function*
The unit accommodates the Dolby Digital, DTS and
MPEG Multichanel surround systems.
(These surround signals are output only from the
DIGITAL OUT jacks.)
7
7
7
73D Phonic function
You can enjoy surround sound with your 2-channel
system.
7
7
7
7Triple disc trays
You can insert up to three discs in the unit and can
playback them continuously.
7
7
7
7Multi-language subtitles and sound*
You can select a subtitle or sound language from
those recorded on the DVD VIDEO disc.
7
7
7
7Multi-disc playback
You can enjoy Audio CD discs and Video CD discs, as
well as DVD VIDEO discs.
7
7
7
7Operation from the on-screen display
User-friendly on-screen displays allow you to operate
the unit easily.
Functions with (*) mark only work on a DVD VIDEO disc
that is compatible with each function.
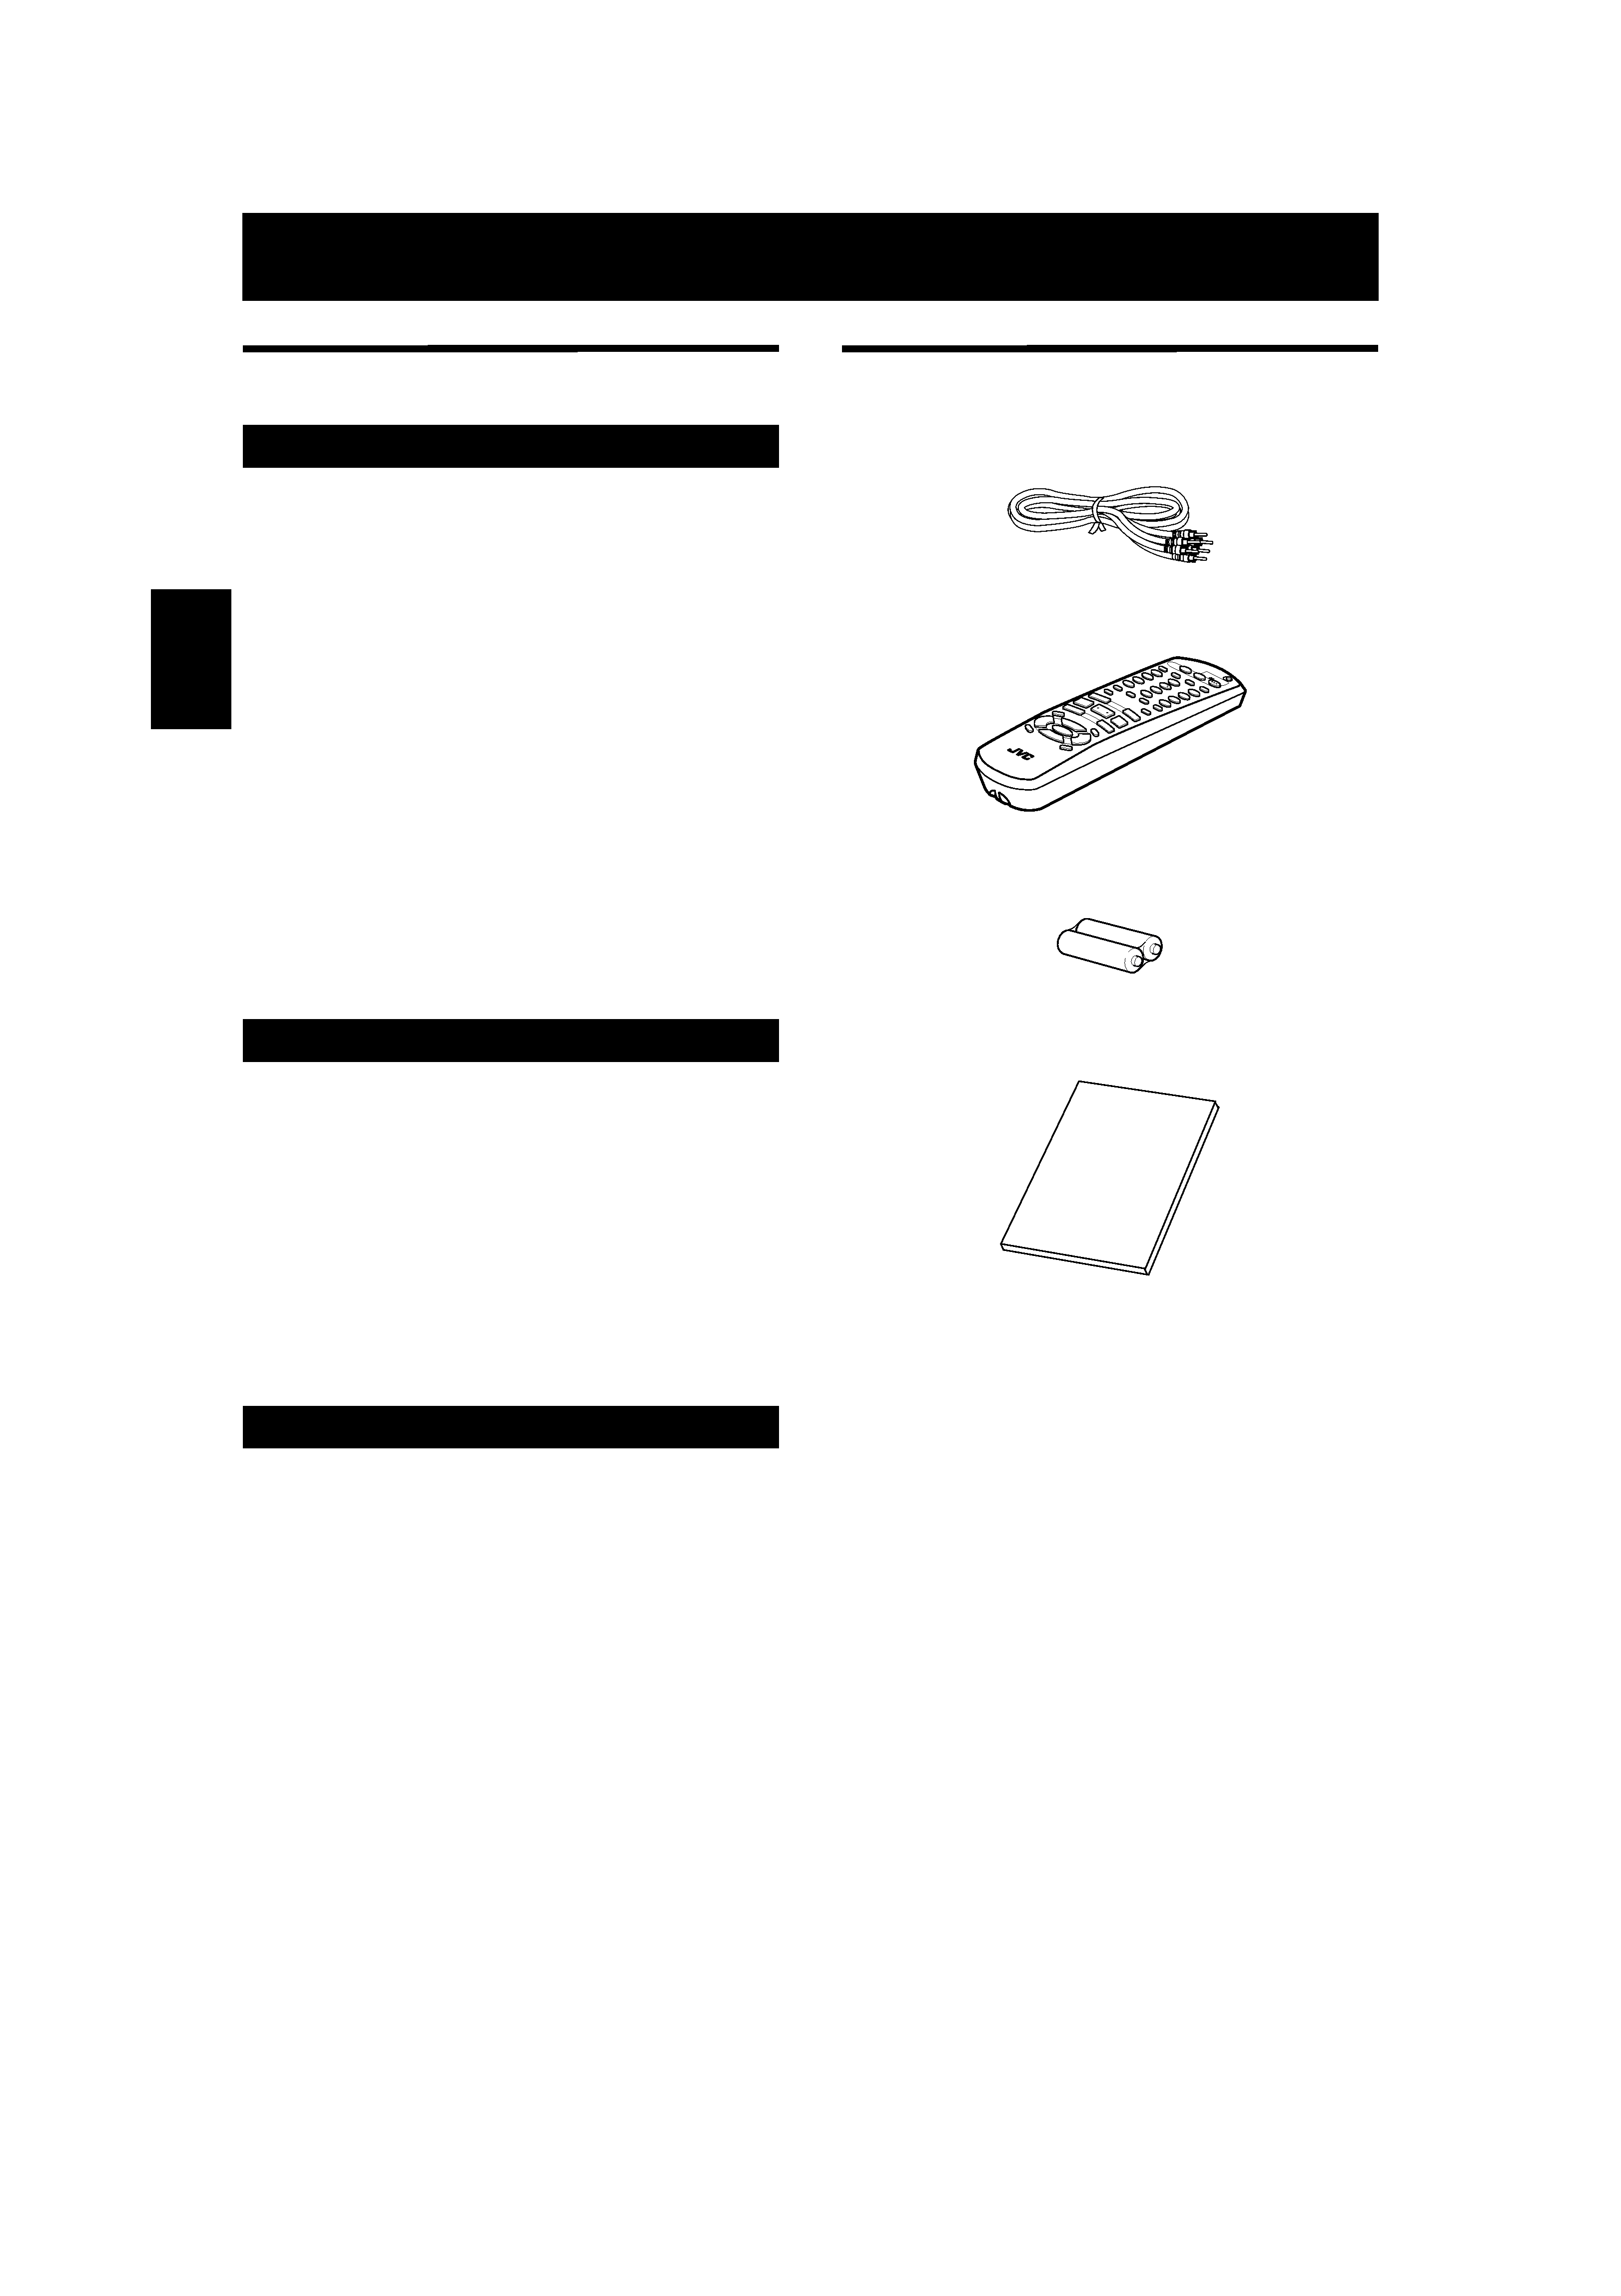
Supplied accessories
· Audio/video cable (x 1)
· Remote Control Unit (x 1)
· R6P(SUM-3)/AA(15F) batteries (x 2)
· Instruction manual (x 1)
· AC power cord (x 1)
Picture functions
Audio functions
Other functions
DIS
C
SEL
EC
T
TV
DVD
PLA
Y
MO
DE
3D
PHO
NIC
TV/VID
EO
CAN
CEL
SUB
TITL
E
AN
GL
E
TV1
TV
2
TV3
TV4
TV
5
TV6
TV
7
TV9
TV
-/--
TV
0
MU
TING
AU
DIO
THE
ATE
R
PO
SITION
DIG
EST
PRE
VIO
US
CLE
AR
STR
OB
E
SLO
W+
SL
OW
TITLE
CH
OIC
E
CH+
SEL
EC
T
CH-
VOL
+
VOL
-
DISPL
AY
ZO
OM
RETU
RN
TV
DVD
STA
NDBY/O
N
TV8
NE
XT
ME
NU
RM
-SX
VM
50J
REM
OTE
CO
NTR
OL
1
2
3
5
6
8
9
0
+10
10
7
4
ENT
ER
4
¢
1
¡
5
5
5
7
8
3
0(1*ERRN 3DJH )ULGD\ 0DU.K 30
Introduction
3
In
trod
uc
tio
n
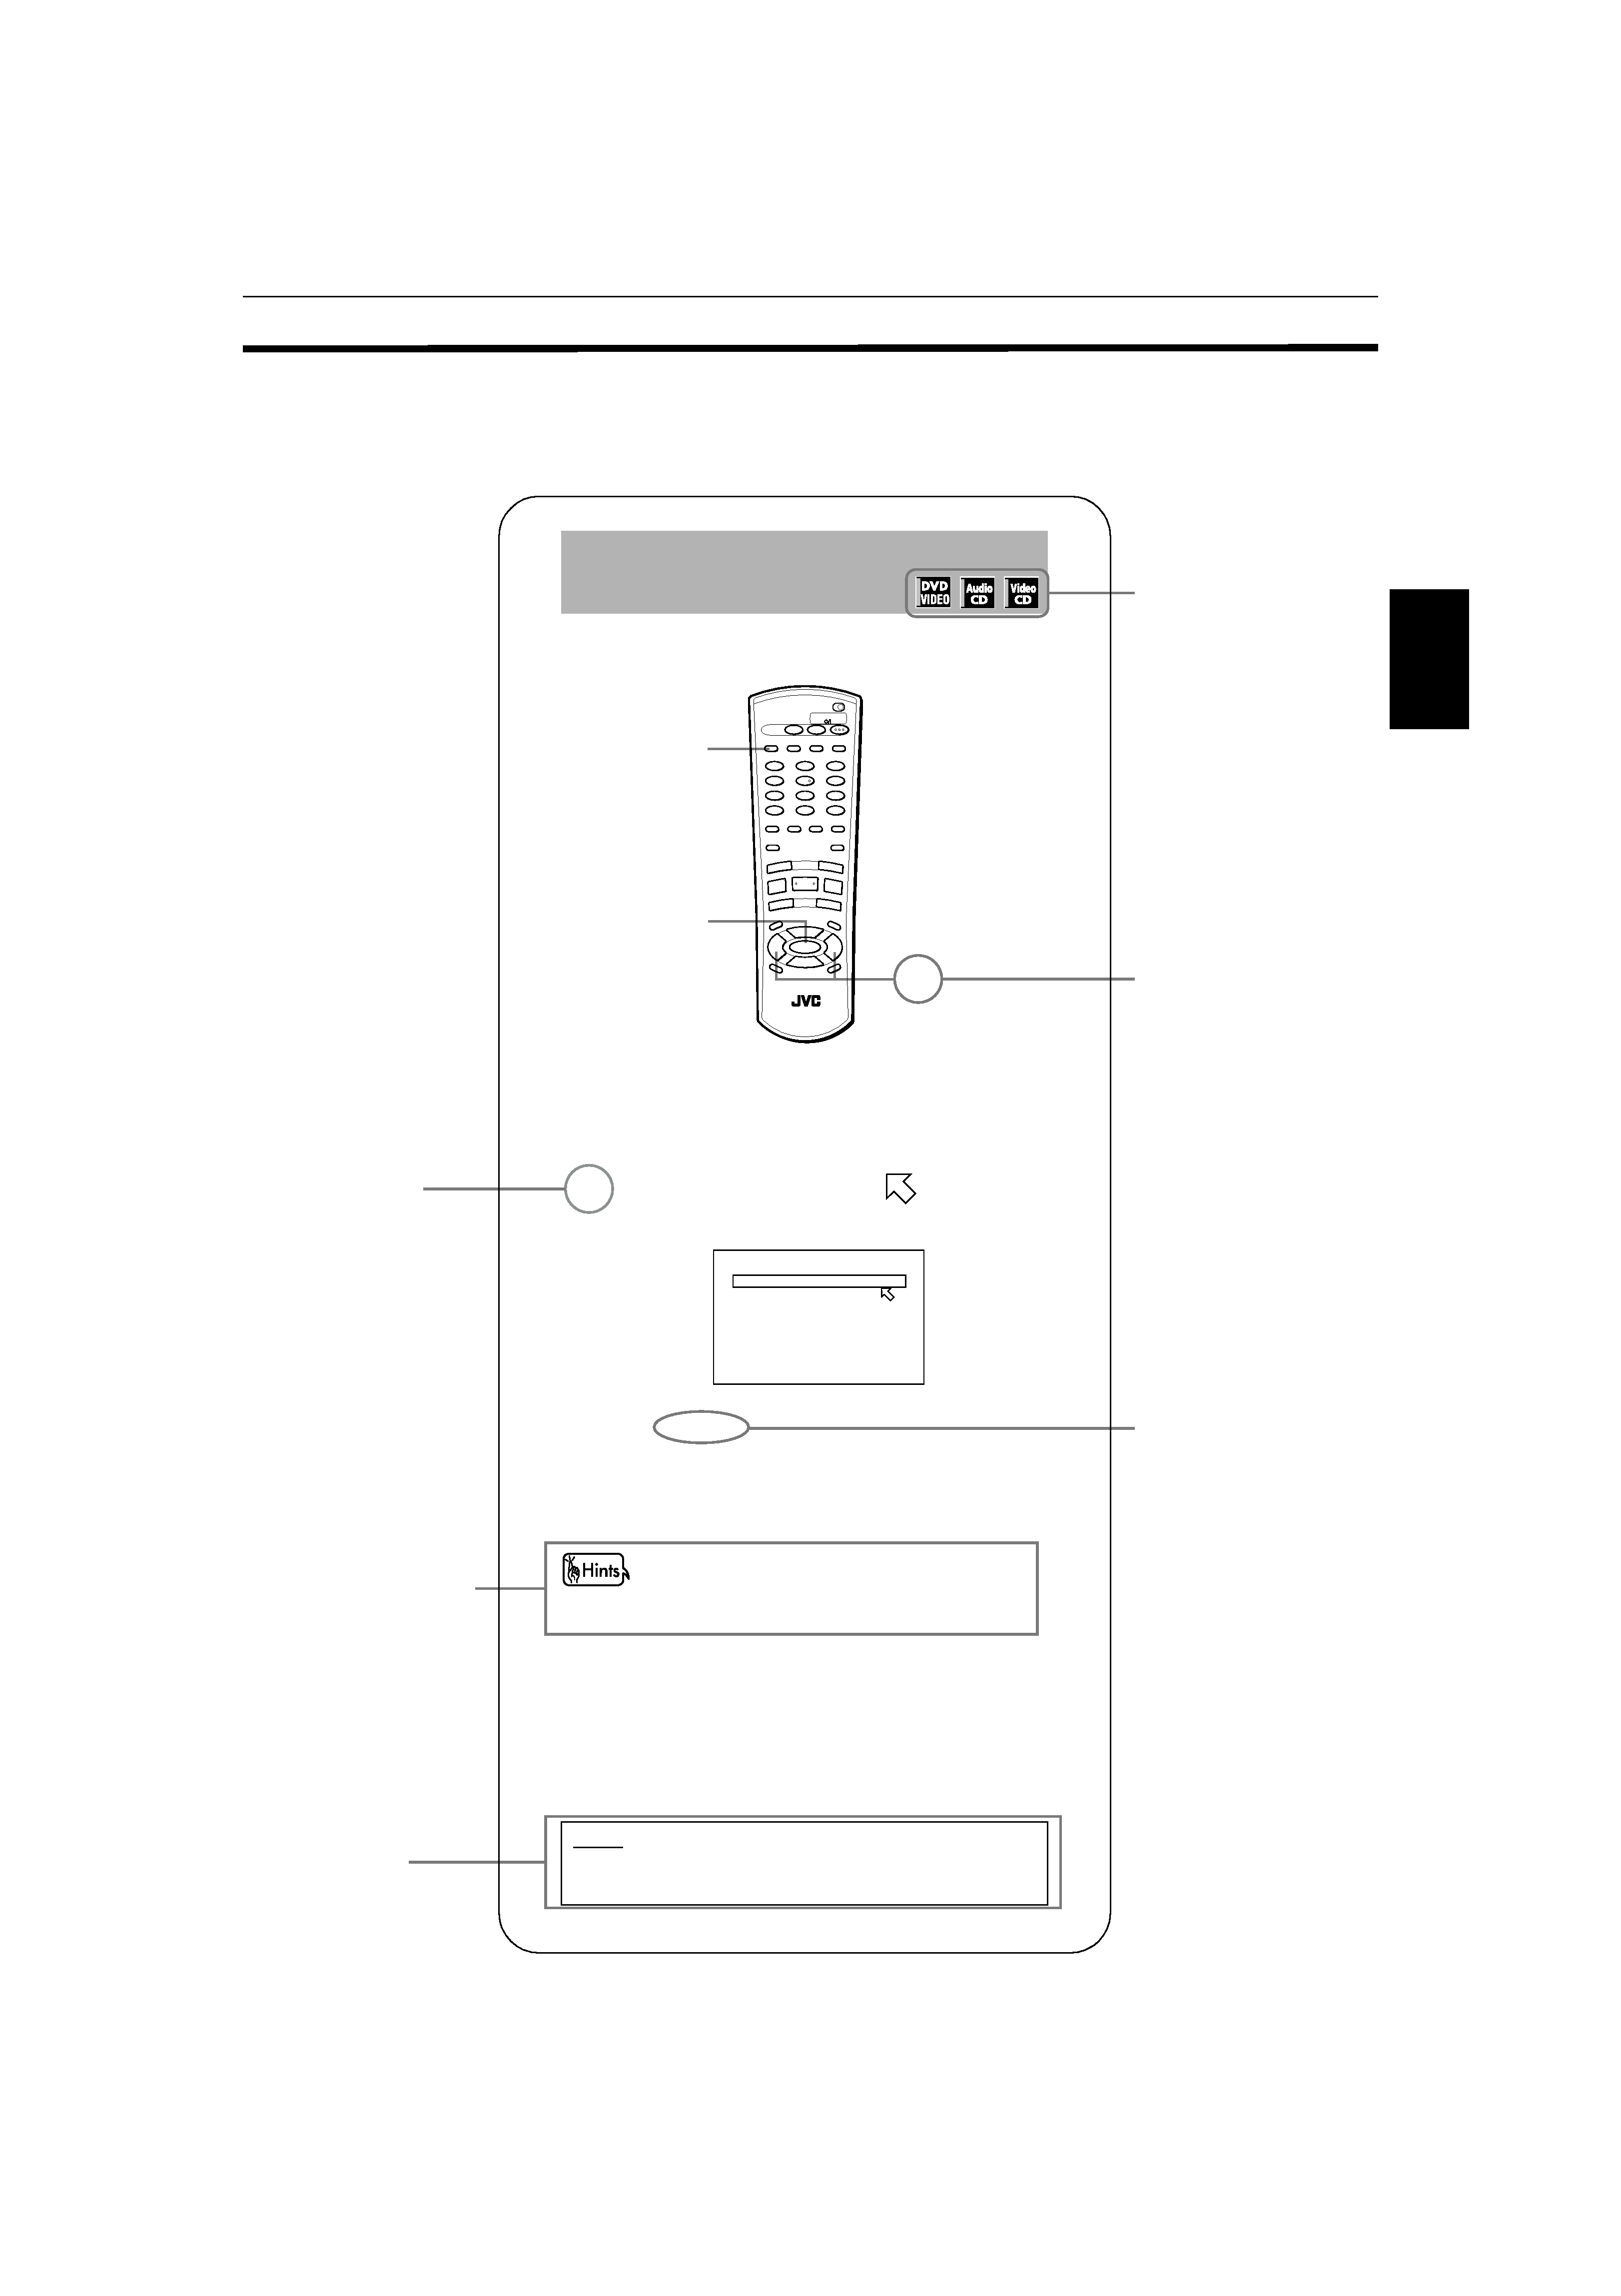
About this instruction manual
This instruction manual basically explains operations as follows:
You can play titles or tracks on discs inserted in random
order by using the Random function.
7 While stopped
1 Press PLAY MODE.
The play mode menu appears on the TV screen.
2 Use CURSOR 2/3 to move
to
[RANDOM].
3 Press ENTER.
The unit starts random playback.
The "RANDOM" indicator appears in the display
window on the front panel. After playing all titles/
tracks of the discs, random playback ends.
· The same title or track will not be played back more than
once during random play.
· To stop/quit random playback in the middle
Press
7 to stop playback. The unit is still in random
playback mode, so pressing
3 starts random playback
again.
To quit random playback, press
7 again while stopped.
The "RANDOM" indicator in the display window turns
off.
To playback in random order
[RANDOM]
NOTE
· Some DVD VIDEO discs may not be played back
correctly in the random mode.
1
3
2
REPEAT
PROGRAM
RANDOM
These symbols
indicate the types
of discs which the
operation can be
used for.
The number
indicates the
following procedural
step(s) in which the
button(s) is(are)
used.
You may also use the
corresponding
buttons on the front
panel of the unit if
available.
The names of buttons
on the remote control
unit (or on the front
panel of the unit) are
all given in uppercase
letters.
The number
indicates the
procedural step.
Other convenient
procedures, etc.
Additional
supplemental
remarks
DISC
SELECT
TV
DVD
PLAY
MODE
123
56
89
0
+10
10
7
4
3D
PHONIC
TV/VIDEO
CANCEL
SUBTITLE
ANGLE
TV1
TV2
TV3
TV4
TV5
TV6
TV7
TV8
TV9
TV -/--
TV0
MUTING
AUDIO
THEATER
POSITION
DIGEST
PREVIO
US
NEXT
CLEAR
STROBE
SLOW+
SLOW
TIT
LE
MEN
U
CHO
ICE
ENTER
RM-SXVM50J REMOTE CONTROL
CH+
SELECT
CH-
VOL
+
VOL
-
DIS
PL
AY
ZOOM
RETURN
4
¢
1
¡
5
5
5
7
8
3
TV
DVD
STANDBY/ON
0(1*ERRN 3DJH )ULGD\ 0DU.K 30