For Customer Use:
Model No.
Serial No.
Enter below the Model No. and Serial No.
which are located on the rear, bottom or
side of the cabinet. Retain this information
for future reference.
STANDBY
STANDBY/ON
MAX
MIN
LEVEL
PHONES
PLAY MODE
CD EDIT
REC SOURCE
SELECTOR
CD REC
STOP
PLAY
PAUSE
REC SOURCE
DIGITAL
CD
LINE
MIC
OPEN/CLOSE
OPEN/CLOSE
CANCEL
SET
MENU
PAUSE
REC/
REC MUTING
PLAY
STOP
SYNCHRO
FINALIZE
MIX BLANCE
CD
LINE
LINE
MIC
MIC
STANDBY/ON
CD REC
PLAY
MODE
·REC
REC MUTING
REC
SOU
RCE
MENU
PITCH
0
CHA
NCE
L
REPEAT
CD
PITCH
+
SET
PITCH
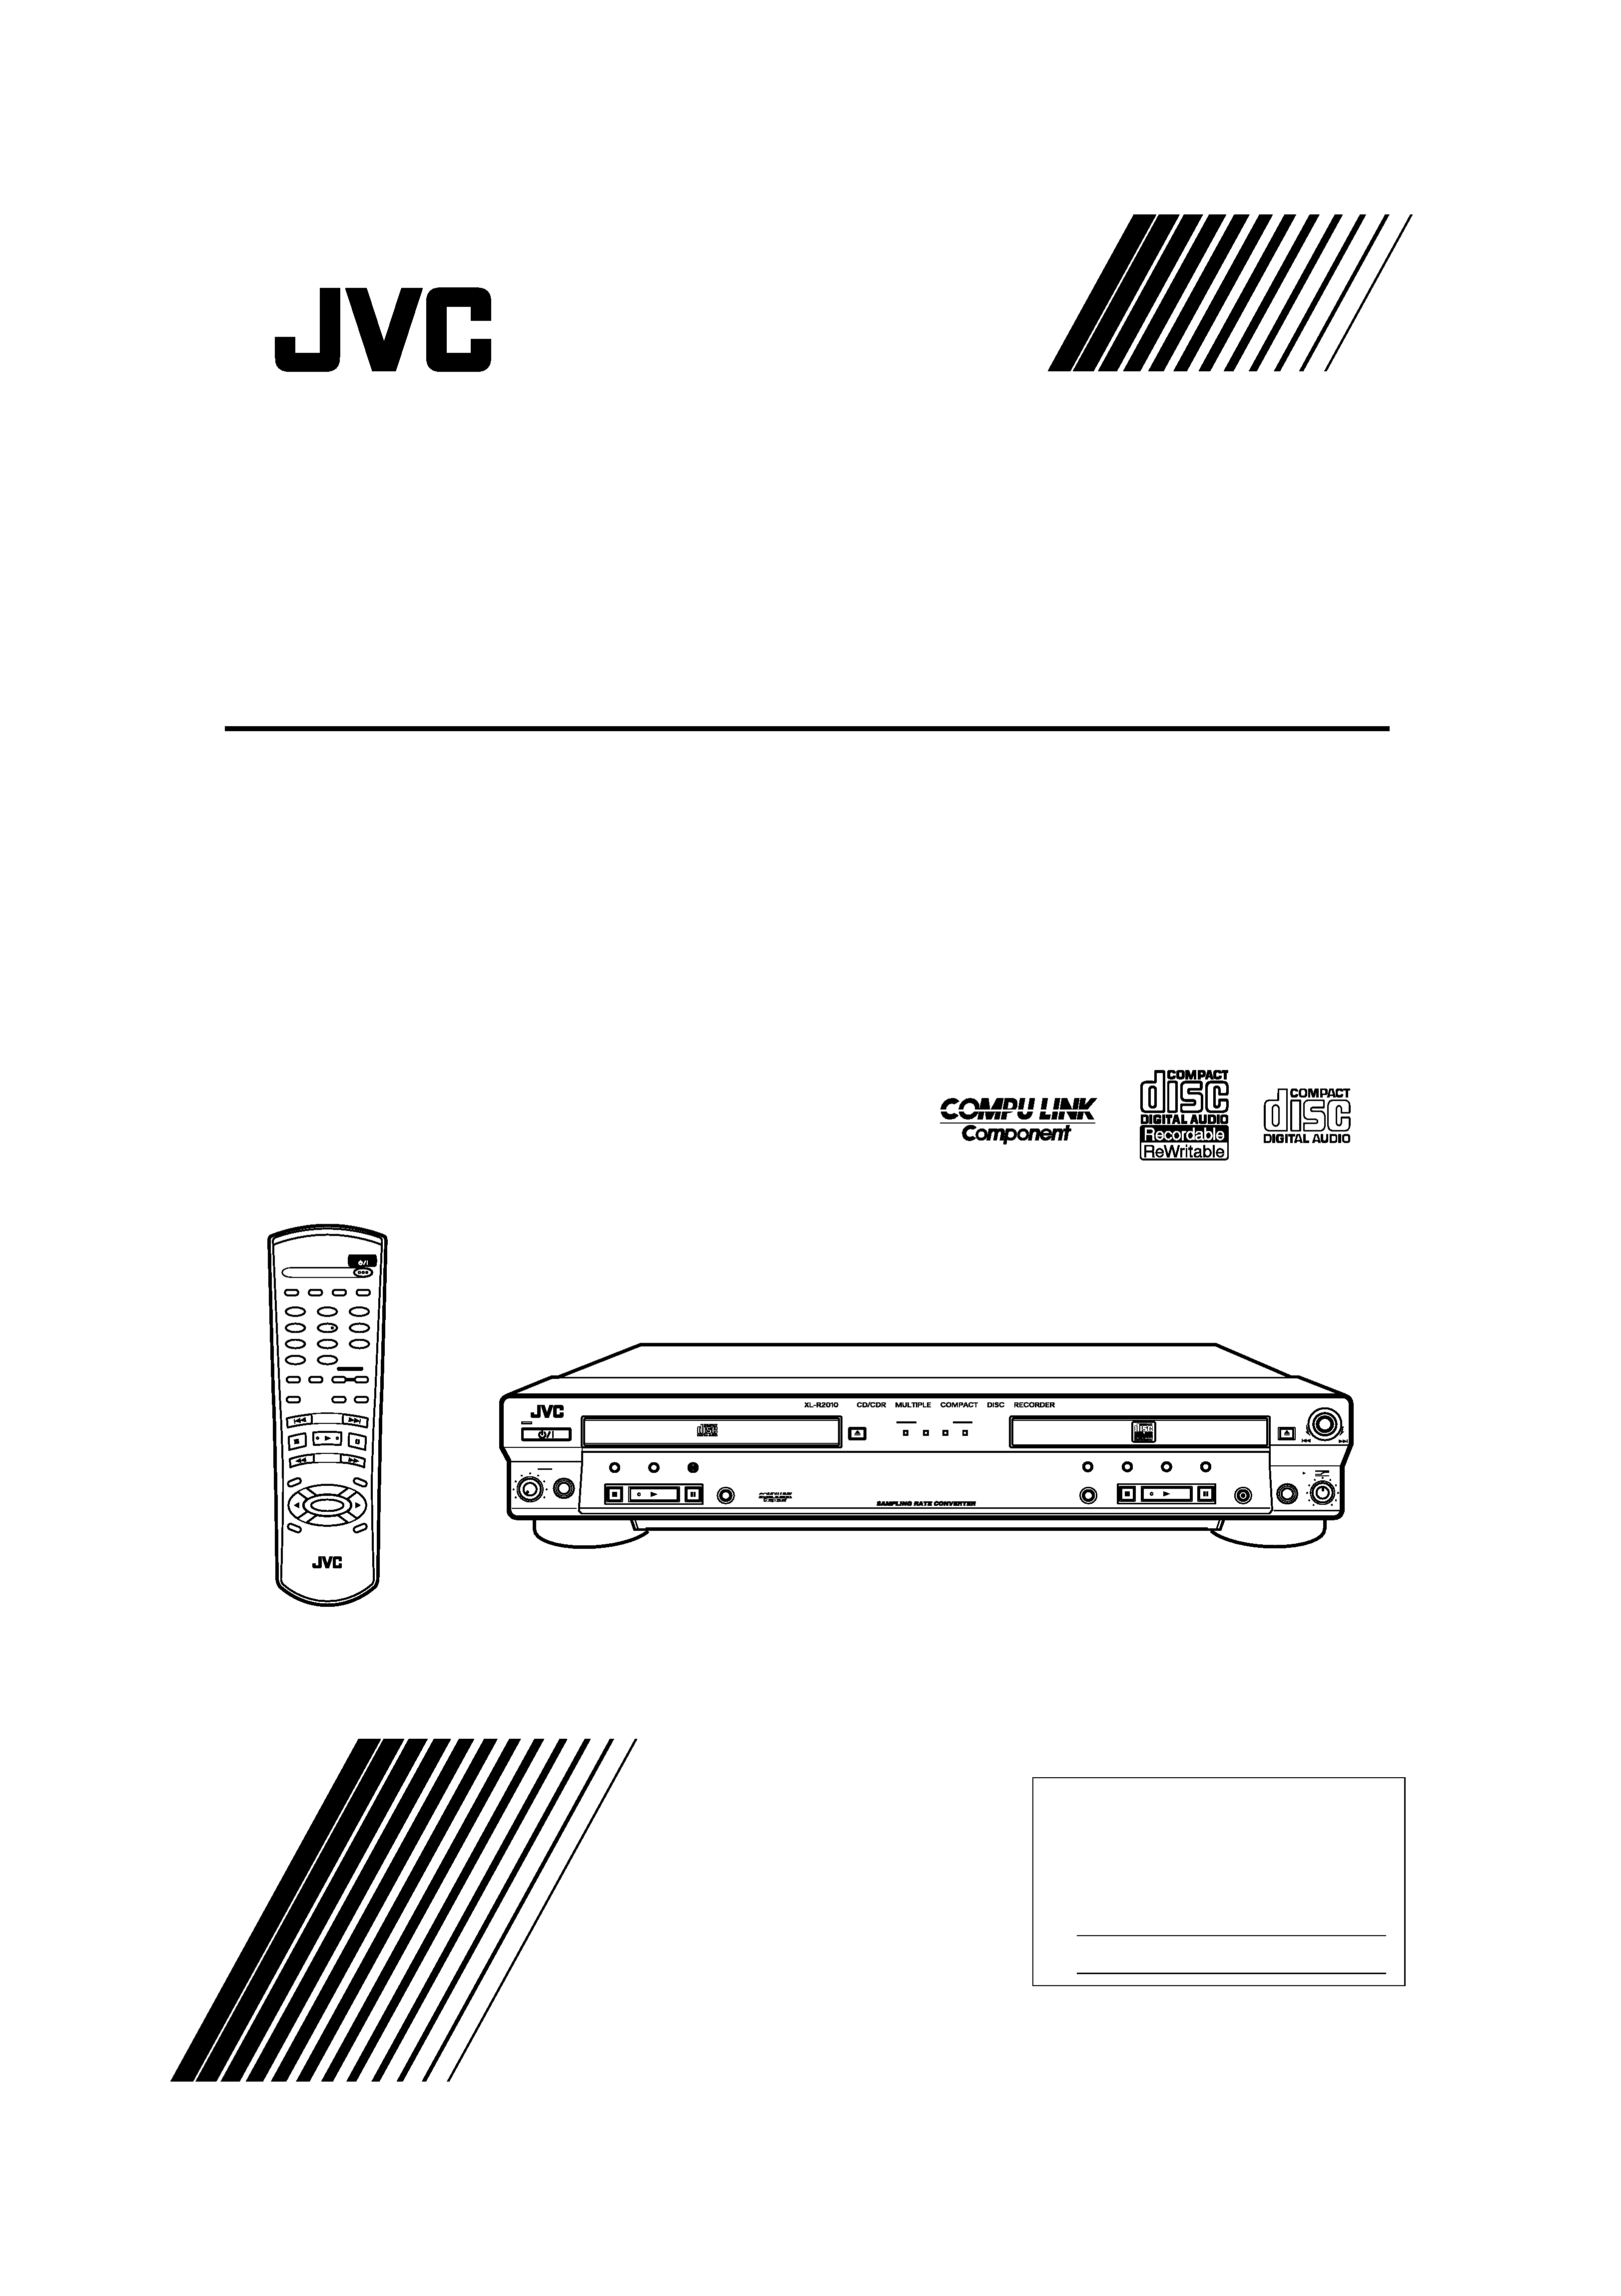
RMSXLR2010A REMOTE CONTROL
CDR
CD EDIT
FINALIZE
DISPLAY
1
2
4
5
7
8
3
6
9
10
+10
FADE
SYNCHRO
CONTROL
MULTI JOG/REC LEVEL
+
CD/CDR MULTIPLE COMPACT DISC RECORDER
XL-R2010BK
LET0190-002A
[ J ]
INSTRUCTIONS
Eng.book Page 1 Monday, May 28, 2001 9:46 AM
G-1
Warnings, Cautions and Others
CAUTION
To reduce the risk of electrical shock, fire, etc.:
1. Do not remove screws, covers or cabinet.
2. Do not expose this unit to rain or moisture.
IMPORTANT FOR LASER PRODUCTS
1. CLASS 1 LASER PRODUCT
2. DANGER: Invisible laser beam emiited when opened and
interlock fails or malfunctions. Avoid direct exposure to beam.
3. CAUTION: Do not open the top cover. There are no user
serviceable parts inside this unit; leave all servicing to qualified
service personnel.
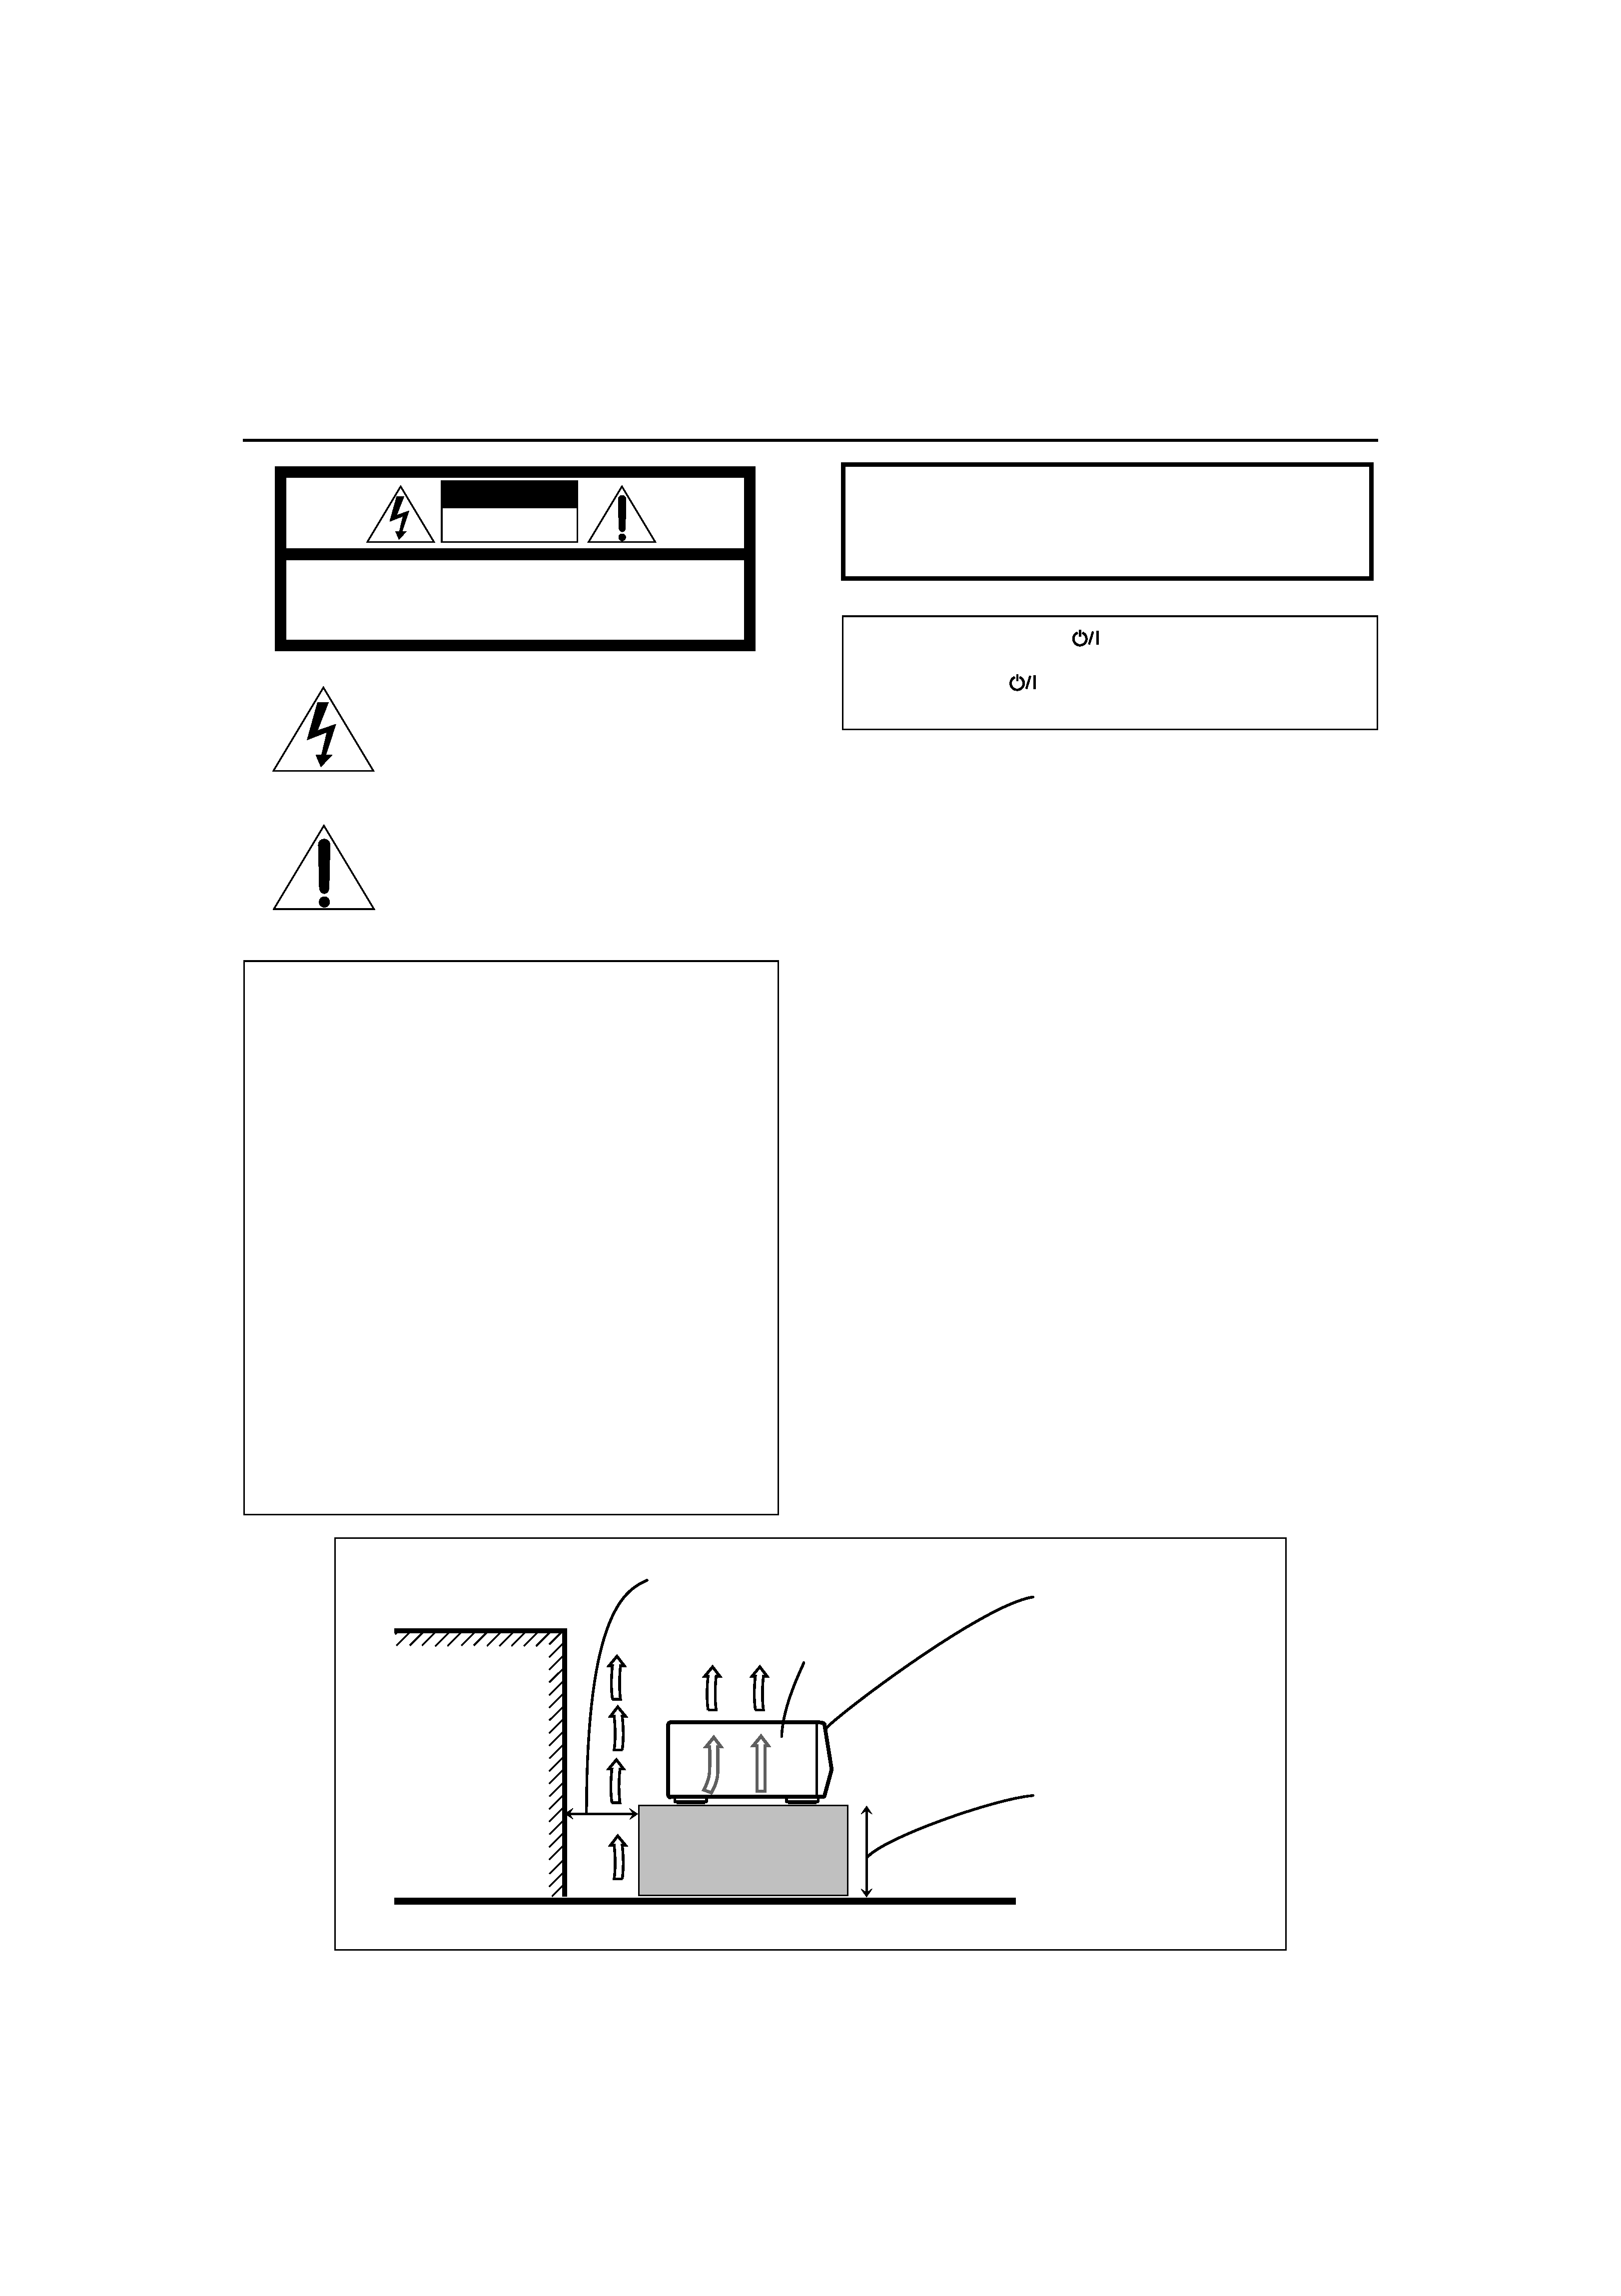
Caution: Proper Ventilation
To avoide risk of electric shock and fire and to protect from damage,
position the main unit as follows:
Front:
Open space with no obstructions.
Sides:
At least 3cm of space on each side.
Top:
At least 5cm of space between the top of the unit and
the nearest object.
Back:
At least 15cm of space between the back panel and the
nearest object/wall.
Bottom:
Place the unit on a flat, level surface with no
obstructions.
CAUTION:
TO REDUCE THE RISK OF ELECTRIC SHOCK,
DO NOT REMOVE COVER (OR BACK).
NO USER SERVICEABLE PARTS INSIDE.
REFER SERVICING TO QUALIFIED SERVICE PERSONNEL.
RISK OF ELECTRIC SHOCK
DO NOT OPEN
The lightning flash with arrowhead symbol,
within an equilateral triangle is intended to
alert the user to the presence of uninsulated
"dangerous voltage" within the product's
enclosure
that
may
be
of
sufficient
magnitude to constitute a risk of electric
shock to persons.
The exclamation point within an equilateral
triangle is intended to alert the user to the
presence
of
important
operating
and
maintenance (servicing) instructions in the
literature accompanying the appliance.
CAUTION
IMPORTANT
This equipment has been tested and found to comply with the
specifications for a Class B digital device, pursuant to Section 15
of the FCC Regulations. The specifications are designed to
provide reasonable protection against harmful interference in
residential dwellings.
This equipment generates, uses and emits radiowaves and, if not
installed and used in accordance with the instructions, may
cause interference to radio communications. However, there is no
guarantee that interference will not occur in a particular structure.
If it is found that the equipment does cause interference to radio
or television reception, which can be determined by turning the
unit on and off, we recommend that that you perform one or more
of the following measures to correct the interference problem.
- Change the position or location of the reception antenna.
- Increase the space between the unit and receiver.
- Plug the unit into a wall socket that is on a circuit different from
that which the receiver is plugged in to.
- Contact your nearest JVC dealership or a professional radio/TV
technican for assistance.
WARNING: TO REDUCE THE RISK OF FIRE
OR ELECTRIC SHOCK, DO NOT EXPOSE
THIS APPLIANCE TO RAIN OR MOISTURE.
Caution STANDBY/ON
BUTTON!
Disconnect the mains plug to shut the power off completely.
The STANDBY/ON
button in any position does not
disconnect the mains line. The power can be remote control.
Spacing 15 cm or more
Wall or other objects
Front
Stand height 15 cm or more
XL-R2010BK
Floor
Eng.book Page 1 Monday, May 28, 2001 9:46 AM

1
Engli
s
h
Table of Contents
Warnings, Cautions and Others...................................................1
Precautions ......................................................... 2
Features .............................................................. 2
Connections ........................................................ 3
Analog Connections ....................................................................3
Digital Connections.....................................................................4
Components........................................................ 5
Main Unit ....................................................................................5
Display Window..........................................................................6
Using the Remote Control................................. 7
Remote Control ...........................................................................7
Inserting the Batteries .................................................................8
Using the Remote Control...........................................................8
Turning the Power On and Standby Mode..................................9
Listening to CDs............................................... 10
CD player Continuous Playback ...............................................10
CDR Playback Operations ........................................................11
Using the Remote Control to Control Playback........................12
Direct Playback of a Specific Track..........................................12
Forward and Reverse Search.....................................................13
Skipping Tracks ........................................................................13
Repeat Playback ........................................................................14
Random Playback......................................................................14
CD Playback Pitch Control .......................................................15
Disc Lock Function ...................................................................15
Programming Playback Using Main Unit Controls ..................16
Programming Playback Using the Remote Control ..................17
Recording onto CD-R/RW Discs .................... 19
Add Finalize Feature .................................................................19
Manual Recording .....................................................................20
Synchronized Recording of CD player Playback......................22
1 Disc Dubbing .........................................................................24
Listening Edit Recording ..........................................................25
Program Edit Recording............................................................26
CD player to CDR Recording Options......................................27
Setting the Unit for High-speed Recording...............................28
Setting the Auto Track Spacing Function .................................28
Synchronized Recording from External Sources ......................29
Mixed Input Recording .............................................................30
Special Recording Edit Operations ............... 32
Skipping a Recorded Track on a CD-R or CD-RW
(Track Skip)...........................................................................32
Erasing a Track or Tracks (Erase Function)..............................32
Erasing All Tracks (Disc Erase Function).................................33
Finalizing a Disc........................................................................34
Making Recording of a Finalized CD-RW Disc Possible
(Unfinalize Function) ............................................................34
Bypassing the FS Converter (Sampling Frequency Converter) for
More Efficient Digital Recording..........................................35
Setting Up Synchronized Start Recording for External Digital
Sources (CD, MD, and DAT only)........................................36
Resetting the Unit to the Factory Default Settings....................36
SLEEP TIMER ................................................ 37
COMPU LINK Function................................. 38
CD and CDR Messages.................................... 39
SCMS (Serial Copy Management System) ...............................41
Troubleshooting ............................................... 42
Main Specifications.......................................... 43
Eng.book Page 1 Monday, May 28, 2001 9:46 AM
2
Precautions
Thank you for purchasing the XL-R2010BK CD/CDR Multiple
Compact Disc Recorder. Please read these instructions thoroughly
and carefully before using the unit to ensure that you will obtain
optimum performance and a long service life.
Safeguarding against electric shock, fire hazards
and damage
1) A very low electrical current continues to flow when the
STANDBY/ON
(power) button is in the standby mode. To
save power and ensure safety when the unit is not going to be
used for an extended period of time, disconnect the power cord
from the wall socket.
2) Do not handle the power cord with wet hands.
3) To unplug the power cord from the wall socket, always take
hold of the molded plug part and pull the plug rather than pull-
ing on the cord.
4) If the power cord is damaged or a disconnected wire or worn
contact is found, consult the nearest JVC dealership.
5) Do not bend the cord at a sharp angle or pull or twist it.
6) Do not modify the power cord in any way.
7) Do not attempt to disassemble the unit. Do not remove casing
screws or touch any of the parts inside the unit.
8) Do not insert metallic objects into the unit.
9) Unplug the power cord from the wall socket during electrical
storms.
10) If water should find its way inside the unit, unplug the power cord
from the wall socket and consult the nearest JVC dealership.
11) Do not install the unit in a poorly ventilated location.
Installation
1) Do not place the unit on or next to an amplifier. This is to pre-
vent the humming caused by the unit's proximity to some types
of amplifiers. Be sure to place the unit where operation will not
be affected by other electrical equipment.
2) Do not place the unit in a location where the ambient temperature
will exceed 35°C (95°F) (namely, in direct sunlight, near a heating
appliance, etc.) or fall below 5°C (41°F), where it is very humid or
dusty, or where the unit will be subject to vibration.
3) The unit may not function properly if it is moved suddenly from
a cold place (0°C, 32°F) to a warm place since condensation
may form inside. In such a case, leave the unit in standby mode
for about 2 hours, after which time it should function normally.
Disc care
·Storing CDs
· Always be sure to store each CD in its own case.
· Do not place CDs in direct sunlight, near a heating appliance
or any other location that is susceptible to high temperatures.
·
If cellophane tape, a sticker or some other form of adhesive is
found on the label side of the disc, clean it off before loading the
disc in the unit.
·
Do not stick adhesive labels or write anything on a CD.
·
Do not bend CDs.
·
Do not insert shaped CDs, such as CDs in heart, flower or other
shapes, as the shape does not match that of the CD tray, and
using such a CD will cause the unit to malfunction.
Cleaning the cabinet
Never use benzine or paint thinners to clean the cabinet as they
may mar the unit's surface finish.
Features
The following is a list of some of the functions and conveniences
obtained by having a CD player changer and CDR combined in a
single unit.
·
Compatibility between CD player and CDR assured.
·
High-speed recording from source discs in the CD player to the target disc
in the CDR unit (4x for CD-R, 2x for CD-RW).
·
Digital optical and coaxial I/O (input/output) terminals, analog I/O termi-
nals, and a microphone jack are provided for external audio signal source
connections.
·
Sampling frequency converter capable of converting digital signals with
sampling frequency of 32 kHz and 48 kHz to digital signals with a sampling
frequency of 44.1 kHz for quality recording from a variety of sources.
·
No sampling frequency conversion of 44.1 kHz signals for optimal record-
ing of CDs.
·
Mixing and recording of CD player playback and an external source input
such as from a microphone, or even combined input from a microphone
and another external source.
·
Many convenient recording options including: one-button full CD and single
track recording, Listening and Program Edit recording, manual recording,
synchronized start/stop recording, and mixed input recording.
·
CD playback pitch control that can adjust the speed of play up to 12% faster
or slower than the normal speed to alter the pitch for singing along with
songs or other customized uses.
·
OPC (Optimize Power Control), power adjustment performed for best pos-
sible recording onto CD-R and CD-RW media.
·
COMPU LINK-4 synchronized component operation.
Compatible Disc Formats
The following disc formats can be used for
recording in the CDR.
In addition to the marks shown right side, the
phrases shown below or their equivalent
should also be present somewhere on the
packaging or accompanying documentation:
Discs that cannot be used for recording are as follows:
·
Discs bearing marks other than those shown above
·
Discs intended for professional use and/or marked
"FOR PROFESSIONAL USE ONLY"
·
Discs intended for recording computer data
In addition to the two disc formats shown
above, the following disc format can also be
played in either the CD player or CDR.
Notes
·
The unit can playback audio data recorded on CD-G, CD-EXTRA and
CD-Text discs as well, however the text information of CD-Text discs
cannot be displayed.
·
If a CD-R or CD-RW has been recorded using a personal computer,
playback is only possible if the disc is recorded in the CD-Digital Audio
format.
·
You can play CD-R and CD-RW discs recorded in the music CD format.
Some of them, however, may not be played depending on the disc char-
acteristics or recording condition.
·
Do not use a CD-R or CD-RW disc that has been recorded in any format
other than the music CD format or a CD-RW disc that has been used in
any format other than the music CD format with this unit. Using such a
disc with this unit may cause loud sound to damage the speakers or
cause hearing disorder.
Notes on playing unfinalized CD-R or CD-RW discs with
the CD player
·
It will take some time before play starts.
·
CD-R or CD-RW discs of the short recording time may not be played.
·
An unfinalized CD-RW may not be played properly. For example,
sound files that you have deleted may be played. In such a case, finalize
the disc first or use the CDR of this unit for play.
·
You cannot skip tracks on an unfinalized CD-R or CD-RW disc.
FOR CONSUMER
FOR CONSUMER USE
FOR MUSIC USE ONLY
Eng.book Page 2 Monday, May 28, 2001 9:46 AM
3
Engli
s
h
Connections
Do not turn on the power until all connections have been completed.
Use the accessory pin cables to connect this unit's LINE terminals with those for the TAPE/CD/VCR on the receiver, etc.
Analog Connections
TAPE
/CDR
IN
(PLAY)
OUT
(REC)
COMPU LINK-4
SYNCHRO
COMPU LINK-3
SYNCHRO
COMPU LINK-4
(SYNCHRO)
DIGITAL IN
COAXIAL
OPTICAL
DIGITAL OUT
AC IN
MODE
CDR TD
COAXIAL
OPTICAL
LINE
IN
REC
(
)
OUT
PLAY
L
L
R
R
(
)
CDR
MODE
TD
Recording signals
(line input)
Accessory pin cables
Playback signals
Amplifier, receiver etc.
made by JVC
Selecting a COMPU LINK-4 MODE switch position
· When connected with CDR
input/output terminals of the
amplifier or receiver
· When connected with TAPE
input/output terminals of the
amplifier or receiver
· For more details regarding COMPU LINK, see page 38.
CD player, cassette deck or
other component made by JVC
Note
· The COMPU LINK-4 feature is only supported by other JVC
products also equipped with the COMPU LINK feature. Please
check the manual(s) of your JVC product for compatibility.
· Before selecting the COMPU LINK-4 MODE switch position
(CDR or TD), turn off the power and disconnect the power cord
from the wall socket. The function cannot be reset while the power
is on.Alternatively, if the COMPU LINK-4 MODE switch position
(CDR or TD) is changed while the power is on, turn off the power,
disconnect the power cord and then reconnect it. The new setting
will be read into the system when power to the main unit is turned
back on.
· Misconnections can be avoided by using the white plugs on the
accessory pin cables for the LEFT channel and the red plugs for
the RIGHT channel.
· Insert the plugs all the way in. Incomplete connections may cause
noise.
· When plugging the power cord into the AC outlet, be sure to match
the width of the plug blades with the outlet.
CDR
MODE
TD
to AC wall socket
Accessory
connecting cable
(with black plugs)
Mode switch
Optional connecting cable
Main Unit
Accessory power cord
Eng.book Page 3 Monday, May 28, 2001 9:46 AM