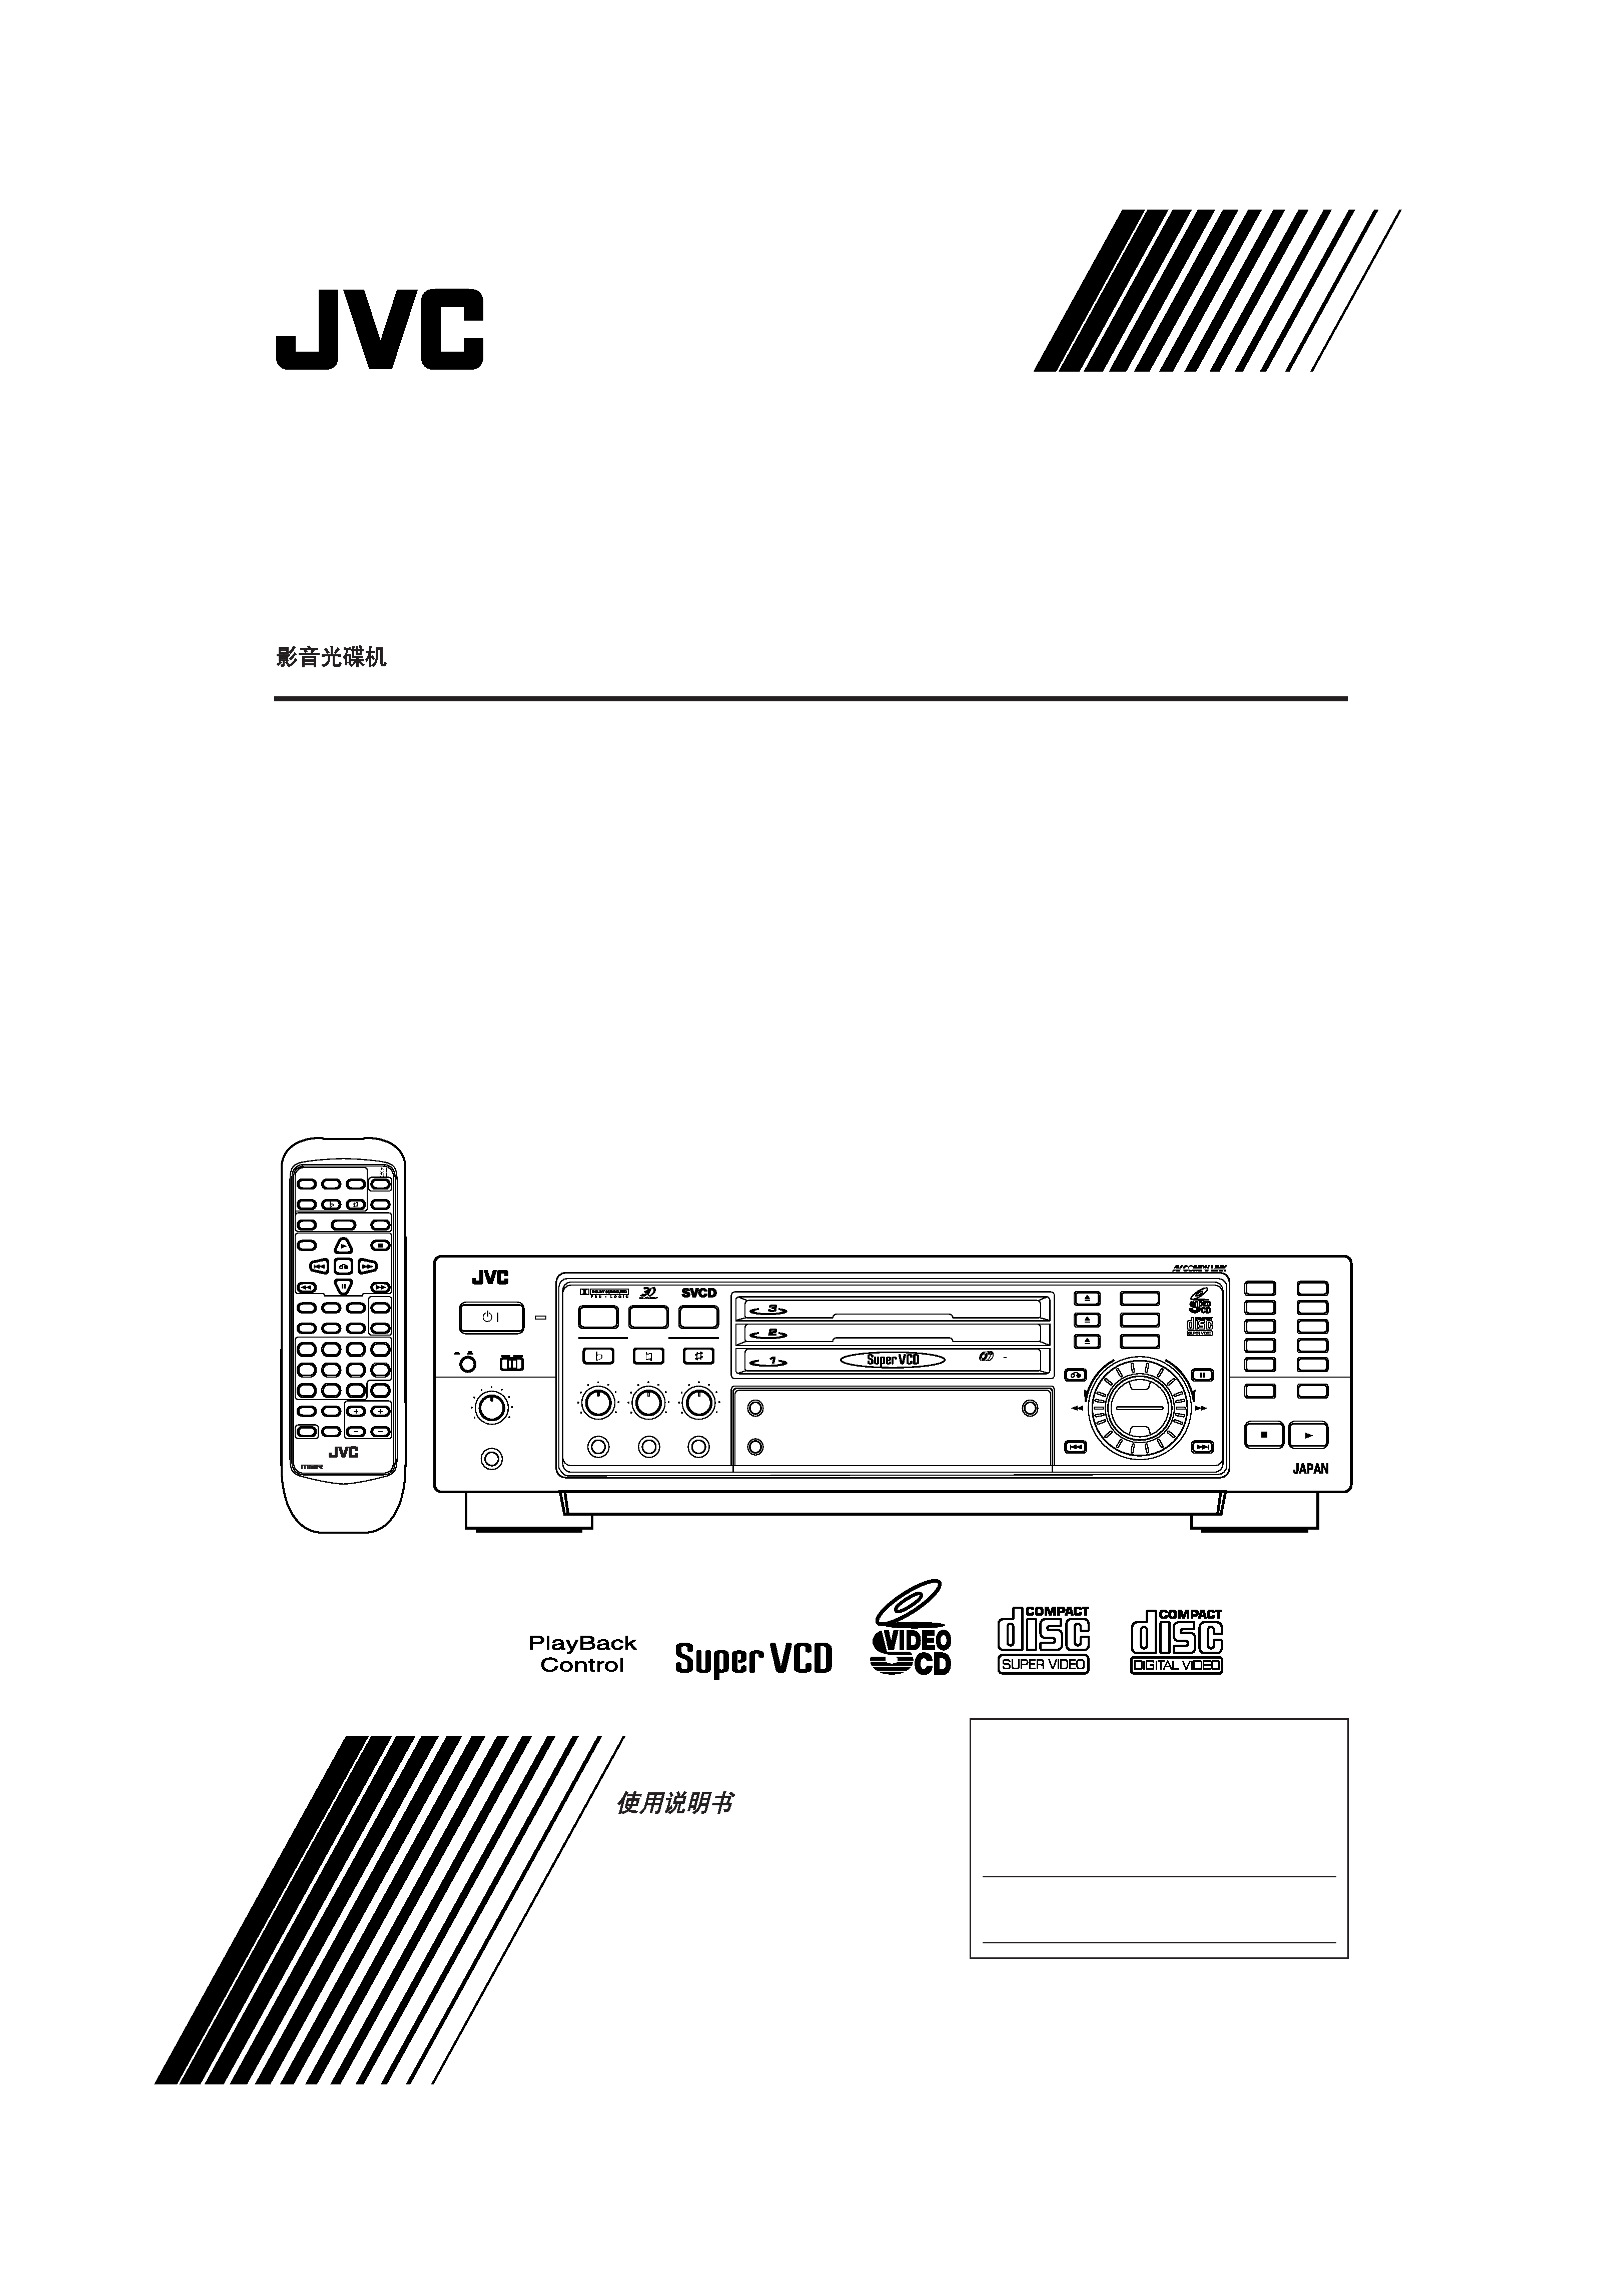
XL-MV777GD/XL-MV757TN
LVT0194-001B [U, US]
MPX
V.REPLACE
CD1
CD2
CD3
KEY CONTROL
SELECT
SLOW
ON SCREEN
V.EFFECT
DOLBY
SURROUND
VCD
TV
MULTI BRAND REMOTE CONTROL
RM-SXLMV777U
/
/
RANDOM PROGRAM
CANCEL
B.MARK
1234
5678
9
10
+10
SHIFT
TV/VIDEO
REPEAT
SUBTITLE
TV ch
TV VOL
ATIME
VIDEO
INTRO
HIGHLIGHT B.DIGEST B.SEARCH
STANDBY/ON
STANDBY
VIDEO CD PLAYER
MIN
MAX
MIC 1
MIN
ON
OFF
NORMAL PBC OFF
MAX
DIGITAL ECHO
PHONES
MIN
MAX
MIC 2
MIN
MAX
MIC 3
VIDEO INTRO
/
POWER
BOOK DIGEST
RETURN
SUBTITLE
VOCAL
EFFECT
DOWN
DOLBY
SURROUND
NORMAL
KEY CONTROL
MPX
UP
PREV
STILL
NEXT
CD
3
CD
CD
CD
1
2
3
4
5
6
7
8
9
10
PROGRAM
+10
CD
2
CD
1
BOOKMARK
B.SEARCH
SELECT
DESIGNED BY JVC
DESIGNED BY JVC
CD
3
PLAY & EXCHANGE
XL-MV777GD/XL-MV757TN
INSTRUCTIONS
For Customer Use:
Enter below the Model No. and Serial No.
which are located either on the rear, bottom or
side of the cabinet. Retain this information for
future reference.
Model No.
Serial No.
LVT0194-001B
[U, US]
VIDEO CD PLAYER
'
XL-MV777GD/XL-MV757TN
LVT0194-001B [U, US]
G-1
Warnings, Cautions and Others / Avisos, precauciones y otras notas /
Advertêcias, precauções e outras notas /
CAUTION
To reduce the risk of electrical shocks, fire, etc.:
1.
Do not remove screws, covers or cabinet.
2.
Do not expose this appliance to rain or moisture.
PRECAUCIÓN
Para reducir riesgos de choques eléctricos, incendio, etc.:
1.
No extraiga los tornillos, los cubiertas ni la caja.
2.
No exponga este aparato a la lluvia o a la humedad.
ATENÇÃO
Para reduzir riscos de choques eléctricos, incêndio, etc.:
1.
Não retire parafusos nem desmonte as tampas ou o
gabinete.
2.
Não exponha este aparelho à chuva nem à umidade.
Caution POWER switch and STANDBY/ON
button!
This apparatus is provided with a POWER switch to be able to minimize power consumption for safe use. Therefore,
1.
When doing initial setting, complete all the connections required, connect the mains plug into the wall outlet, and set the POWER switch
to ON. After these, it will be available to operate STANDBY/ON
button and so on.
2.
When not in use, set the POWER switch to OFF.
3.
Disconnect the mains plug to shut the power off completely. The POWER switch and STANDBY/ON
button in any position do not
disconnect the mains line.
4.
The power can be remote controlled.
Precaución Interruptor POWER y botón STANDBY/ON
!
Esta unidad dispone de un interruptor POWER que sirve para reducir al mínimo el consumo de alimentación para proporcionar mayor
seguridad operacional. Por lo tanto,
1.
Al ejecutar el ajuste inicial, después de completar todas las conexiones requeridas, conectar el cable de alimentación a una toma de pared,
y activar el interruptor POWER. Entonces, será posible ejecutar operaciones tales como la conmutación del estado de alimentación.
2.
Desactivar el interruptor POWER al dejar la unidad fuera de uso.
3.
Desconectar el cable de alimentación para desactivar la alimentación totalmente. Cualquier que sea la posición de ajustes del
interruptor POWER y el botón STANDBY/ON
, la alimentación no es cortada completamente.
4.
La alimentación puede ser controlada remotamente.
Precaução Interruptor POWER e botão STANDBY/ON
!
Este aparelho dispõe de um interruptor POWER que possibilita reduzir ao mínimo o seu consumo de energia por medida de segurança. Assim,
1.
Nos ajustes iniciais, efetue todas as conexões necessárias, ligue o plugue de alimentação à tomada e coloque o interruptor POWER em
ON. Feito isso, será possível operar o botão STANDBY/ON
e as diversas funções.
2.
Quando não utilizar o aparelho, coloque o interruptor POWER em OFF.
3.
Remova o plugue de alimentação da tomada para desligar o aparelho completamente. O interruptor POWER e o botão STANDBY/
ON
, em qualquer de suas posições, não desligam a alimentação do aparelho.
4.
É possível controlar remotamente a função do interruptor POWER.
XL-MV777GD/XL-MV757TN
LVT0194-001B [U, US]
REPRODUCTION OF LABELS / REPRODUCCIÓN DE ETIQUETAS / REPRODUÇÃO DE ETIQUETAS
/
IMPORTANT FOR LASER PRODUCTS / IMPORTANTE PARA PRODUCTOS LÁSER / IMPOTANTE
PARA PRODUTOS LASER /
/
1
CLASSIFICATION LABEL, PLACED ON REAR ENCLO-
SURE
1
ETIQUETA DE CLASIFICACIÓN, PEGADA EN LA PARTE
POSTERIOR DE LA CAJA
1
ETIQUETA DE CLASSIFICAÇÃO LOCALIZADA NA PARTE
POSTERIOR DA CAIXA DO APARELHO.
2
WARNING LABEL, PLACED INSIDE THE UNIT
2
ETIQUETA DE ADVERTENCIA, PEGADA EN EL INTE-
RIOR DE LA UNIDAD
2
ETIQUETA DE ADVERTÊNCIA LOCALIZADA NA PARTE
INTERNA DA UNIDADE.
CLASS
1
LASER
PRODUCT
1.
CLASS 1 LASER PRODUCT
2.
DANGER: Invisible laser radiation when open and interlock
failed or defeated. Avoid direct exposure to beam.
3.
CAUTION: Do not open the top cover. There are no user
serviceable parts inside the Unit; leave all servicing to quali-
fied service personnel.
1.
PRODUCTO LÁSER CLASE 1
2.
PELIGRO: En el interior hay radiación láser invisible. Evite el
contacto directo con el haz.
3.
PRECAUCIÓN: No abra la tapa superior. En el interior de la
unidad no existen piezas reparables por el usuario; deje todo
servicio técnico en manos de personal calificado.
1.
PRODUTO LASER CLASSE 1
2.
PERIGO: O laser emite uma rediação invisível que é perigosa,
caso o aparelho esteja aberto e a trava inoperante ou
danificada. Evite exposição direta ao feixe dos raios.
3.
CUIDADO: Não abra a caixa do aparelho. Não existem
peças reparáveis pelo usuário na parte interna da unidade.
Solicite assistência técnica somente a pessoal técnico
qualificado.
G-2
DANGER: Invisible laser
radiation when open and
interlock failed or defeated.
AVOID DIRECT EXPOSURE
TO BEAM.
(e)
ADVARSEL: Usynlig laser-
stråling ved åbning, når
sikkerhedsafbrydere er ude
af funktion. Undgå udsæt-
telse for stråling
(d)
VARNING: Osynlig laser-
strålning när denna del är
öppnad och spärren är
urkopplad.
Betrakta
ej
strålen.
(s)
VARO: Avattaessa ja suo-
jalukitus ohitettaessa olet
alttiina
näkymättömälle
lasersäteilylle. Älä katso
säteeseen.
(f)
/

Page 1
English
XL-MV777GD/XL-MV757TN
LVT0194-001B [U, US]
We would like to thank you for purchasing one of our JVC products.
Before connecting this unit to the wall outlet, read the instructions
carefully to ensure that you obtain the best possible performance. If
you have any questions, consult your JVC dealer.
Table of contents
GENERAL INFORMATION ...................................................................... 1
Care and handling of compact discs ......................................................... 1
BEFORE USING FOR THE FIRST TIME ................................................. 2
Basic connections ..................................................................................... 2
Connecting the player to a TV or amplifier/receiver using the Audio
Video cable ....................................................................................... 2
Connecting the player to an amplifier/receiver equipped with the
analog discrete inputs ....................................................................... 2
Video out select ................................................................................... 2
Connecting the AV COMPU LINK cable .............................................. 3
Connecting the power cord .................................................................. 3
Installing batteries ..................................................................................... 3
Putting batteries in the remote control ................................................. 3
OVERVIEW OF CONTROLS ................................................................... 4
Front panel .......................................................................................... 4
Remote control unit ............................................................................. 5
BASIC OPERATIONS .............................................................................. 6
Now you can play a variety of discs!! ........................................................ 6
Overview of the two play modes .......................................................... 6
Triple disc tray usage .......................................................................... 6
Display window .................................................................................... 6
Preparation for playing ........................................................................ 6
Inserting/removing disc(s) ................................................................... 7
Starting to play disc(s) ......................................................................... 7
Using number keys .............................................................................. 7
Stopping play ....................................................................................... 8
Pausing play ........................................................................................ 8
Skipping the track ................................................................................ 8
Manual search ..................................................................................... 8
Slow-motion playback on the remote control unit ................................ 9
Using stereo headphones .................................................................... 9
Setting TV TYPE ................................................................................. 9
Selecting the Dolby Surround mode .................................................. 10
To adjust the output balance of speakers .......................................... 10
Using the remote control ......................................................................... 11
Presetting the remote control to operate your own TV ...................... 11
Using the SHIFT button on the remote control unit ........................... 11
Preset code table ............................................................................... 12
VARIOUS UNIQUE FUNCTIONS ........................................................... 13
Various functions to enhance your enjoyment ........................................ 13
Display of operations status .............................................................. 13
Programming the track sequence you want ...................................... 13
Canceling a programmed track ......................................................... 13
Clearing a program ............................................................................ 13
Repeating tracks ................................................................................ 14
Randomly playing tracks ................................................................... 14
Playing back a track from the desired time ........................................ 14
Playing a multiplex sound CD ............................................................ 15
Viewing the VIDEO INTRO ................................................................ 15
Programming during VIDEO INTRO .................................................. 15
Viewing the highlights ........................................................................ 16
Playback with the Bookmark function ..................................................... 17
Marking segments for later viewing with the Bookmark function ......... 17
Using the BOOK DIGEST button ....................................................... 17
Using the B. SEARCH button ............................................................ 17
Canceling individual bookmarks ........................................................ 18
Canceling all bookmarks on individual discs ..................................... 18
Using a microphone ................................................................................ 19
Using a wired microphone ................................................................. 19
Adjusting music key ........................................................................... 19
Adjusting echo effect ......................................................................... 19
Vocal replace ..................................................................................... 20
Vocal effect ........................................................................................ 20
OPERATION OF PLAYBACK CONTROL FUNCTION ......................... 21
Playing Video CDs and SVCDs with Playback Control function ............. 21
Video CDs and SVCDs with Playback Control function .................... 22
RESTRICTING USE OF YOUR DISCS .................................................. 23
Locking a disc with the Read-Protect function ........................................ 23
Locking a disc .................................................................................... 23
Canceling Read-Protect .................................................................... 23
Releasing the Read-Protect temporarily ............................................ 23
DIGITAL AUDIO CDs ............................................................................. 24
Playing Digital Audio CDs ....................................................................... 24
Playing Digital Audio CDs .................................................................. 24
Unavailable functions for Audio CDs ................................................. 24
AV COMPU LINK REMOTE CONTROL SYSTEM ................................ 25
AV COMPU LINK remote control system ............................................... 25
Connection and setup ........................................................................ 25
Operation ........................................................................................... 25
SPECIFICATIONS .................................................................................. 26
Main specifications .................................................................................. 26
TROUBLESHOOTING ........................................................................... 27
Troubleshooting ...................................................................................... 27
Page 1
English
XL-MV777GD/XL-MV757TN
LVT0194-001B [U, US]
How to handle CDs
When handling a compact disc, do not touch the surface of the disc
(reflective silver side the side without the label).
Since compact discs are made of plastic, they are easily damaged. If
a disc gets dirty, dusty, scratched or warped, the sound will not be
picked up correctly and, in addition, such a disc may cause the CD
player to malfunction.
Which compact discs can be used?
Many types of compact discs are sold for a variety of uses. The player
can play the following compact discs:
·
SVCD (Super VCD) discs
* Better video resolution using MPEG2 and VBR
(Variable Bit Rate) technologies.
* Up to four languages can be included as subtitles
or song lyrics.
* Up to four languages can be included as audio.
·
Video CD discs both with and without PBC
function
·
Audio CD discs
Discs you can't play back
Any other discs than listed above (such as CD-ROM, DVD or CD-I
discs) cannot be played. Playing back such discs may generate noise
and damage your speakers.
* Even though a logo listed above is printed on the disc, it may not be
played if it is a non-standard disc.
Using the remote control
The remote control is ready to use when its batteries are installed
properly.
To use it, point its infrared light-emitting window toward the display
window of the player and press a button. The operating range of the
remote control is up to about seven meters in front of the player and
within about 30 degrees to each side with nothing between the
remote control and the player interrupting the beam path.
If pressing a button on the remote control does not produce any
response, check to make sure it is pointed correctly and try again. If it
still does not function, check the batteries.
Care and handling of
compact discs
GENERAL INFORMATION
Care of the label side
Do not damage the label side, stick paper to, or use any adhesive on
its surface.
Storage
Make sure that discs are kept in their cases. If discs are piled one on
top of another without their protective cases, they can be damaged. Do
not put discs in a location where they may be exposed to direct sunlight,
or in a place where the humidity or temperature is high. Avoid leaving
discs in your car!
Maintenance of discs
If there are fingerprints or dirt adhering to a disc, wipe it with a soft dry
cloth, moving from the center outwards.
If a disc is difficult to clean, wipe with a cloth moistened with water.
Never use record cleaners, petrol, alcohol or any anti-static agents.
CAUTION
Sometimes during play noise or images may be garbled. This is
sometimes due to the disc. (It may not be up to industry standards.)
These symptom are caused by the discs, not by the malfunction of
the player.
'
PlayBack
Control