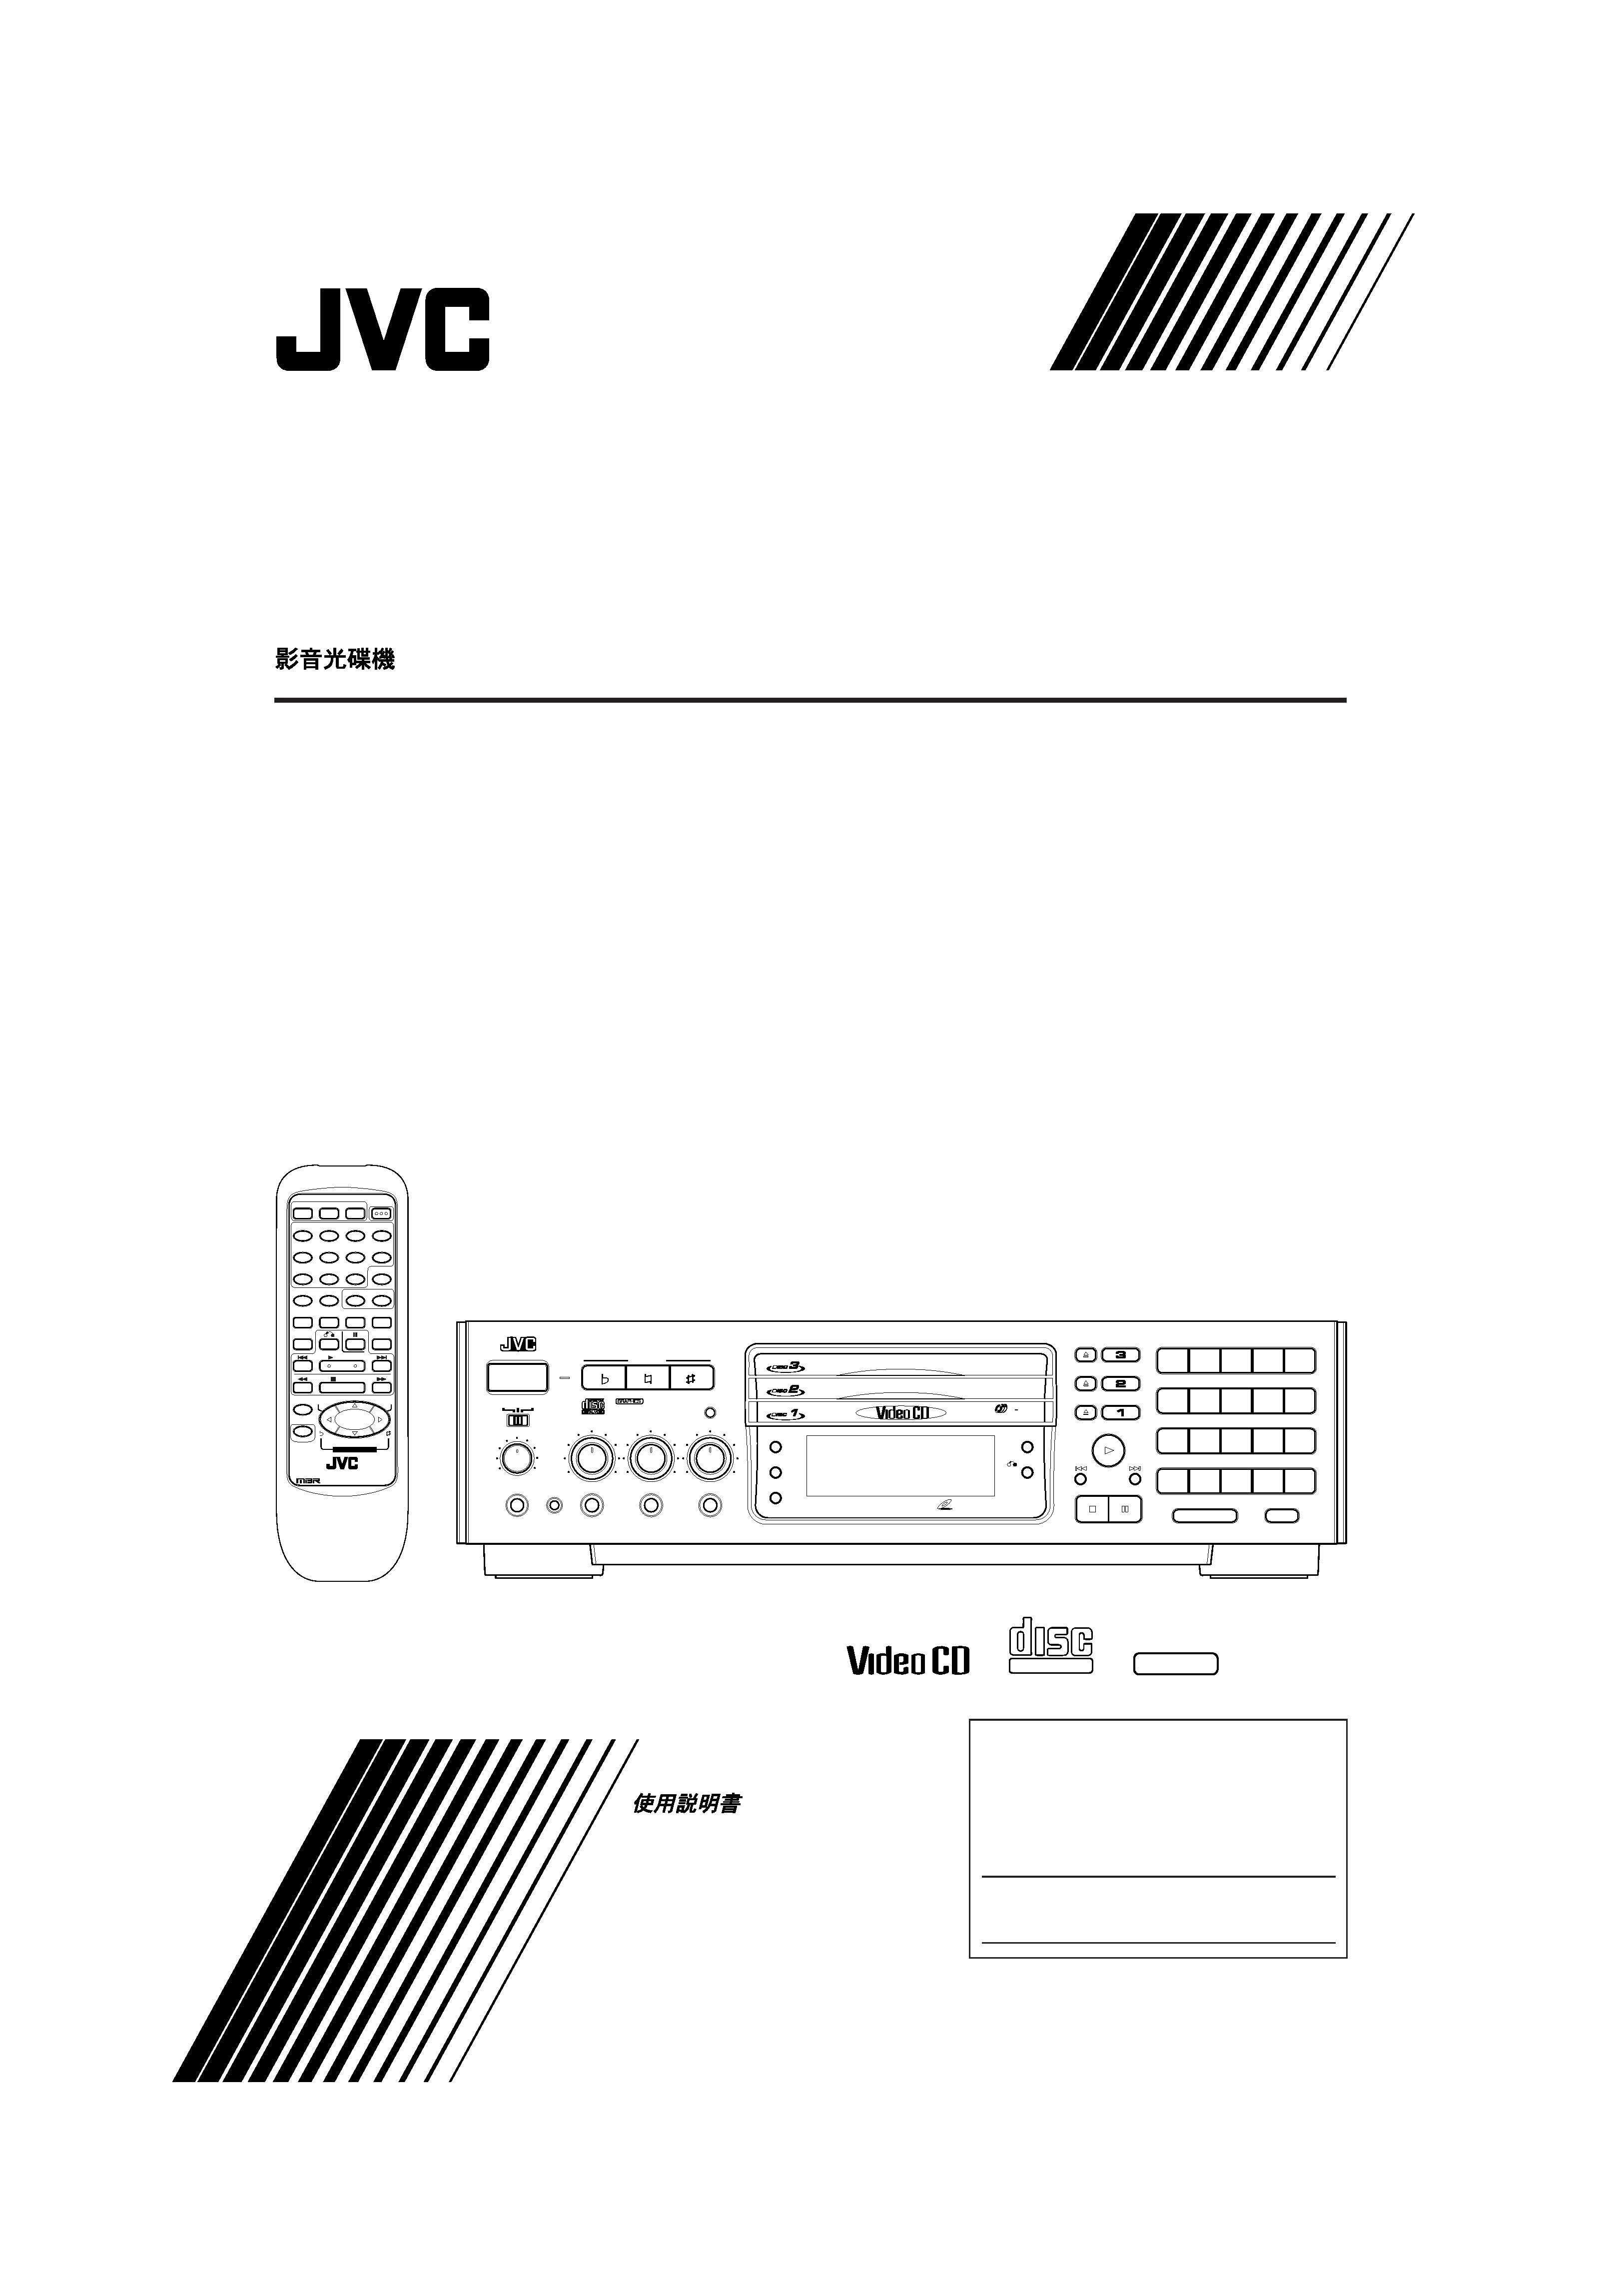
XL-MV558GD
INSTRUCTIONS
For Customer Use:
Enter below the Model No. and Serial No.
which are located either on the rear, bottom or
side of the cabinet. Retain this information for
the future reference.
Model No.
Serial No.
LET0089-001A
[UF]
GRAPHICS
'
PlayBack
Control
VIDEO CD PLAYER
'
COMPACT
DIGITAL VIDEO
MULTI BRAND REMOTE CONTROL
RM-SXMV558U
VCD POWER
TV POWER
DISC 1
DISC 2
DISC 3
VIDEO
INTRO
HIGHLIGHT
REPEAT
SURROUND
RANDOM
B.MARK
SELECT
1
2
3
4
5
6
7
8
9
10
+10
ON SCREEN
PROGRAM
CANCEL
V.REPLACE
MPX
TV/VIDEO
TV VOL+
TV VOL
SHIFT
STOP
TV
PROG
TV
PROG
+
KEY CONTROL
STILL
NEXT
SELECT
PREV
VIDEO CD VERSION 2.0
VIDEO CD VERSION 2.0
DESIGNED BY JVC
DESIGNED BY JVC
JAPAN
POWER
KEY CONTROL
STANDBY
NORMAL
MIN
MAX
DIGITAL ECHO
PHONES
KEY CONTROL
PBC OFF
KARAOKE
XL-MV558
VIDEO CD PLAYER
ON/STANDBY
MIN
MAX
MIC 1
MIN
MAX
MIC 2
MIN
MAX
MIC 3
WIRELESS MIC
PlayBack Control
VIDEO
INTRO
RETURN
NTSC/PAL COMPATIBILITY
DISC
3
TRIPLE TRAY
VIDEO CD
123
4
5
678
9
10
11
12
13
14
15
16
17
18
19
20
+20
PROGRAM
BOOKMARK
SURROUND
REPLACE
VOCAL
DOWN
NORMAL
UP
XL-MV558GD/Cover
97.8.4, 10:00
1
Warnings
IMPORTANT for the U.K.
DO NOT cut off the plug for this equipment. If the plug fitted is
not suitable for the power points in your home or the cable is too
short to reach a power point, then obtain an appropriate safety-
approved extension lead or consult your dealer.
BE SURE to replace the fuse only with an identical approved
type, as originally fitted.
If nontheless the plug is cut off, remove the fuse and dispose of
the plug immediately, to avoid a possible shock hazard by
inadvertent connection to the power supply.
If this product is not supplied fitted with a plug then follow the
instructions given below:
IMPORTANT.
DO NOT make any connection to the terminal which is marked
with the letter E or by a safety ground symbol or coloured green
or green/yellow.
The wires in the lead on this product are coloured in accordance
with the following codes:
Blue :
Neutral
Brown :
Live
As these colours may not correspond with the coloured markings
identifying the terminals in your plug proceed as follows:
The wire which is coloured blue must be connected to the
terminal which is marked with the letter N or coloured black.
The wire which is coloured brown must be connected to the
terminal which is marked with the letter L or coloured red.
IF IN DOUBT - CONSULT A COMPETENT ELECTRICIAN.
Caution POWER switch!
Disconnect the plug to shut the power off completely. The POWER
switch in any position does not disconnect the unit from the power
source. The power can be remote controlled.
CAUTION
To reduce the risk of electrical shock, fire, etc.:
1.
Do not remove screws, covers or any parts.
2.
Do not expose this appliance to rain or moisture.
G-1
XL-MV558GD/Safety
97.8.4, 9:53
2
1.
CLASS 1 LASER PRODUCT
2.
DANGER: Invisible laser radiation when open and interlock failed or
defeated. Avoid direct exposure to beam.
3.
CAUTION: Do not open the top cover. There are no user service-
able parts inside the Unit; leave all servicing to qualified service
personnel.
LABELS
IMPORTANT FOR LASER PRODUCTS
2
WARNING LABEL PLACED INSIDE THE UNIT
1
CLASSIFICATION LABEL PLACED ON REAR ENCLOSURE
CLASS
1
LASER
PRODUCT
G-2
DANGER: Invisible laser
radiation when open and
interlock failed or defeated.
AVOID DIRECT EXPOSURE
TO BEAM.
(e)
ADVARSEL: Usynlig laser-
stråling ved åbning, når
sikkerhedsafbrydere er ude
af funktion. Undgå udsæt-
telse for stråling
(d)
VARNING: Osynlig laser-
strålning när denna del är
öppnad och spärren är
urkopplad.
Betrakta
ej
strålen.
(s)
VARO: Avattaessa ja suo-
jalukitus ohitettaessa olet
alttiina
näkymättömälle
lasersäteilylle. Älä katso
säteeseen.
(f)
XL-MV558GD/Safety
97.8.4, 9:53
3
Page 1
English
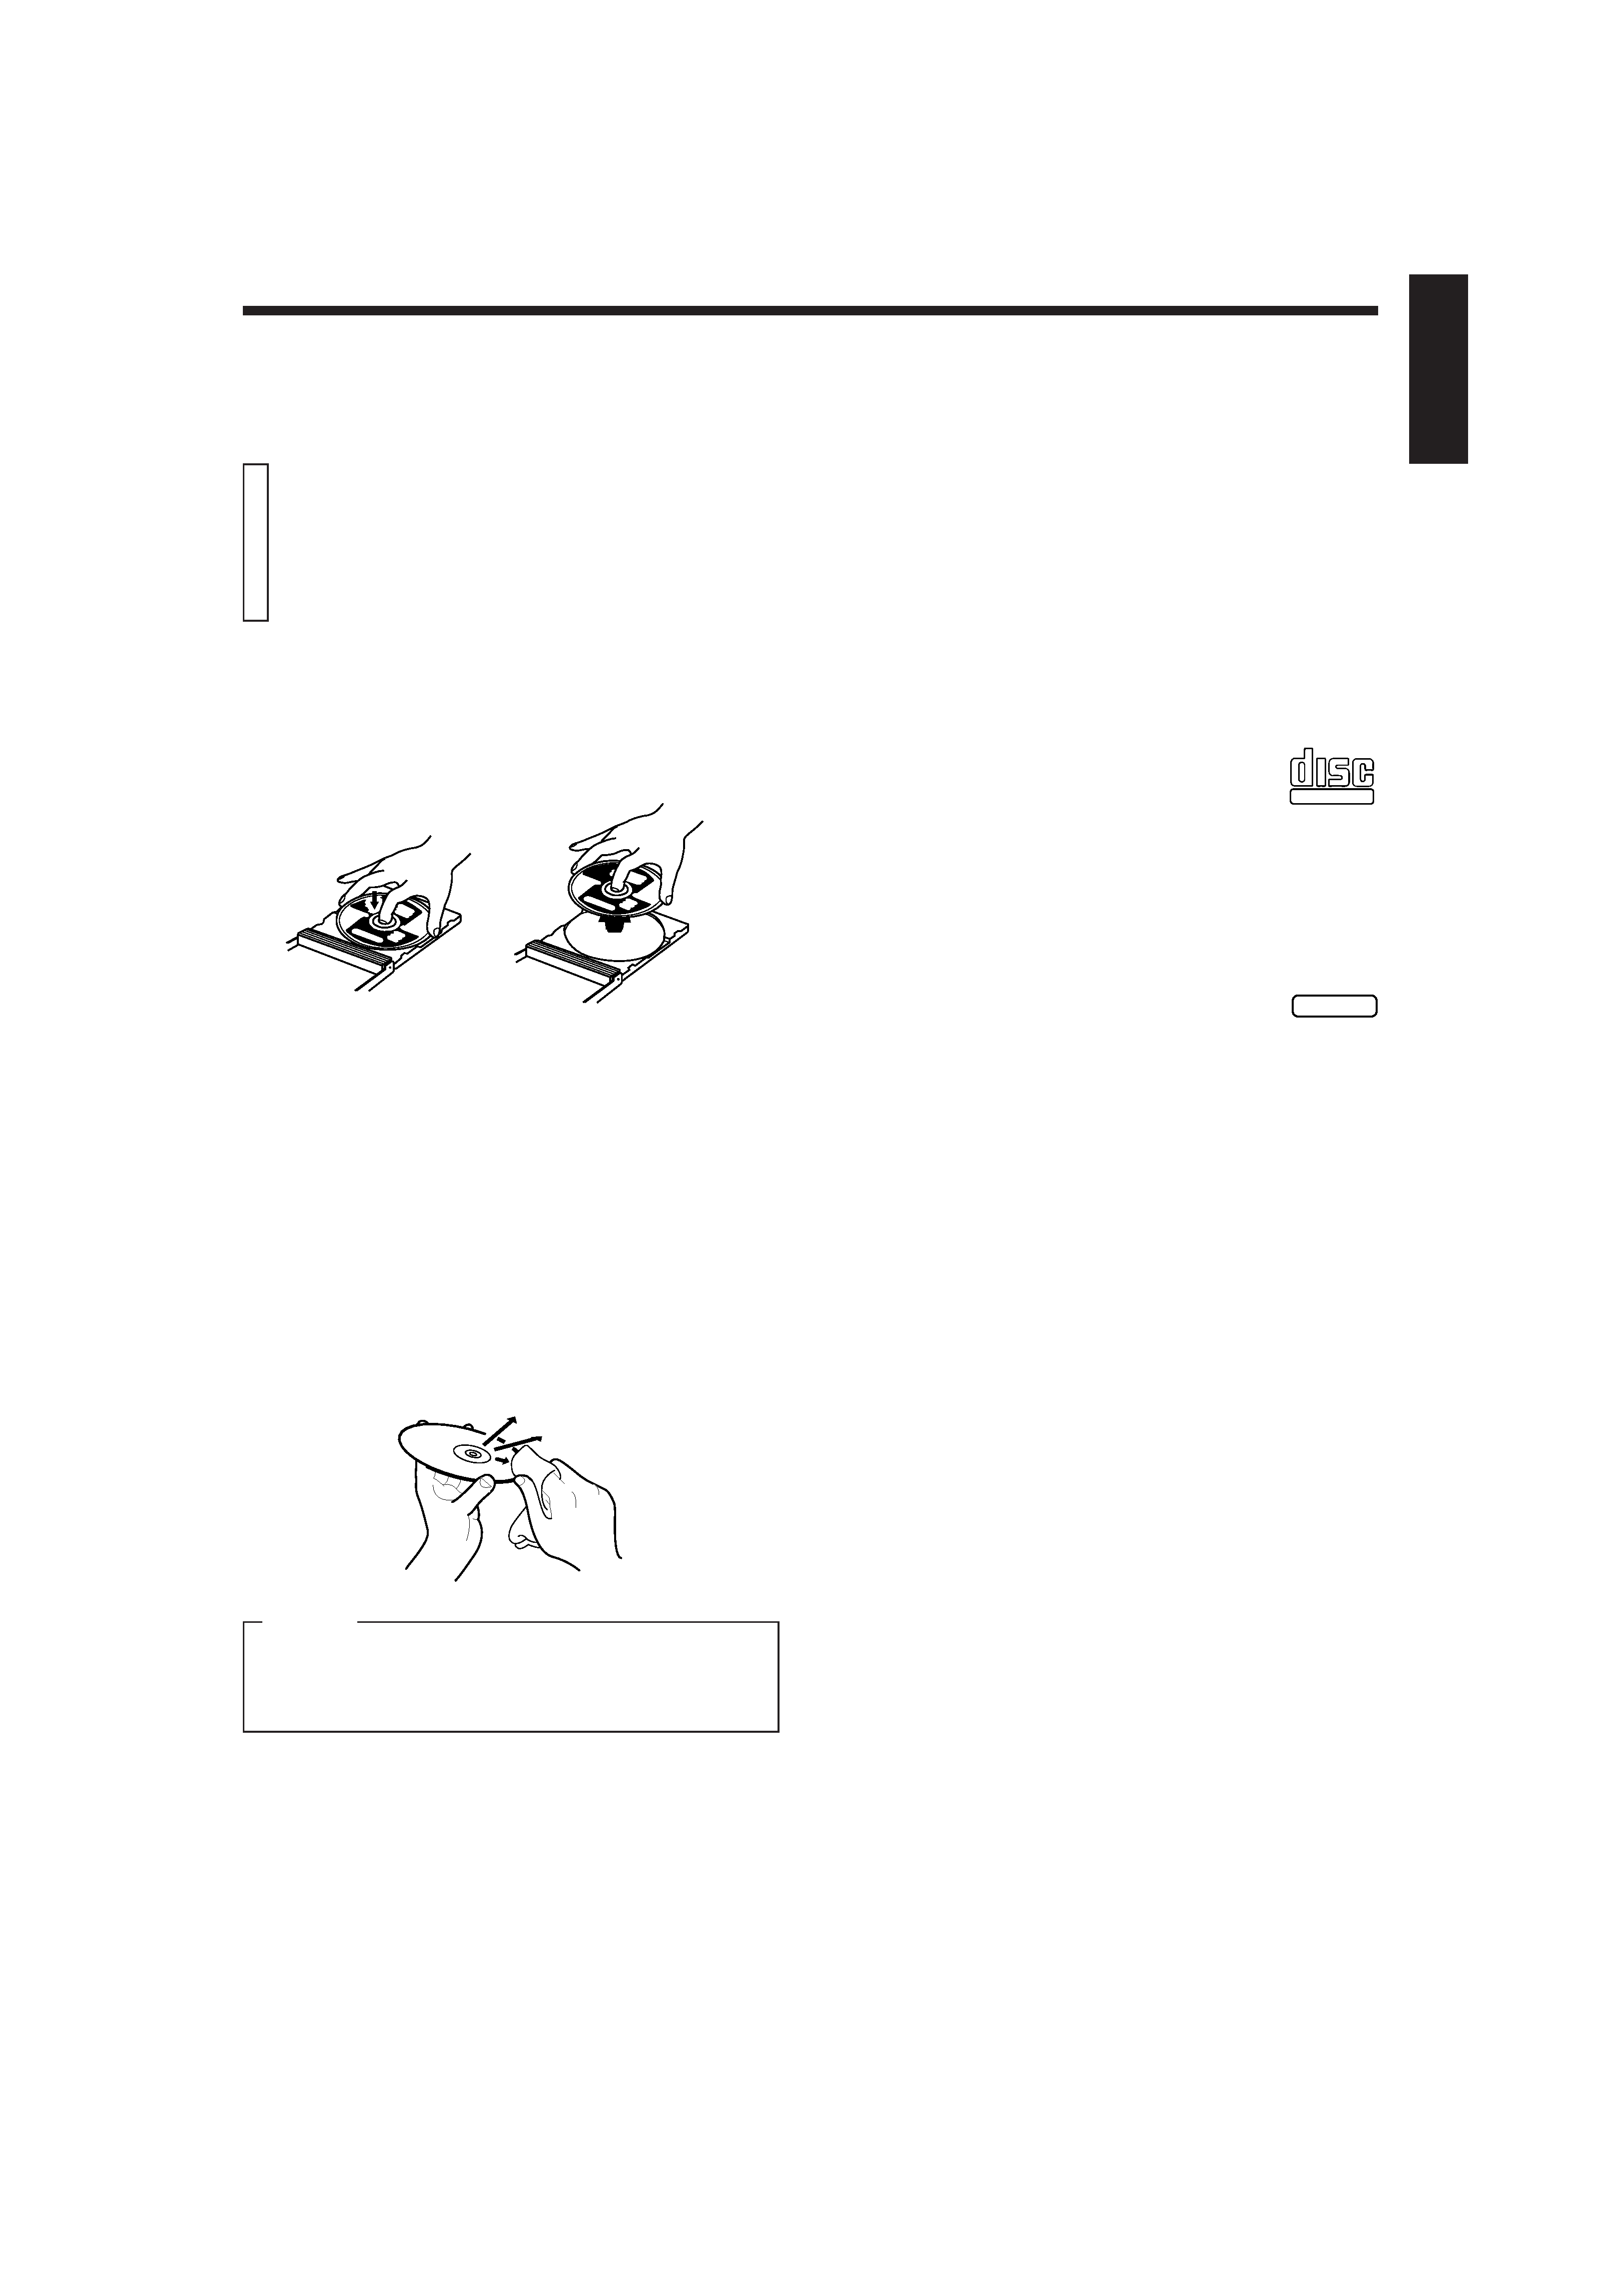
How to handle CDs
When handling a compact disc, do not touch the surface of the disc
(reflective silver side the side without the label).
Since compact discs are made of plastic, they are easily damaged. If
a disc gets dirty, dusty, scratched or warped, the sound will not be
picked up correctly and, in addition, such a disc may cause the CD
player to malfunction.
Which compact discs can be used?
Many types of compact discs are sold for a variety of uses. The Video
CD Player can play the following compact discs:
·
Video CD
for audio and video (moving picture) reproduction,
including multiplex sound.
·
Video CD with Playback Control function
featuring menu-type operation and super-fine still
pictures for audio and video (moving picture) re-
production, including multiplex sound.
·
CD Graphics (CD-G)
for audio and video (still picture) reproduction,
including multiplex sound.
·
Digital Audio CD, including single discs
for audio reproduction.
CDs you can't play back
Do not play back CD-ROMs, DVDs, or CD-is on this equipment. Doing
so may generate a noise which can damage your speakers.
Using the remote control
The remote control is ready to use when its batteries are installed
properly.
To use it, point its infrared light-emitting window toward the display
window of the player and press a button. The operating range of the
remote control is up to about seven meters in front of the player and
within about 30 degrees to each side with nothing between the
remote control and the player interrupting the beam path.
If pressing a button on the remote control does not produce any
response, check to make sure it is pointed correctly and try again. If it
still does not function, check the batteries.
Care and handling of
compact discs
GENERAL INFORMATION
Even on label side
Do not damage the label side, stick paper to or use any adhesive on
its surface.
Storage
Make sure that discs are kept in their cases. If discs are piled one on
top of another without their protective cases, they can be damaged. Do
not put discs in a location where they may be exposed to direct sunlight,
or in a place where the humidity or temperature is high. Avoid leaving
discs in your car!
Maintenance of discs
If there are fingerprints or other dirt adhering to a disc, wipe it with a soft
dry cloth, moving from the center outwards.
If a disc is difficult to clean, wipe with a cloth moistened with water.
Never use record cleaners, petrol, alcohol or any anti-static agents.
CAUTION
Sometimes during play noise or images may be garbled. This is
sometimes due to the disc. (It may not be up to industry standards.)
These symptom are caused by the discs, not by the malfunction of
the Player.
GRAPHICS
'
'
PlayBack
Control
COMPACT
DIGITAL VIDEO
XL-MV558GD
97.8.4, 9:37
1
Page 2
The Video CD Player must be connected directly to a television set or
an amplifier that is connected to a television or monitor. The television
set or the amplifier must have audio input jacks for right and left
channels and a video input jack.
Select a level, dry location free of dust and vibration, and having a
temperature maintained between 5 and 35°C (41 and 95°F).
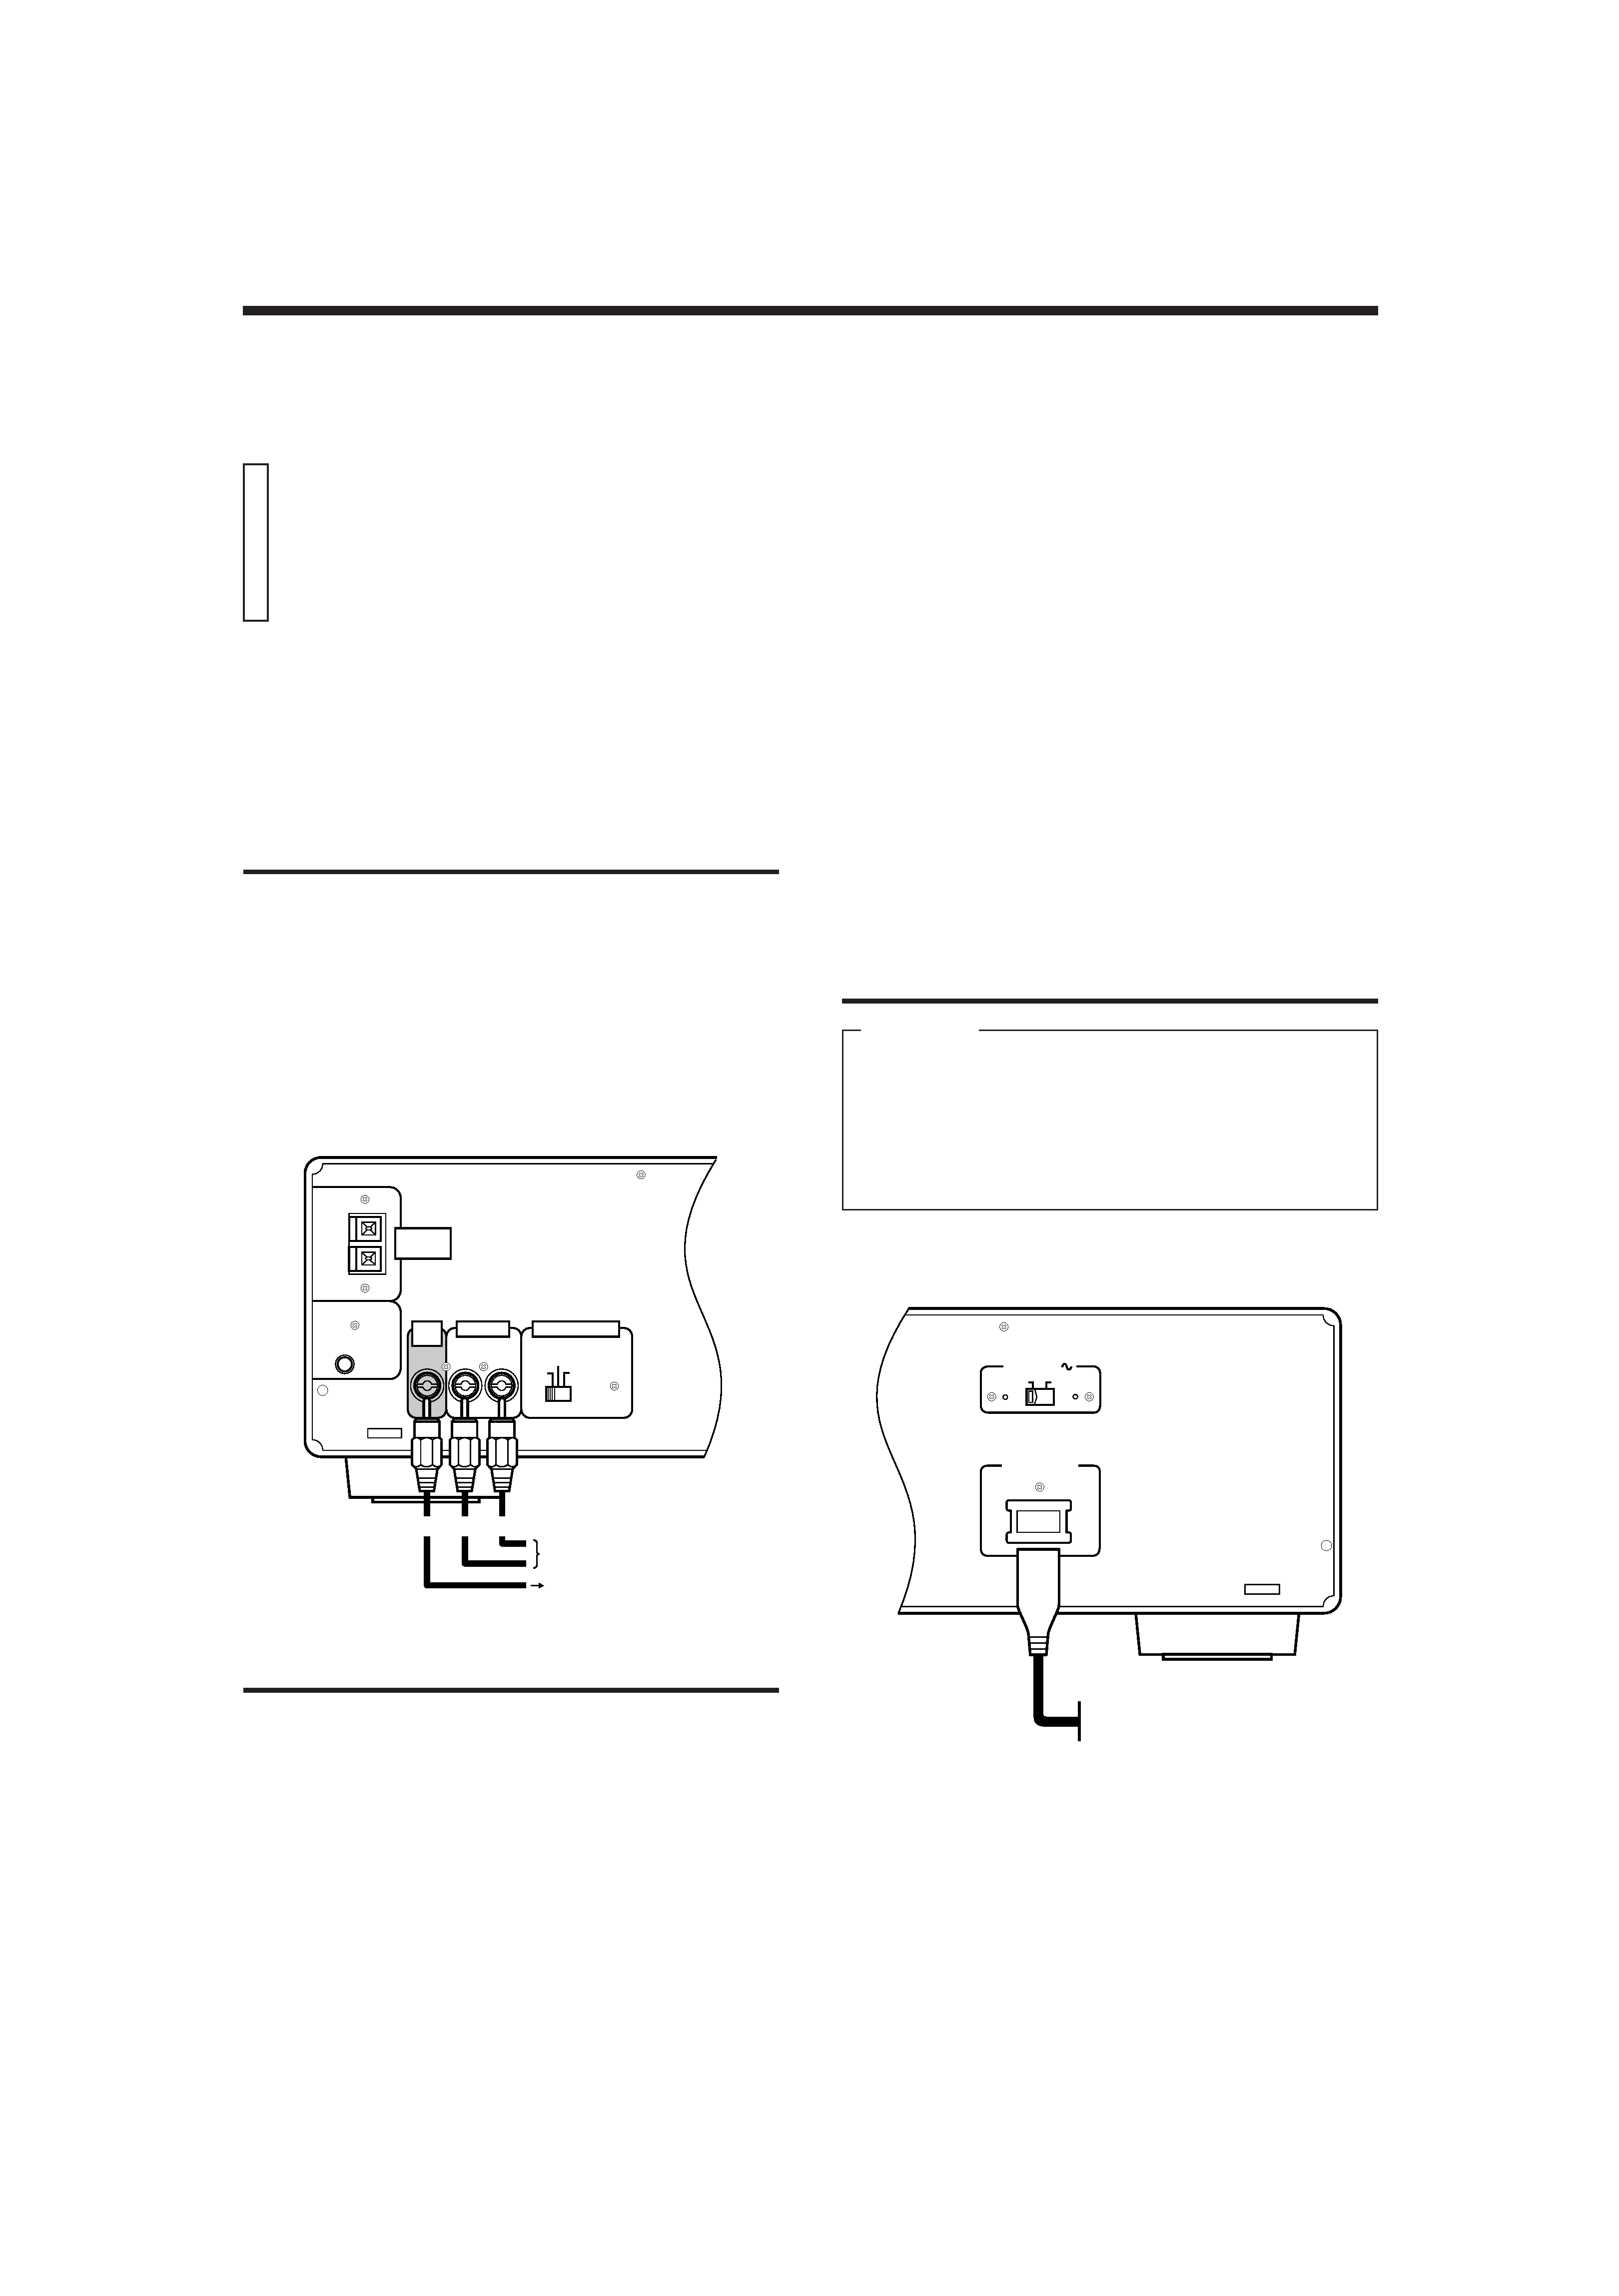
Connecting player to a TV or amplifier
using the Audio Video cord
First connect the Audio Video cord -- before connecting the AC power
cord.
Firmly insert the yellow pin plug of the Audio Video cord in the yellow
VIDEO OUT jack on the rear panel of the player; the red pin plug in the
red AUDIO OUT (RIGHT) jack; and the white pin plug in the white
AUDIO OUT (LEFT) jack. (The RIGHT and LEFT output jacks are for
the right and left audio channels.)
Then make sure that the television, amplifier or receiver is turned off,
disconnect the AC power cord and firmly insert the pin plugs at the
other end of the Audio Video cord into the matching video and audio
INPUT jacks.
BEFORE USING FOR THE FIRST TIME
Basic Connections
Notes
·
When you play a NTSC disc in PAL AUTO mode on a PAL exclusive
TV, the image may get distorted.
(If the signal doesn't synchronize.)
In this case, reselect the mode to "PAL".
·
Select the mode before you play the disc. If you change the mode
during play, images may get distorted. In this situation stop the
player and reset the mode.
·
When you play a NTSC disc in PAL AUTO mode on a Multi system
TV, the image may blink for a moment. This symptom is caused by
the Player detecting the format of the disc and not caused by a
malfunction of the Player.
Connecting the power cord
IMPORTANT
Check the setting of the LINE VOLTS switch on the rear panel of the
player. Change the setting if the switch is not set for the main voltage
supplied to your home.
With the LINE VOLTAGE switch correctly set and the audio-video
connectors connected, insert the smaller plug of the power cord
firmly into the AC POWER CORD socket on the rear panel of the
player.
When the power cord is connected, the STANDBY indicator on the
left-hand side of the player's front panel comes on. [See "Overview
of controls" for a description of the controls on the player.]
VIDEO
OUT
AUDIO OUT
VIDEO OUT SELECT
RIGHT
LEFT
PAL
NTSC
PAL AUTO
(Yellow) (Red) (White)
To input audio jack of
the television/amplifier/
receiver
Audio Video cord
To input video jack of
the television/amplifier/
receiver
WIRELESS
MIC ANT.
FREQ.
ADJUST
Video out select
Set the VIDEO OUT SELECT switch on the rear panel to NTSC, PAL,
or PAL AUTO mode according to your television system.
NTSC .................... for NTSC exclusive TV
PAL ....................... for PAL exclusive TV
PAL AUTO ............ for Multisystem TV
PAL AUTO is the mode to detect the format of the
disc (NTSC/PAL) automatically and play the im-
age on screen the right way.
Line voltage alteration
What is your power main voltage? Is it between 115 and 127V, or 220
and 240V? If the LINE VOLTS switch on the rear panel of the player is
not set to your power main voltage, disconnect the power cord, if it is
already connected, and change the switch setting accordingly.
LINE VOLTS
220V-240V
115V-127V
AC POWER CORD
Wall outlet
AC power cord
XL-MV558GD
97.8.4, 9:37
2