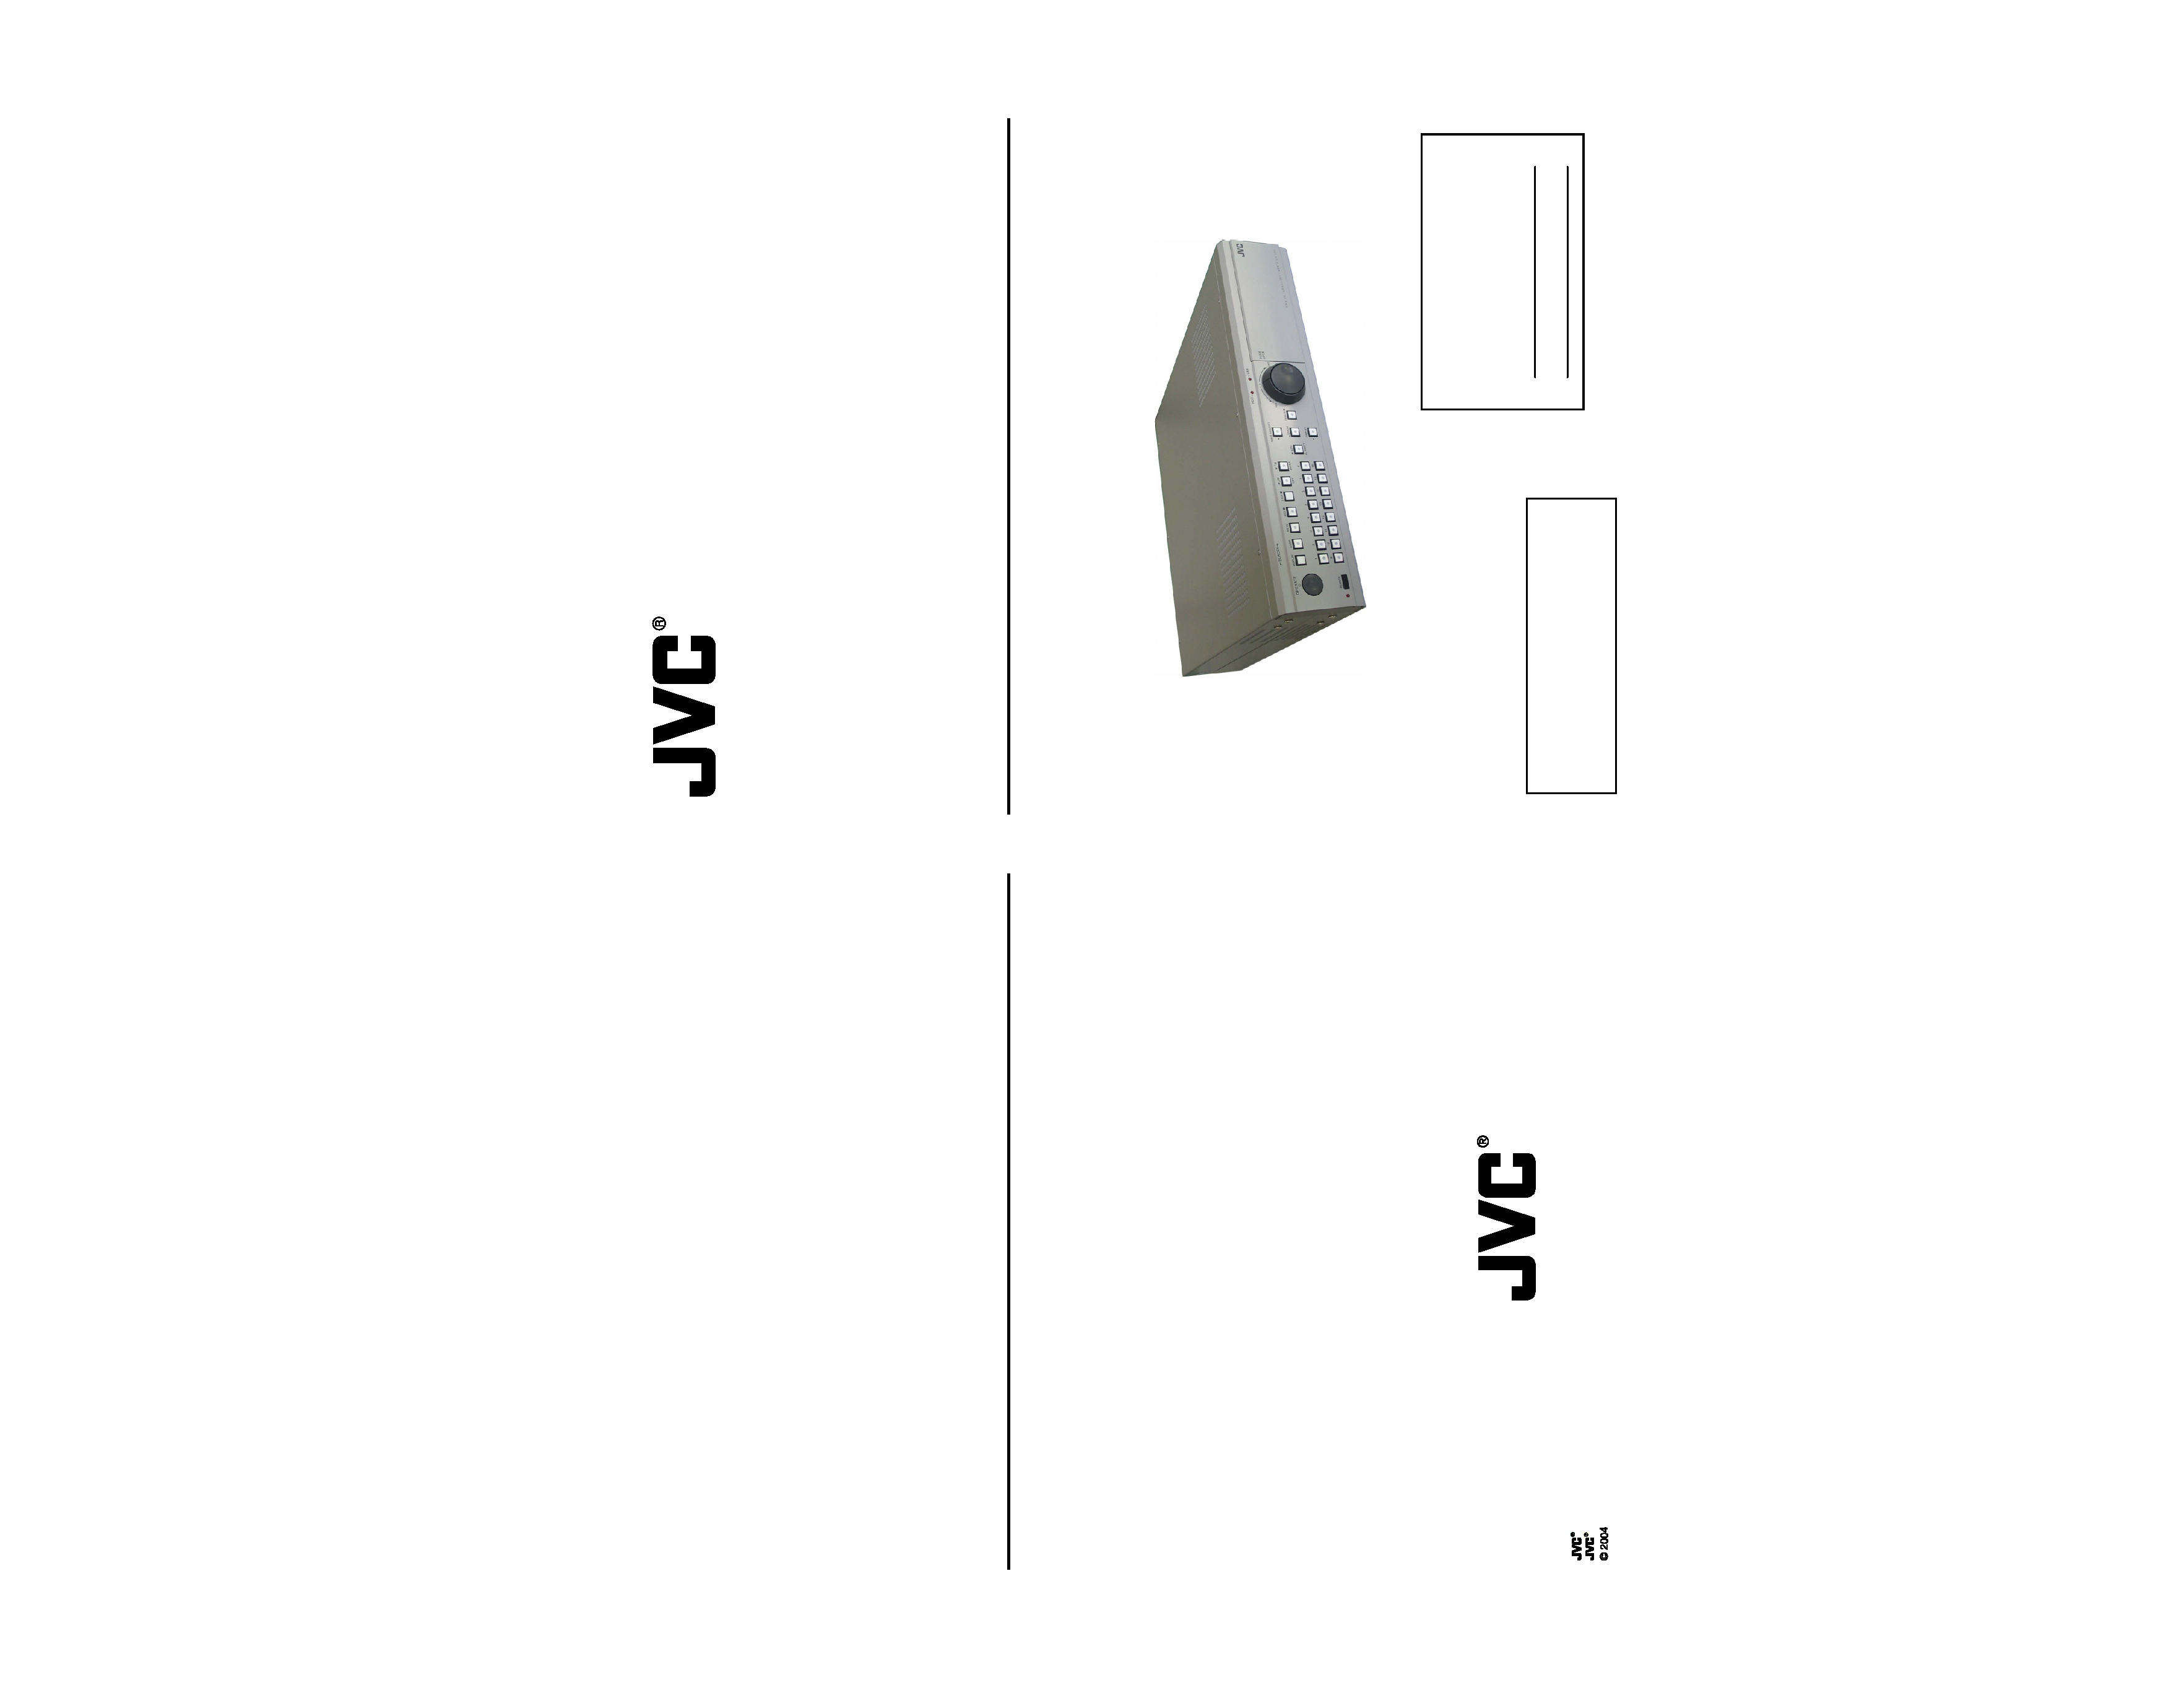
DIGITAL VIDEO RECORDER
VR-616
INSTRUCTIONS
For Customer Use:
Enter below the serial No. which is
located on the bottom of cabinet. Retain
this information for future reference.
Model No:
VR-616
Serial No:
Thank you for purchasing this JVC product.
Before operating this unit, please read the
instructions carefully to ensure the best
possible performance.
VR-616
DIGITAL
VIDEO
RECO
RDER
Printed in Korea
is a registered trademark owned by Victor Company of Japan, Limited
is a registered trademark in Japan, the U.S.A., the U.K. and many other countries.
Victor Company of Japan, Limited

-- 3 --
JVC VR-616
-C O N T E N T S -
1. Im p ort an tSa feguards --------------------------------------------------------------------- 6
2. Part Names and Features ----------------------------------------------------------------- 17
2.1 Basic Organization of DVR System ----------------------------------------------------------------- 17
2.2 Features ----------------------------------------------------------------------------------------- 18
2.3 Preparation of installation -------------------------------------------------------------------------------- 20
2.4Part Name and Description --------------------------------------------------------------------------- 21
3. Explanation and Application --------------------------------------------------------------- 24
3.1 Basic Schematic of the DVR System --------------------------------------------------------------------- 24
3.1.1 B a si c S c h e m a ti c - --- -------------- -------------- -------------- -------------- ---- 2 4
3.2 Bas ic C o nnec t ion s --- ----- -------------- -------------- -------------- -------------- -- 2 5
3.3 Pan/Tilt Camera Connection and Control -------------------------------------------------------- 26
3.3.1 The example of connection with TK-C676 or TK-C655 --------------------------------------- 26
3.3.2 Setting values of TK-C676 or TK-C655 --------------------------------------------------------------- 27
3.4 External Product Connections and Applications ---------------------------------------------- 28
3.4.1 External Product Connection of ALARM INPUT and Application ------------------------------- 28
3.4.2 External Product Connection of ALARM OUTPUT and Application ---------------------------- 29
3.5Installation and Application for Network Interface -------------------------------------------- 30
3.5.1 Connection and Installation for Remote Control ------------------------------------------ 30
3.5.2 How to Setup Static IP -------------------------------------------------------------------------- 30
3.5.3Network Setup --------------------------------------------------------------------------------- 31
3.6 Application of Remote Control Software ------------------------------------------------------------------- 32
3.6.1 Using the "Remote Control Software" ---------------------------------------------------------------- 32
3.6.2 Web Browser ---------------------------------------------------------------------------------- 32
3.6.3 Live Screen Search ----------------------------------------------------------------------------- 33
3.6.4 Playback Screen Search -------------------------------------------------------------------------- 33
3.6.5 Client Software -------------------------------------------------------------------------- 34
4. Function Explanation and Menu Setting
Function Explanation and Menu Setting ------------------------------------------------------ 35
4.1 Front Button Explanation ----------------------------------------------------------------------------- 35
4.1.1 Before Use ---------------------------------------------------------------------------------- 35
4.1.2 Monitor Out --------------------------------------------------------------------------------- 35
-- 4 --
JVC VR-616
4.1.3REC ----------------------------------------------------------------------------------------- 36
4.1.4 PLAY ---------------------------------------------------------------------------------------- 36
4.1.5 Menu Setup ----------------------------------------------------------------------------------- 37
4.1.6 FREEZE -------------------------------------------------------------------------------------- 37
4.1.7 Explanation of Image Sequence and Triplex
-------------------------------------------- 38
5. Main Menu
------------------------------------------------------------------------------------------ 39
5.1 Camera Setup ------------------------------------------------------------------------------------- 40
5.1.1 Camera Control --------------------------------------------------------------------------------- 40
5.1.1.1 Pan/Tilt Camera ----------------------------------------------------------------------------- 40
5.1.1.2 How to Use --------------------------------------------------------------------------------- 41
5.1.2 Camera Details ----------------------------------------------------------------------------- 42
5. 1. 2. 1H ow to Se tu p- ---- -------------- -------------- -------- ----------------------- 42
5. 1. 2. 2C am er a N am e
---- ------- ---------------------------------------------------- 43
5.1.2.3Pan/Tilt Camera Setup --------------------------------------------------------- 43
5. 1. 2. 4 A d j u s t m e n t -------- --------- ------------------ -------------- -------------- --- 4 4
5.1.3Pan/Tilt Model Se lect --------------------------------------------------------- ---- 45
5. 2 R e c o r d i n g S e t u p ---------- - -------------- -------------- -------------- -------------- -- 47
5.2.1 M a nual R e c o rd ing - ---------------------------------------------------------------- 47
5.2.1.1 Recording E vents ------------------------------------------------------------- 48
5.2 .1.2 Qua l i t y - - ------------------------------------------------------------------- 4 8
5.2.2Schedule ---------------------------------------------------------------------------------- 49
5.2.2.1 Explanation of Recording Schedule ------------------------------------------------ 49
5.2.2.2How to Setup
------------------------------------------------------------------------------- 51
5.2.2.3 Audio Recording ----------------------------------------------------------------------------- 53
5.2.2.4Setup Days of theWeek
-------------------------------------------------------- 54
5. 2. 2. 5C opy Sc h edu le ---- -------------- ----- ---------------------------------------- 54
5.2.2.6 Specific Day Schedule --------------------------------------------------------- 55
5.2.3 Alarm Recording ------------------------------------------------------------------------------------ 56
5.2.4 Recording Duration ------------------------------------------------------------------------------------ 59
5. 3A la rm Se tu p - ------------------------------------------------------------- ---------- 6 0
5. 3. 1A l arm N a me -------- ------------------------- --------------- -------------- ------ 6 0
5.3.2 A l a r m Link Setup ----------------------------------------------------------------- 61
5.3.2.1 Alarm ------------------------------------------------------------------------------------- 61
5.3.2.2 Events
------------------------------------------------------------------------------------ 62
5. 3. 2. 3 Al arm Of f -------- -------------------------- -------------- -------------- ----- 6 2
5.3.2.4 Alarm Output Number ---------------------------------------------------------- 62
5. 4 User Defi ne Sc reen ----- -------------------- ----------------------------------------- 63
5.5 Audio Setup --------------------------------------------------------------------------------------- 64
5.6 Menu Setup --------------------------------------------------------------------------------------- 65
5.7 System Setup ------------------------------------------------------------------------------------- 66
5.7.1 System Log ------------------------------------------------------------------------------------ 66
5.7.2 Alarm Log ------------------------------------------------------------------------------------- 68

-- 5 --
JVC VR-616
5. 7. 3 HDD M a n a g e m e n t --- -------------- ------ ----------------------------------------- 68
5.7.4 Backup ----------------------------------------------------------------------------------------------------- 72
5.7.5 Auto Select ------------------------------------------------------------------------------------ 75
5.7.6 Video Output ----------------------------------------------------------------------------------- 76
5.7.7 Administration ---------------------------------------------------------------------------------- 77
5.7.7.1 Network Setup ------------------------------------------------------------------------- 77
5.7.7.2 Date/Time Setup ----------------------------------------------------------------- 79
5. 7. 7. 3 P a s s w o r d --------------------------------------------------------------- ---- 8 0
5. 7. 7. 4W eb Pa ss wo rd ---- -------------- -------------- -------------- --- -------------- 82
5. 7. 7. 5C ov er t C h a n n e l - - -------------- ----------------------------------------------- 83
5. 7. 7. 6M ail No t i fica ti o n ---------------- ---------------------------------------------- 83
5.7.7.7 LockF ront Button --------------------------------------------------------- ---- 85
5.7.7.8 Lock Remote Control ----------------------------------------------------------- 85
5. 7. 8A bo ut Sy st em -------------- -------------------- -------------- -------------- ----- 8 5
5.7.9Default in Setup Menu ------------------------------------------------------------ 86
5.8 Monito r D i s p lay ----------- -------------- -------------- -------------- -------------- --- 8 7
5.9 Playback ----------------------------------------------------------------------------------------- 88
5.10 Power Off ---------------------------------------------------------------------------------------- 90
6. Exter nal Backup ----------- ------------- ------------- ----------- - - ------------------ 9 1
6. 1 Ex t e r n al US B P o rt ---- --- ---------------------- --------------------------------------- 91
6.1.1 Connect with External USB Port ------------------------------------------------------ 91
6.1 . 2 H o w t o B a c k u p -- ---- -------------- -------------- -------------- -------------- ---- 9 1
6.2 External IEEE 1394 Port --------------------------------------------------------------- 92
6.2.1 Connect with IEEE 1394 Port -------------------------------------------------------- 92
6.2.2How to Connect with IEEE 1394 Port -------------------------------------------------- 92
7. Remote Controll e r --------- -- -------------- --------- ------------------------------------- 93
7. 1 O u tlin e -------- -------- ---- ------------- ------------- ------------- ------------- ---- 9 3
7. 2 D e t a ils ------ -- -------- ---- -------- - - - - - ------------- ------------- ------------- ---- 9 4
8.Troubleshooting ----------------------------------------------------------------------------------------- 97
9. Specification ---------------------------------------------------------------------------------------- 98
-- 6 --
JVC VR-616
1. IMPORTANT SAFEGUARDS
1. Read all of these instructions.
2. Save these instructions for later use.
3. All warnings on the product and in the operating instructions should be adhered to.
4. Unplug this appliance system from the wall outlet before cleaning. Do not use liquid cleaners or aerosol
cleaners. Use a damp cloth for cleaning.
5. Do not use attachments not recommended by the appliance manufacturer as they may cause hazards.
6. Do not use this appliance near water " for example, near a bathtub, washbowl, kitchen sink, or laundry tub, in a
wet basement, or near a swimming pool, etc.
9. This appliance should be operated only from the type of power source indicated on the marking label. If you are
not sure of the type of power supplied to your home, consult your dealer or local power company. For appliance
designed to operate from battery power, refer to the operating instructions.
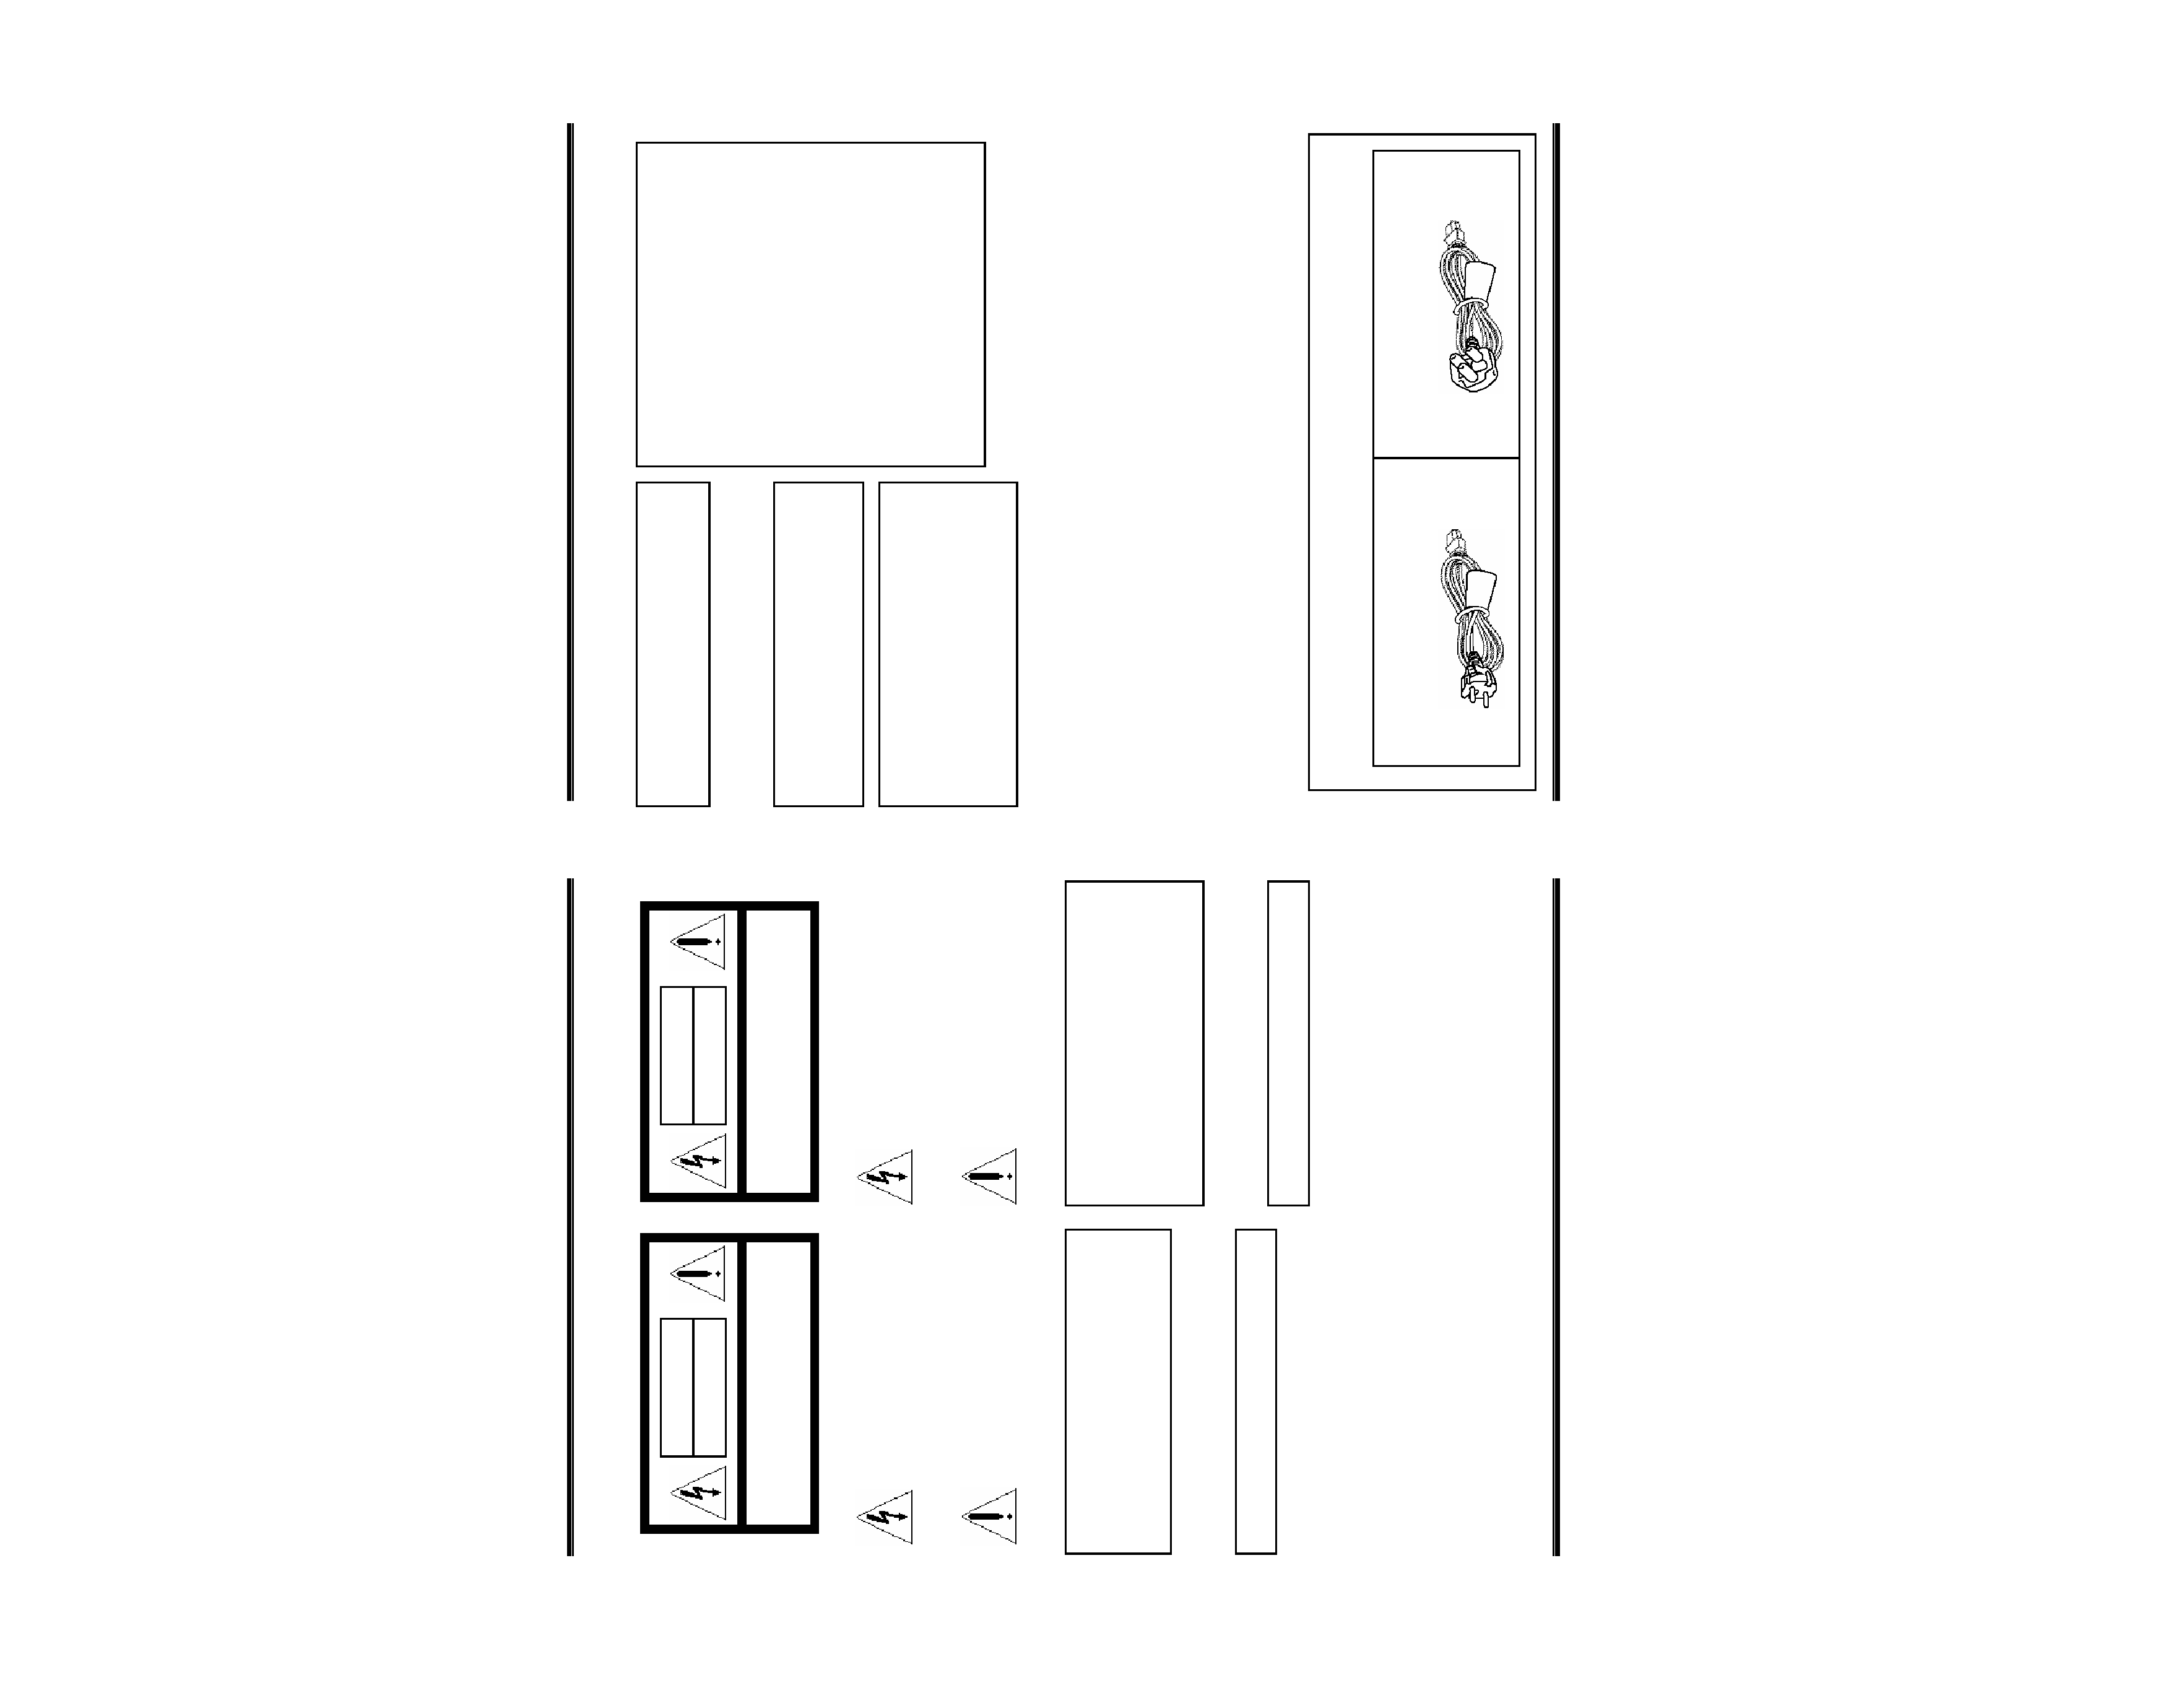
10. This appliance system is equipped with a 3-wire grounding type plug (a plug having a third (grounding) pin).
This plug will only fit into a grounding-type power outlet. This is a safety feature. If you are unable to insert the plug
into the outlet, contact your electrician to replace obsolete outlet. Do not defeat the safety purpose of the
grounding plug.
11. For added protection for this product during a lightning storm, or when it is left unattended and unused for long
periods of time, unplug it from the wall outlet and disconnect the antenna or cable system. This will prevent
damage to the product due to lightning and power-line surges.
12. Do not allow anything to rest on the power cord. Do not locate this appliance where the cord will be abused by
persons walking on it.
13. Follow all warnings and instructions marked on the appliance.
14. Do not overload wall outlets and extension cords as this can result in fire or electric shock.
15. Never push objects of any kind into this appliance through cabinet slots as they may touch dangerous voltage
points or short out parts that could result in a fire or electric shock. Never spill liquid of any kind on the appliance.
16. Do not attempt to service this appliance yourself as opening or removing covers may touch dangerous voltage
or other hazards. Refer all servicing to qualified service personnel.
17. Unplug this appliance from the wall outlet and refer servicing to qualified service personnel under the following
conditions:
a. When the power cord or plug is damaged or frayed.
b. If liquid has been spilled into the appliance.
c. If the appliance has been exposed to rain or water.
d. If the appliance does not operate normally by following the operating instructions. Adjust only those controls that
are covered by the operating instructions as improper adjustment of other controls may result in damage and will
often require extensive work by a qualified technician to restore the appliance to normal operation.
e. If the appliance has been dropped or the cabinet has been damaged.
f . When the appliance exhibits a distinct change in performance this indicates a need for service.
18. When replacement parts are required, be sure the service technician has used replacement parts specified by
the manufacturer that have the same characteristics as the original part. Unauthorized substitutions may result in
fire, electric shock, or other hazards.
19. Upon completion of any service or repairs to this appliance, ask the service technician to perform routine
safety checks to determine that the appliance is in safe operating condition.
7. Do not place this appliance on an unstable cart, stand, or table. The
appliance may fall, causing serious injury to a child or adult, and serious
damage to the appliance.
Use only with a cart or stand recommended by the manufacturer, or sold with
the appliance.
Wall or shelf mounting should follow the manufacturer instructions, and
should use a mounting kit approved by the manufacturer.
An appliance and cart combination should be moved with care. Quick stops,
excessive force, and uneven surfaces may cause the appliance and cart
combination to overturn.
8. Slots and openings in the cabinet and the back or bottom are provided for
ventilation, and to insure reliable operation of the appliance and to protect it
from overheating, these openings must not be blocked or covered. The
openings should never be blocked by placing the appliance on a bed, sofa,
rug, or other similar surface. This appliance should not be placed in a built-in
installation such as a bookcase unless proper ventilation is provided.
PORTABLE CART WARNING
(symbol provided by RETAC)
S3125A
-- 7 --
JVC VR-616
SAFETY PRECAUTIONS (VR-616U)
POWER SYSTEM
Connection to the mains supply
This unit should be used with 120V AC only.
CAUTION:
To prevent electric shocks and fire hazards, DO NOT
use any other power.
NOTE:
The rating plate (serial number plate) is on the top of
the unit.
This Class A digital apparatus complies with
Canadian ICES-003.
INFORMATION
This equipment has been tested and found to comply
with the limits for a Class A digital device, pursuant
to Part 15 of the FCC Rules.
These limits are designed to provide reasonable
protection against harmful interference when the
equipment is operated in a commercial environment.
This equipment generates, uses, and can radiate
radio frequency energy and, if not installed and used
in accordance with the instruction manual, may
cause harmful interference to radio communications.
Operation of this equipment in a residential area is
likely to cause harmful interference in which case the
user will be required to correct the interference at his
own expense.
SYSTEME D'ALIMENTATION
Raccordement à la principale source d'alimentation
Ce magnetoscope ne doit etre utilize que sur du
courant alternatif en 120V.
ATTENTION:
Afin d'eviter tout resque d'incendie ou d'electrocution,
ne pas utiliser d'aufres sources d'alimentation
electrique.
REMARQUE:
La plaque d'identification (numero de serie) se trouve
dur le dessus de l'appareil.
Cet appareil numérique de la Class A est conforme à
la norme NMB-003 du Canada.
CAUTION
CHANGES OR MODIFICATIONS NOT APPROVED
BY JVC COULD VOID USER'S AUTHORITY TO
OPERATE THE EQUIPMENT.
The lightening flash with arrowhead symbol,
within an equilateral triangle, is intended to
alert the user to the presence of
uninsulated "dangerous voltage" within the
product's enclosure that may be of
sufficient magnitude to constitute a risk of
electric shock to persons.
The exclamation point within an equilateral
triangle is intended to alert the user to the
presence of important operating and
maintenance (servicing) instructions in the
literatureaccompanying the appliance.
Le symbole de l' éclair a l' interieur d' un
triangle equilateral est destine a alerter l'
utilisateur sur la presence d' une tension
dangereuse non isolee dans le boitier
duprodult. Cette tension est sufflsante pour
provoquer l' electrocution de personnes
Le point d' exclamation a l'linterieur d' un
triangle equilateral est destine a alerter l'
utilisateur sur la presence d' openations d'
entretien importantes au sujet desquelles des
renseignements se trouvent dand le manuel d'
instructions.
Cessymbols ne sont utilizes qu'aux Etats-Unis.
CAUTION
RISK OF ELECTRIC SHOCK
DO NOT OPEN
ATTENTION
RISQUE D'ELECTROCUTION
NE PAS OUVRIR
CAUTION: TO REDUCE THE ELECTRICK SHOCK.
DO NOT REMOVE COVER (OR BACK).
NO USER SERVICEABLE PARTS INSIDE.
REFER SERVICING TO QUALIFIED SERVICE PERSONNEL
ATTENTION: POUR EVITER TOUT RISQUE D'ELECTROCUTION
NE PAS OUVRIR LE BOITER.
ACUCUNE PIECE INTERIEURE N'EST
A REGLER PAR L'UTIUSATEUR.
SE REFERER A UN AGENT QUALIFIE IN CAS DE PROBLEME.
-- 8 --
JVC VR-616
SAFETY PRECAUTIONS(VR-616E)
IMPORTANT (In the United Kingdom)
Mains Supply (AC 230 V)
WARNING THIS APPARATUS
MUST BE EARTHED
Thewires in this mains lead are coloured in
accordance with the following code;
GREEN-and-YELLOW : EARTH
BLUE : NEUTRAL
BROWN : LIVE
As the colours of the wires in the mains lead of this
apparatus may not correspond with the coloured
markings identifying the terminals in your plug,
proceed as follows.
Thewire which is coloured GREEN-AND-YELLOW
must be connected to the terminal in the plug which is
marked with the letter E or by the safety earth symbol
or coloured GREEN or GREEN-AND-YELLOW.
Thewire which is coloured BLUE must be connected
to the terminal which is marked with the letter N or
which is coloured BLACK. The wire which is coloured
BROWN must be connected to the terminal which is
marked with the letter L or coloured RED.
POWER SYSTEM
Connection to the mains supply
This unit operates on voltage of 220 V to 240 V AC,
50 Hz/60 Hz.
Note:
The rating plate and the safety caution are on the top
of the unit.
WARNING
This is a Class A product. In a domestic environment
this product may cause radio interference in which
case the user may be required to take adequate
measures.
Warning Notice
FOR YOUR SAFETY (Australia)
1.Insert this plug only into effectively earthed threepin
power outlet.
2.If any doubt exists regarding the earthing, consult a
qualified electrician.
3.Extension cord, if used, must be three-core
correctly wired.
FOR U.K. ONLY
If the plug supplied is not suitable for your socket
outlet, it should be cut off and appropriate one
fitted.
FOR CONTINENTAL EUROPE, ETC.
Not to be used in the U.K.
Caution for AC Power Cord
FOR YOUR SAFETY PLEASE READ THE FOLLOWING TEXT CAREFULLY.
Appropriate AC Power Cord must be used in each local area.
-- 9 --
JVC VR-616
SICHERHEITSVORKEHRUNGEN(VR-616E)
WARNUNG
Bei dem Gerät handelt es sich um ein Klasse-AProdukt.
In Haushaltsumgebungen kann ein solches Produkt
Funkstörungen verursachen. In einem solchen Fall muss
der Benutzer geeignete Maßnahmen ergreifen.
SPANNUNGSVERSORGUNG
Anschluss am Netz
Die Betriebsspannung für dieses Gerät beträgt
AC220 V bis 240 V, 50 Hz/60 Hz.
Hinweis:
Das Typenschild und die Sicherheitshinweise befinden
sich auf der Oberseite des Geräts.
Für Kontinentaleuropa
Nicht für den Gebrauch in Großbritannien.
Nur für Großbritannien
Falls der mitgelieferte Stecker sich nicht für Ihre
Steckdose eignet, sollte er abgeschnitten und ein
dafür ein passender angebracht werden.
Hinweis zum Netzanschlußkabel
Zu Ihrer Sicherheit lesen Sie bitte das folgende sorgfältig.
Verwenden Sie ausschließlich ein in Ihrem Land zulässiges Netzkabel.
PRECAUTIONS DE SECURITE(VR-616E)
SYSTEME D'ALIMENTATION
Raccordement à la principale source
d'alimentation
Cet appareil fonctionne sur une tension courant
alternatif de 220 - 240 V, 50 Hz/60 Hz.
Remarque:
La plaque d'identification et les précautions de
sécurité se trouvent sur le dessus de l'appareil.
AVERTISSEMENT
Ce produit est un produit de catégorie A. Dans un
environnement domestique ce produit peut causer des
interférences radio auquel cas, il peut être demandé à
l'utilisateur de prendre les mesures qui s'imposent.
POUR LE ROYAUME-UNI SEULEMENT
Si la fiche d'alimentation ne correspond pas à la
prise secteur, il faut la remplacer par une fiche
appropriée.
Précaution d'utilisation du cordon de secteur
POUR VOTRE SECURITE, LIRE ATTENTIVEMENT LE TEXTE SUIVANT:
Un cordon d'alimentation CA approprié doit être utilisé dans chaque réseau local.
PRECAUTIONS DE SECURITE
POUR L'EUROPE CONTINENTALE
Ne pas utiliser au Royaume-Uni.
-- 10 --
JVC VR-616
INSTRUCCIONES DE SEGURIDAD(VR-616E)
SISTEMA ELÉCTRICO
Conexión a la alimentación
Esta unidad funciona bajo una tensión de entre
220 V y 240 V CA, 50 Hz/60 Hz.
Recuerde:
La placa de datos de servicio e instrucciones de
seguridad se encuentran en la tapa de la unidad.
ADVERTENCIA
Esto es un producto de Clase A. En un ambiente
doméstico, este producto puede ocasionar
perturbaciones radioeléctricas, en cuyo caso, puede
que el utilizador necesite tomar las medidas
adecuadas.
PARA EUROPA CONTINENTAL, ETC.
No se utiliza en Reino Unido.
INSTRUCCIONES PARA EL CABLE ELÉCTRICO CA
POR RAZONES DE SEGURIDAD LEA DETENIDAMENTE LAS SIGUIENTES INSTRUCCIONES.
Debe utilizarse un Cable de Alimentación AC apropiado en cada área local.
SÓLO PARA REINO UNIDO
Si el enchufe que se suministra no es el adecuado
para su toma, deberá cortarlo y empalmar otro que
sea compatible.
NORME DI SICUREZZA(VR-616E)
SISTEMA DI ALIMENTAZIONE
Connessione all'alimentazione principale
L'unità funziona con un voltaggio da 220 V a 240 V,
con una frequenza di 50 Hz/60 Hz.
NOTA:
La potenza e le norme di sicurezza sono riportate
sulla parte superiore dell'apparecchio.
AVVERTENZA
Questo è un prodotto di Classe A. In un ambiente
domestico questo prodotto può causare interferenze
radio nel qual caso l'utente deve prendere misure
adeguate.
Precauzioni di sicurezza per alimentazione c.a.
PER LA VOSTRA SICUREZZA, LEGGERE ATTENTAMENTE LE SEGUENTI INDICAZIONI.
Deve essere usato un cavo di alimentazione c.a. appropriato in ogni area locale.
PER L'EUROPA CONTINENTALE
Non è utilizzabile in Gran Bretagna.
SOLO PER LA GRAN BRETAGNA
Se il cavo in dotazione non è adatto per il vostro
tipo di presa, deve essere sostituito con uno
appropriato.