For Customer Use:
Enter below the Model No. and Serial
No. which are located either on the rear,
bottom or side of the cabinet. Retain this
information for future reference.
Model No.
Serial No.
LET0117-001B
[J]
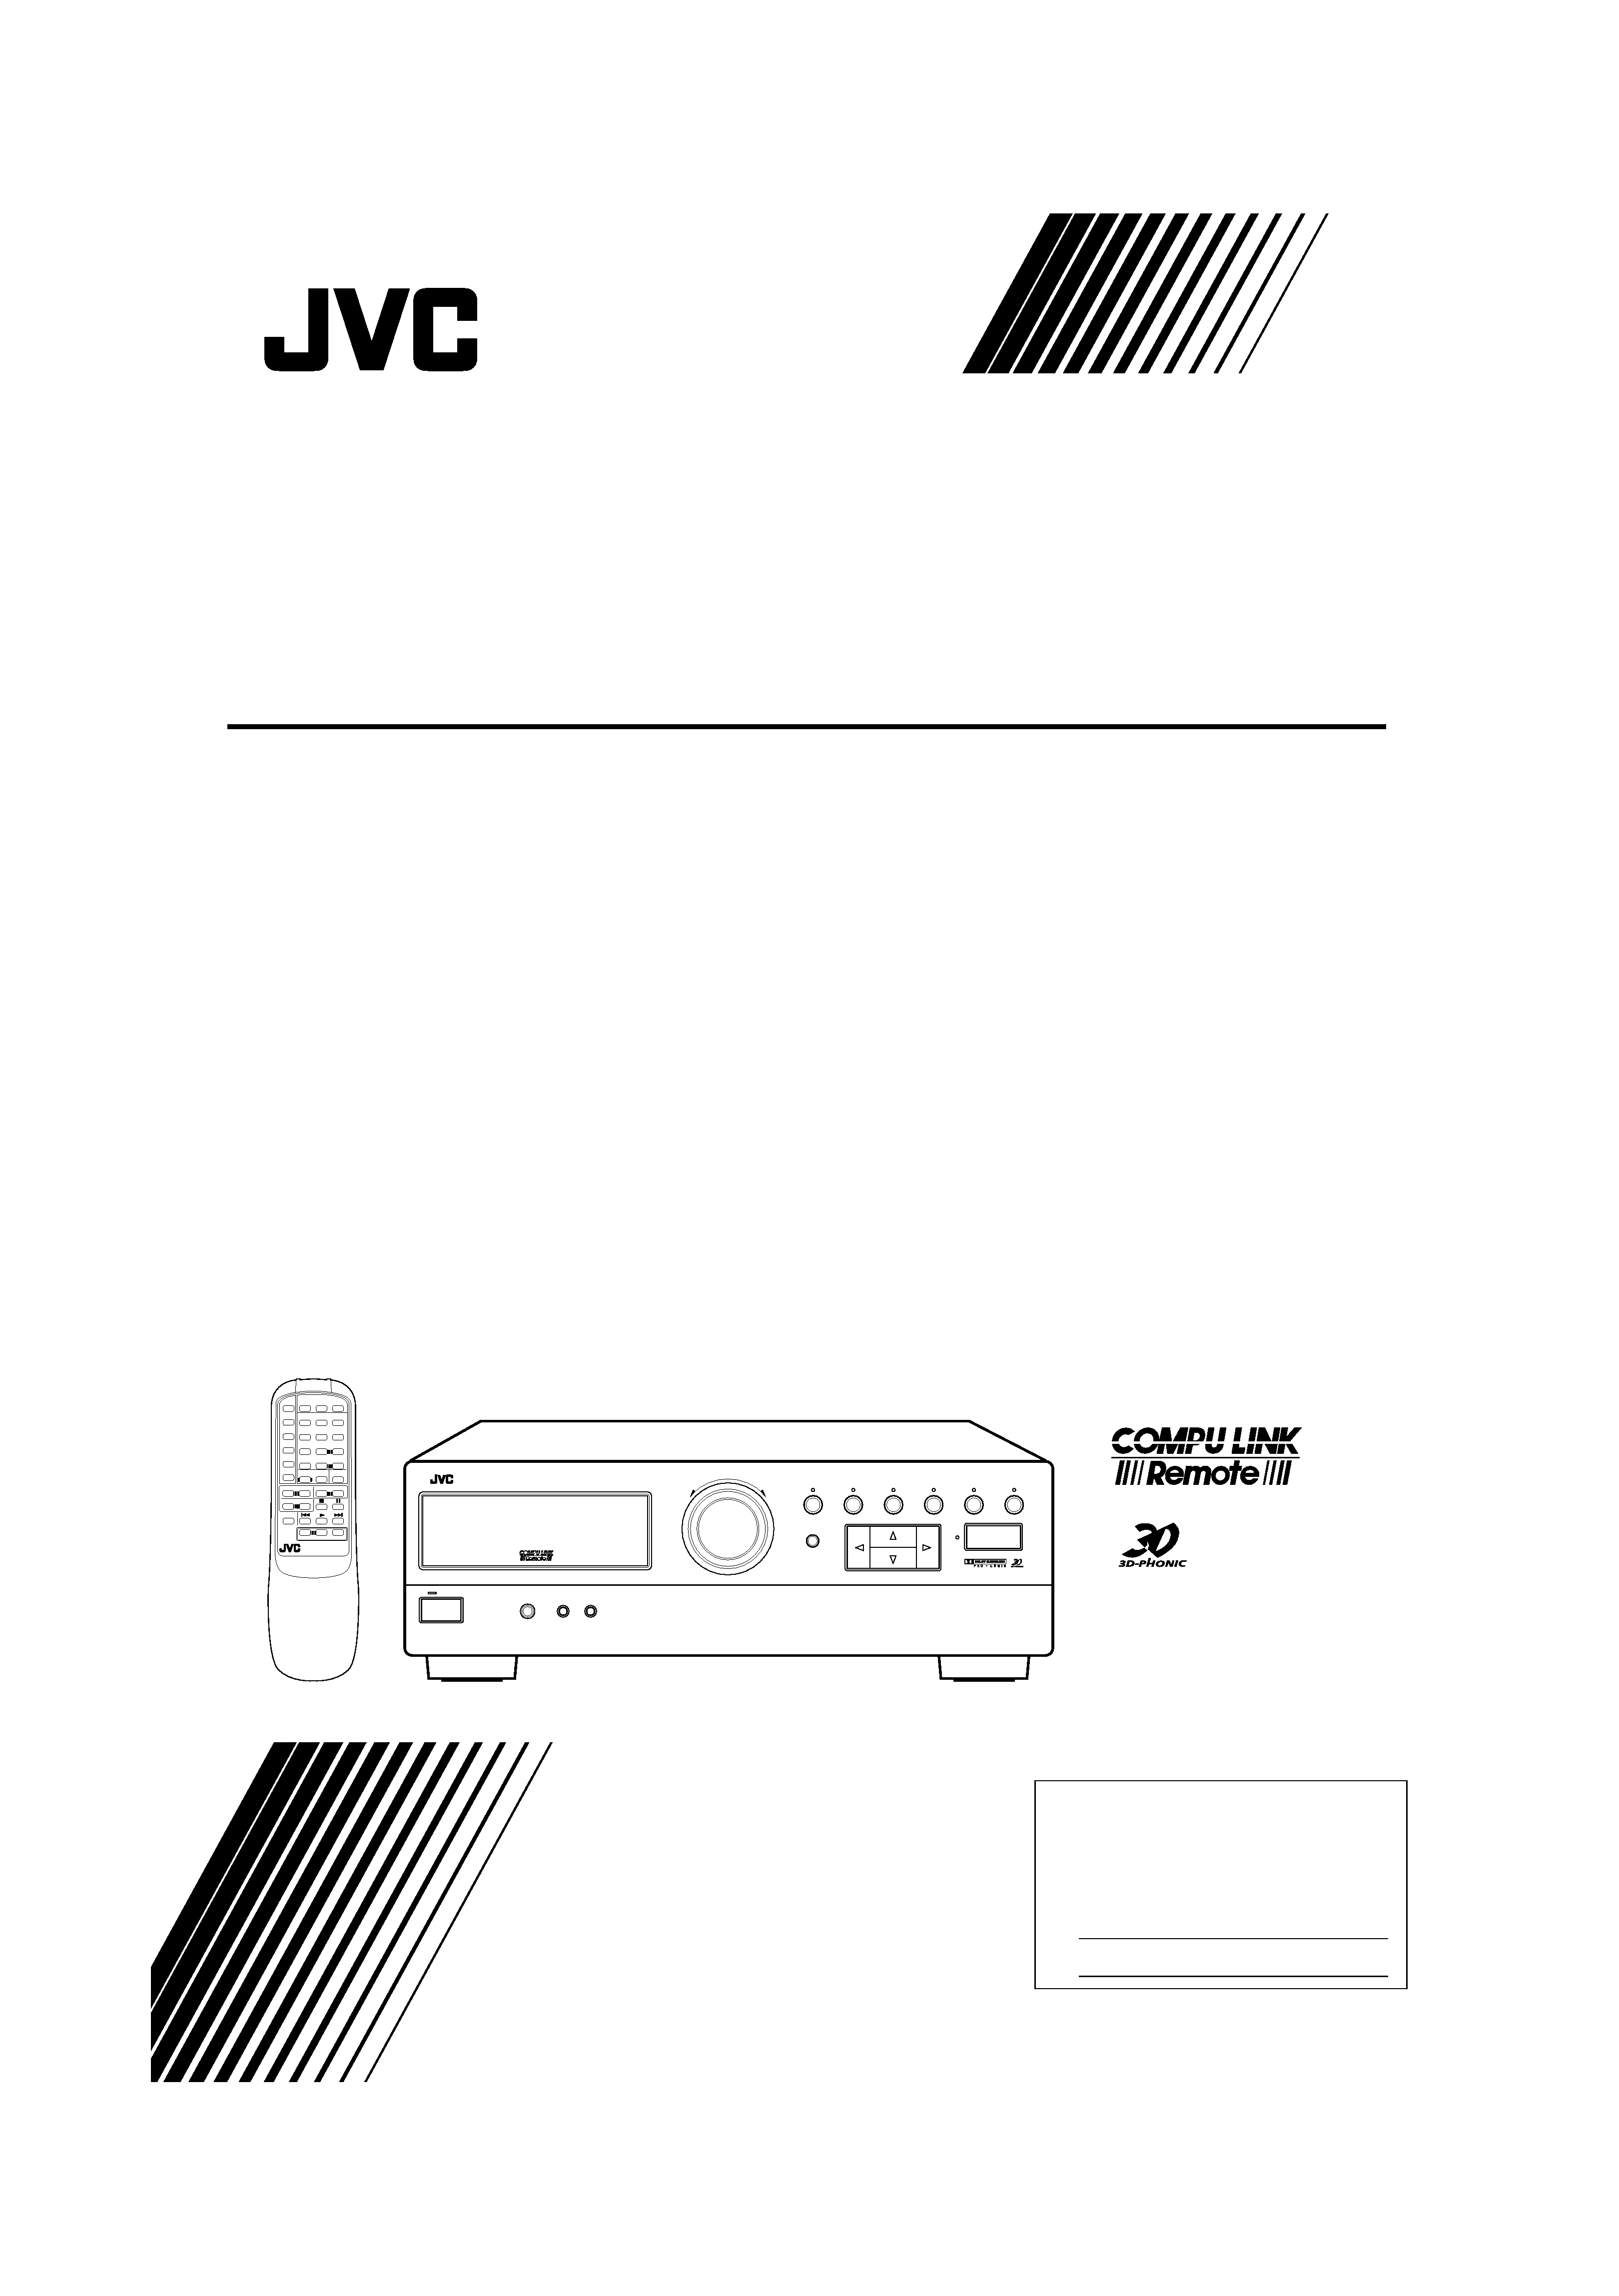
INSTRUCTIONS
RX-554VBK
AUDIO/VIDEO CONTROL RECEIVER
CD
45
6
12
3
TV
VCR
POWER
AUDIO
EFFECT
DELAY
3D-PHONIC SURROUND
TEST
TAPE
7/P
8
9
10
SEA
PRESET
+10
TUNER/
BAND
VCR
SOUND
CONTROL CD-DISC
VIDEO
RM-SR554U REMOTE CONTROL
+
PHONO
TV/
VIDEO
MUTING
ONE TOUCH
OPERATION
VCR CH
+
CENTER
+
REAR
+
TV CH
+
TV VOL.
+
VOLUME
DAP MODE
SEA MODE
RX-554V
AUDIO/VIDEO CONTROL RECEIVER
STANDBY
POWER
PHONES
SPEAKERS
MASTER VOLUME
+
TUNER/BAND
PRESET SEA
SOURCE
SURROUND
ADJUST
ONE TOUCH OPERATION
SETTING
MEMORY
12
_ON --OFF
RX-554VBK (J)_0117-001B.Cover
98.1.6, 11:32 AM
1
G-1
Warnings, Cautions and Others
Caution POWER switch!
Disconnect the mains plug to shut the power off completely. The
POWER switch in any position does not disconnect the mains line.
The power can be remote controlled.
CAUTION:
TO REDUCE THE RISK OF ELECTRIC SHOCK.
DO NOT REMOVE COVER (OR BACK)
NO USER SERVICEABLE PARTS INSIDE.
REFER SERVICING TO QUALIFIED SERVICE PERSONNEL.
RISK OF ELECTRIC SHOCK
DO NOT OPEN
The lightning flash with arrowhead symbol,
within an equilateral triangle is intended to
alert the user to the presence of uninsulated
"dangerous voltage" within the product's
enclosure
that
may
be
of
sufficient
magnitude to constitute a risk of electric
shock to persons.
The exclamation point within an equilateral
triangle is intended to alert the user to the
presence
of
important
operating
and
maintenance (servicing) instructions in the
literature accompanying the appliance.
CAUTION
WARNING: TO REDUCE THE RISK OF FIRE
OR ELECTRIC SHOCK, DO NOT EXPOSE
THIS APPLIANCE TO RAIN OR MOISTURE.
CAUTION
To reduce the risk of electrical shocks, fire, etc.:
1. Do not remove screws, covers or cabinet.
2. Do not expose this appliance to rain or moisture.
RX-554VBK(J)_0117-001B.G-page
98.1.6, 11:33 AM
1
G-2
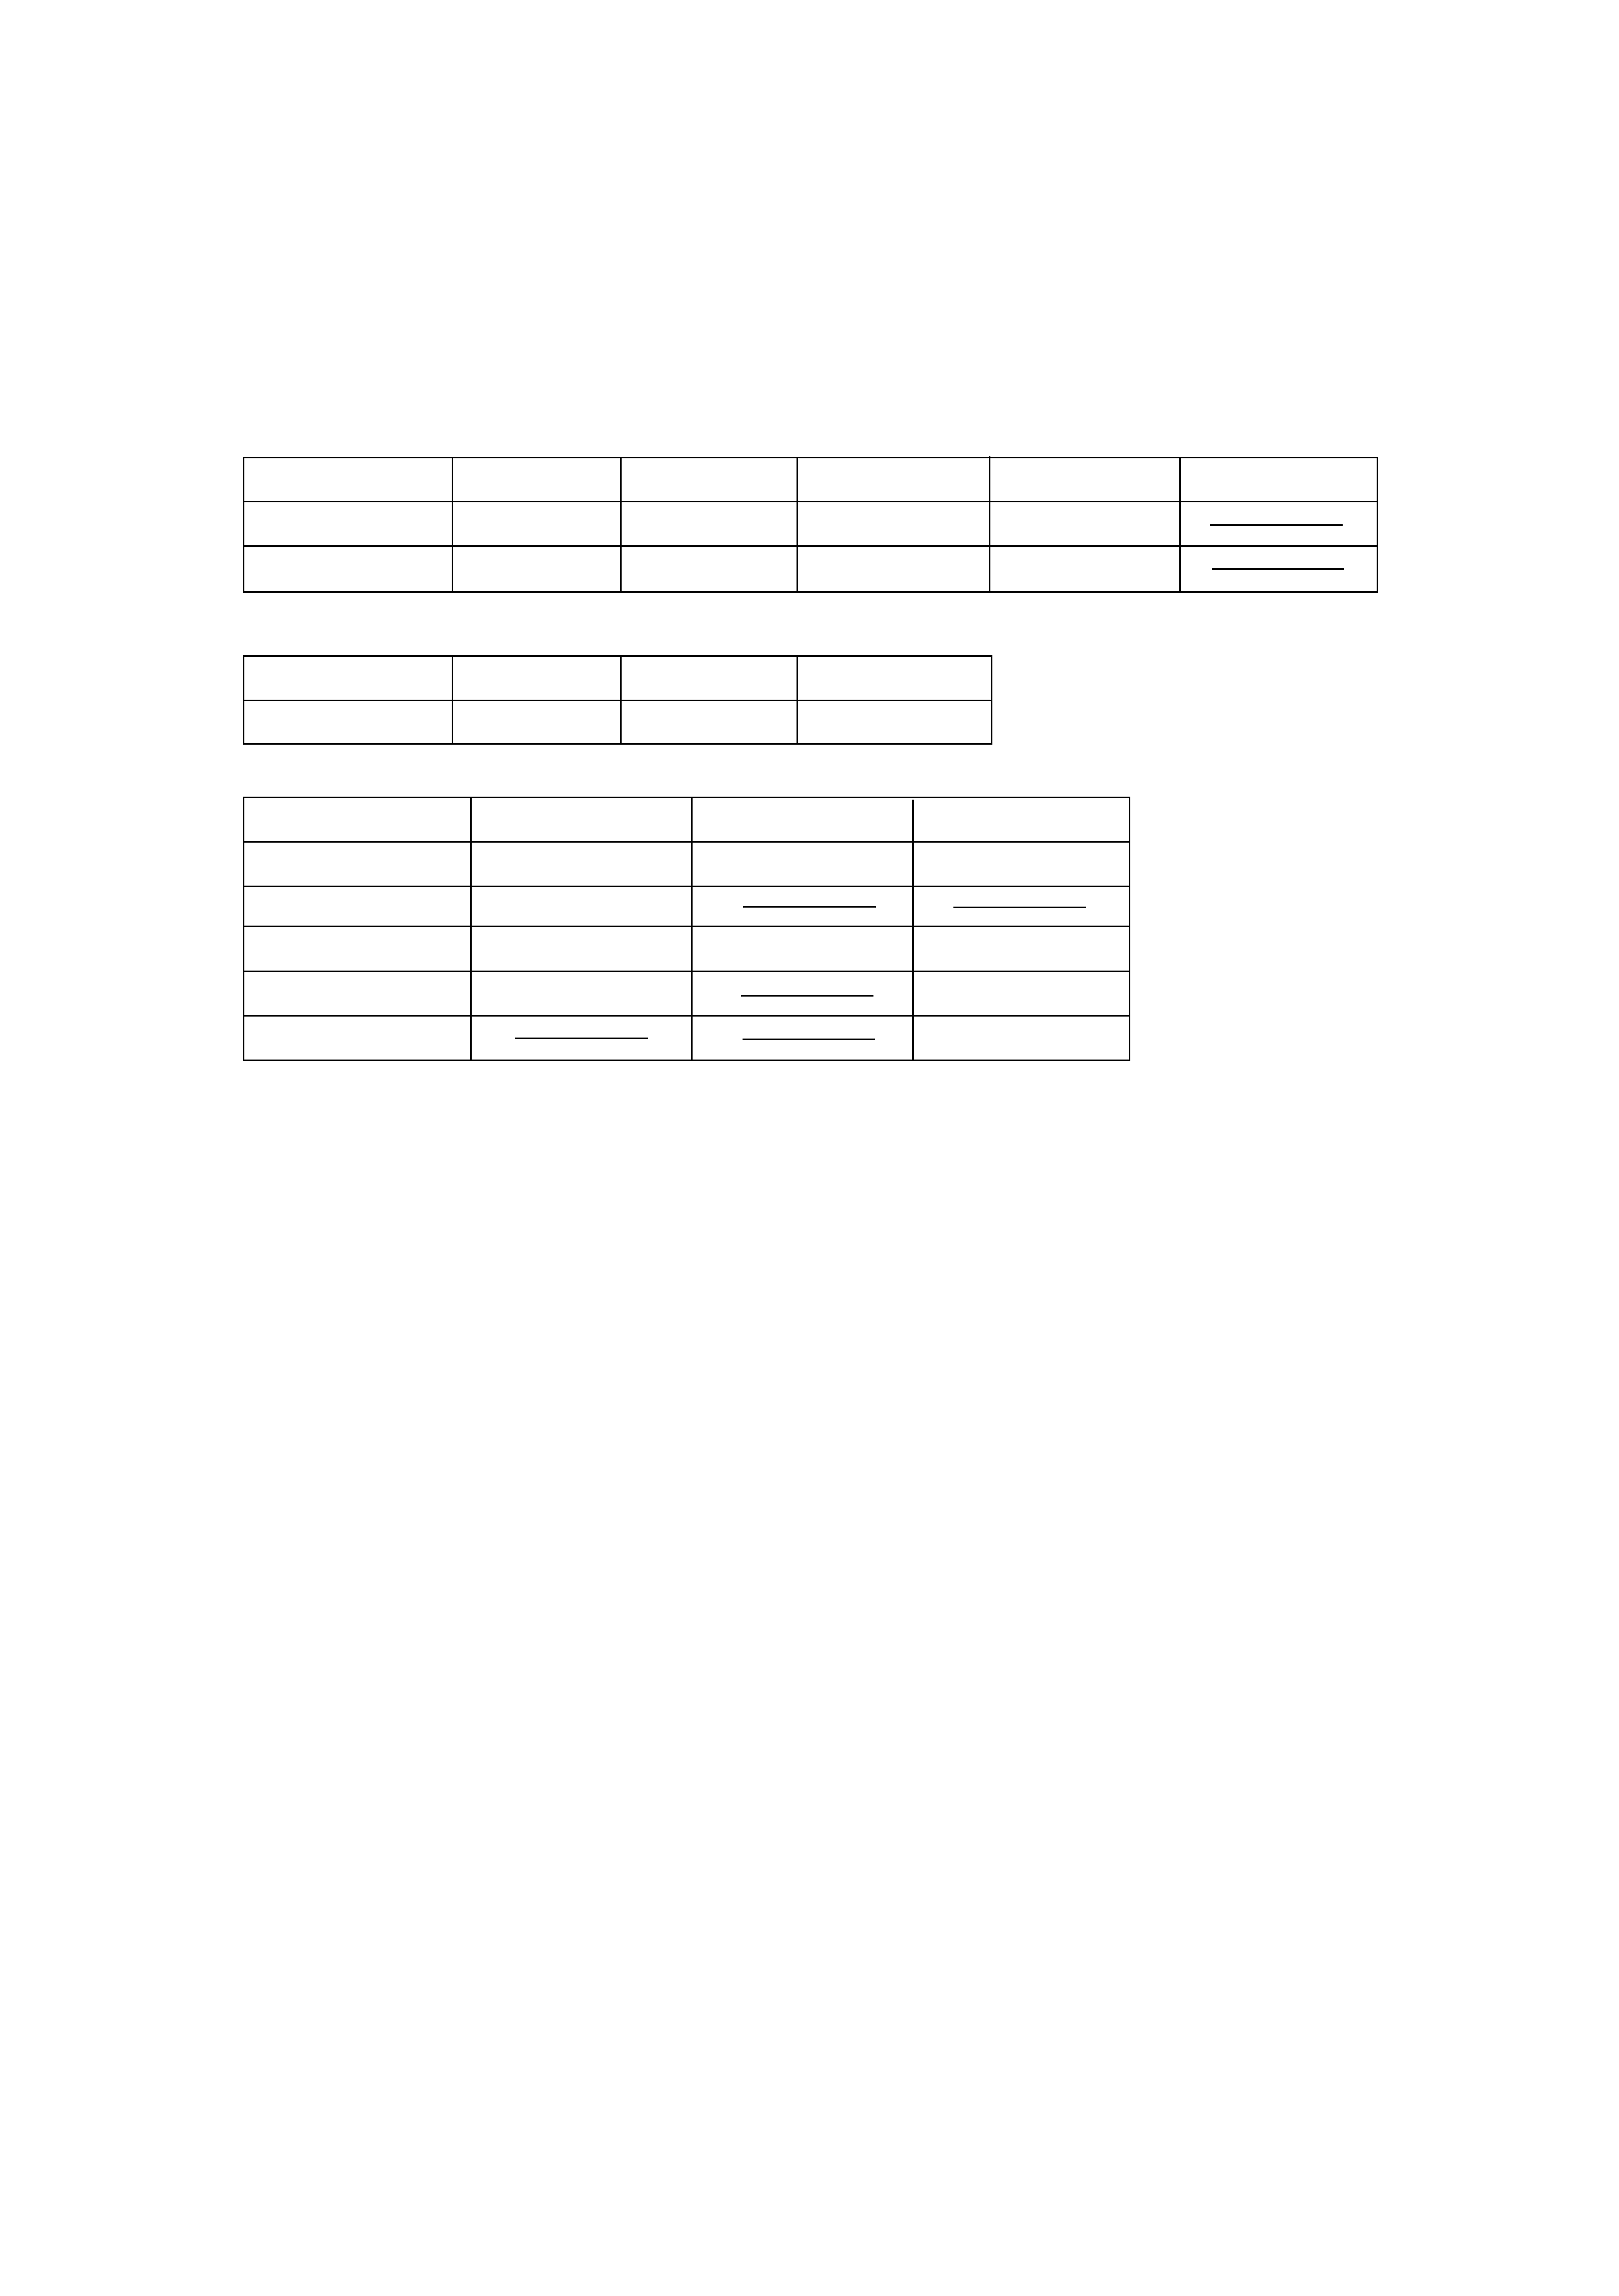
Once you have found the best DAP, 3D-PHONIC and Surround mode settings for your listening
room, note them in the table below for future reference (even though the receiver memorizes the
settings until you change them).
For actual setting procedures, see pages 22 to 32.
DAP Mode
Dance Club
Live Club
Hall
Pavilion
Headphones
Rear Speaker Level*
Effect Level
Surround Mode
Dolby Pro Logic
Dolby 3ch Logic
Theater Surround
Center Mode
Delay Time
Center Speaker Level
Rear Speaker Level*
Effect Level
3D-PHONIC Mode
3D Action
3D Drama
3D Theater
Effect Level
* The left rear speaker level and right rear speaker level for DAP and the surround modes cannot be stored separately.
RX-554VBK(J)_0117-001B.G-page
98.1.6, 11:33 AM
2

1
Table of Contents
Parts Identification ...................................................................................... 2
Easy Set Up & Operations ............................................................................ 3
Getting Started........................................................................................... 5
Before Installation ................................................................................................................................................................... 5
Checking the Supplied Accessories ........................................................................................................................................ 5
Connecting the FM and AM Antennas ................................................................................................................................... 6
Connecting the Speakers ......................................................................................................................................................... 7
Connecting Audio/Video Components ................................................................................................................................... 8
Connecting the Power Cord .................................................................................................................................................. 10
Putting Batteries in the Remote Control ............................................................................................................................... 10
Basic Operations ....................................................................................... 11
Turning the Power On and Off ............................................................................................................................................. 11
Selecting the Source to Play ................................................................................................................................................. 11
Adjusting the Volume ........................................................................................................................................................... 12
Selecting the Front Speakers ................................................................................................................................................. 12
Muting the Sound .................................................................................................................................................................. 12
Recording a Source ............................................................................................................................................................... 13
Listening with Headphones .................................................................................................................................................. 13
Basic Settings........................................................................................... 14
Adjusting the Front Speaker Output Balance ....................................................................................................................... 14
Listening at Low Volume (Loudness) ................................................................................................................................... 14
Using the Sleep Timer ........................................................................................................................................................... 14
Selecting the Center Speaker Size ........................................................................................................................................ 15
One Touch Operation .................................................................................. 16
About the One Touch Operation ........................................................................................................................................... 16
Using the One Touch Operation ........................................................................................................................................... 16
Receiving Radio Broadcasts ........................................................................ 17
Tuning in Stations Manually ................................................................................................................................................. 17
Using Preset Tuning .............................................................................................................................................................. 17
Selecting the FM Reception Mode ....................................................................................................................................... 19
Using the Preset SEA Modes ...................................................................... 20
Selecting Your Favorite SEA Mode ...................................................................................................................................... 20
Activating the Surround Sounds ................................................................. 22
Using JVC 3D-PHONIC Modes ........................................................................................................................................... 23
Using the DAP Modes .......................................................................................................................................................... 25
Speaker Arrangements for Surround Modes ......................................................................................................................... 27
Preparing for Surround Modes ............................................................................................................................................. 28
Using Surround Modes ......................................................................................................................................................... 32
COMPU LINK Remote Control System ......................................................... 33
Operating Other Components ..................................................................... 34
Troubleshooting ......................................................................................... 36
Specifications............................................................................................ 37
RX-554VBK(J)_0117-001B_En.01-19
98.1.6, 11:34 AM
1
2
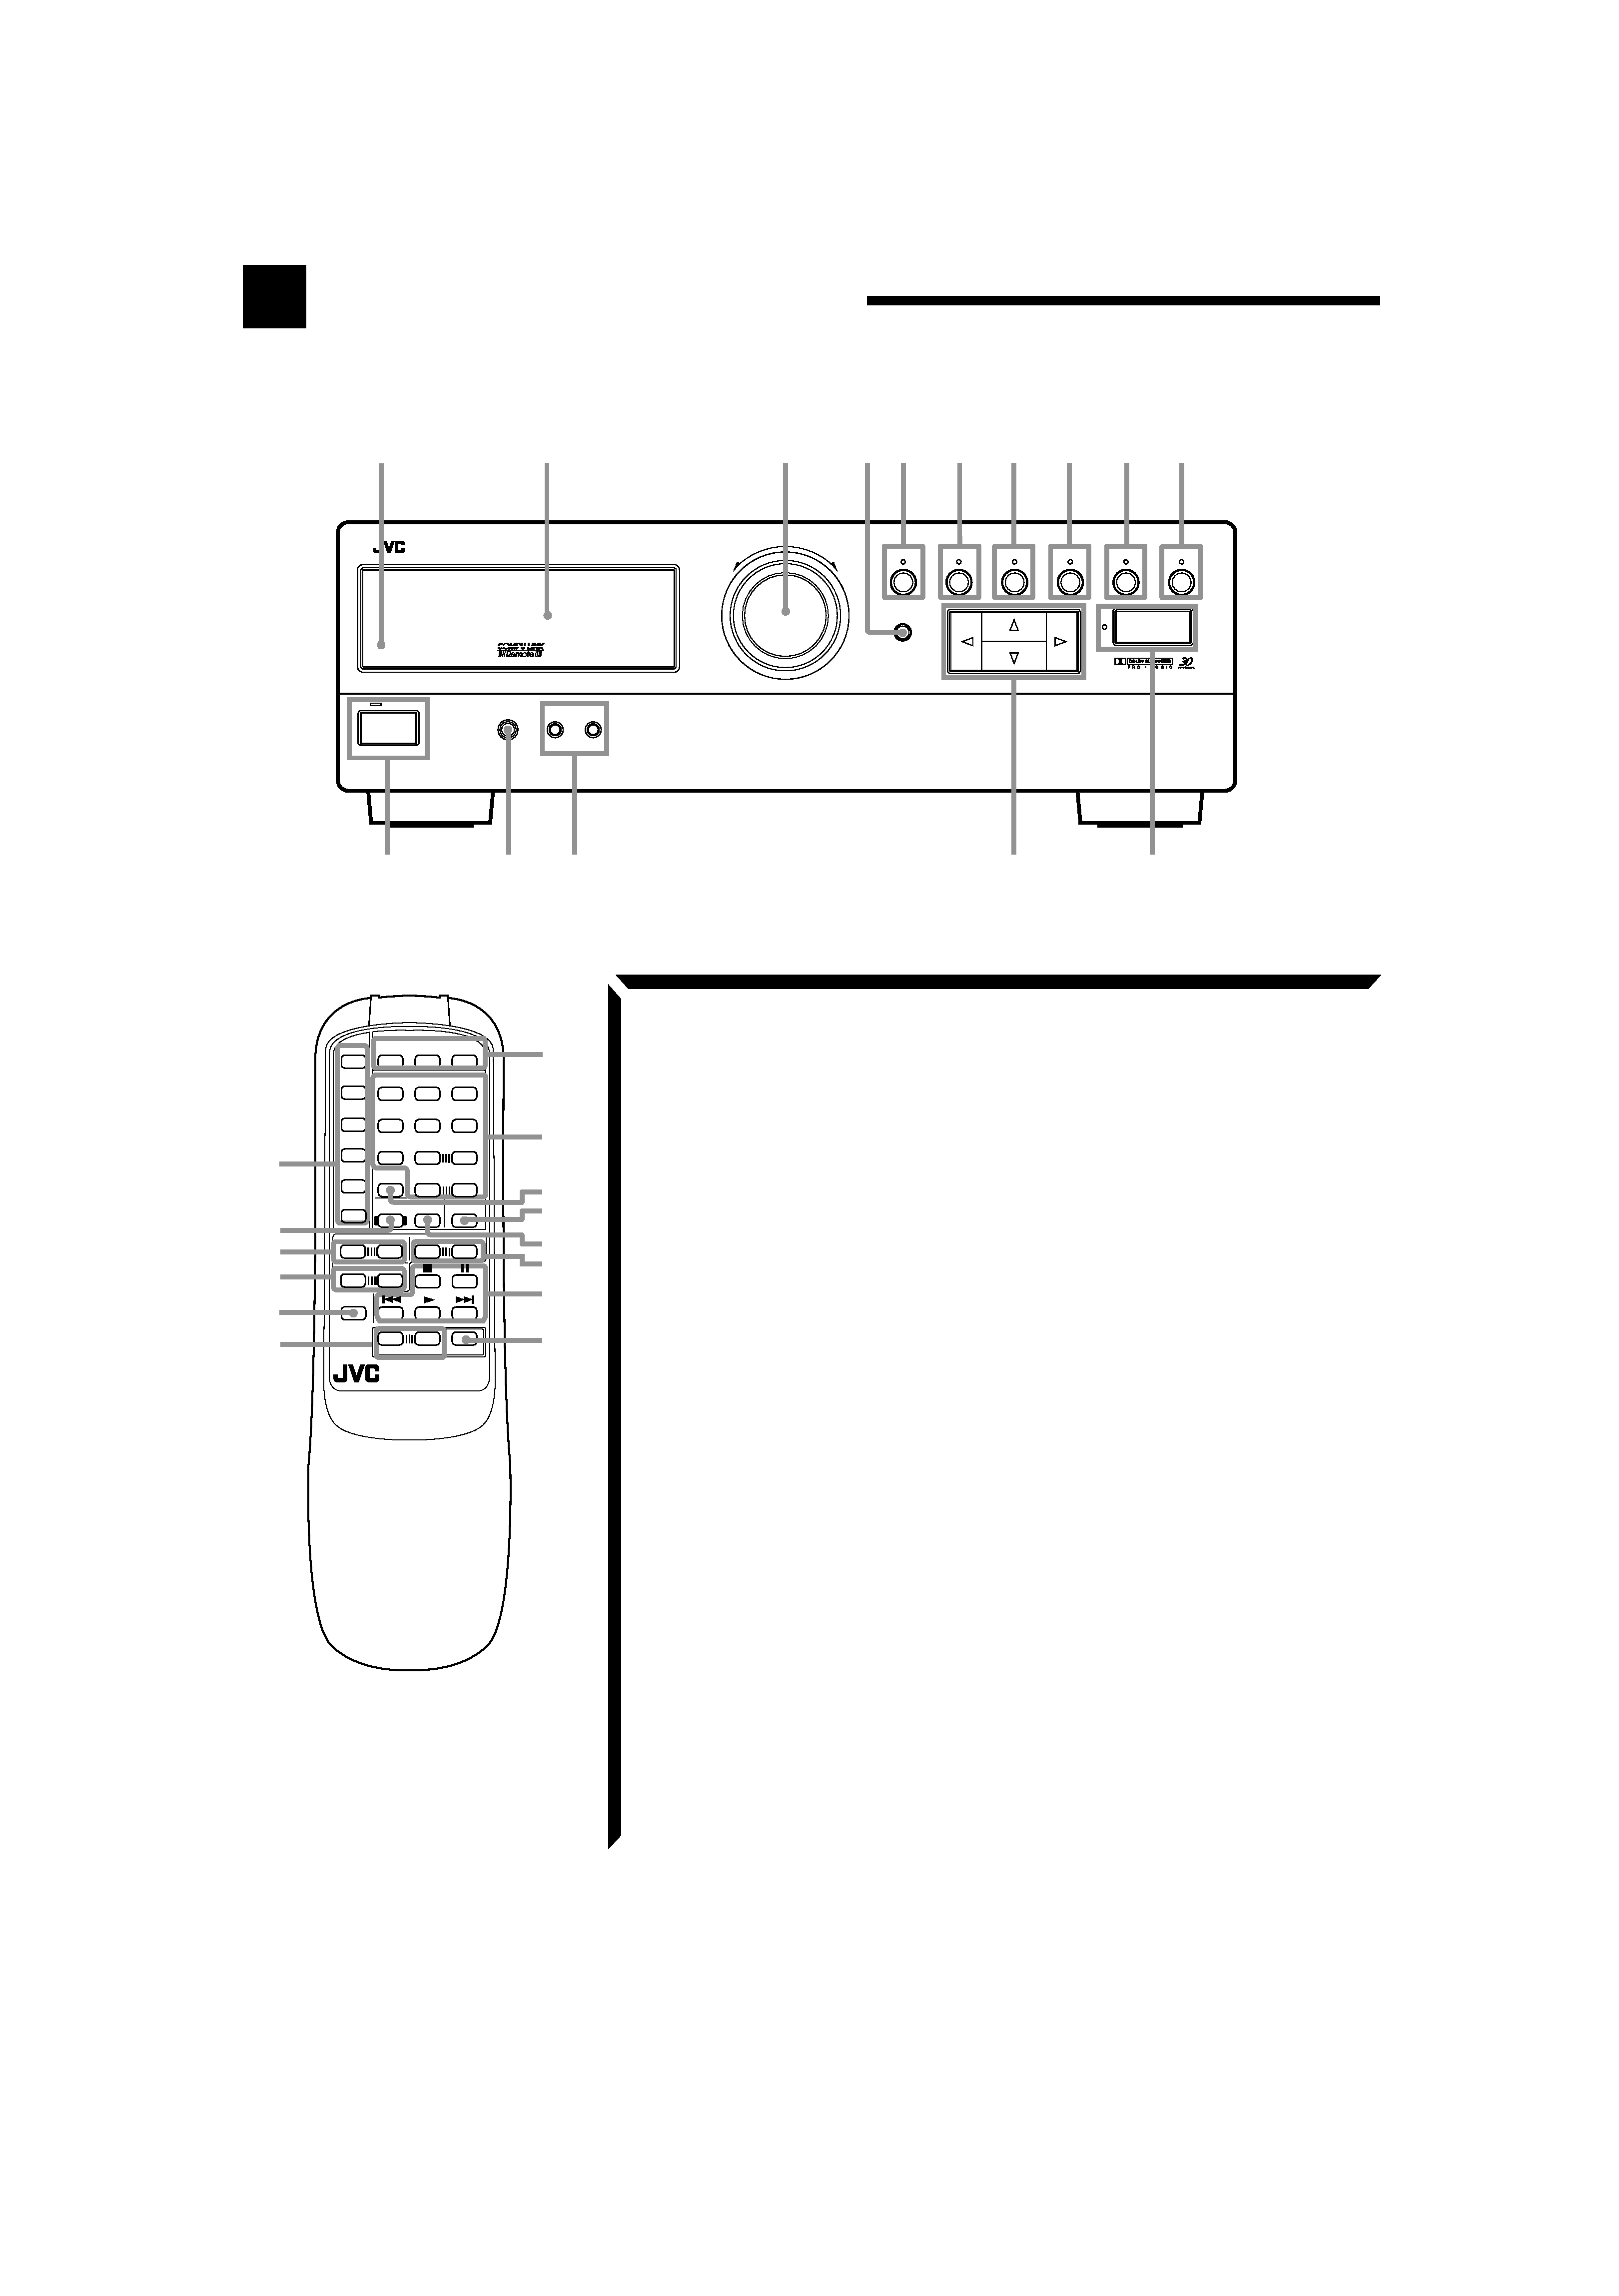
Parts Identification
Become familiar with the buttons and controls on the receiver before use.
Refer to the pages in parentheses for details.
$
#
%
45
6
12
3
TV
VCR
AUDIO
EFFECT
DELAY
TEST
7/P
8
9
10
+10
VCR
RM-SR554U REMOTE CONTROL
MUTING
+
CENTER
+
REAR
+
VOLUME
SEA MODE
POWER
3D-PHONIC SURROUND
DAP MODE
TV/
VIDEO
VCR CH
TV CH
TV VOL.
CD-DISC
SEA
PRESET
CD
TAPE
TUNER/
BAND
VIDEO
PHONO
+
+
+
SOUND
CONTROL
ONE TOUCH
OPERATION
_
+
TM
¡
£
¢
)
(
&
*
^
1
23
4 5
67
8
9
0
RX-554V
AUDIO/VIDEO CONTROL RECEIVER
STANDBY
POWER
PHONES
SPEAKERS
MASTER VOLUME
+
TUNER/BAND
PRESET SEA
SOURCE
SURROUND
ADJUST
ONE TOUCH OPERATION
SETTING
MEMORY
12
_ON --OFF
-
=~
!
@
9 ADJUST button and lamp (23, 25, 28)
0 SETTING button and lamp (14, 15)
- POWER button and STANDBY lamp
(11)
= PHONES jack (13)
~ SPEAKERS 1/2 buttons (12, 13)
! Control
% / fi / @ / # buttons
@ ONE TOUCH OPERATION button and
lamp (16)
Remote Control
# Source buttons (CD, TAPE, TUNER/
BAND, VCR, VIDEO, PHONO)
(11, 34, 35)
$ SOUND CONTROL button (21, 24,
26, 30, 32)
To use JVC VCR, cassette deck and
CD player after adjusting preset SEA
or surround modes using SOUND
CONTROL, press the corresponding
source button (VCR, TAPE or CD)
prior to using JVC audio/video
operating buttons (£).
% TV CH (Channel) buttons (+/) (35)
^ TV VOL. (Volume) buttons (+/) (35)
& TV/VIDEO buttton (35)
* VOLUME buttons (+/) (12)
( POWER buttons (TV, VCR, AUDIO)
(11, 35)
) 10 keys/Audio control buttons
(18, 21, 24, 26, 30, 32, 34)
_ SEA PRESET button (21)
+ ONE TOUCH OPERATION button (16)
¡ CD-DISC button (34)
TM VCR CH (Channel) buttons (+/) (35)
£ Operating buttons for JVC audio/video
components (34, 35)
¢ MUTING button (12)
Front Panel
1 Remote sensor (10)
2 Display (11)
3 MASTER VOLUME control (12)
4 MEMORY button (17)
5 TUNER/BAND button and lamp (17)
6 PRESET SEA button and lamp (20)
7 SOURCE button and lamp (11)
8 SURROUND button and lamp (23, 25,
28)
RX-554VBK(J)_0117-001B_En.01-19
98.1.6, 11:34 AM
2