ENGLISH
ESP
AÑOL
FRANÇAIS
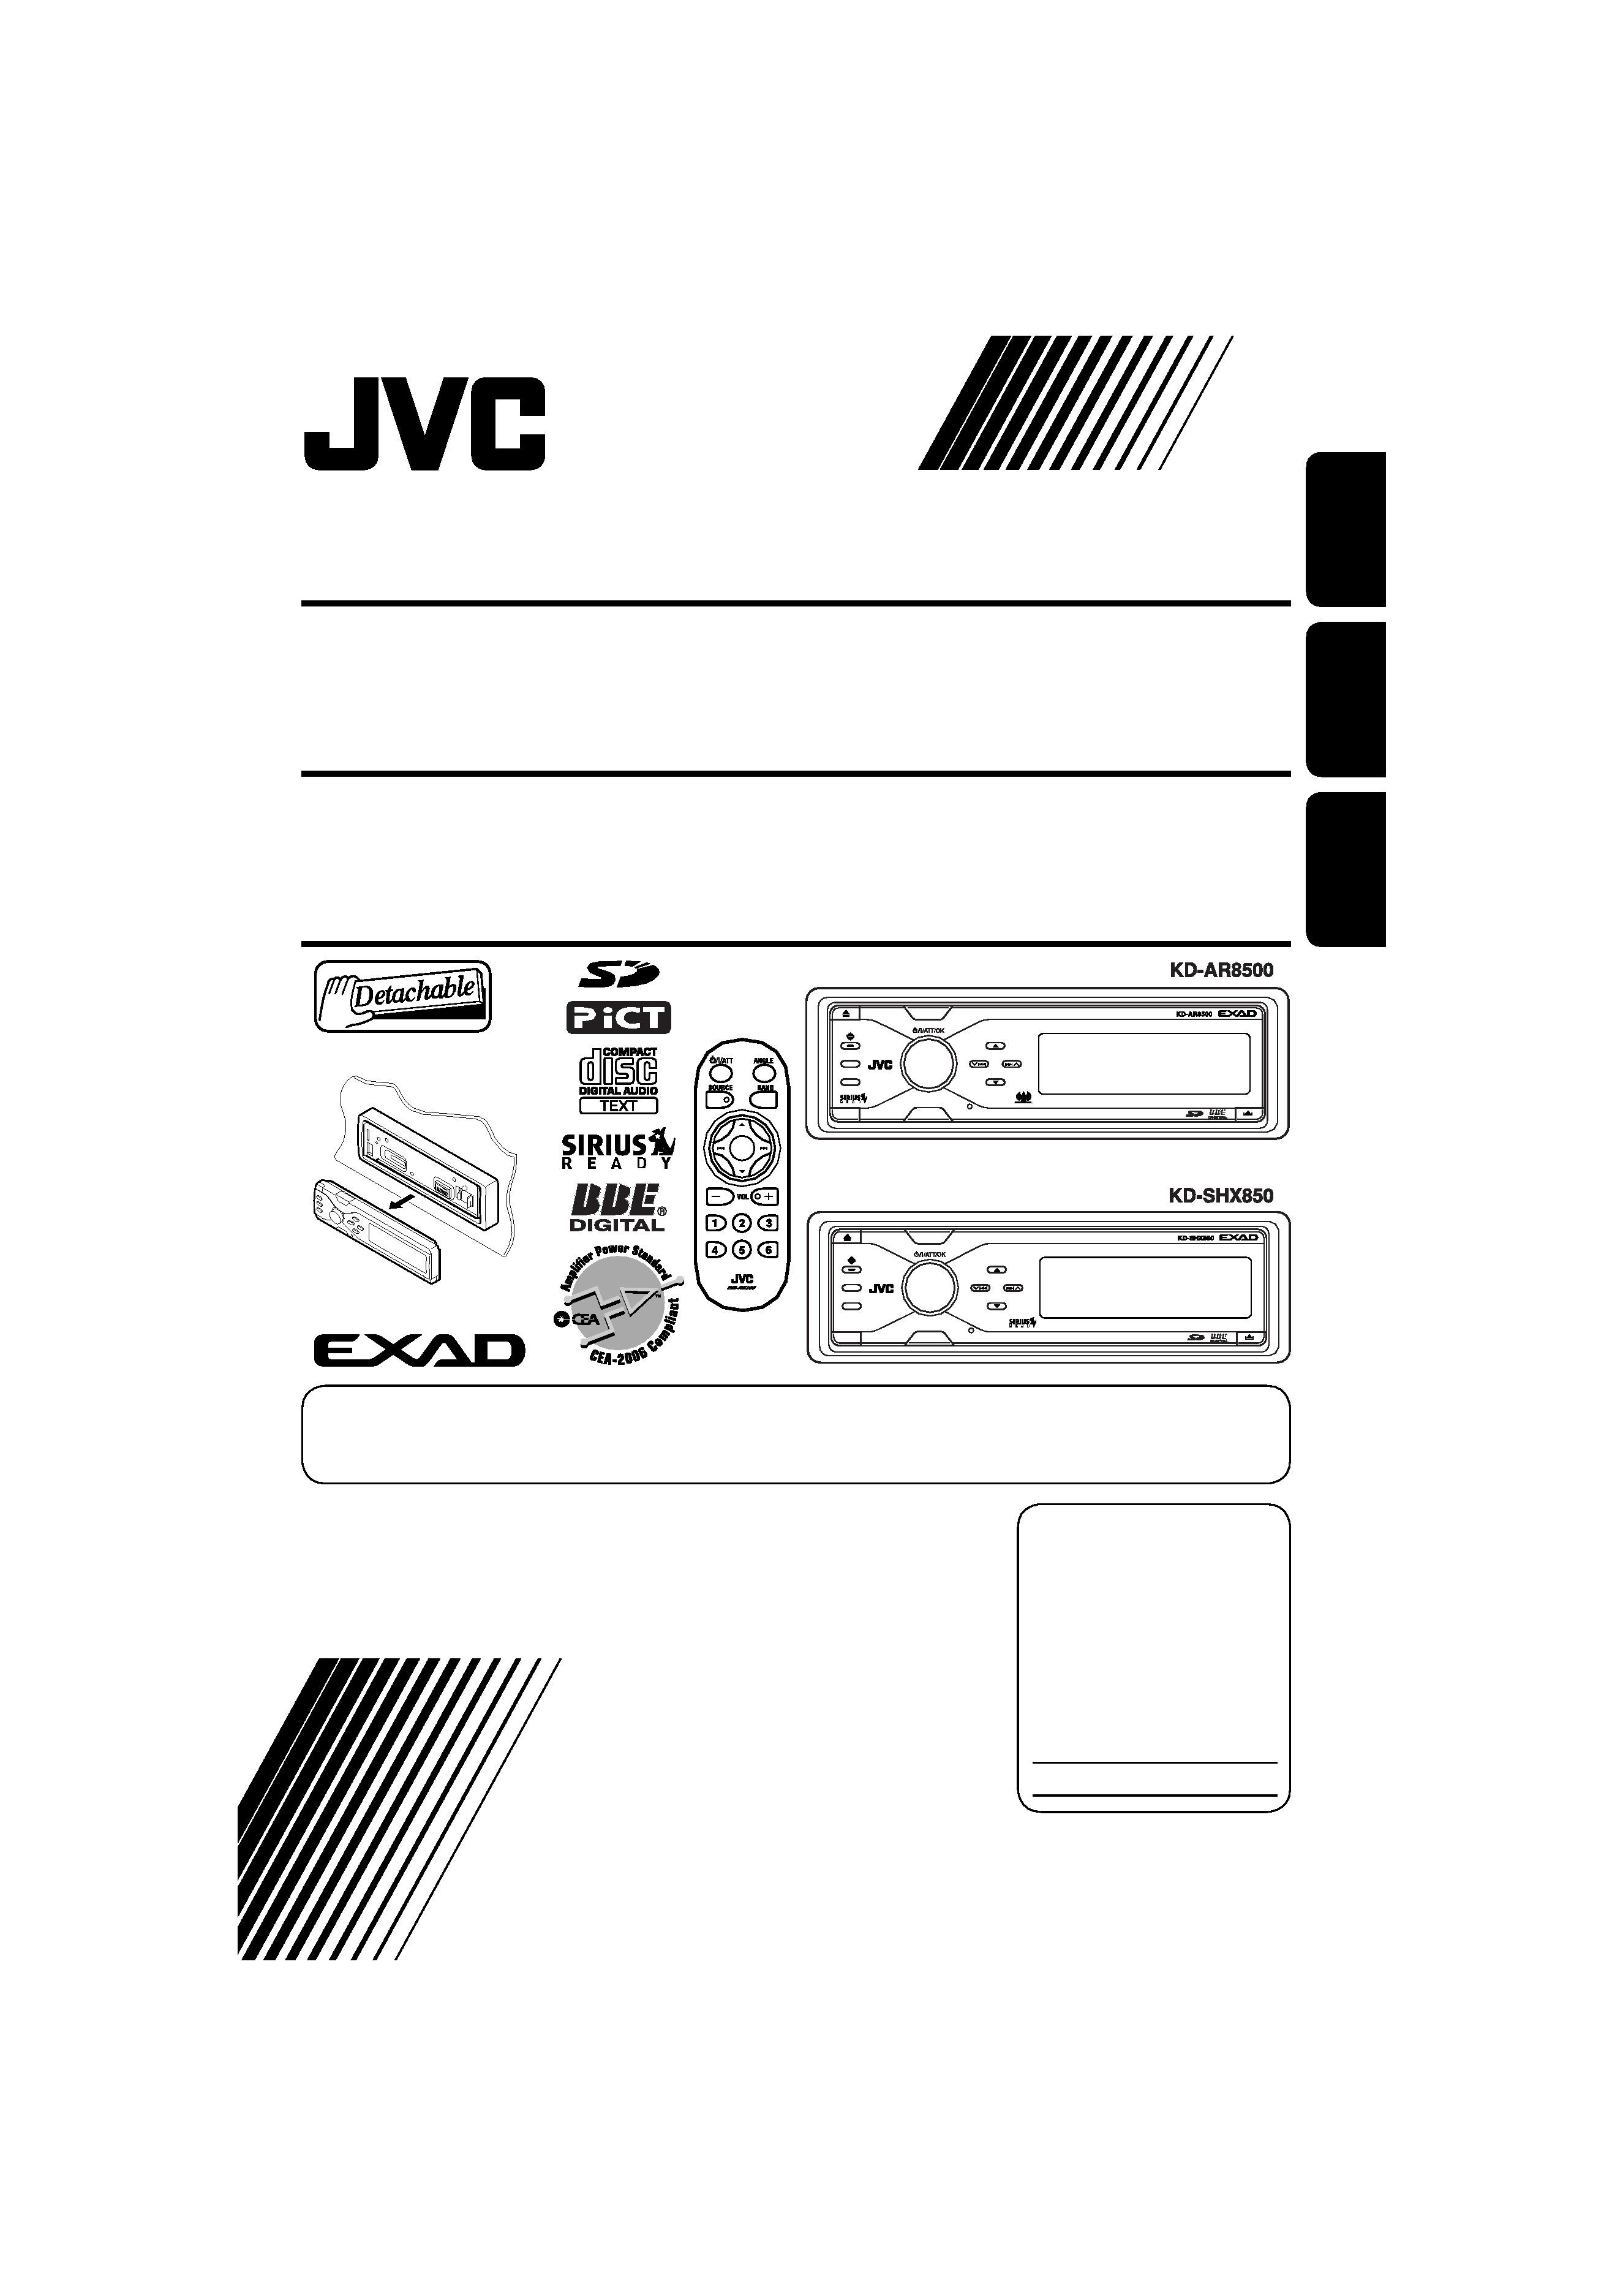
CD/SD RECEIVER
KD-AR8500/KD-SHX850
RECEPTOR CON CD/SD
KD-AR8500/KD-SHX850
RECEPTEUR CD/SD
KD-AR8500/KD-SHX850
For canceling the display demonstration, see page 9.
Para cancelar la demostración en pantalla, consulte la página 9.
Pour annuler la démonstration des affichages, référez-vous à la page 9.
For installation and connections, refer to the separate manual.
Para la instalación y las conexiones, refiérase al manual separado.
Pour l'installation et les raccordements, se référer au manuel séparé.
INSTRUCTIONS
MANUAL DE INSTRUCCIONES
MANUEL D'INSTRUCTIONS
For customer Use:
Enter below the Model
No. and Serial No. which
are located on the top or
bottom of the cabinet.
Retain this information for
future reference.
Model No.
Serial No.
LVT1371-001A
[J]
MENU
PICT
SOURCE
DISP
BACK
BAND
MENU
PICT
SOURCE
DISP
BACK
BAND
Cover_KD-AR8500[J]f.indd 2
Cover_KD-AR8500[J]f.indd 2
05.4.8 2:26:31 PM
05.4.8 2:26:31 PM
2
ENGLISH
Thank you for purchasing a JVC product.
Please read all instructions carefully before operation, to ensure your complete understanding and to
obtain the best possible performance from the unit.
INFORMATION (For U.S.A.)
This equipment has been tested and found to comply with the limits for a Class B digital device,
pursuant to Part 15 of the FCC Rules. These limits are designed to provide reasonable protection
against harmful interference in a residential installation. This equipment generates, uses, and can
radiate radio frequency energy and, if not installed and used in accordance with the instructions,
may cause harmful interference to radio communications. However, there is no guarantee that
interference will not occur in a particular installation. If this equipment does cause harmful
interference to radio or television reception, which can be determined by turning the equipment
off and on, the user is encouraged to try to correct the interference by one or more of the
following measures:
Reorient or relocate the receiving antenna.
Increase the separation between the equipment and receiver.
Connect the equipment into an outlet on a circuit different from that to which the receiver is
connected.
Consult the dealer or an experienced radio/TV technician for help.
IMPORTANT FOR LASER PRODUCTS
1. CLASS 1 LASER PRODUCT
2. CAUTION: Do not open the top cover. There are no user serviceable parts inside the unit; leave
all servicing to qualified service personnel.
3. CAUTION: Visible and invisible laser radiation when open and interlock failed or defeated.
Avoid direct exposure to beam.
How to reset your unit
This will reset the microcomputer. Your
preset adjustments will also be erased.
Notice:
The display window built in this receiver
has been produced with high precision, but
it may have some ineffective dots. This is
inevitable and is not malfunction.
Warning:
If you need to operate the receiver while
driving, be sure to look ahead carefully or
you may be involved in a traffic accident.
Cautions:
· Do not insert 8 cm (3-3/16") discs (single
CDs) into the loading slot. (Such discs
cannot be ejected.)
· Do not insert any disc of unusual shape--
like a heart or flower; otherwise, it will
cause a malfunction.
· Do not expose discs to direct sunlight or
any heat source or place them in a place
subject to high temperature and humidity.
Do not leave them in a car.
EN02-07_KD-AR8500[J]f.indd 2
EN02-07_KD-AR8500[J]f.indd 2
05.4.8 2:28:08 PM
05.4.8 2:28:08 PM

3
ENGLISH
How to reset your unit ...........................
2
How to read this manual ........................
4
How to forcibly eject a disc ...................
4
How to change the display pattern ........
5
How to enter the various menus ............
5
Control panel --
KD-AR8500/KD-SHX850
............. 6
Parts identification .................................
6
Remote controller --
RM-RK300
............................. 7
Main elements and features ...................
7
Getting started....................... 8
Basic operations.....................................
8
Canceling the display demonstration.....
9
Setting the clock ....................................
9
Radio operations ................... 10
Listening to the radio ............................. 10
Storing stations in memory.................... 11
Listening to a preset station ................... 12
Disc/SD card operations ......... 13
Playing a disc in the receiver ................ 13
Playing discs in the CD changer ........... 14
Playing an SD card ............................... 15
Other main functions ............................. 17
Selecting the playback modes................ 19
Sound adjustments -- Daily use... 21
Selecting the DSP modes--DSP ........... 21
Making sound natural ............................ 23
Using equalizer--EQ............................. 24
Selecting preset sound modes
--Graphic EQ .................................... 25
Storing your own sound modes ............. 26
Adjusting Parametric EQ....................... 27
Sound adjustments --
Preference settings
..................... 28
Setting the basic sound selection menu
--SEL ................................................ 29
Graphic displays .................... 32
Basic procedure ..................................... 32
Downloading the files............................ 33
Deleting the files.................................... 34
Activating the downloaded files ............ 36
General settings -- PSM ......... 37
Basic procedure ..................................... 37
Selecting the dimmer mode ................... 40
Other main functions ............. 41
Assigning titles to the sources ............... 41
Changing the control panel angle .......... 42
Detaching the control panel ................... 42
External component operations... 43
Playing an external component.............. 43
SIRIUS® radio operations ........ 44
Listening to the SIRIUS® radio.............. 45
Storing user channels in memory .......... 46
Listening to a user preset channel.......... 46
Selecting a category/channel on the list.... 46
Maintenance .......................... 49
More about this receiver ........ 50
Troubleshooting ..................... 54
Specifications ......................... 58
Temperature inside the car....
If you have parked the car for a long time in
hot or cold weather, wait until the temperature
in the car becomes normal before operating the
unit.
Contents
For safety....
· Do not raise the volume level too much, as
this will block outside sounds, making driving
dangerous.
· Stop the car before performing any
complicated operations.
This receiver is equipped with digital
amplifier.
EN02-07_KD-AR8500[J]f.indd 3
EN02-07_KD-AR8500[J]f.indd 3
05.4.8 2:28:09 PM
05.4.8 2:28:09 PM

4
ENGLISH
How to read this manual
The following methods are used to make the
explanations simple and easy-to-understand:
· Some related tips and notes are explained in
"More about this receiver" (see pages
50 53).
· Button operations are mainly explained with
the illustrations as follows:
Press briefly.
Press repeatedly.
Press either one.
Press and hold until
your desired response
begins.
Press A, then press
B.
Press and hold both
buttons at the same
time.
The following marks are used to indicate...
: Built-in CD player operations.
: External CD changer operations.
: SD card operations.
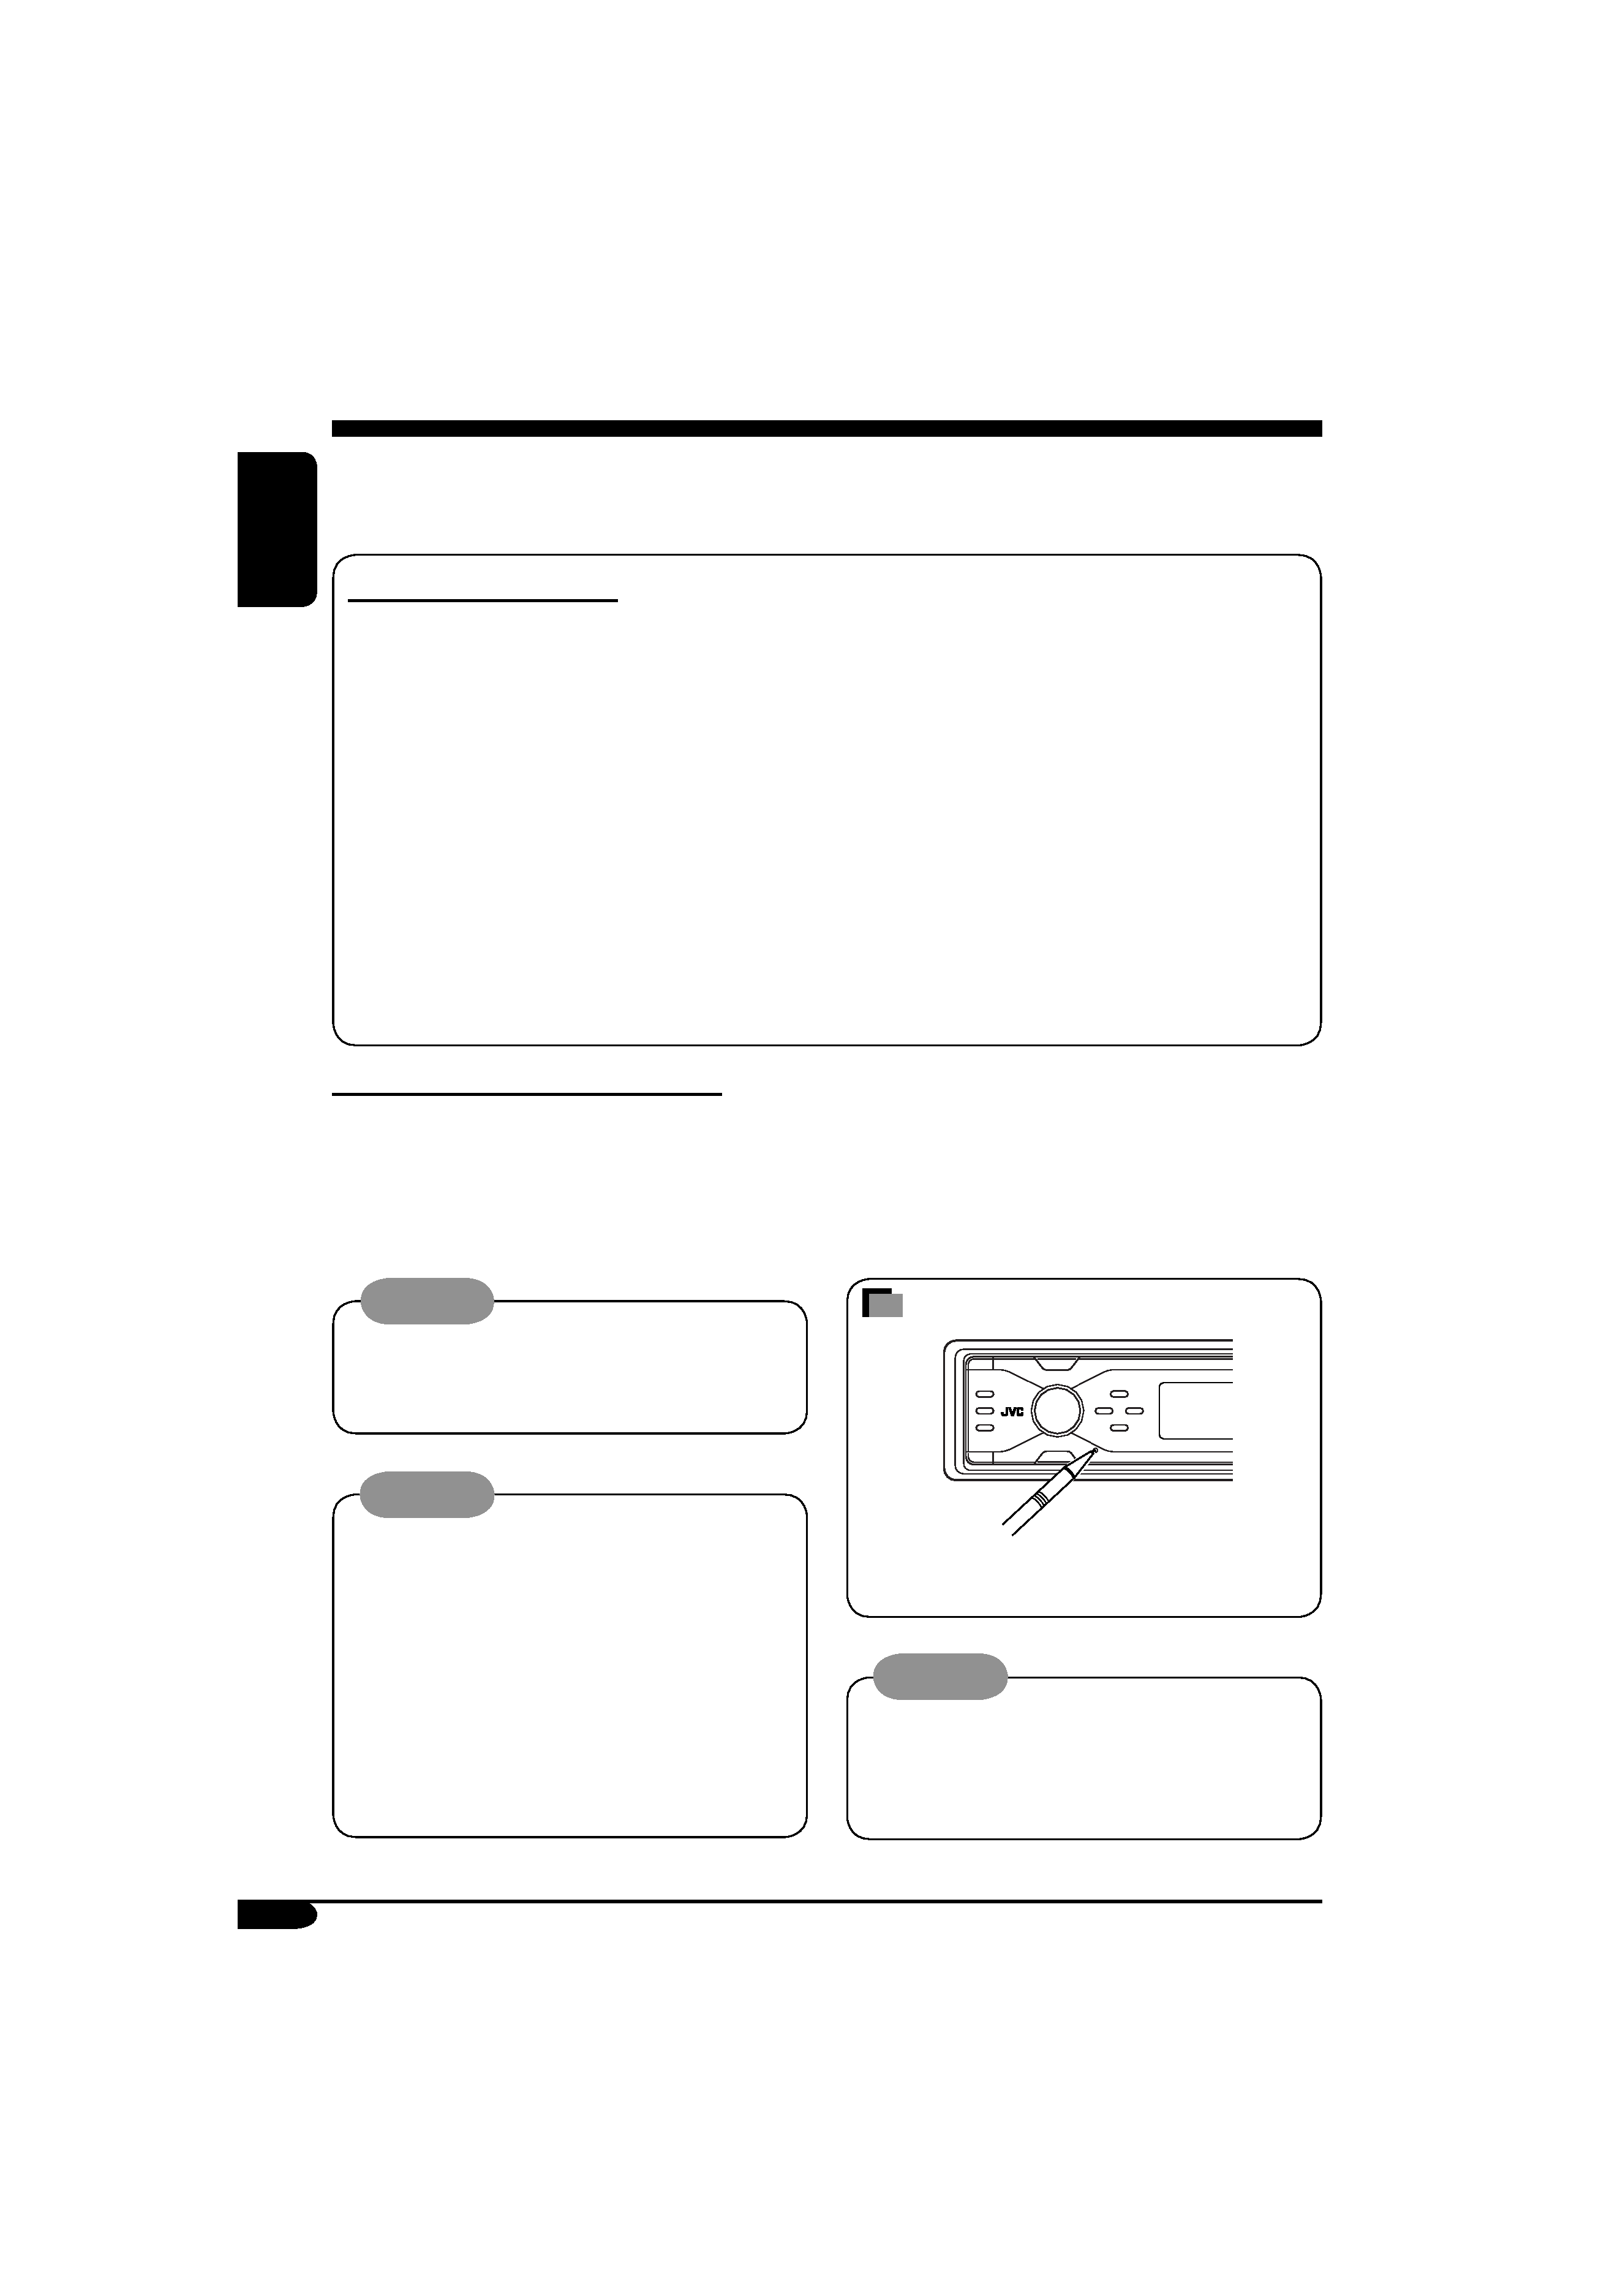
How to forcibly eject a disc
If a disc cannot be recognized by the receiver or
cannot be ejected, eject the disc as follows.
· If an SD card is inserted, eject the SD card
first (see page 15).
1
2
· If this does not work, reset your receiver.
· Be careful not to drop the disc when it
ejects.
Caution on volume setting:
Discs produce very little noise compared
with other sources. Lower the volume
before playing a disc to avoid damaging
the speakers by the sudden increase of the
output level.
EN02-07_KD-AR8500[J]f.indd 4
EN02-07_KD-AR8500[J]f.indd 4
05.4.8 2:28:09 PM
05.4.8 2:28:09 PM
5
ENGLISH
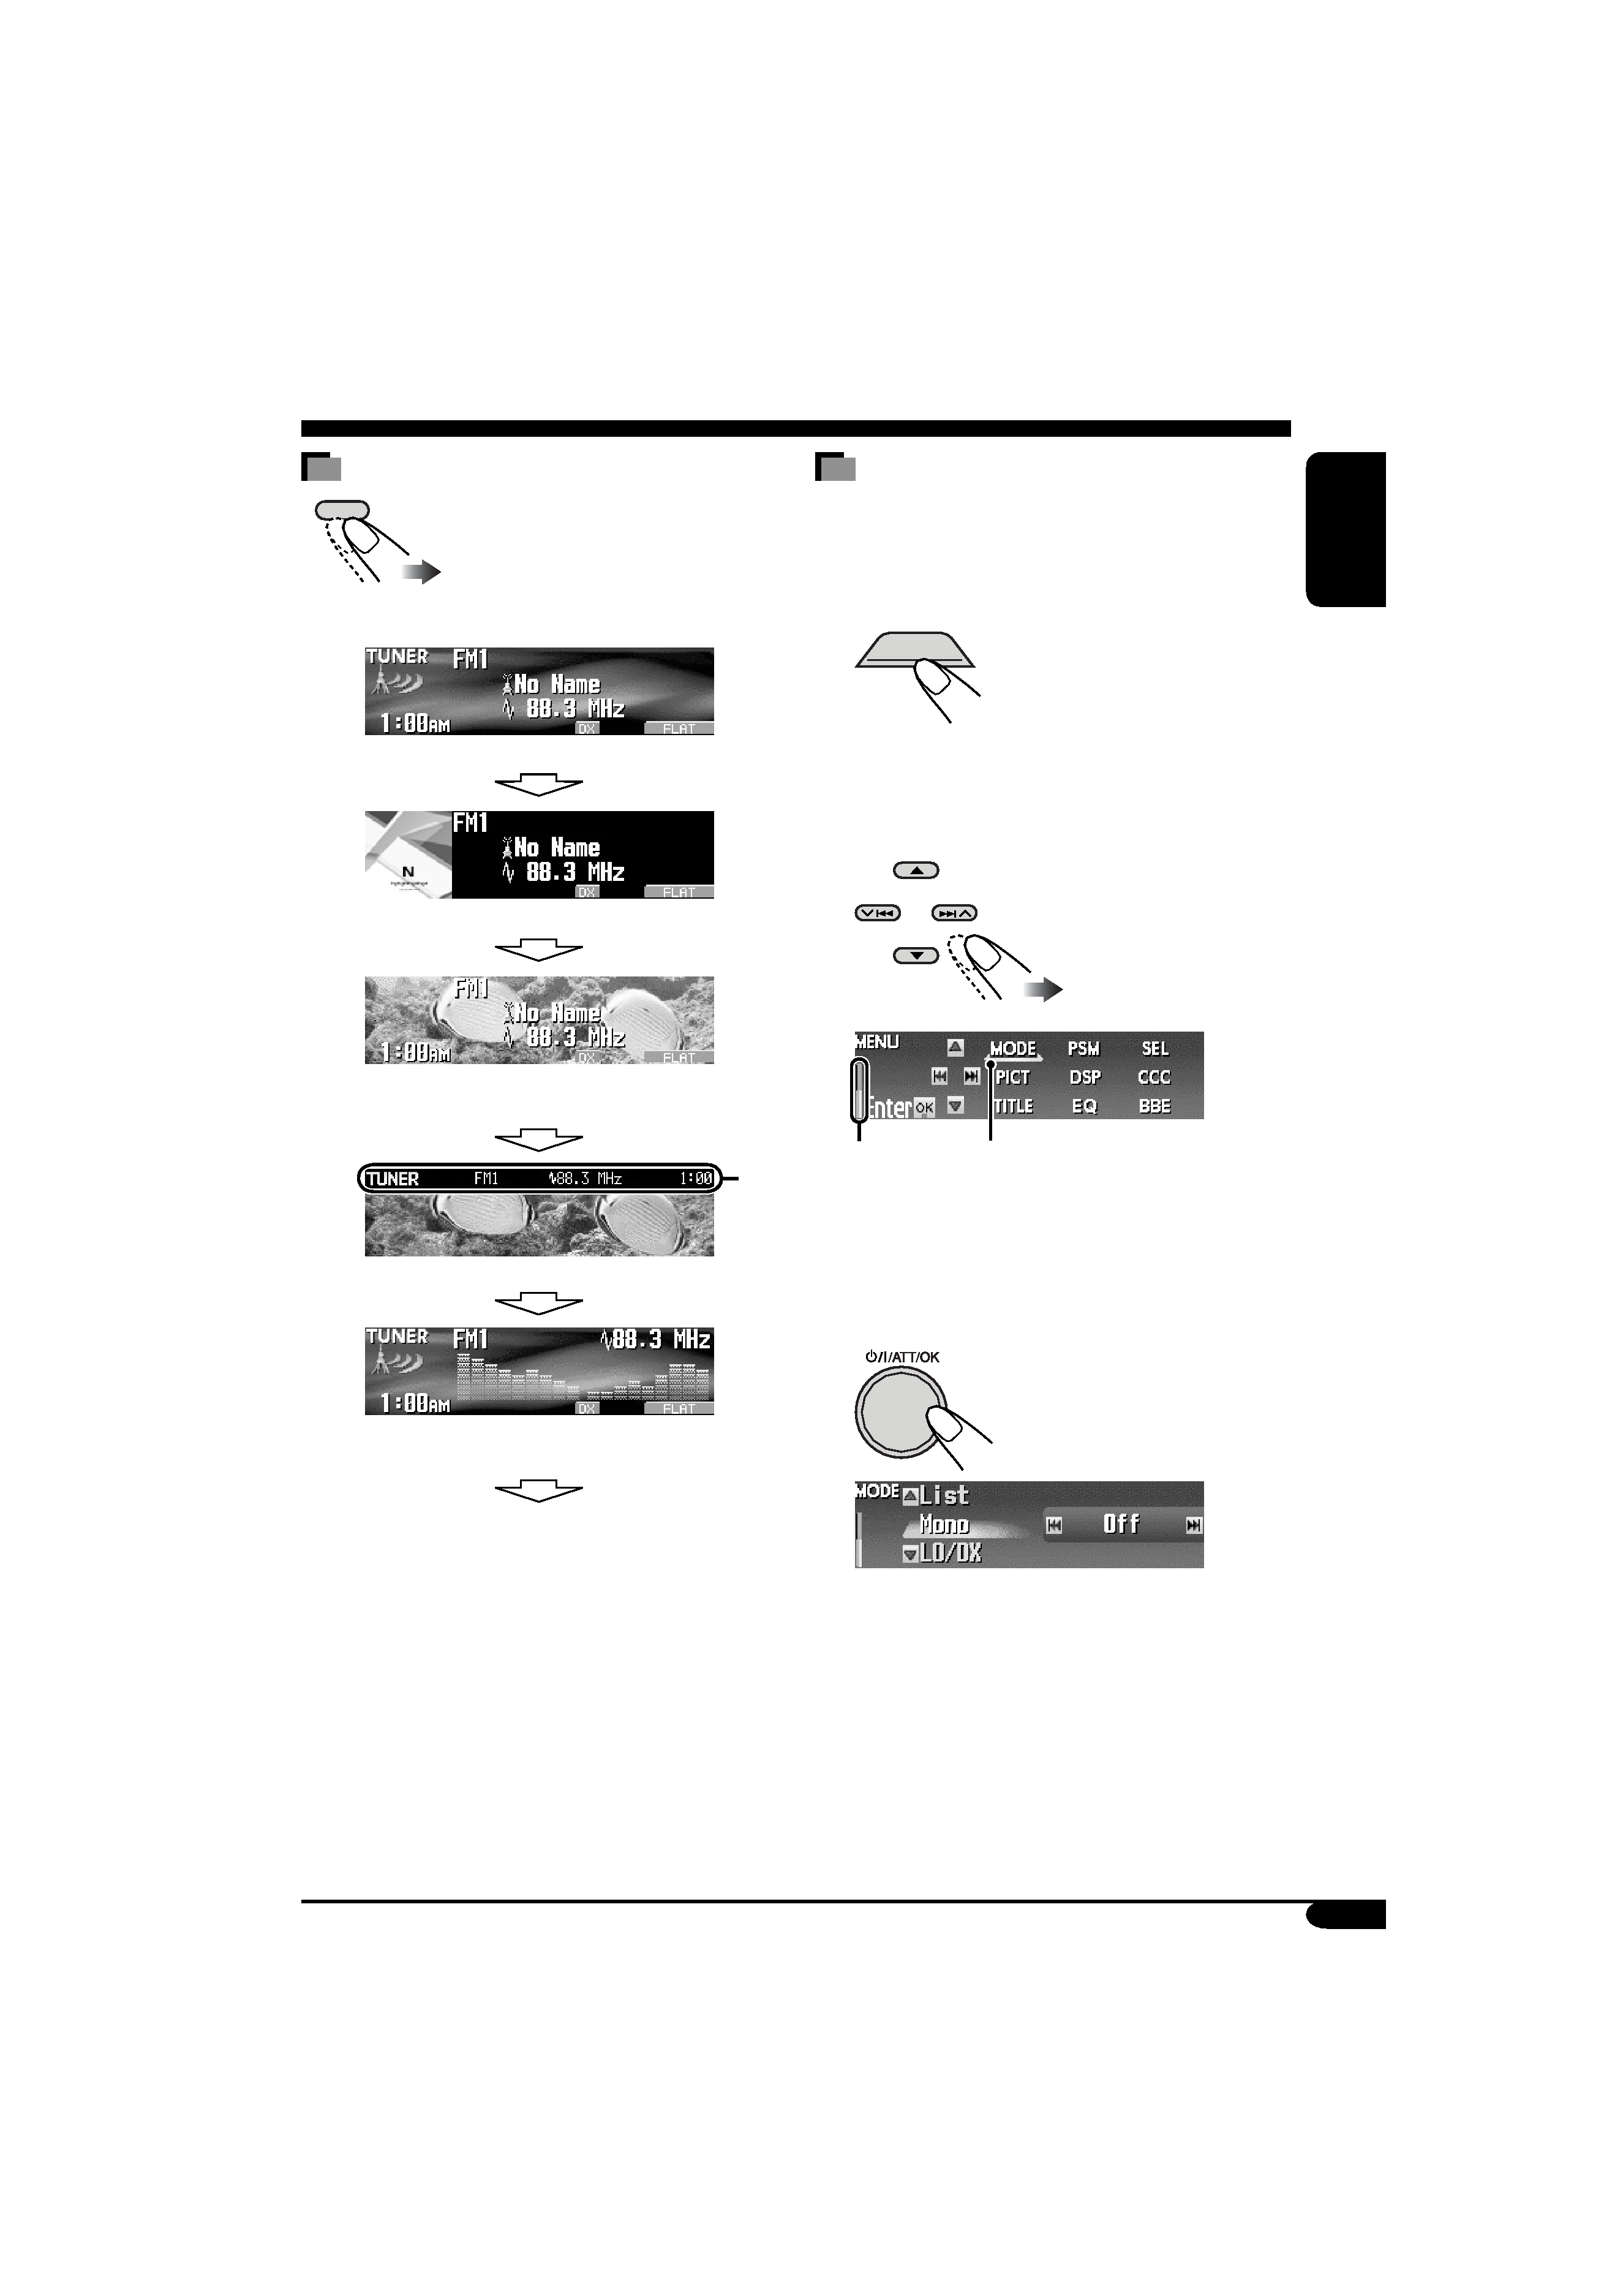
How to enter the various menus
The main menu contains the following
menus--MODE, PSM, SEL, PICT, DSP, CCC,
TITLE, EQ, and BBE.
1
2 Move the cursor to select a menu
you want (MODE, PSM, SEL, PICT,
DSP, CCC, TITLE, EQ, BBE).
· To go back to the previous screen, press
BACK.
* Works as time countdown indicator.
3 Enter the selected menu.
Ex.: When MODE menu is selected
· To go back to the MENU screen, press
MENU.
4 Operate as instructed on the screen.
How to change the display pattern
Ex.: When tuner is selected as the source
Source operation screen
"Small" (CD jacket image) graphic
*1 is displayed.
"Large" (full screen size) graphic
*1 is shown as
the display background.
Graphic screen
*1
Audio level meters are displayed
(see "LevelMeter" on page 37).
Goes back to the initial display pattern.
*1 You can use your edited file for graphic
screen (see pages 32 36).
Depending on a downloaded file, it may take
longer time to show it on the display.
*2 The information bar will disappear if no
operation is performed.
· If the current source is "SIRIUS," see page 48
for details.
DISP
MENU
Cursor
*2
*
EN02-07_KD-AR8500[J]f.indd 5
EN02-07_KD-AR8500[J]f.indd 5
05.4.8 2:28:10 PM
05.4.8 2:28:10 PM