MasterPage: Cover
GZ-MG70E/EK
LYT1495-001A
EN
ENGLISH
HARD DISK CAMCORDER
GETTING STARTED
7
VIDEO RECORDING &
PLAYBACK
22
MENU SETTINGS
48
52
To deactivate the demonstration,
set "DEMO MODE" to "OFF".
(
pg. 48)
REFERENCES
INSTRUCTIONS
STILL IMAGE RECORDING
& PLAYBACK
28
ADVANCED OPERATIONS
31
M5E6PAL.book Page 1 Friday, August 26, 2005 8:16 PM
2 EN
MasterPage: Body_Left
Built-in Hard Disk
This hard disk camera records images to a
large, built-in hard disk drive (HDD) instead of a
DV tape like conventional video cameras. This
enables extended hours of high-resolution,
MPEG2 video recording.
Various Recording Modes
You can select the most suitable recording mode
for picture quality, image size, recording time,
and computer environment. (
pg. 62)
Enjoying Various Playback Features
Unlike tape operation, playback is simple and
easy in this camera since no time is needed for
rewinding or fast forward operations.
Playlist, playback effects,
and other functions are
also available for
enjoying many different
types of playback.
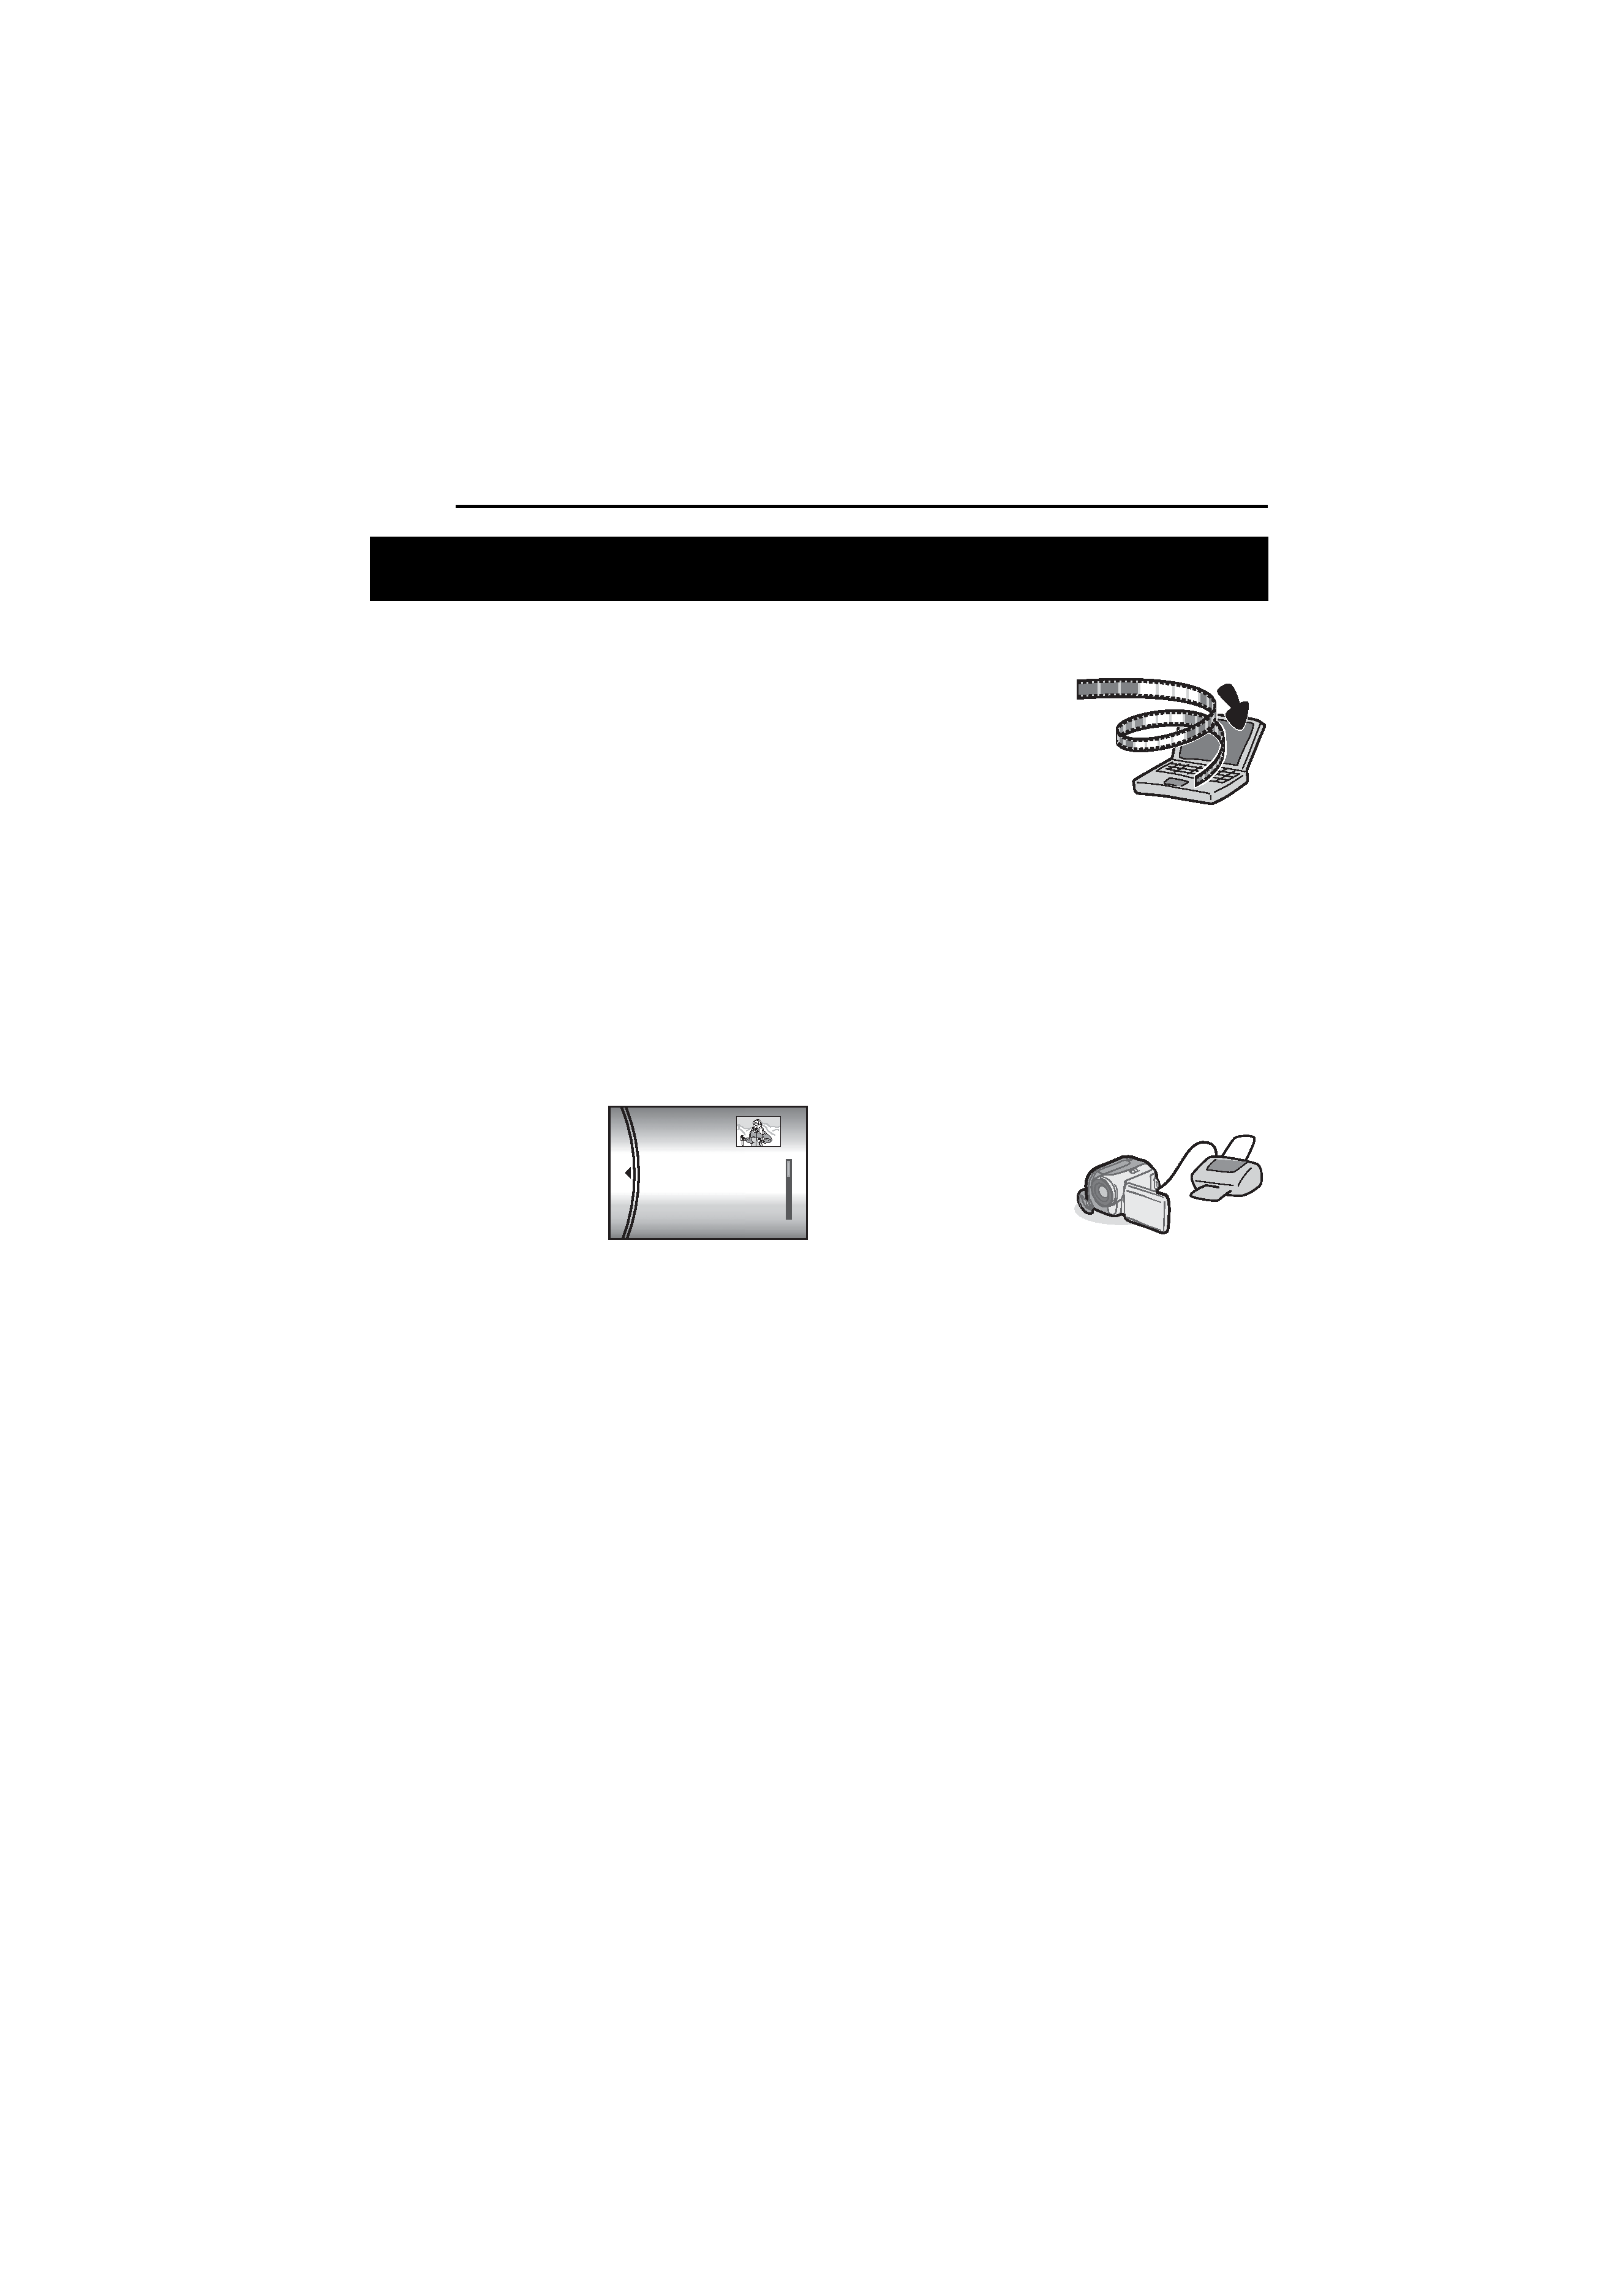
Editing Files on your PC
USB 2.0 enables the
smooth transfer of video
and still images to a
computer. With the
bundled image editing
software, you can easily
edit video and create your own DVDs. (Refer to
"Read this first!" and the software installation
and USB connection guide.)
Flash
You can record still images in dark places more
easily. The flash fires automatically during still
image recording. (
pg. 31)
Direct Printing
If your printer is
compatible with
PictBridge, still images
can be printed easily by
connecting the camera
with USB cable directly to the printer. (
pg. 47)
Major Features of this Camera
ALL SCENES
01 10.11 2005 11:30
02 15.11 2005 23:00
03 25.11 2005 11:00
PLAYLIST CONTENTS
M5E6PAL.book Page 2 Friday, August 26, 2005 8:16 PM

EN
3
MasterPage: Reference_Heading0_Right
GETTING STARTED
7
Provided Accessories ...................................... 7
Index .............................................................. 10
Power ............................................................. 14
Operation Mode ............................................. 16
Language Setting .......................................... 17
Date/Time Settings ........................................ 18
Brightness Adjustment of the Display ............ 18
Grip Adjustment ............................................. 19
Tripod Mounting ............................................. 19
Inserting/Removing an SD Card .................... 19
Formatting a Recording Medium ................... 20
Selecting a Recording Medium ...................... 21
Remaining Space on the Recording Media ... 21
Drop Detection ............................................... 21
VIDEO RECORDING & PLAYBACK
22
Video Recording ............................................ 22
Zooming ..................................................... 23
Video Playback .............................................. 24
How to Use the Scroll Bar ......................... 25
Date Index Screen ..................................... 25
Various Playback Operations .................... 25
Playback Zoom .......................................... 25
Connecting to a TV, VCR or DVD Recorder .....26
Playback on a TV ...................................... 26
Dubbing to a VCR (or DVD Recorder) ....... 26
Playback Using the Remote Control .............. 27
STILL IMAGE RECORDING & PLAYBACK 28
Still Image Recording ..................................... 28
Zooming ..................................................... 28
Continuous Shooting ................................. 28
Still Image Playback ...................................... 29
Slide Show ................................................. 29
Index Screen of Still Image Files ............... 29
How to Use the Scroll Bar ......................... 30
Date Index Screen ..................................... 30
Image Rotation .......................................... 30
Playback Zoom .......................................... 30
ADVANCED OPERATIONS
31
RECORDING FEATURES ..................................... 31
Backlight Compensation ................................ 31
Spot Exposure Control ................................... 31
Flash .............................................................. 31
Manual Settings in MSET Menu .................... 32
How to Select a Menu Item ....................... 32
Manual Exposure ....................................... 32
Manual Focus ............................................ 33
White Balance ........................................... 34
Shutter Speed ............................................ 35
Program AE ............................................... 36
Effect ......................................................... 36
PLAYBACK FEATURES ....................................... 37
Wipe or Fader Effects .................................... 37
Playback Effects ............................................ 37
MANAGING FILES ............................................. 38
Viewing File Information ................................ 38
Protecting Files .............................................. 38
Deleting Files ................................................. 39
Cleaning Up a Recording Medium ................. 40
Copying/Moving Still Image Files ................... 41
Resetting the File Number ............................. 42
Creating Play List ........................................... 42
Playing Back Play List ................................... 43
DPOF Print Setting ........................................ 46
Direct Printing with a PictBridge Printer ......... 47
MENU SETTINGS
48
Changing the Menu Settings ......................... 48
Common Menus for All Modes ...................... 48
Video Recording Menus ................................ 50
Video Playback Menus .................................. 50
Still Image Recording Menus ......................... 51
Still Image Playback Menus ........................... 51
REFERENCES
52
Troubleshooting ............................................. 52
Warning Indications ....................................... 55
Cleaning the Camera ..................................... 57
Cautions ......................................................... 57
Specifications ................................................. 60
TERMS ............................................... Back cover
Contents
M5E6PAL.book Page 3 Friday, August 26, 2005 8:16 PM
4 EN
MasterPage: Safty_Left
SAFETY PRECAUTIONS
Dear Customer,
Thank you for purchasing this hard disk camera.
Before use, please read the safety information
and precautions contained in the pages 4 6 to
ensure safe use of this product.
IMPORTANT (for owners in the U.K.)
Connection to the mains supply in the United
Kingdom.
DO NOT cut off the mains plug from this
equipment.
If the plug fitted is not suitable for the power points
in your home or the cable is too short to reach a
power point, then obtain an appropriate safety
approved extension lead or consult your dealer.
BE SURE to replace the fuse only with an
identical approved type, as originally fitted,
and to replace the fuse cover.
If nonetheless the mains plug is cut off be sure to
remove the fuse and dispose of the plug
immediately, to avoid possible shock hazard by
inadvertent connection to the mains supply.
If this product is not supplied fitted with a mains
plug then follow the instructions given below:
DO NOT make any connection to the Larger
Terminal coded E or Green.
The wires in the mains lead are coloured in
accordance with the following code:
If these colours do not correspond with the
terminal identifications of your plug, connect as
follows:
Blue wire to terminal coded N (Neutral) or
coloured black.
Brown wire to terminal coded L (Live) or coloured
Red.
If in doubt -- consult a competent electrician.
WARNING: TO PREVENT FIRE OR SHOCK
HAZARD, DO NOT EXPOSE THIS UNIT TO
RAIN OR MOISTURE.
CAUTIONS:
To prevent shock, do not open the cabinet. No
user serviceable parts inside. Refer servicing
to qualified personnel.
When you are not using the AC adapter for a
long period of time, it is recommended that you
disconnect the power cord from AC outlet.
Blue to N (Neutral)
or Black
Brown to L (Live)
or Red
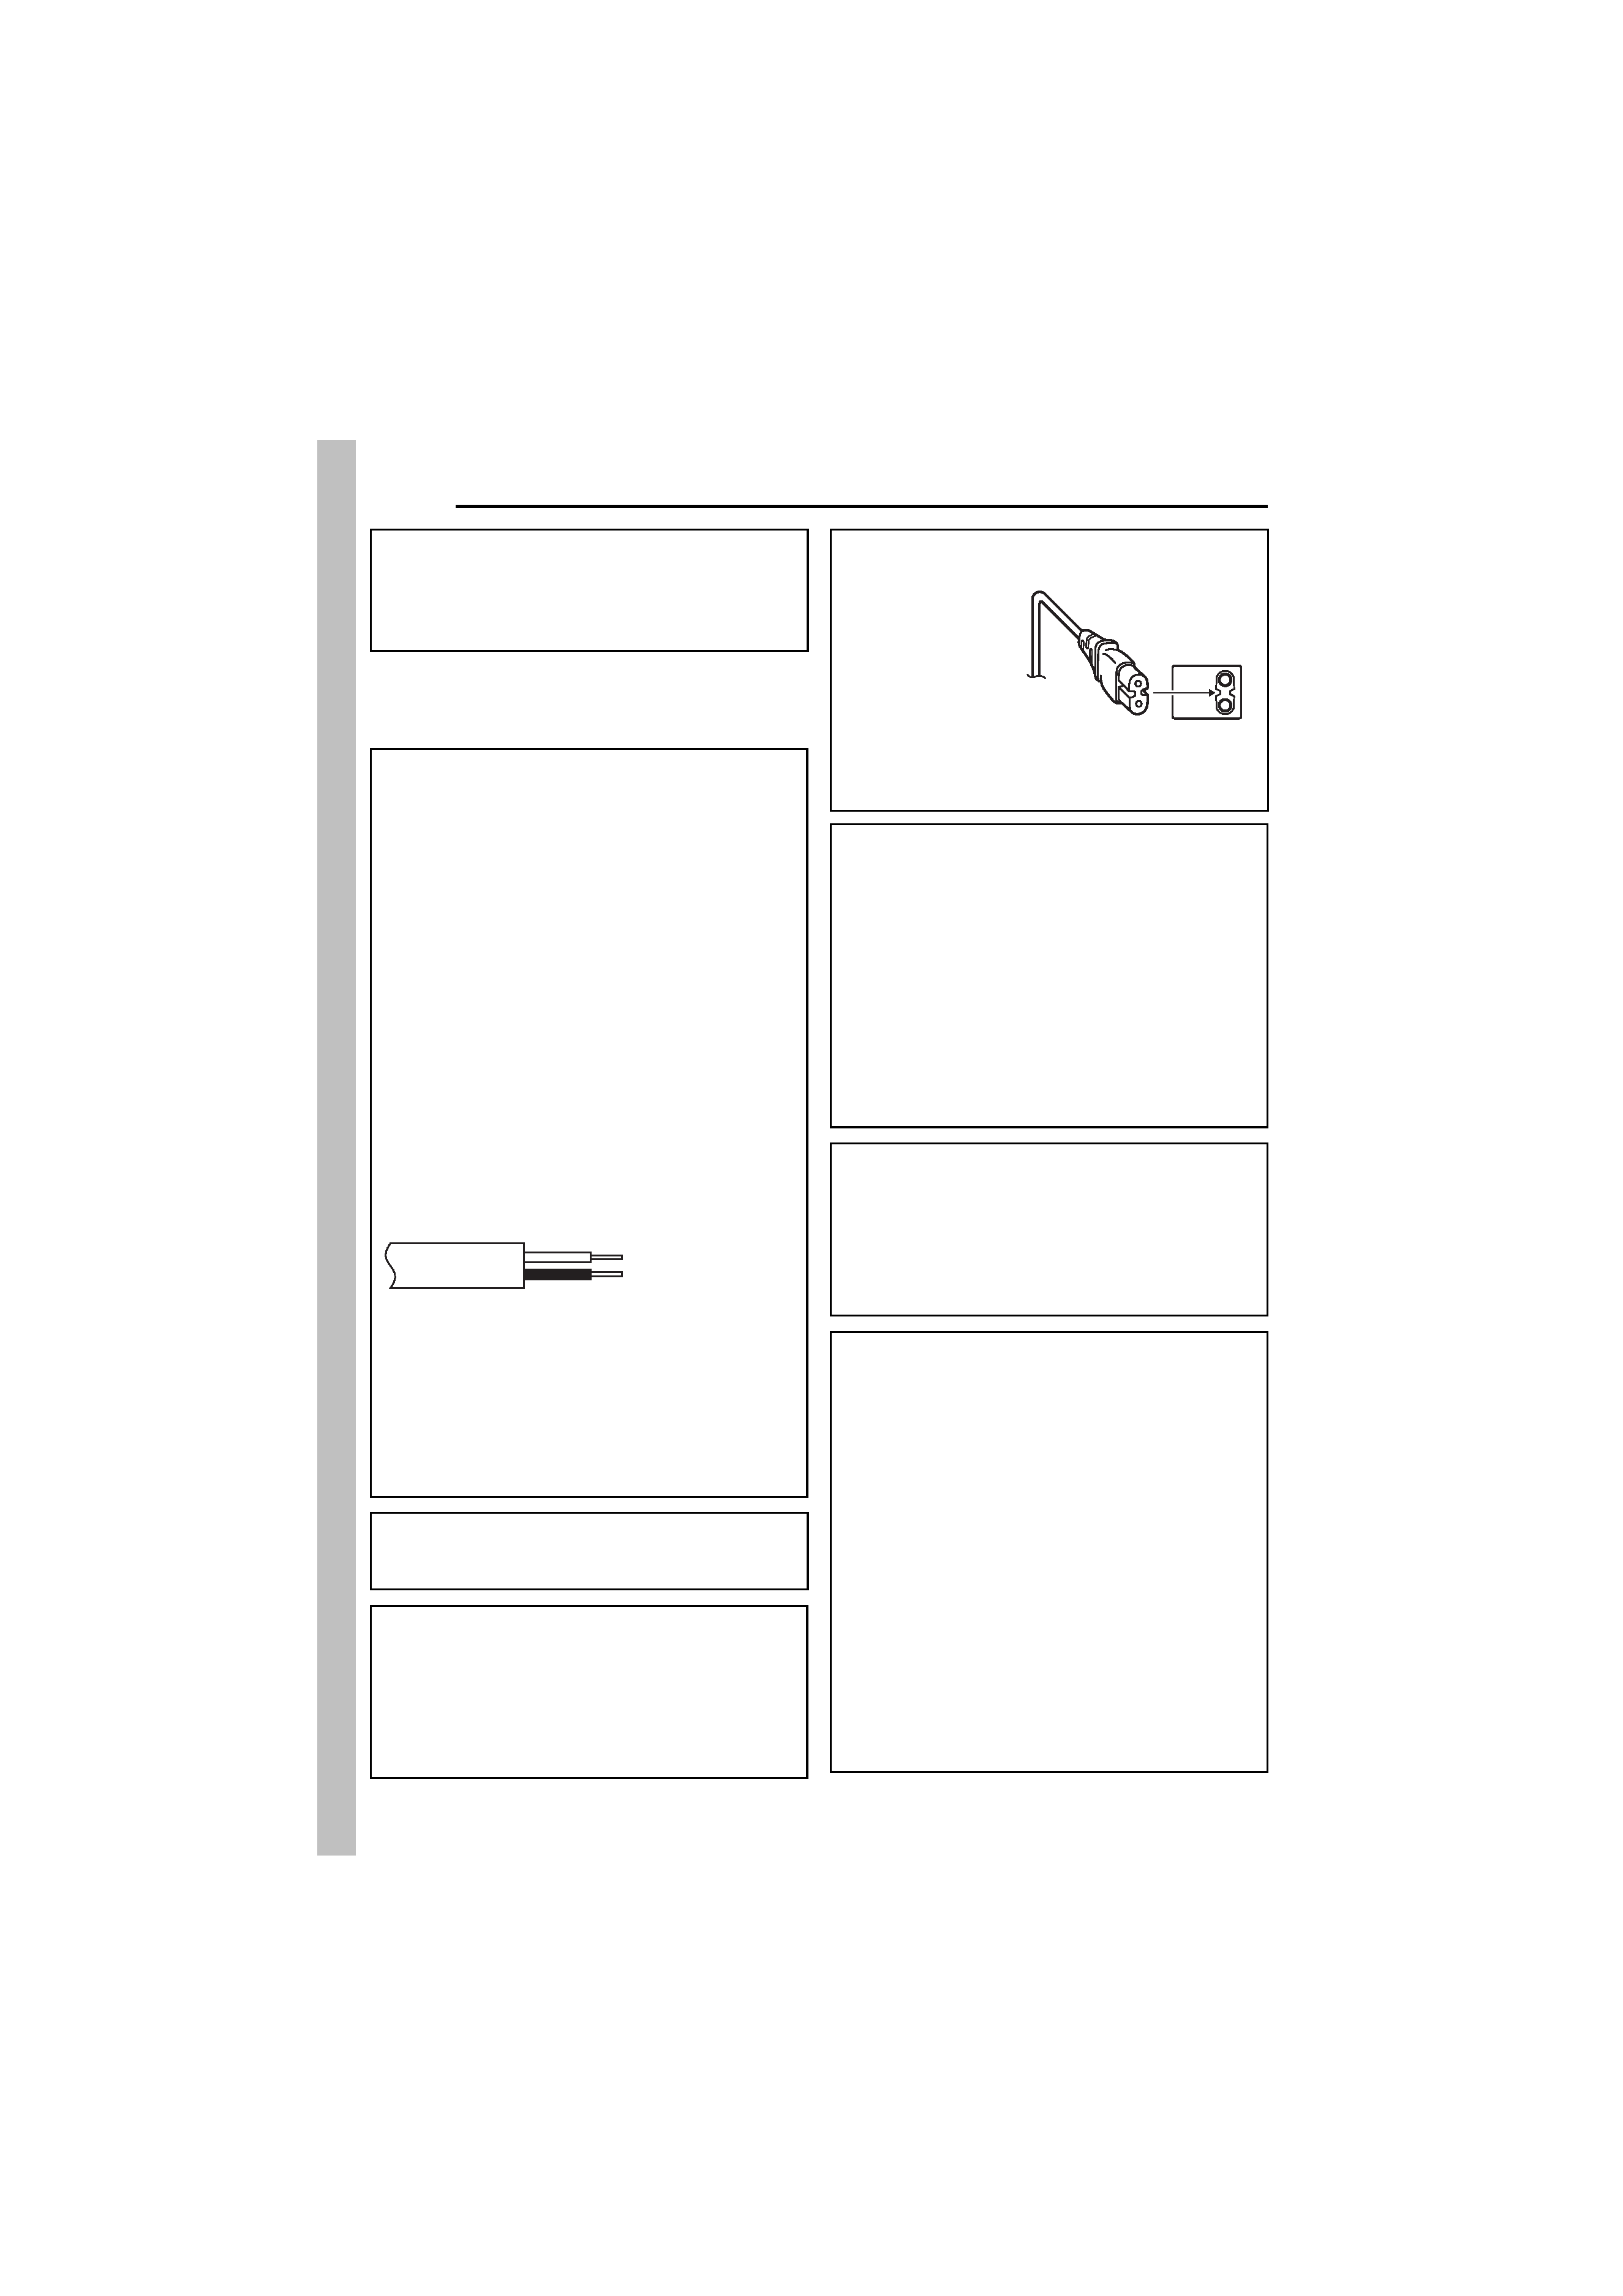
CAUTION:
To avoid electric
shock or damage
to the unit, first
firmly insert the
small end of the
power cord into
the AC Adapter
until it is no
longer wobbly,
and then plug the larger end of the power cord
into an AC outlet.
CAUTIONS:
This camera is designed to be used with PAL-
type colour television signals. It cannot be used
for playback with a television of a different
standard. However, live recording and LCD
monitor playback are possible anywhere.
Use the JVC BN-VF707U battery pack and, to
recharge it or to supply power to the camera
from an AC outlet, use the provided multi-
voltage AC adapter. (An appropriate
conversion adapter may be necessary to
accommodate different designs of AC outlets in
different countries.)
NOTES:
The rating plate and safety caution are on the
bottom and/or the back of the main unit.
The serial number plate is on the battery pack
mount.
The rating information and safety caution of the
AC adapter are on its upper and lower sides.
Do not point the lens directly into the sun. This
can cause eye injuries, as well as lead to the
malfunctioning of internal circuitry. There is also a
risk of fire or electric shock.
CAUTION!
The following notes concern possible physical
damage to the camera and to the user.
Carrying or holding the camera by the LCD
monitor can result in dropping the unit, or in a
malfunction.
Do not use a tripod on unsteady or unlevel
surfaces. It could tip over, causing serious
damage to the camera.
CAUTION!
Connecting cables (Audio/Video, S-Video, etc.) to
the camera and leaving it on top of the TV is not
recommended, as tripping on the cables will
cause the camera to fall, resulting in damage.
M5E6PAL.book Page 4 Friday, August 26, 2005 8:16 PM
EN
5
MasterPage: Safty_Right
SOME DO'S AND DON'TS ON THE SAFE USE
OF EQUIPMENT
This equipment has been designed and
manufactured to meet international safety
standards but, like any electrical equipment,
care must be taken if you are to obtain the best
results and safety is to be assured.
DO read the operating instructions before you
attempt to use the equipment.
DO ensure that all electrical connections (including
the mains plug, extension leads and
interconnections between pieces of equipment) are
properly made and in accordance with the
manufacturer's instructions. Switch off and withdraw
the mains plug when making or changing
connections.
DO consult your dealer if you are ever in doubt
about the installation, operation or safety of your
equipment.
DO be careful with glass panels or doors on
equipment.
DON'T continue to operate the equipment if you are
in any doubt about it working normally, or if it is
damaged in any way -- switch off, withdraw the
mains plug and consult your dealer.
DON'T remove any fixed cover as this may expose
dangerous voltages.
Information for Users on Disposal of
Old Equipment
[European Union]
This symbol indicates
that the electrical and
electronic equipment
should not be disposed
as general household
waste at its end-of-life.
Instead, the product
should be handed over to
the applicable collection
point for the recycling of
electrical and electronic
equipment for proper
treatment, recovery and
recycling in accordance with your national
legislation.
By disposing of this product correctly, you will
help to conserve natural resources and will help
prevent potential negative effects on the
environment and human health which could
otherwise be caused by inappropriate waste
handling of this product. For more information
about collection point and recycling of this
product, please contact your local municipal
office, your household waste disposal service or
the shop where you purchased the product.
Penalties may be applicable for incorrect disposal
of this waste, in accordance with national
legislation.
(Business users)
If you wish to dispose of this product, please visit
our web page www.jvc-europe.com to obtain
information about the take-back of the product.
[Other Countries outside the European Union]
If you wish to dispose of this product, please do
so in accordance with applicable national
legislation or other rules in your country for the
treatment of old electrical and electronic
equipment.
Attention:
This symbol is only
valid in the European
Union.
When the equipment is installed in a cabinet or
on a shelf, make sure that it has sufficient space
on all sides to allow for ventilation (10 cm or more
on both sides, on top and at the rear).
Do not block the ventilation holes.
(If the ventilation holes are blocked by a
newspaper, or cloth etc. the heat may not be able
to get out.)
No naked flame sources, such as lighted candles,
should be placed on the apparatus.
When discarding batteries, environmental
problems must be considered and the local rules
or laws governing the disposal of these batteries
must be followed strictly.
The apparatus shall not be exposed to dripping or
splashing.
Do not use this equipment in a bathroom or
places with water.
Also do not place any containers filled with water
or liquids (such as cosmetics or medicines, flower
vases, potted plants, cups etc.) on top of this unit.
(If water or liquid is allowed to enter this
equipment, fire or electric shock may be caused.)
CONTINUED ON NEXT PAGE
M5E6PAL.book Page 5 Friday, August 26, 2005 8:16 PM