ENGLISH
INSTRUCTIONS
VHS
PAL
625
AUTOMATIC DEMONSTRATION
Automatic
Demonstration
takes
place when "DEMO MODE" is set to
"ON" (factory-preset).
· Available when the Power Switch is set to
"
" or "
".
· To cancel Automatic Demonstration, set
"DEMO MODE" to "OFF" (
pg. 15).
Dear Customer,
Thank you for purchasing the JVC Compact
VHS camcorder. Before use, please read
"SAFETY PRECAUTIONS" (
pg. 3) to
ensure safe use of this product.
LYT1367-001A
COMPACT VHS CAMCORDER
GR-SXM301AS
GR-SXM265AS
GR-SXM201AS
CONTENTS
GETTING STARTED
4 ~ 8
RECORDING/PLAYBACK
9
BASIC FEATURES
9 ~ 11
MENU SETTINGS
12 ~ 16
REFERENCES
18 ~ 23
GR-SXM301AS-EN.fm Page 1 Thursday, December 2, 2004 5:53 PM
2
PROVIDED
ACCESSORIES
· Battery Packs BN-V12U, BN-V20U, BN-
V400U
· Compact S-VHS (
) Cassettes SE-
C45/30
· Compact VHS (
) Cassettes EC-60/
45/30
· Active Carrying Bag CB-V7U
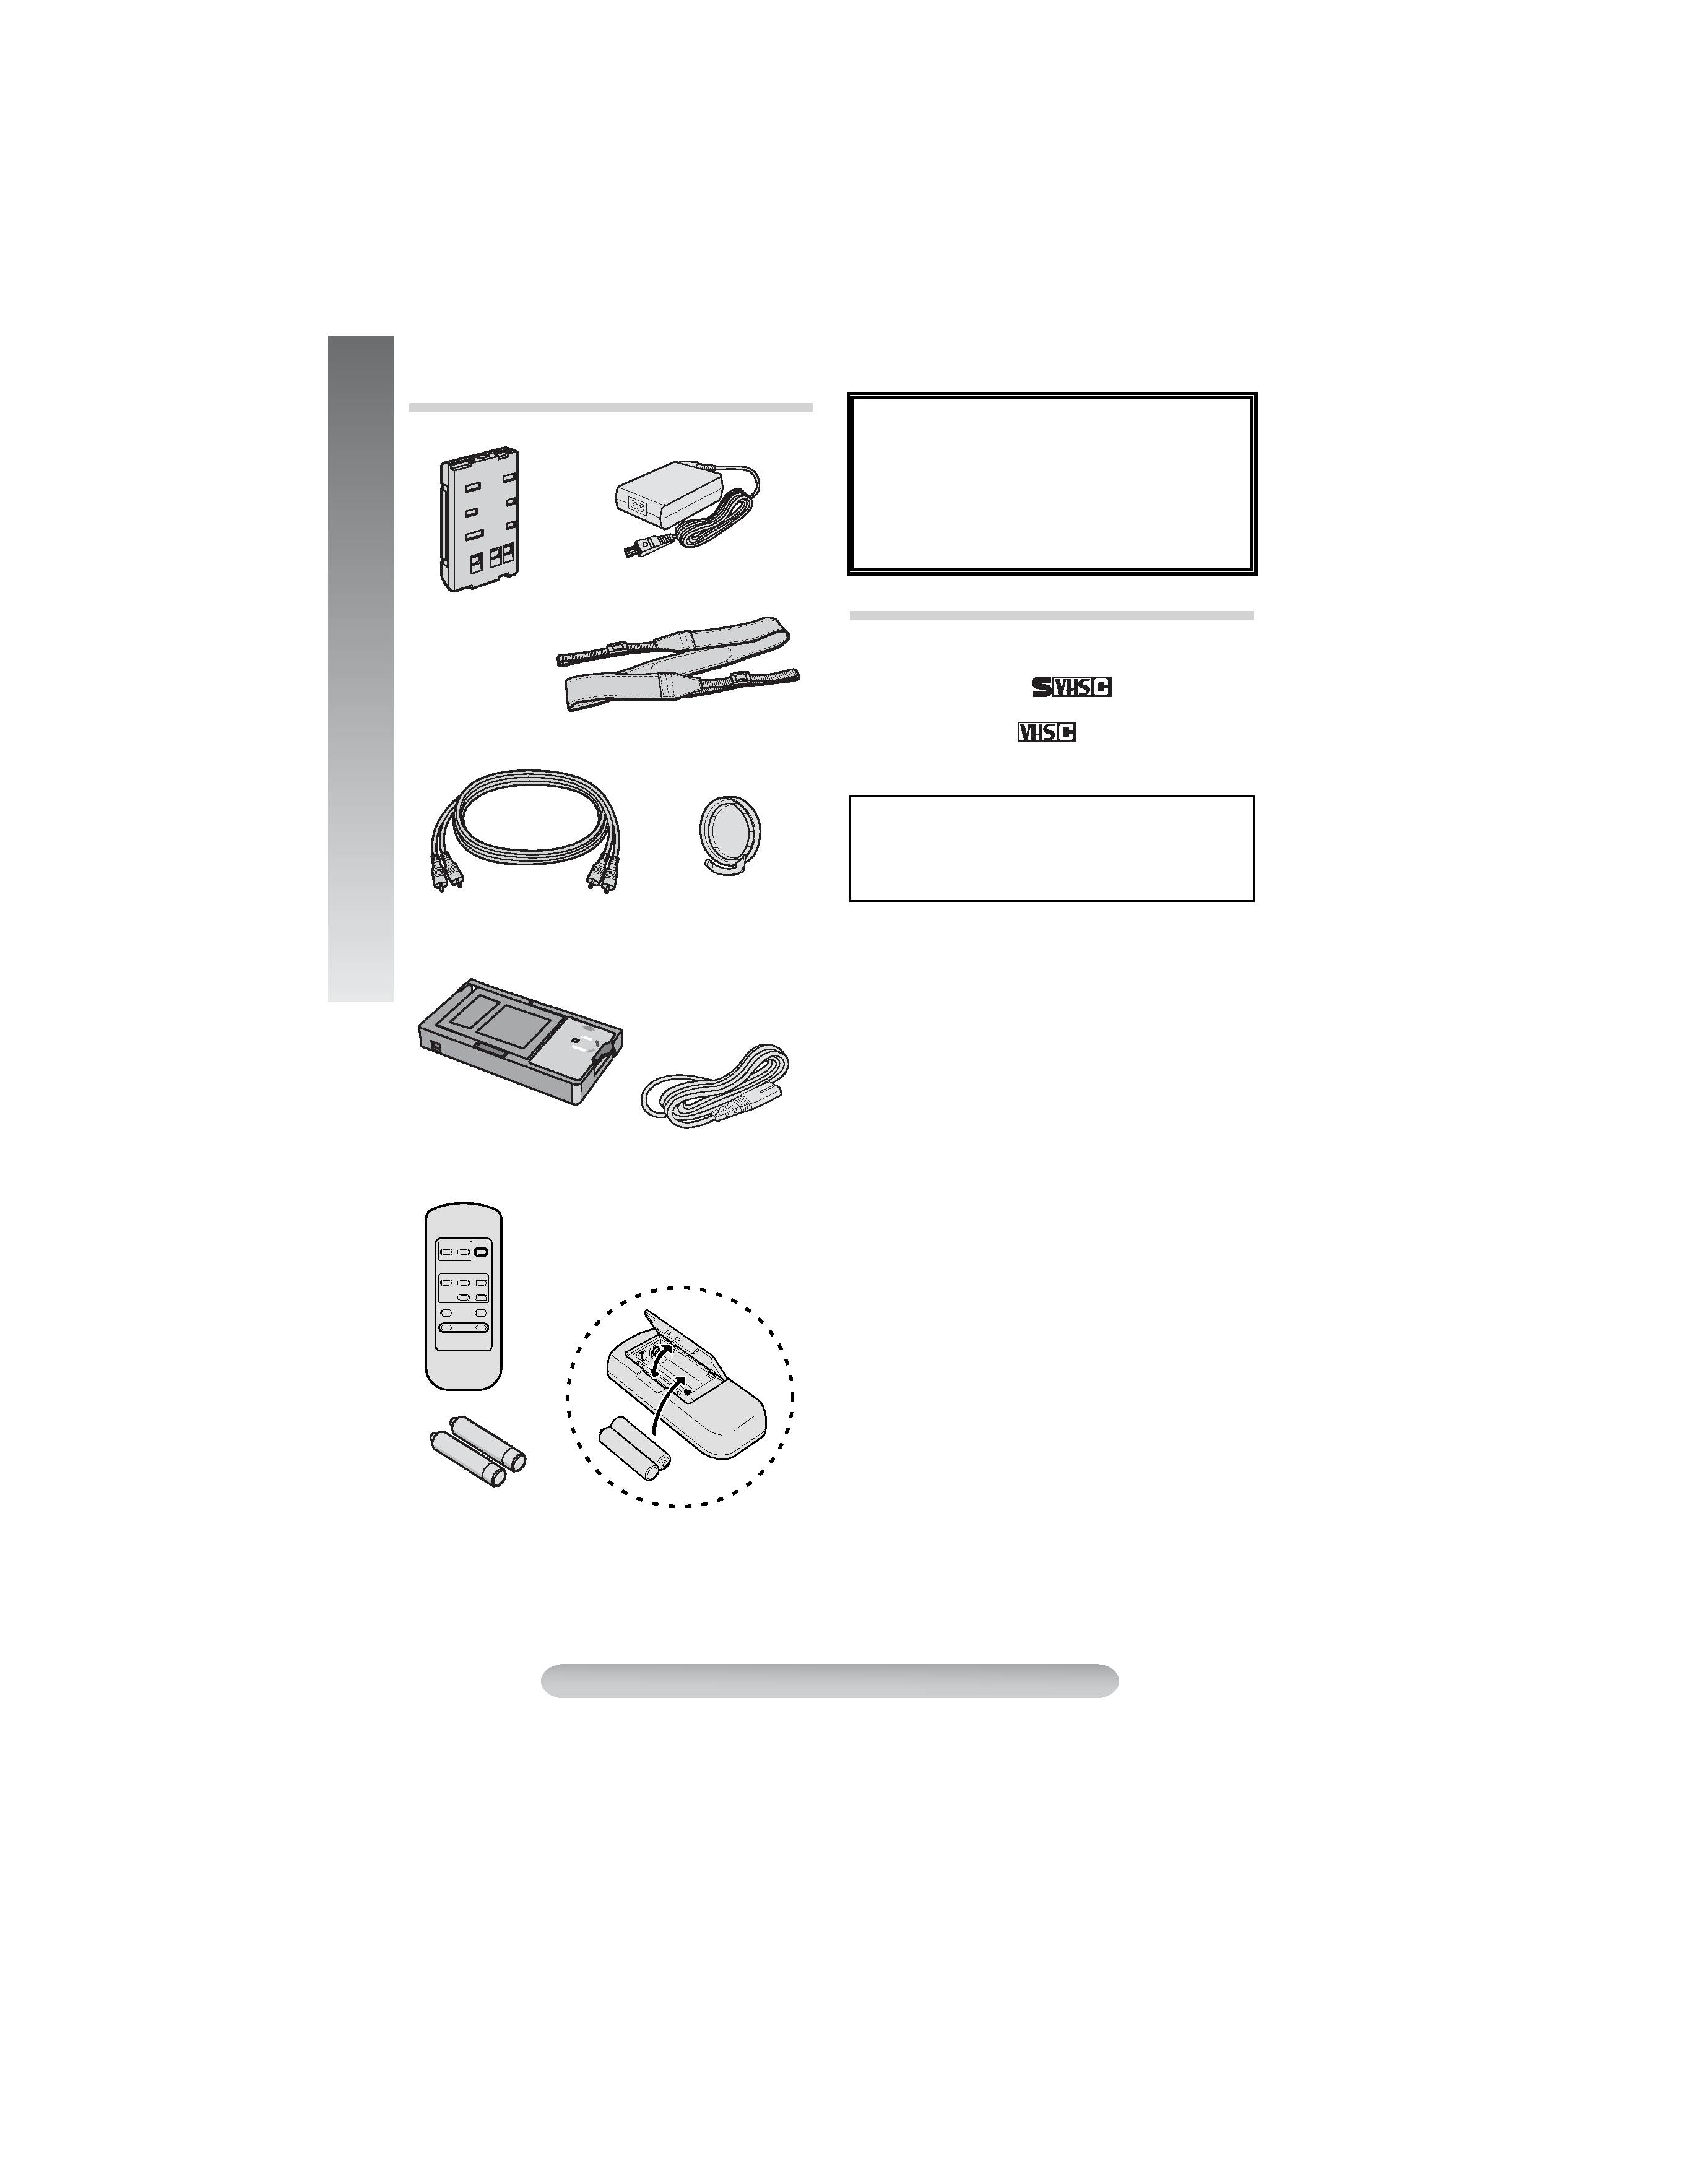
PROVIDED ACCESSORIES
Battery Pack
BN-V10U
Shoulder Strap
AC Adapter
AP-V14A
A/V (Audio/Video)
Cable
Lens Cap
Remote Control Unit
RM-V715U
(GR-SXM301AS /
GR-SXM265AS only)
AAA (R03) Battery x 2
(for Remote Control Unit,
GR-SXM301AS /
GR-SXM265AS only)
Cassette Adapter
C-P8U
Power Cord
NOTE:
In order to maintain optimum performance of
the camcorder, provided cables may be
equipped with one or more core filter. If a
cable has only one core filter, the end that is
closest to the filter should be connected to
the camcorder.
OPTIONAL ACCESSORIES
Some accessories are not available in some
areas.
Please consult your nearest JVC dealer for
details on accessories and their availability.
GR-SXM301AS-EN.fm Page 2 Thursday, December 2, 2004 5:53 PM
3
SAFETY
PRECAUTIONS
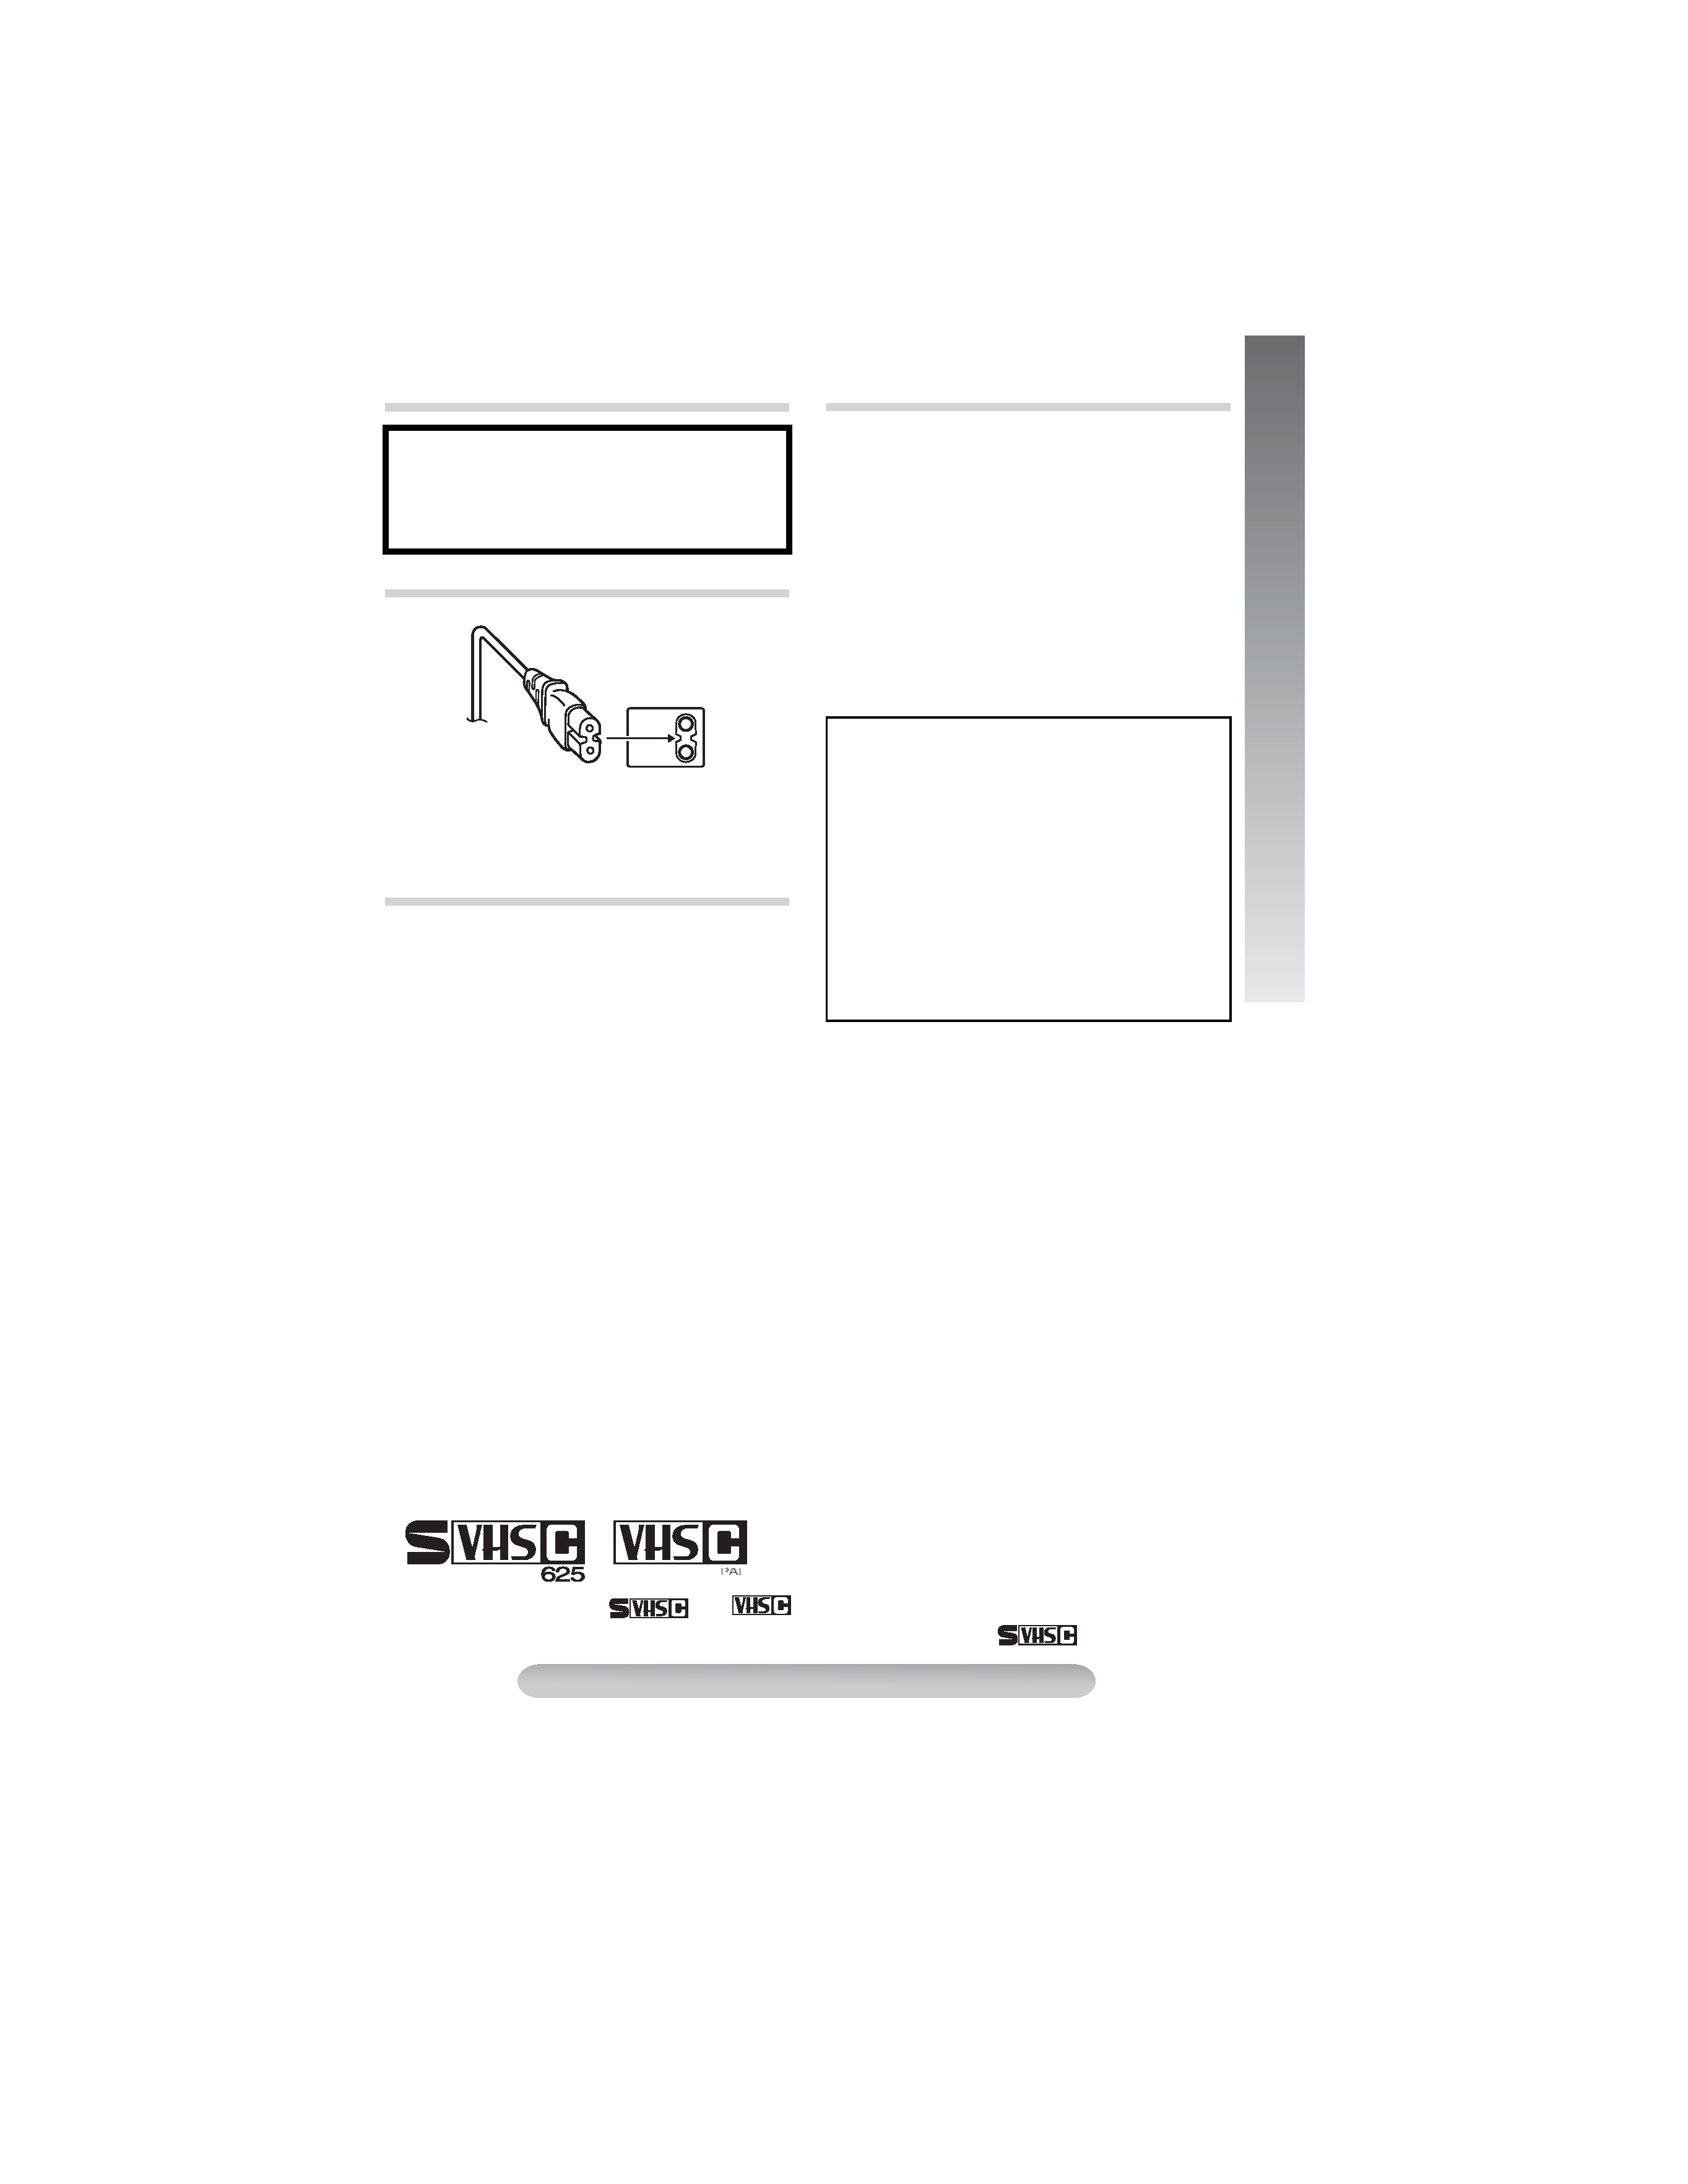
To avoid electrical shock or damage to the
unit, first firmly insert the small end of the
power cord into the AC Adapter until it is no
longer wobbly, and then plug the larger end
of the power cord into an AC outlet.
· If you notice smoke or a peculiar smell
coming from the camcorder or AC adapter,
shut it down and unplug it immediately.
Continue
using
the
camcorder
or
AC
adapter under these conditions could lead to
fire or electric shock. Contact your JVC
dealer. Do
not
attempt
to
repair
the
malfunction yourself.
· To prevent shock, do not open the cabinet.
No user serviceable parts inside. Refer
servicing to qualified personnel.
· When you are not using the AC Adapter for a
long period of time, it is recommended that
you disconnect the AC Adapter from AC
outlet.
· The socket outlet shall be installed near the
equipment and easily accessible, or the
mains plug or an appliance coupler shall
remain readily operable.
· In certain areas, use the conversion plug
depending on the type of your AC wall outlet.
NOTES:
· The rating plate (serial number plate) and
safety caution are on the bottom and/or the
back of the main unit.
· The rating information and safety caution of the
AC Adapter are on its bottom.
· This camcorder is designed to be used with
PAL-type colour television signals. It cannot
be used for playback with a television of a
different standard. However, live recording
and LCD monitor viewfinder playback are
possible anywhere.
· Use the JVC BN-V10U/ V12U/ V20U/ V400U
battery packs and, to recharge them or to
supply power to the camcorder from an AC
outlet, use the provided multi-voltage AC
Adapter. (An appropriate conversion adapter
may be necessary to accommodate different
designs of AC outlets in different countries.)
SAFETY PRECAUTIONS
WARNING:
TO PREVENT FIRE OR SHOCK HAZARD,
DO NOT EXPOSE THIS UNIT TO RAIN OR
MOISTURE.
CAUTIONS
CAUTIONS
CAUTIONS
When the equipment is installed in a cabinet
or on a shelf, make sure that it has sufficient
space at least 10 cm on all sides to allow
ventilation.
Do not block the ventilation holes.
No naked flame sources, such as lighted
candles, should be placed on the apparatus.
When discarding batteries, environmental
problems must be considered and the local
rules or laws governing the disposal of these
batteries must be followed strictly.
Prevent water or liquid from entering this
equipment, keep it away from wet places.
Only cassettes marked
and
can be used with this camcorder.
However, S-VHS recordings are possible only with cassettes marked
.
GR-SXM301AS-EN.fm Page 3 Friday, December 3, 2004 11:29 AM
4
GETTING
STARTED
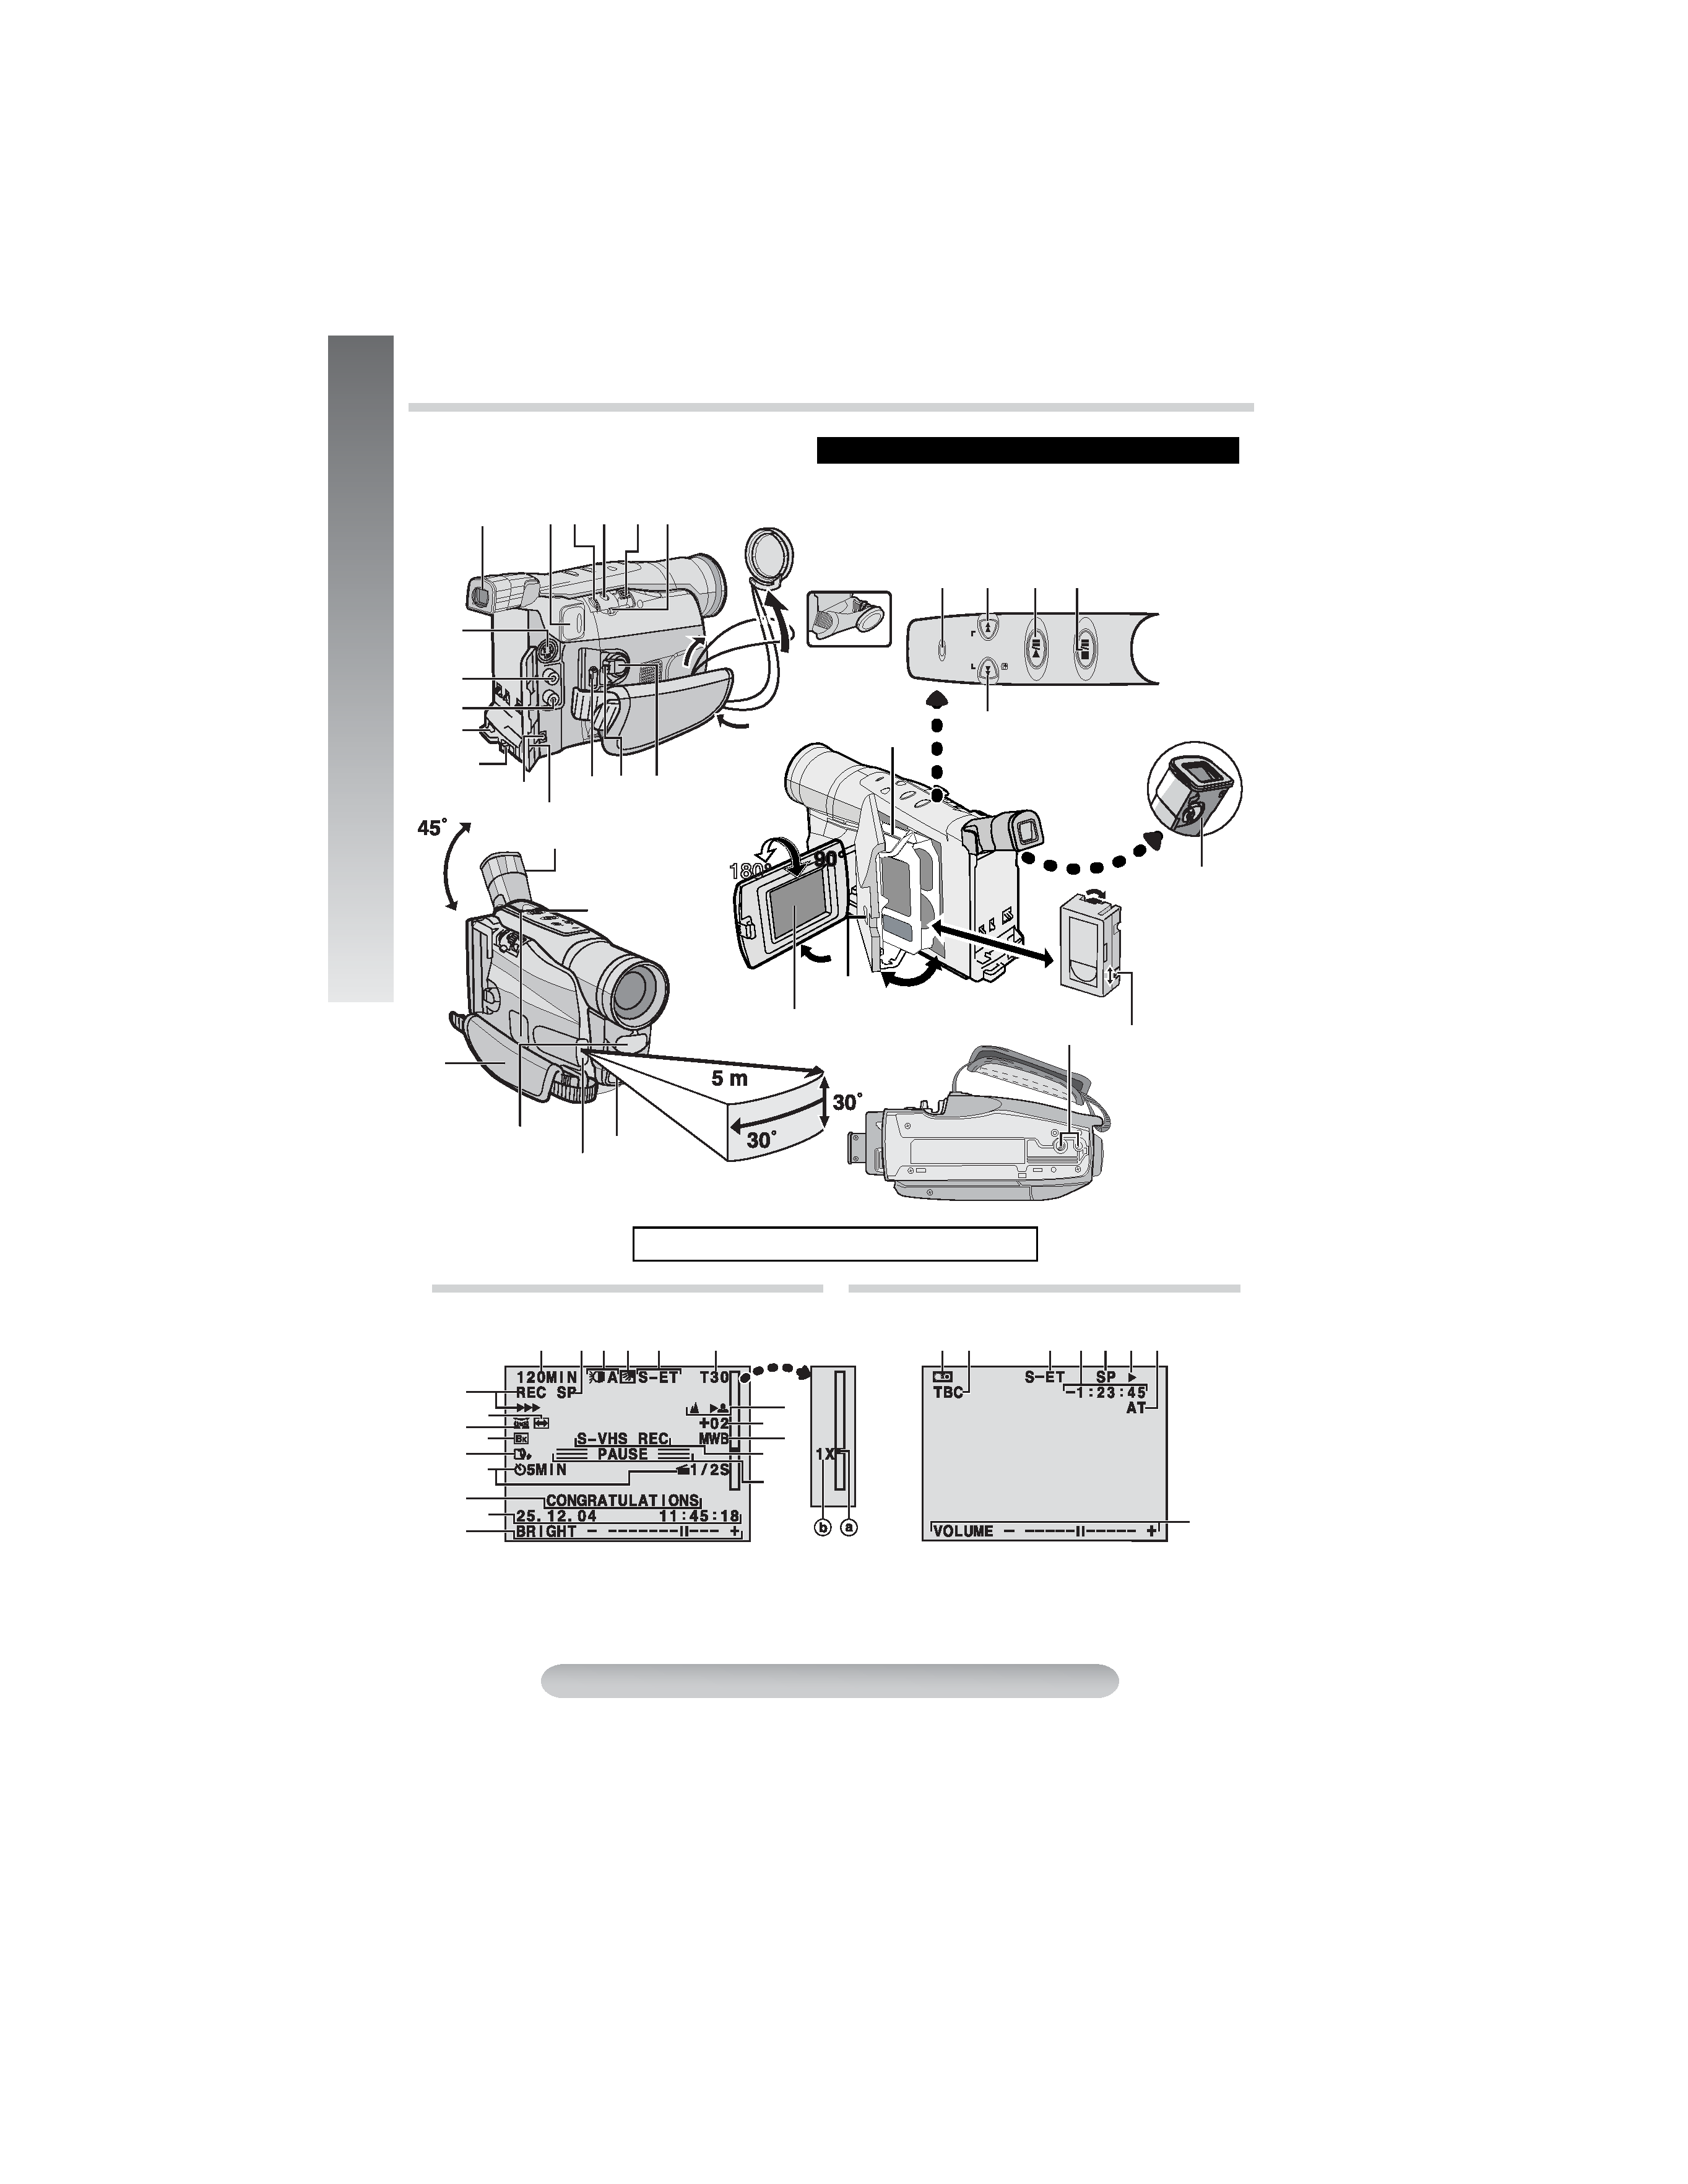
CONTROLS, CONNECTORS AND INDICATORS
180
1 2 3 4
5
6
7
8
9
!
" # $
%
&
(
)
~
-
+
.
Eyepiece
During
shooting
Keep the lens
cap attached to
the camcorder
Cassette holder
Erase
protection tab
LCD monitor
Speaker
Viewfinder
During Recording
During Playback
LCD Monitor/Viewfinder Indications
/
:<
;
=
>
@
\
^
{
}
[
]
_
|
V
0
2
3
?
4 5
6 7 8 9 !
"
pg. 18 for "Warning Indications"
Video Light
(GR-SXM301AS
only)
5
Microphone
Transmitted beam
effective area
Turn the gear
to take up
slack
Connector Cover
Refer to this diagram while reading the instructions.
Remote Sensor
(GR-SXM301/
265AS only)
,
1
GR-SXM301AS-EN.fm Page 4 Thursday, December 2, 2004 5:53 PM

5
GETTING
STARTED
1 · MENU Wheel [, +] ..............................
pg. 7
· BRIGHT Wheel [, +] .........................
pg. 15
· Speaker Volume Control [VOL.] ...........
pg. 9
· TRACKING Wheel [, +].....................
pg. 10
2 · Snapshot Button [SNAPSHOT]*1..........
pg. 9
· 5- Second Recording Button
[5 SEC. REC]*
2 .....................................
pg. 9
3 Power Zoom Lever [T/W]......................
pg. 10
4 · Manual Focus Button [
FOCUS]....
pg. 10
· Time Base Corrector Button [TBC] ....
pg. 10
5 Shoulder Strap Eyelets...........................
pg. 8
6 S-Video Output Connector [S]..............
pg. 11
7 Audio Output Connector [A] .................
pg. 11
8 Video Output Connector [V] .................
pg. 11
9 Battery Release Switch [BATTERY RELEASE] .....
pg. 6
! DC IN Connector....................................
pg. 6
" · Recording Start/Stop Button ................
pg. 9
· REFRESH Button ................................
pg. 6
# Lock Button ............................................
pg. 6
$ Power Switch [ PLAY, OFF,
,
] .....
pg. 9
% POWER/CHARGE Lamp .......................
pg. 6
& · Retake Forward Button [RETAKE F] ..
pg. 10
· Fast-Forward Button [F] .......................
pg. 9
( · Play/ Pause Button...............................
pg. 9
· Backlight Compensation Button .........
pg. 10
) · Stop Button [STOP]..............................
pg. 9
· Eject [EJECT] Button ...........................
pg. 8
~ · Retake Rewind Button [RETAKE R]...
pg. 10
· Quick Review Button [
R ]...........
pg. 10
· Rewind Button [R] ................................
pg. 9
+ Close Button...........................................
pg. 8
, Dioptre Adjustment Control ....................
pg. 8
- Grip Strap...............................................
pg. 8
. Tripod Mounting Socket..........................
pg. 8
/ Tape Remaining Time...........................
pg. 15
: Recording Mode Indicator ....................
pg. 14
; Video Light Indicator*1 ..........................
pg. 12
< Backlight Compensation Indicator........
pg. 10
= Recording Format Indicator (S/ S-ET).......
pg. 16
> Tape Length Indicator ...........................
pg. 15
? Zoom Indicator Bar ...............................
pg. 10
a Zoom Level Indicator
b Approximate Zoom Ratio
@ Recording Indicator.................................
pg. 9
[ Digital Effect Indicator ...........................
pg. 13
\ · Programme AE Indicator ....................
pg. 13
· Night-Scope Indicator
*1 .......................
pg. 12
] Fade/Wipe-Standby Indicator................
pg. 13
^ Picture Stabiliser Indicator ....................
pg. 14
_ · Interval Time/Recording Time Indicator...
pg. 15
· 5 Sec. Rec Mode Indicator
*2 .................
pg. 9
{ Instant Title Display...............................
pg. 14
| Date/Time Display.................................
pg. 15
} Bright Level Indicator ............................
pg. 15
VFocus Indicator .....................................
pg. 10
0Exposure Control Level Counter...........
pg. 12
1White Balance Mode Indicator..............
pg. 14
2S-VHS/S-VHS ET Recording Indicator ....
pg. 16
3Record-Standby Mode Indicator .............
pg. 9
4·
: Cassette Indicator.....................
pg. 18
·
: Insert Editing Indicator
*3................
pg. 17
5TBC Indicator........................................
pg. 10
6Recording Format Indicator (S/S-ET)
pg. 16
7Tape Counter ........................................
pg. 16
8Recording Mode Indicator (SP/LP) .......
pg. 14
9Tape Running Indicator
3: Playback
¡: Fast-Forward/ Shuttle Search
1: Rewind/ Shuttle Search
8: Pause
!Tracking Indicator..................................
pg. 10
"VOLUME: Speaker Volume Indicator...........
pg. 9
*1 GR-SXM301AS only.
*2 GR-SXM265AS/SXM201AS only
*3 GR-SXM301/SXM265AS only
GR-SXM301AS-EN.fm Page 5 Tuesday, December 7, 2004 6:25 PM