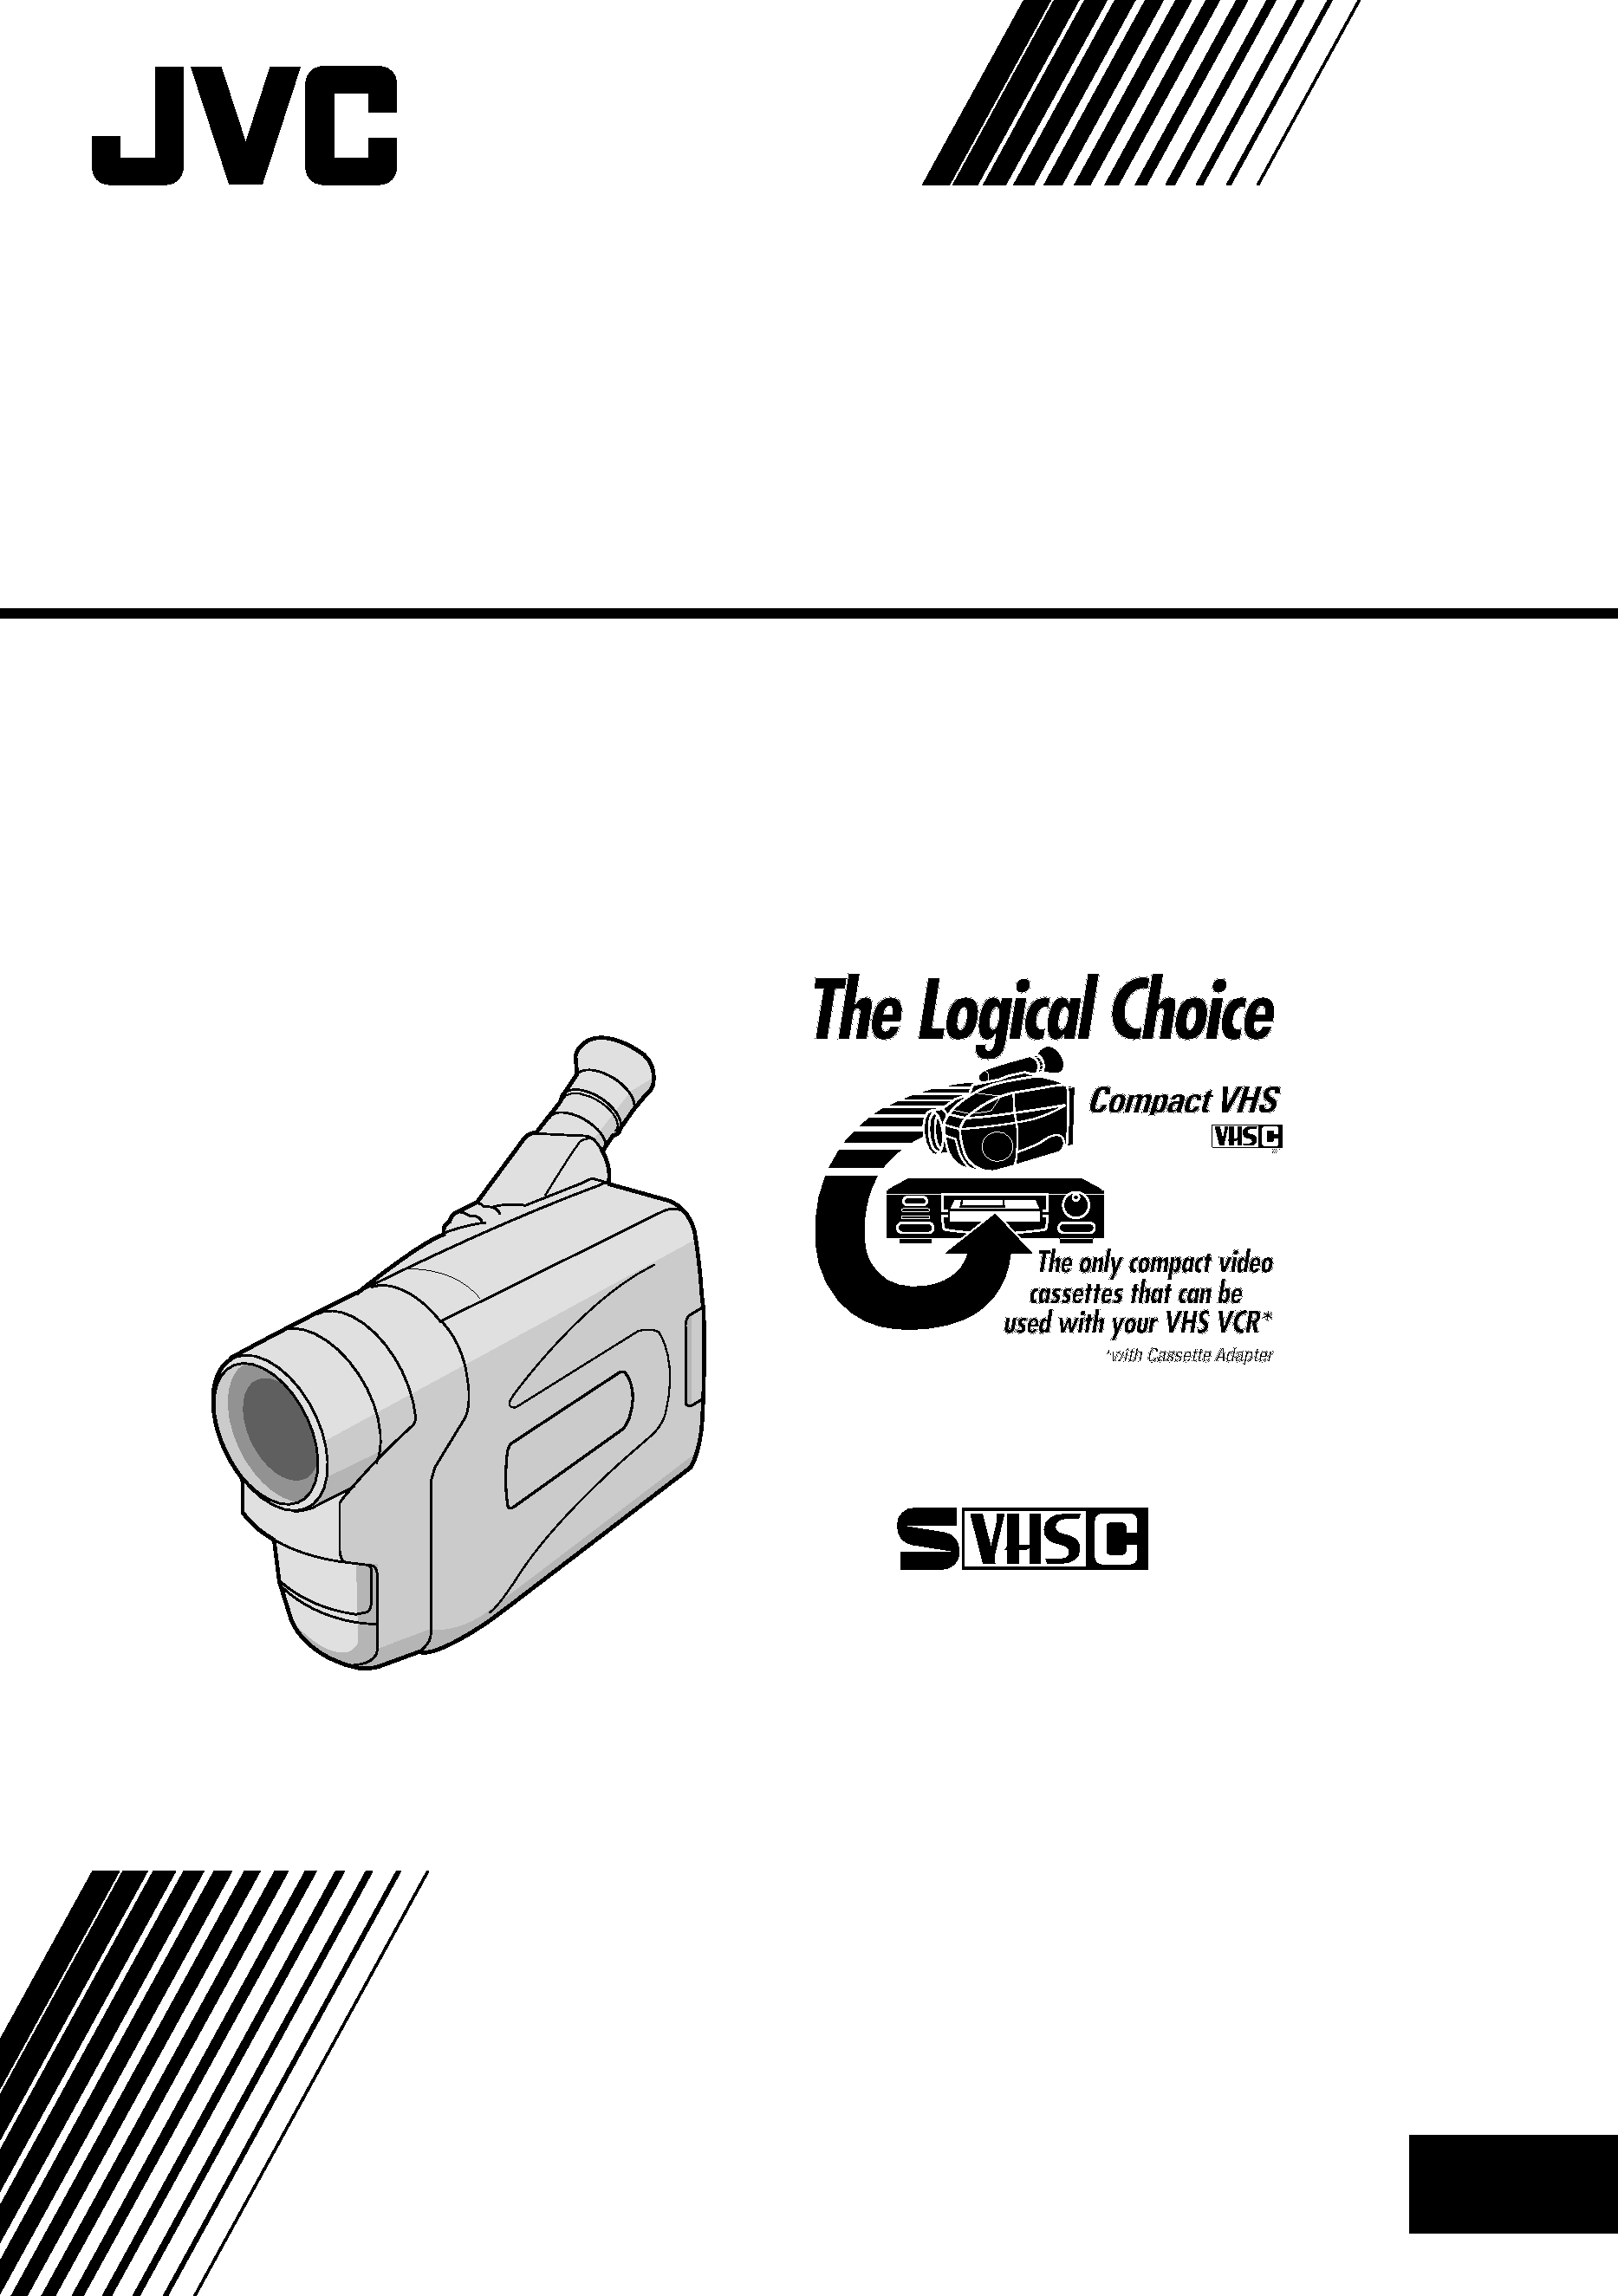
COMPACT VHS CAMCORDER
LYT0293-001A
INSTRUCTIONS
ENGLISH
EN
GR-SX20
Super VHS
VHS
PAL
625
2 EN
Dear Customer,
Thank you for purchasing the JVC Compact VHS camcorder. Before use, please read the safety information
and precautions contained in the following pages to ensure safe use of this product.
Using This Instruction Manual
·All major sections and subsections are listed in the Table Of Contents (
pg. 3).
·Notes appear after most subsections. Be sure to read these as well.
·Basic and advanced features/operation are separated for easier reference.
It is recommended that you . . .
.... refer to the Index (
pgs. 48 50) and familiarize yourself with button locations, etc. before use.
.... read thoroughly the Safety Precautions. They contain extremely important information regarding the safe
use of this product.
You are recommended to carefully read the cautions on pages 51 and 52 before use.
SAFETY PRECAUTIONS
WARNING:
TO PREVENT FIRE OR SHOCK
HAZARD, DO NOT EXPOSE
THIS UNIT TO RAIN OR
MOISTURE.
Warning on lithium cell battery (for clock
operation and remote control unit)
The battery used in this device may present a fire
or chemical burn hazard if mistreated. Do not
recharge, disassemble, heat above 100°C or
incinerate.
Replace the battery with Maxell, Panasonic
(Matsushita Electric), Sanyo or Sony CR2025; use
of another battery may present a risk of fire or
explosion.
Dispose of used battery promptly.
Keep away from children.
Do not disassemble and do not dispose of in
fire.
CAUTIONS:
To prevent shock, do not open the cabinet. No
user serviceable parts inside. Refer servicing to
qualified personnel.
When you are not using the AC Power
Adapter/Charger for a long period of time, it is
recommended that you disconnect the power
cord from AC outlet.
NOTES:
The rating plate (serial number plate) and safety
caution are on the bottom and/or the back of
the main unit.
The rating plate (serial number plate) of the AC
Power Adapter/Charger is on its bottom.
This camcorder is designed to be used with PAL-
type colour television signals. It cannot be used
for playback with a television of a different
standard. However, live recording and view-
finder playback are possible anywhere. Use the
BN-V12U/V20U battery packs and, to recharge
them, the provided multi-voltage AC Power
Adapter/Charger. (An appropriate conversion
adapter may be necessary to accommodate
different designs of AC outlets in different
countries.)
Crossed Out Dust Bin Mark
The Crossed Out Dust Bin
Mark on the battery pack
indicates that the product
complies with Directives
91/157/EEC and 93/86/EEC.
Nickel-Cadmium (Ni-Cd)
battery pack must be
recycled or disposed of
properly.
This unit is produced to comply with Standard
IEC Publ. 65.
Cassettes marked "
" and "
" can
be used with this camcorder. However, S-VHS
recordings are possible only with cassettes
marked "
".
625
EN
3
Programme AE with Special Effects
(
pg. 18 19)
· Electronic Fog Filter · ND Effect · Sepia
· Twilight · Sports · Nega/Posi
· 1/2000 sec. High Speed Shutter
5-Sec. Recording (
pg. 16)
Menu Adjustment (
pg. 22, 23, 24)
Picture Stabilizer (
pg. 16)
Digital Hyper Zoom (
pg. 14)
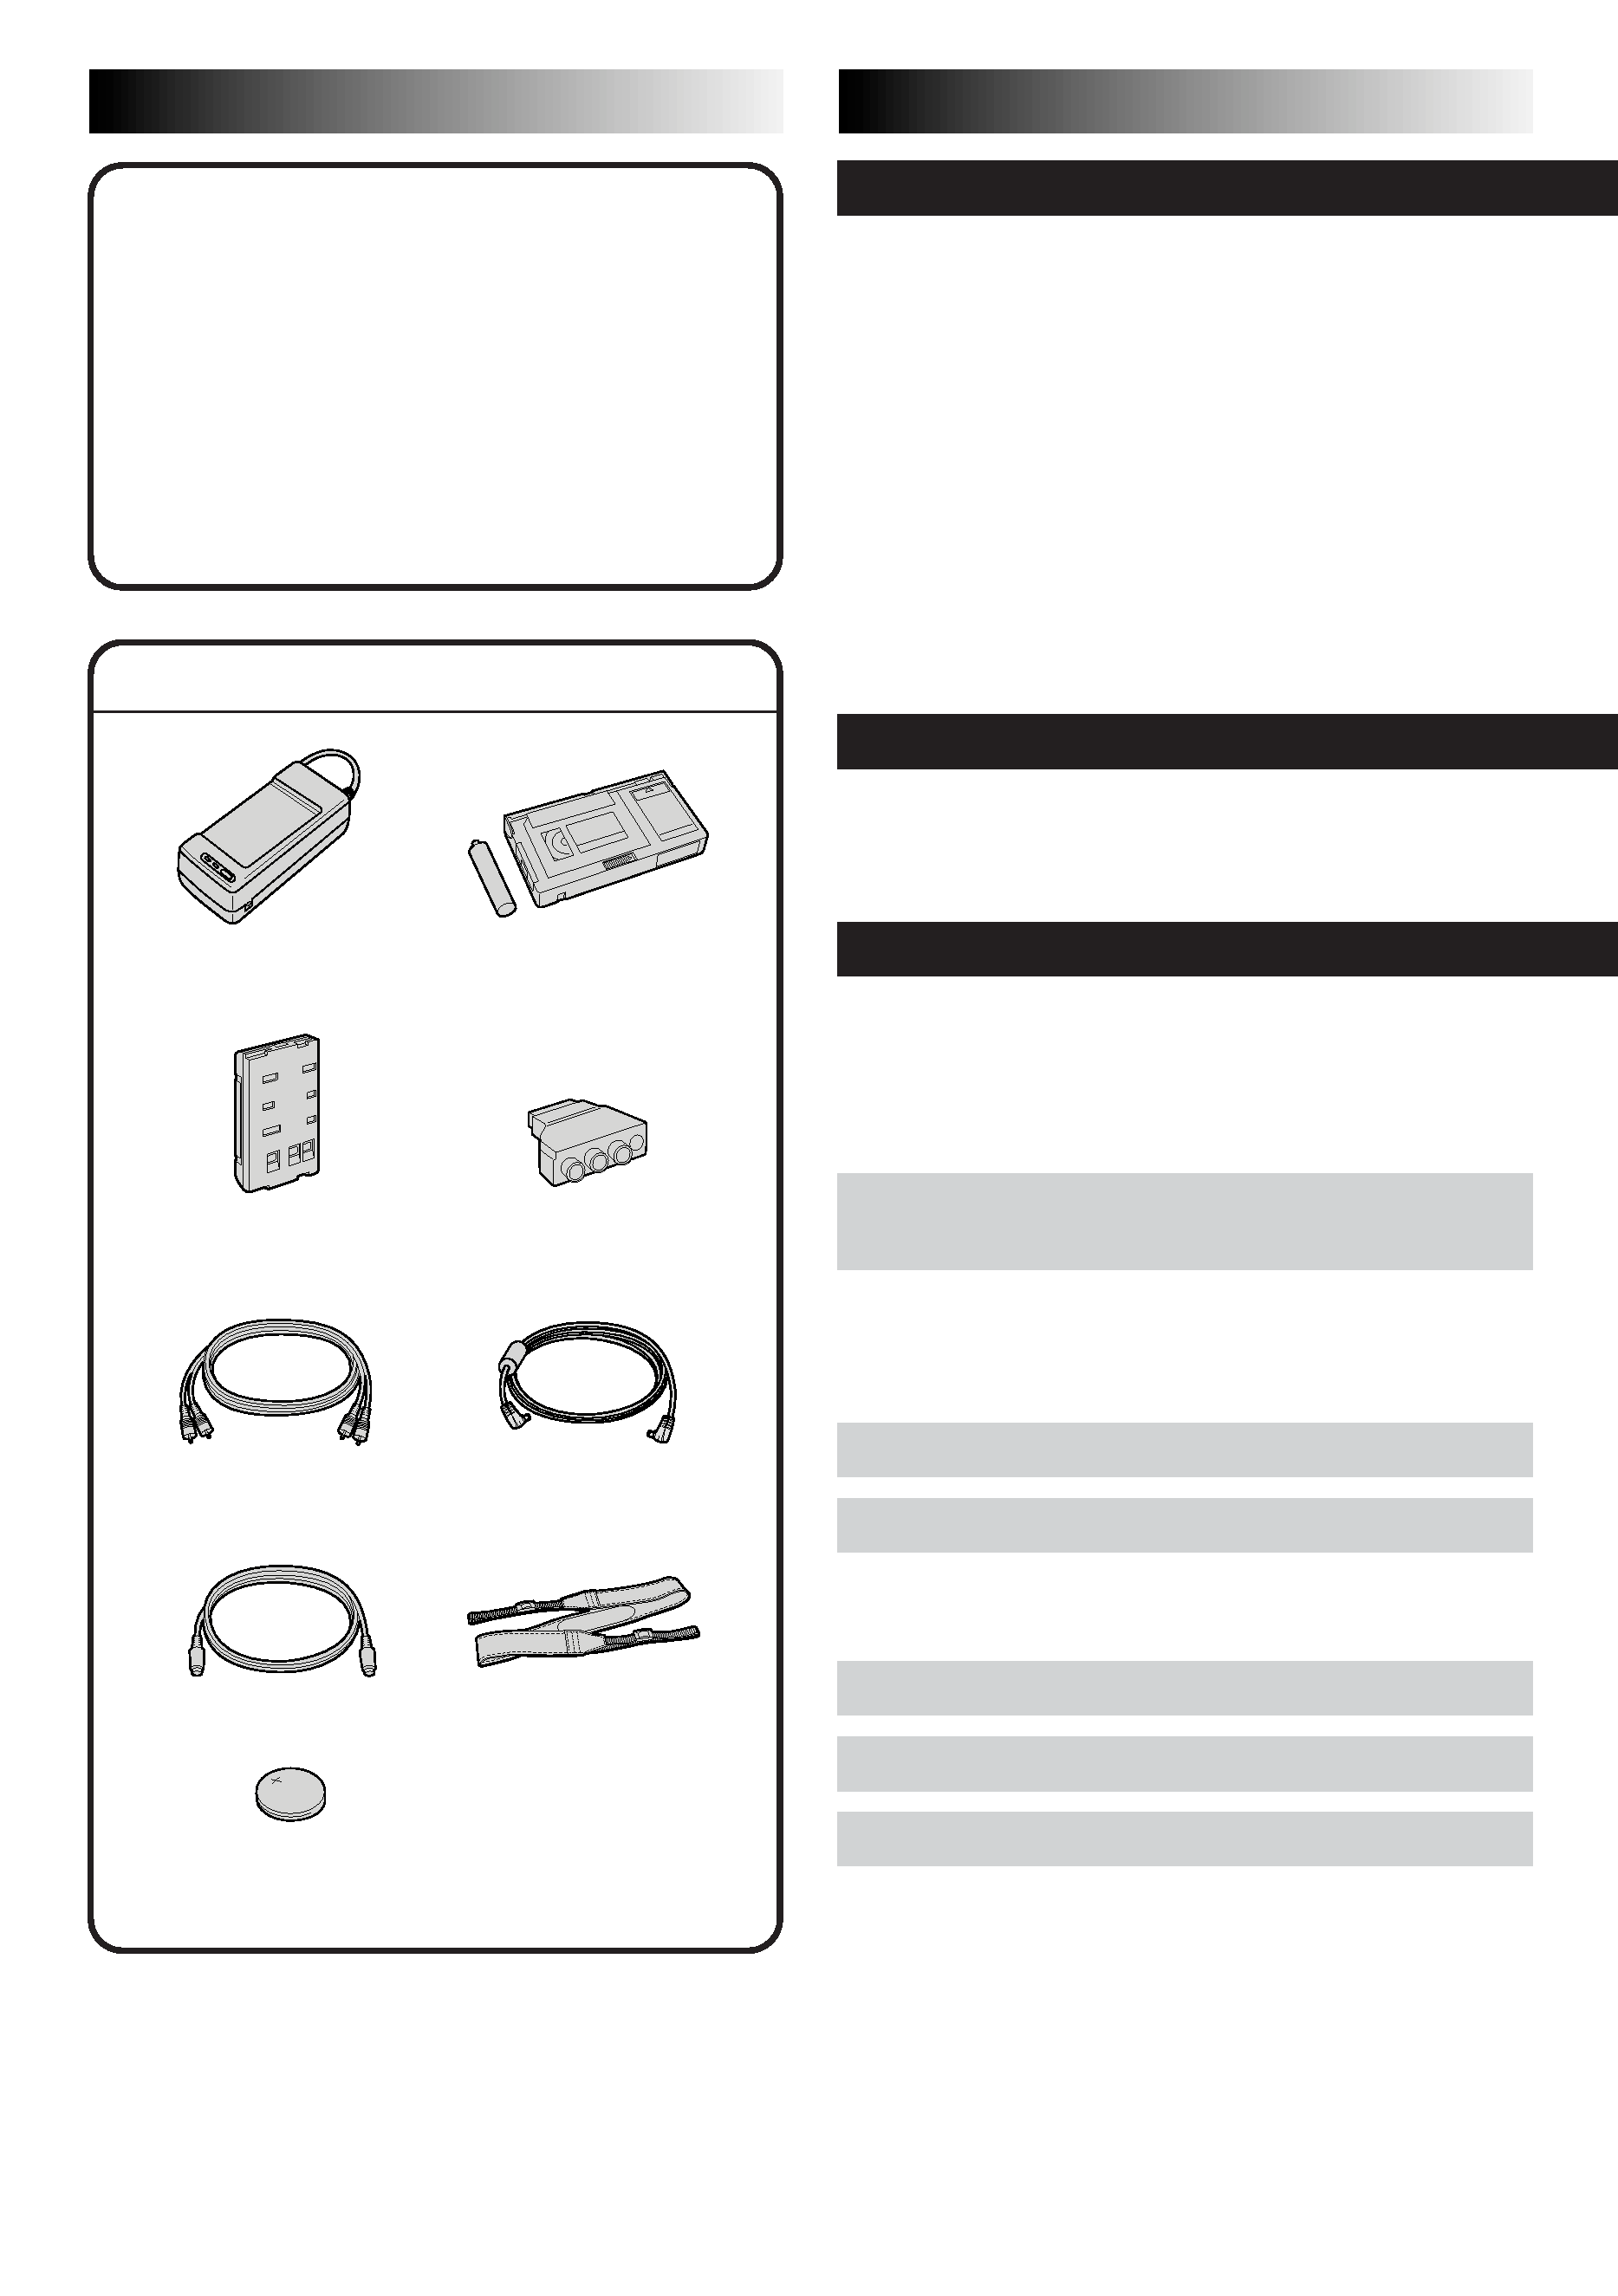
PROVIDED ACCESSORIES
·Audio/Video
(A/V) cable
·S-video cable
·Cable Adapter
·AC Power Adapter/
Charger AA-V15EG
·Cassette Adapter
C-P7U
·Shoulder Strap
·Battery Pack
BN-V12U
·DC Cord
·Lithium Battery CR2025
x1 for clock operation
GETTING STARTED
4 11
Power ............................................ 4
Clock (Lithium) Battery Insertion/
Removal ........................................ 6
Date/Time Settings ............................. 7
Tape Length Setting ............................. 8
Loading/Unloading A Cassette ............... 9
Recording Format Setting .................... 10
Grip Adjustment ............................... 11
Viewfinder Adjustment ...................... 11
Shoulder Strap Attachment .................. 11
Tripod Mounting ............................... 11
RECORDING
12 31
Basic Recording ................................ 12
Basic Features ................................. 14
Advanced Features ............................ 17
PLAYBACK
32 37
Basic Playback ................................. 32
Features ........................................ 33
Using The Cassette Adapter ................. 35
Connections .................................... 36
USING THE REMOTE
CONTROL UNIT
38 45
Random Assemble Editing ................... 40
Insert Editing .................................. 44
Audio Dubbing ................................. 45
TROUBLESHOOTING
46 47
INDEX
48 50
Controls, Connectors And Indicators ....... 48
Indications ..................................... 50
CAUTIONS
51 52
SPECIFICATIONS
53
OPTIONAL ACCESSORIES
53
CONTENTS
MAJOR FEATURES
EN
3
4 EN
GETTING STARTED
A
B
Power
This camcorder's 3-way power supply system lets you choose
the most appropriate source of power.
NOTES:
No function is available without power supply.
Use only the specified power supply.
Do not use provided power supply units with other
equipment.
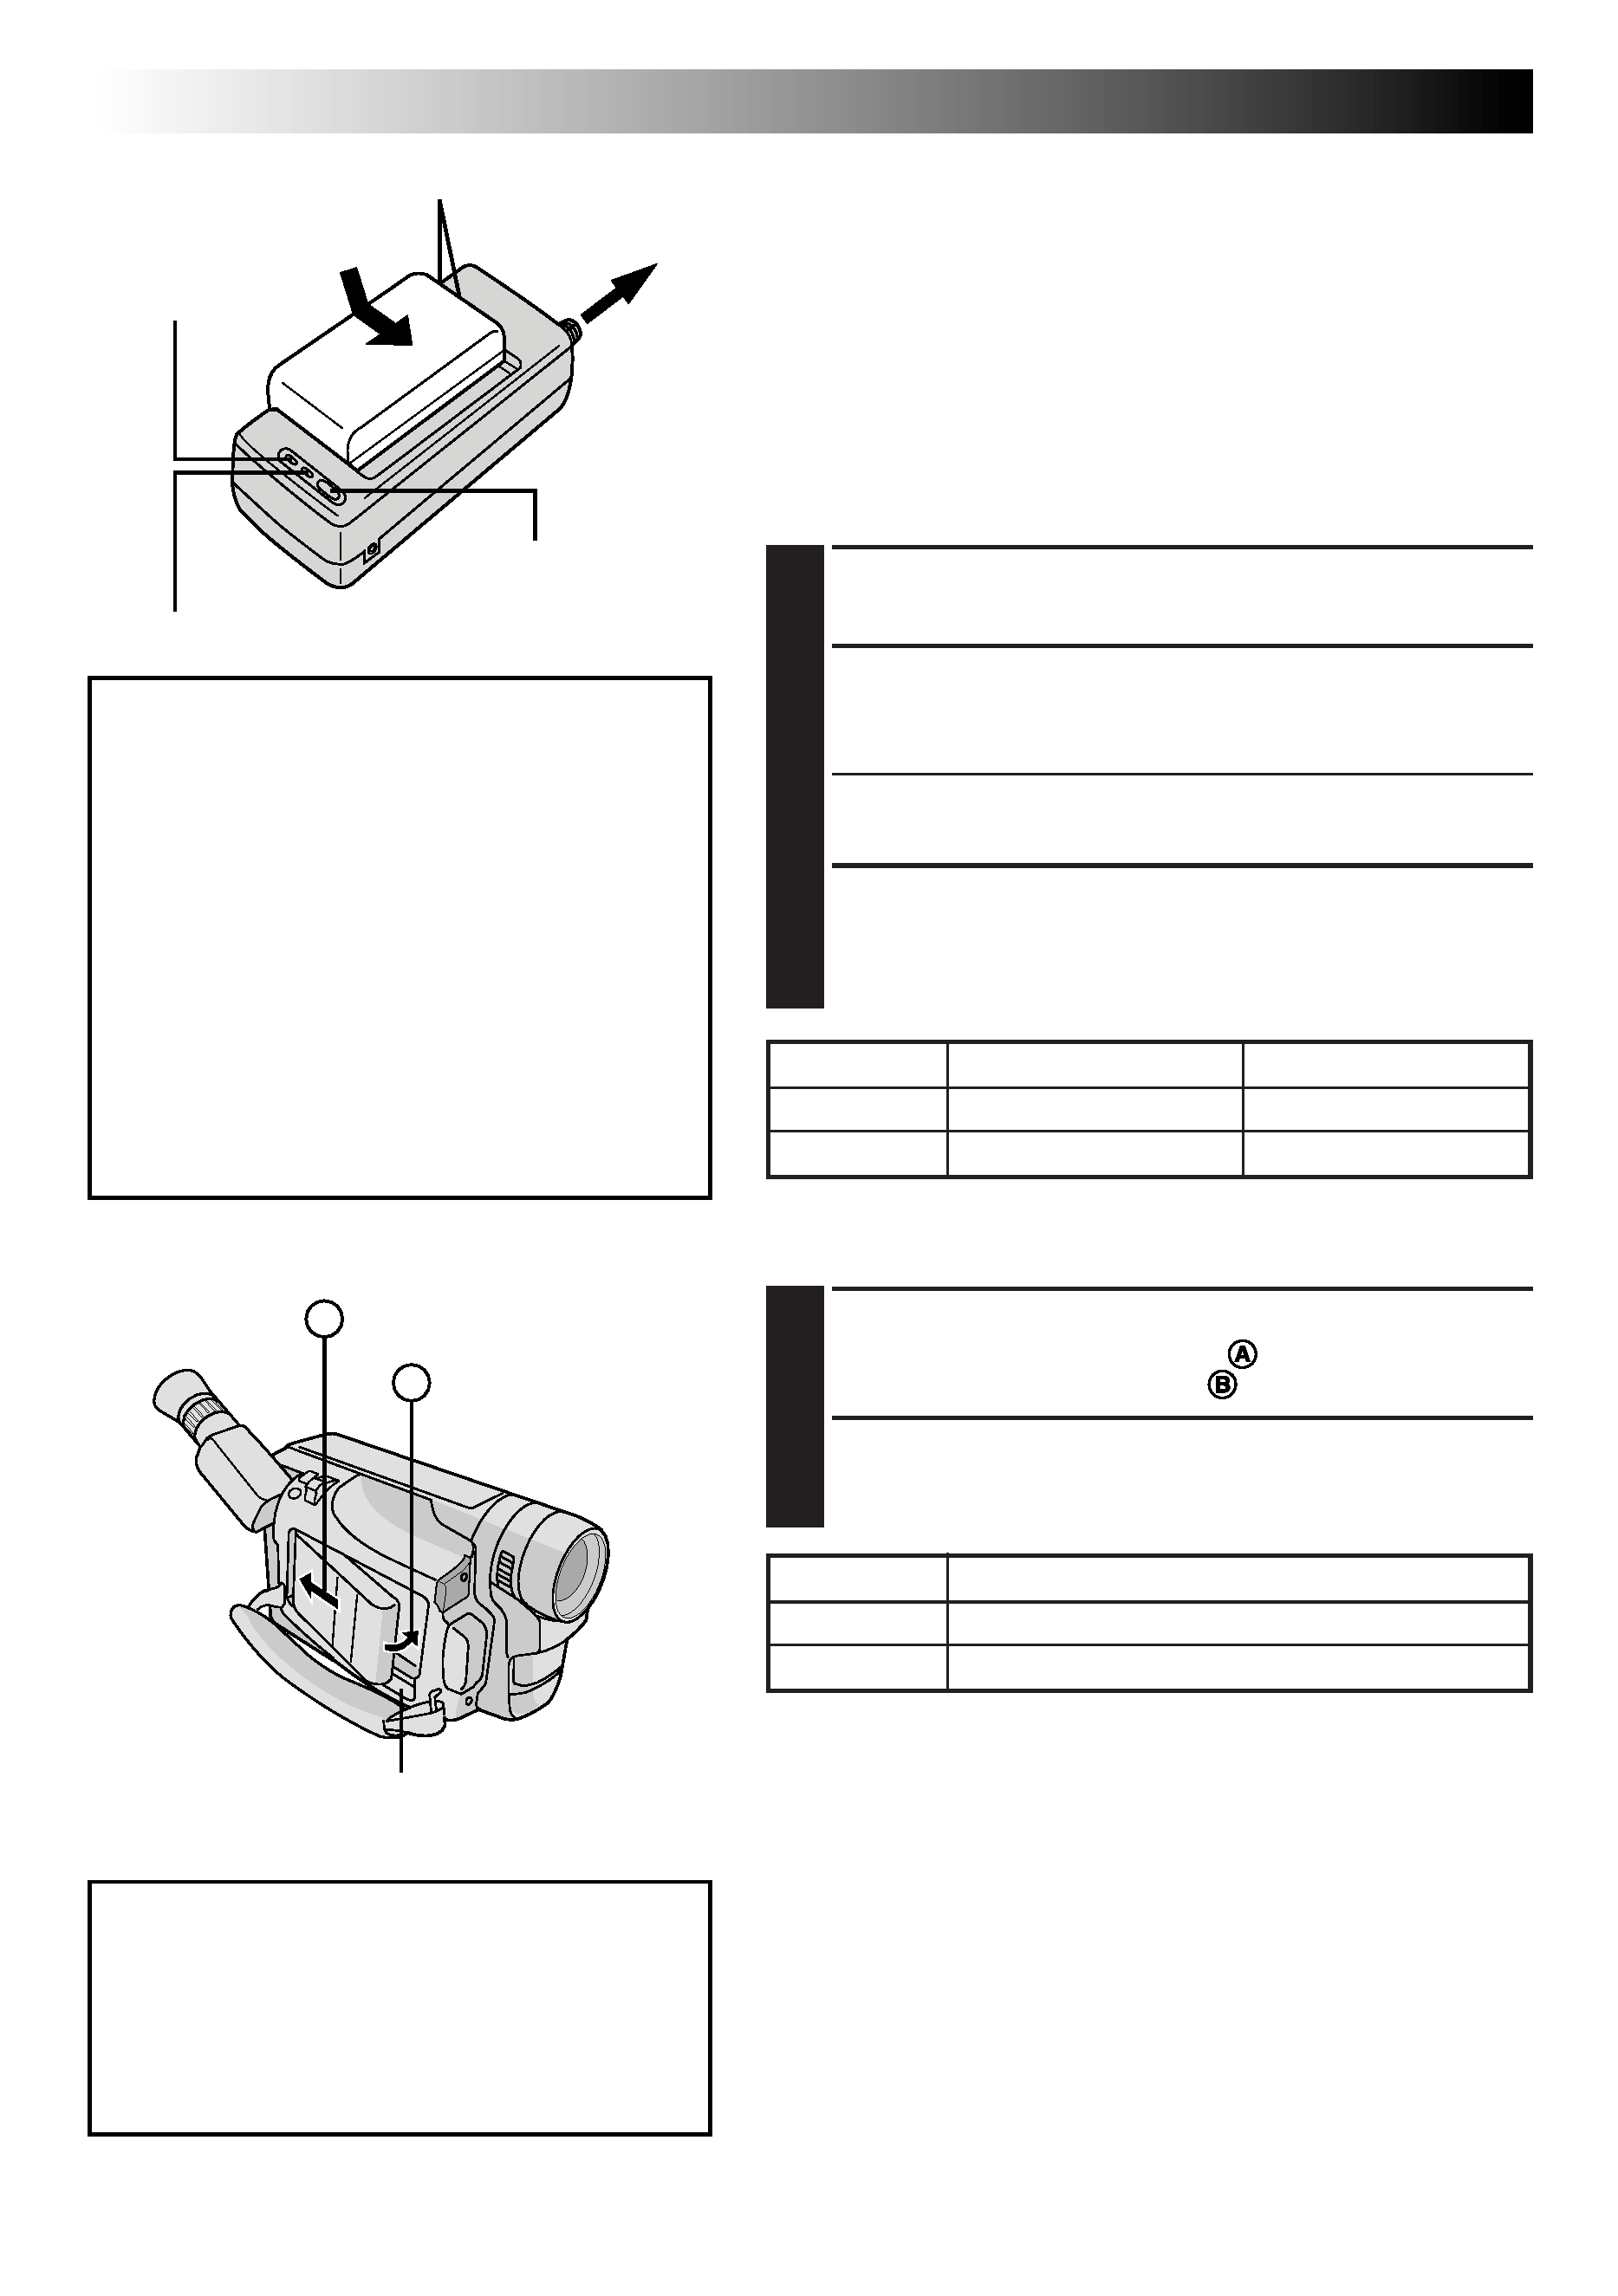
CHARGING THE BATTERY PACK
1 SUPPLY POWER
Connect the charger's AC power cord to a wall outlet.
2 ATTACH BATTERY PACK
Align the marks and slide the battery pack in the
direction of the arrow until it locks in place.
·The CHARGE indicator begins blinking to indicate
charging has started.
3 DETACH BATTERY PACK
When the CHARGE indicator stops blinking but stays lit,
charging is finished. Slide the battery pack opposite the
direction of the arrow.
USING THE BATTERY PACK
1 ATTACH BATTERY PACK
Hook its end to the camcorder (
) and push the battery
pack in until it locks in place (
) .
2 DETACH BATTERY PACK
Slide BATTERY RELEASE and pull out the battery pack.
ATTENTION:
Before detaching the power source,
make sure that the camcorder's power
is turned off. Failure to do so can result
in a camcorder malfunction.
REFRESH
The AC Power Adapter/Charger features a
REFRESH function that allows you to fully
discharge the battery pack before recharg-
ing.
Perform the REFRESH function after no less
than 5 chargings.
To discharge the battery . . .
.... attach the battery pack to the adapter as
shown in the above illustration. Then
push REFRESH. The REFRESH indicator
lights when discharging starts, and goes
out when discharging is complete.
CHARGE indicator
Marks
To AC outlet
Hook on.
Push in.
BATTERY RELEASE
REFRESH indicator
REFRESH switch
Battery pack
Charging time
Discharging time
BN-V12U
approx. 1 hr. 10 min.
approx. 3 hrs. 30 min.
BN-V20U
approx. 1 hr. 50 min
approx. 6 hrs. 40 min.
INFORMATION:
VU-V856KIT is a set composed of the BN-V856U battery pack
and AA-V80EG AC Power Adapter/Charger.
The BN-V856U battery pack provides approx. 7 hours of
recording time. Also read thoroughly the VU-V856KIT's
instruction manuals.
It is impossible to charge the BN-V856U battery pack using
the provided AC Power Adapter/Charger. Use the optional
AA-V80EG AC Power Adapter/Charger.
Battery pack
Approximate recording time (unit: min.)
BN-V12U
65
BN-V20U
105

EN
5
GETTING
ST
ARTED
Charge Marker
A charge marker is provided on the battery pack to
help you remember whether it has been charged or
not. Two colours are provided (red and black)--you
choose which one means charged and which means
discharged.
NOTES:
The recording time per charge is affected by such factors as the time spent in Record-Standby mode and the
frequency of zooming. It is safer to have spare battery packs to cover 3 times the planned shooting time.
Charging times noted on page 4 are for a fully discharged battery pack, and discharging times are for a fully
charged battery pack.
Charging and discharging times vary according to the ambient temperature and the status of the battery pack.
Remember to set the charge marker after charging a battery pack or after detaching a discharged one from
your camcorder.
Perform the REFRESH function after no less than 5 chargings.
While the AC Power Adapter/Charger's power cord is disconnected from the AC outlet, it is possible to
discharge the battery by pressing the REFRESH switch. During that time, the AC Power Adapter/Charger does
not charge the battery. When discharging is complete, detach the battery from the AC Power Adapter/
Charger to store it.
High temperatures can damage the battery pack, so use only where good ventilation is available. Do not
allow it to discharge in a container, such as a bag.
If you stop recharging or discharging part way through, make sure to remove the battery pack before
unplugging the adapter's AC cord.
Remove the battery pack from the adapter immediately after discharging.
To avoid interference with reception, do not use the AC Power Adapter/Charger near a radio.
Make sure you unplug the DC cord before charging or discharging the battery pack.
The CHARGE indicator may not light properly with a brand new battery pack, or with one that has been
stored for an extended period. In this case, remove and reattach the battery pack and recharge it. The
CHARGE indicator should blink during recharging. If not, contact your nearest JVC dealer.
USING AC POWER
Use the AC Power Adapter/Charger (connect as
shown in the illustration).
NOTES:
The provided AC Power Adapter/Charger features
automatic voltage selection in the AC range from
110 V to 240 V.
When using the DC cord, make sure you connect
the end of the cord with the core filter to the
camcorder. The core filter reduces interference.
USING A CAR BATTERY
Use the optional Car Battery Charger/Adapter
(connect as shown in the illustration).
NOTES:
When using the car battery, leave the engine
idling.
The optional Car Battery Charger/Adapter (BH-V3E)
can also be used to charge the battery pack (except
BN-V20U/V856U).
When using the optional Car Battery Charger/
Adapter, refer to the respective instruction booklet.
To DC IN jack
DC OUT
terminal
To AC outlet
AC Power
Adapter/Charger
AA-V15EG
DC Cord
To car's
cigarette
lighter socket
Charge marker
Car Battery
Charger/Adapter
BH-V3E (optional)