LYT0671-001A
COPYRIGHT© 2000 VICTOR COMPANY OF JAPAN, LTD.
EG
Printed in Malaysia
1000MKV*UN*PJ
VICTOR COMPANY OF JAPAN, LIMITED
EN
EN
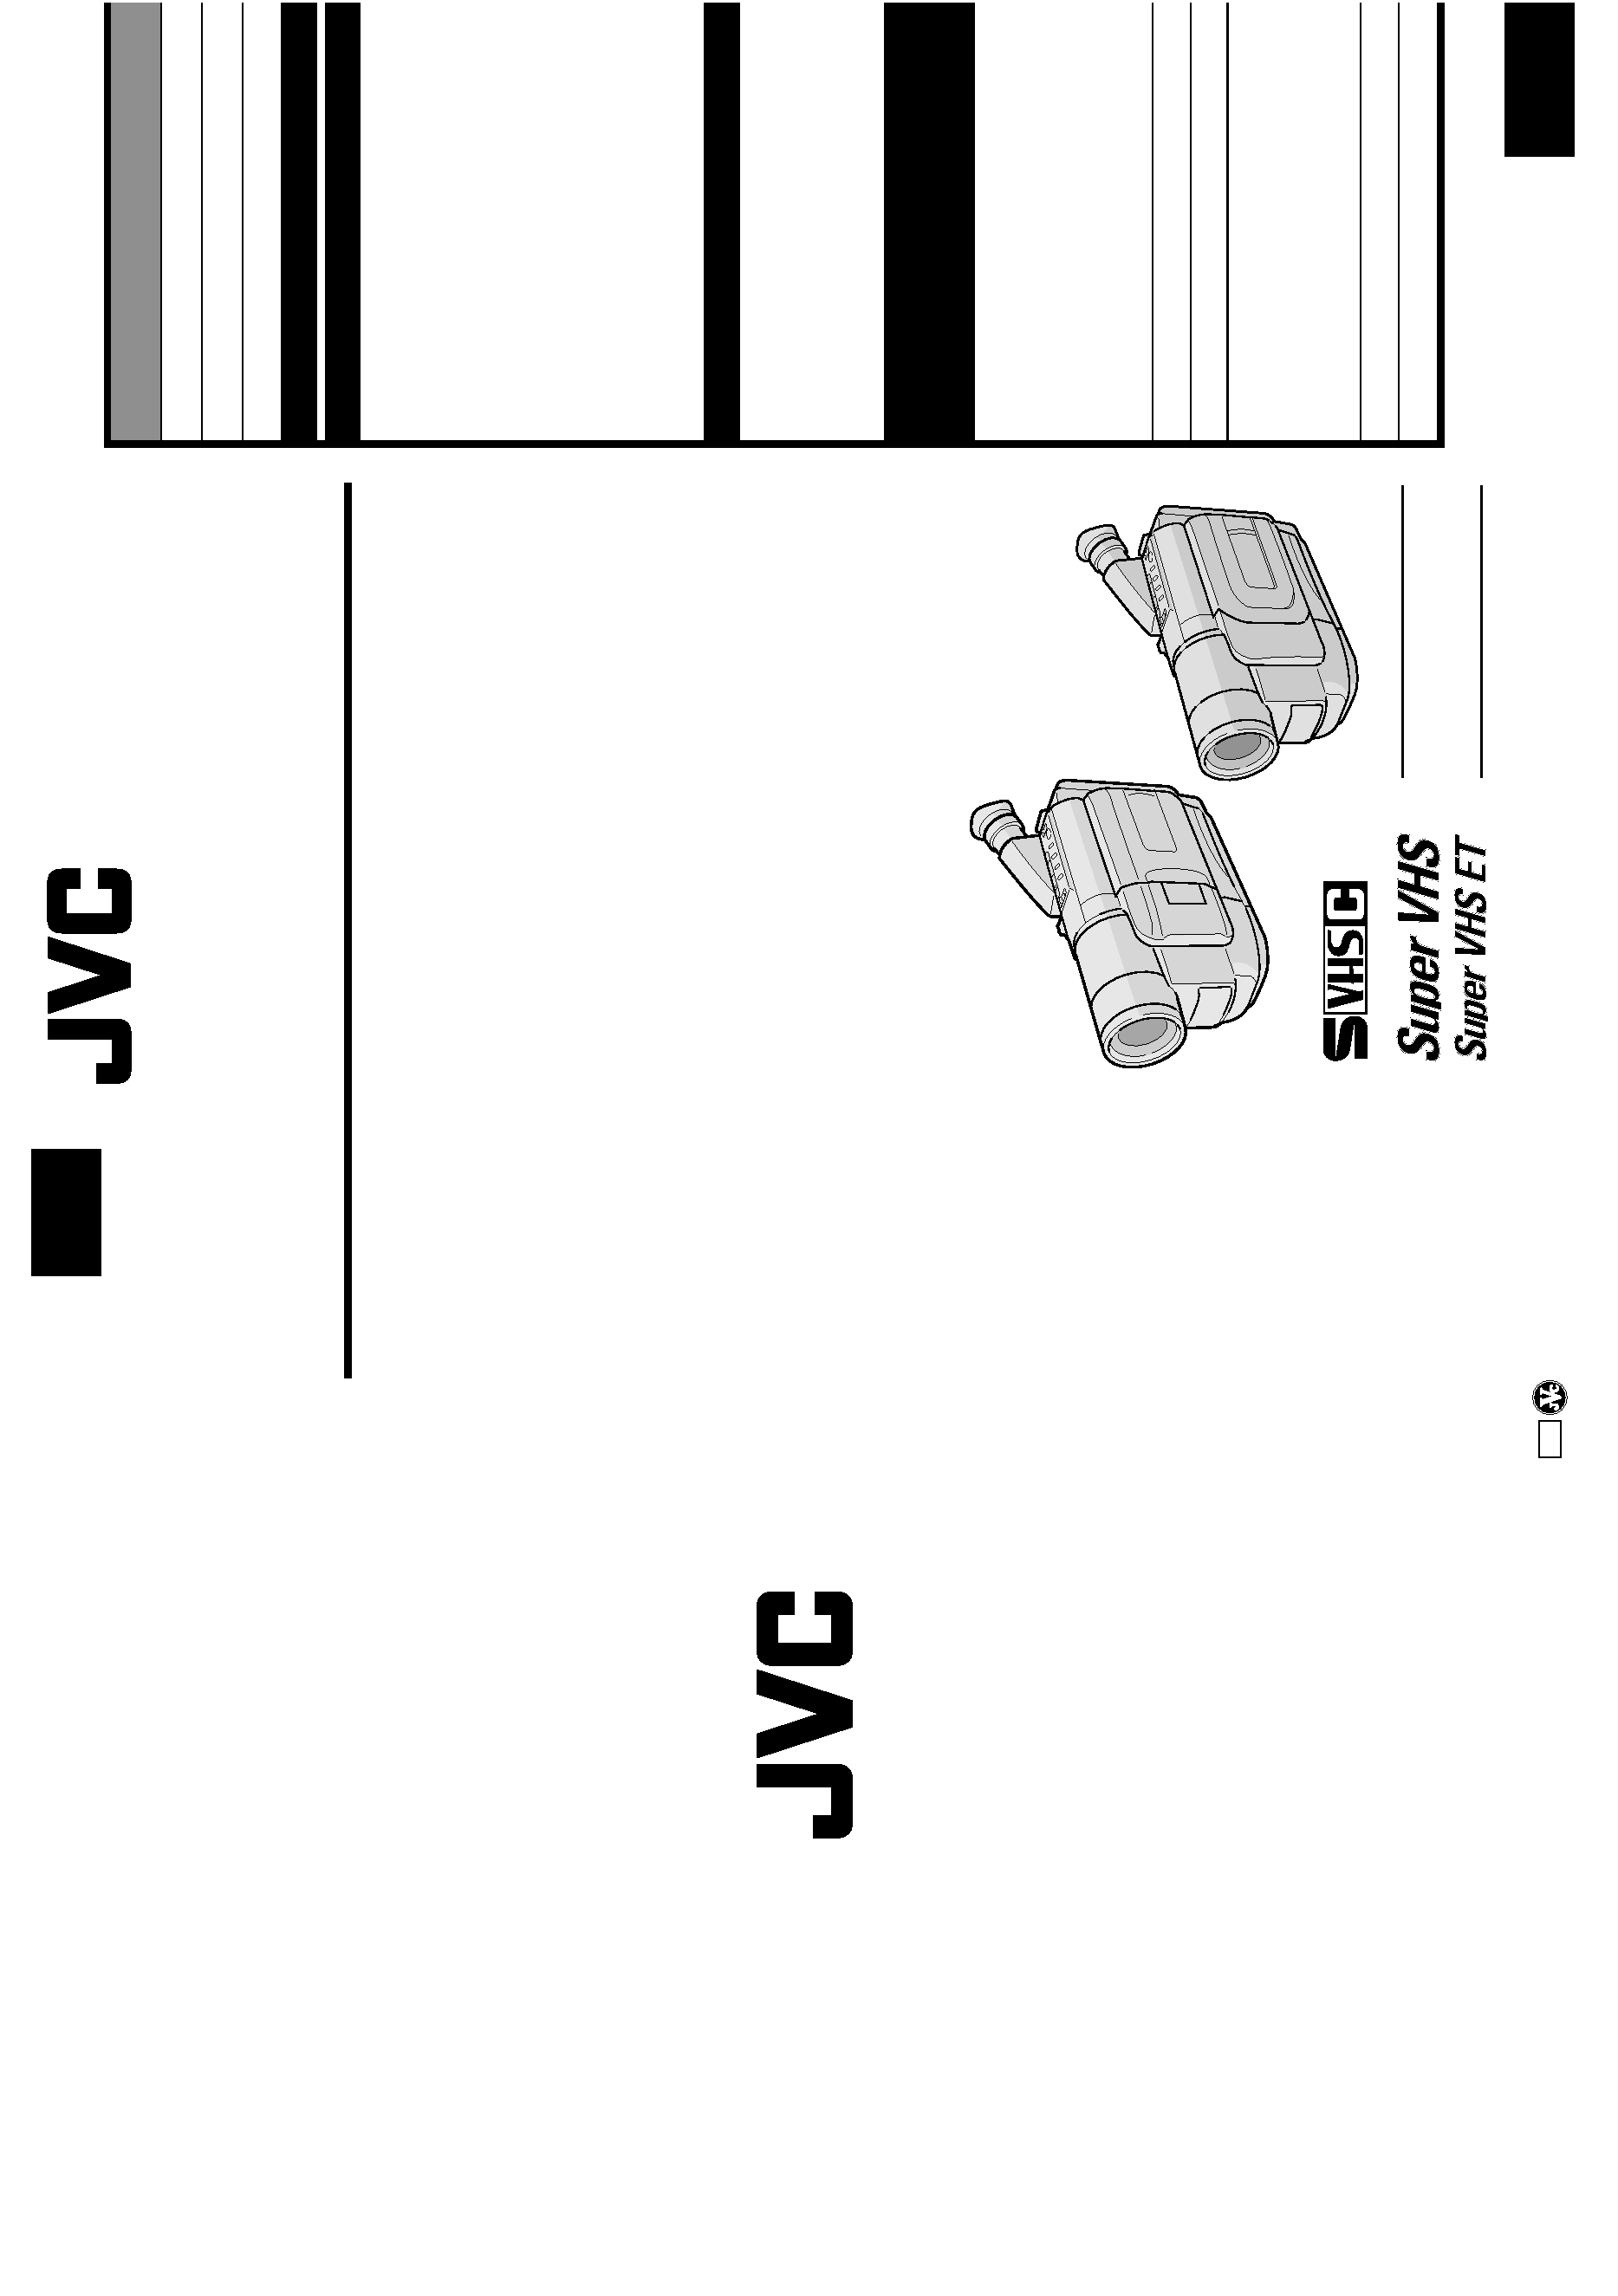
COMPACT
VHS CAMCORDER
INSTRUCTIONS
G
R-S
XM60
7
G
R-S
XM57
G
R-S
XM47
G
R-S
X
202
G
R-S
X
2
2
G
R-F
XM37
G
R-F
X12
GR-SXM607
GR-SXM57
GR-SXM47
GR-SX202
GR-SX22
GR-FXM37
GR-FX12
VHS
PAL
625
ENGLISH
CONTENTS
SAFETY PRECAUTIONS
2 3
AUTOMATIC DEMONSTRATION 4
PROVIDED ACCESSORIES
4
GETTING STARTED
6 13
RECORDING
14 29
Basic Recording ..........................14
Basic Features ........................... 16
Zooming, 5-Sec. Recording, Picture Stabilizer,
Quick Review, Video Light, Retake
Advanced Features ...................... 18
Snapshot, Night-Scope, Fade/Wipe Effects,
Program AE with Special Effects,
Digital Effects, Using Menu For Detailed
Adjustment, Date/Time Insert, Instant Titles,
Animation, Time-Lapse, Exposure Control,
Focusing, White Balance Adjustment,
Manual White Balance Operation
PLAYBACK
30 34
Basic Playback ........................... 30
Features ..................................31
Connections ...............................32
Using The Cassette Adapter ...........34
USING THE REMOTE CONTROL
UNIT (GR-SXM607/SXM57/
SX202 only)
35 43
Playback Zoom ..........................37
Animation And Time-Lapse .............37
Insert Editing .............................38
Audio Dubbing ........................... 39
Random Assembly Editing .............. 40
DETAILS
44 45
TROUBLESHOOTING
46 47
INDEX
48 51
Controls, Connectors
And Indicators ......................... 48
Indications ................................ 50
CAUTIONS
52 54
SPECIFICATIONS
55
S-VHS is compatible with
GR-SXM607/SXM57/SXM47/
SX202/SX22 only.
2 EN
Using This Instruction Manual
· All major sections and subsections are listed in the Table Of Contents on the cover.
· Notes appear after most subsections. Be sure to read these as well.
· Basic and advanced features/operation are separated for easier reference.
It is recommended that you . . .
.... refer to the Index (
pgs. 48 51) and familiarize yourself with button locations, etc. before use.
.... read thoroughly the Safety Precautions. They contain extremely important information regarding the safe
use of this product.
SAFETY PRECAUTIONS
You are recommended to carefully read the cautions on pages 52 54 before use.
WARNING:
TO PREVENT FIRE OR SHOCK
HAZARD, DO NOT EXPOSE
THIS UNIT TO RAIN OR
MOISTURE.
Dear Customer,
Thank you for purchasing the JVC Compact VHS camcorder. Before use, please read the safety information
and precautions contained in the following pages to ensure safe use of this product.
Cassettes marked "
" and "
" can be used with this camcorder.
However, S-VHS recordings are possible* only with cassettes marked "
".
* GR-SXM607/SXM57/SXM47/SX202/SX22 only.
625
CAUTIONS:
To prevent shock, do not open the cabinet. No
user serviceable parts inside. Refer servicing to
qualified personnel.
When you are not using the AC Adapter for a
long period of time, it is recommended that
you disconnect the power cord from AC outlet.
NOTES:
The rating plate (serial number plate) and safety
caution are on the bottom and/or the back of
the main unit.
The rating information and safety caution of the
AC Adapter are on its bottom.
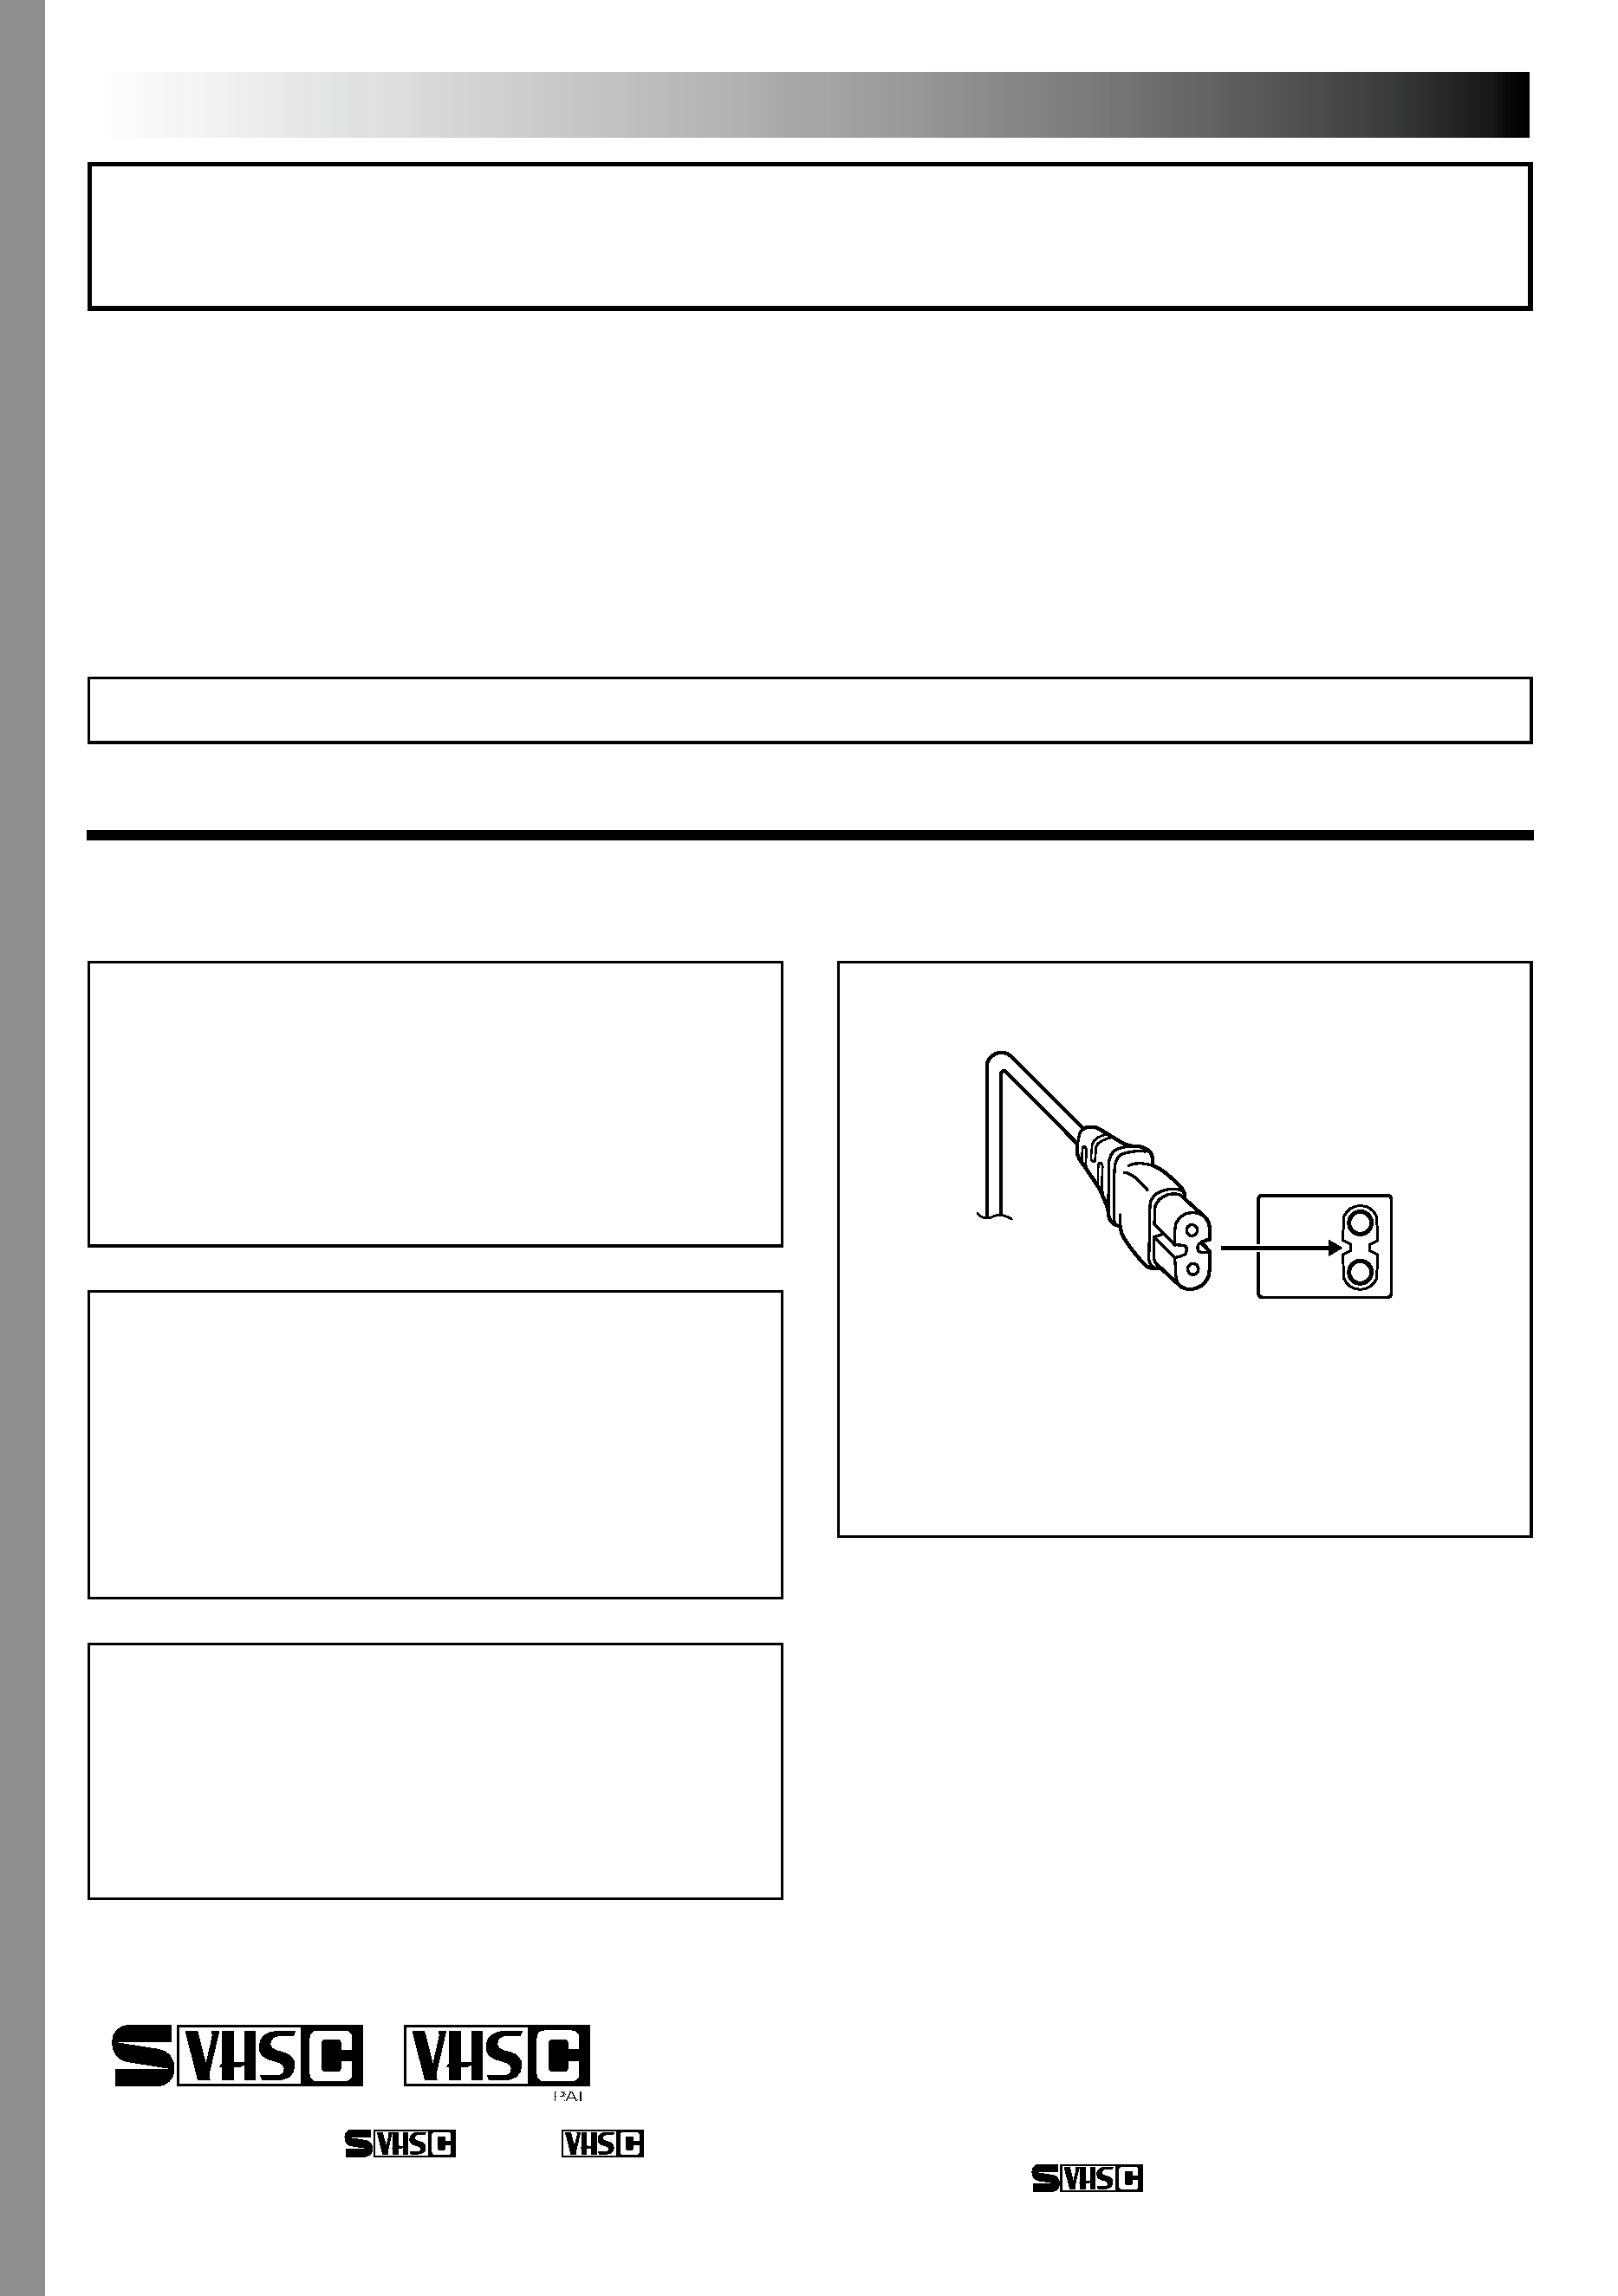
CAUTION:
To avoid electric shock or damage to the unit,
first firmly insert the small end of the power
cord into the AC Adapter until it is no longer
wobbly, and then plug the larger end of the
power cord into an AC outlet.
EN
3
When the equipment is installed in a cabinet or
on a shelf, make sure that it has sufficient space
on all sides to allow for ventilation (10 cm or
more on both sides, on top and at the rear).
Do not block the ventilation holes.
(If the ventilation holes are blocked by a
newspaper, or cloth etc. heat may not be able to
get out.)
No naked flame sources, such as lighted candles,
should be placed on the apparatus.
When discarding batteries, environmental
problems must be considered and local rules or
laws governing the disposal of these batteries
must be followed strictly.
The apparatus shall not be exposed to dripping
or splashing.
Do not use this equipment in a bathroom or
places with water.
Also do not place any containers filled with
water or liquids (such as cosmetics or medicines,
flower vases, potted plants, cups etc.) on top of
this unit.
(If water or liquid is allowed to enter this
equipment, fire or electric shock may be
caused.)
This camcorder is designed to be used with
PAL-type colour television signals. It cannot be
used for playback with a television of a different
standard. However, live recording and LCD
monitor*/viewfinder playback are possible
anywhere. Use the JVC BN-V11U**/V12U/
V20U/V400U battery packs and, to recharge
them or to supply power to the camcorder from
an AC outlet, use the provided multi-voltage AC
Adapter. (An appropriate conversion adapter
may be necessary to accommodate different
designs of AC outlets in different countries.)
* Models equipped with LCD monitor only.
** GR-FXM37/FX12 only.
Crossed Out Dust Bin Mark
The Crossed Out Dust Bin
Mark on the battery pack
indicates that the product
complies with Directives
91/157/EEC and 93/86/EEC.
Nickel-Cadmium (Ni-Cd)
battery pack must be
recycled or disposed of
properly.
Caution on Replaceable lithium battery
The battery used in this device may present a fire
or chemical burn hazard if mistreated.
Do not recharge, disassemble, heat above 100
°C
or incinerate.
Replace battery with Panasonic (Matsushita
Electric), Sanyo, Sony or Maxell CR2025.
Danger of explosion or Risk of fire if the battery
is incorrectly replaced.
Dispose of used battery promptly.
Keep away from children.
Do not disassemble and do not dispose of in
fire.
4 EN
· AC Adapter
AP-V10EG
·Remote Control Unit RM-V715U
(GR-SXM607/SXM57/SX202
only)
·Shoulder Strap
·Battery Pack
BN-V11U (GR-FXM37/FX12)
BN-V20U (GR-SXM607/SXM57/
SXM47/SX202/SX22)
· Cable Adapter
(with an
-IN connector)
(GR-SXM607/SXM57/SXM47/
SX202/SX22 only)
·A/V (Audio/Video) Cable
·AAA (R03) Battery x 2
(for Remote Control Unit,
GR-SXM607/SXM57/SX202 only)
·S-Video Cable
(GR-SXM607/SXM57/
SXM47/SX202/SX22
only)
· Core Filter x 3
(for provided A/V Cable
and AC Adapter,
GR-FXM37/FX12 only)
· Core Filter x 4
(for provided A/V Cable,
S-Video Cable and AC Adapter,
GR-SXM607/SXM57/SXM47/
SX202/SX22 only)
· Cable Adapter
(without an
-IN connector)
(GR-FXM37/FX12 only)
·Lens Cap
· Power Cord
AUTOMATIC DEMONSTRATION
Automatic Demonstration takes place when "DEMO MODE" is set to "ON"
(factory-preset).
Available when the Power Switch is set to "
" or "
".
Operating the Power Zoom Lever during the demonstration stops the
demonstration temporarily. If the Power Zoom Lever is not moved for
more than 1 minute after that, the demonstration will resume.
"DEMO MODE" remains "ON" even if the camcorder power is turned
off.
To cancel Automatic Demonstration, set the Power Switch to "
" and
press MENU while the demo is in progress. This takes you directly to the
demo mode's Setting Menu (so you will not have to go through the main
Menu Screen). Rotate MENU to select "OFF" and press it.
NOTE:
When a tape whose Erase Protection tab is in the position that allows recording is loaded in the
camcorder, demonstration is not available.
O
O
E
F
N
X
F
IT
DEMO MODE
Setting Menu
PROVIDED ACCESSORIES
EN
5
1
2
3
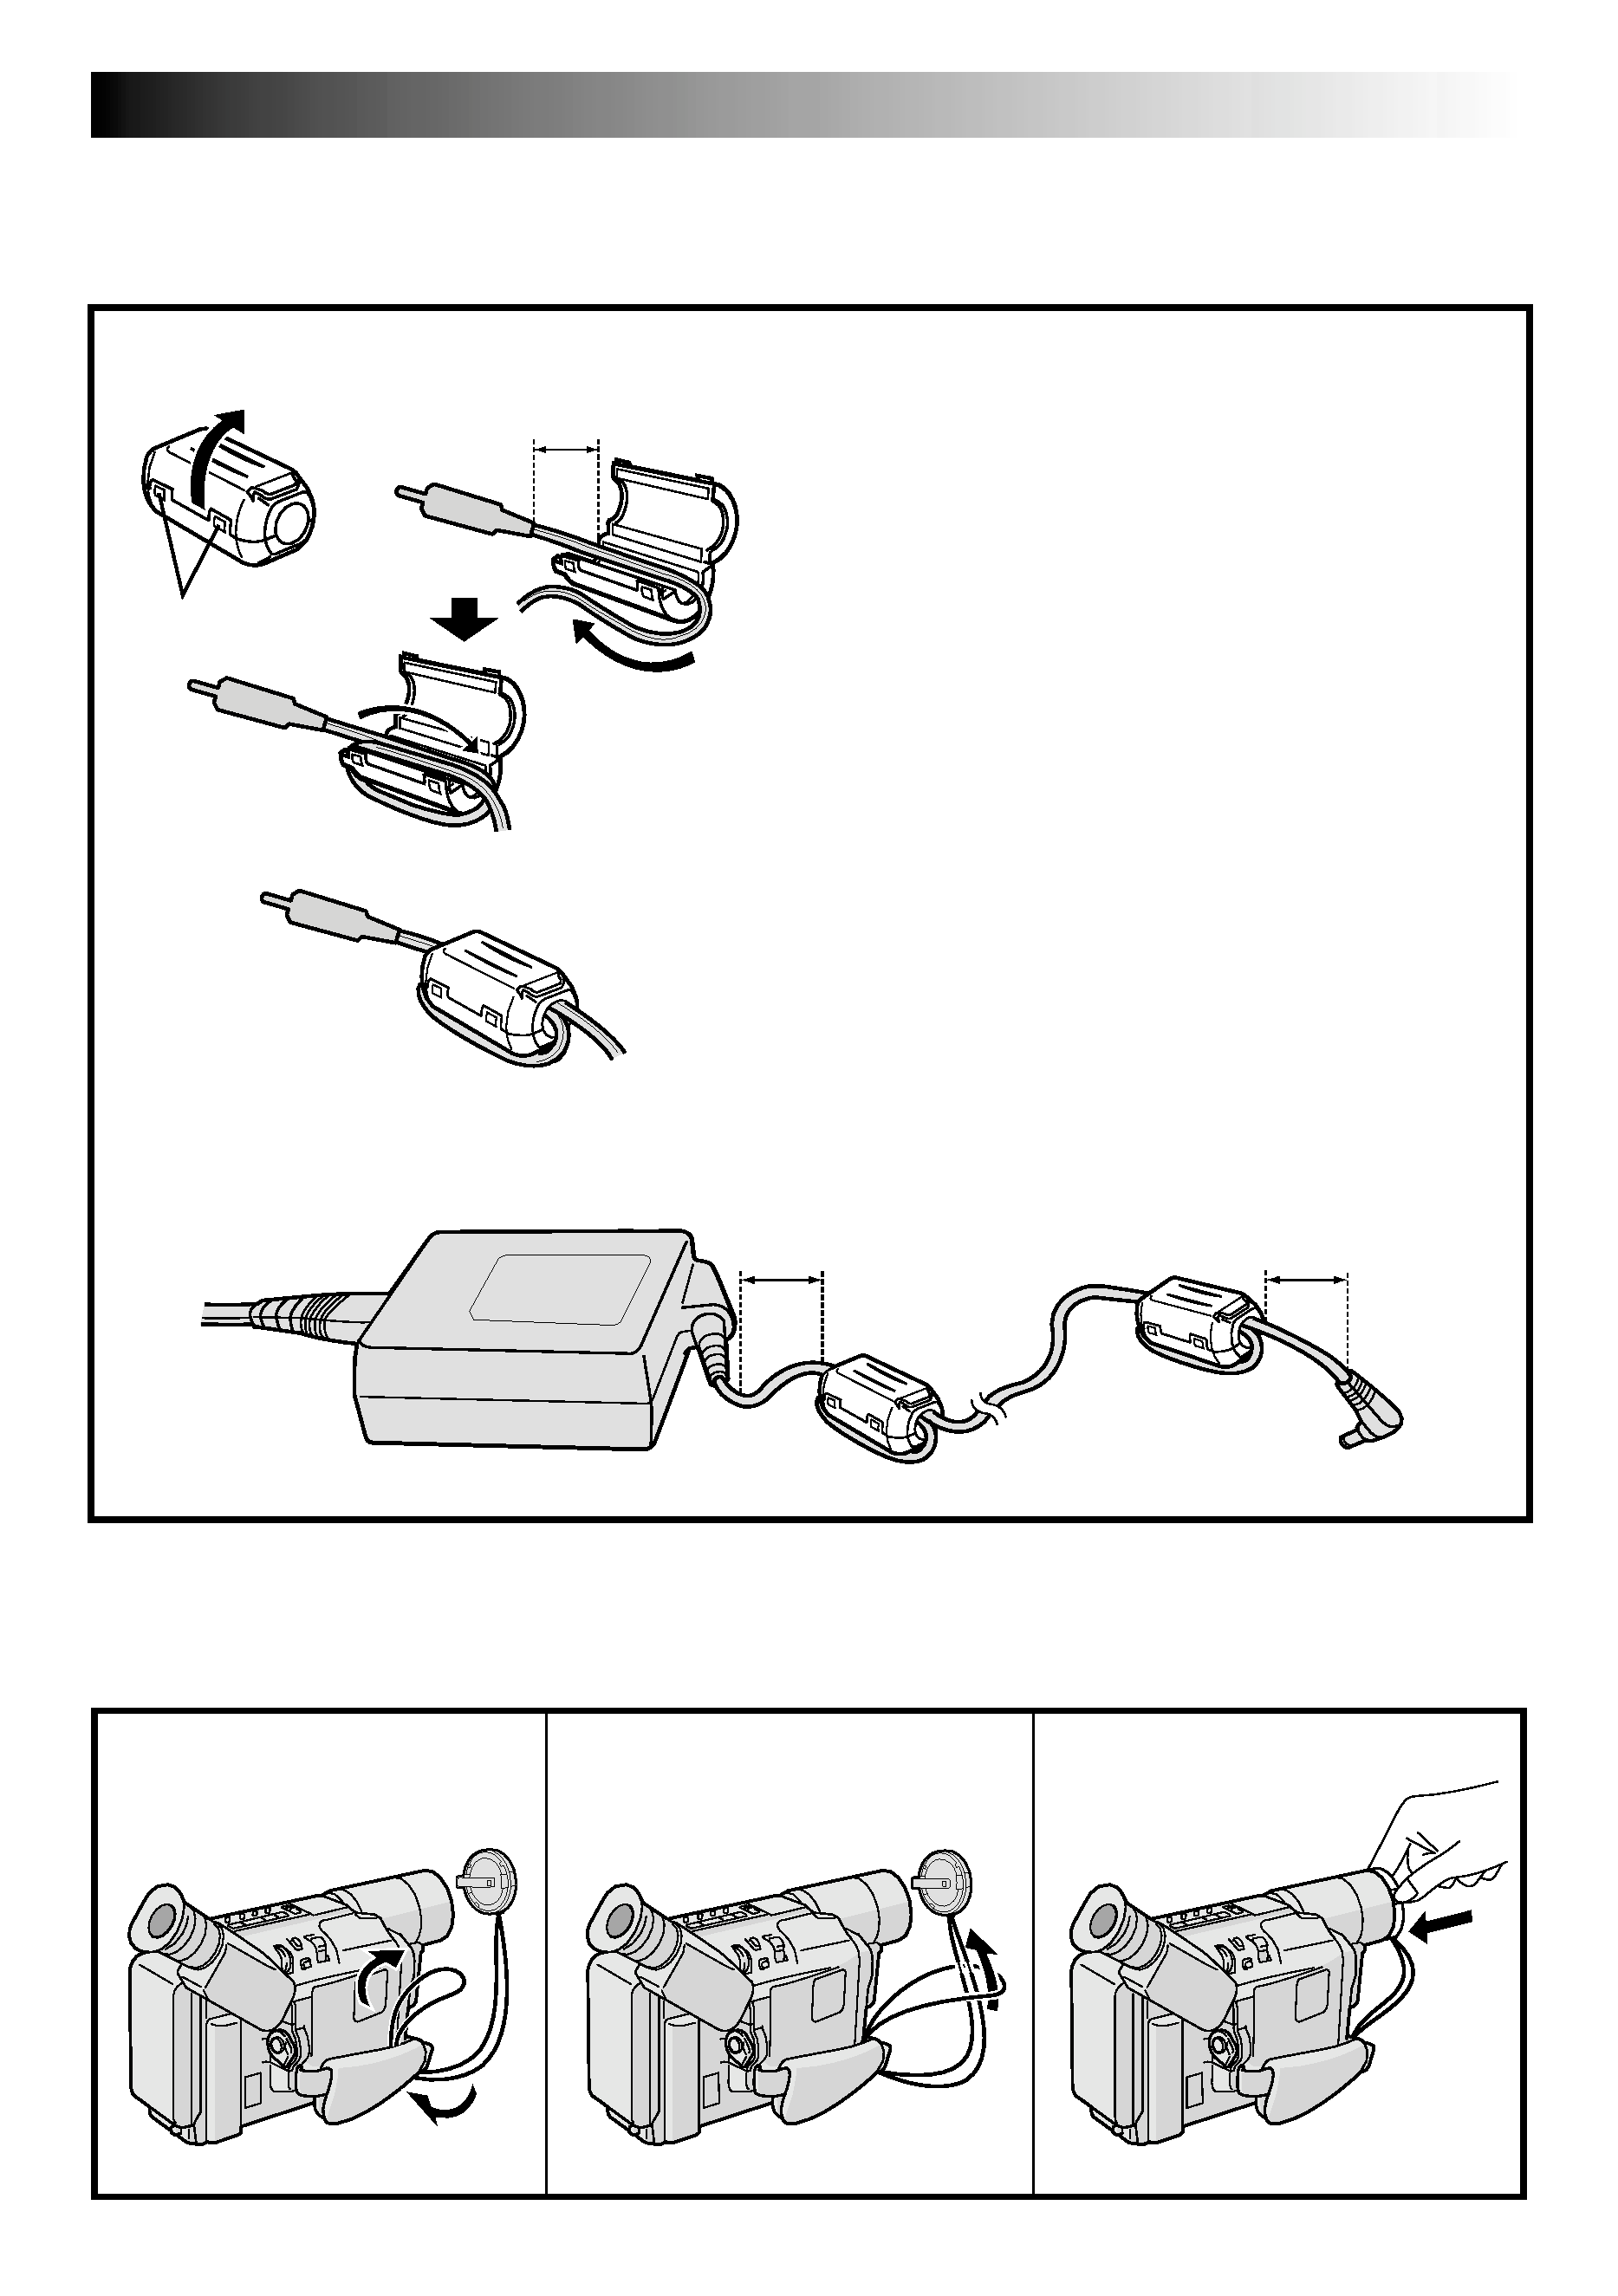
How To Attach The Core Filter
Attach the provided Core Filter to the provided A/V Cable, S-Video Cable and AC Adapter.
The Core Filter reduces interference.
1 Release the stoppers on both ends of the Core
Filter.
2 Run the cable through the Core Filter, leaving
approx. 5 cm of cable between the cable plug
and the Core Filter. Wind the cable around the
outside of the Core Filter as shown in the
illustration.
·Wind the cable so that it is not slack.
NOTE:
Take care not to damage the cable.
3 Close the Core Filter until it clicks shut.
Connect the end of the cable with the Core
Filter to the camcorder.
5 cm
Stopper
13
2
How To Attach The Lens Cap
To protect the lens, attach the provided lens cap to the camcorder as shown in the illustration.
With the provided AC Adapter, attach Core Filters to both ends of the cable as shown below.
5 cm
5 cm