STOP
PLAY
RETURN
MENU/LIST
TOP MENU
PROG
CLEAR
AUDIO
REPEAT
ON SCREEN
OPEN/
CLOSE
SET UP
ZOOM
PR
ENTER
SHOWVIEW/
VIDEO Plus+
SLOW
SLOW
REC
REC
SPEED
REC
MONITOR
PAUSE
EN
STANDBY/ON
/I
PR
S-VIDEO VIDEO
L _ AUDIO _ R
(MONO)
REC SPEED
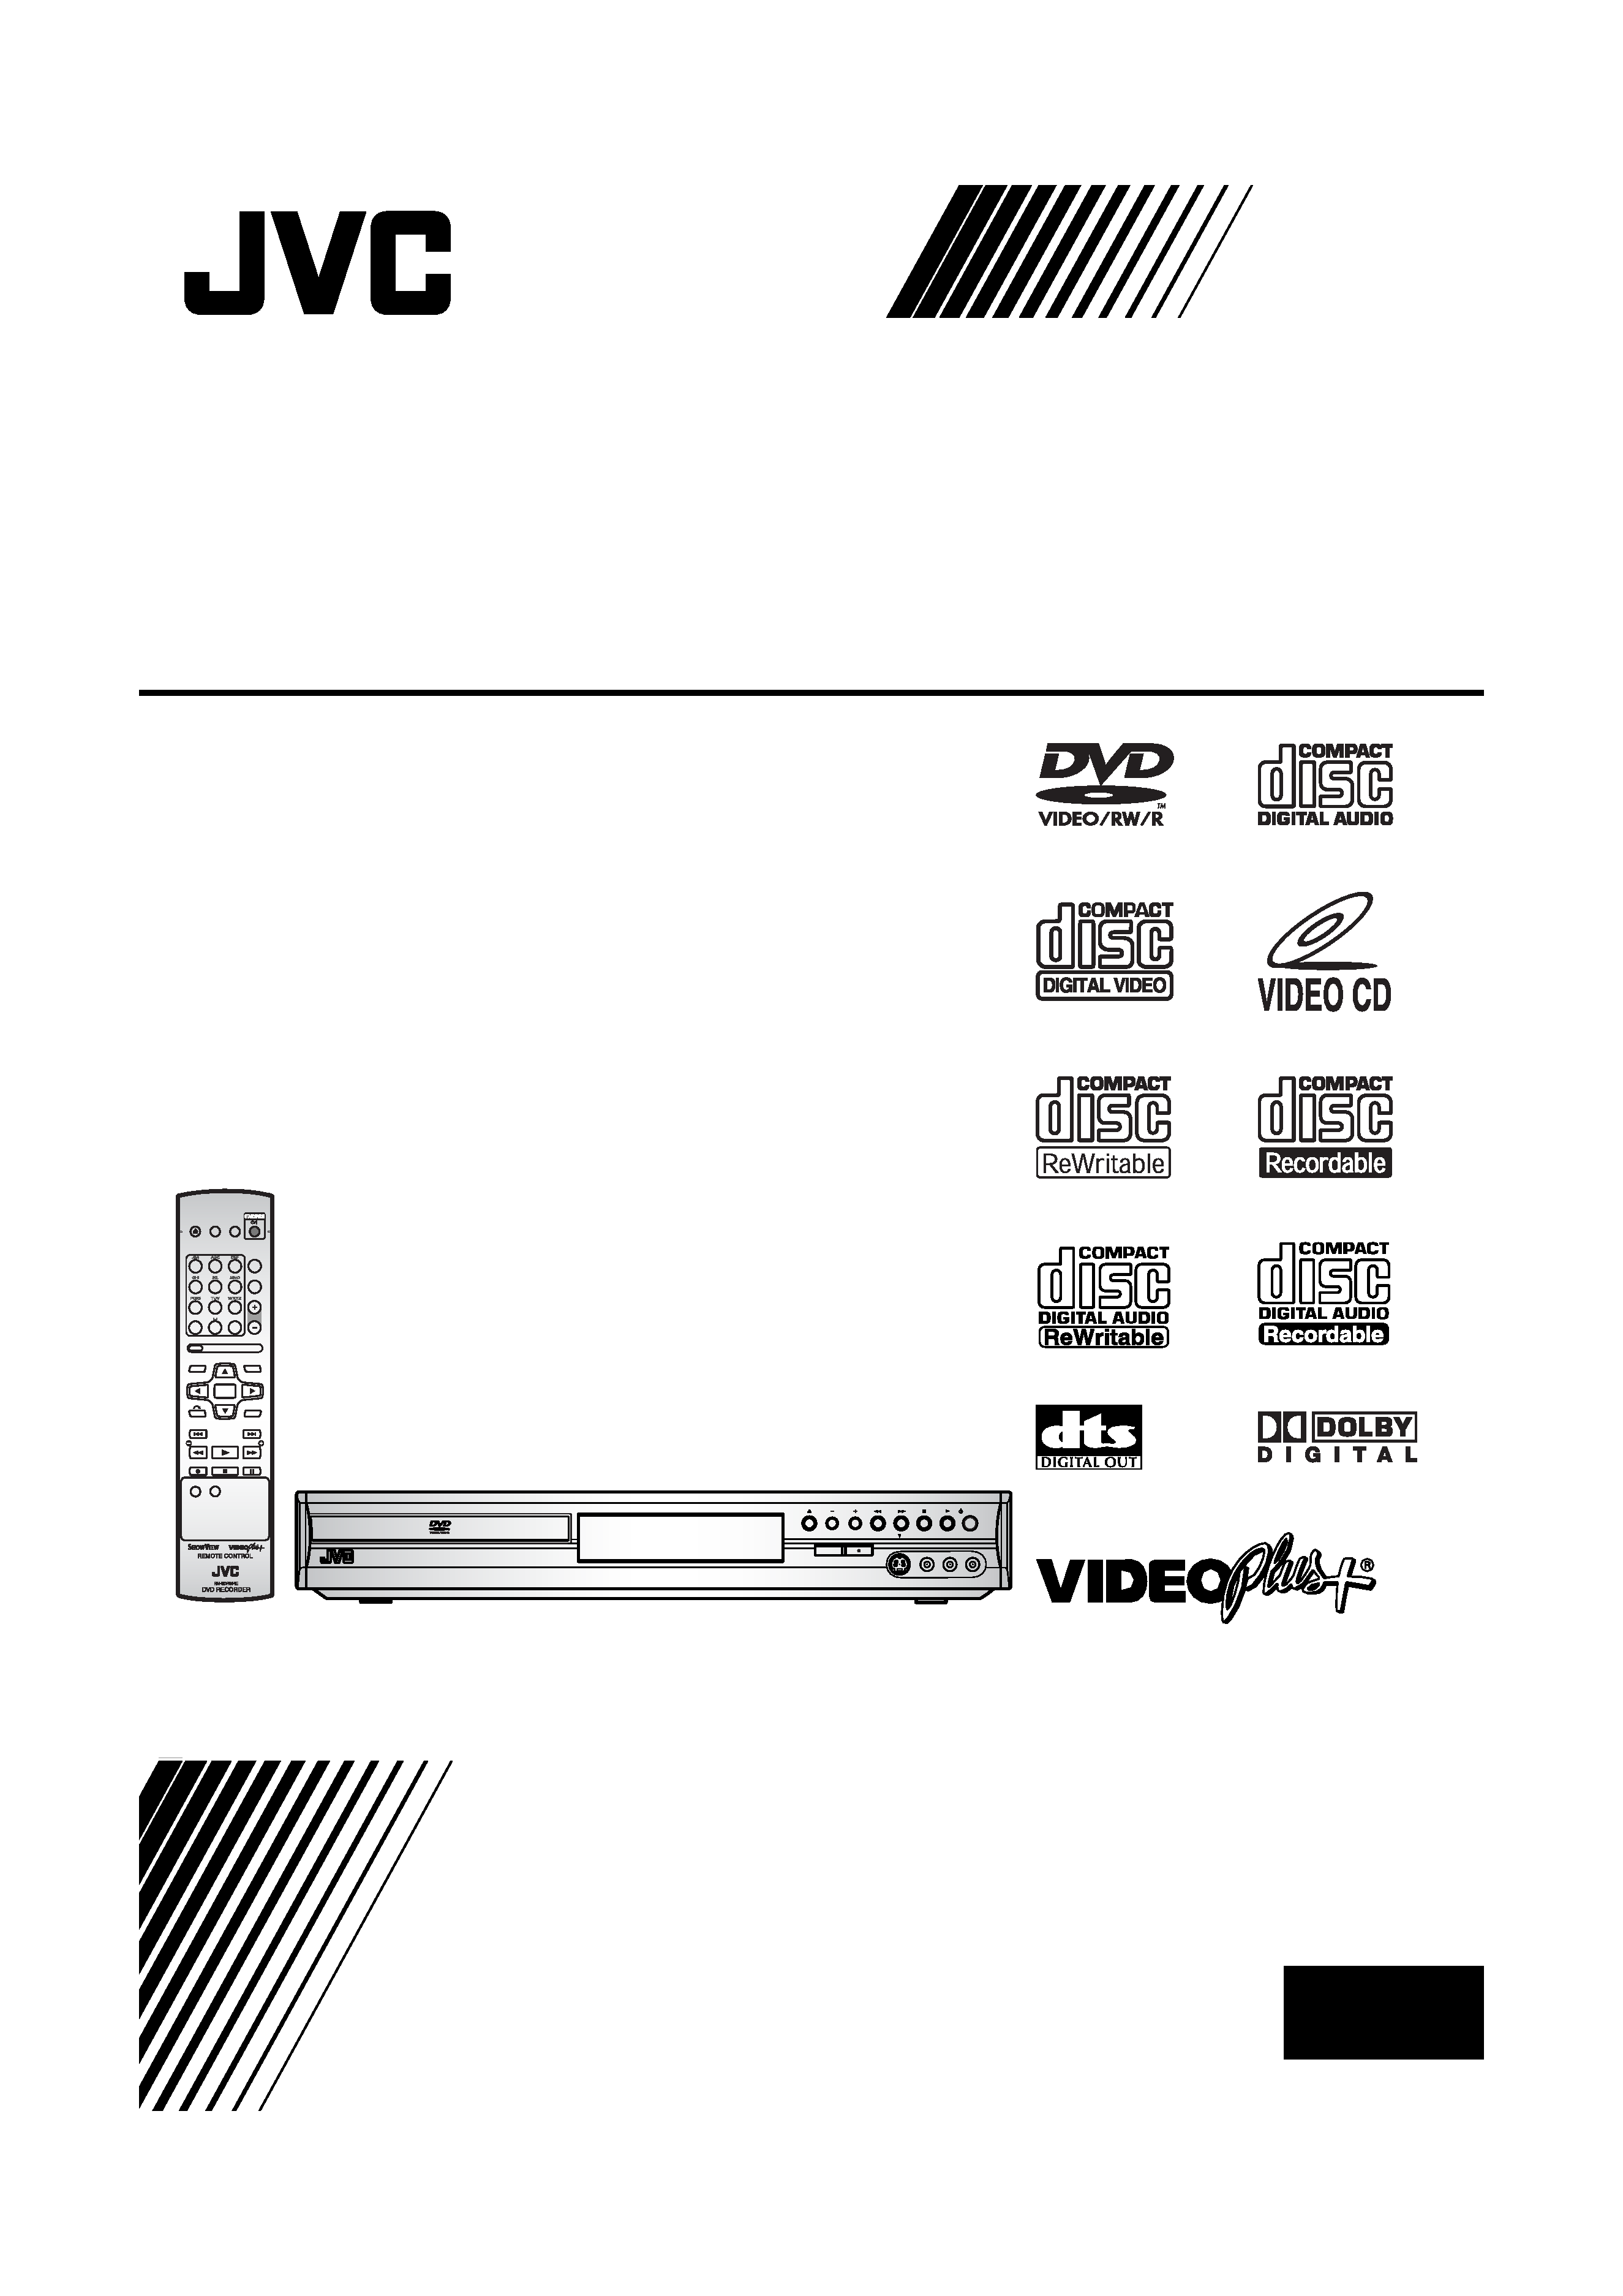
DVD VIDEO RECORDER
DR-M70SEK
INSTRUCTIONS
LPT1081-001A
VIDEO Plus+ and PlusCode are registered
trademarks of Gemstar Development
Corporation. The VIDEO Plus+ system is
manufactured under license from
Gemstar Development Corporation.
E6851BD_EN.book Page 1 Tuesday, August 2, 2005 5:57 PM
2
Bef
o
re
yo
u
st
art
EN
· Remote control with two R6 (AA) batteries
· RF cable
· Instruction Manual
Precautions
Laser Safety
This unit employs a laser. Only a qualified service
personnel should remove the cover or attempt to
service this unit, due to the possibility of eye injury.
CAUTION:
USE OF CONTROLS OR
ADJUSTMENTS OR PERFORMANCE
OF PROCEDURES OTHER THAN
THOSE SPECIFIED HEREIN MAY
RESULT IN HAZARDOUS RADIATION
EXPOSURE.
CAUTION:
VISIBLE AND INVISIBLE LASER
RADIATION WHEN OPEN AND
INTERLOCK DEFEATED. DO NOT
STARE INTO BEAM.
LOCATION: INSIDE, NEAR THE DECK
MECHANISM.
· This unit is classified as a
CLASS 1 LASER product.
· The CLASS 1 LASER
PRODUCT marking is
embossed on the rear cover.
Power Supply
The power supply is connected and the unit is live
when the mains cable is plugged into a 220240 V ,
50 Hz AC outlet. To operate the unit, press
[STANDBY/ON y/I].
WARNING: LIVE PARTS INSIDE.
DO NOT REMOVE ANY SCREWS.
Caution
1. Do not attempt to open the cabinet. There are no
parts inside you can service. Refer all servicing to
qualified service personnel.
2. Slots and openings in the cabinet at the sides and
underneath are provided for ventilation. To ensure
reliable operation and to protect the unit from
overheating, these openings must not be blocked
or covered.
Avoid installation in enclosed spaces such as
bookcases unless suitable ventilation is provided.
3. Keep the unit away from radiators and other heat
sources.
4. Avoid use near strong magnetic fields.
5. Do not push objects of any kind into the unit
through the cabinet slots or openings as they
could touch electrically live parts or short circuit
parts resulting in a fire or electric shock.
6. Do not spill liquid on the unit. If liquid is spilled
and enters the unit, consult qualified service
personnel.
7. Do not stand the unit vertically. Use the unit in a
horizontal (flat) position only.
Before you start
Accessories Supplied
WARNING: TO REDUCE THE RISK OF FIRE OR ELECTRIC SHOCK, DO NOT EXPOSE
THIS APPLIANCE TO RAIN OR MOISTURE.
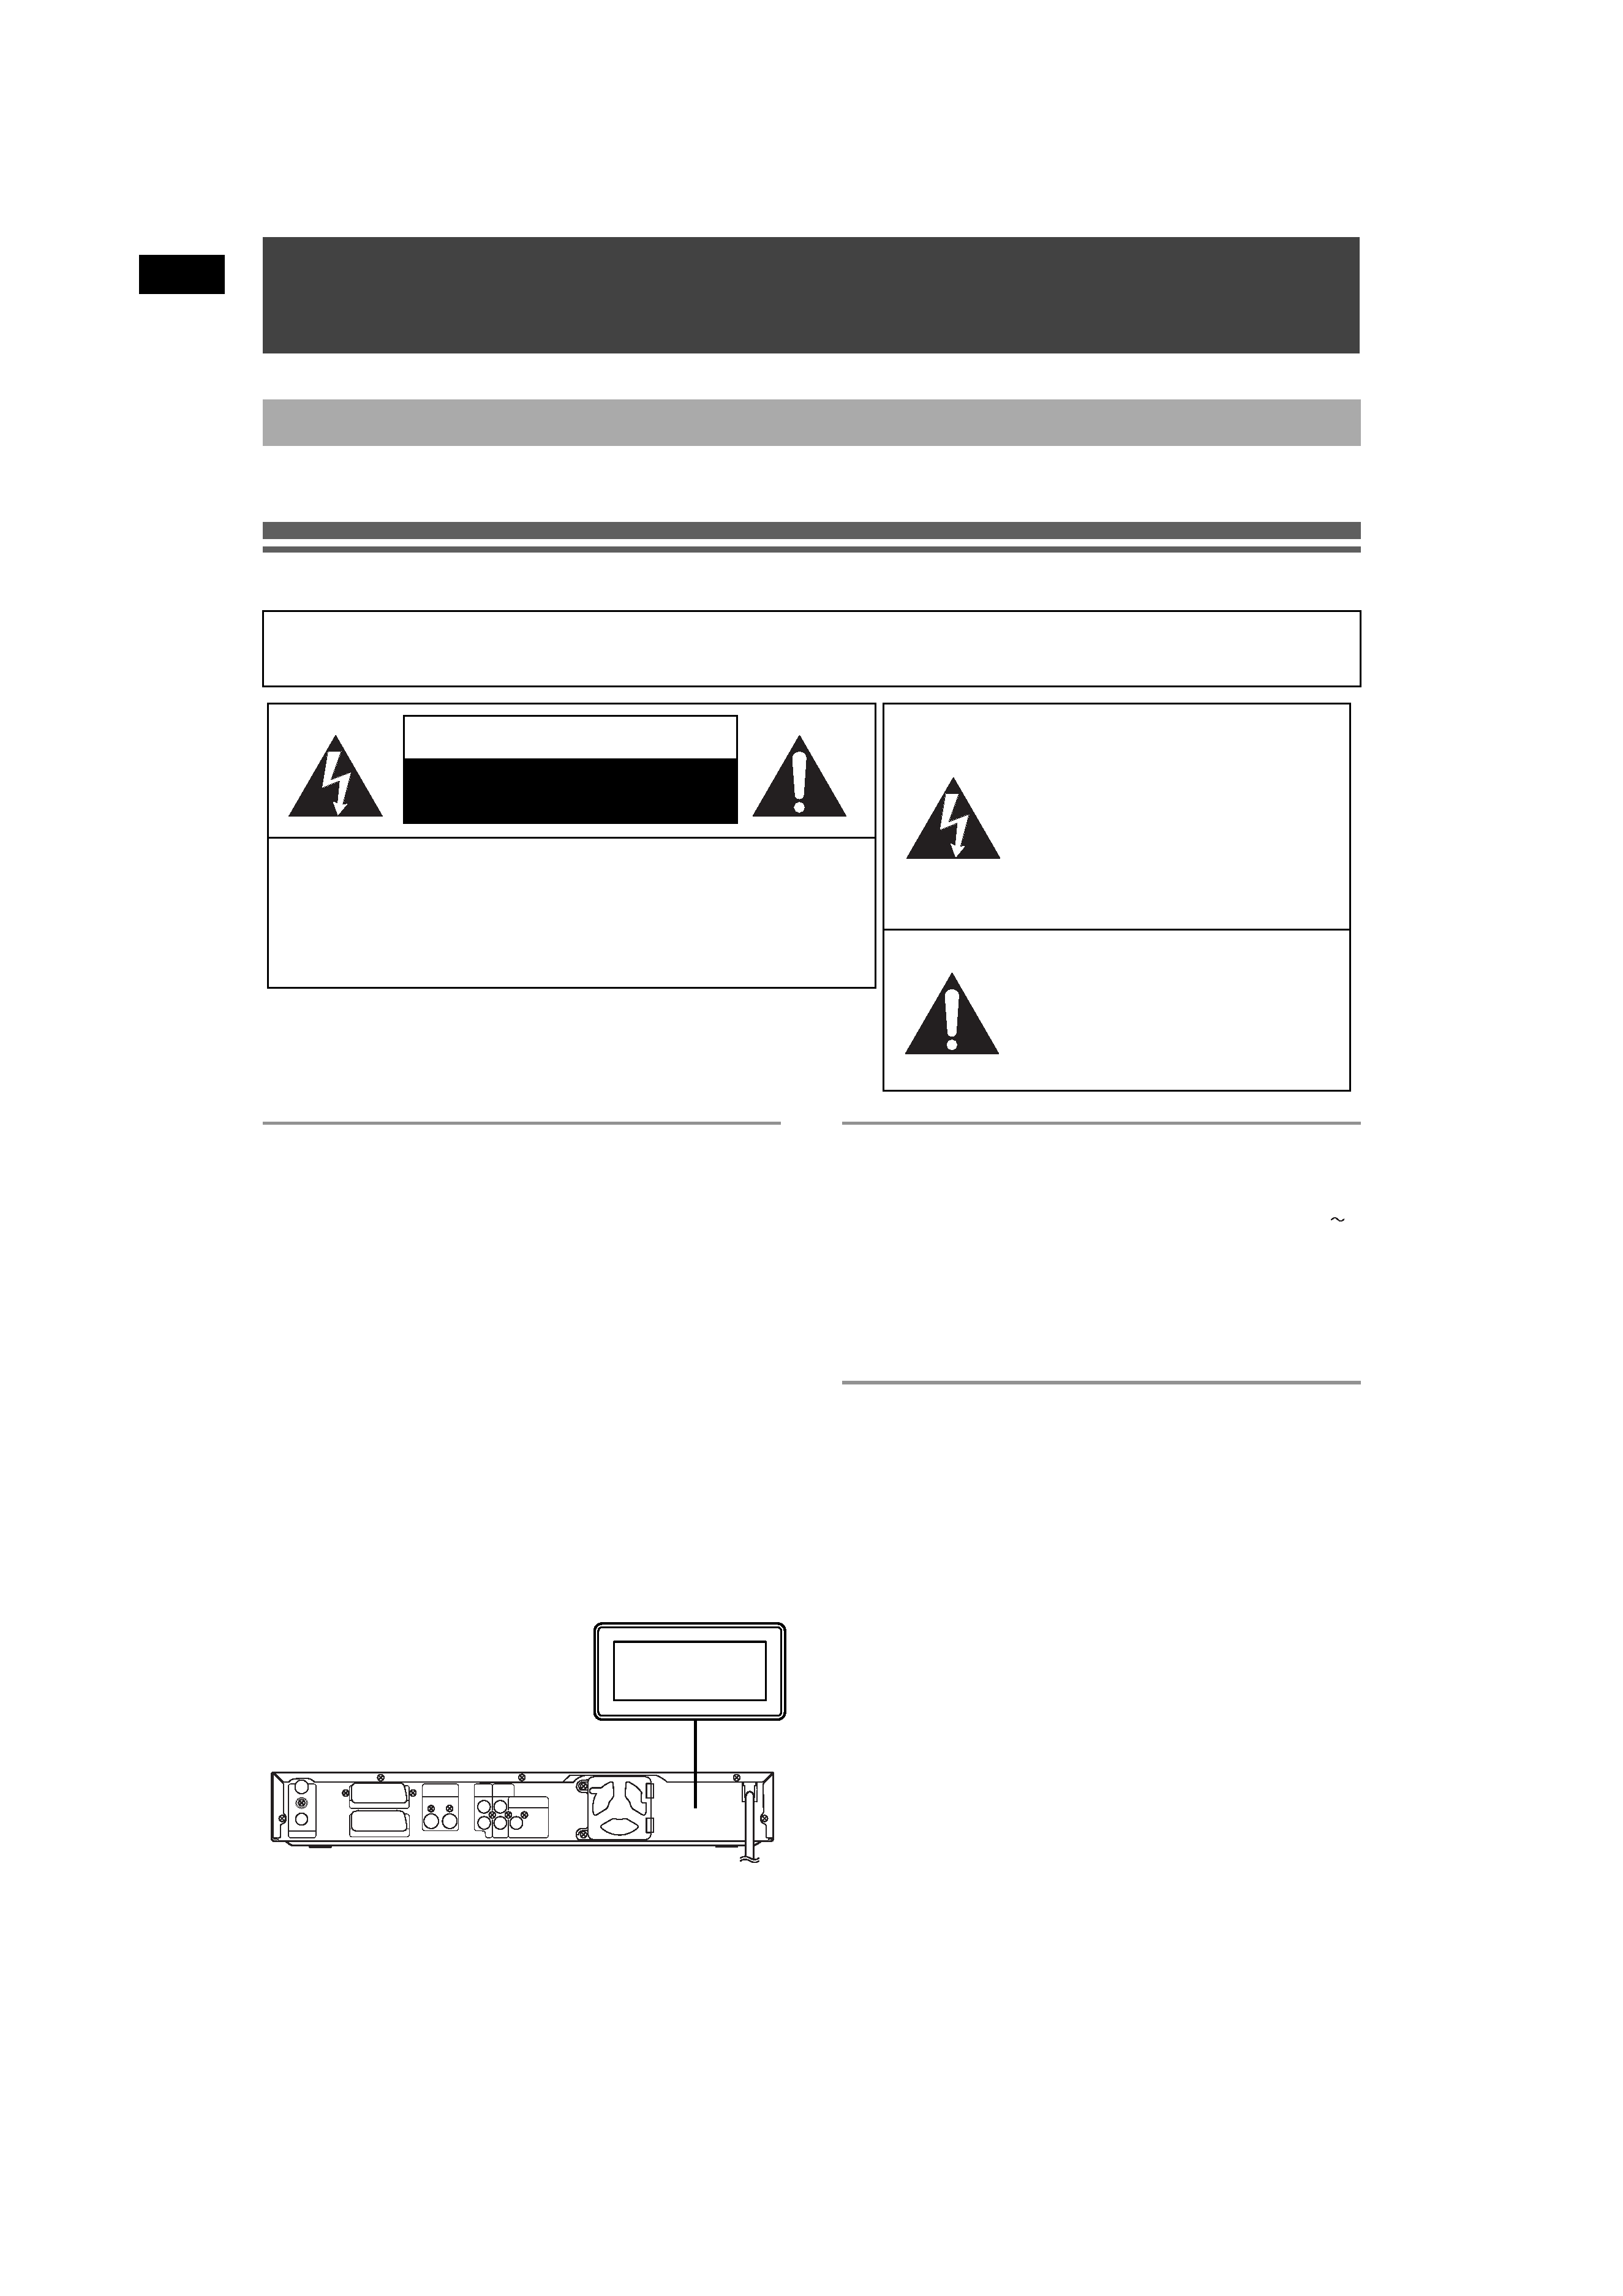
The rating plate and the safety caution are on the rear and the
bottom of the unit.
CAUTION:
TO REDUCE THE RISK OF ELECTRIC SHOCK, DO
NOT REMOVE COVER (OR BACK). NO USER
SERVICEABLE PARTS INSIDE. REFER SERVICING
TO QUALIFIED SERVICE PERSONNEL.
CAUTION
RISK OF ELECTRIC SHOCK
DO NOT OPEN
The lightning flash with
arrowhead symbol, within an
equilateral triangle, is intended
to alert the user to the presence
of uninsulated "dangerous
voltage" within the product's
enclosure that may be of
sufficient magnitude to constitute
a risk of electric shock to
persons.
The exclamation point within an
equilateral triangle is intended to
alert the user to the presence of
important operating and
maintenance (servicing)
instructions in the literature
accompanying the appliance.
IN
OUT
AV2 (DECODER)
AV1 (TV)
ANTENNA
S-VIDEO
OUT
IN (AV3)
AUDIO IN
(AV3)
ANALOG
AUDIO OUT
DIGITAL AUDIO OUTPUT
PCM/BITSTREAM
LL
RR
COAXIAL
CLASS 1 LASER PRODUCT
CLASSE 1 PRODUIT LASER
PRODUCT CON LASER CLASE 1
E6851BD_EN.book Page 2 Tuesday, August 2, 2005 5:57 PM
3
Bef
o
re
yo
u
st
art
EN
8. Before attempting to operate the unit, make sure
that the timer recording mode is off.
9. This product is in Stand-by mode when turned off
while the mains cable is connected.
10. Do not place any combustible objects on the
device. (Candles, etc.)
11. Before moving the unit, be sure to remove any
discs and unplug the mains cable from the AC
outlet.
Make your contribution to the environment!!!
· Exhausted batteries do not belong in
the dustbin.
· You can dispose of them at a collection
point for exhausted batteries or special
waste.
· Contact your council for details.
Installation Location
For safety and optimum performance of this unit:
· Install the unit in a horizontal and stable position.
· Do not place anything directly on top of the unit.
· Do not place the unit directly on top of the TV.
· Shield the unit from direct sunlight and keep away
from sources of intense heat. Avoid dusty or humid
locations. Avoid locations with insufficient ventilation
for suitable heat dissipation. Do not block the
ventilation holes on the sides of the unit. Avoid
locations subject to strong vibration or strong
magnetic fields.
Avoid the Hazards of Electrical Shock
and Fire
· Do not handle the mains cable with wet hands.
· Do not pull on the mains cable to disconnect it from
AC outlet. Grasp it by the plug.
· If, by accident, water is spilled on the unit, unplug
the mains cable immediately and take the unit to an
authorized service centre for servicing.
Moisture Condensation Warning
Moisture condensation may occur inside the unit
when it is moved from a cold place to a warm place,
after heating a cold room, or under conditions of high
humidity. Do not use the unit for at least 2 hours to
allow the inside to dry.
About Copyright
Unauthorized copying, broadcasting, public
performance and lending of discs are prohibited.
This product incorporates copyright protection
technology that is protected by U.S. patents and other
intellectual property rights. Use of this copyright
protection technology must be authorized by
Macrovision, and is intended for home and other
limited viewing uses only unless otherwise authorized
by Macrovision. Reverse engineering or disassembly
is prohibited.
Information for Users on
Disposal of Old Equipment
[European Union]
This symbol indicates that the electrical
and electronic equipment should not be
disposed as general household waste at
its end-of-life. Instead, the product should
be handed over to the applicable
collection point for the recycling of
electrical and electronic equipment for
proper treatment, recovery and recycling
in accordance with your national
legislation.
By disposing of this product correctly, you
will help to conserve natural resources
and will help prevent potential negative
effects on the environment and human
health which could otherwise be caused
by inappropriate waste handling of this
product. For more information about
collection point and recycling of this
product, please contact your local
municipal office, your household waste
disposal service or the shop where you
purchased the product.
Penalties may be applicable for incorrect
disposal of this waste, in accordance with
national legislation.
(Business users)
If you wish to dispose of this product,
please visit our web page
www.jvc-europe.com to obtain
information about the take-back of the
product.
[Other Countries outside
the European Union]
If you wish to dispose of this product,
please do so in accordance with
applicable national legislation or other
rules in your country for the treatment of
old electrical and electronic equipment.
For Customer Use:
Carefully read the Model No. and Serial No.
located at the back of the unit and enter the
information below. Retain this information for
future reference.
Model No. _____________________
Serial No. _____________________
Attention:
This symbol is
only valid in the
European Union.
Manufactured under licence from Dolby
Laboratories. "Dolby" and the double-D symbol
are trademarks of Dolby Laboratories.
Dolby Digital Recording
"Dolby® Digital Recording enables consumers to
record high-quality video with stereo sound on
recordable DVD discs. The technology, when
utilized instead of PCM recording, also saves
recordable disc space, allowing for higher video
resolution or extended recording time on each
DVD. DVDs created using Dolby Digital Recording
will play back on all DVD-Video players."
Note: This is true when the players are compatible
with actual recordable DVD discs.
"DTS" and "DTS Digital Out" are trademarks of
Digital Theater Systems, Inc.
E6851BD_EN.book Page 3 Tuesday, August 2, 2005 5:57 PM

4
Bef
o
re
yo
u
st
art
EN
Connection to Power
Before Switching on make sure that the voltage of
your electricity supply is the same as that indicated on
the rating plate.
Mains Cord
This appliance may be fitted with a non-rewireable
plug. If it is necessary to change the fuse in a
nonrewireable plug the fuse cover must be refitted. If
the fuse cover is lost or damaged, the plug must not
be used until a replacement available from the
appliance manufacturer is obtained.
It is important that the colour of the replacement fuse
cover corresponds with the rating marking on the
base of the plug.
If the plug has to be changed because it is not
suitable for your socket, or becomes damaged, it
should be cut off and an appropriate plug fitted
following the wiring instructions below. The plug
removed must be disposed of safely as insertion into
a 13A socket is likely to cause an electrical hazard.
For your own safety read the following instructions
carefully before attempting to connect this unit to
mains.
The wires in this mains lead are coloured in
accordance with the following code:
BLUE=NEUTRAL, BROWN=LIVE
Important
As the colours of the wires in the mains lead of this
appliance may not correspond with the coloured
markings identifying the terminals in your plug,
proceed as follows:-
The wire which is coloured blue must be connected to
the terminal which is marked with the letter N or
coloured black.
The wire which is coloured brown must be connected
to the terminal which is marked with the letter L or
coloured red.
No connection is to be made to the earth terminal of
the plug.
If a 13 Amp (BS 1363) Plug is used, a 3 Amp Fuse
must be fitted, or if any other type of Plug is used a 3
or 5 Amp Fuse must be fitted, either in the Plug or
Adaptor, or on the Distribution Board.
Mains Supply:220 - 240 V 50 Hz - AC only
Do not make any connection to the larger pin marked
with the letter "E" or by the symbol
or coloured
green or green and yellow.
Maintenance
CLEANING THE UNIT
Use a soft cloth slightly moistened with a mild
detergent solution. Do not use solutions containing
alcohol, spirits, ammonia or abrasive.
CLEANING DISCS
If a disc becomes dirty, clean it with a cleaning cloth.
Wipe the disc from the centre out. Do not wipe in a
circular motion.
Do not use solvents such as benzine, thinner,
commercially available cleaners, detergent, abrasive
cleaning agents or antistatic spray intended for
analogue records.
DISC HANDLING
Handle the discs so that fingerprints and dust do not
adhere to the disc surfaces.
Always store the disc in its protective case when it is
not in use.
SERVICING
If the unit becomes inoperative, do not try to correct
the problem by yourself. There are no user
serviceable parts inside. Turn the unit off, unplug the
mains cable, and consult your dealer or an authorized
service centre.
CLEANING THE DISC LENS
If the unit does not perform correctly even though you
have referred to "Troubleshooting" and the relevant
sections in the Instruction Manual, the laser optical
pickup unit may be dirty. Consult your dealer or an
authorized service centre for inspection and cleaning
of the laser optical pickup unit.
FUSE
BLUE
(Neutral)
BROWN
(Live)
CORD GRIP
OUTER SHEATH OF THE WIRE
E6851BD_EN.book Page 4 Tuesday, August 2, 2005 5:57 PM

5
EN
Table of contents
Before you start...................................... 2
Precautions ........................................................... 2
Features ................................................................ 6
Guide to the Instruction Manual ........................... 7
Functional overview .............................................. 8
Installing batteries in the remote control ............ 11
Guide to On Screen Displays.............................. 12
Front Panel Display Guide .................................. 14
Getting Started ..................................... 15
Connections ....................................................... 15
Channel setting .................................................. 17
Setting the clock ................................................. 19
Selecting the TV aspect ratio ............................. 19
Recording ............................................. 20
Information on DVD recording ............................ 20
Formatting a disc ................................................ 22
Selecting the Sound mode ................................. 23
Basic recording .................................................. 24
One-touch timer recording (OTR) ...................... 25
Timer recording ................................................. 26
Timer recording using
the VIDEO Plus+® system ................................. 28
Settings for external equipment ......................... 30
Setting a disc to protect ..................................... 31
Finalising discs .................................................. 31
Playing back discs ............................... 33
Information on playing back DVDs ..................... 33
Basic playback ................................................... 34
PBC function for Video CDs................................ 36
Special playback ................................................ 37
Search................................................................. 40
Repeat / Random / Program playback /
Slide Show ......................................................... 41
Selecting the format of audio and video ............. 43
Editing ...................................................45
Disc editing ......................................................... 45
Editing discs in Video mode ............................... 45
Editing discs in VR mode .................................... 48
Editing Original titles in VR mode ....................... 48
Editing the Playlist in VR mode .......................... 50
Changing the Setting menu.................54
Tour of the Setting menu ..................................... 54
Language setting ................................................ 55
Display setting .................................................... 56
Audio setting ....................................................... 56
DVD-Videos Parental lock level .......................... 58
Changing Video Out system ............................... 59
Others ....................................................60
Troubleshooting .................................................. 60
Language code ................................................... 63
Glossary .............................................................. 64
Specifications ..................................................... 65
Declaration of Conformity ................................... 65
Before
you
start
G
et
ti
n
g
st
art
ed
R
e
c
o
rd
in
g
Pl
ayi
ng
back
di
scs
Ed
it
in
g
Ch
ang
ing
t
h
e
S
e
ttin
g
menu
Othe
rs
E6851BD_EN.book Page 5 Tuesday, August 2, 2005 5:57 PM