For Customer Use:
Enter below the Serial No. which is located
on the bottom of the unit.
Retain this information for future reference.
Model No.
AA-V90U
Serial No.
AA-V90U
INSTRUCTIONS
AC POWER ADAPTER/CHARGER
ADAPTATEUR SECTEUR/CHARGEUR DE BATTERIE
ADAPTADOR/CARGADOR DE CA
LYT0002-0V5A
MANUAL DE INSTRUCCIONES
MANUEL D'INSTRUCTIONS
ENGLISH
FRANÇAIS
ESPANOL
EN-2
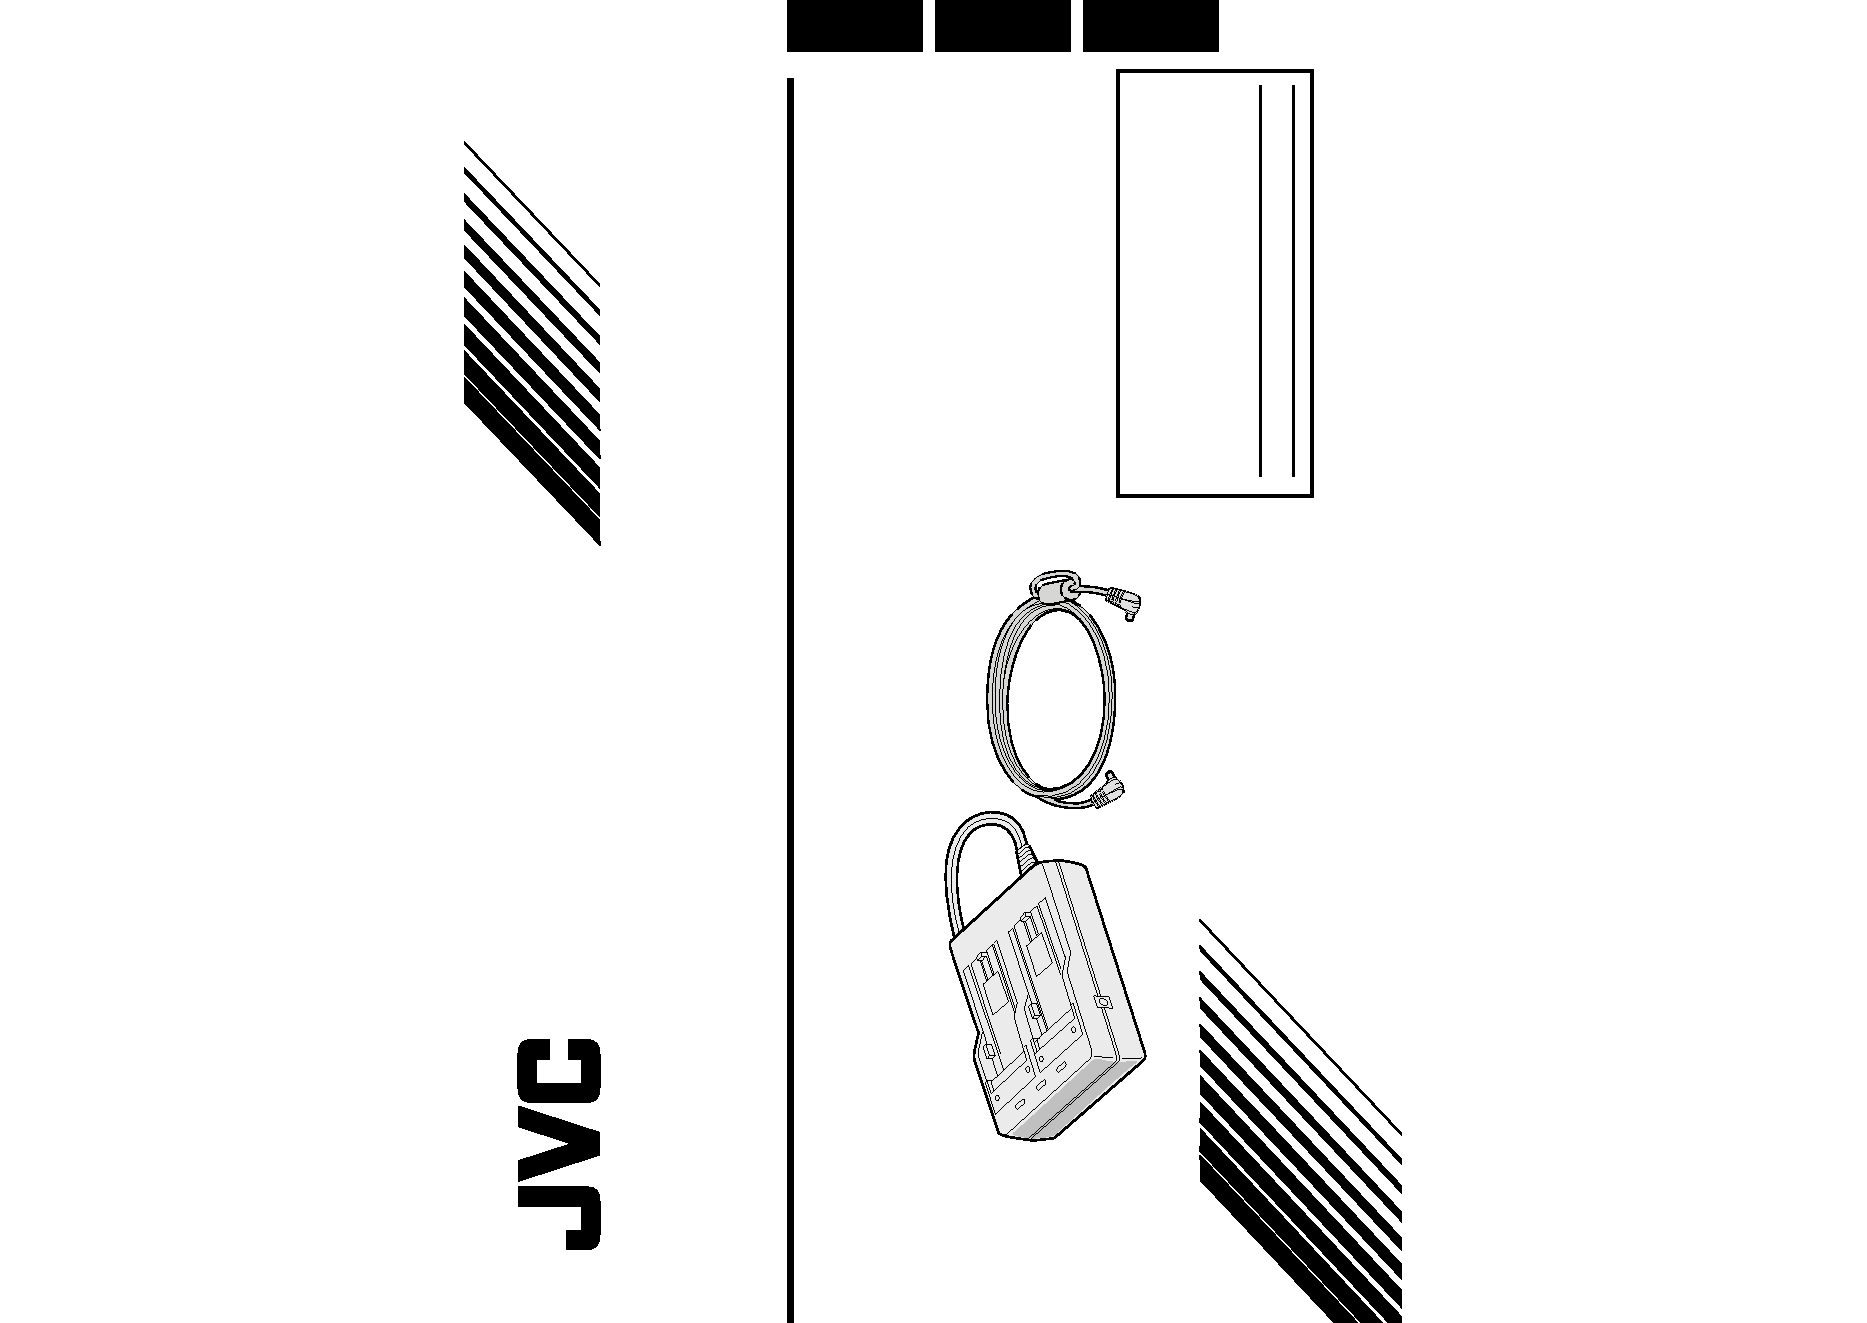
Thank you for purchasing the JVC AC Power Adapter/
Charger. This unit provides DC power for the JVC
Digital Video Camera from a household AC outlet. It
can be used to recharge the JVC battery pack for
exclusive use with the JVC Digital Video Camera, and
is capable of charging two battery packs
consecutively. To avoid problems and obtain the best
results, please read this instruction booklet carefully
before use. Before using as a power adapter, make
sure that this unit's model number is the same as that
of the power supply unit specified in the instruction
manual of the equipment you wish to power.
NOTE:
The rating plate (Serial number plate) is on the
bottom of the unit.
CAUTION:
TO PREVENT ELECTRIC SHOCK MATCH WIDE
BLADE OF PLUG TO WIDE SLOT, FULLY
INSERT.
WARNING:
TO PREVENT FIRE OR SHOCK HAZARD,
DO NOT EXPOSE THIS UNIT TO RAIN
OR MOISTURE.
This unit should be used with AC 120V`
`
`
`
`
, 60 Hz
only in the USA and Canada. In other countries,
this unit should be used with AC 110 240 V`
`
`
`
`
,
50/60 Hz only.
CAUTION:
To prevent electric shocks and fire hazards, do
NOT use any other power source.
CAUTION
RISK OF ELECTRIC SHOCK
DO NOT OPEN
CAUTION:
TO REDUCE THE RISK OF ELECTRIC SHOCK,
DO NOT REMOVE COVER (OR BACK).
NO USER-SERVICEABLE PARTS INSIDE.
REFER SERVICING TO QUALIFIED SERVICE PERSONNEL.
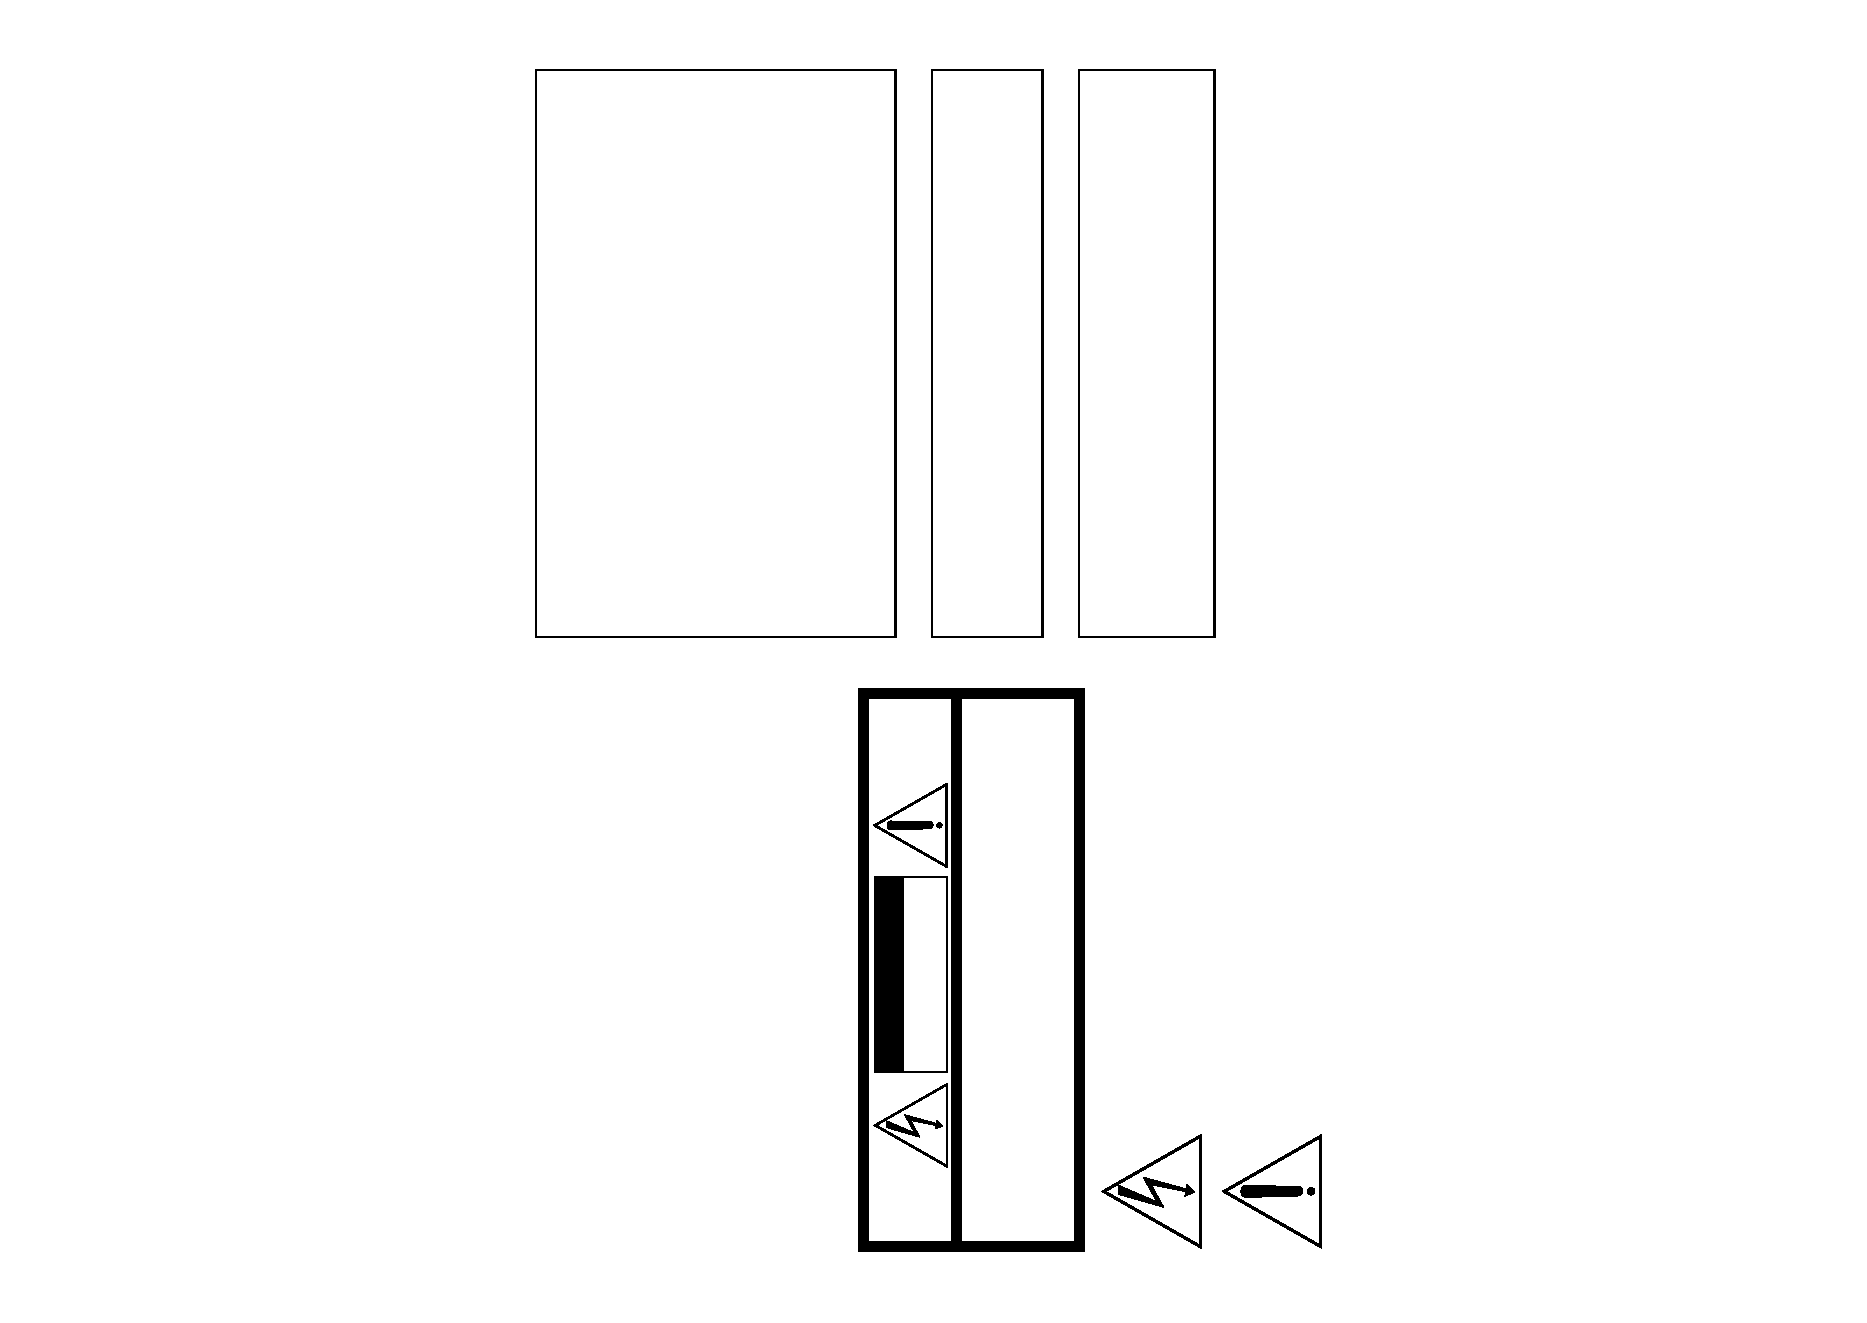
The lightning flash with arrowhead symbol, within an
equilateral triangle, is intended to alert the user to the
presence of uninsulated "dangerous voltage" within the
product's enclosure that may be of sufficient magnitude
to constitute a risk of electric shock to persons.
The exclamation point within an equilateral triangle is
intended to alert the user to the presence of important
operating and maintenance (servicing) instructions in
the literature accompanying the appliance.
EN-3
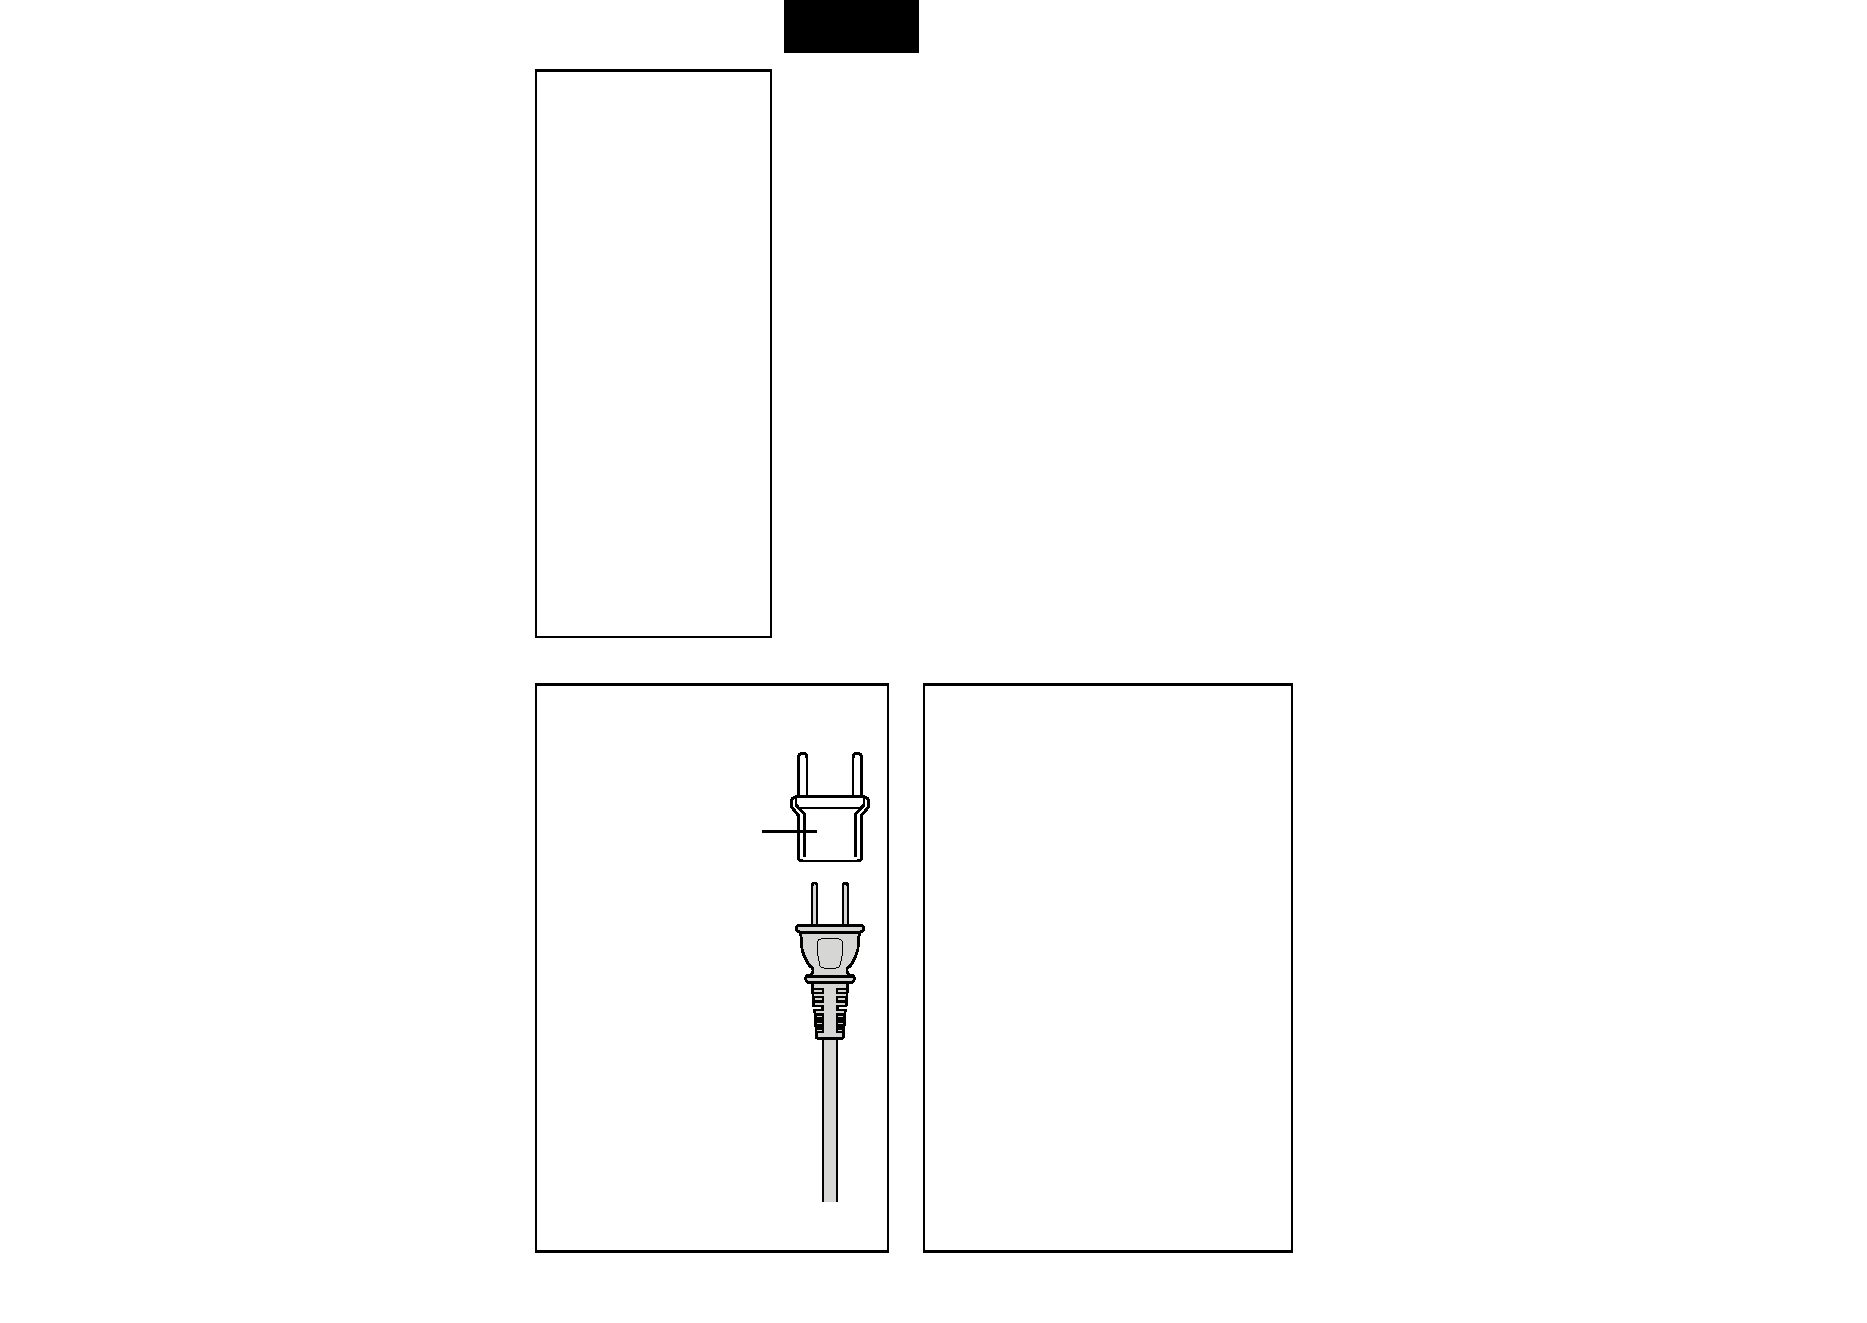
USING HOUSEHOLD AC PLUG ADAPTER
In case of connecting attached Power Cord Plug
to AC wall outlet other than American National
Standard C73 series type, use an AC plug
adapter, so called "Siemens Plug", as shown
below.
CAUTIONS:
·If used near a radio, this unit may interfere
with reception.
·Prevent inflammables, water and metallic
objects from entering the unit.
·Do not disassemble or modify the unit.
·Do not apply shocks to the unit.
·Do not subject the unit to direct sunlight.
·Avoid using the unit in extremely hot or humid
places.
·Avoid using the unit in places subject to
vibrations.
A WORD ON THE EXCLUSIVE BATTERY PACKS
The battery packs are lithium-ion.
Give attention to the following to make the most
of their characteristics.
For charging: 10°C to 35°C (50°F to 95°F)
For operating: 0°C to 40°C (50°F to 104°F)
For storing: 10°C to 30°C (14°F to 86°F)
Plug adapter (optional)
EN-4
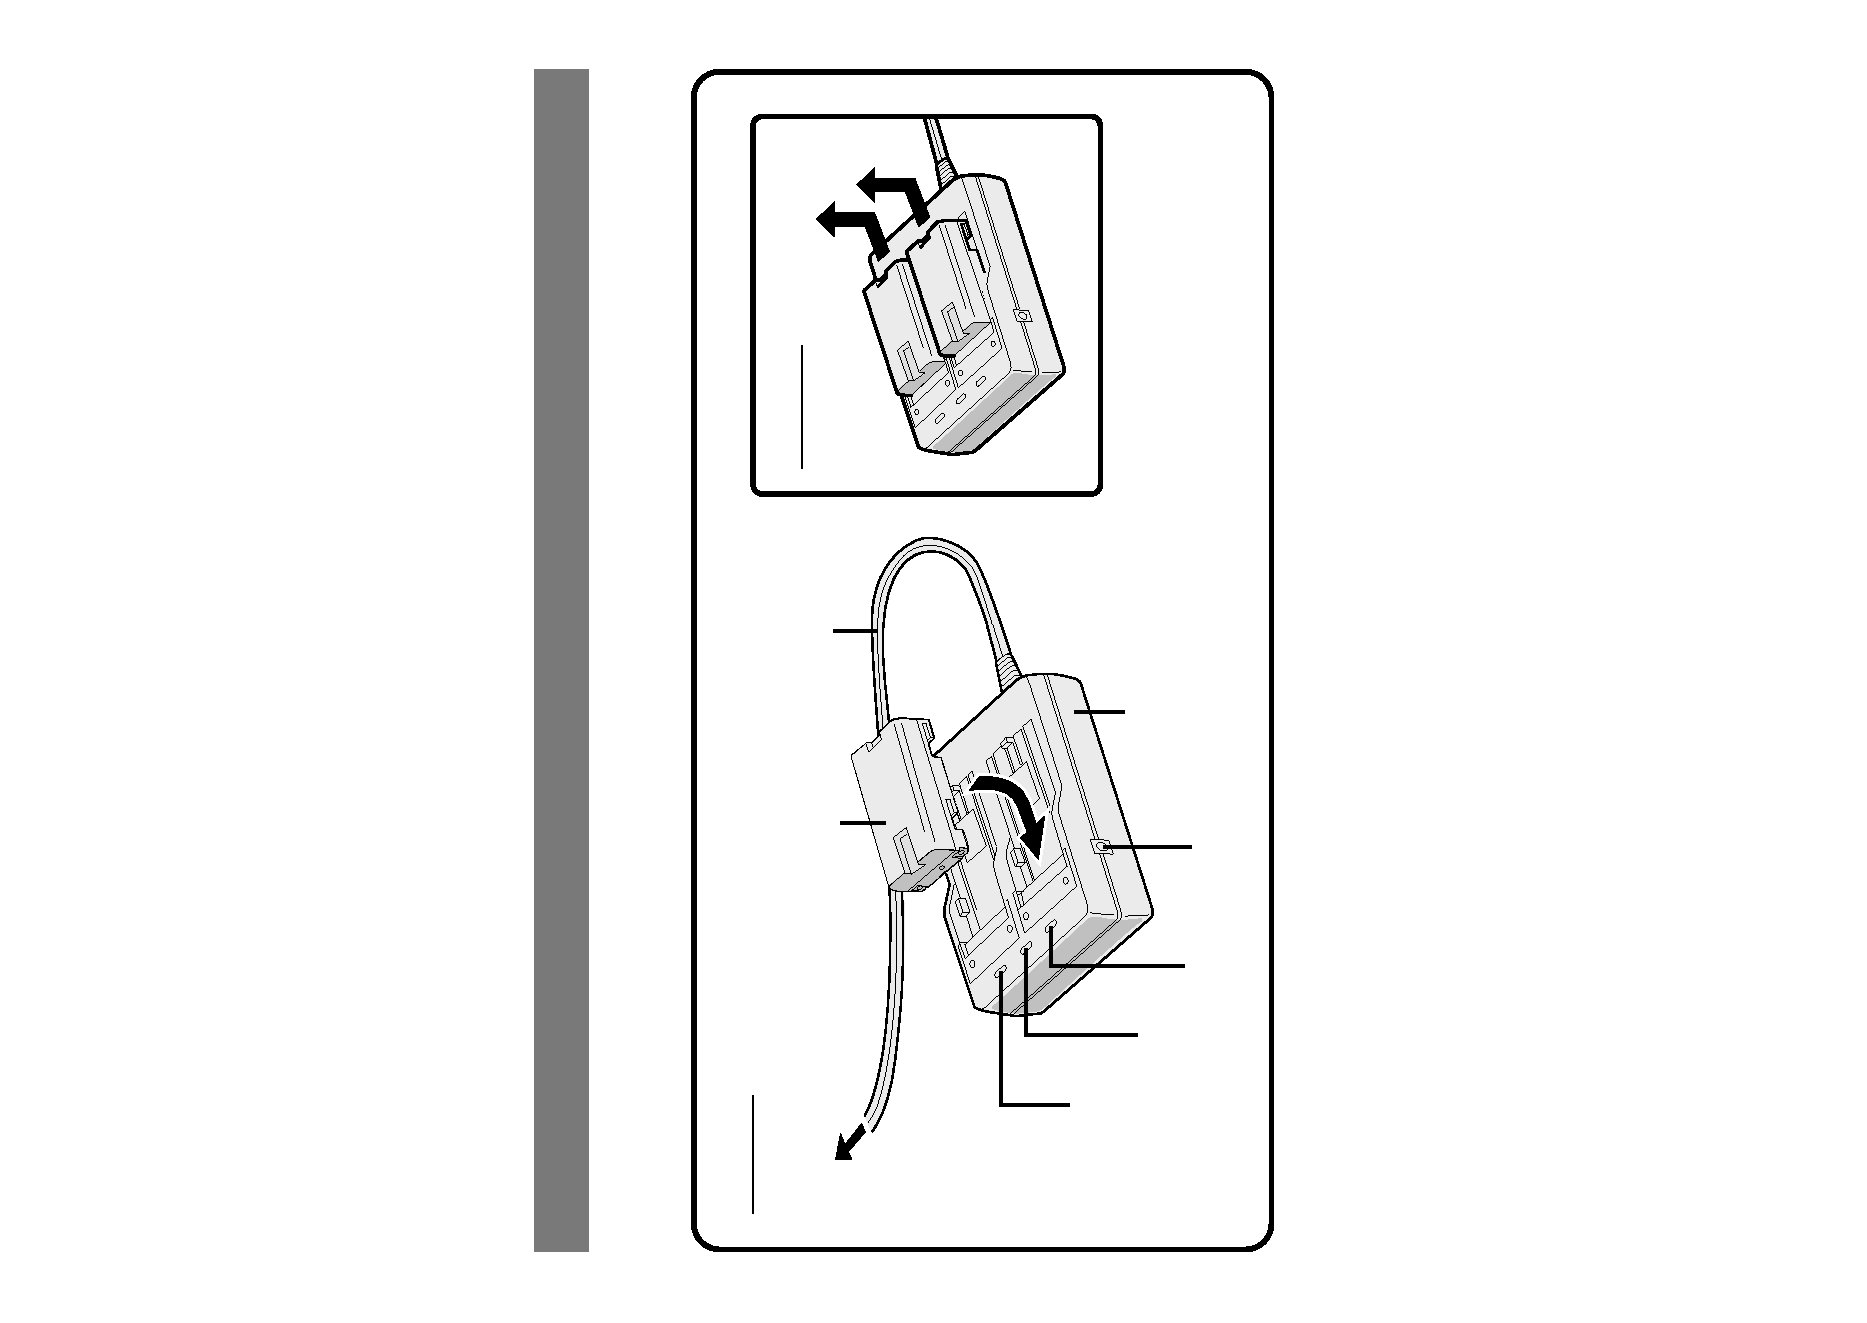
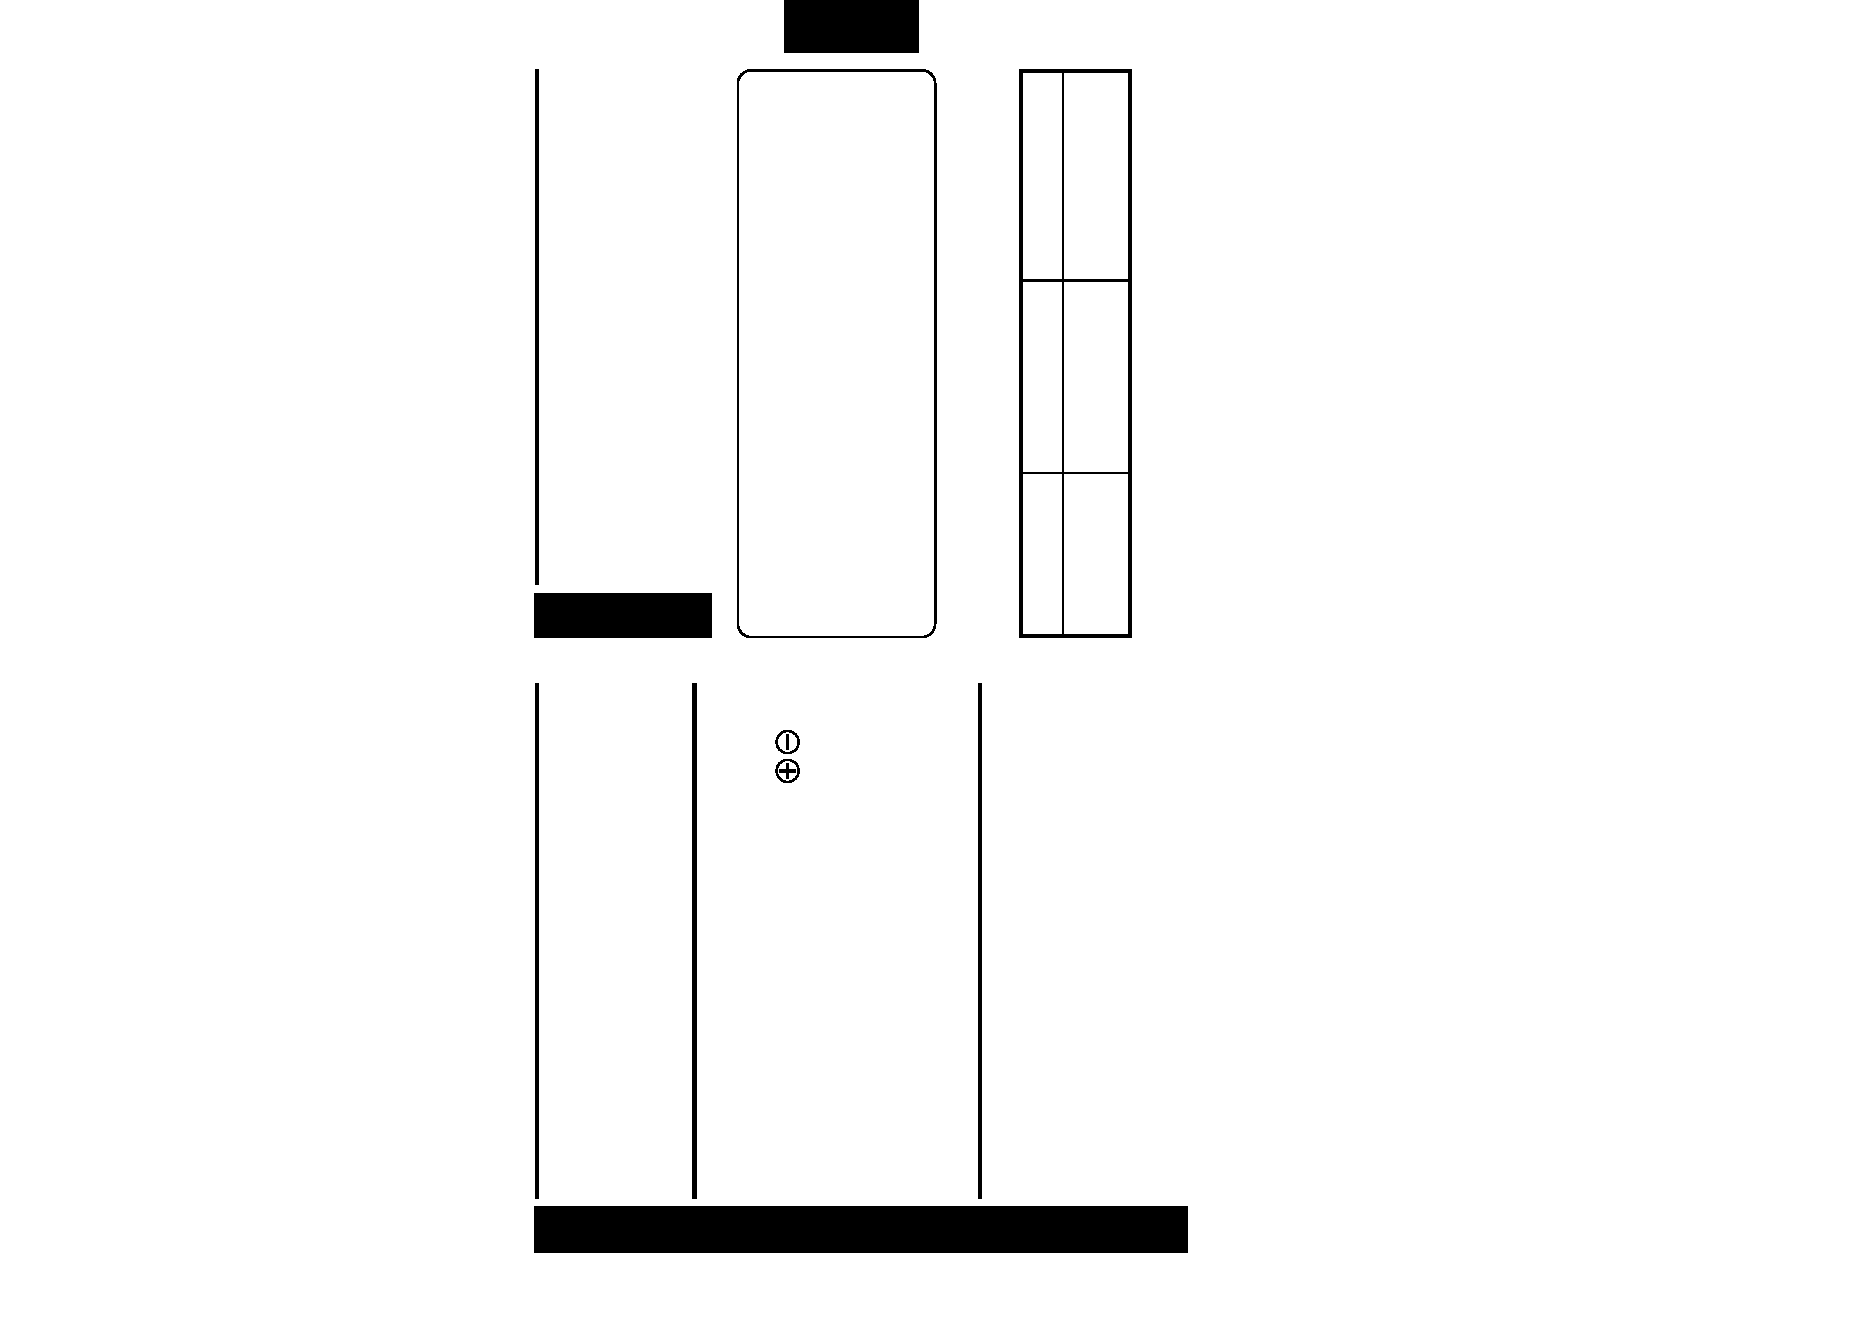
CHARGING THE BATTERY PACK
You can charge one battery pack at a time, or two consecutively.
To AC outlet
Battery pack
BN-V907U
Power cord
Charger
indicator 2
DC jack
Power lamp
Charger
indicator 1
AC Power Adapter/
Charger AA-V90U
DETACH
ATTACH
EN-5
4
DETACH BATTERY/BATTERIES
Slide the battery or batteries in the
direction of the arrow and lift off.
·Remember to unplug the AC Adapter/
Charger's power cord from an AC outlet.
NOTE:
Perform charging where the temperature is
between 10° and 35°C. (20°25°C is the ideal
temperature range for charging.) If the
environment is too cold, charging may be
incomplete.
Battery Pack
1 Battery Pack
2 Battery Packs
BN-V907U
approx.
approx.
100 min.*
200 min.*
* When charged at temperatures between 20°
and 25°C.
·When charging Battery Packs after a long
storage period, charging time will be longer
than the time indicated above.
BATTERY PACK CHARGING TIME
1
SUPPLY POWER TO CHARGER
Plug the AC Adapter/Charger's power
cord in to an AC outlet. The power
indicator comes on.
2
ATTACH BATTERY/BATTERIES
Remove the battery pack's protective cap
and attach while making sure the
marks are facing down and aligned with
the corresponding marks on the AC
Power Adapter/Charger.
·The Charge Indicator (1 or 2) begins
blinking to indicate charging has started.
3
CONFIRM STATUS
When the charger indicator stops blinking
but stays lit, charging is finished.
·If two batteries are attached to the
charger, they will be charged in the
order that they were attached.