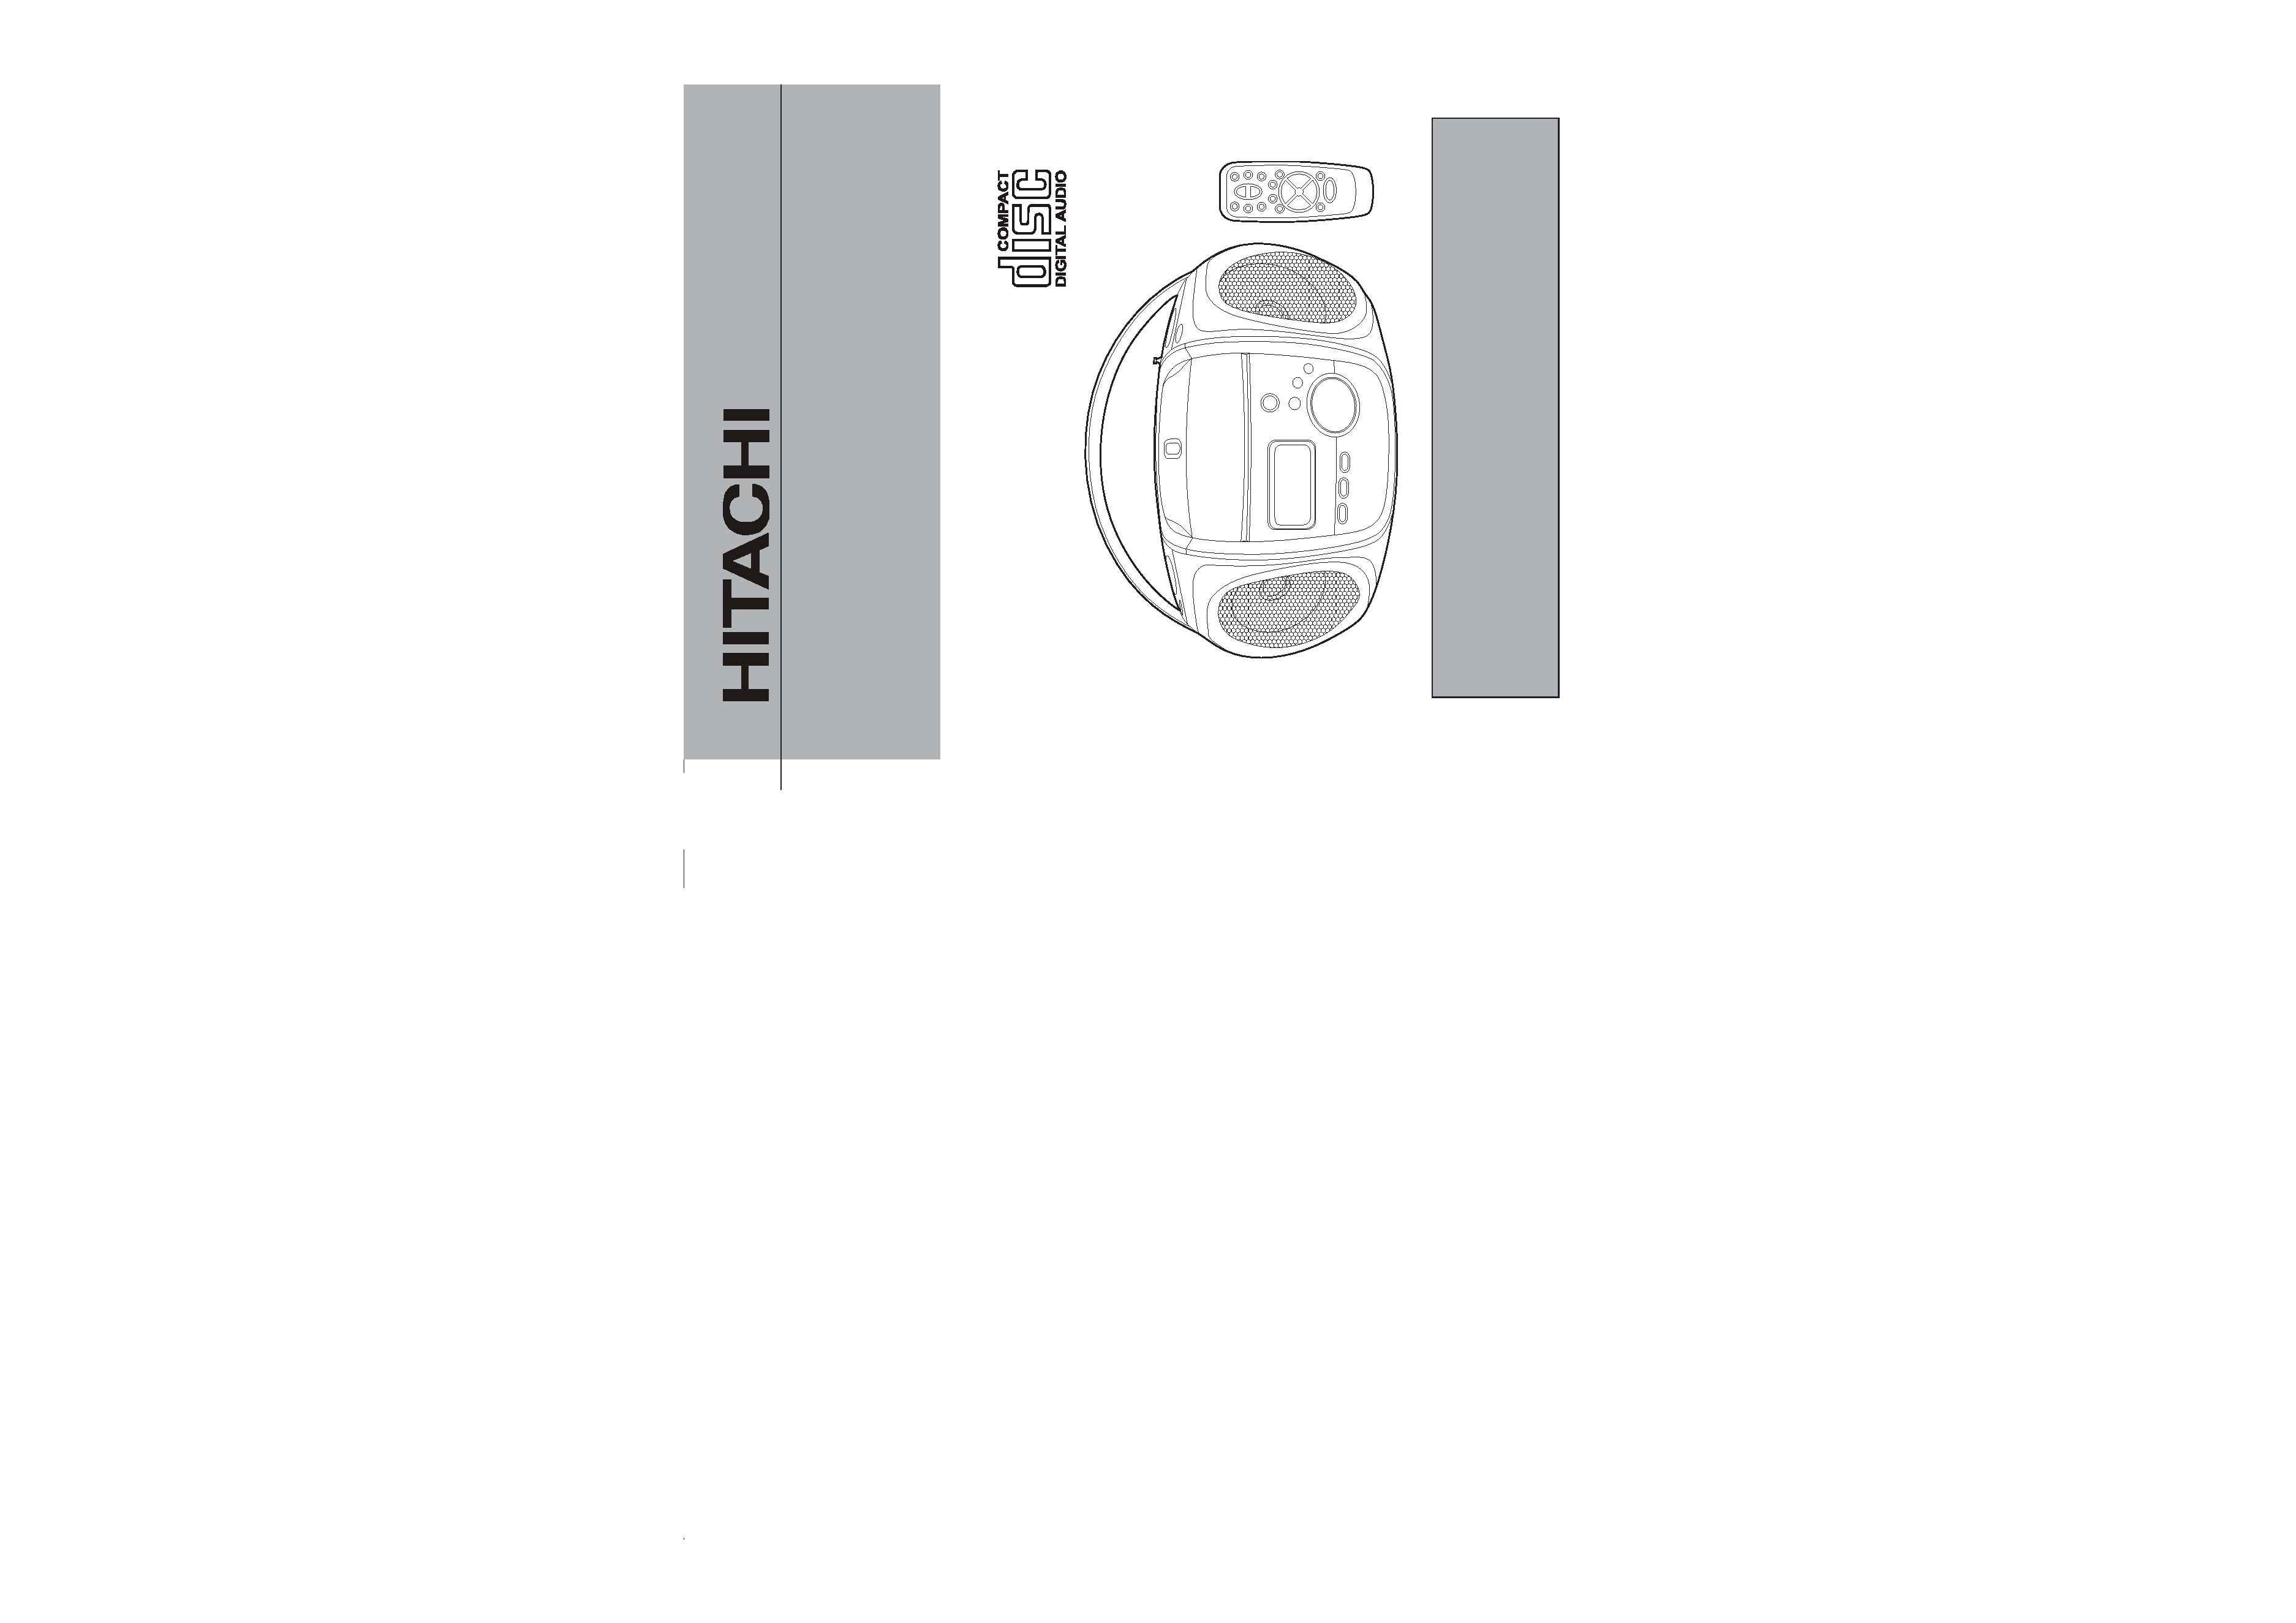
Instruction Manual
PORTABLE MP3/CD PLL
RADIO BOOMBOX
CX82
Before operating please read all these
instructions thoroughly.
DANGER :
DANGER :
DANGER :
DANGER :
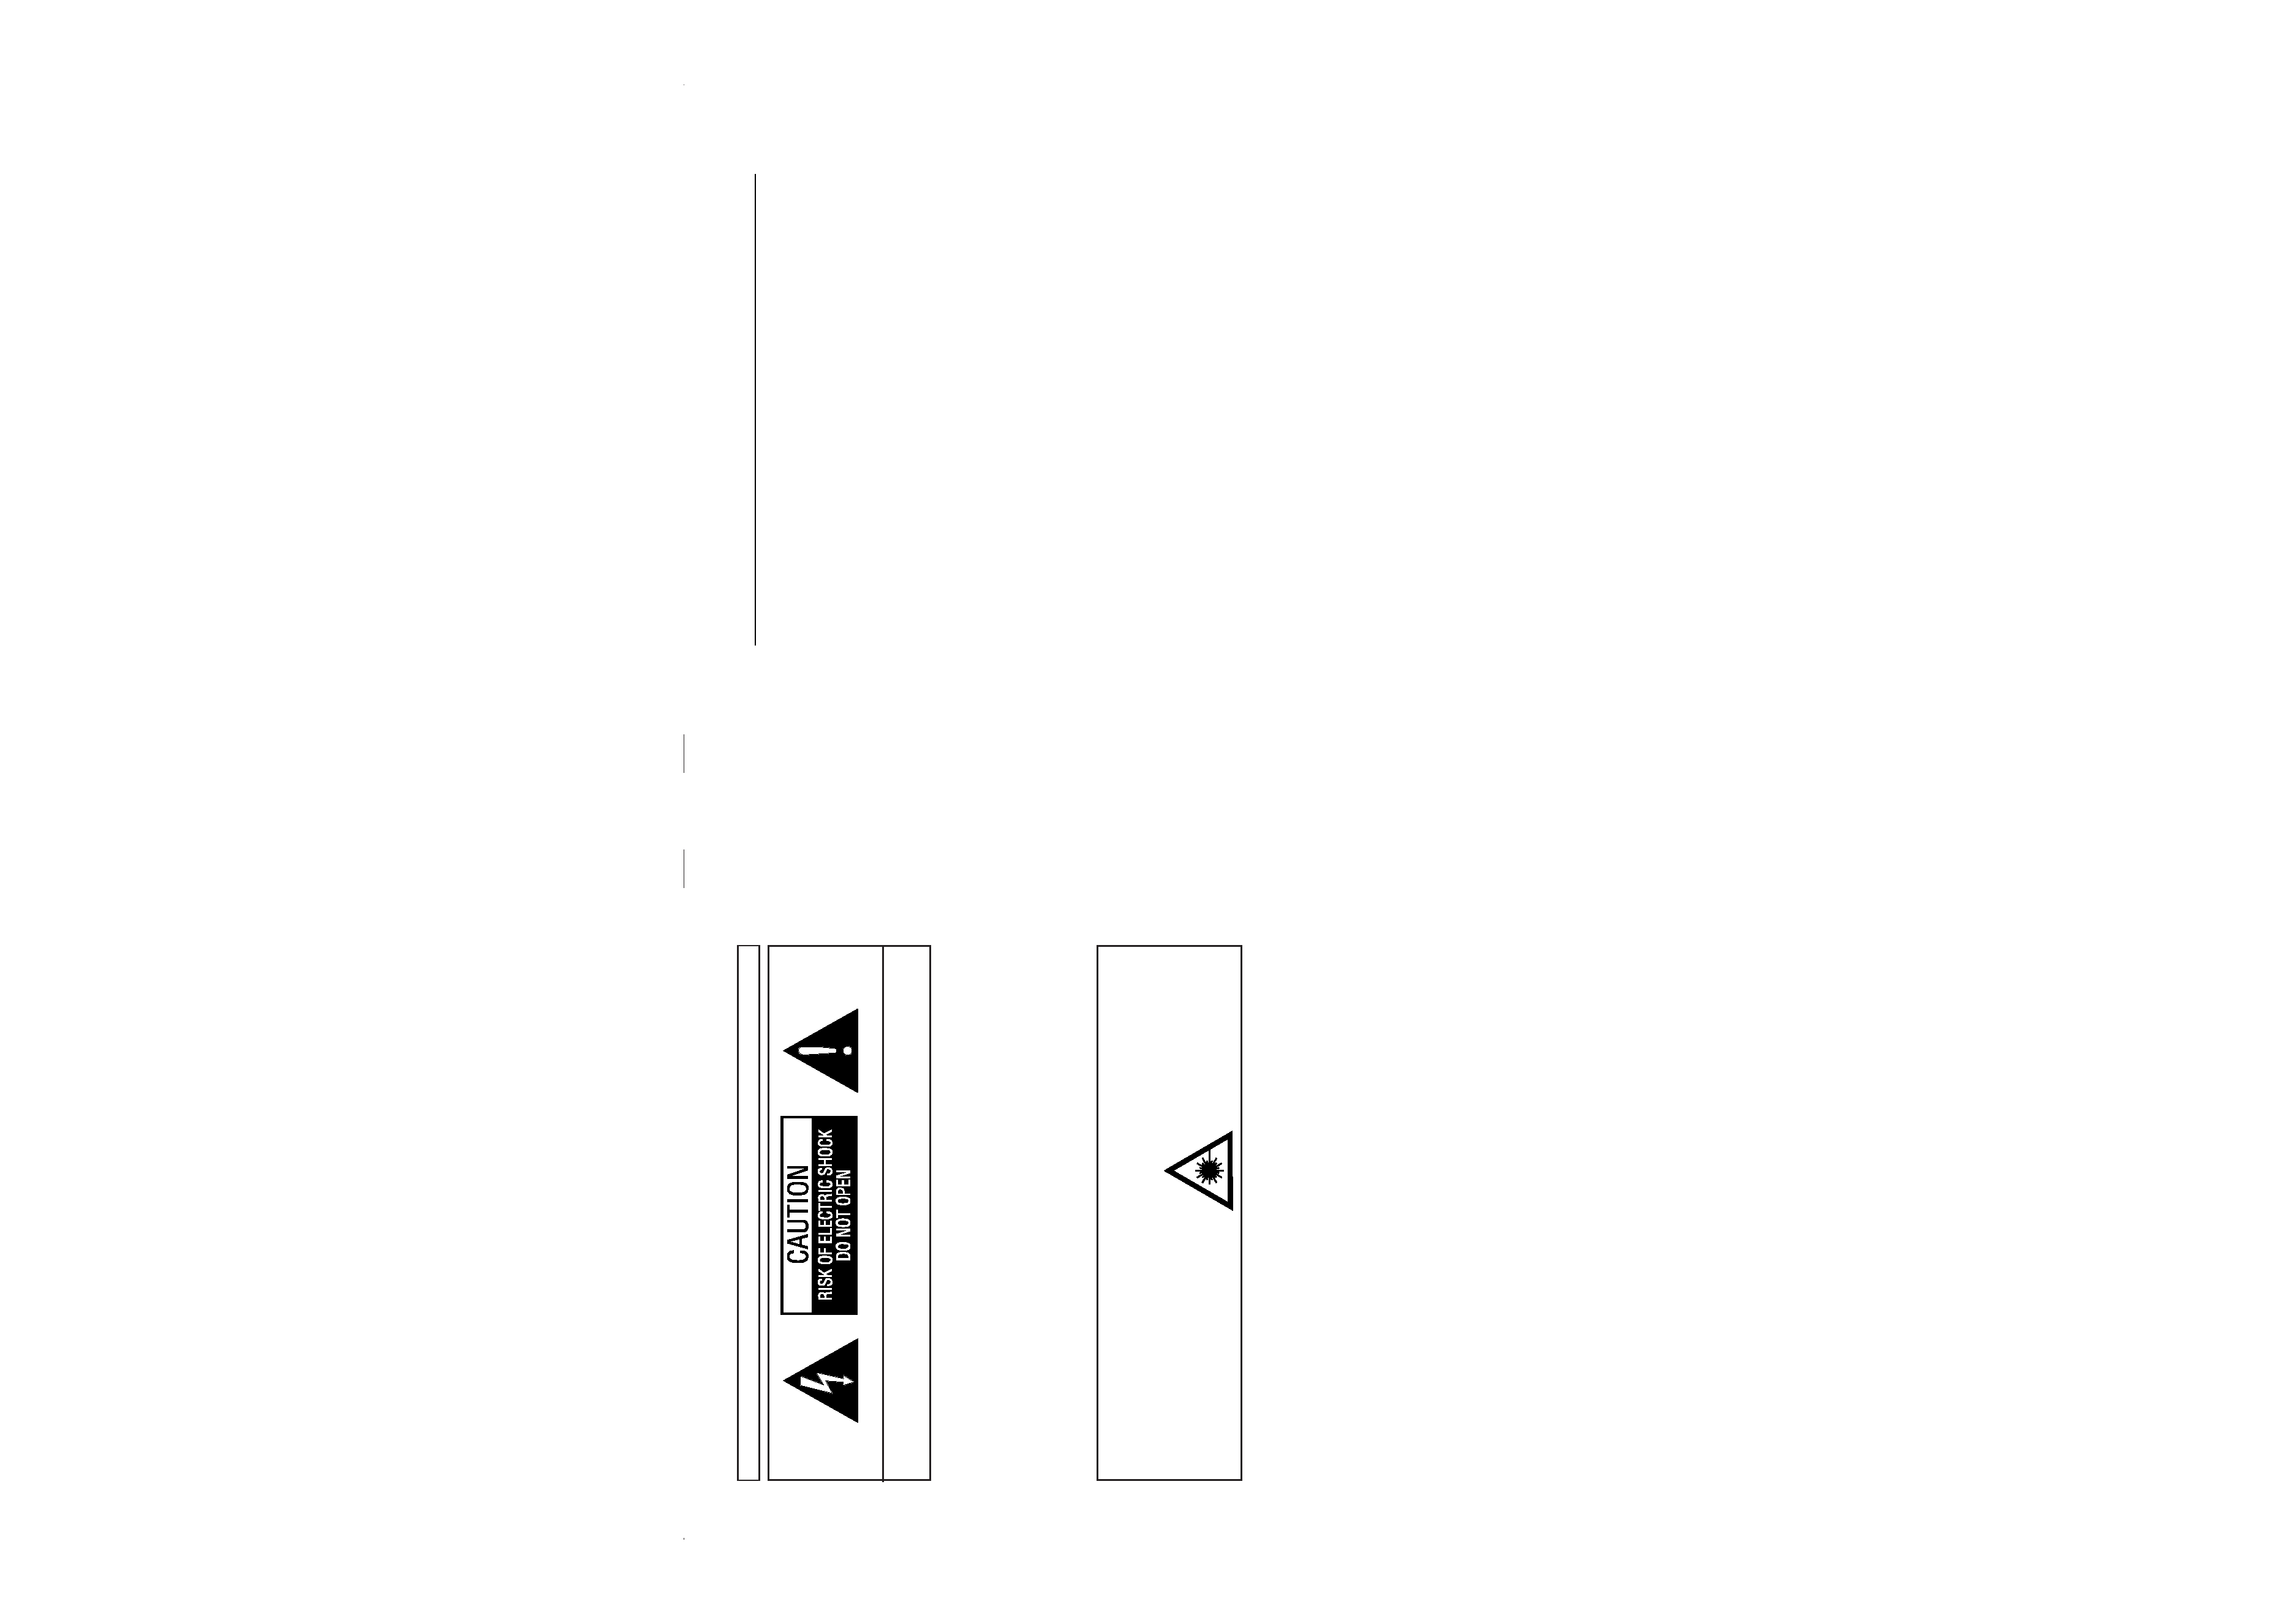
DANGER : INVISIBLE LASER RADIATION
WHEN OPEN AND INTERLOCK
FAILED OR DEFEATED AVOID
DIRECT EXPOSURE TO BEAM.
CAUTION :
CAUTION :
CAUTION :
CAUTION :
CAUTION : HAZARDOUS LASER
RADIATION WHEN OPEN AND
INTERLOCK DEFEATED.
LASER SAFETY
LASER SAFETY
LASER SAFETY
LASER SAFETY
LASER SAFETY
This unit employs laser. Only a qualified service person
should remove the cover or attempt to service this device,
due to possible eye injury.
"CAUTION:USE OF CONTROLS OR ADJUSTMENTS
OR PERFORMANCE OF PROCEDURE
OTHER THAN SPECIFIED HEREIN MAY
RESULT IN HAZARDOUS RADIATION
EXPOSURE."
The lightning flash with arrowhead symbol, within an equilateral triangle, is intended to alert the user to the
presence of uninsulated "dangerous voltage" within the product's enclosure that may be of sufficient magnitude
to constitute a risk of electric shock to persons.
The exclamation point within an equilateral triangle is intended to alert the user to the presence of important
operating and maintenance (servicing) instructions in the literature accompanying the appliance.
Dripping warning :" The product shall not be exposed to dripping or splashing and that no objects filled with
liquids, such as vases, shall be placed on the product."
Ventilation warning : " The normal ventilation of the product shall not be impeded for intended use."
WARNING: TO PREVENT FIRE OR SHOCK HAZARD, DO NOT EXPOSE THIS APPLIANCE TO RAIN OR MOISTURE.
CAUTION: TO PREVENT THE RISK OF ELECTRIC SHOCK, DO NOT REMOVE COVER (OR BACK). NO
USER-SERVICEABLE PARTS INSIDE. REFER SERVICING TO QUALIFIED SERVICE PERSONNEL.
These markings are located on the bottom, side or back of the unit.
SOME DOS AND DON'TS ON THE SAFE USE OF EQUIPMENT
This equipment has been designed and manufactured to meet international safety standards but,
like any electrical equipment, care must be taken if you are to obtain the best results and safety is
to be assured.
**************
DO read the operating instructions before you attempt to use the equipment.
DO ensure that all electrical connections (including the mains plug, extension leads and inter-
connections between the pieces of equipment) are properly made and in accordance with the
manufacturer's instructions. Switch off and withdraw the mains plug before making or changing
connections.
DO consult your dealer if you are ever in doubt about the installation, operation or safety of your
equipment.
DO be careful with glass panels or doors on equipment.
DO route the mains lead so that it is not likely to be walked on, crushed, chafed, or subjected to
excessive wear and tear or heat.
**************
DON'T remove any fixed cover as this may expose dangerous voltages.
DON'T obstruct the ventilation openings of the equipment with items such as newspapers,
tablecloths, curtains, etc. Overheating will cause damage and shorten the life of the equipment.
DON'T allow electrical equipment to be exposed to dripping or splashing, or objects filled with
liquids, such as vases, to be placed on the equipment.
DON'T place hot objects or naked flame sources such as lighted candles or nightlights on, or
close to equipment. High temperatures can melt plastic and lead to fires.
DON'T use makeshift stands and NEVER fix legs with wood screws - to ensure complete safety
always fit the manufacturer's approved stand or legs with the fixings provided according to the
instructions.
DON'T use equipment such as personal stereos or radios so that you are distracted from the
requirements of traffic safety. It is illegal to watch television whilst driving.
DON'T listen to headphones at high volume, as such use can permanently damage your hearing.
DON'T leave equipment switched on when it is unattended unless it is specifically stated that it is
designed for unattended operation or has a stand-by mode. Switch off using the switch on the
equipment and make sure that your family know how to do this. Special arrangements may need
to be made for infirm or handicapped people.
DON'T continue to operate the equipment if you are in any doubt about it working normally, or if it is
damaged in any way - switch off, withdraw the mains plug and consult your dealer.
ABOVE ALL
-- NEVER let anyone especially children push anything into holes, slots or any other opening in
the case - this could result in a fatal electrical shock;
-- NEVER guess or take chances with electrical equipment of any kind
-- it is better to be safe than sorry!
*************
1
2

IMPORTANT
The mains lead on this equipment may be supplied with a moulded plug incorporating a fuse,
the value of which is indicated on the pin face of the plug. Should the fuse need to be
replaced, an ASTA or BSI approved BS 1362 fuse must be used of the same rating. If the fuse
cover is detachable never use the plug with the cover omitted. If a replacement fuse cover is
required, ensure it is of the same colour as that visible on the pin face of the plug. Fuse
covers are available from your dealer.
DO NOT cut off the mains plug from this equipment. If the plug fitted is not suitable for the
power points in your home or the cable is too short to reach a power point, then obtain an
appropriate safety approved extension lead or consult your dealer.
Should it be necessary to change the mains plug, this must be carried out by a competent
person, preferably a qualified electrician.
If there is no alternative to cutting off the mains plug, ensure that you dispose of it immediately,
having first removed the fuse, to avoid a possible shock hazard by inadvertent connection to
the mains supply.
IMPORTANT
The wires in this mains lead are coloured in accordance with the following code:
Blue
: NEUTRAL
Brown : LIVE
As these colours may not correspond to the coloured markings identifying the terminals in
your plug, proceed as follows:
The wire coloured BLUE must be connected to the terminal marked with the letter N or
coloured BLUE or BLACK. The wire coloured BROWN must be connected to the terminal
marked with the letter L or coloured BROWN or RED.
On no account connect either of these wires to the terminal marked E or by the earth symbol
E or coloured green or green and yellow.
Alternatively, this equipment may be supplied with a rewireable plug already fitted, which
may be removed if not suitable and an alternative fitted in accordance with the preceding
instructions.
YOUR GUARANTEE OF EXCELLENCE
Thank you for purchasing this Hitachi product
In the unlikely event that this product should develop a fault, we undertake to replace or repair any
part of the product which fails due to a manufacturing defect within 12 months of the date of
purchase provided that:
i) The product has been installed and used only in accordance with the instructions supplied with
the product.
ii) The product has not been repaired, maintained, or modified by any person other than a Hitachi
authorised engineer.
iii) The product serial number has not been removed or altered.
This guarantee does not apply to product acquired second hand or for commercial or communal
use.
This guarantee does not cover the replacement of exhausted batteries, the adjustment of user
controls, or head cleaning and general consumer maintenance tasks.
Any parts replaced under this guarantee shall become the property of Hitachi Europe Ltd. Any
claims made under guarantee must be directed to the dealer from whom the equipment was
originally purchased.
Please note that evidence of the date of purchase will be required before any service under this
guarantee is carried out.
THIS GUARANTEE DOES NOT AFFECT YOUR STATUTORY RIGHTS.
IN ALL CASES OF DIFFICULTY PLEASE CONSULT YOUR HITACHI DEALER
3
4
····· Foreign objects, dust and finger
prints should be carefully wiped off
in a straight motion from the inside
to the out side of the recorded side
of the disc with a soft cloth before
use.
····· Do not expose discs to direct sun
light, heating implements and
high temperatures.
····· Do not bend the disc.
····· Avoid serious scratches that could
cause the laser pickup to skip.
····· Do not attempt to widen the
center hole in the disc. It will
result in damage to the disc.
····· Do not write anything with a
ballpoint pen or pencil on the
disc (level) surface.
····· Never use chemicals such as
record sprays, antistatic sprays
or fluid, benzine or thinner to
clean compact discs. Such
chemicals would irreparably
damage the disc's plastic
surface.
HANDLING THE DISC
HANDLING THE DISC
HANDLING THE DISC
HANDLING THE DISC
HANDLING THE DISC
····· Remove the CD from the Disc tray of your unit, if it is not going to be used for a long period.
····· Keep the disc in a disc case when storing.
····· Do not store the disc where it may be exposed to :
1. Direct sunlight for a long time.
2. High temperatures via any heating implements.
3. High humidity.
HANDLING COMP
HANDLING COMP
HANDLING COMP
HANDLING COMP
HANDLING COMPACT
ACT
ACT
ACT
ACT DISCS
DISCS
DISCS
DISCS
DISCS
····· If a disc is suddenly removed from
a cold to a hot area, it will not be
played due to moisture on the
disc surface. So wipe off with a
soft cloth. Do not use a hair dryer
to dry moisture on discs.
1. Open a disc case by holding the
bottom left and right sides with the
right hand, and then pulling the
top cover with the left hand.
2. Press down on the center of the
case
and
lift
the
disc
out
carefully.
3. Hold
by
the
edges
without
touching the recording surface.
(Rainbow lighting side is to play)
This unit has been designed to play compact discs bearing the
identification logo shown at the left and MP3 discs.
5
6

7
8
CONTROL AND INDICATORS
1. MULTI-DISPLAY
· to indicate the functioning of the unit.
2. REMOTE SENSOR
· to receive signals from the remote control.
3. POWER Button
· Press to turn the power ON.
4. MEMORY/PROGRAM Button
· In the MP3-CD/CD mode: programs/reviews programmed tracks.
· In the RADIO mode: programs tuner stations.
· In the CLOCK mode: for setting of the clock adjustment.
5. REPEAT Button
· to listen to a disc or program over and over again.
6. SPEAKER
7. NEXT F
F
F
F
F Button
· In the Radio mode: for receiving frequency step up.
· In the MP3-CD/CD mode: to return to the start of a track, select a next track or
search for a passage during play.
8. STOP C
C
C
C
C Button
· Stop MP3-CD/CD playback: erases a MP3-CD/CD program.
9. CD PLAY/PAUSE RP
RP
RP
RP
RP Button
· Starts or pauses MP3-CD/CD, (CD mode selection).
10. BACK B
B
B
B
B Button
· In the Radio mode: for receiving frequency step down.
· In the MP3-CD/CD mode: to return to the start of a track, select a previous track
or search for a passage during play.
11. ALBUM/PRESET+ (UP)
· in the MP3 mode only: selects next album.
· in the RADIO mode only: selects the next preset station.
12. ALBUM/PRESET- (DOWN)
· in the MP3 mode only: selects previous album.
· in the RADIO mode only: selects the previous preset station.
13. FIND Button
· In the CD mode: select the ESP ON/OFF.
· In the MP3 mode: text display track search information.
14. PRESET EQUALIZER Button (EQ)
· for selecting digital sound control: PASS, CLASSIC, ROCK, POP, JAZZ.
15. VOLUME CONTROL
· adjusts volume level.
16. TIMER Button
17. PHONES JACK
· connection for headphone.
18. FM ANTENNA
19. SLEEP Button
20. FM MONO/STEREO Button
21. TUNER/BAND Button
· selects FM/MW(AM), (RADIO mode selection).
22. CD OPEN e
e
e
e
e Button
· Press to Open CD door.
23. AC SOCKET
24. BATTERY COMPARTMENT
POWER SOURCES
(Backup Batteries)
1. Operating the player on AC power
Insert one end of the supplied power cord to the AC IN Jack located of the rear of the
unit and the other end into the Wall outlet.
2. Operating the player on batteries
· To play your unit on batteries, the AC power cord
must be disconnected from the player.
· Unplug the AC power cord from the unit and insert
eight size C/UM-2 batteries (not provided) in the
compartment.
3. Clock and Memory
· Irrespective of using AC mains or DC battery power, 2 x UM-3/"AA" SIZE/R6 batteries
must be fitted for the clock and other memory functions to operate.
4. When to replace the batteries
Replace the old batteries when the sound becomes unstable or cannot be heard.
NOTE:
POWER STANDBY
When you first plug the unit into the mains, the unit will go into standby mode.
You can press POWER to switch on the unit.
The standby function of the unit remains on until the unit is switched on.
Pull the mains plug out of the wall socket if you want to switch off the mains voltage
completely.